3512. Creating MySQL Image with Docker FileDockerfile, Docker, and MySQL
Tutorial for creating MySQL image with Dockerfile.
1. What is Dockerfile?
Docker can build images automatically by reading the instructions from a Dockerfile. A Dockerfile is a text document that contains all the commands a user could call on the command line to assemble an image. By using ‘docker build’, users can create an automated build that executes several command-line instructions in succession.
2. What We’ve Done Until Now?
In the previous posting Using MySQL Container for JSP Application, we created a MySQL container to store data for our JSP Tutorial application. Previously, we used the following command to create MySQL container.
$ docker run --detach --name=jspmysql --env="MYSQL_ROOT_PASSWORD=jsppassword" --publish 6603:3306 mysql
What is this command doing?
- Create a MySQL container named
jspmysql. - Set environment variable MYSQL_ROOT_PASSWORD to
jsppassword. - Expose 3306 and map to
6603for outside world to connect to this MySQL database.
In addition, we manually created database jsptutorial and table Product.
$ mysqladmin -u root -p create jsptutorial
$ mysql -u root -p jsptutorial < jsp_backup.sql
In this posting, we will use Dockerfile to simplify the way how to create MySQL container for our JSP Tutorial application.
3. Creating MySQL Image with Dockerfile
3.1 Creating Docker File
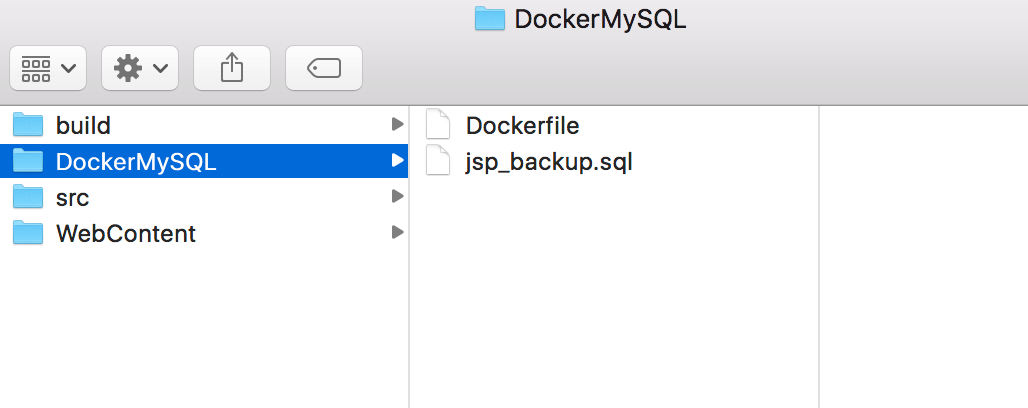
Create one file named Dockerfile in any directory on local machine.
$ cd ~/Johnny
$ mkdir DockerMySQL
$ cd DockerMySQL
$ vim Dockerfile
Edit Dockerfile, fill with following content.
#Create MySQL Image for JSP Tutorial Application
FROM mysql
MAINTAINER csgeek@mail.com

ENV MYSQL_ROOT_PASSWORD jsppassword
ADD jsp_backup.sql /docker-entrypoint-initdb.d

EXPOSE 3306
The following points need to be noted about the above file.
- The first line is a comment. You can add comments to the Docker File with the help of the # command
- The FROM keyword tells which base image you want to use. In our example, we are creating an image from the mysql image.
- The next command is the person who is going to maintain this image.
- The ENV command is used to set environment variable. We set MYSQL_ROOT_PASSWORD to
jsppasswordfor MySQL database. - The ADD command copy the database backup file to /docker-entrypoint-initdb.d directory in the Docker container. The docker-entrypoint.sh file will run any files in this directory ending with “.sql” against the MySQL database. In our example, we have only one sql script file
jsp_backup.sql. - The EXPOSE command exposes port
3306of the image.
3.2 Getting MySQL Backup File
Download the backup file jsp_backup.sql from My GitHub, and put it to the same directory with Dockerfile.
3.3 Creating Image with Dockerfile
Open Docker terminal, navigate to the folder where the Dockerfile and MySQL backup file locates. Run the following command.
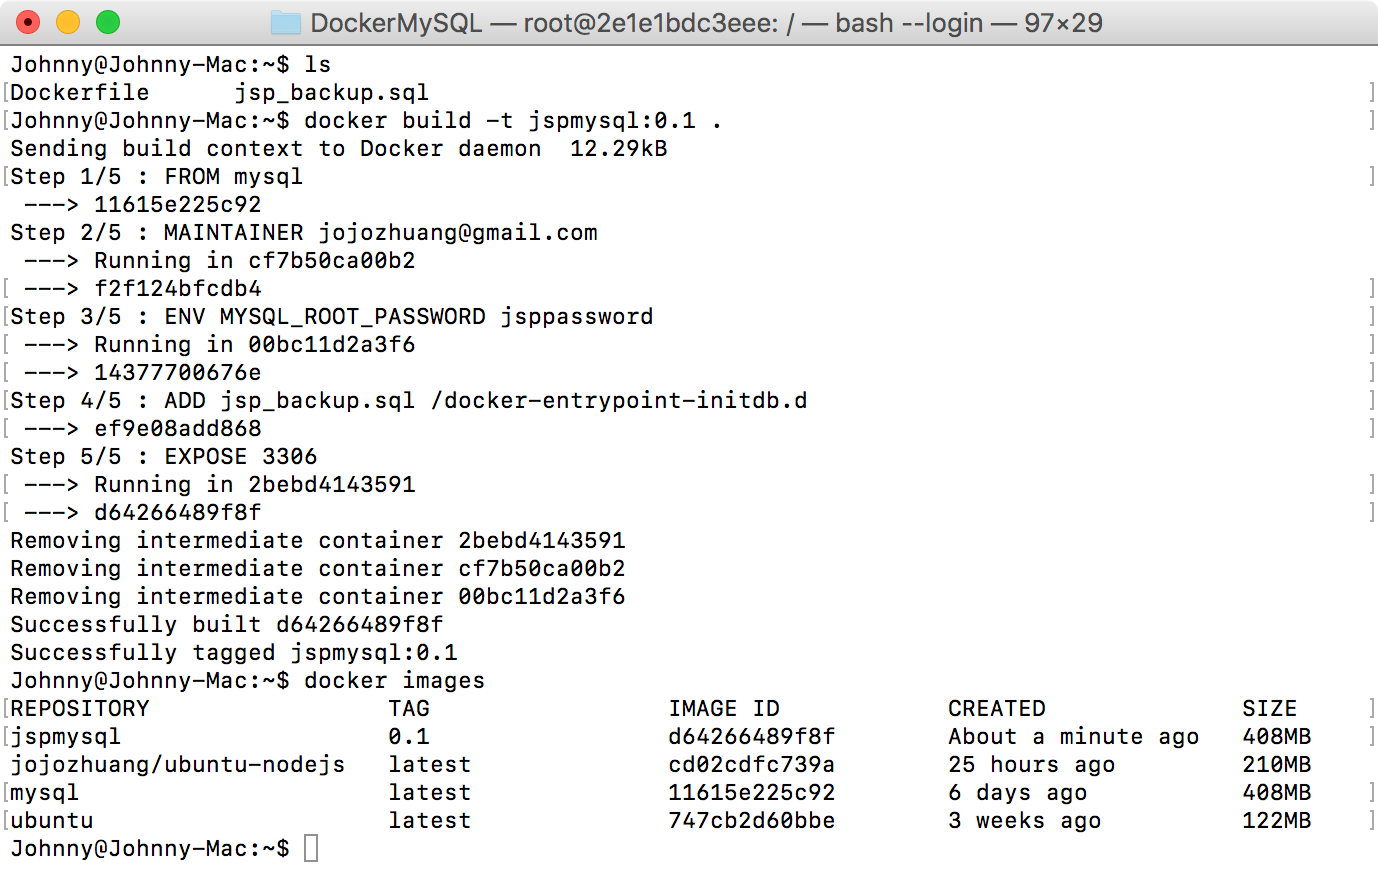
$ docker build -t jspmysql:0.1 .
Here, jspmysql is the name we are giving to the Image and 0.1 is the tag number. The last dot . indicates the current location. Check whether the image is created.
$ docker images
As you see, the new image is created with tag 0.1.
4. Testing The New Image
4.1 Running Container
In docker terminal, run the following command.
$ docker run --detach --name=jspmysql --publish 6603:3306 jspmysql:0.1
Notice we don’t need to set the environment variable MYSQL_ROOT_PASSWORD any more.
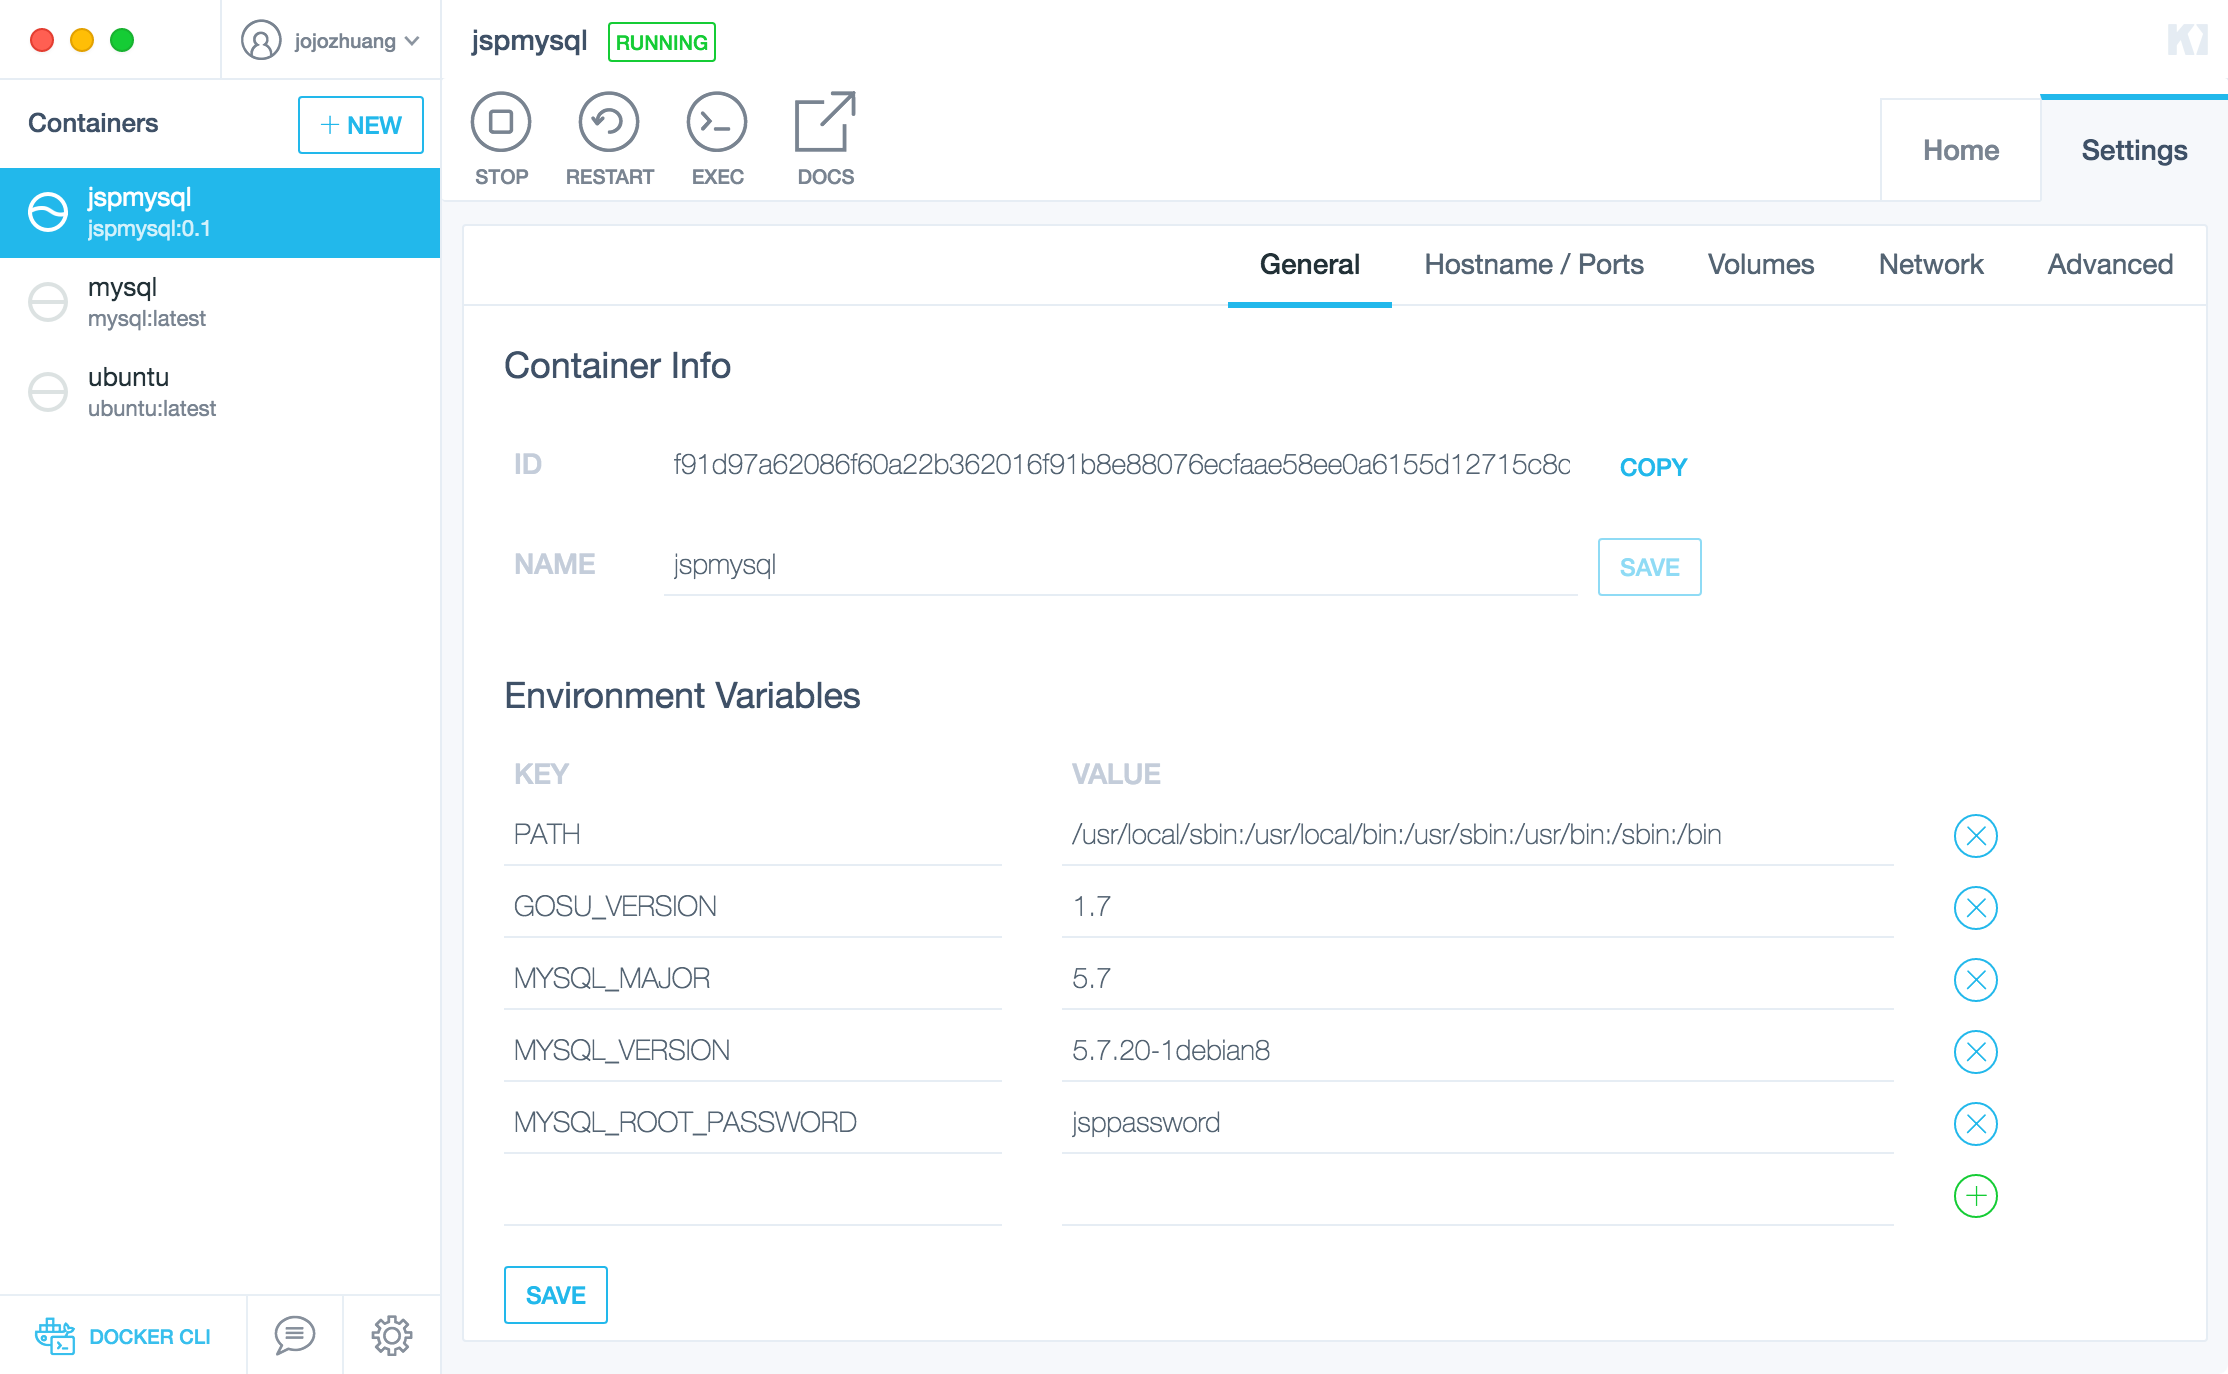
4.2 Verifying Container in Kitematic
A Mysql container named jspmysql is running now. Notice, it’s source image is jspmysql:0.1. And environment variable MYSQL_ROOT_PASSWORD has been added to the container.
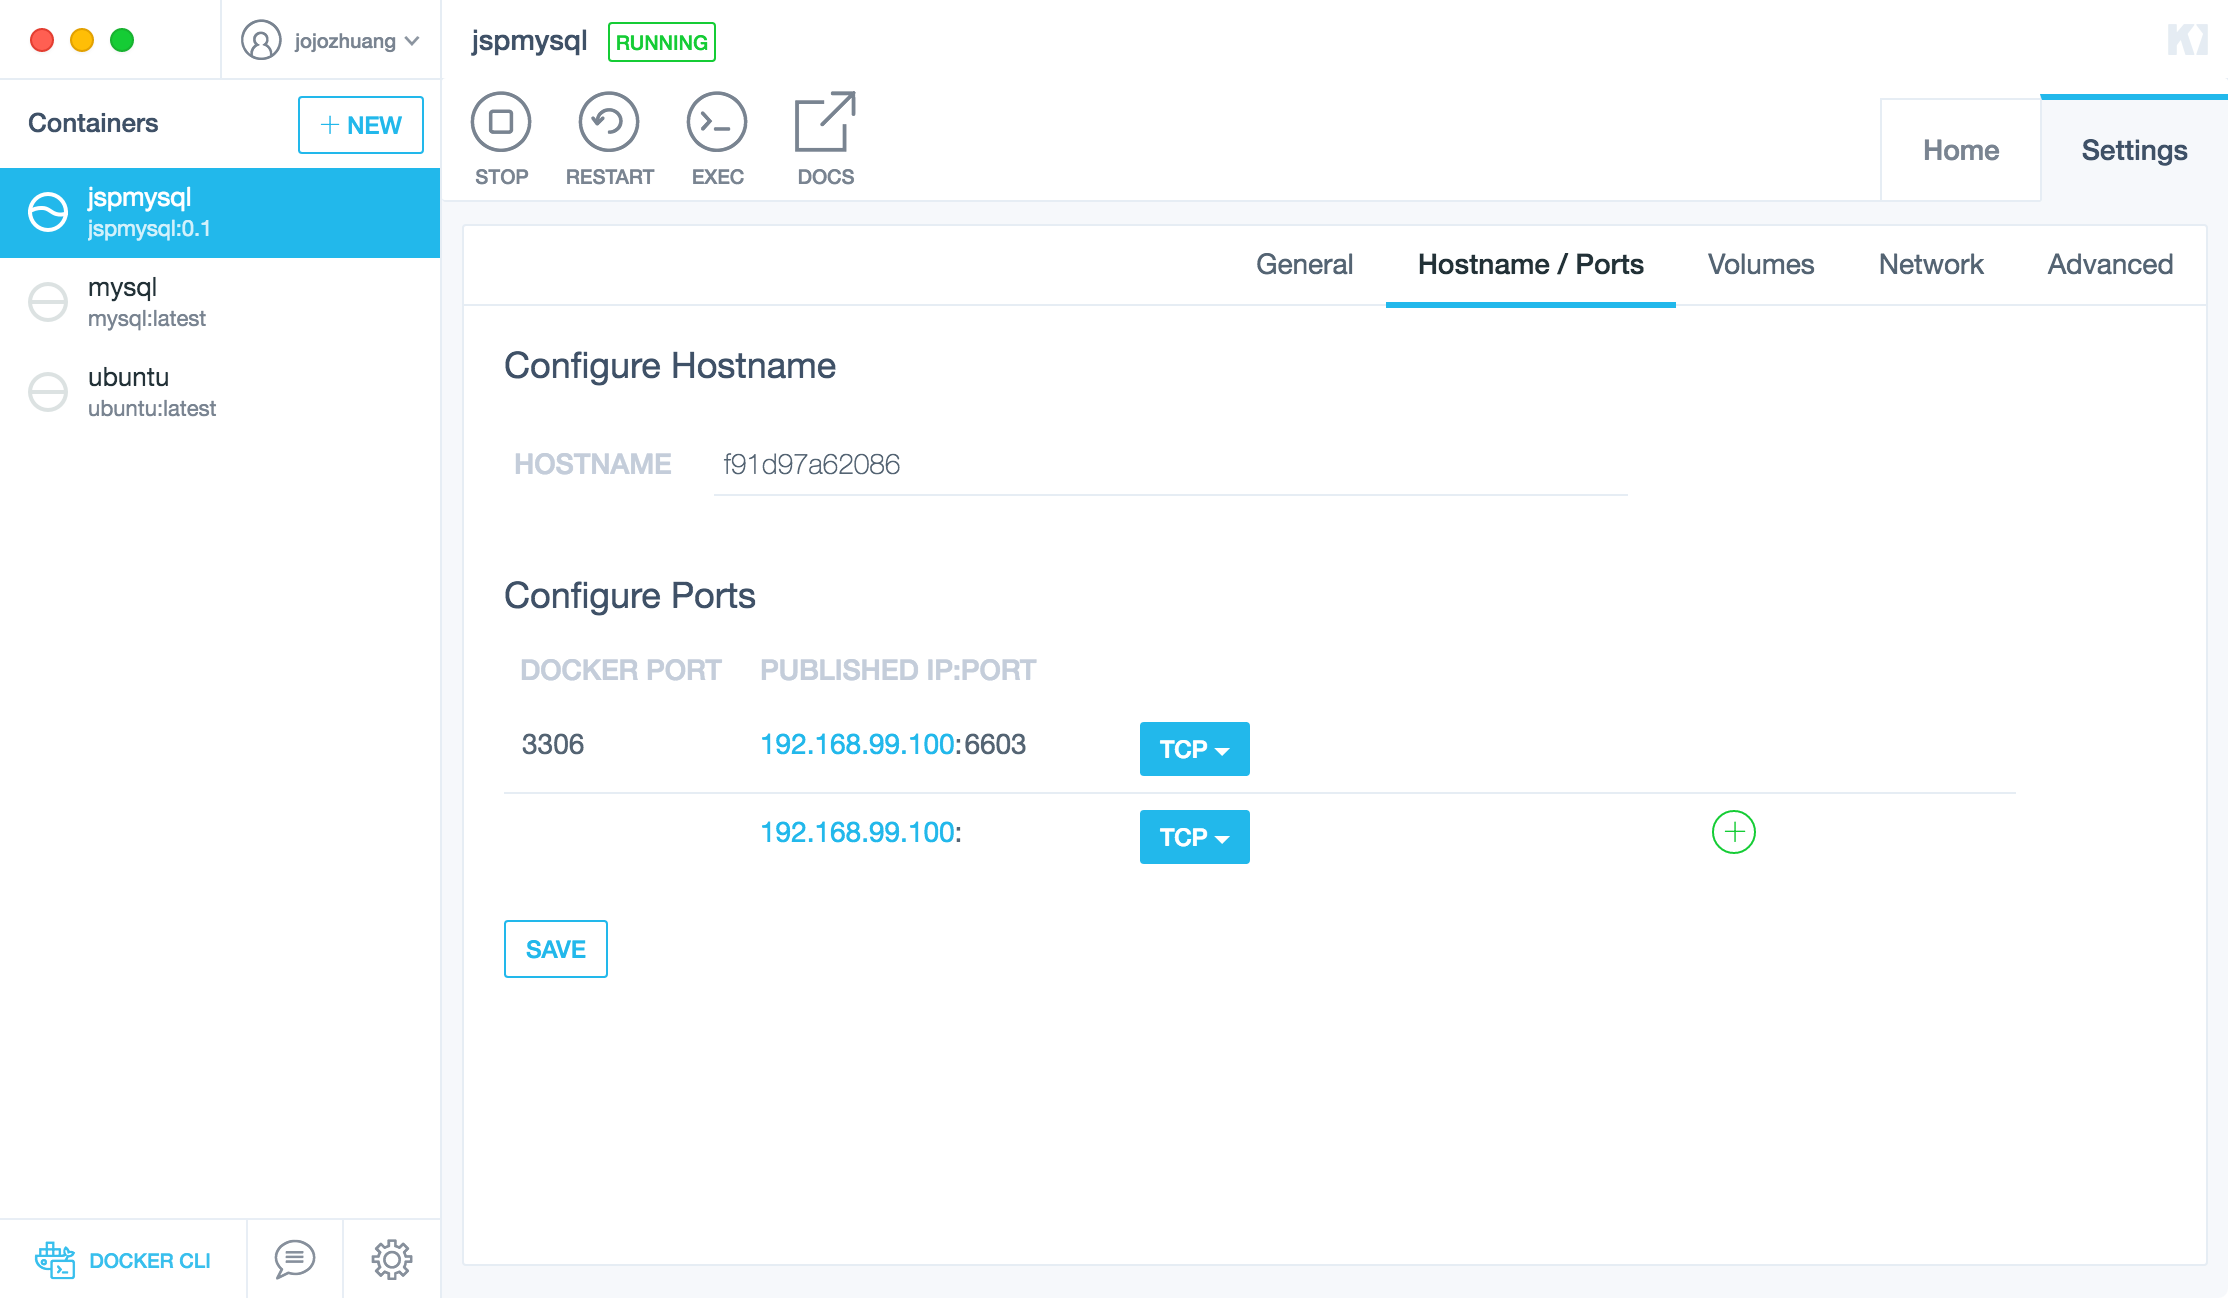
Port 3306 is also exposed and mapped to 6603.
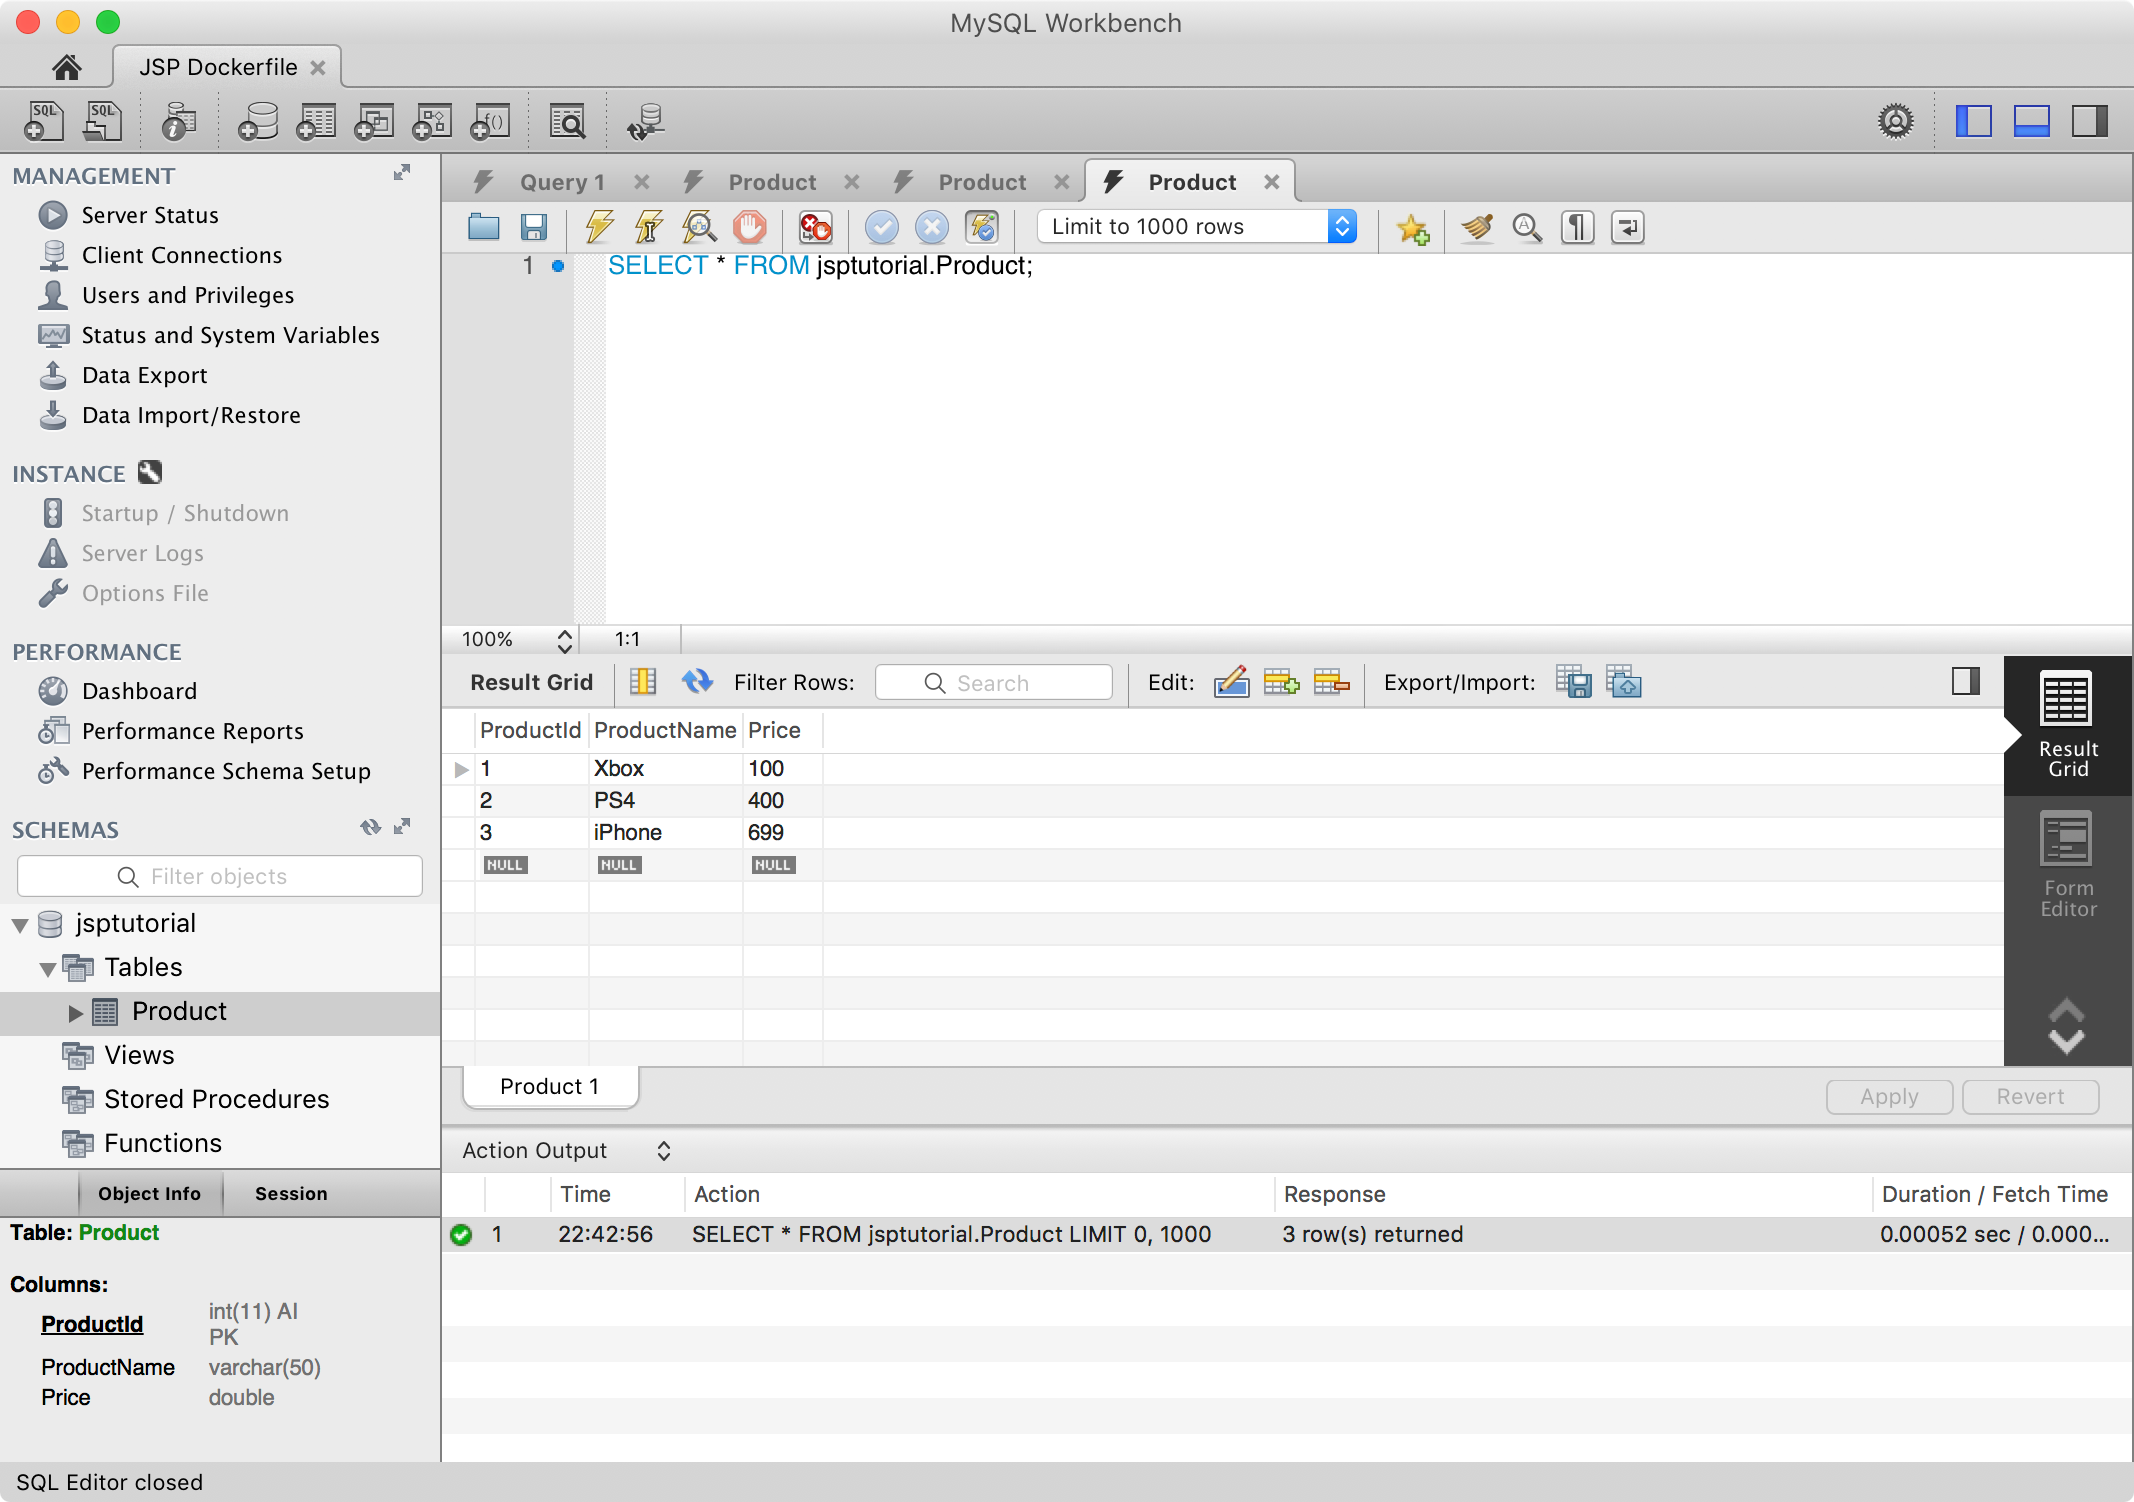
4.3 Verifying From MySQL Workbench
In MySQL workbench, create a connection to 192.168.99.100:6603 with user root and password jsppassword. You will see the database jsptutorial and the data in table Product.
4.4 Verifying JSP Tutorial Website
In Eclipse, open the JSP Tutorial project which we created for Using MySQL Container for JSP Application. Run it and access
http://localhost:8080/JSPTutorialContainer/productlist.jsp. Our JSP Tutorial Website is back. Products are displayed properly.
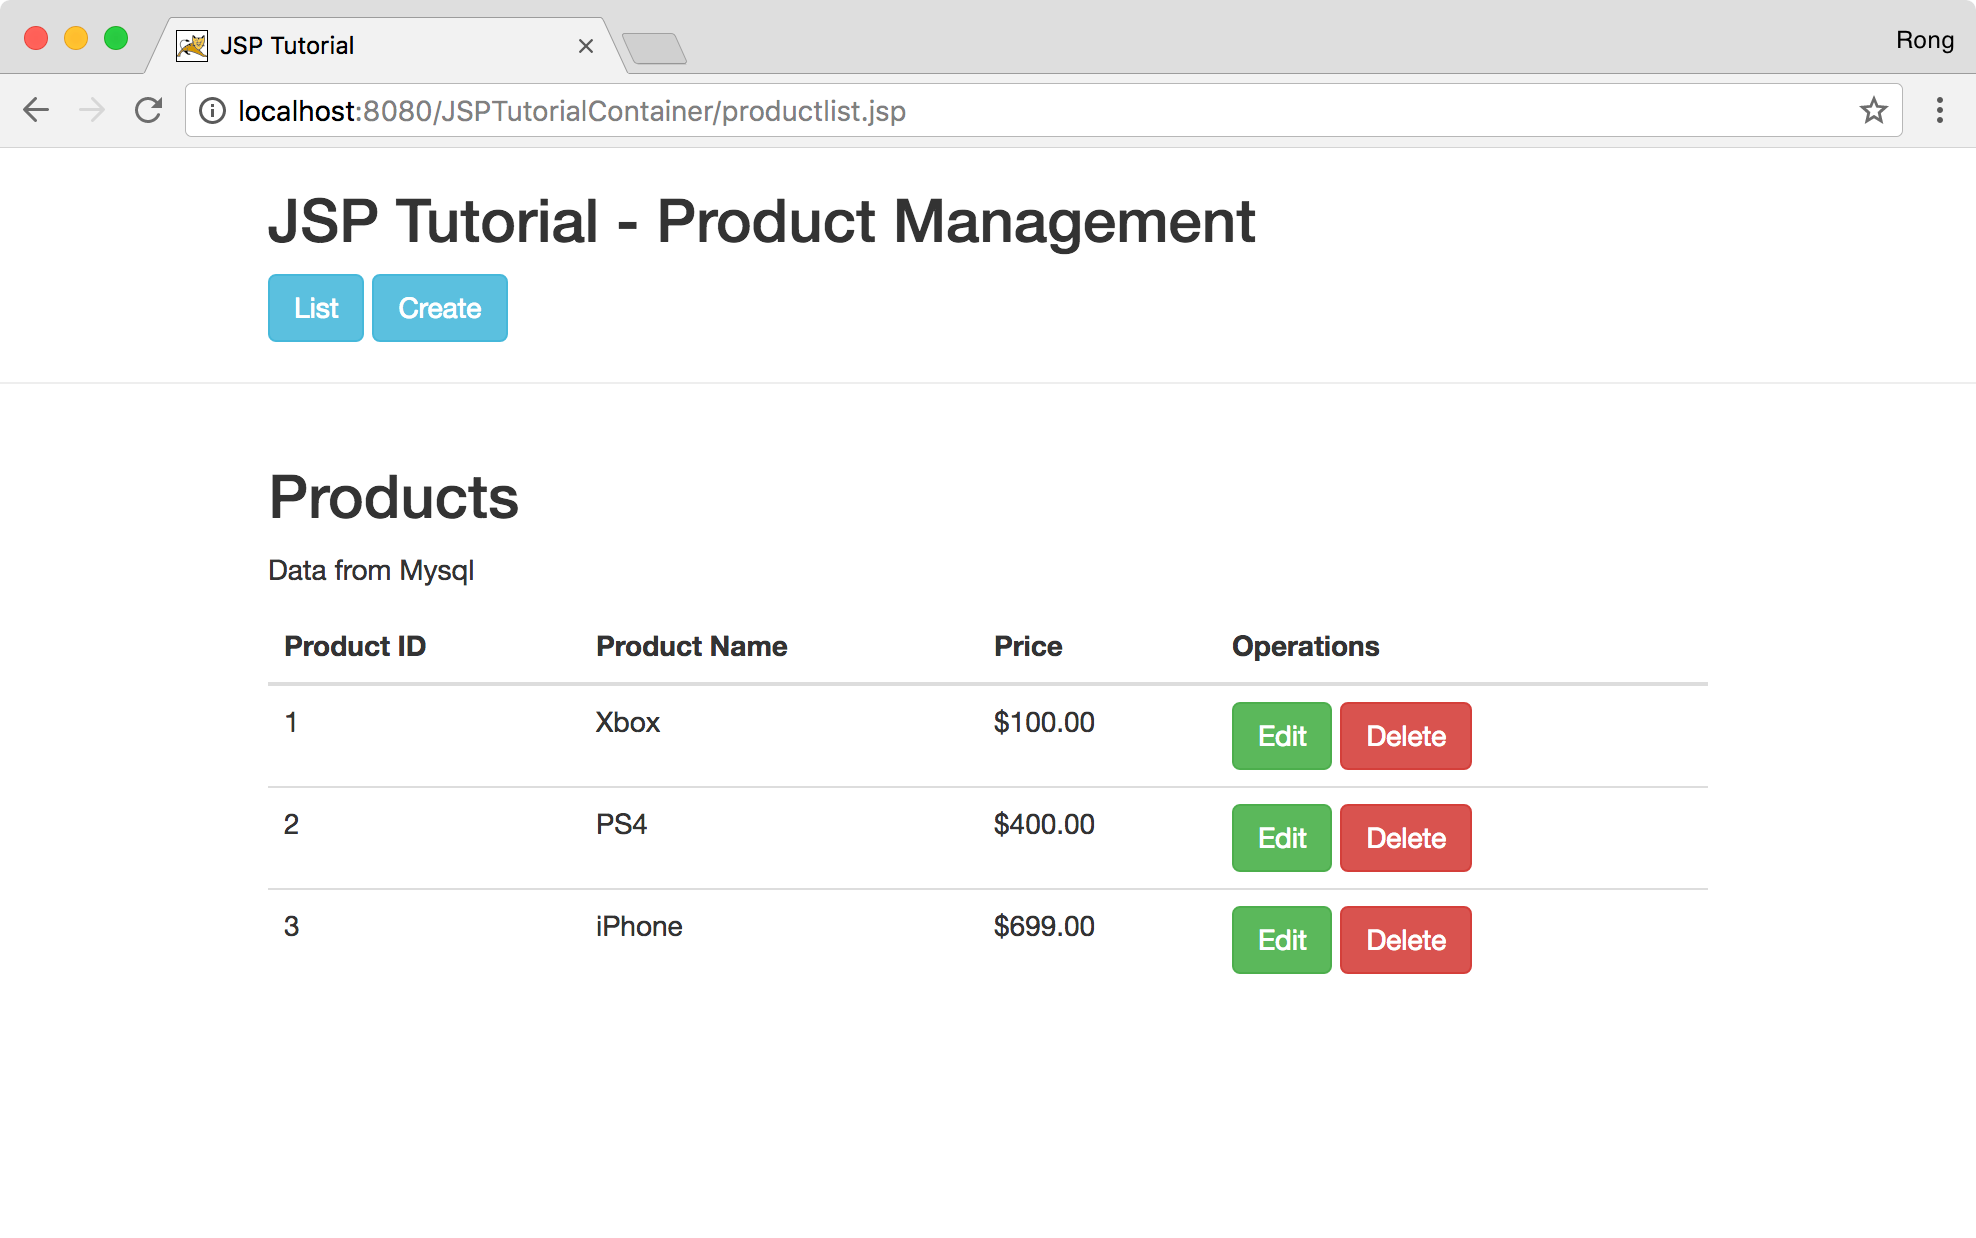
Try to add, edit or delete product. Then, verify the data in workbench, you will see the changes.
5. Publishing MySQL Container
5.1 Creating Image from Current Container
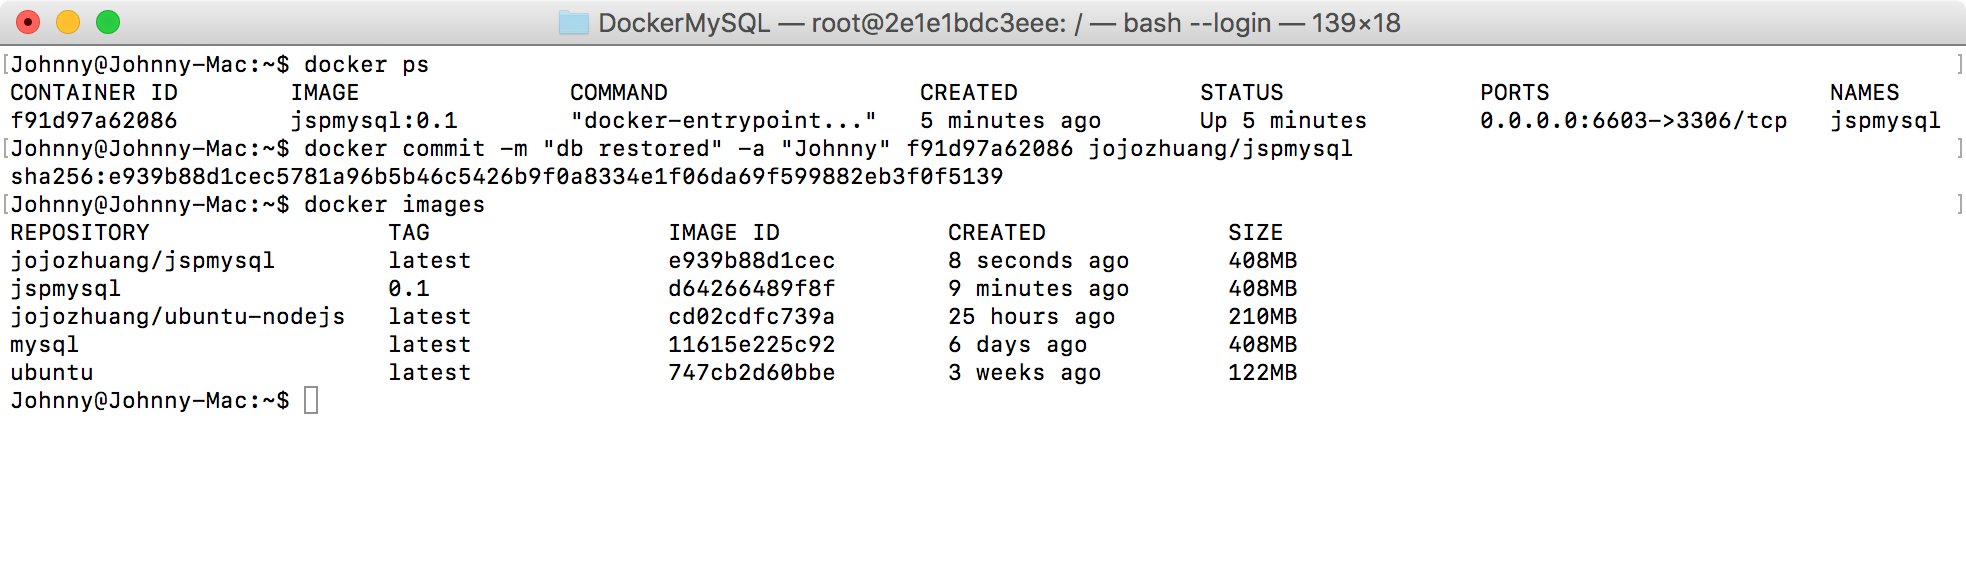
Check the container id.
$ docker ps
CONTAINER ID  IMAGE         COMMAND                 CREATED        STATUS         PORTS                   NAMES
f91d97a62086  jspmysql:0.1  "docker-entrypoint..."  5 minutes ago  Up 5 minutes   0.0.0.0:6603->3306/tcp  jspmysql
Create new image based on this container. Notice f91d97a62086 is the container id, jojozhuang/jspmysql is the name of the new image. jojozhuang is my user name of Docker Hub.
$ docker commit -m "db restored" -a "Johnny" f91d97a62086 jojozhuang/jspmysql
sha256:e939b88d1cec5781a96b5b46c5426b9f0a8334e1f06da69f599882eb3f0f5139
Check the new image.
$ docker images
5.2 Publishing New Image to Docker Hub
Push to Docker Hub
$ docker login -u jojozhuang
Password:
Login Succeeded
$ docker push jojozhuang/jspmysql
The push refers to a repository [docker.io/jojozhuang/jspmysql]
8073dd0df0a5: Pushed
159c9b761a3b: Pushed
fa01c5c192a6: Mounted from library/mysql
latest: digest: sha256:7294344f8f94cb4018368a8f3171b1052ebaac84f1776e5d5d4a544c1f45708b size: 2824
5.3 Checking New Image on Docker Hub
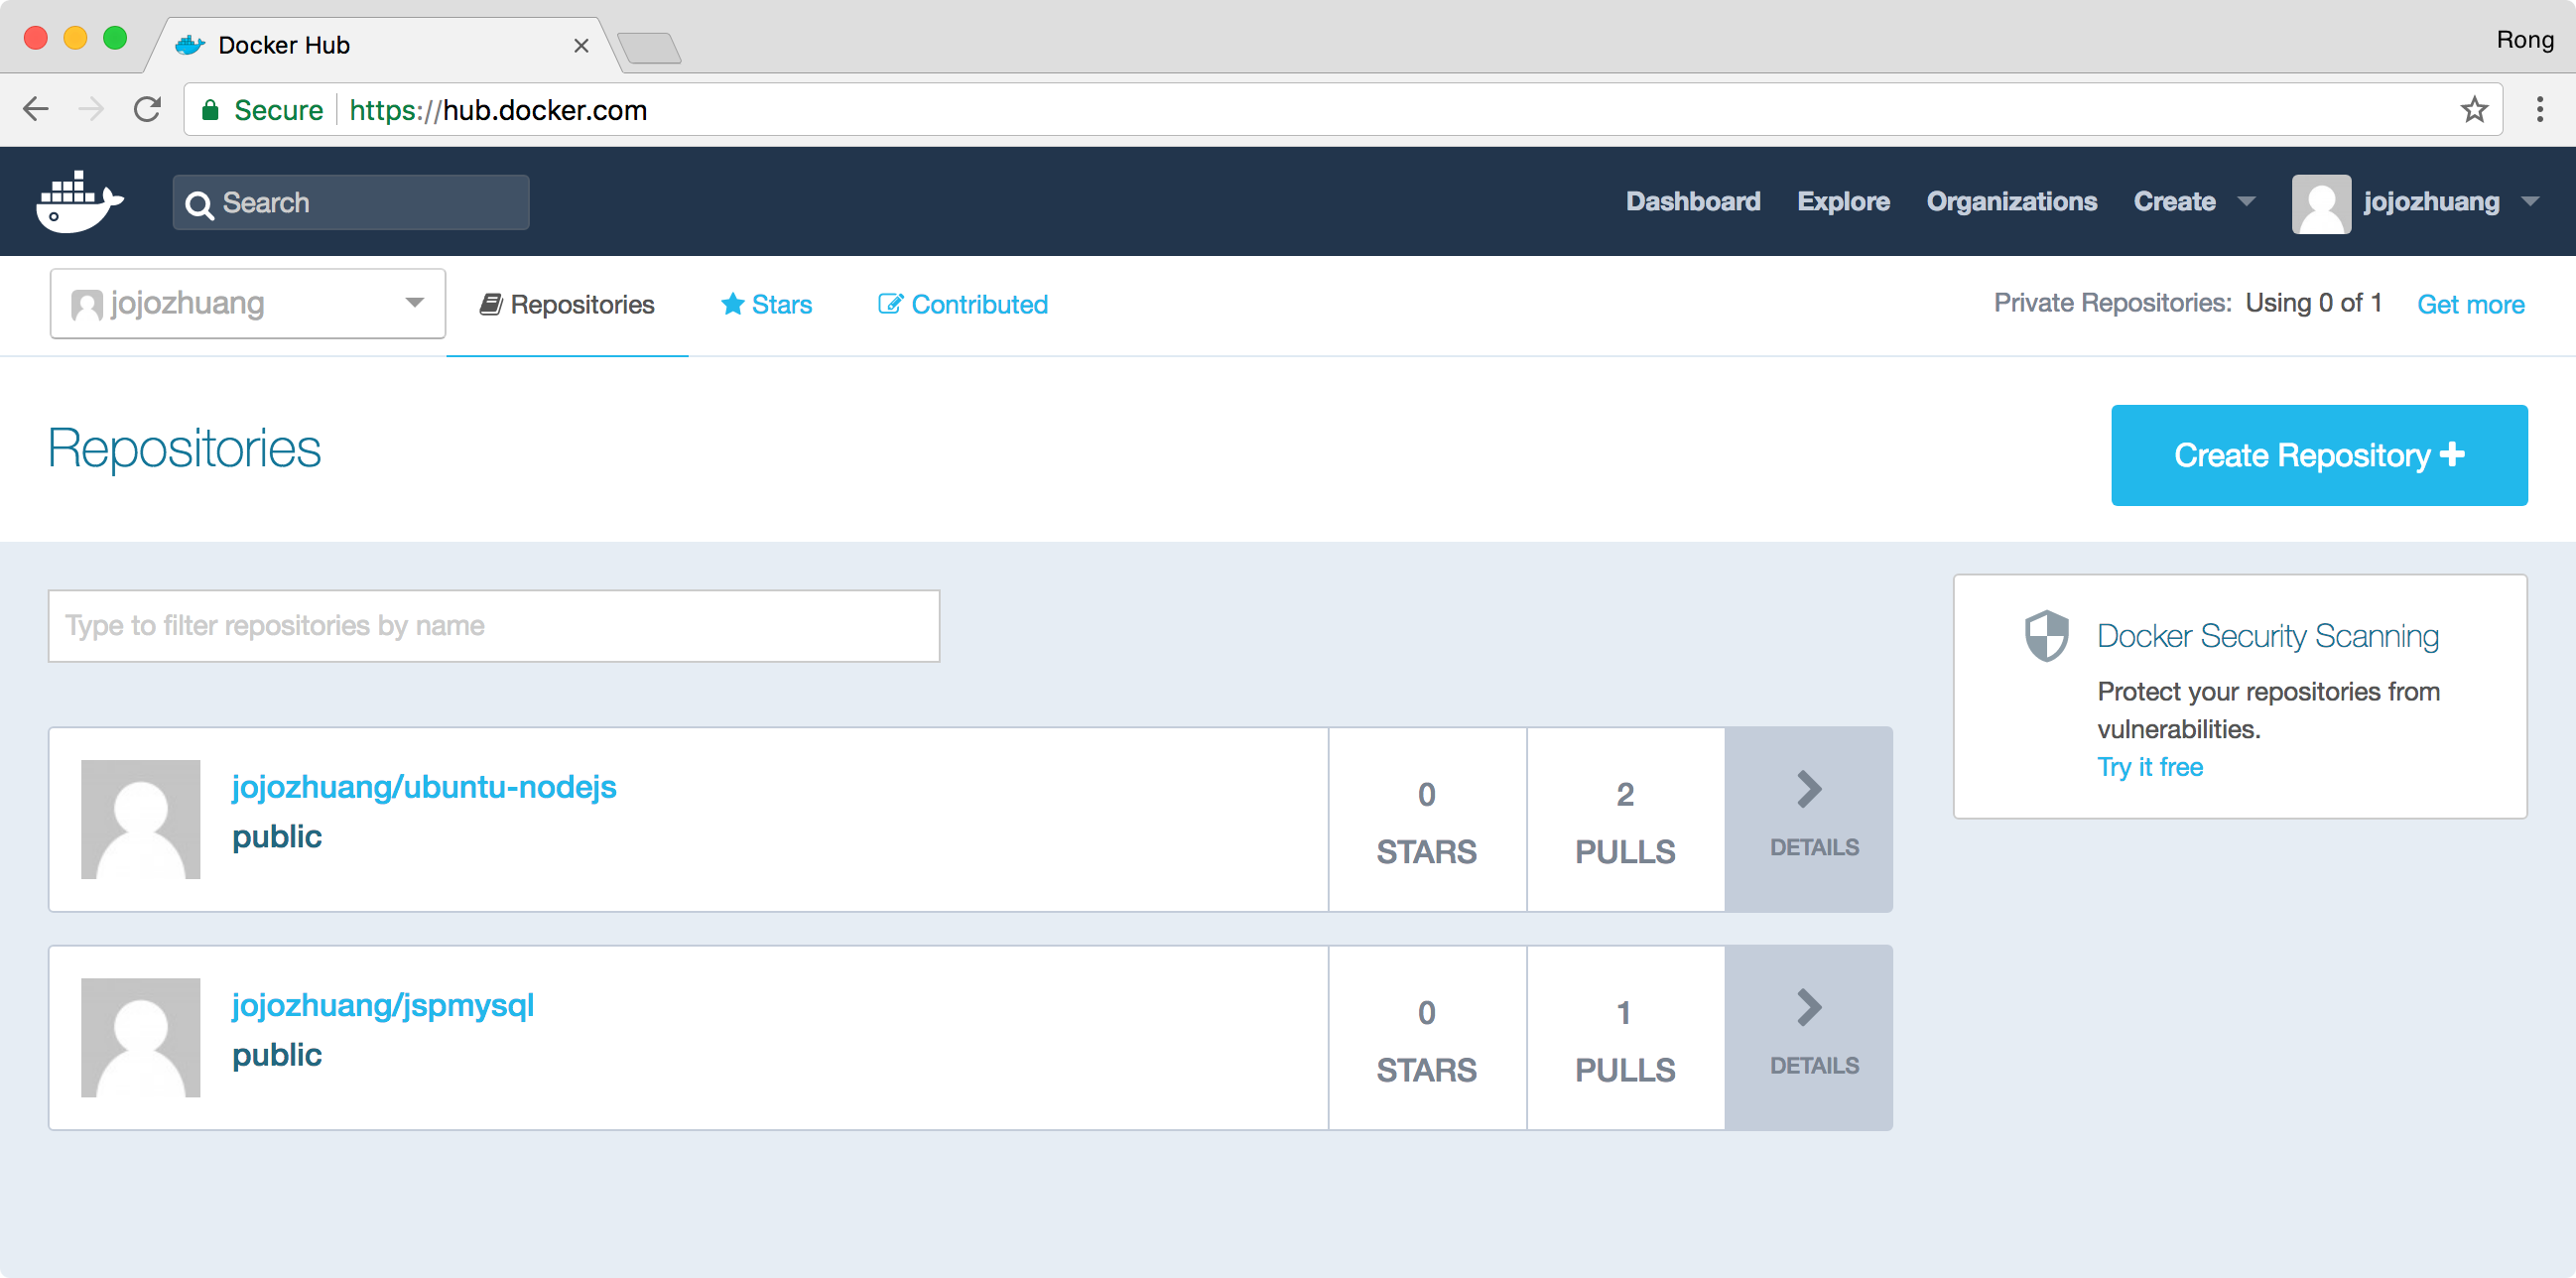
Now, you can use the following command to install this image.
$ docker pull jojozhuang/jspmysql