9013. Online Judge - Export Datacsv-express
Introduce how to export data from MongoDB in Angular application.
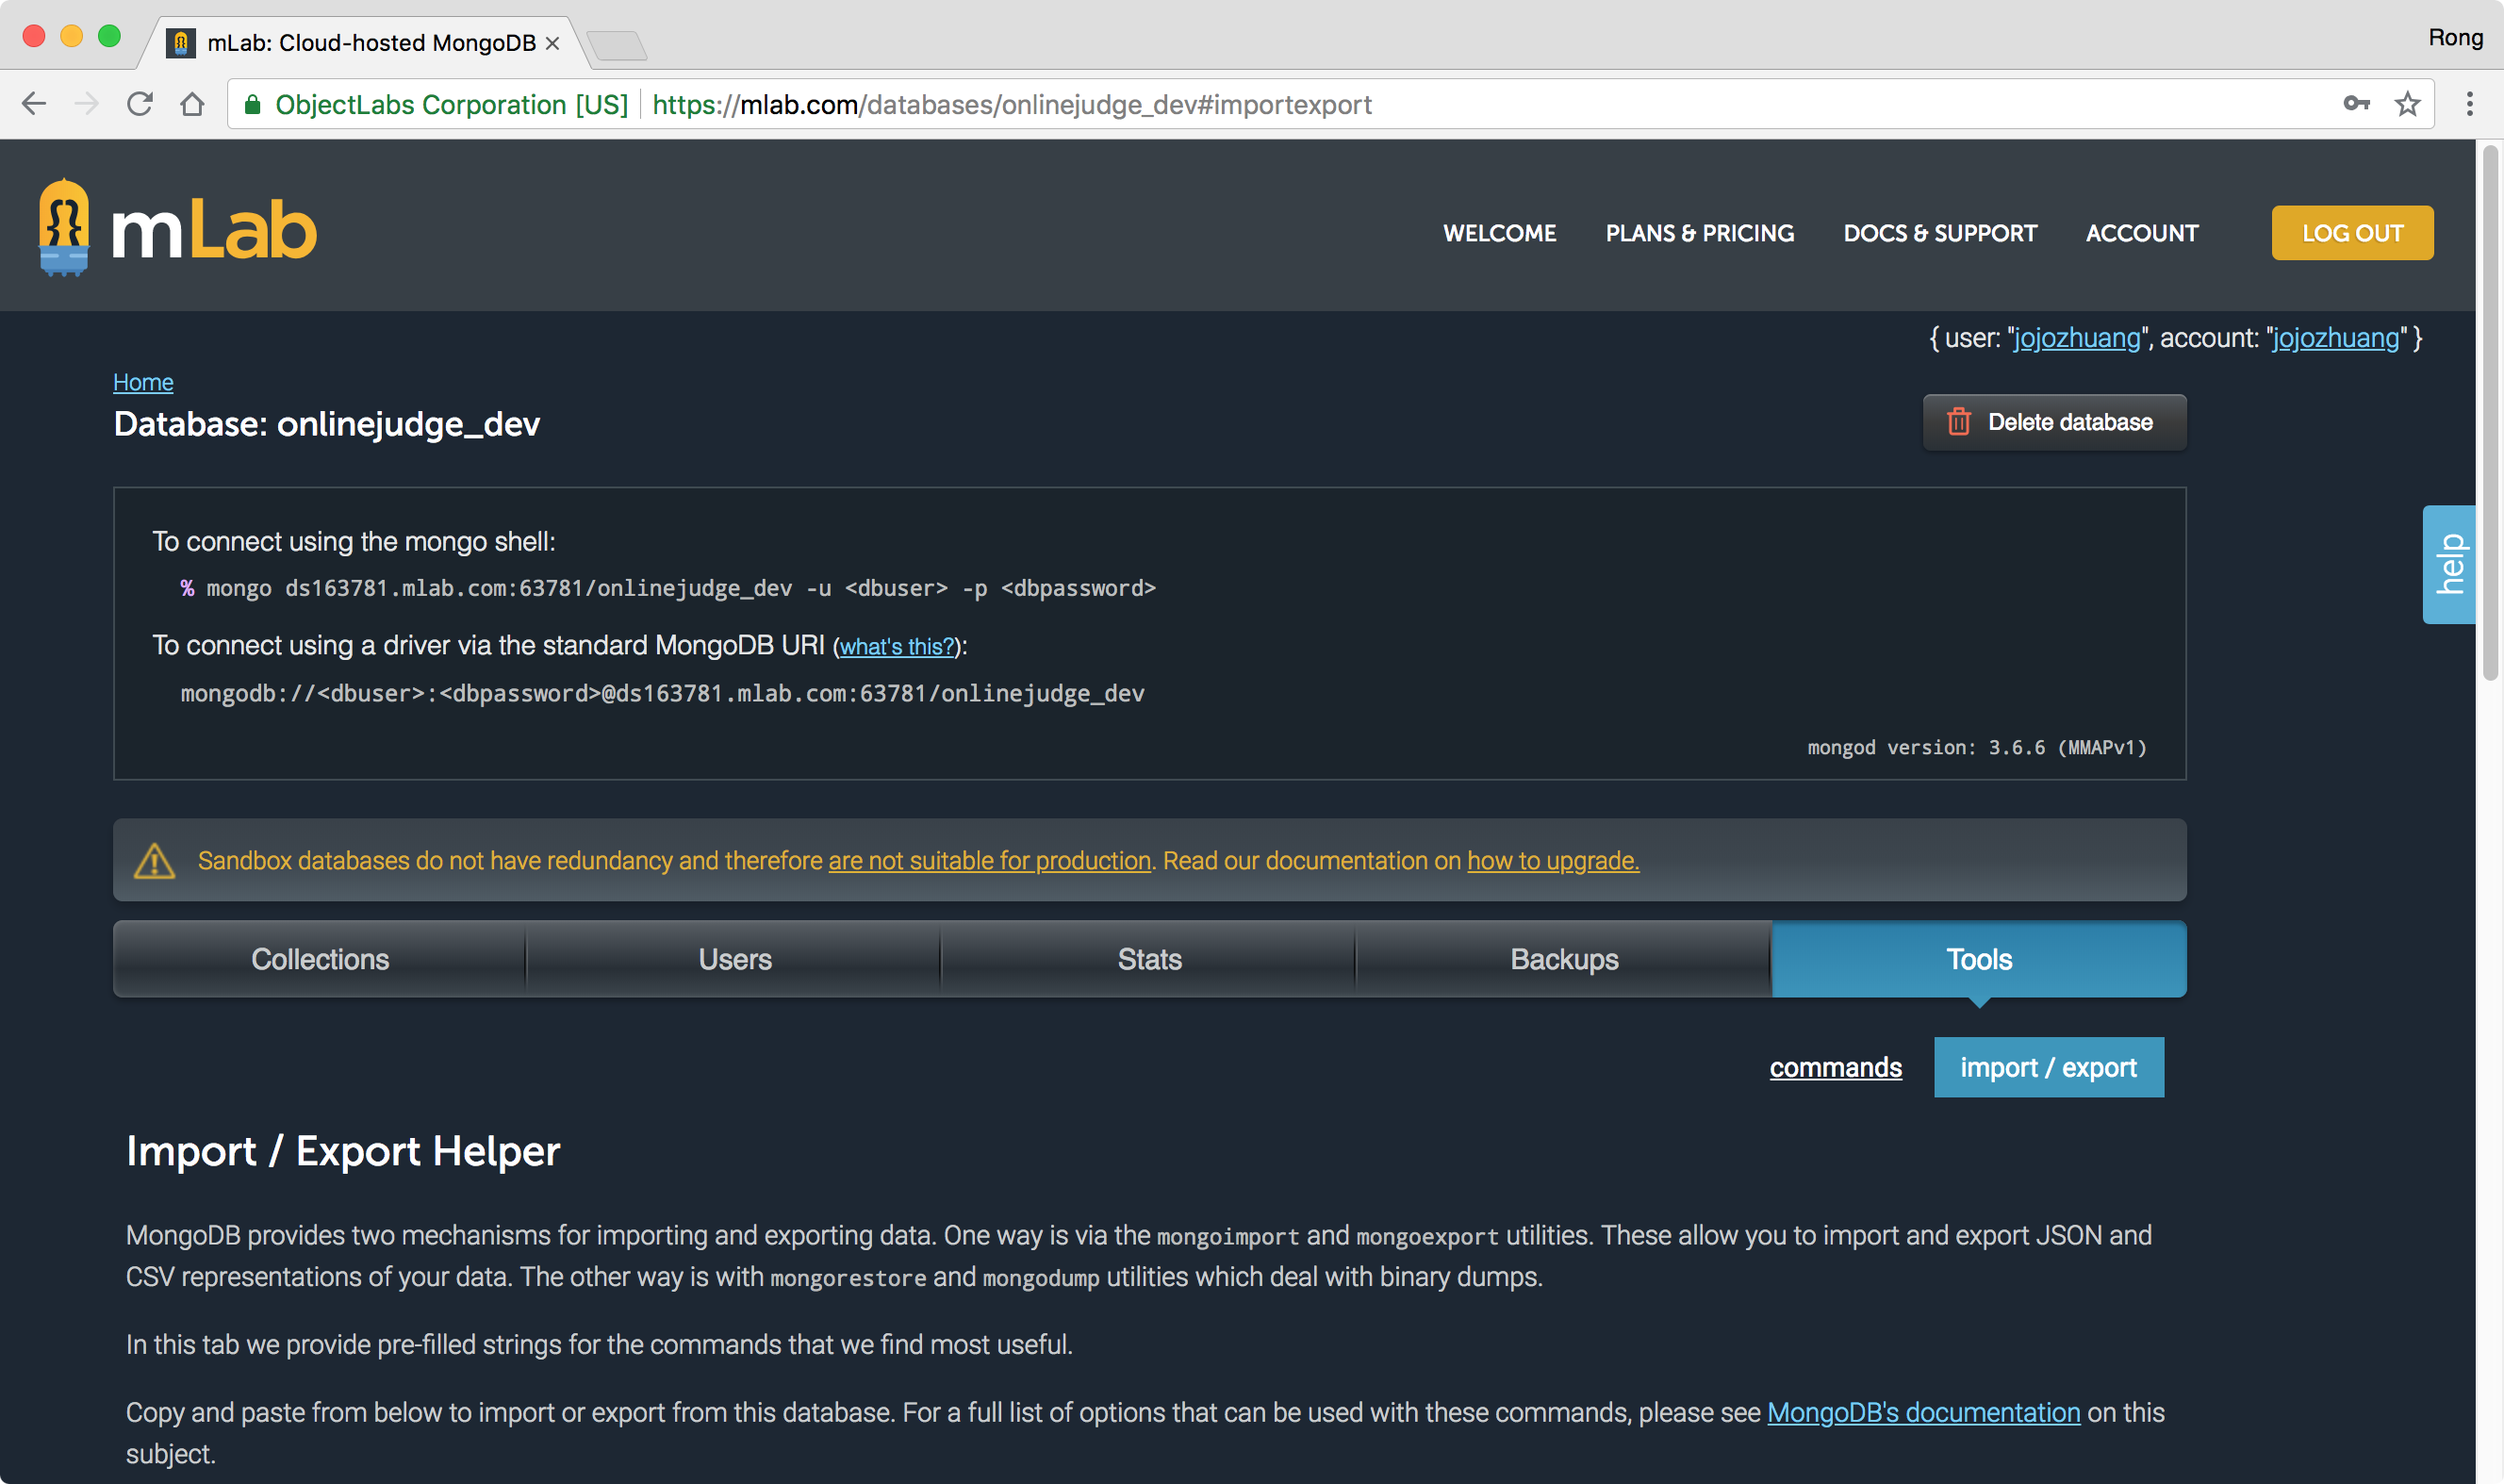
1. Data Import and Output on mLab
mLab provides some useful tools/commands to import and export data from MongoDB. Login to http://mlab.com/, choose one database -> Tools.
 MongoDB provides two mechanisms for importing and exporting data. One way is via the
 mongoimport and mongoexport utilities. These allow you to import and export JSON and CSV representations of your data. The other way is with mongorestore and mongodump utilities which deal with binary dumps.
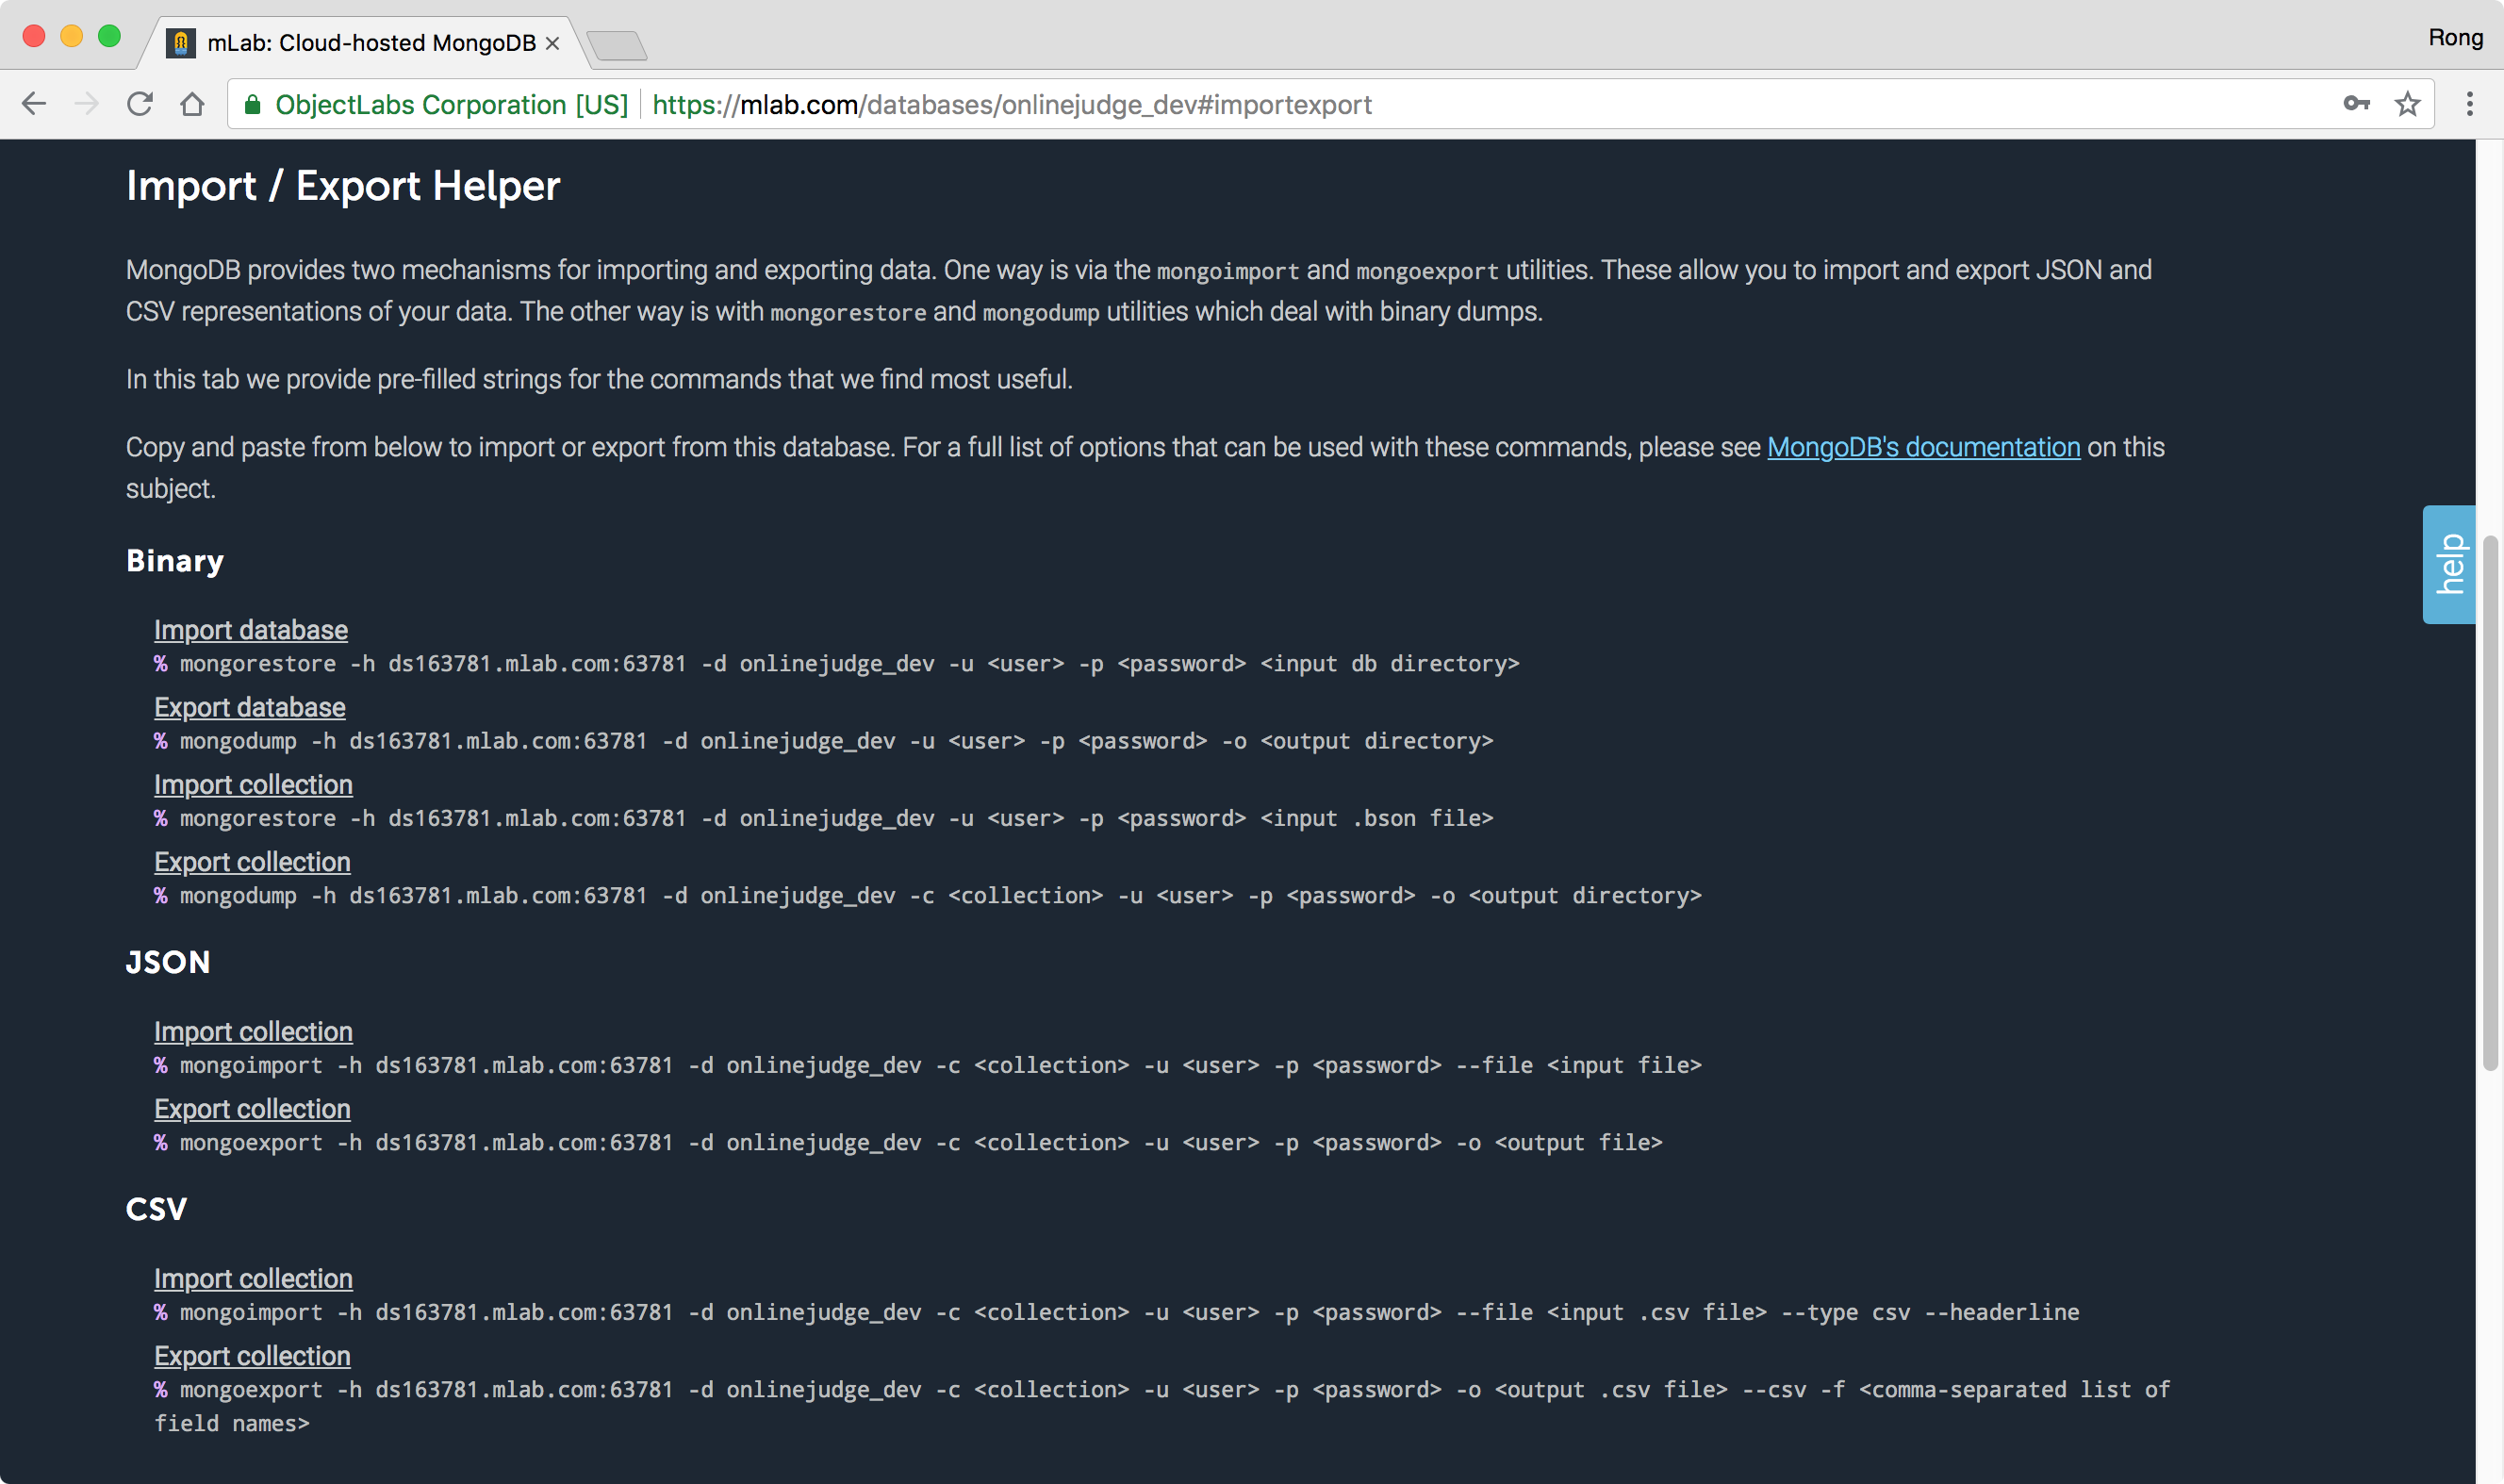
For example, we can use the following command to export data from MongoDB to csv format file.
mongoexport -h ds163781.mlab.com:63781 -d onlinejudge_dev -c <collection> -u <user> -p <password> -o <output .csv file> --csv -f <comma-separated list of field names>
2. Export Data with Mongoose
2.1 Installing Package
Install ‘csv-express’. It’s a CSV response module for Express.
npm install csv-express --save
2.2 Data from MongoDB at Server Side
Get data from database and add them to Http response by calling ‘response.csv()’. In file ‘./server/controllers/database.js’, we define a method ‘collection_export’ to export questions, user and submission.
exports.collection_export = function(req, res, next) {
  SleepUtil.sleep();
  const name = req.params.name;
  var filename = name + ".csv";

  if (name == "questions") {
    Question.find()
      .lean()
      .exec({}, function(err, questions) {
        if (err) return next(err);

        res.statusCode = 200;
        res.setHeader("Content-Type", "text/csv");
        res.setHeader(
          "Content-Disposition",
          "attachment; filename=" + filename
        );
        res.csv(questions, true);
      });
  } else if (name == "users") {
    User.find()
      .lean()
      .exec({}, function(err, users) {
        if (err) return next(err);

        res.statusCode = 200;
        res.setHeader("Content-Type", "text/csv");
        res.setHeader(
          "Content-Disposition",
          "attachment; filename=" + filename
        );
        res.csv(users, true);
      });
  } else if (name == "submissions") {
    Submission.find()
      .lean()
      .exec({}, function(err, submissions) {
        if (err) return next(err);

        res.statusCode = 200;
        res.setHeader("Content-Type", "text/csv");
        res.setHeader(
          "Content-Disposition",
          "attachment; filename=" + filename
        );
        res.csv(submissions, true);
      });
  } else {
    var error = new ValidationError(
      "body",
      "collection",
      collectionname,
      "No data is found!"
    );
    res.status(422).json({ errors: [error] });
  }
};
2.3 Accepting Data at Client Side
Send request with ‘blob’ response type. Then, receive the data and create dummy link button. In file ‘./src/app/services/database.service.ts’, ‘exportData’ sends the http request to the server.
// Export data
exportData(name: string) {
  return this.http
    .get(this.apiUrl + "/export/" + name, {
      responseType: "blob",
      observe: "response" // to display the full response
    })
    .map(res => {
      return {
        //response: res,
        filename: name + ".csv", //res.headers.get("filename");
        data: res.body
      };
    });
}
Define another ‘createAndDownloadBlobFile()’ method to receive the data and create dummy link button.
createAndDownloadBlobFile(body, options, filename) {
  console.log("createAndDownloadBlobFile");
  var blob = new Blob([body], options);
  if (navigator.msSaveBlob) {
    // IE 10+
    navigator.msSaveBlob(blob, filename);
  } else {
    var link = document.createElement("a");
    // Browsers that support HTML5 download attribute
    if (link.download !== undefined) {
      var url = URL.createObjectURL(blob);
      link.setAttribute("href", url);
      link.setAttribute("download", filename);
      link.style.visibility = "hidden";
      document.body.appendChild(link);
      link.click();
      document.body.removeChild(link);
    }
  }
}
Then, in ‘./src/app/components/admin/database.component.ts’, define a method to call the service to export data.
exportCSV() {
  this.asyncBegin();
  this.databaseSerivce.exportData(this.collection).subscribe(
    res => {
      let options = { type: "text/csv;charset=utf-8;" };
      this.databaseSerivce.createAndDownloadBlobFile(
        res.data,
        options,
        res.filename
      );
      this.asyncEnd();
    },
    error => {
      this.handleError(error);
    }
  );
}
In the UI, add ‘exportCSV()’ to the click event of button.
<button type="button" class="btn btn-info" (click)="exportCSV()"><i class="fa fa-file-excel-o"></i> Export to CSV</button>
3. Testing
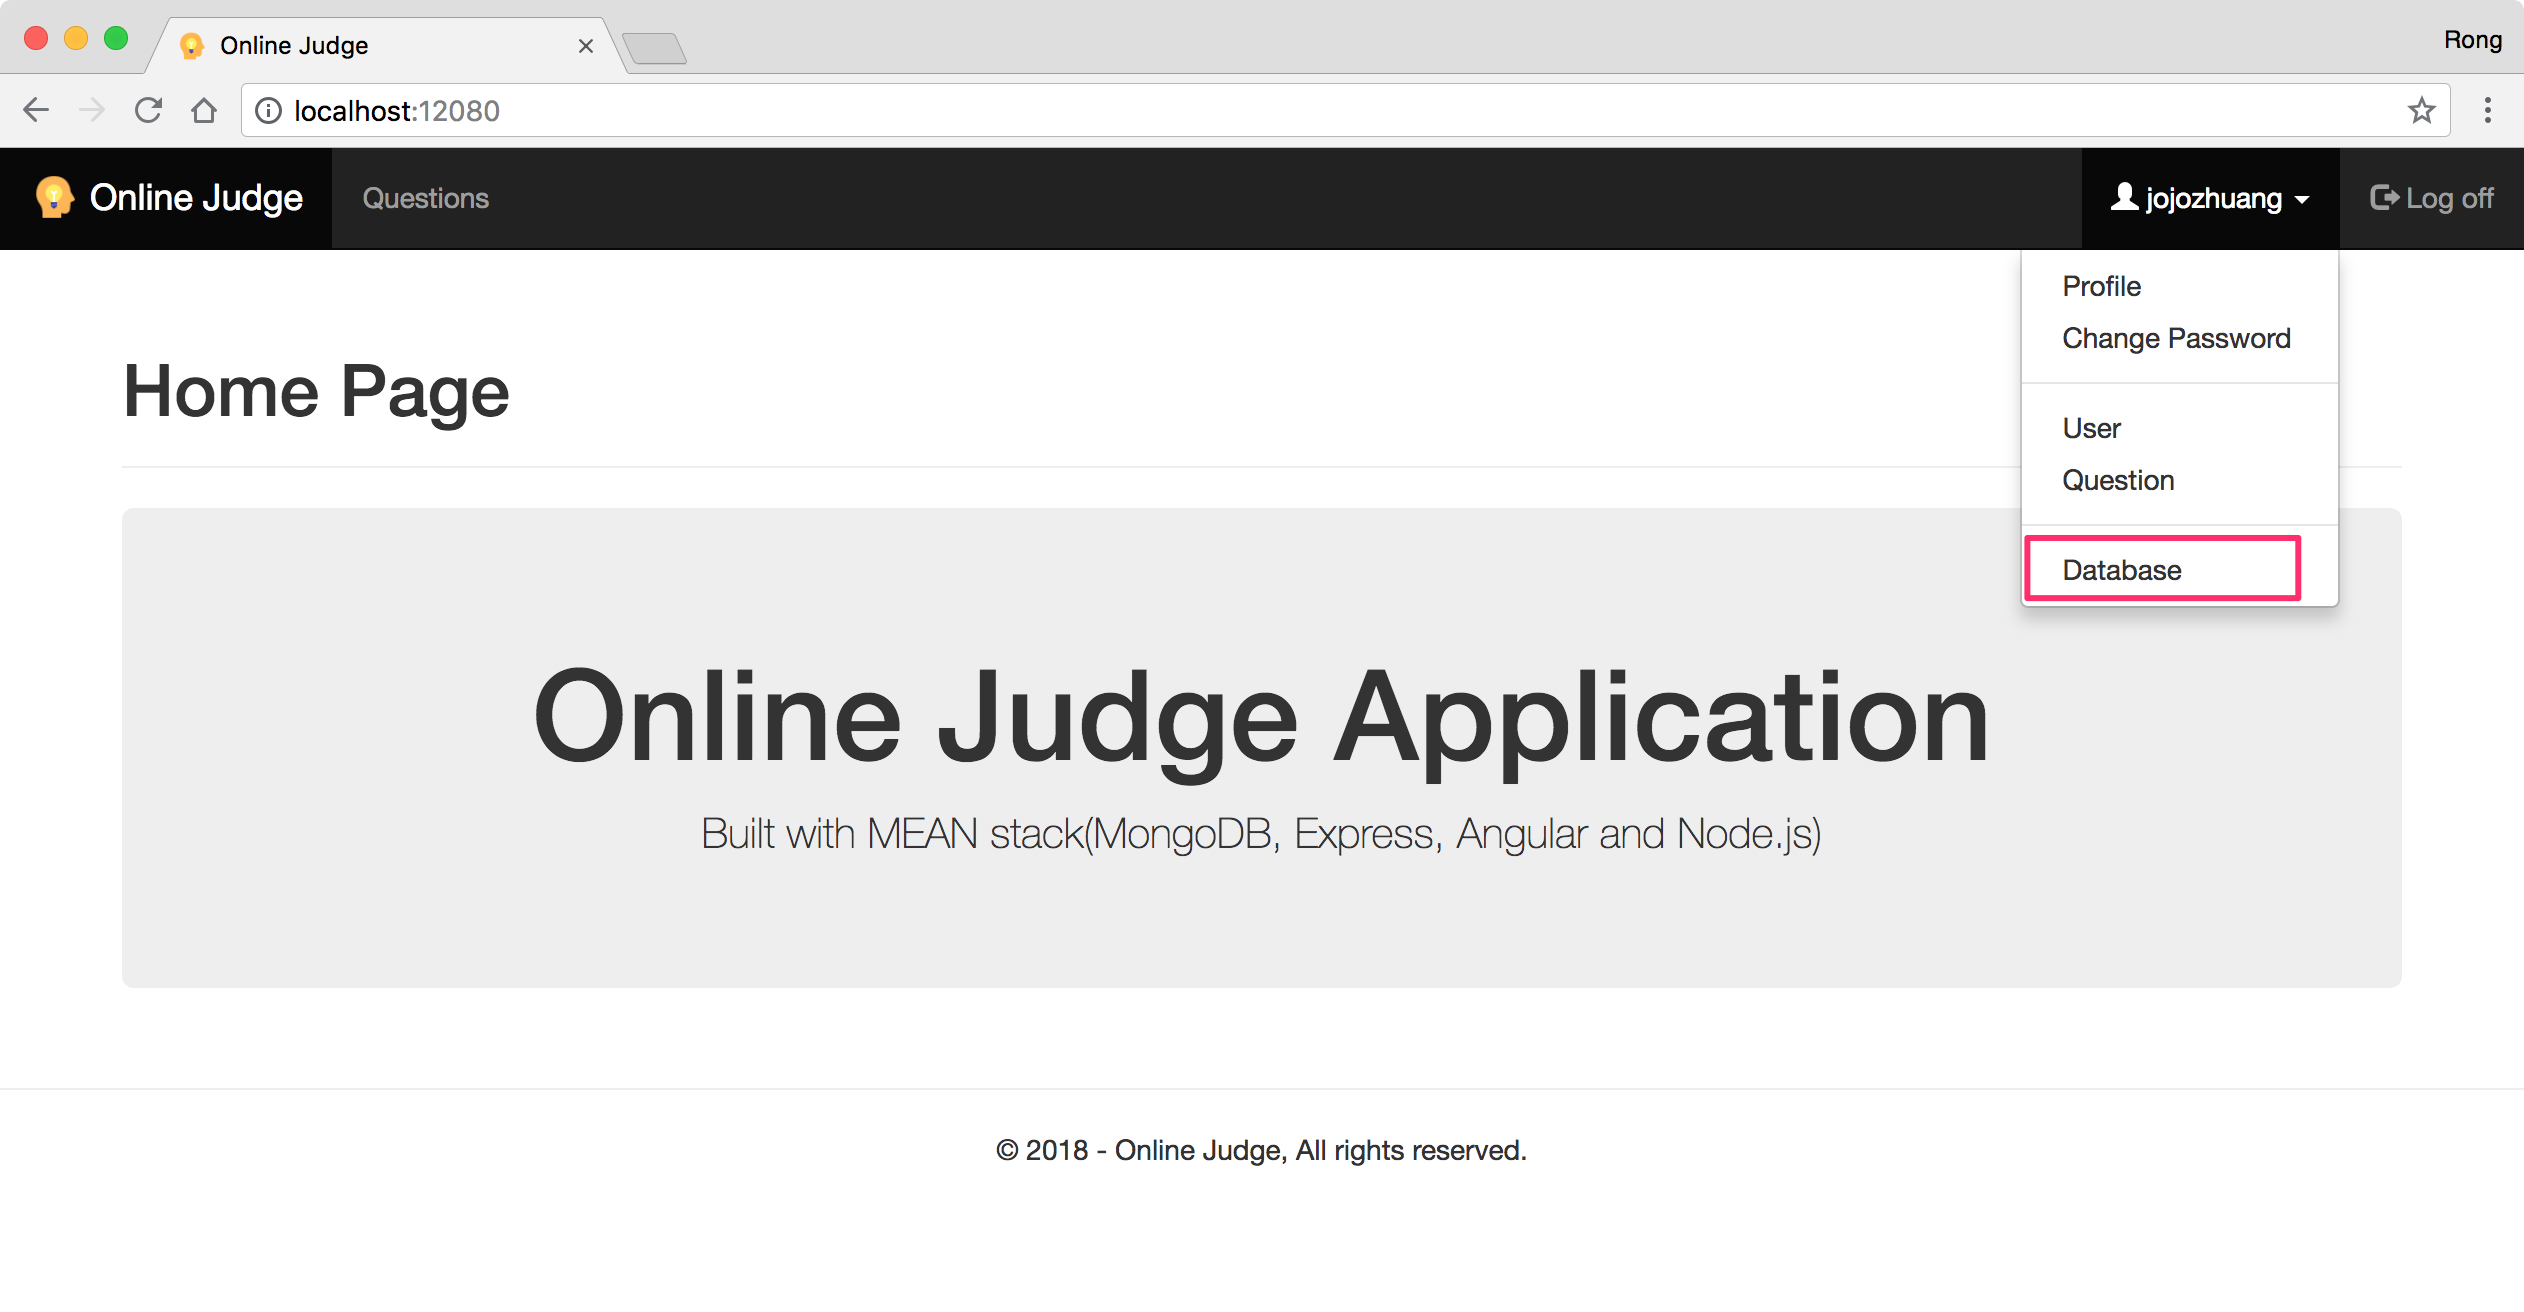
Start the app, login as admin, go to Database.
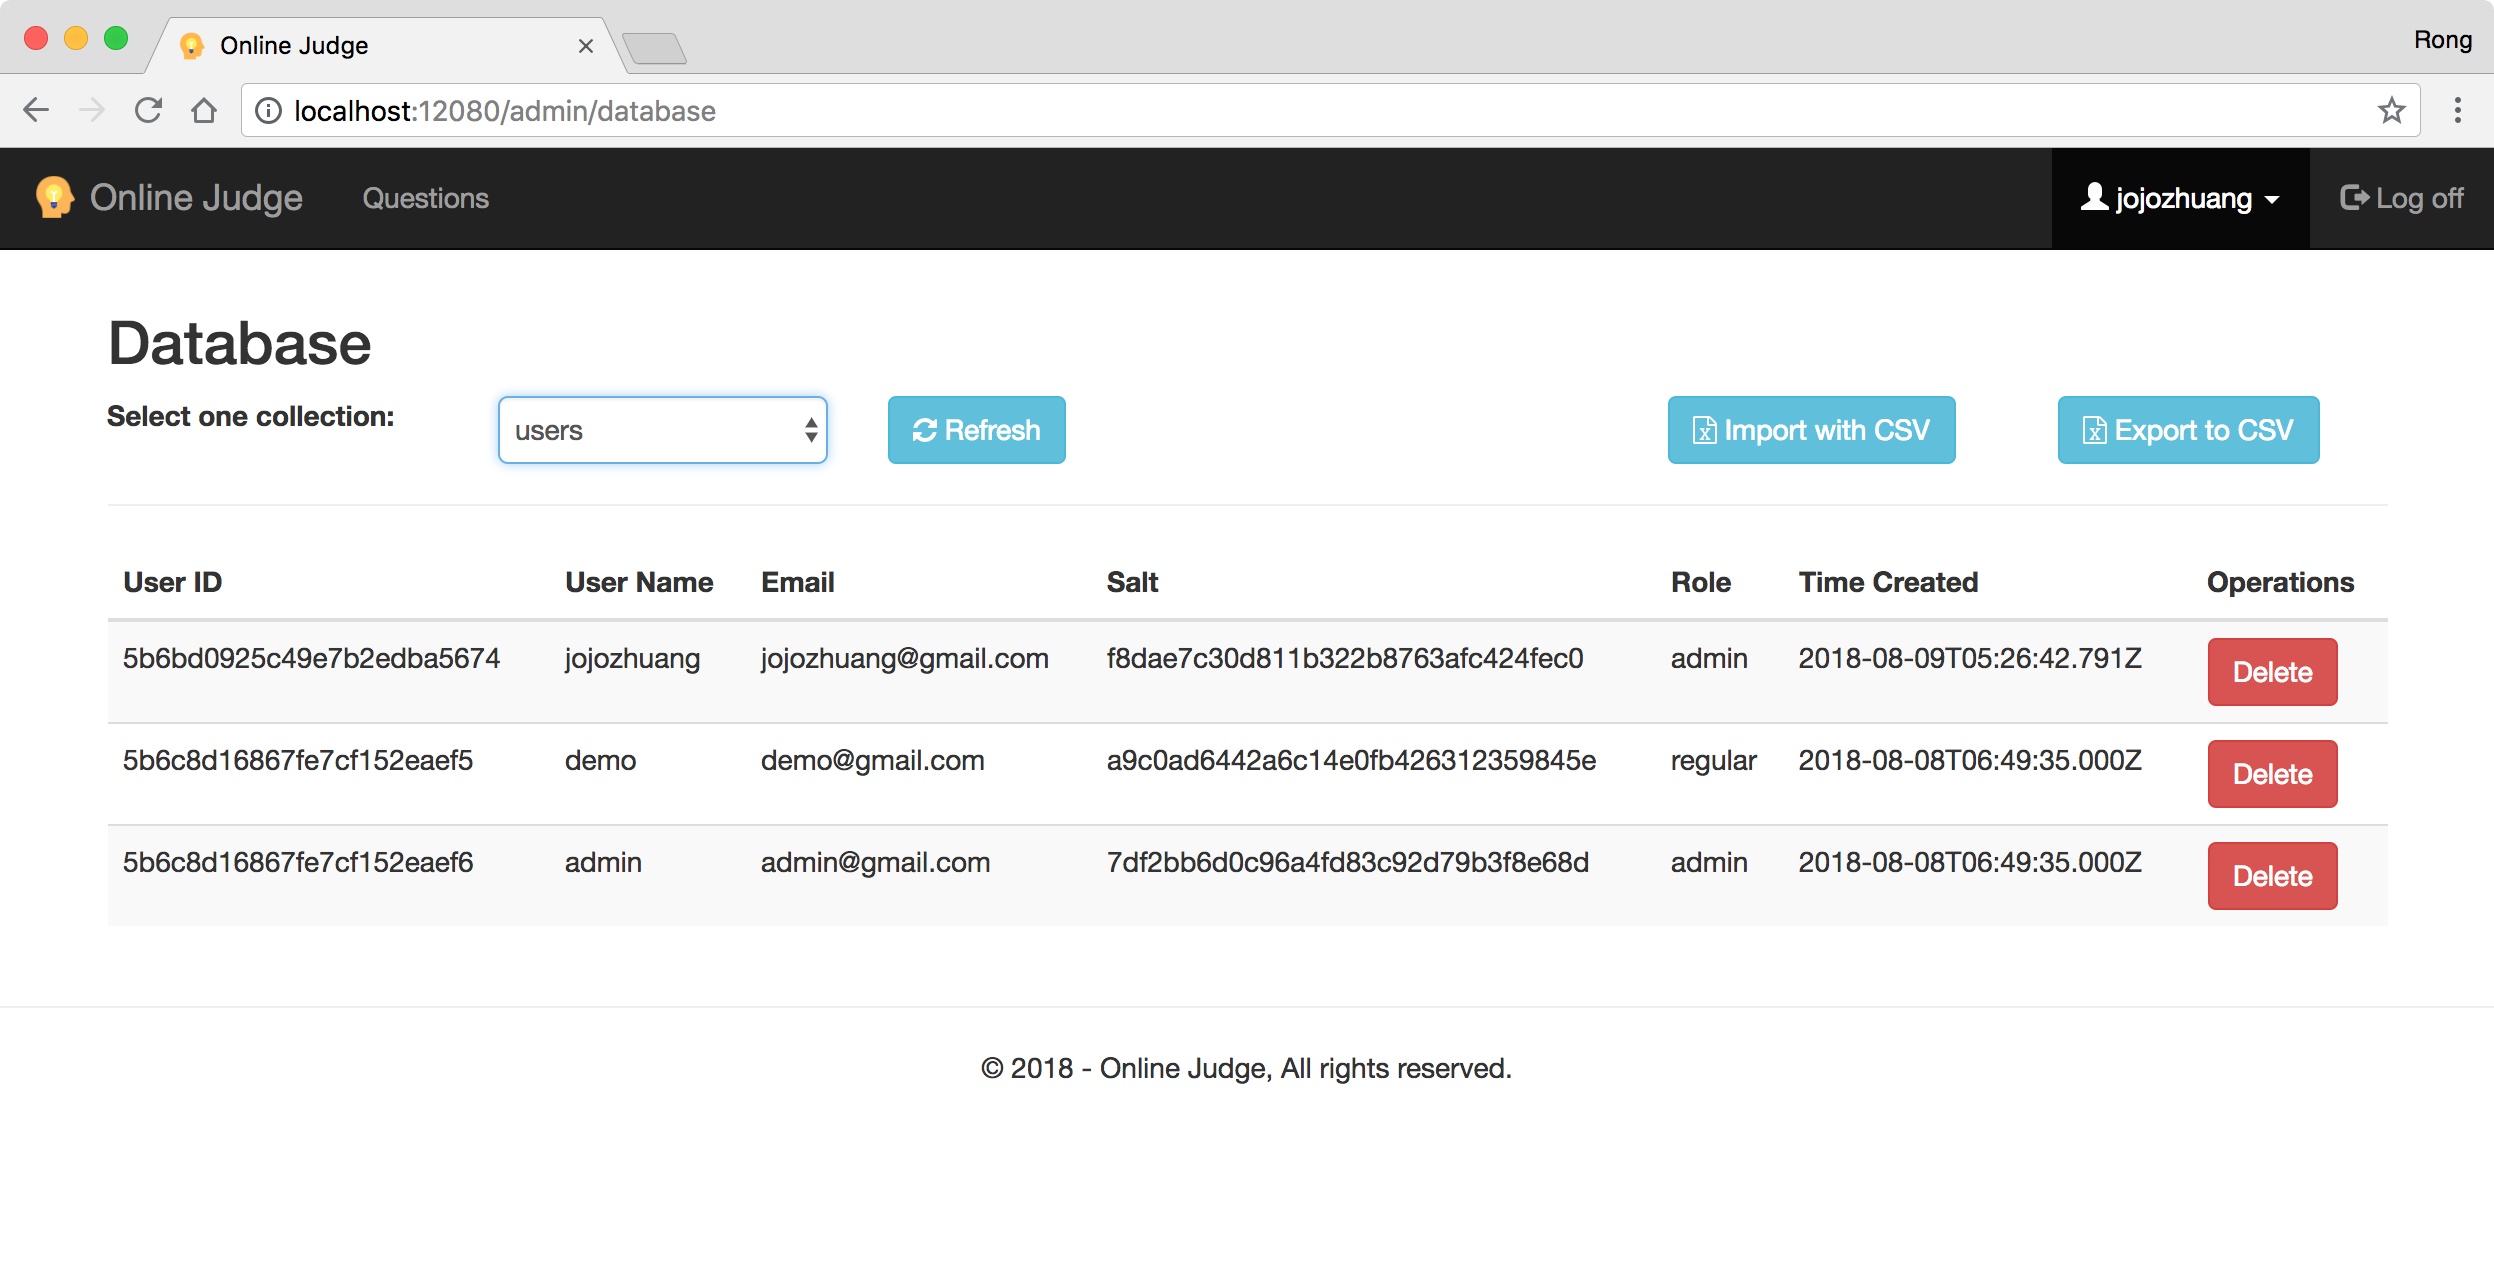
 Choose any collection, eg. Users. All the data in this collection are displayed.
 Click on the ‘Export to CSV’ button. Later, you will see the popup with the csv file.
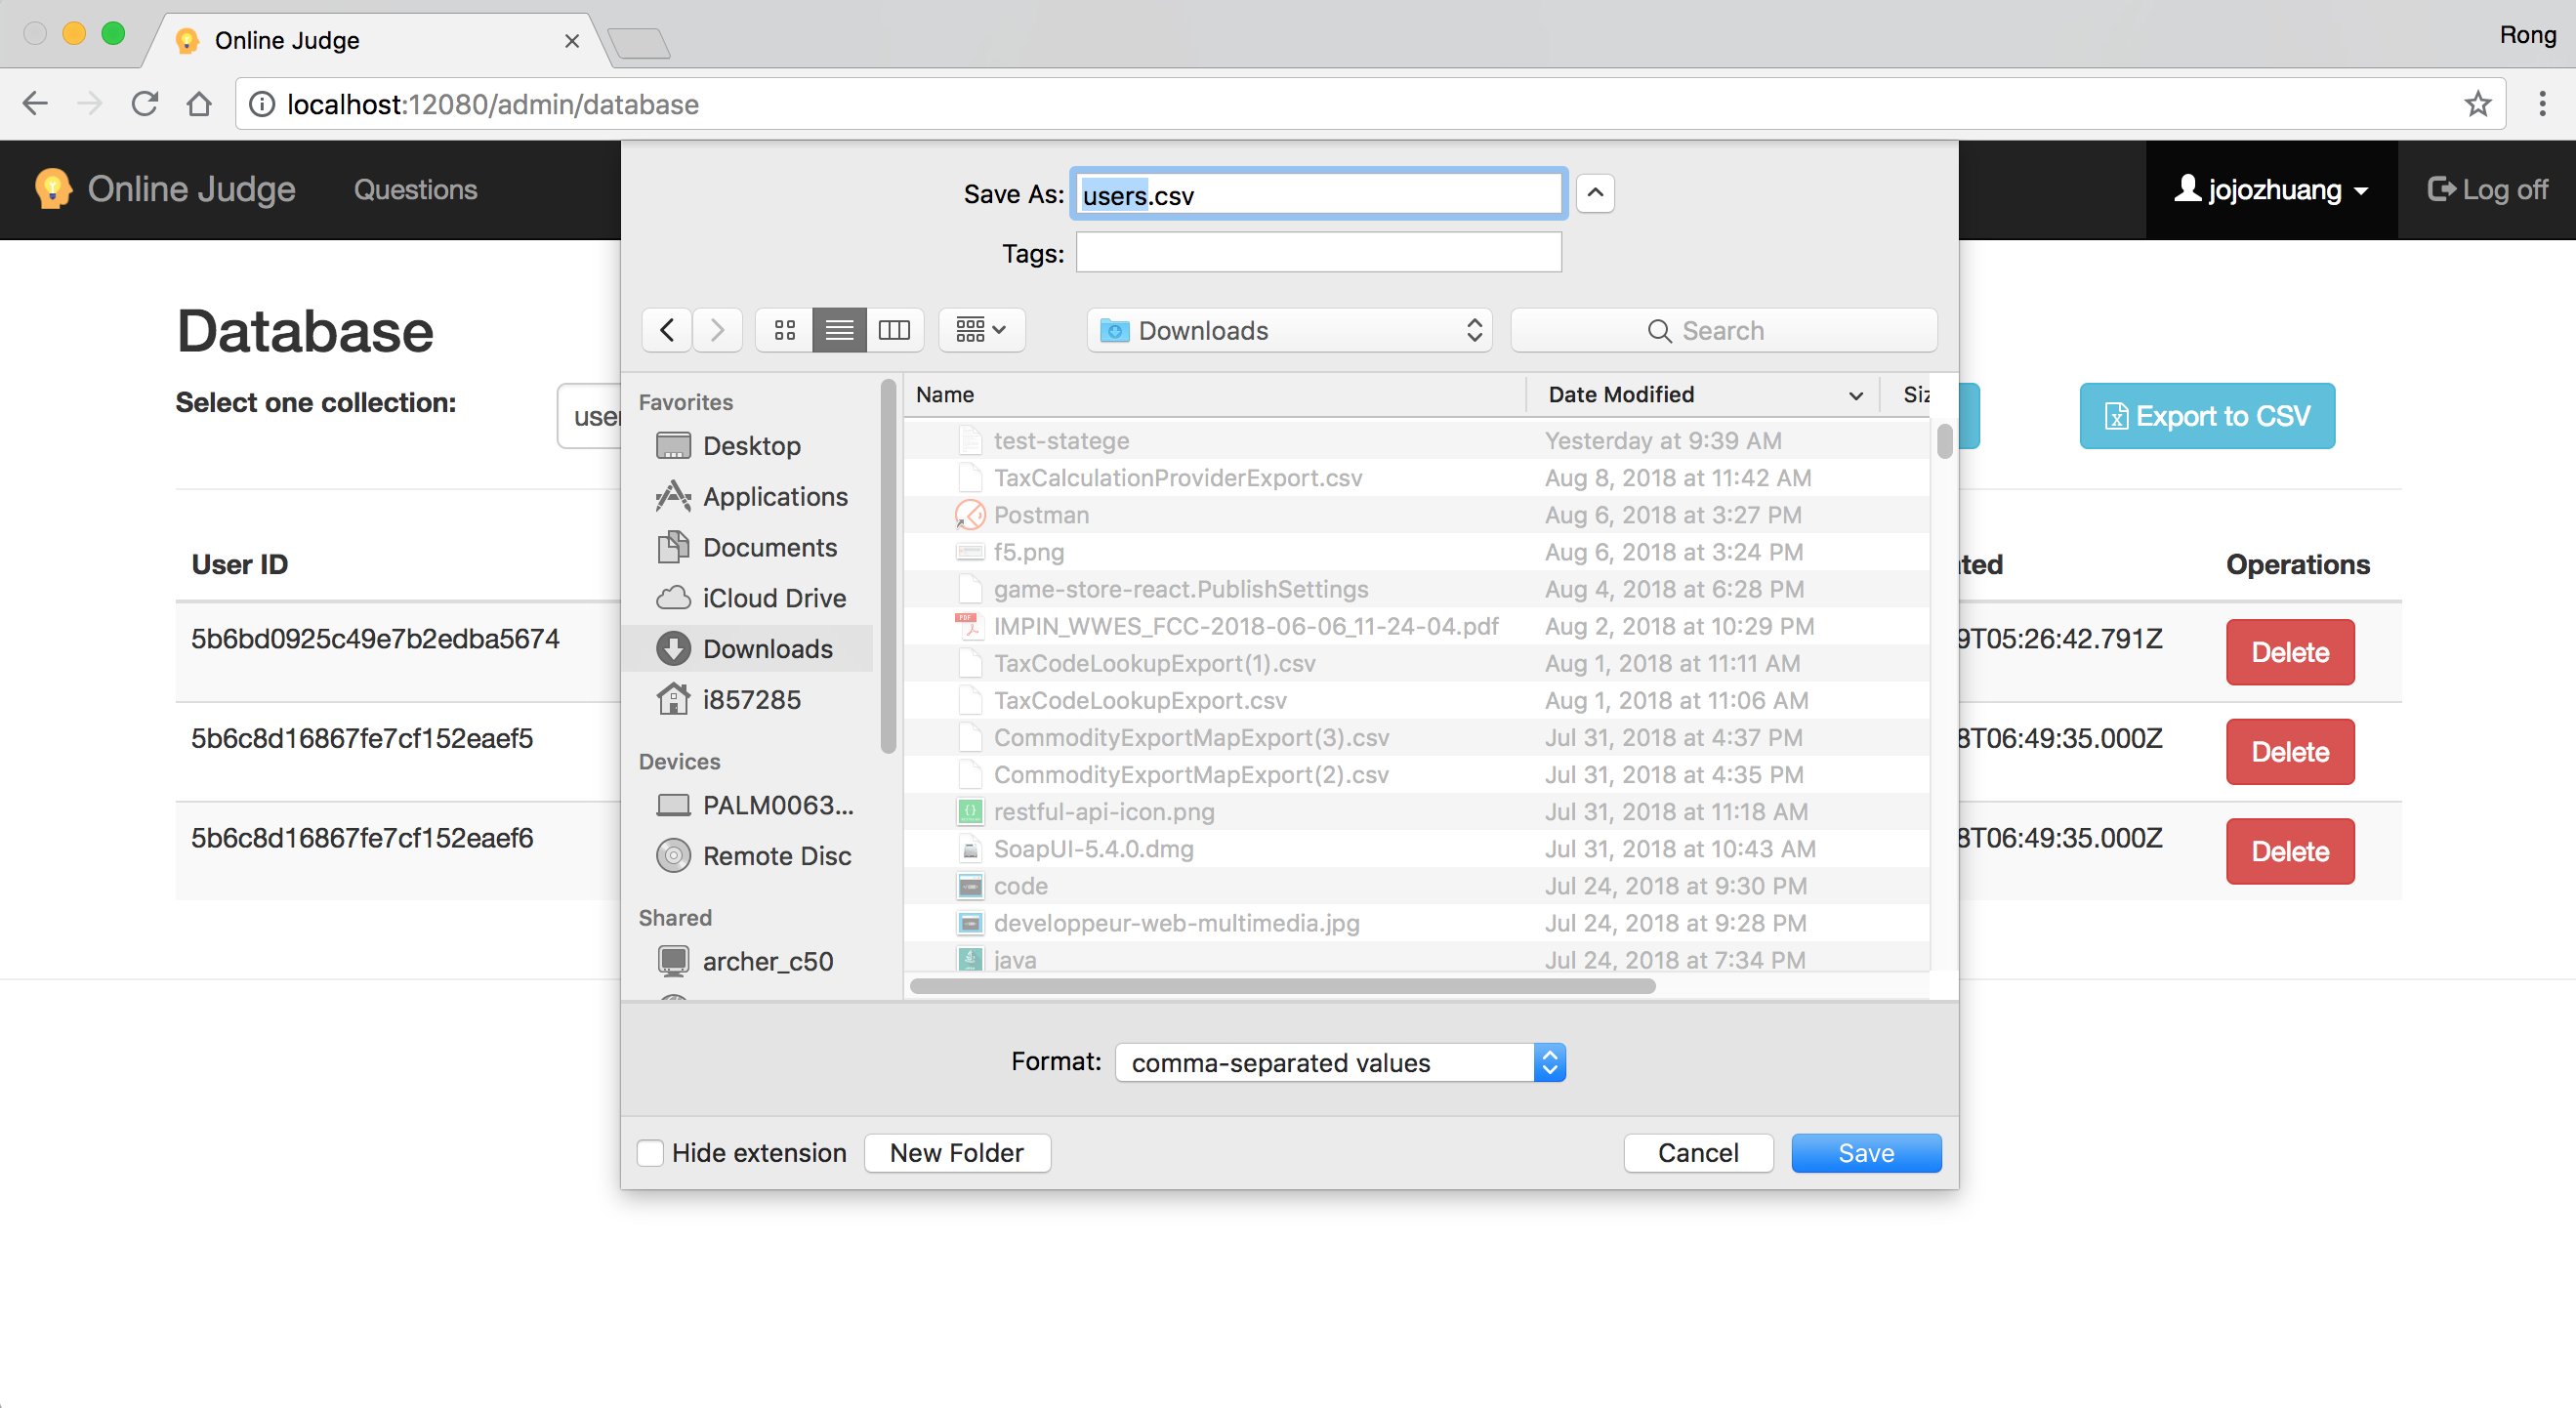 Save the file to your local folder, open it, you will see the data entries.
_id,username,email,hash,salt,role,timecreated
"5b6bd0925c49e7b2edba5674","jojozhuang","csgeek@mail.com","9f51bcd7a80a8da6fa02dcc9e136cd2ea5a08a24c988e4d822ebeb0b3eb430fd9a62af4fc6e1c456cb12cbc5b8792f737166ca39b3bb0fe4d34e1cd1ae134fd3","f8dae7c30d811b322b8763afc424fec0","admin","Wed Aug 08 2018 22:26:42 GMT-0700 (PDT)"
"5b6c8d16867fe7cf152eaef5","demo","demo@gmail.com","db33f89976f40c25026eb60ca8975c5391015b8f3ea42e18f38a10b65833f977bbd1093b034b3435ef21ca5edb9f541edd991254c0e370b13cf6cfbe2d865457","a9c0ad6442a6c14e0fb426312359845e","regular","Tue Aug 07 2018 23:49:35 GMT-0700 (PDT)"
"5b6c8d16867fe7cf152eaef6","admin","admin@gmail.com","95af1d1b4dae7e42b23e15fe3fad7d9360d828eba3bce126bf40f9595ad940b28690907a2b4a976898561cb725b3fc562d793596a040826f41cfaccd40825812","7df2bb6d0c96a4fd83c92d79b3f8e68d","admin","Tue Aug 07 2018 23:49:35 GMT-0700 (PDT)"