8485. Continuously Deploy Full Stack React App to Heroku and Netlify with Travis-CIHeroku, Travis CI, and Netlify
Introduce how to deploy Code Editor app to Heroku and Netlify with Travis-CI.
1. Full Stack Project
1.1 Source Files
Download the source files for this full stack app. Create your own repository on GitHub and submit this project.
git clone https://github.com/jojozhuang/code-editor-react.git
1.2 Deployment Target
Use Travis-CI to continuously deploy the full stack app from GitHub to cloud service Heroku and Netlify. There are two parts of this app.
- ’./src/server’, backend, built with Node.js + Express
- ’./src/client’, frontend, built with React
Our target is to use the same GitHub repository to deploy both the client and server.
- Deploy backend RESTful API to Heroku.
- Deploy frontend React App to Netlify.
2. Server Deployment
2.1 Start Command
In ‘package.json’, notice there is a command named ‘start’, which is used to launch the express server.
...
  "scripts": {
    "start": "node src/server/index.js",
    ...
  }
2.2 Travis Config File
In the root folder of the project, create a file named ‘.travis.yml’. Notice the app name is ‘code-editor-api’. Submit this file to GitHub. It will be used for deploying the RESTful API(server).
language: node_js
node_js:
  - "8"
sudo: false

branches:
  only:
  - master

cache:
  directories:
    - node_modules

install:
  - npm install

deploy:
  provider: heroku
  skip_cleanup: true
  keep-history: true
  api-key:
    secure: $HEROKU_API_KEY
  app: code-editor-api
2.3 Heroku
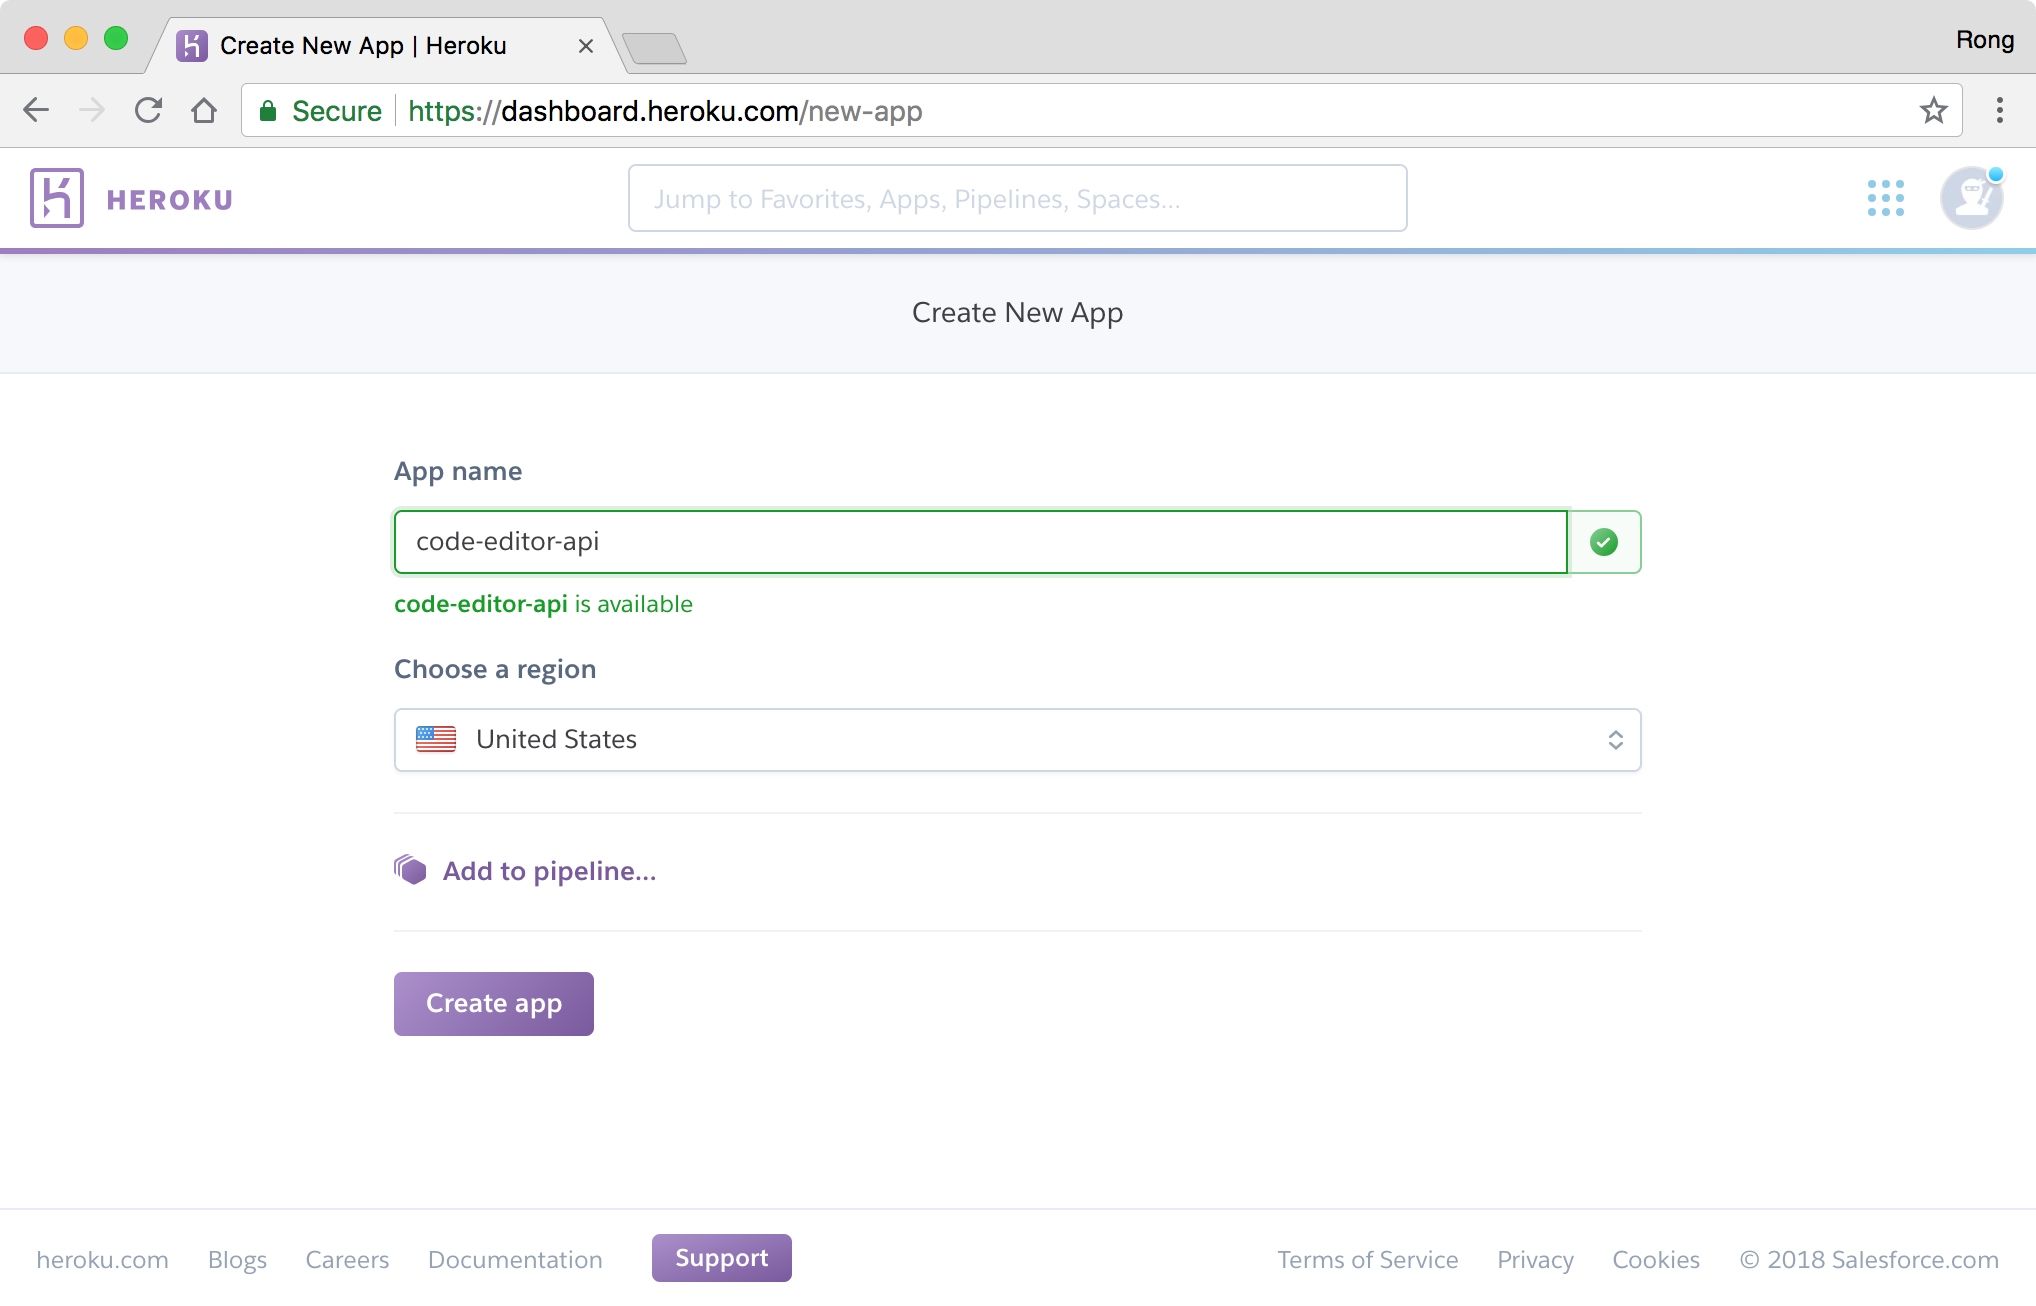
Login to Heroku https://www.heroku.com/, go to Dashboard -> New -> Create new app. Set app name ‘code-editor-api’, click ‘Create app’ button.
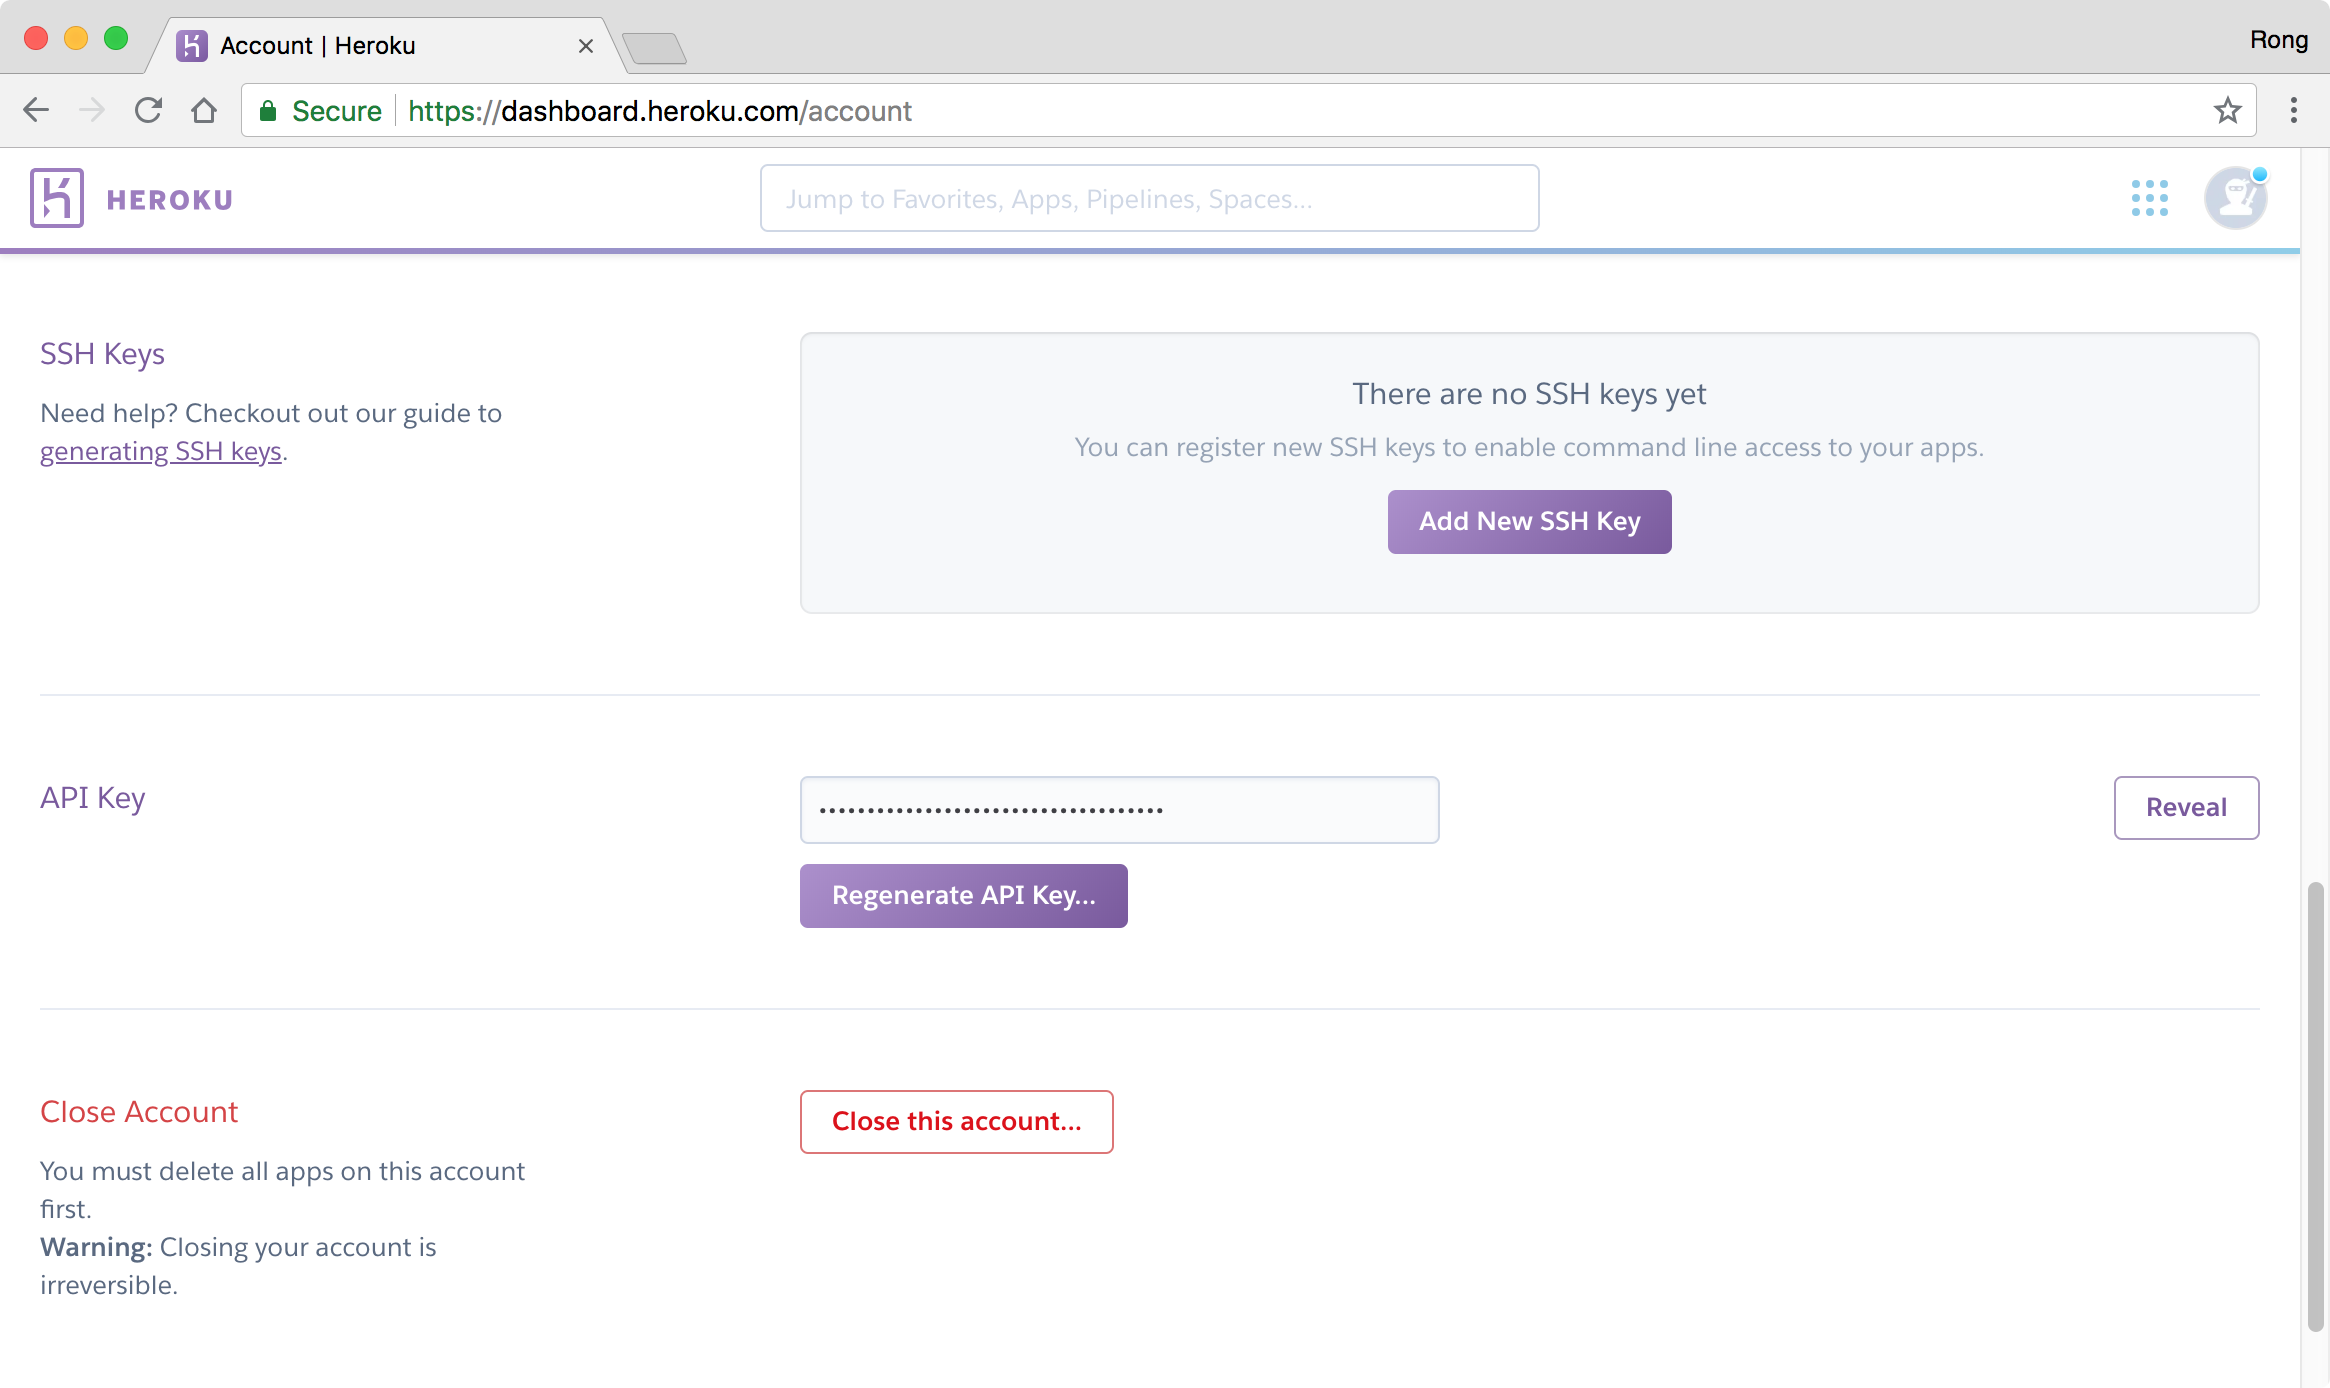
 In addition, go to ‘Account settings’, copy the ‘API Key’. We will use it to setup continuous integration on Travis.
2.4 Travis
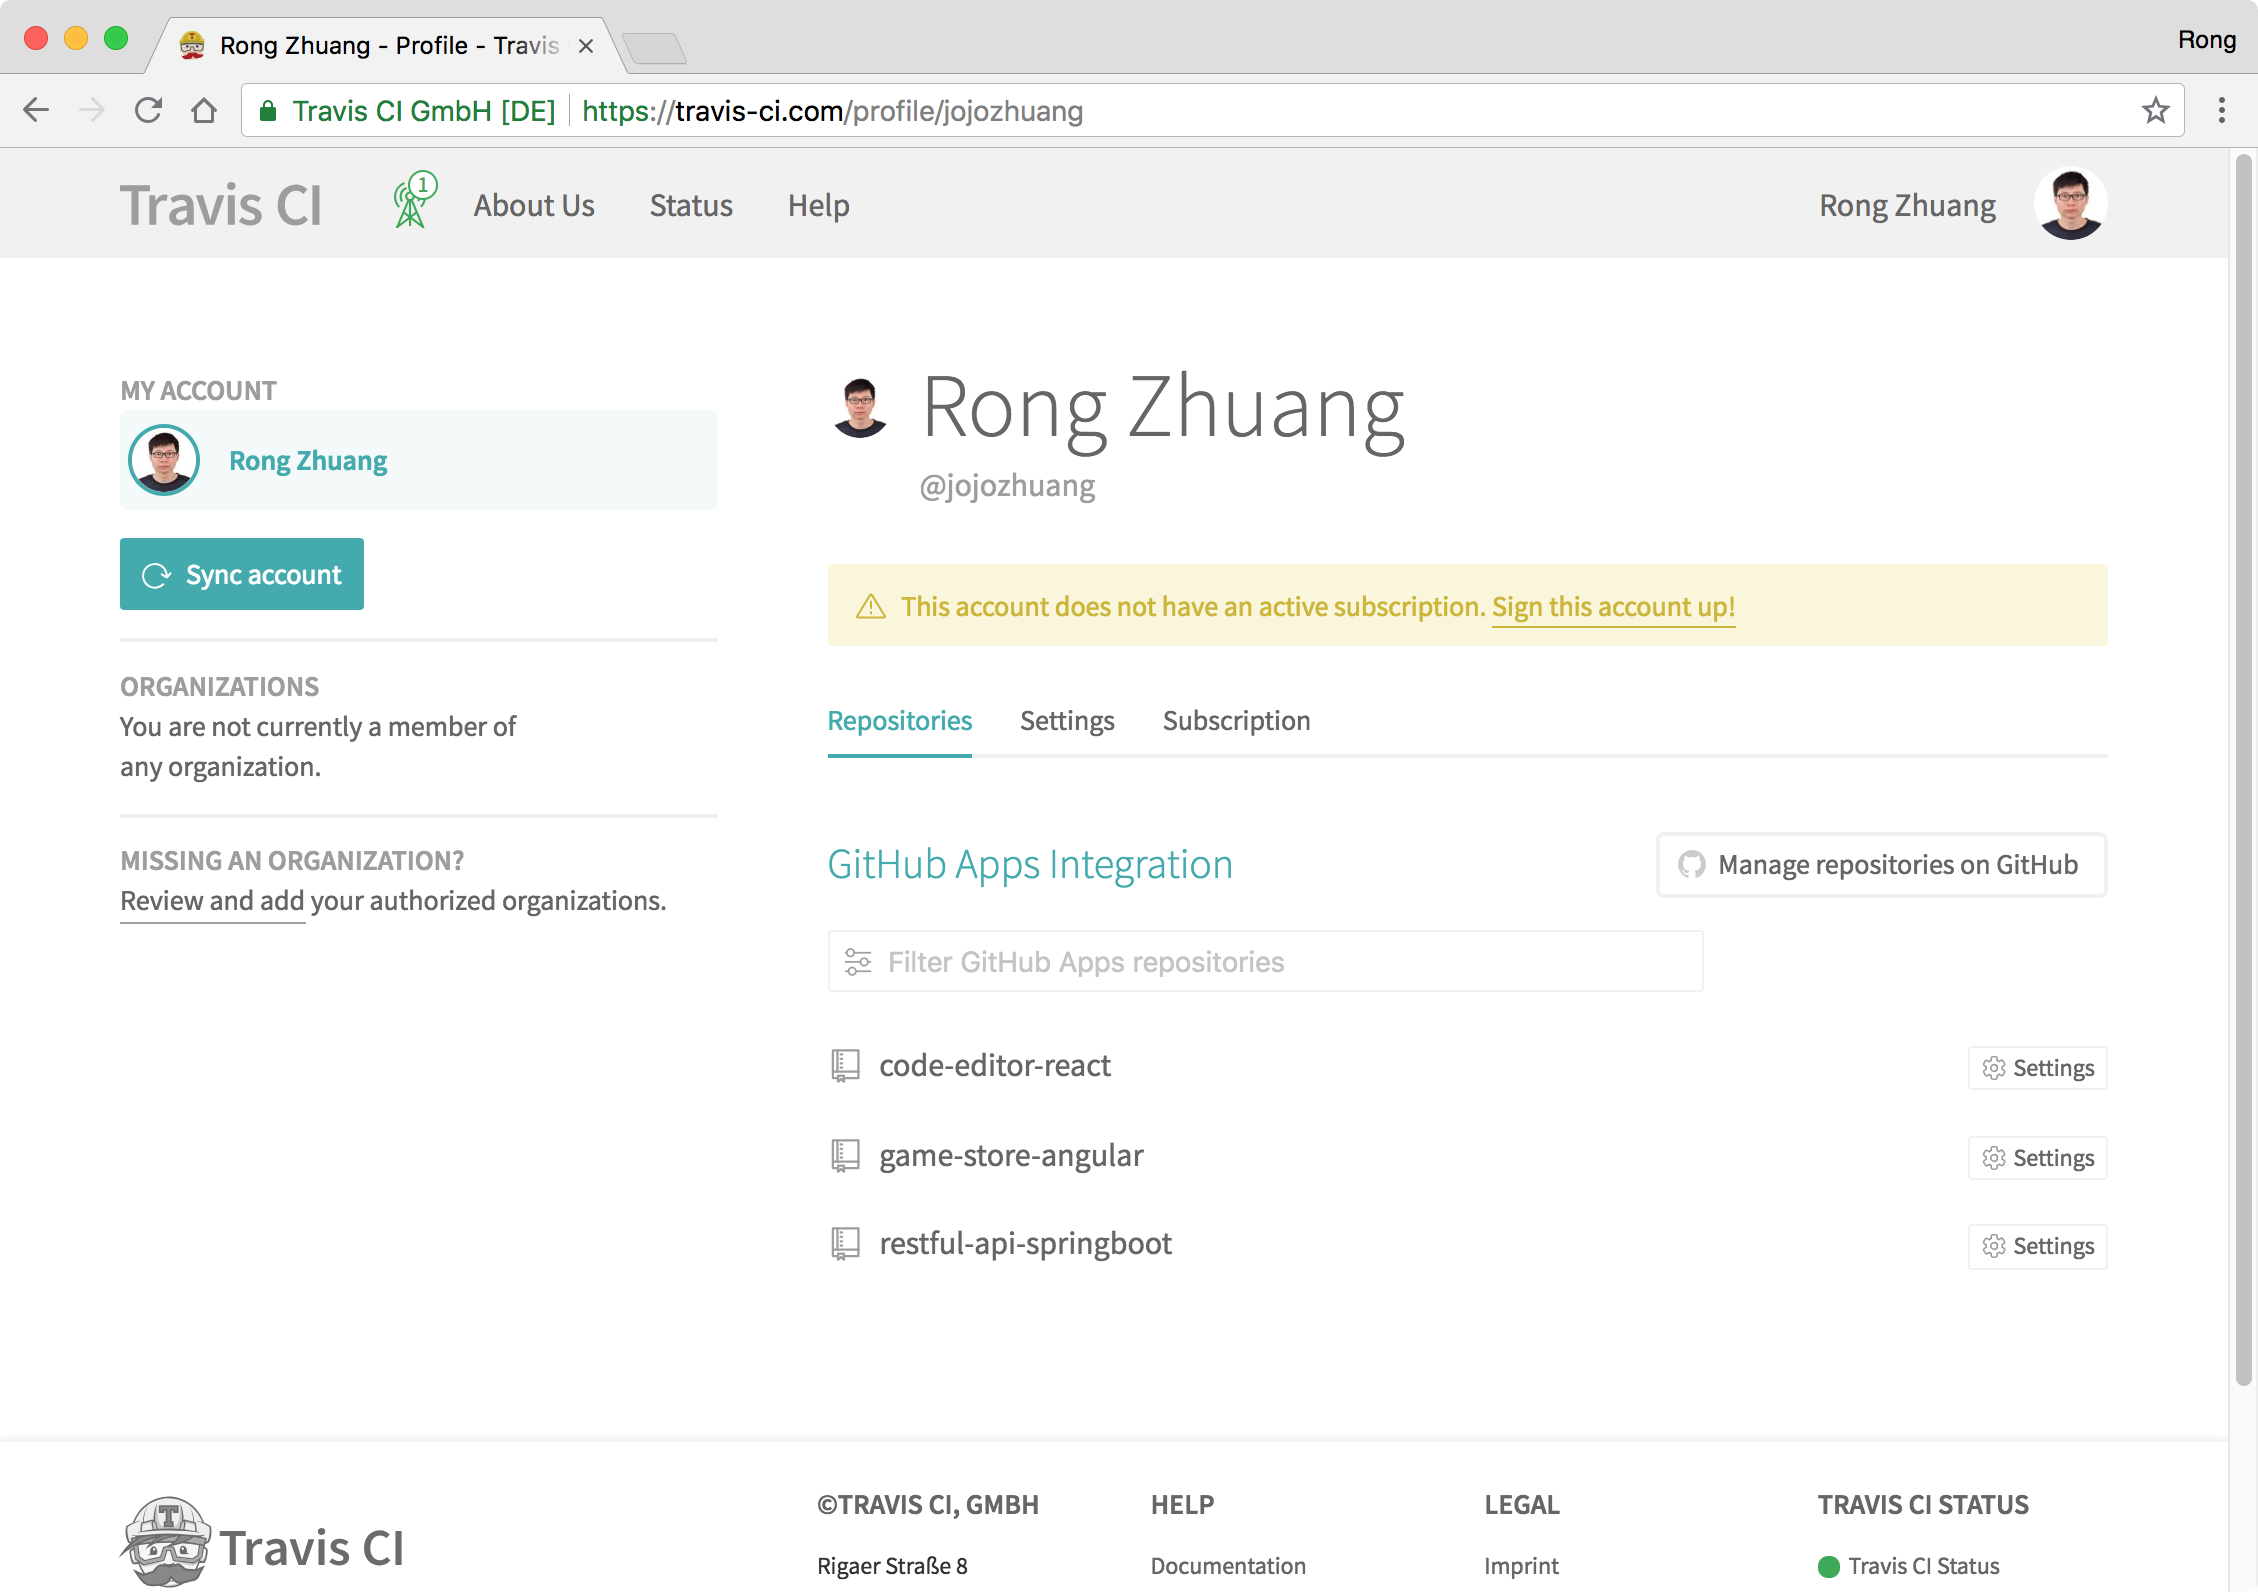
Login to https://travis-ci.com/, then go to ‘Profile’, click ‘Manage repositories on GitHub’ and add ‘code-editor-react’.
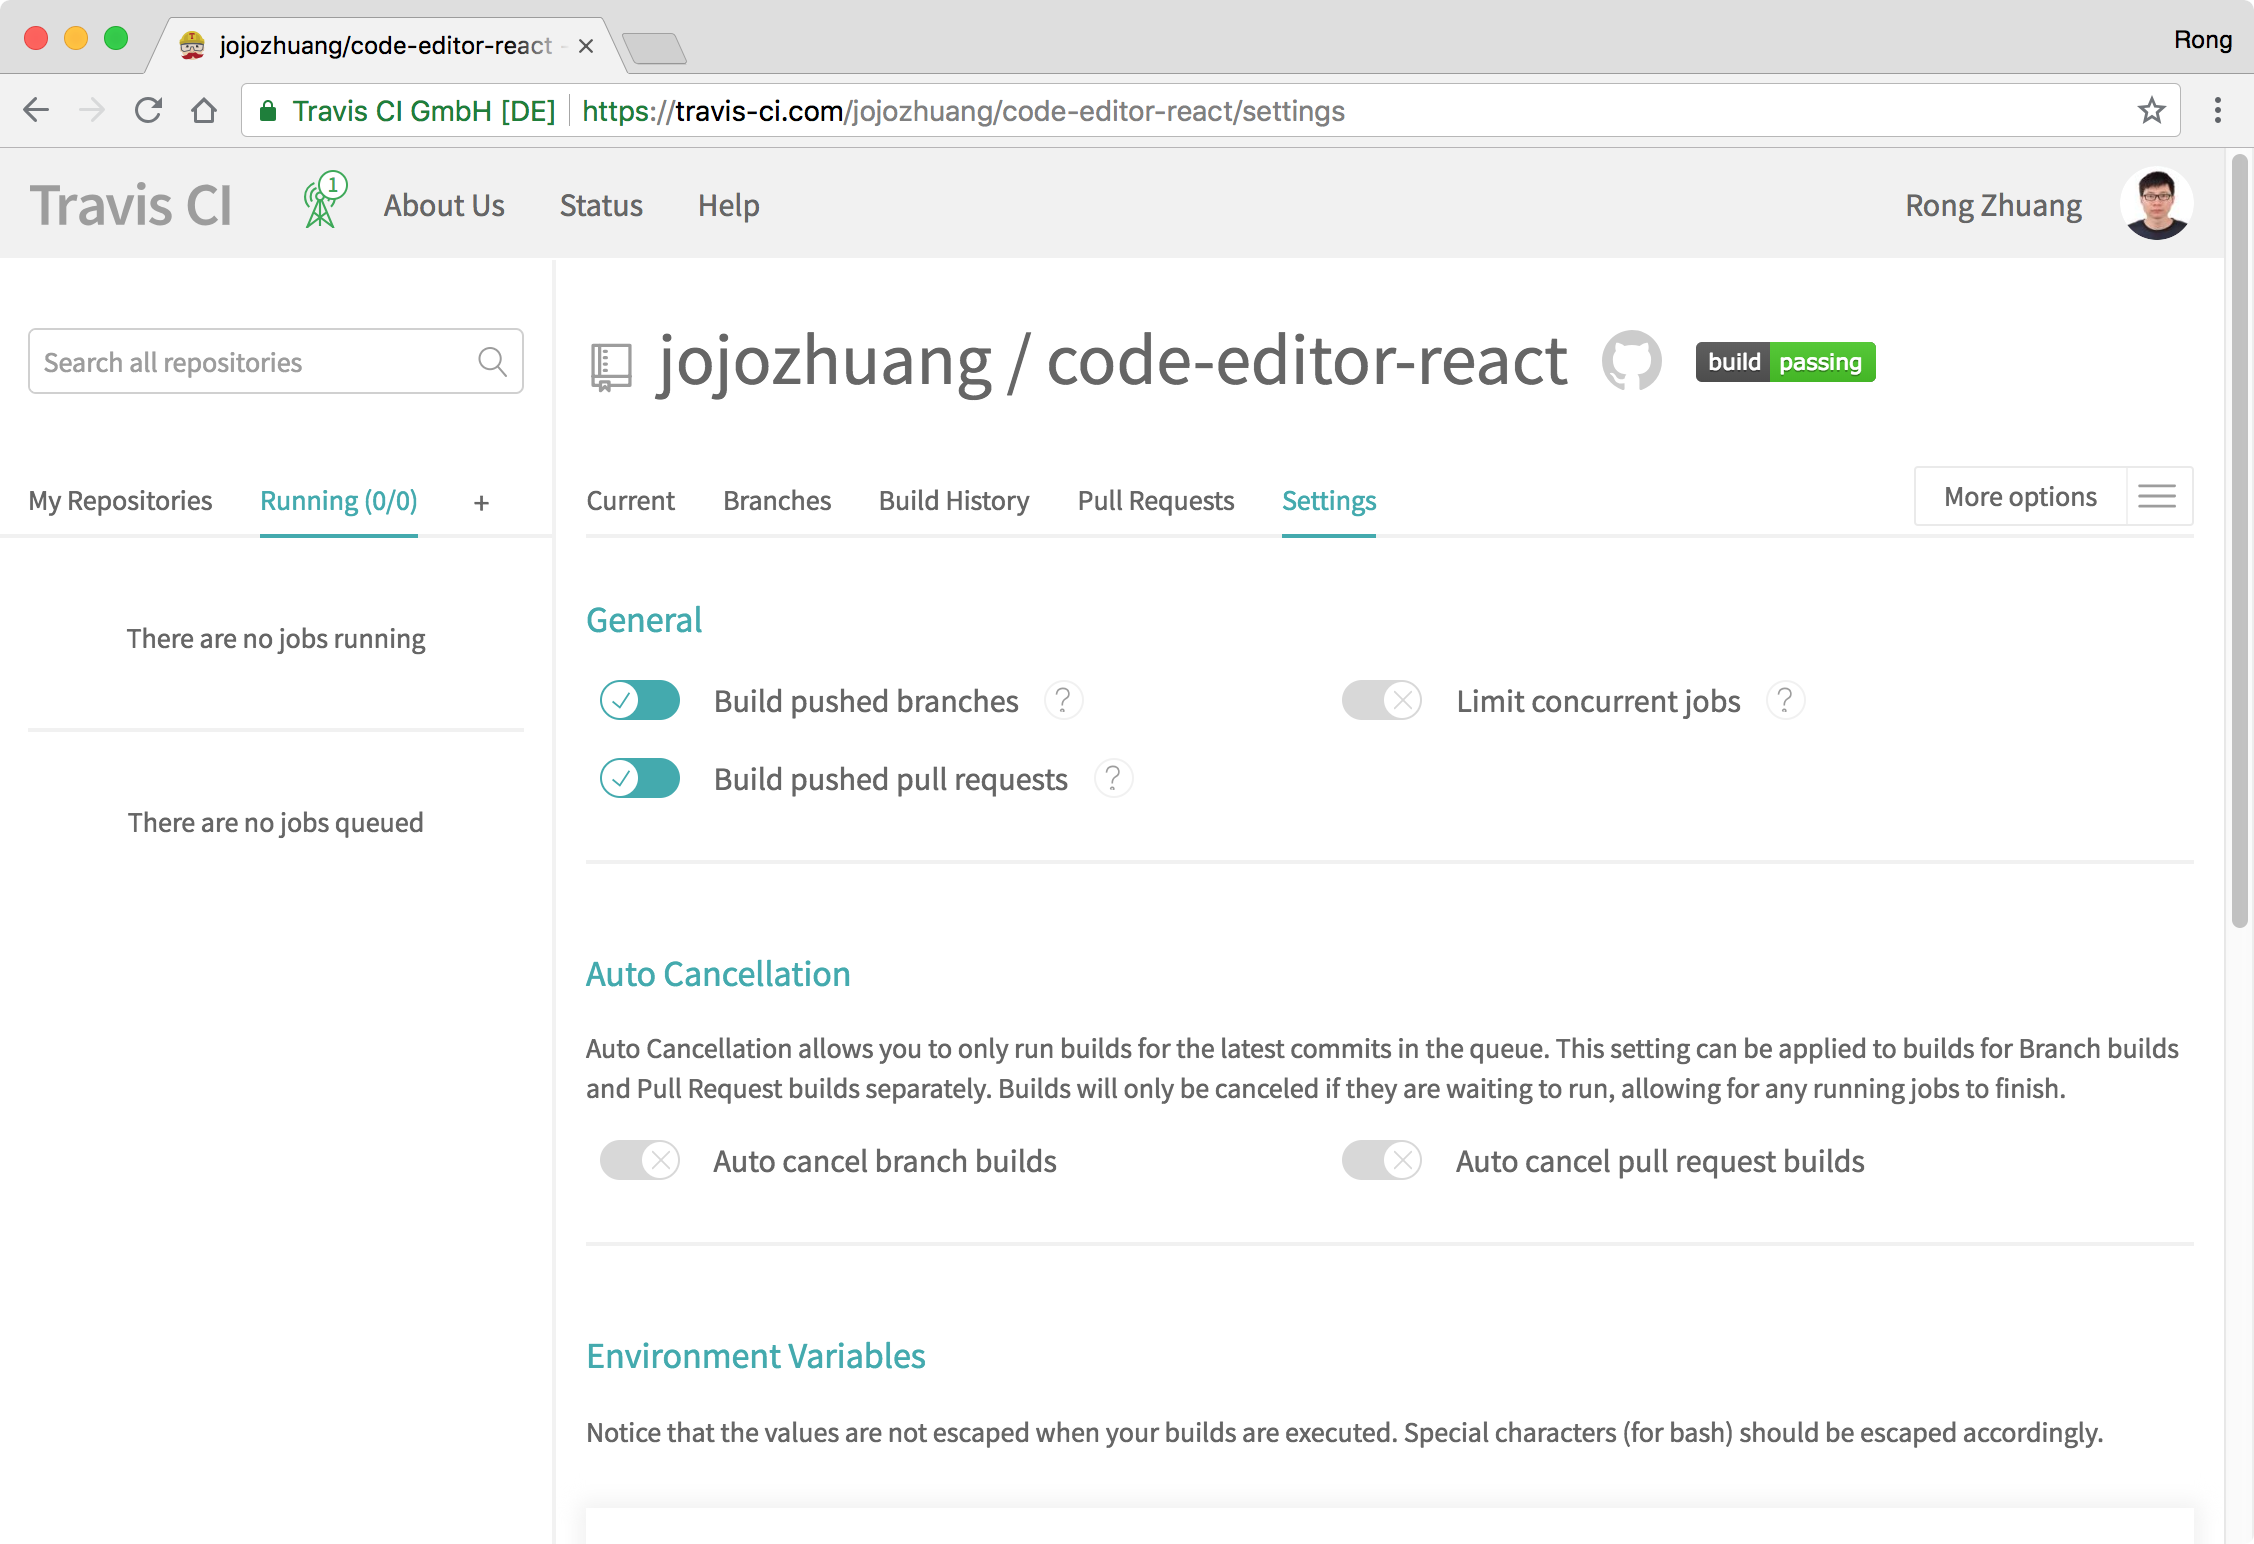
 Click the ‘Settings’ of the new repository. Keep the default settings for ‘General’ and ‘Auto Cancellation’.
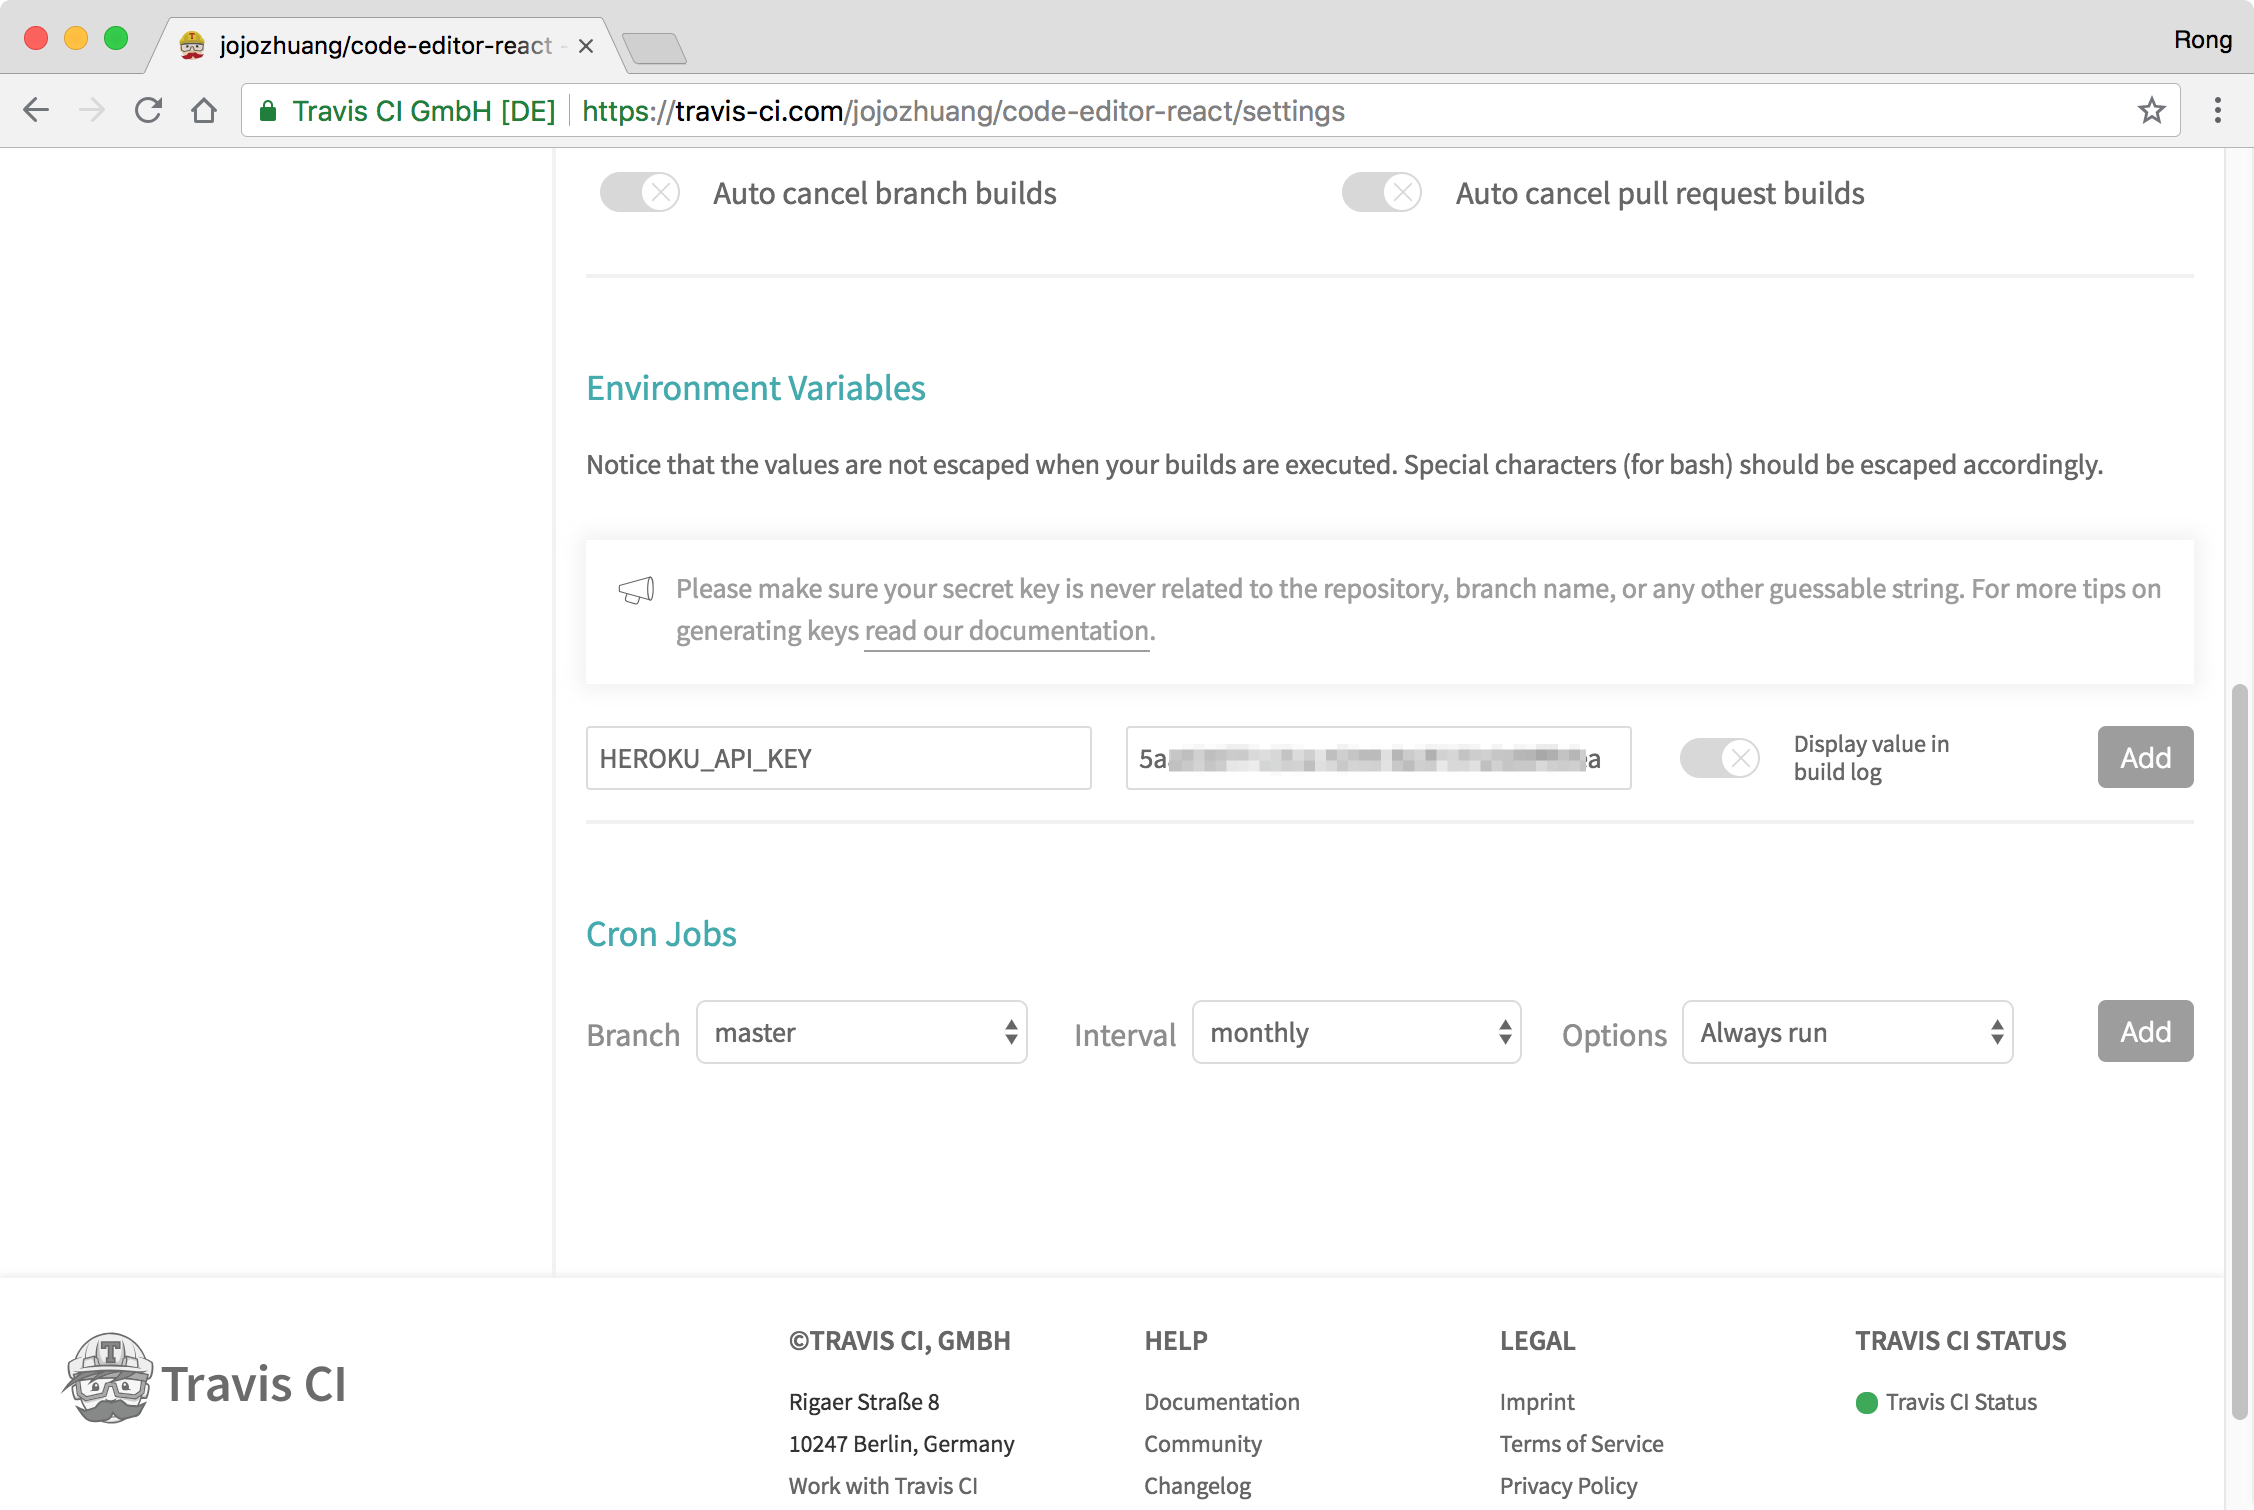
 In the ‘Environment Variables’ section, paste your Heroku API Key in the field ‘Value’ and name it ‘HEROKU_API_KEY’, click ‘Add’ button.
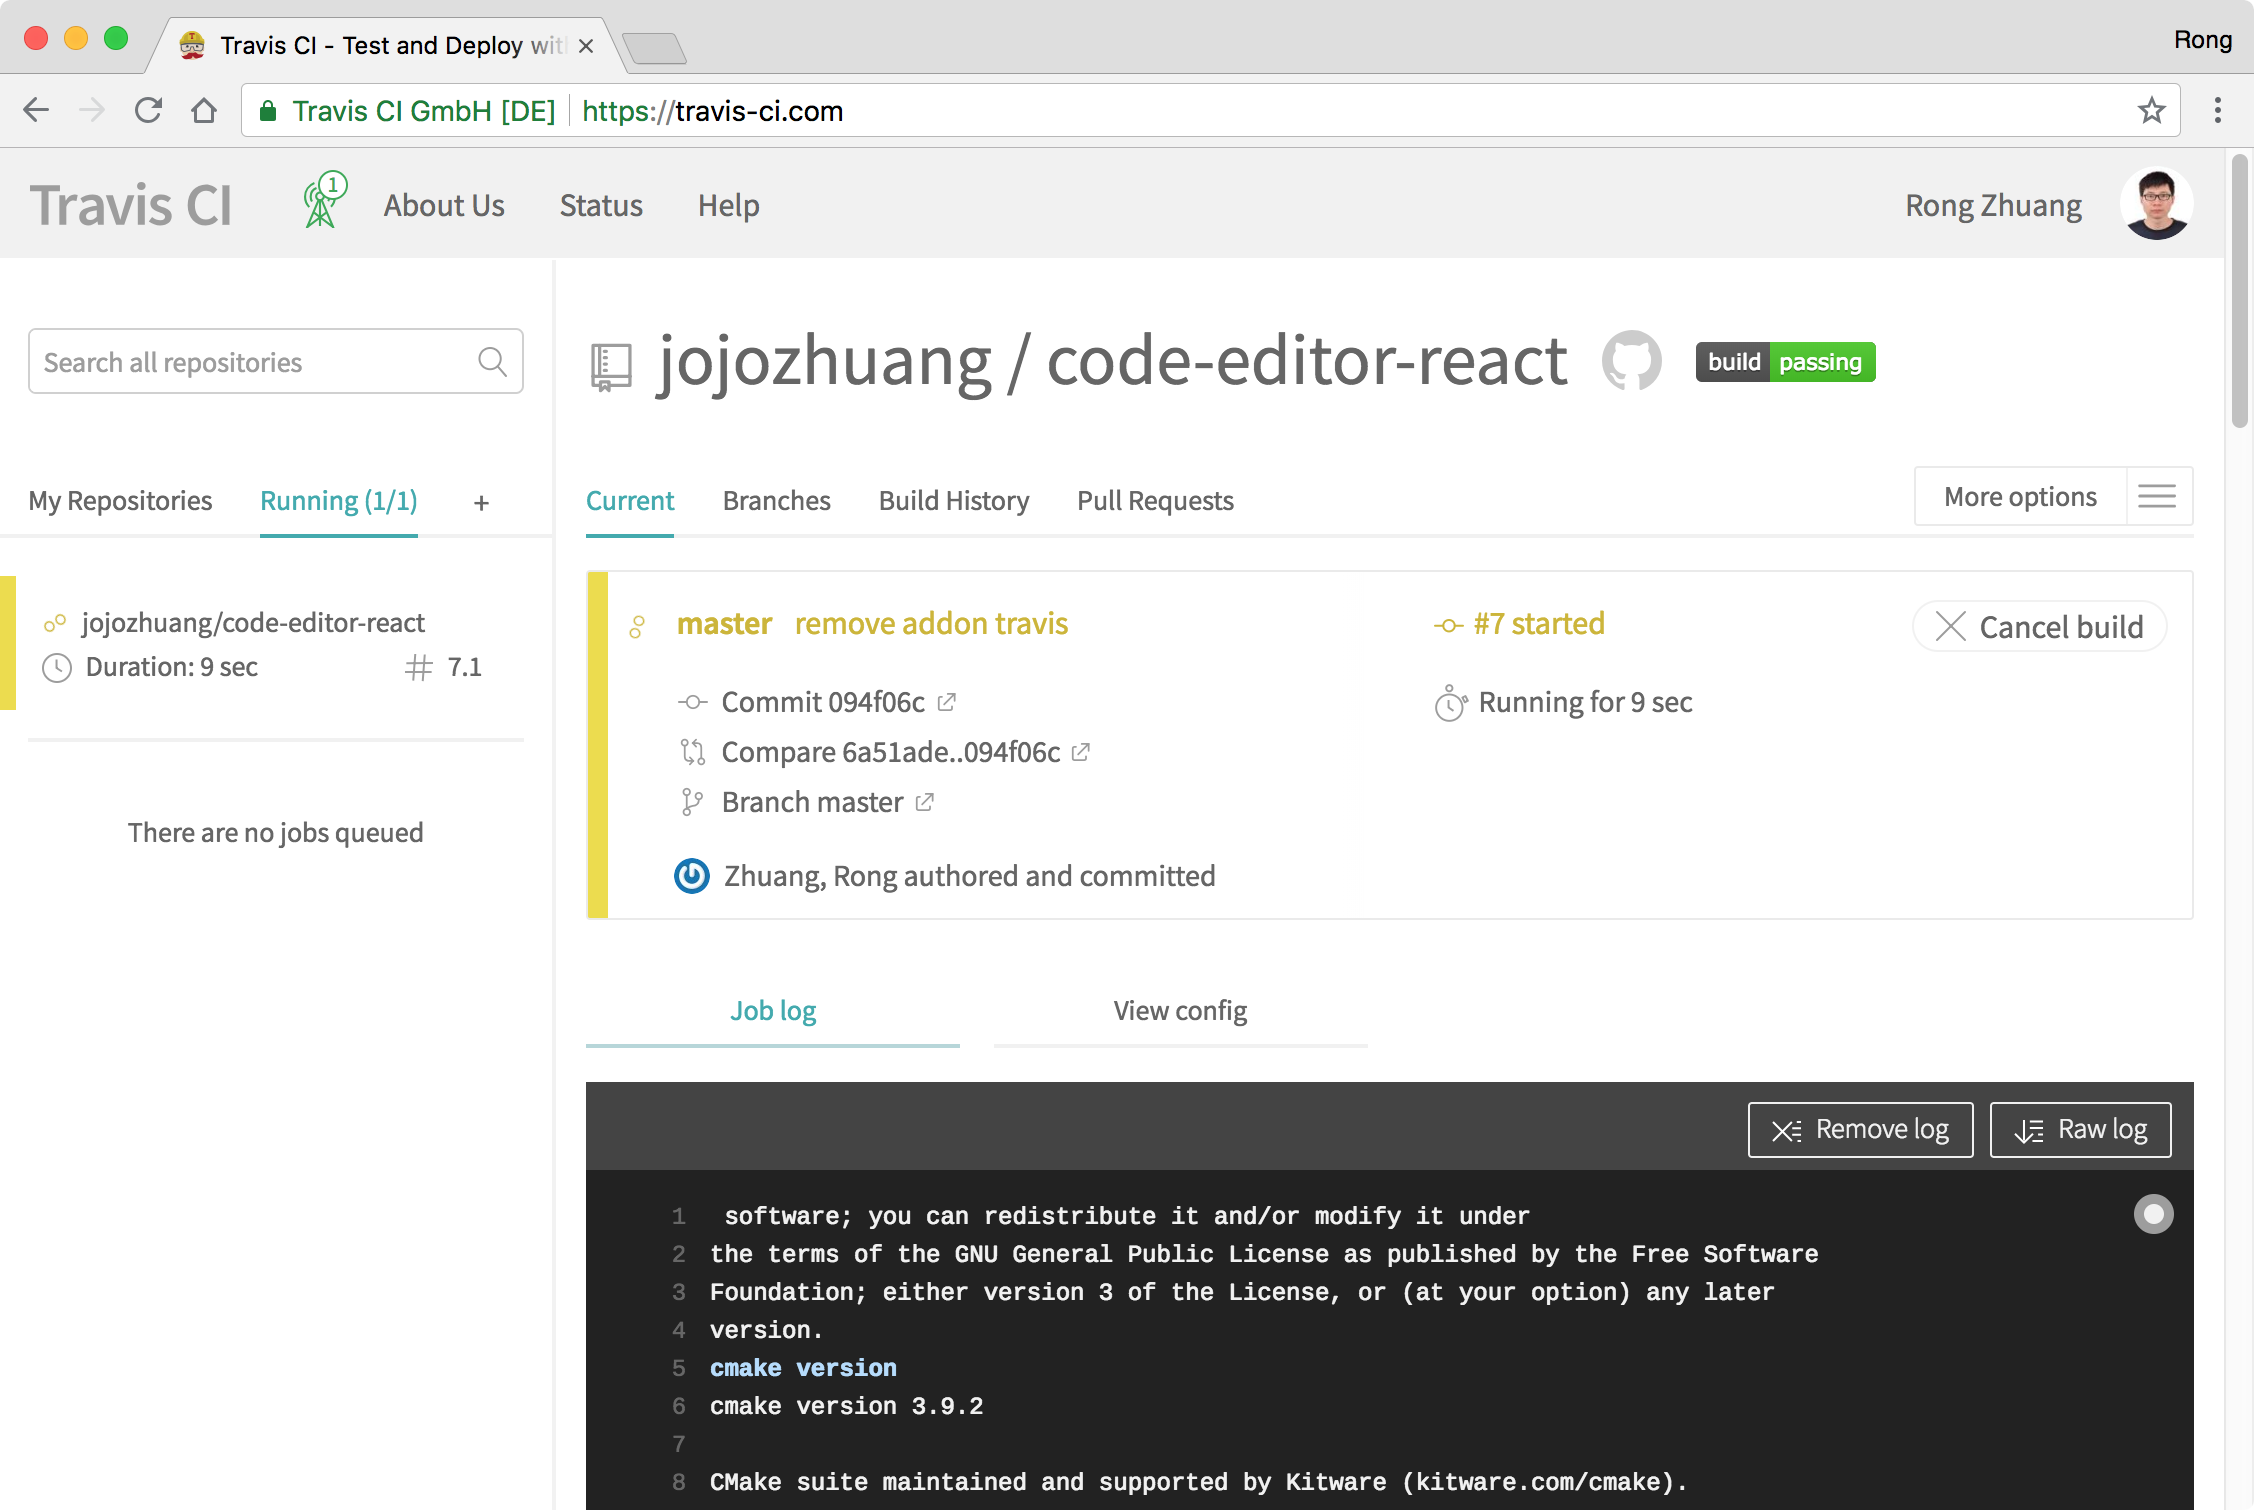
2.5 Push
Make any change to this app and submit it to Github. Once Travis notice the new submission, it starts to build the app according to the instructions configured in ‘.travis.yml’ file.
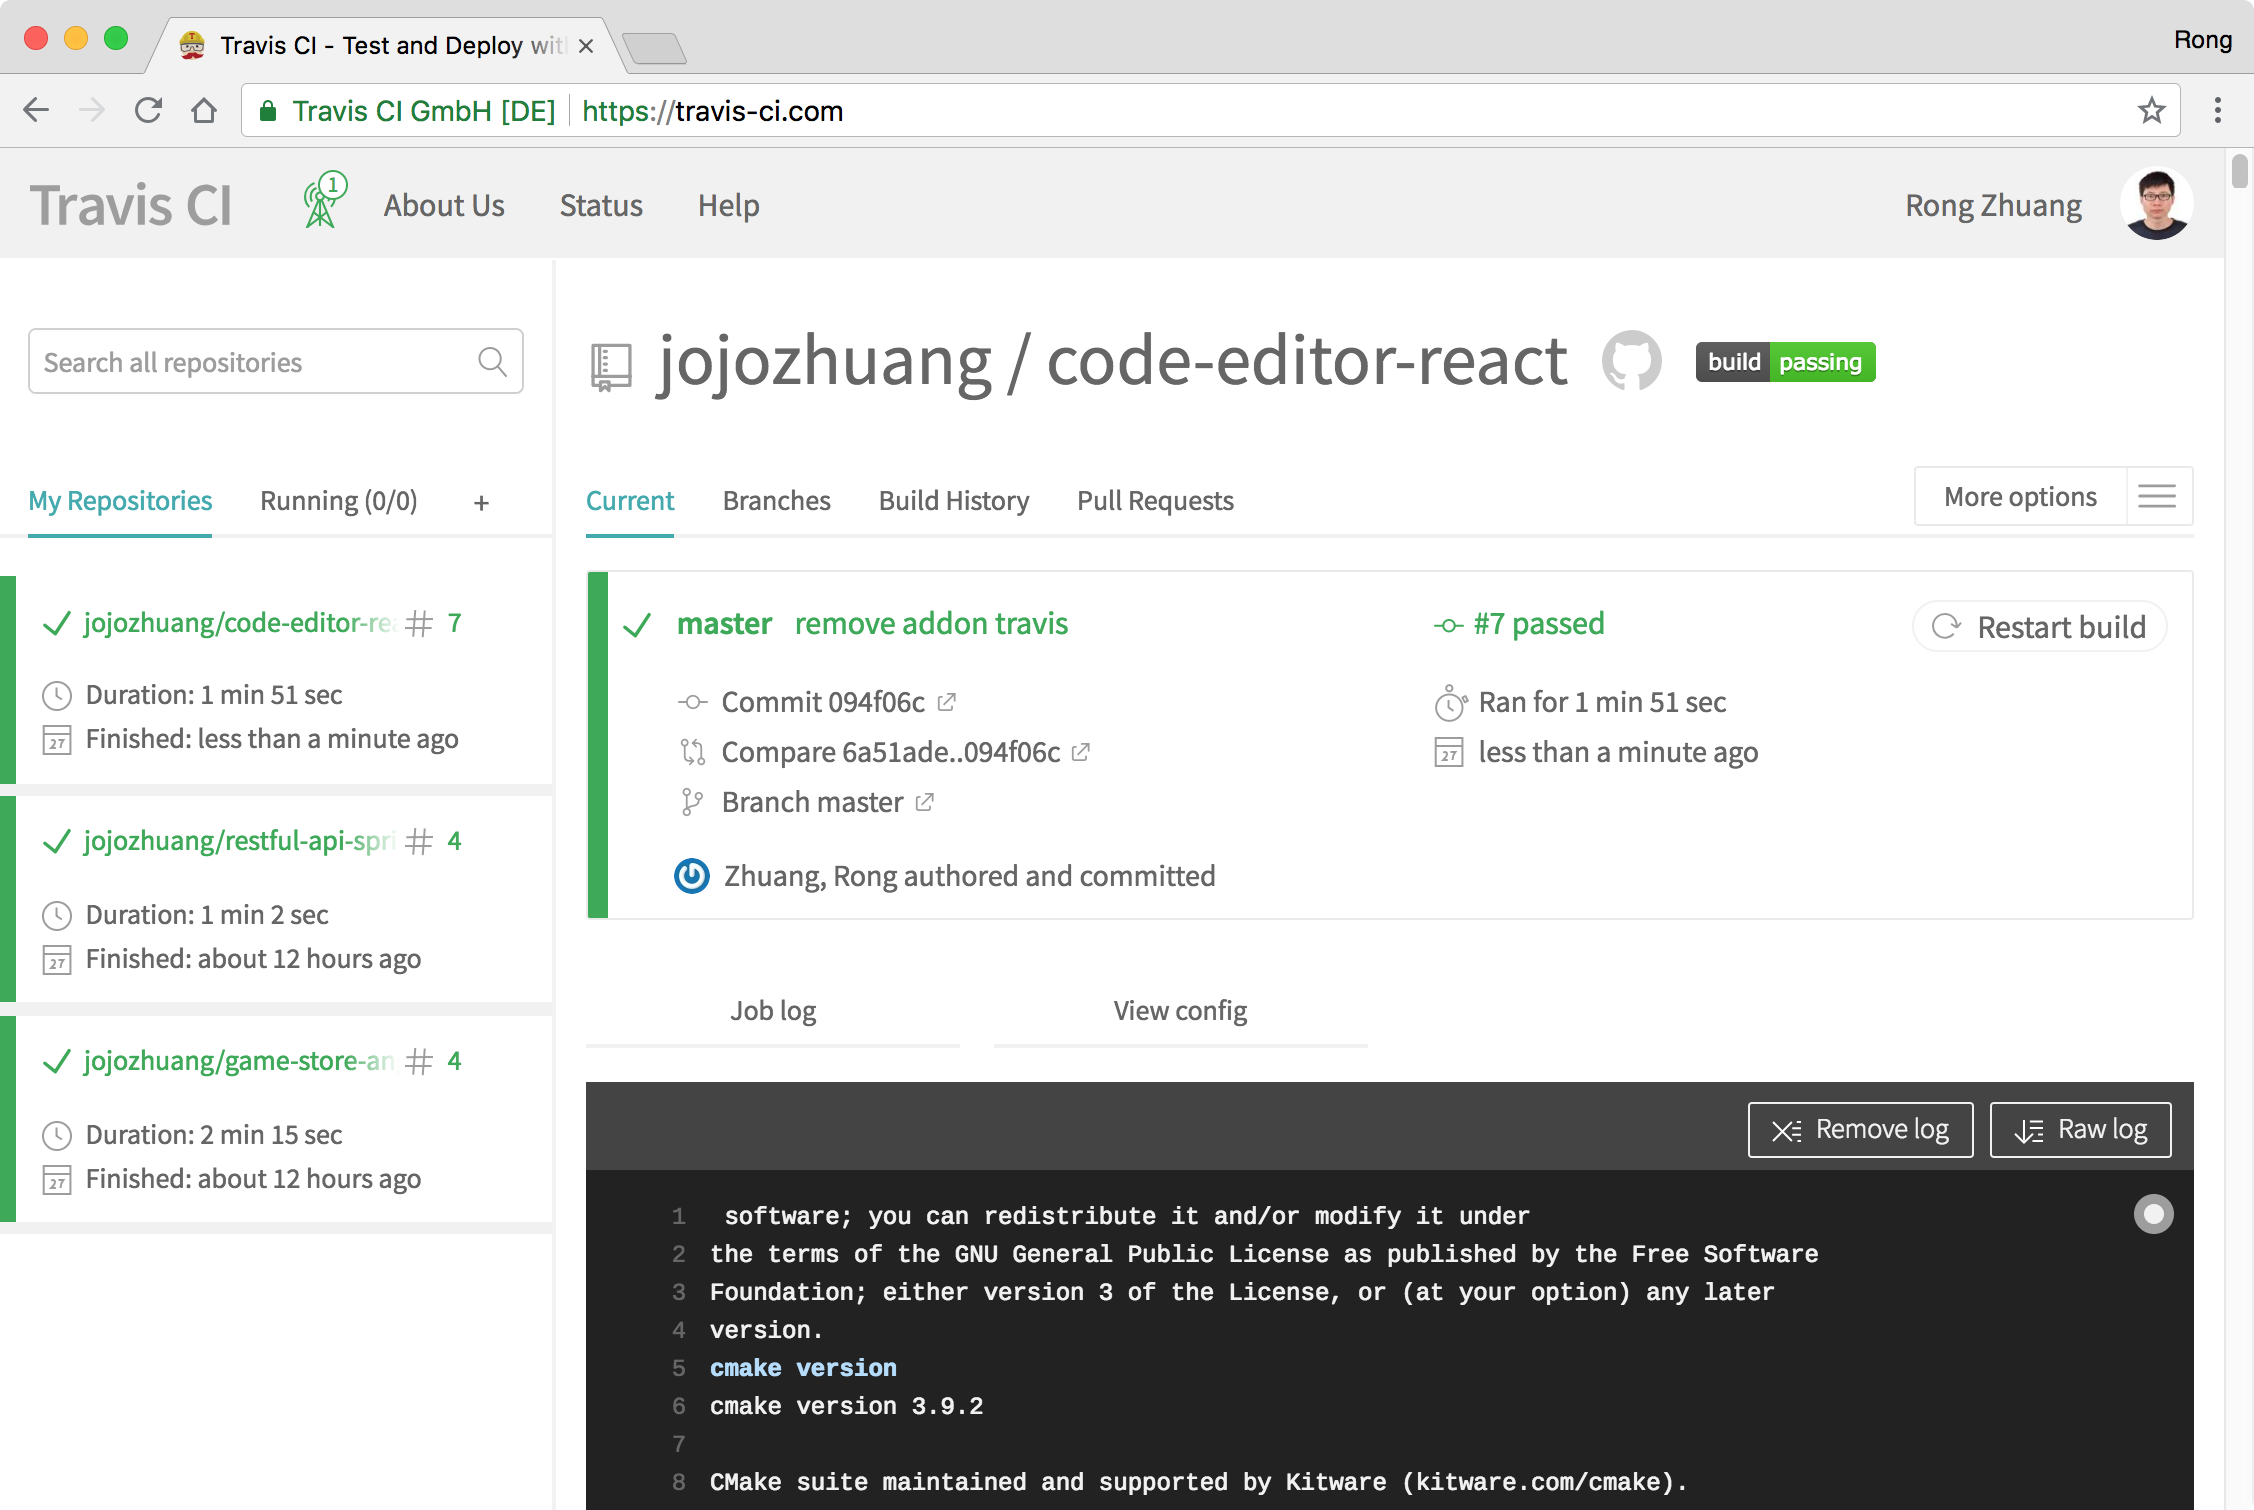
 If the build is finished successfully, your site is deployed to Heroku.
2.6 Testing Server
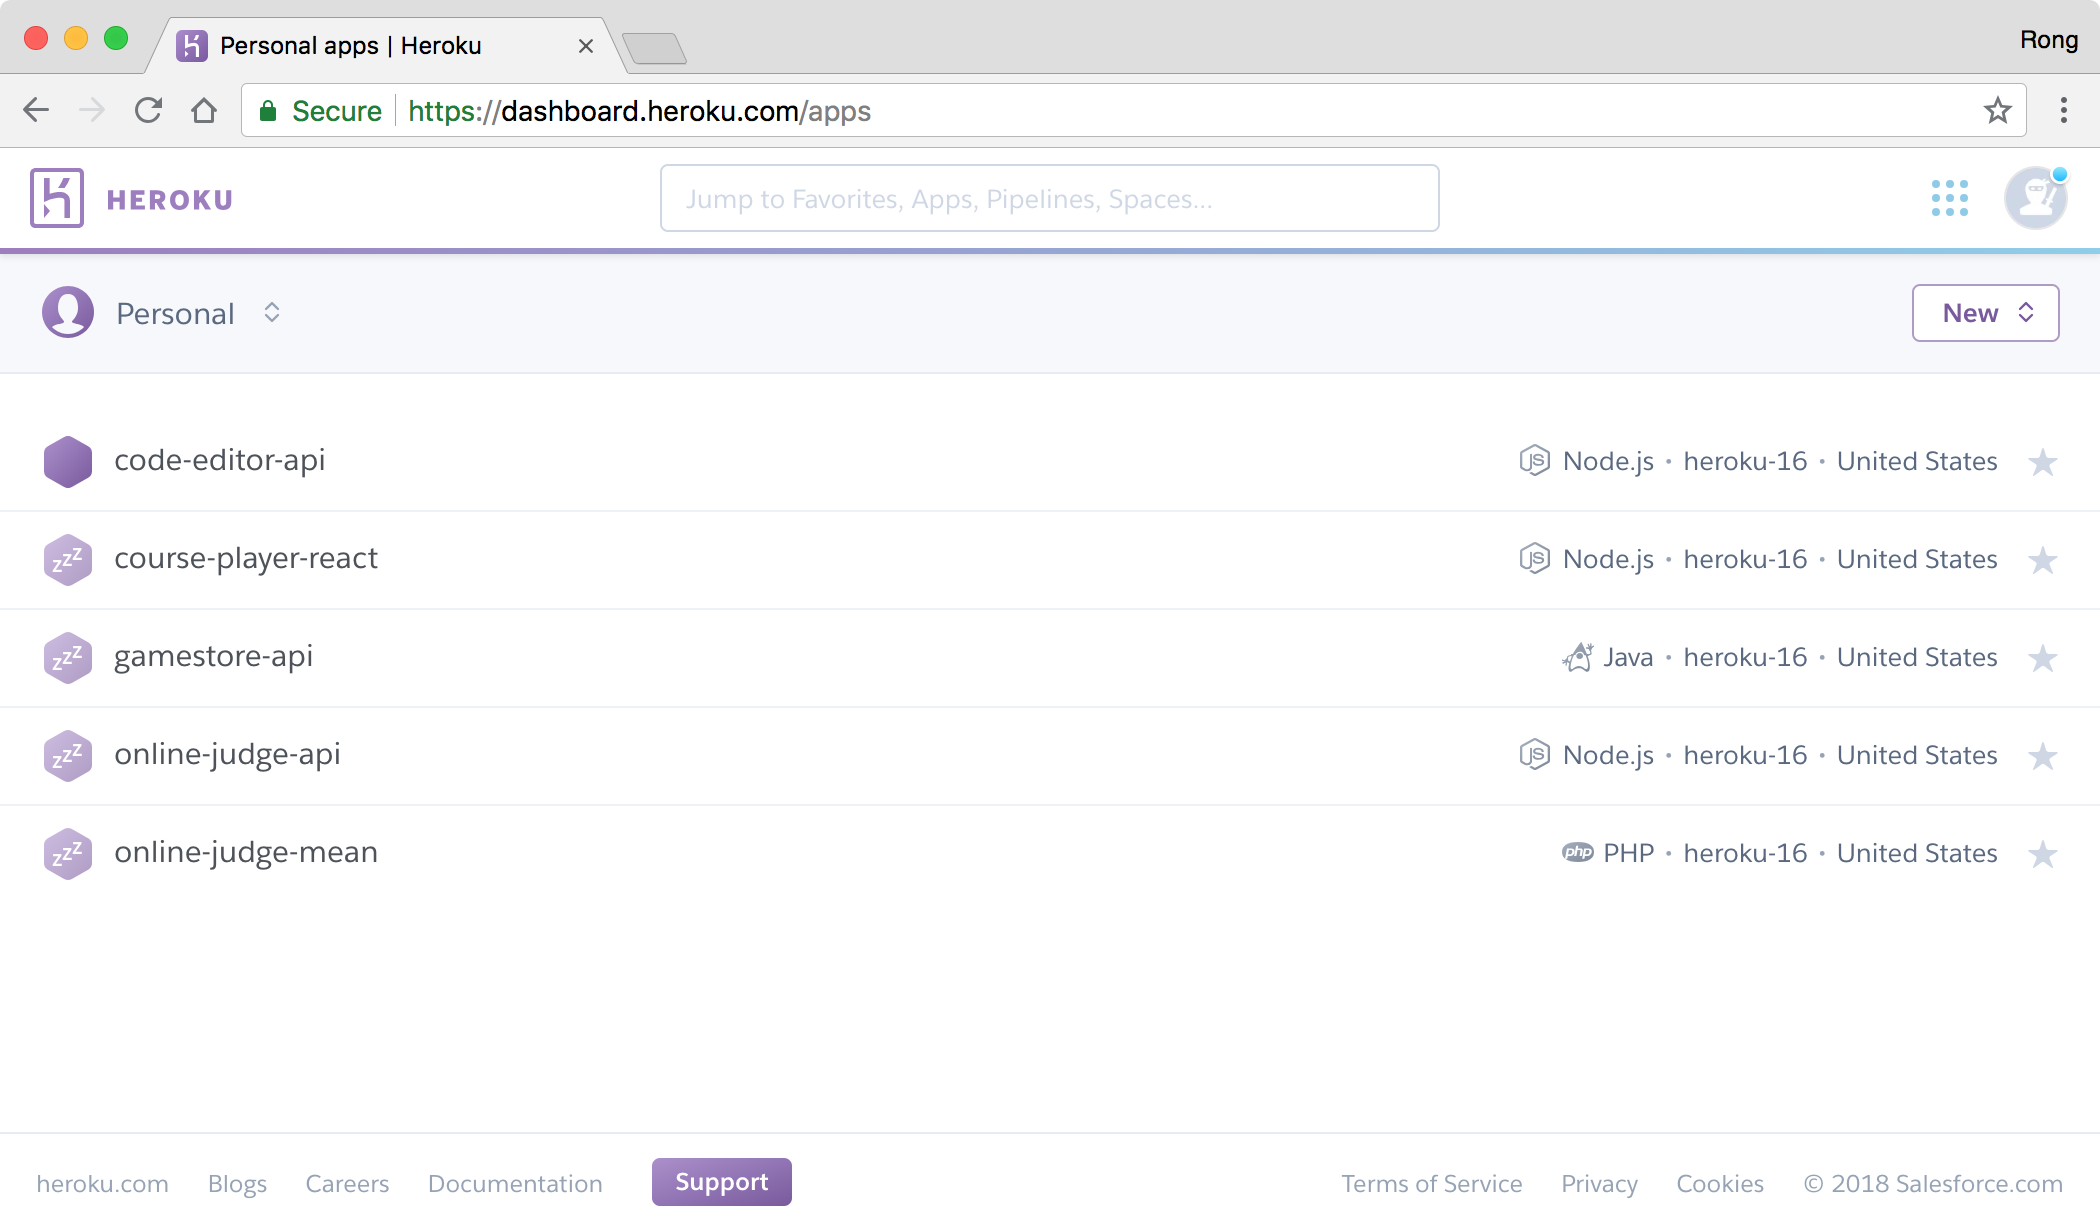
Go to Heroku, you should see the new app ‘code-editor-api’ in the dashboard.
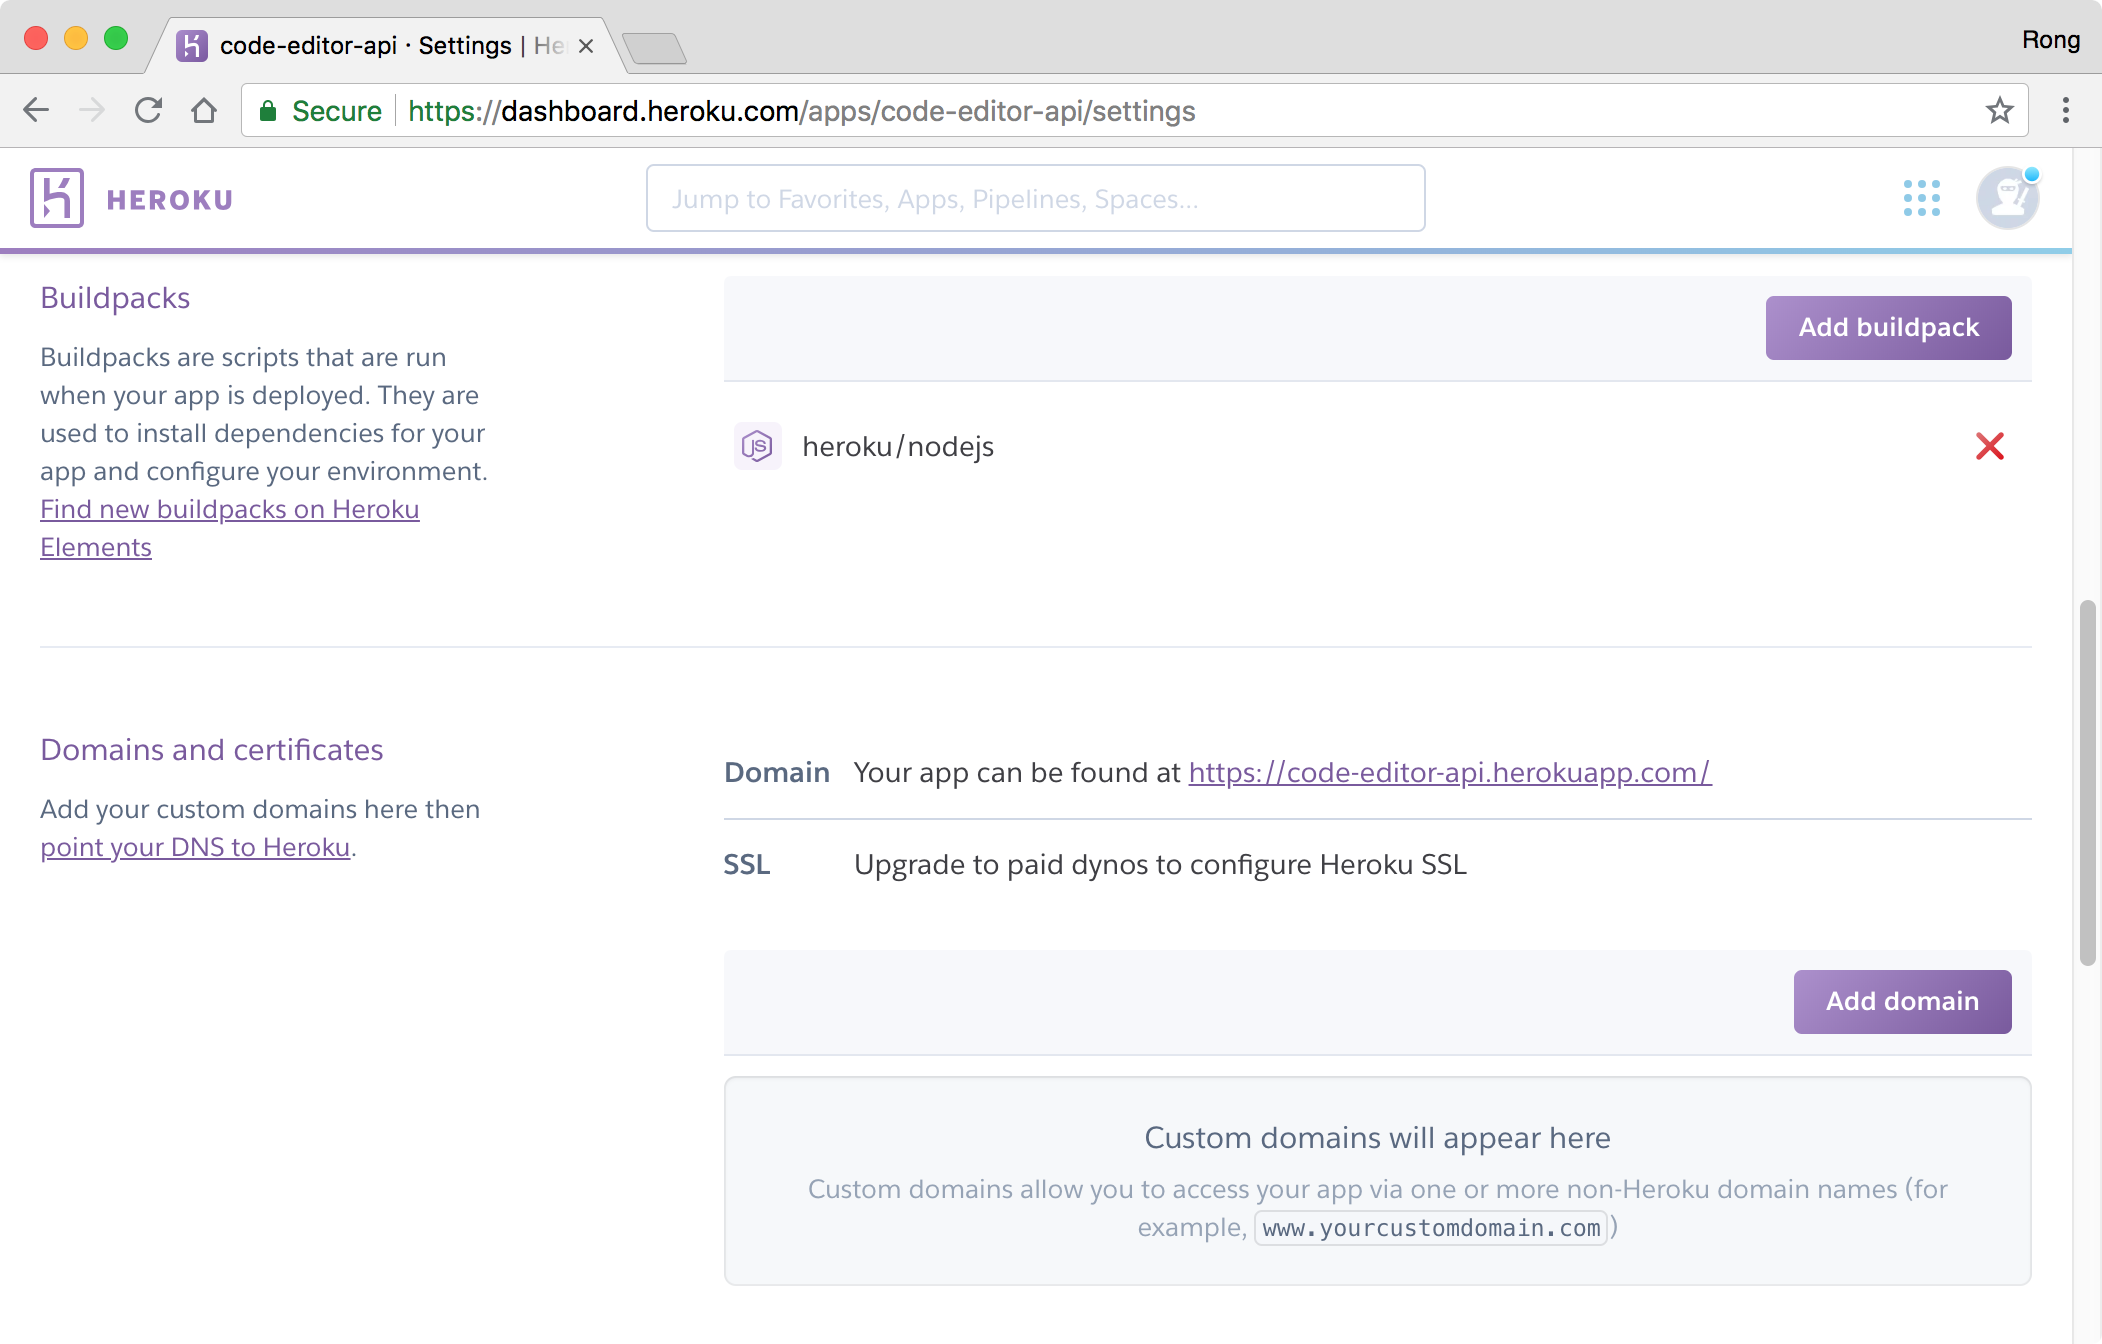
 Click on it, and switch to ‘Setting’ tab. You should find the link, it is the root url of the RESTful API.
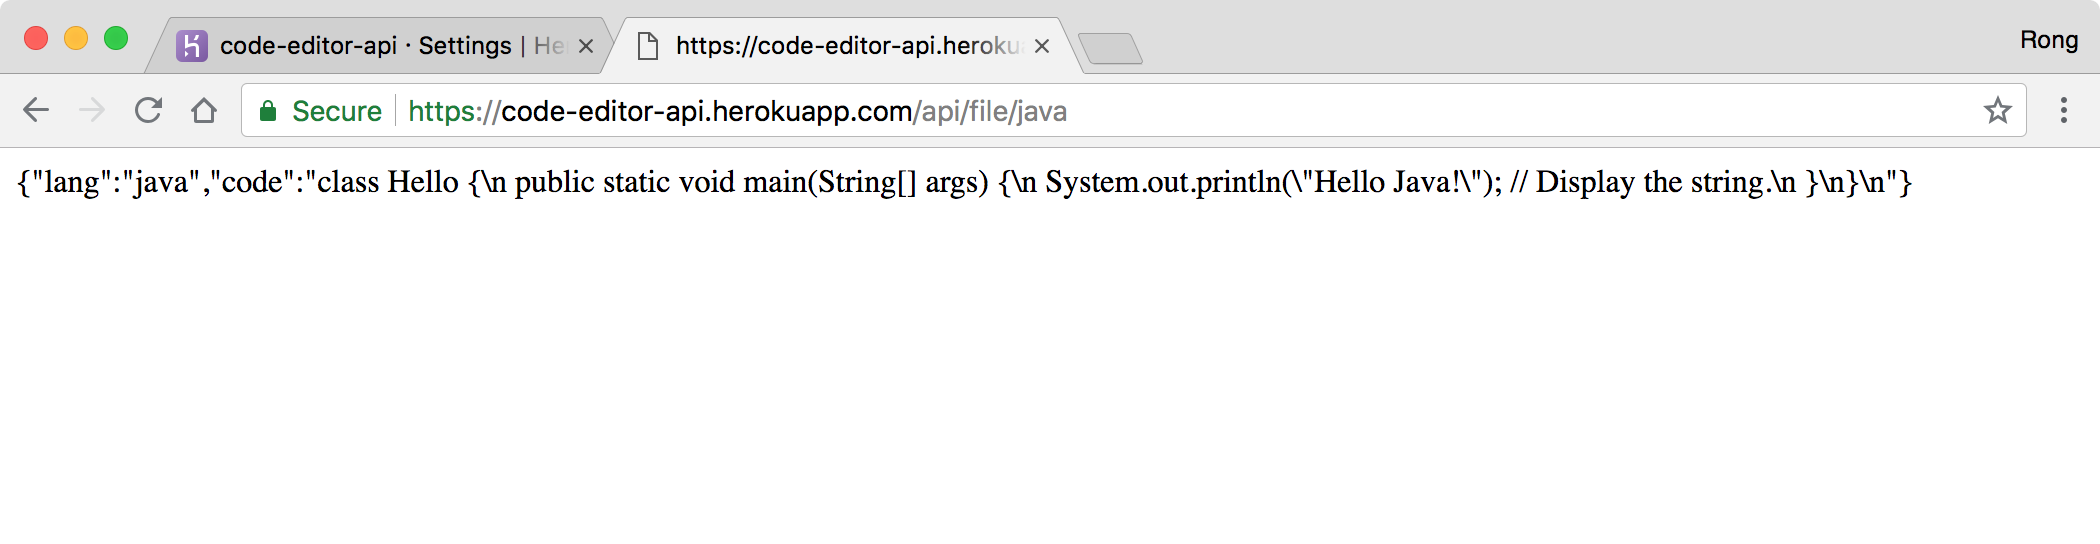
 Access https://code-editor-api.herokuapp.com/api/file/java in browser, we see it returns data.
3. Client Deployment
3.1 Build Command
In ‘package.json’, notice there is a command named ‘build’, which is used to compile the React app and save the output to ‘dist’ folder.
...
  "scripts": {
    ...
    "build": "webpack --env production ",
    ...
  }
3.2 Server URL
In ‘webpack.config.js’, notice the configuration for production. We set the root url of the RESTful API, which is already deployed on Heroku.
const productionConfig = merge([
  parts.loadEnv('https://code-editor-api.herokuapp.com'),
  ...
]);
3.3 Netlify
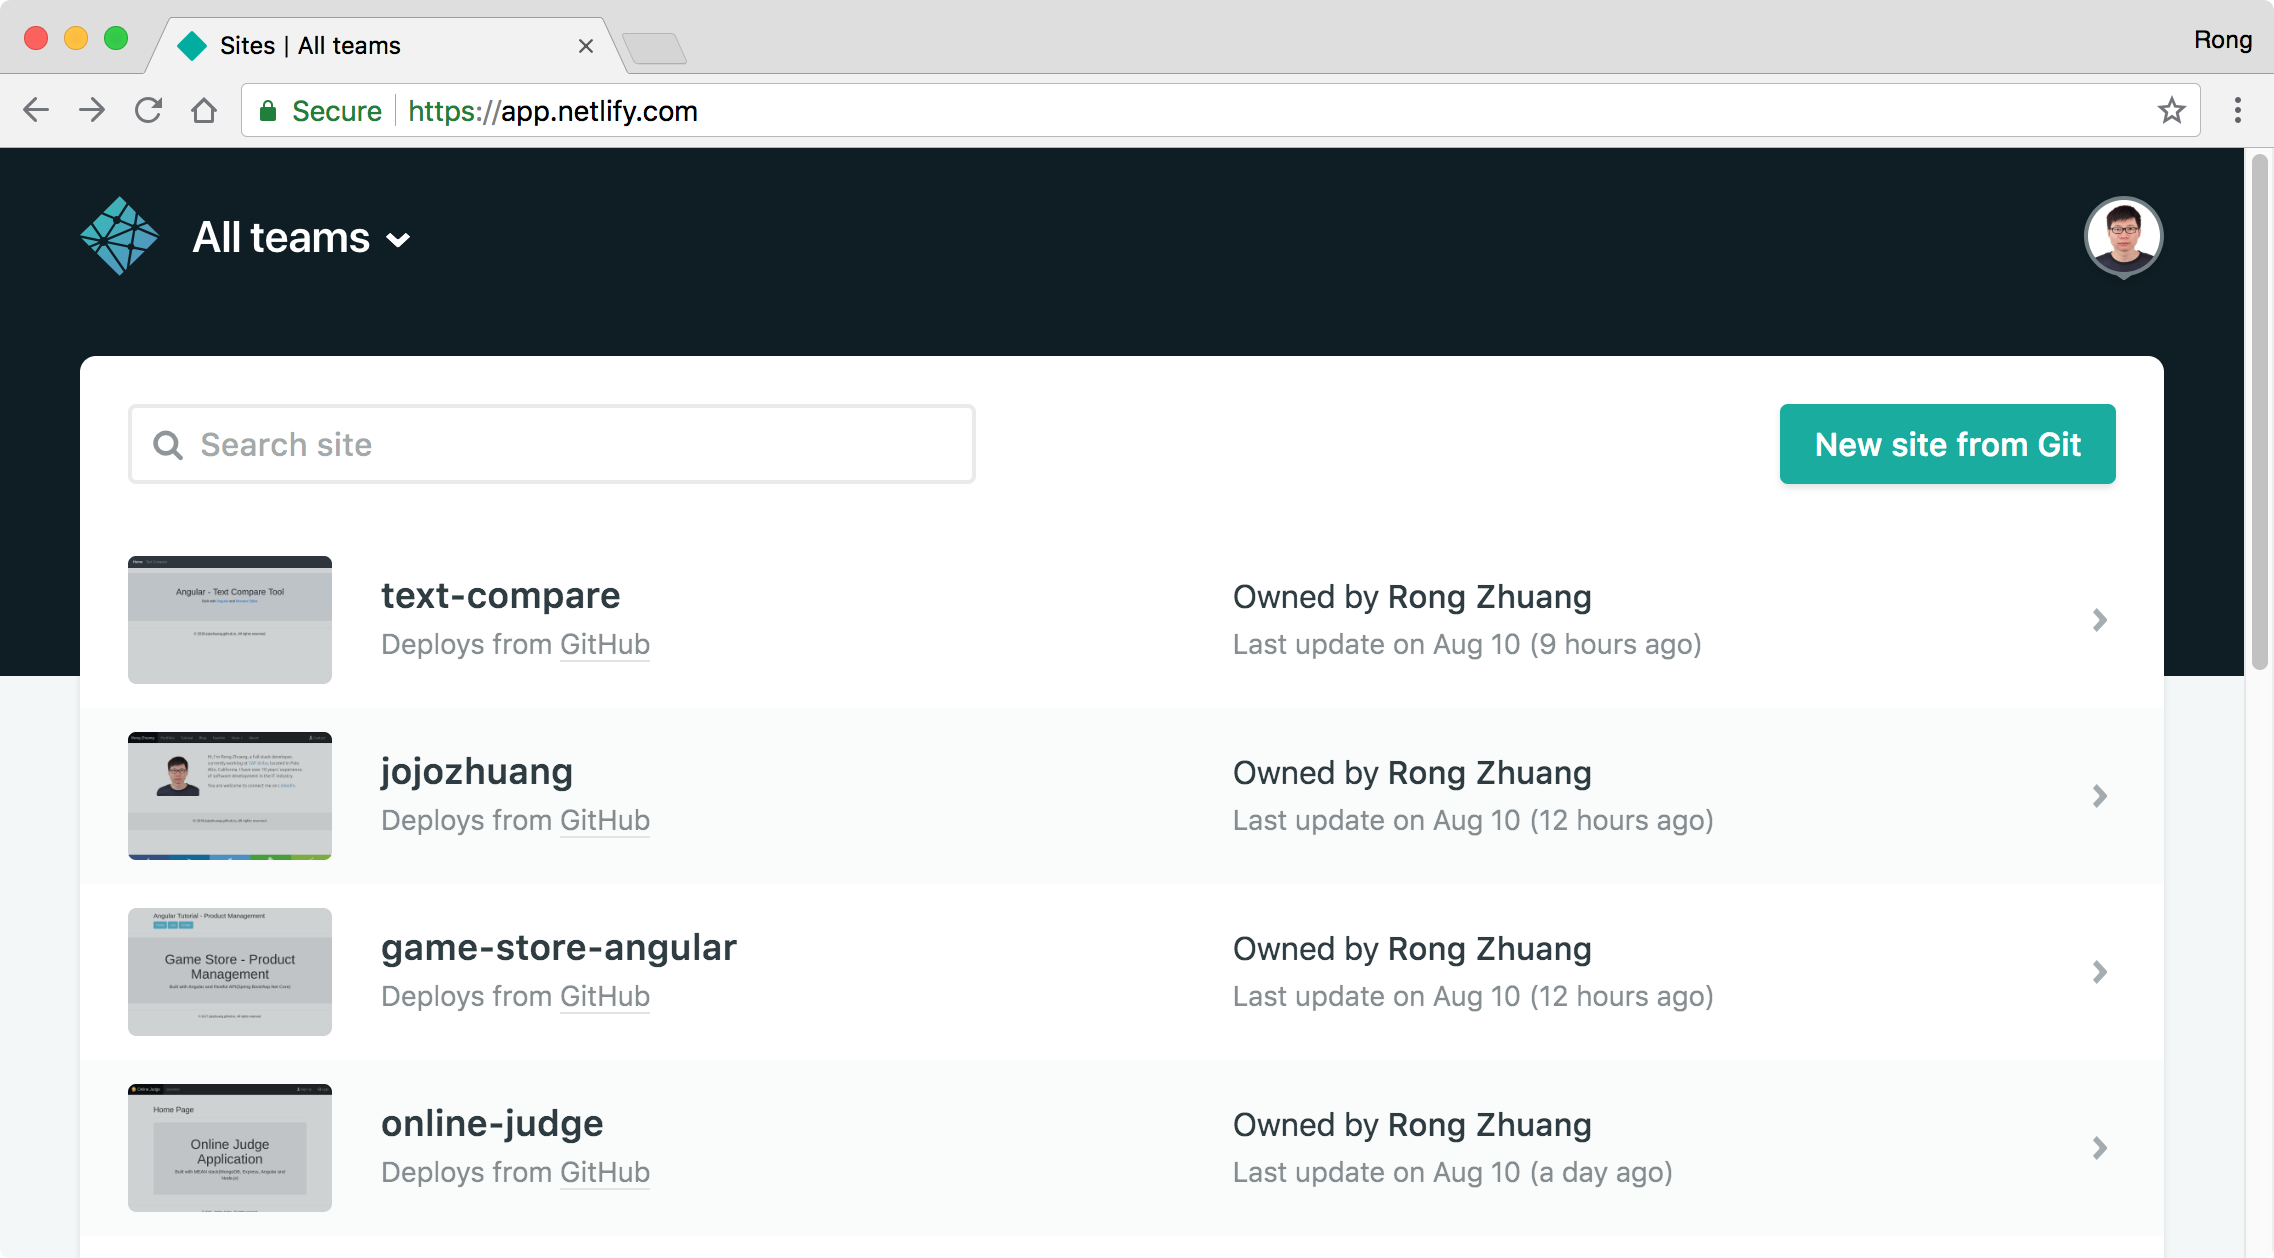
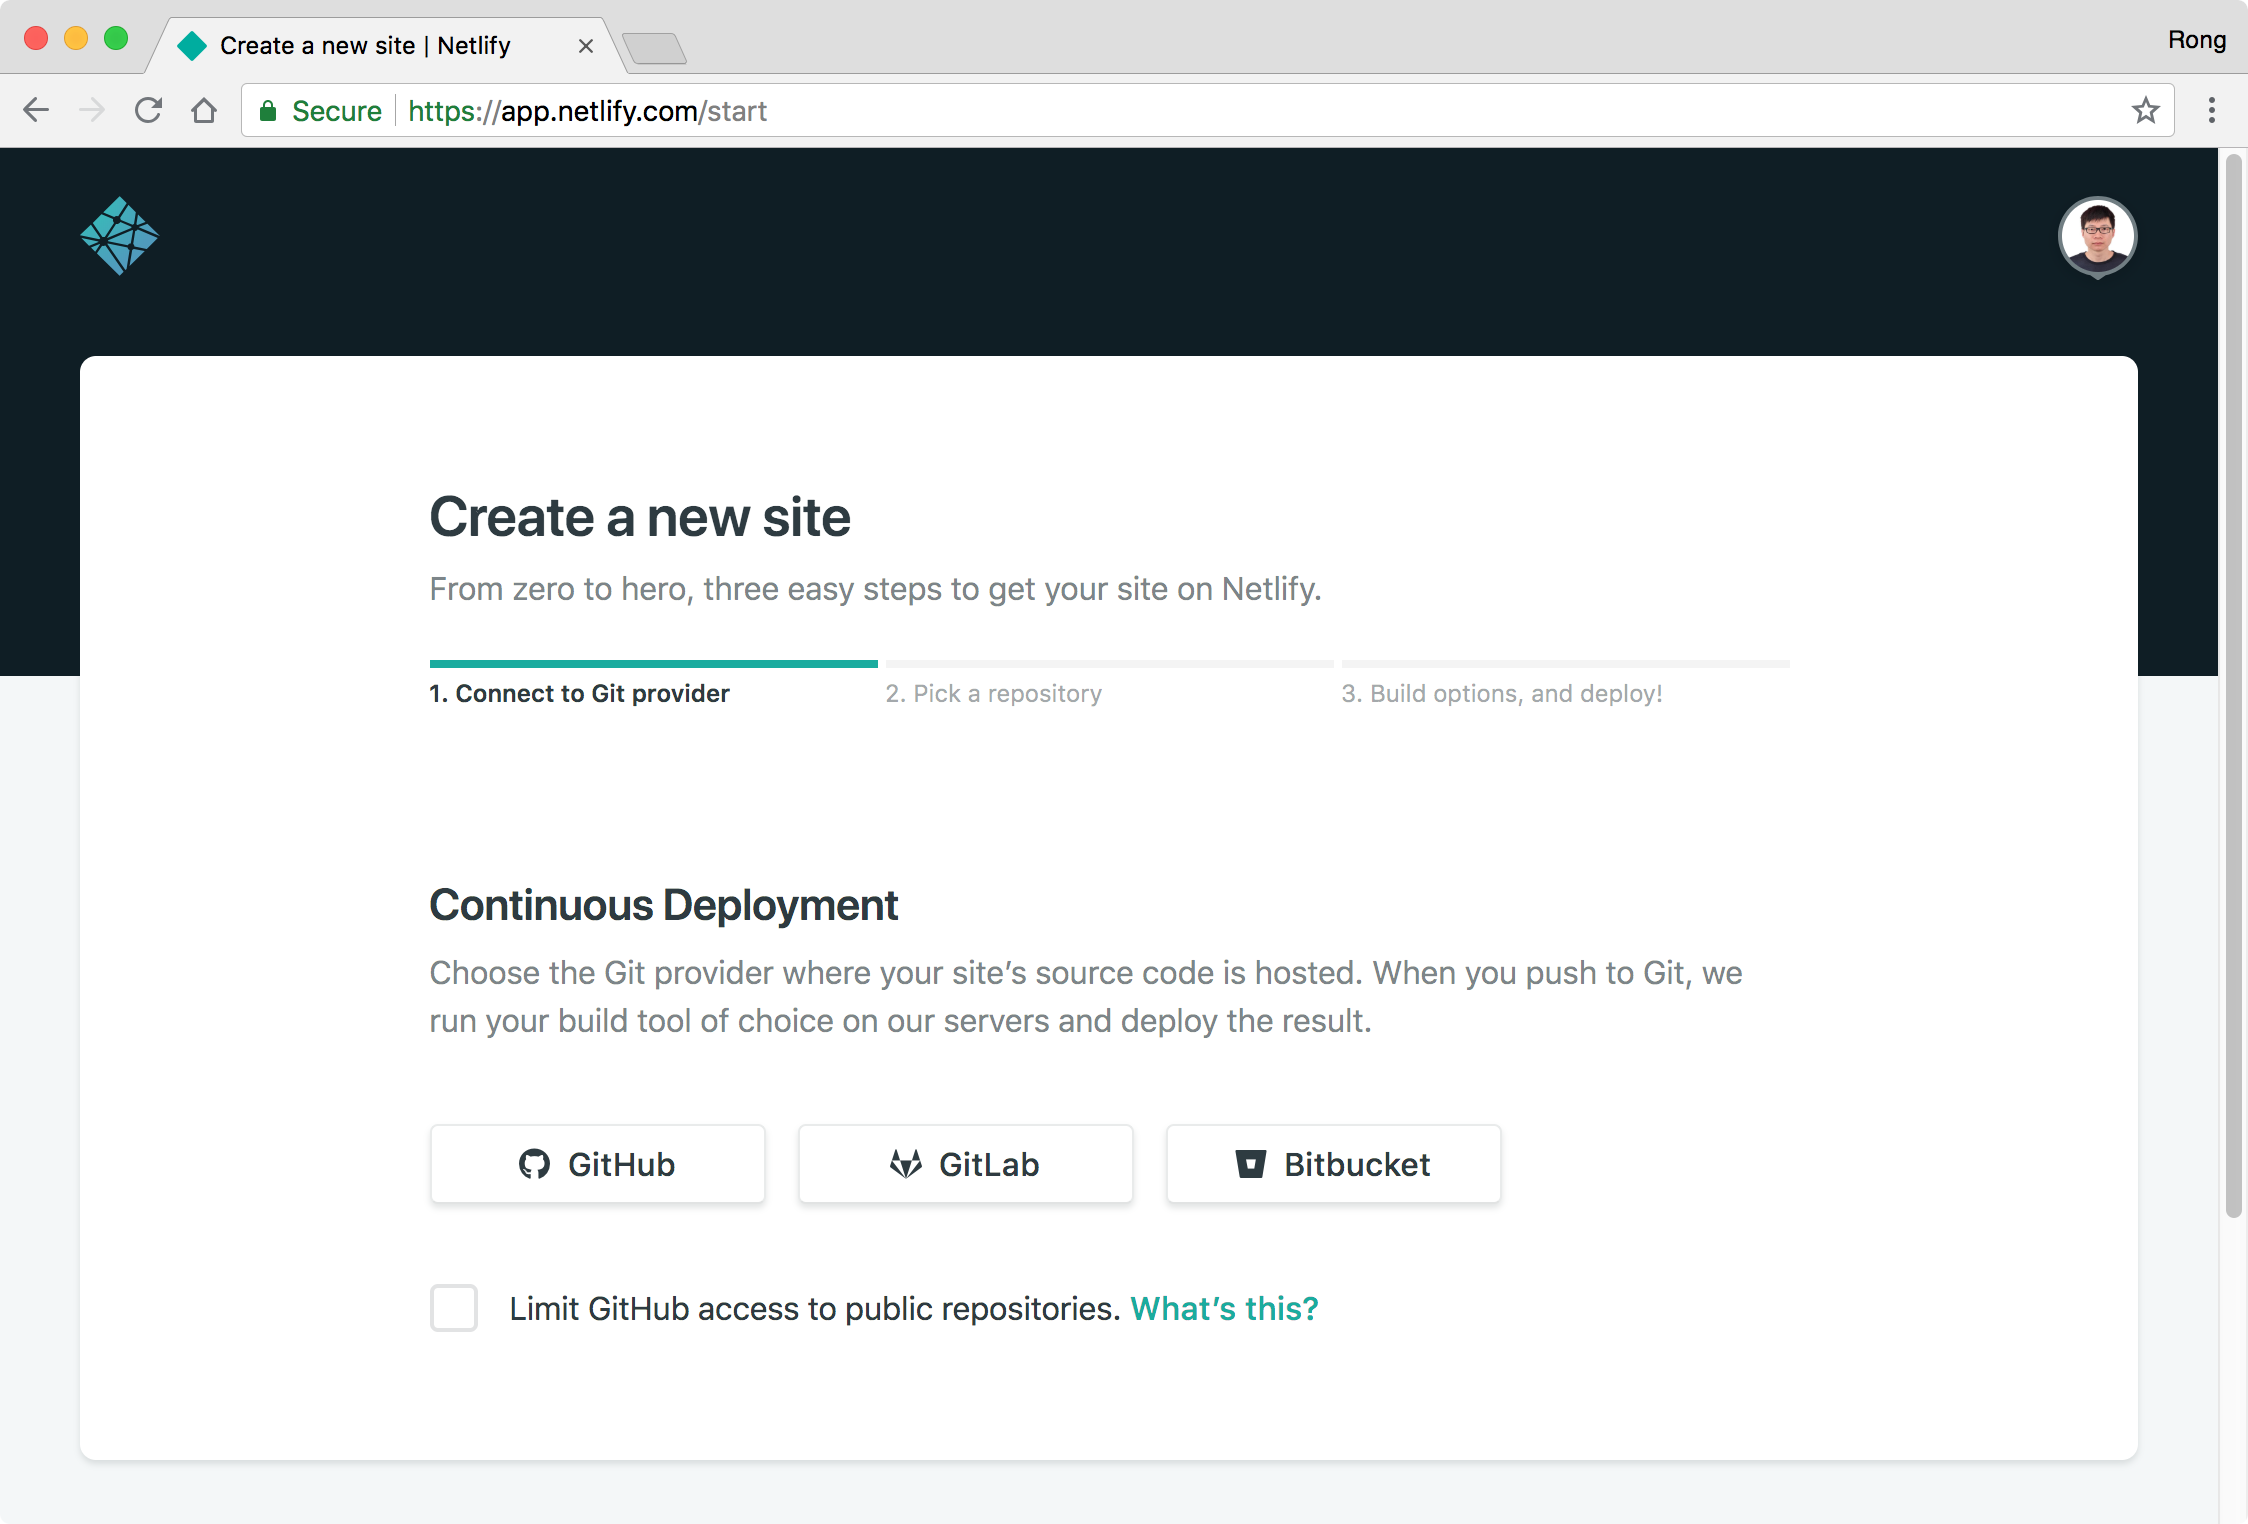
Login to Netlify https://www.netlify.com/ with GitHub account, click ‘New site from Git’.
 Choose ‘Github’, next.
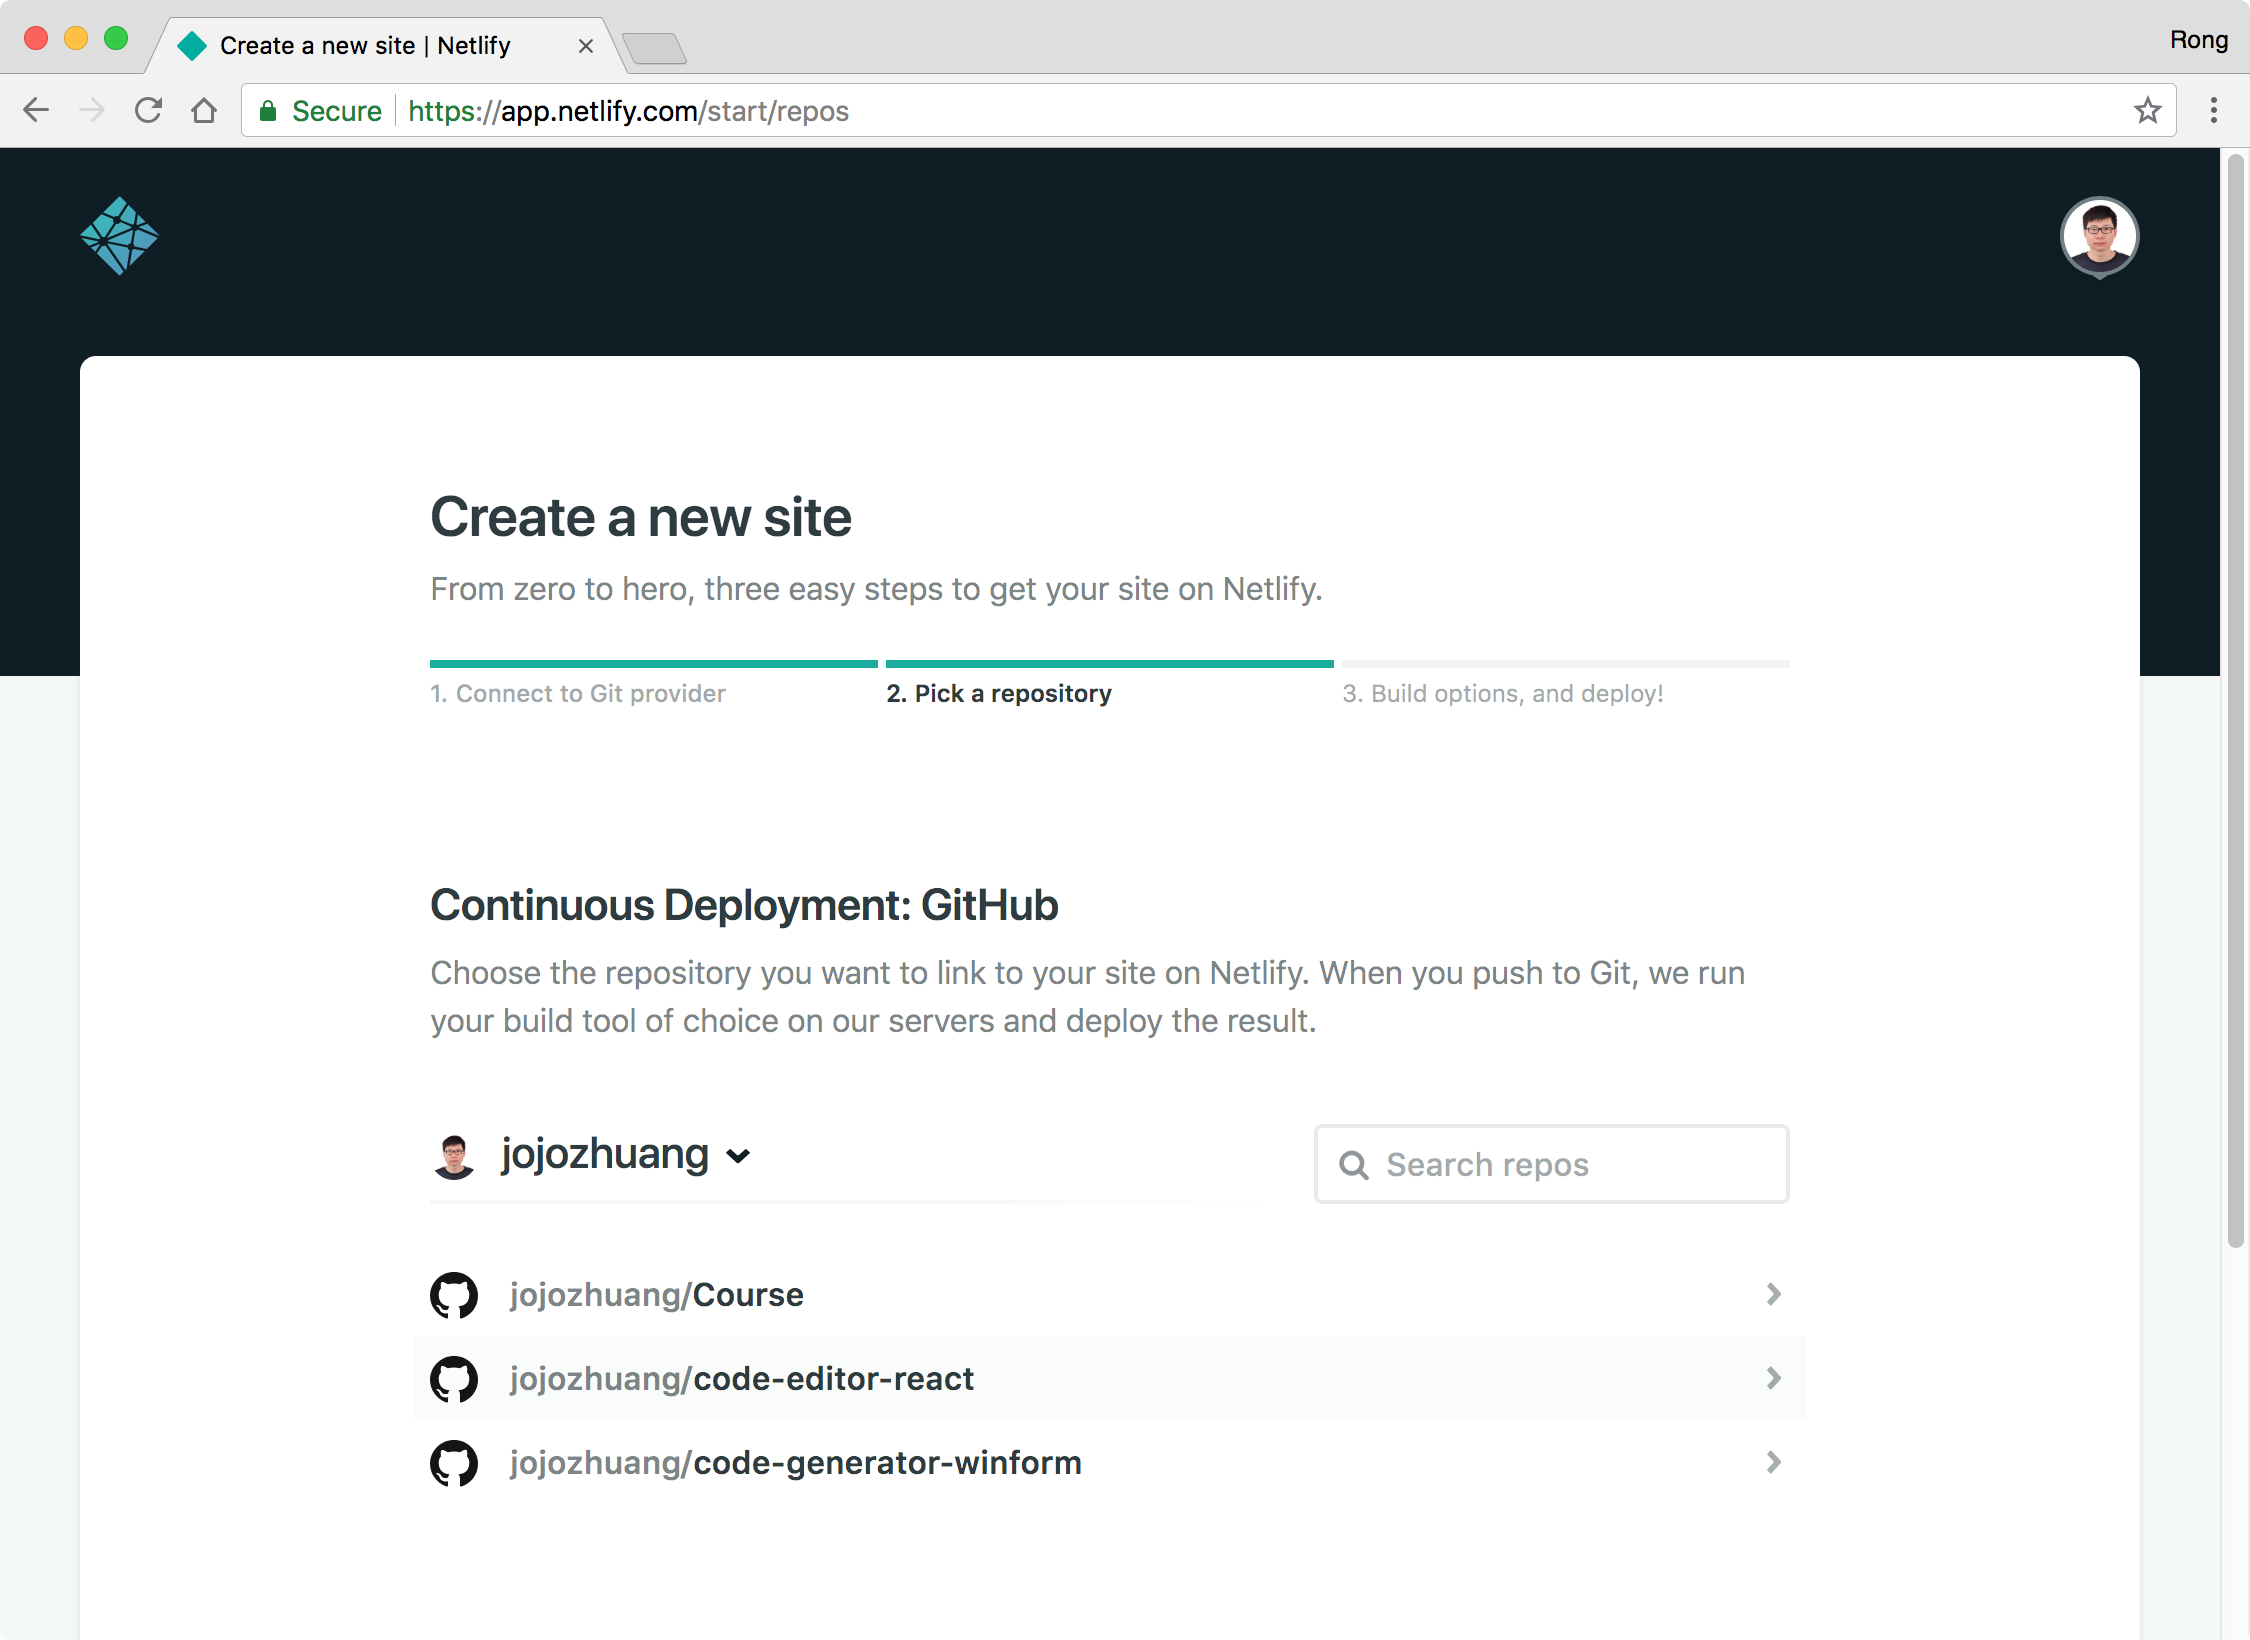
 Authorize Netlify to access your GitHub account, then choose the repository ‘code-editor-react’, next.
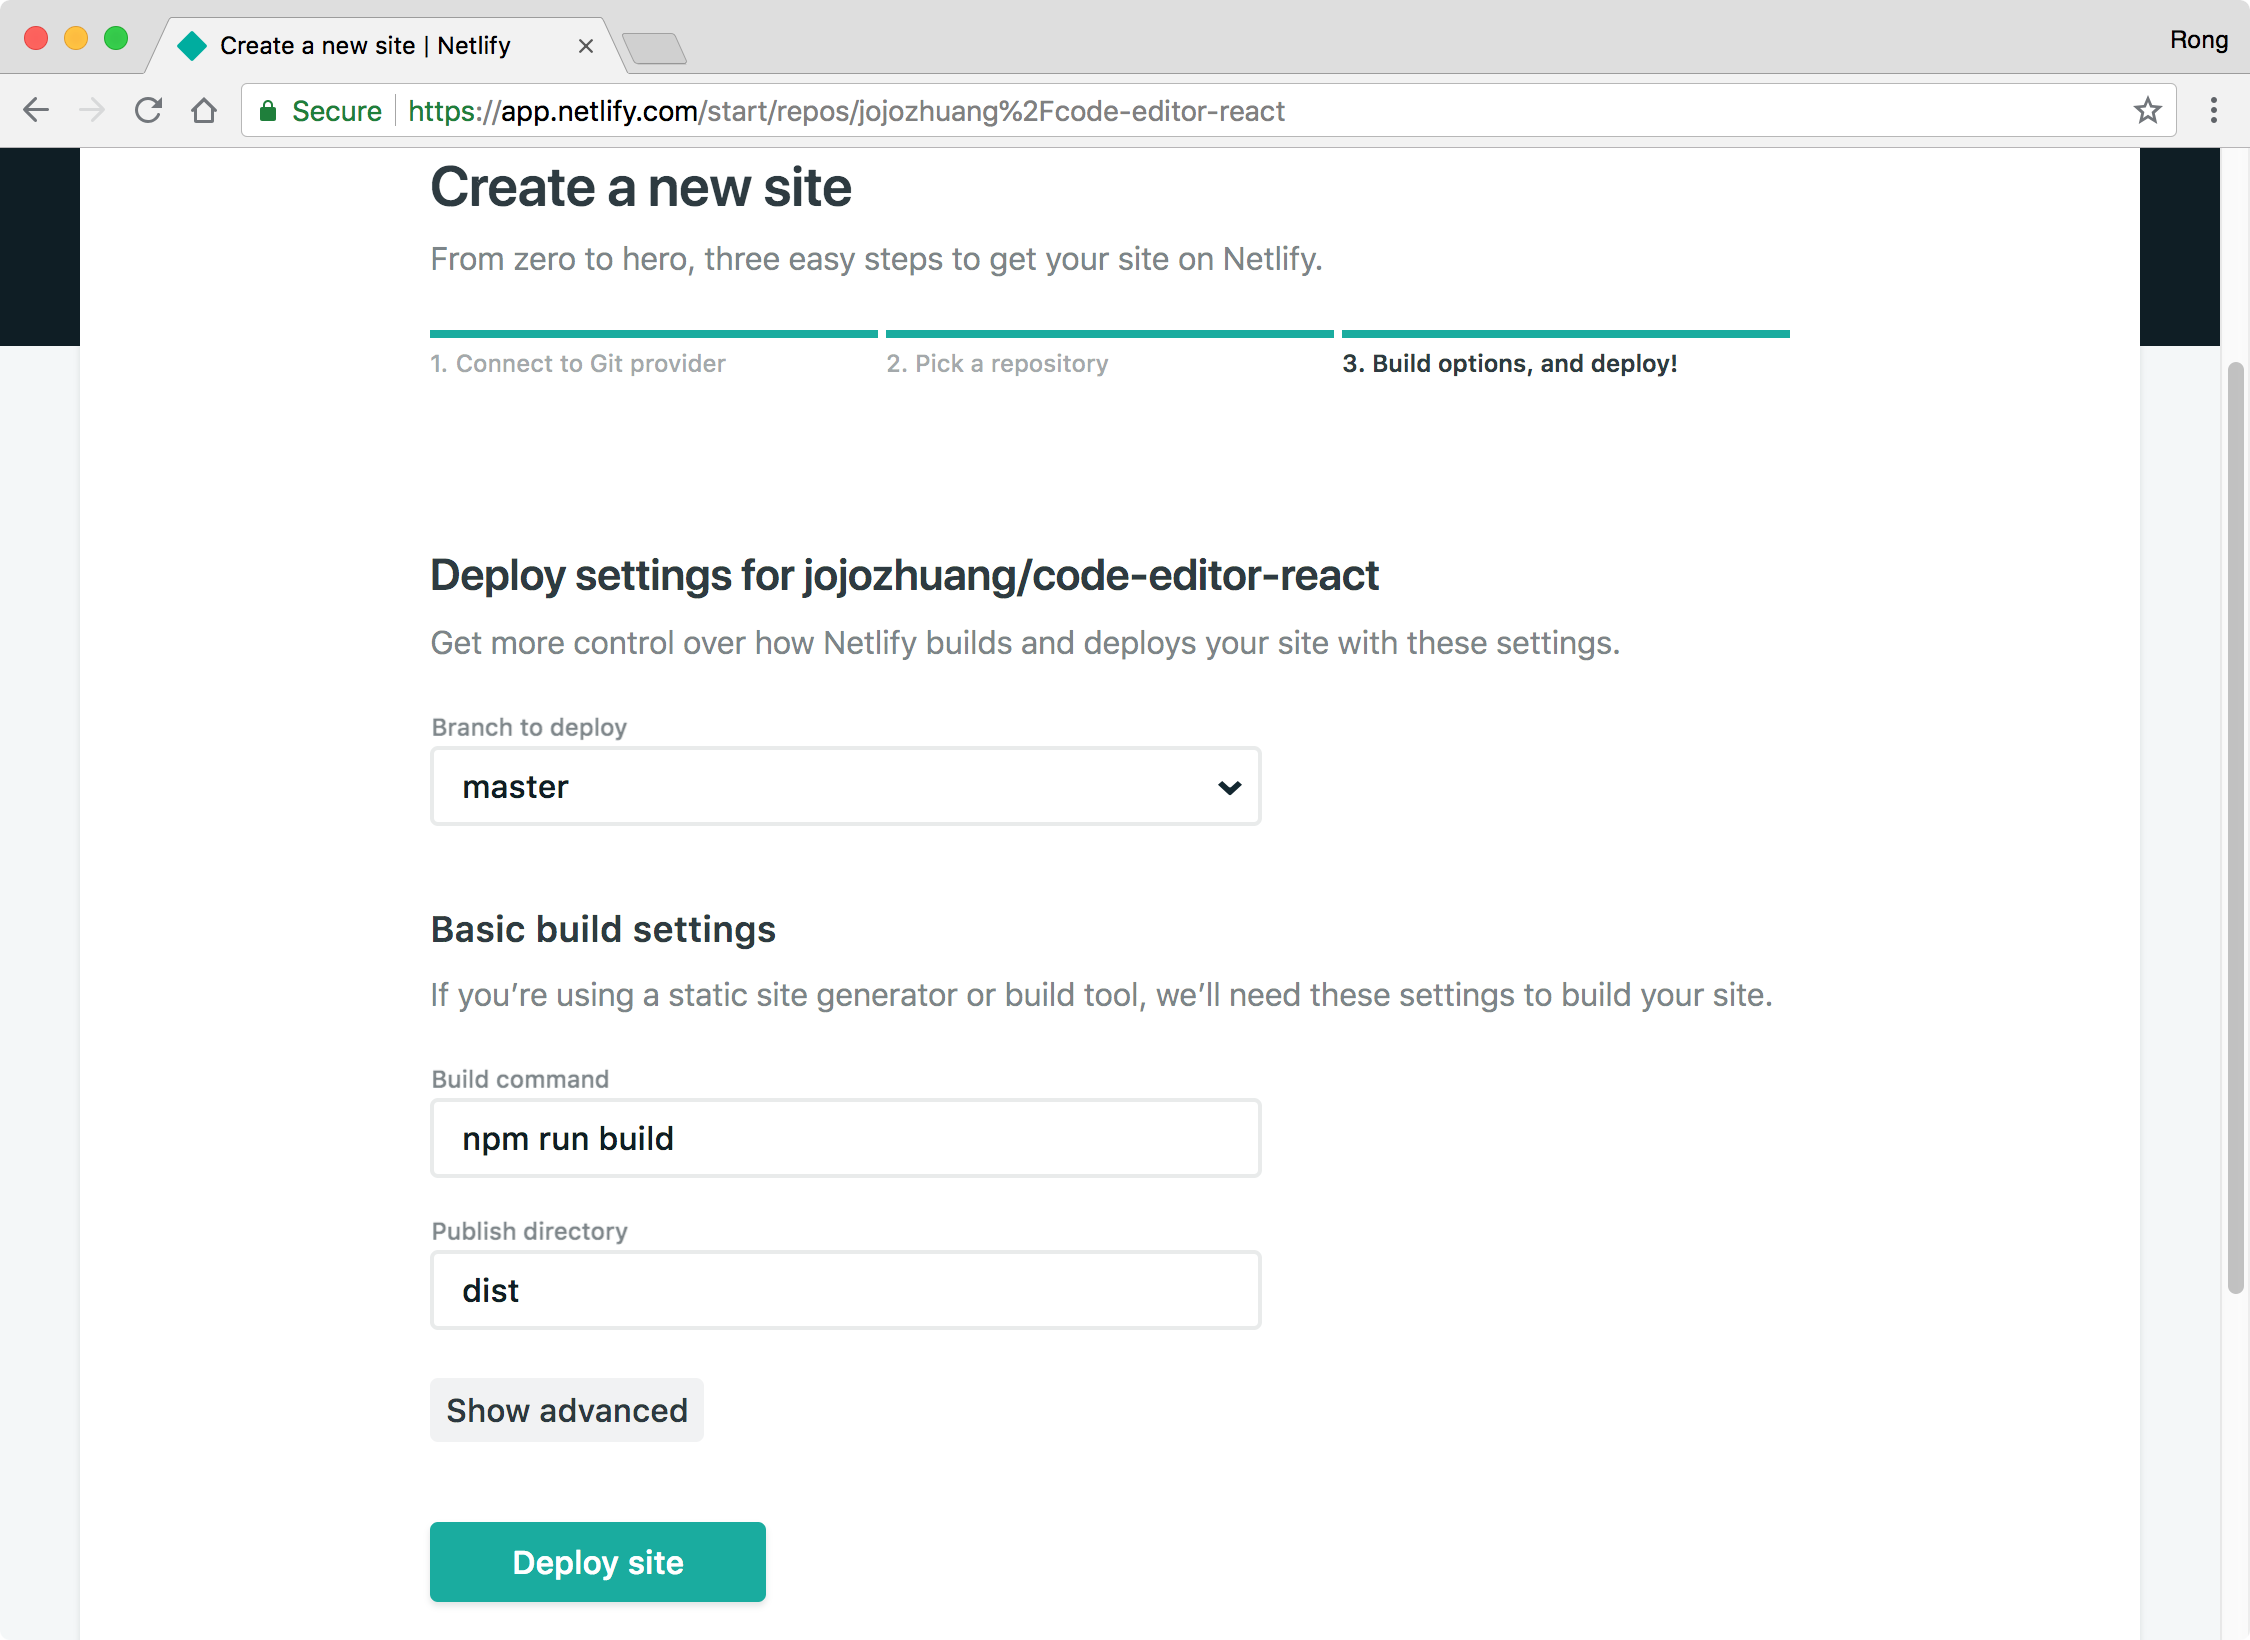
 Choose
 master for the Branch to deploy, set npm run build to the Build command, and set dist to the Publish directory, click the ‘Deploy site’ button.
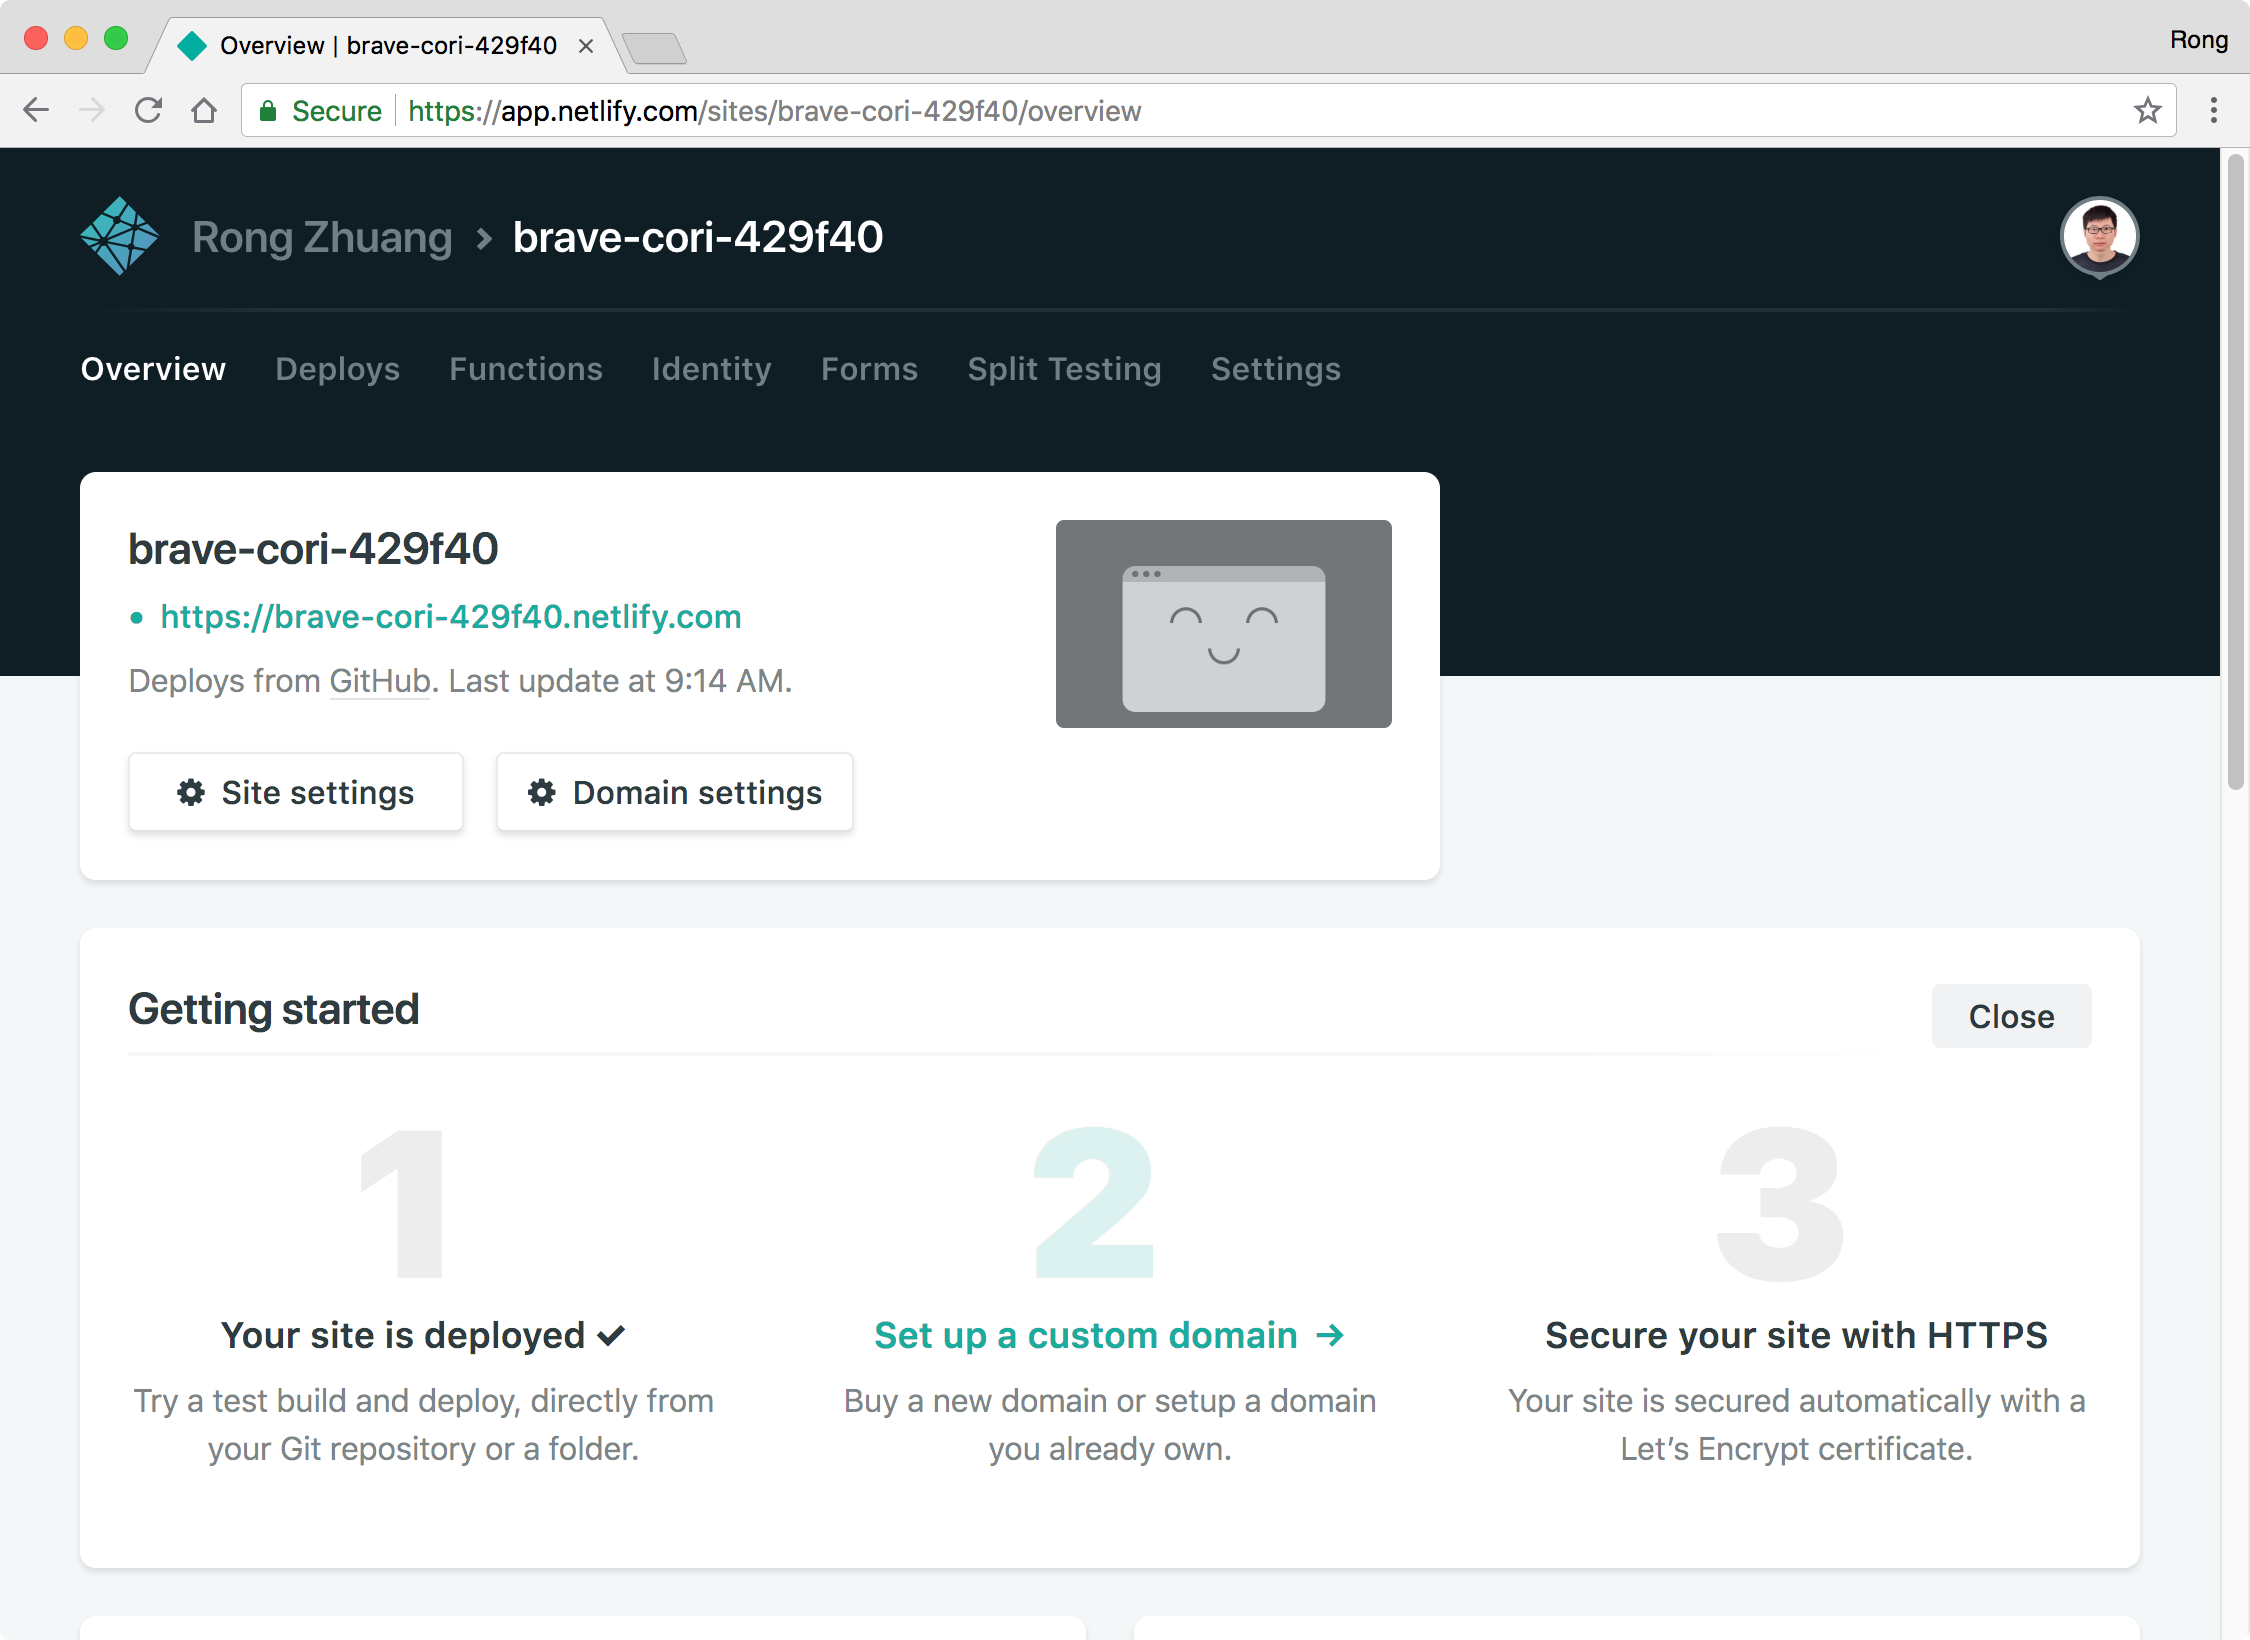
 Netlify will start to deploy your site.
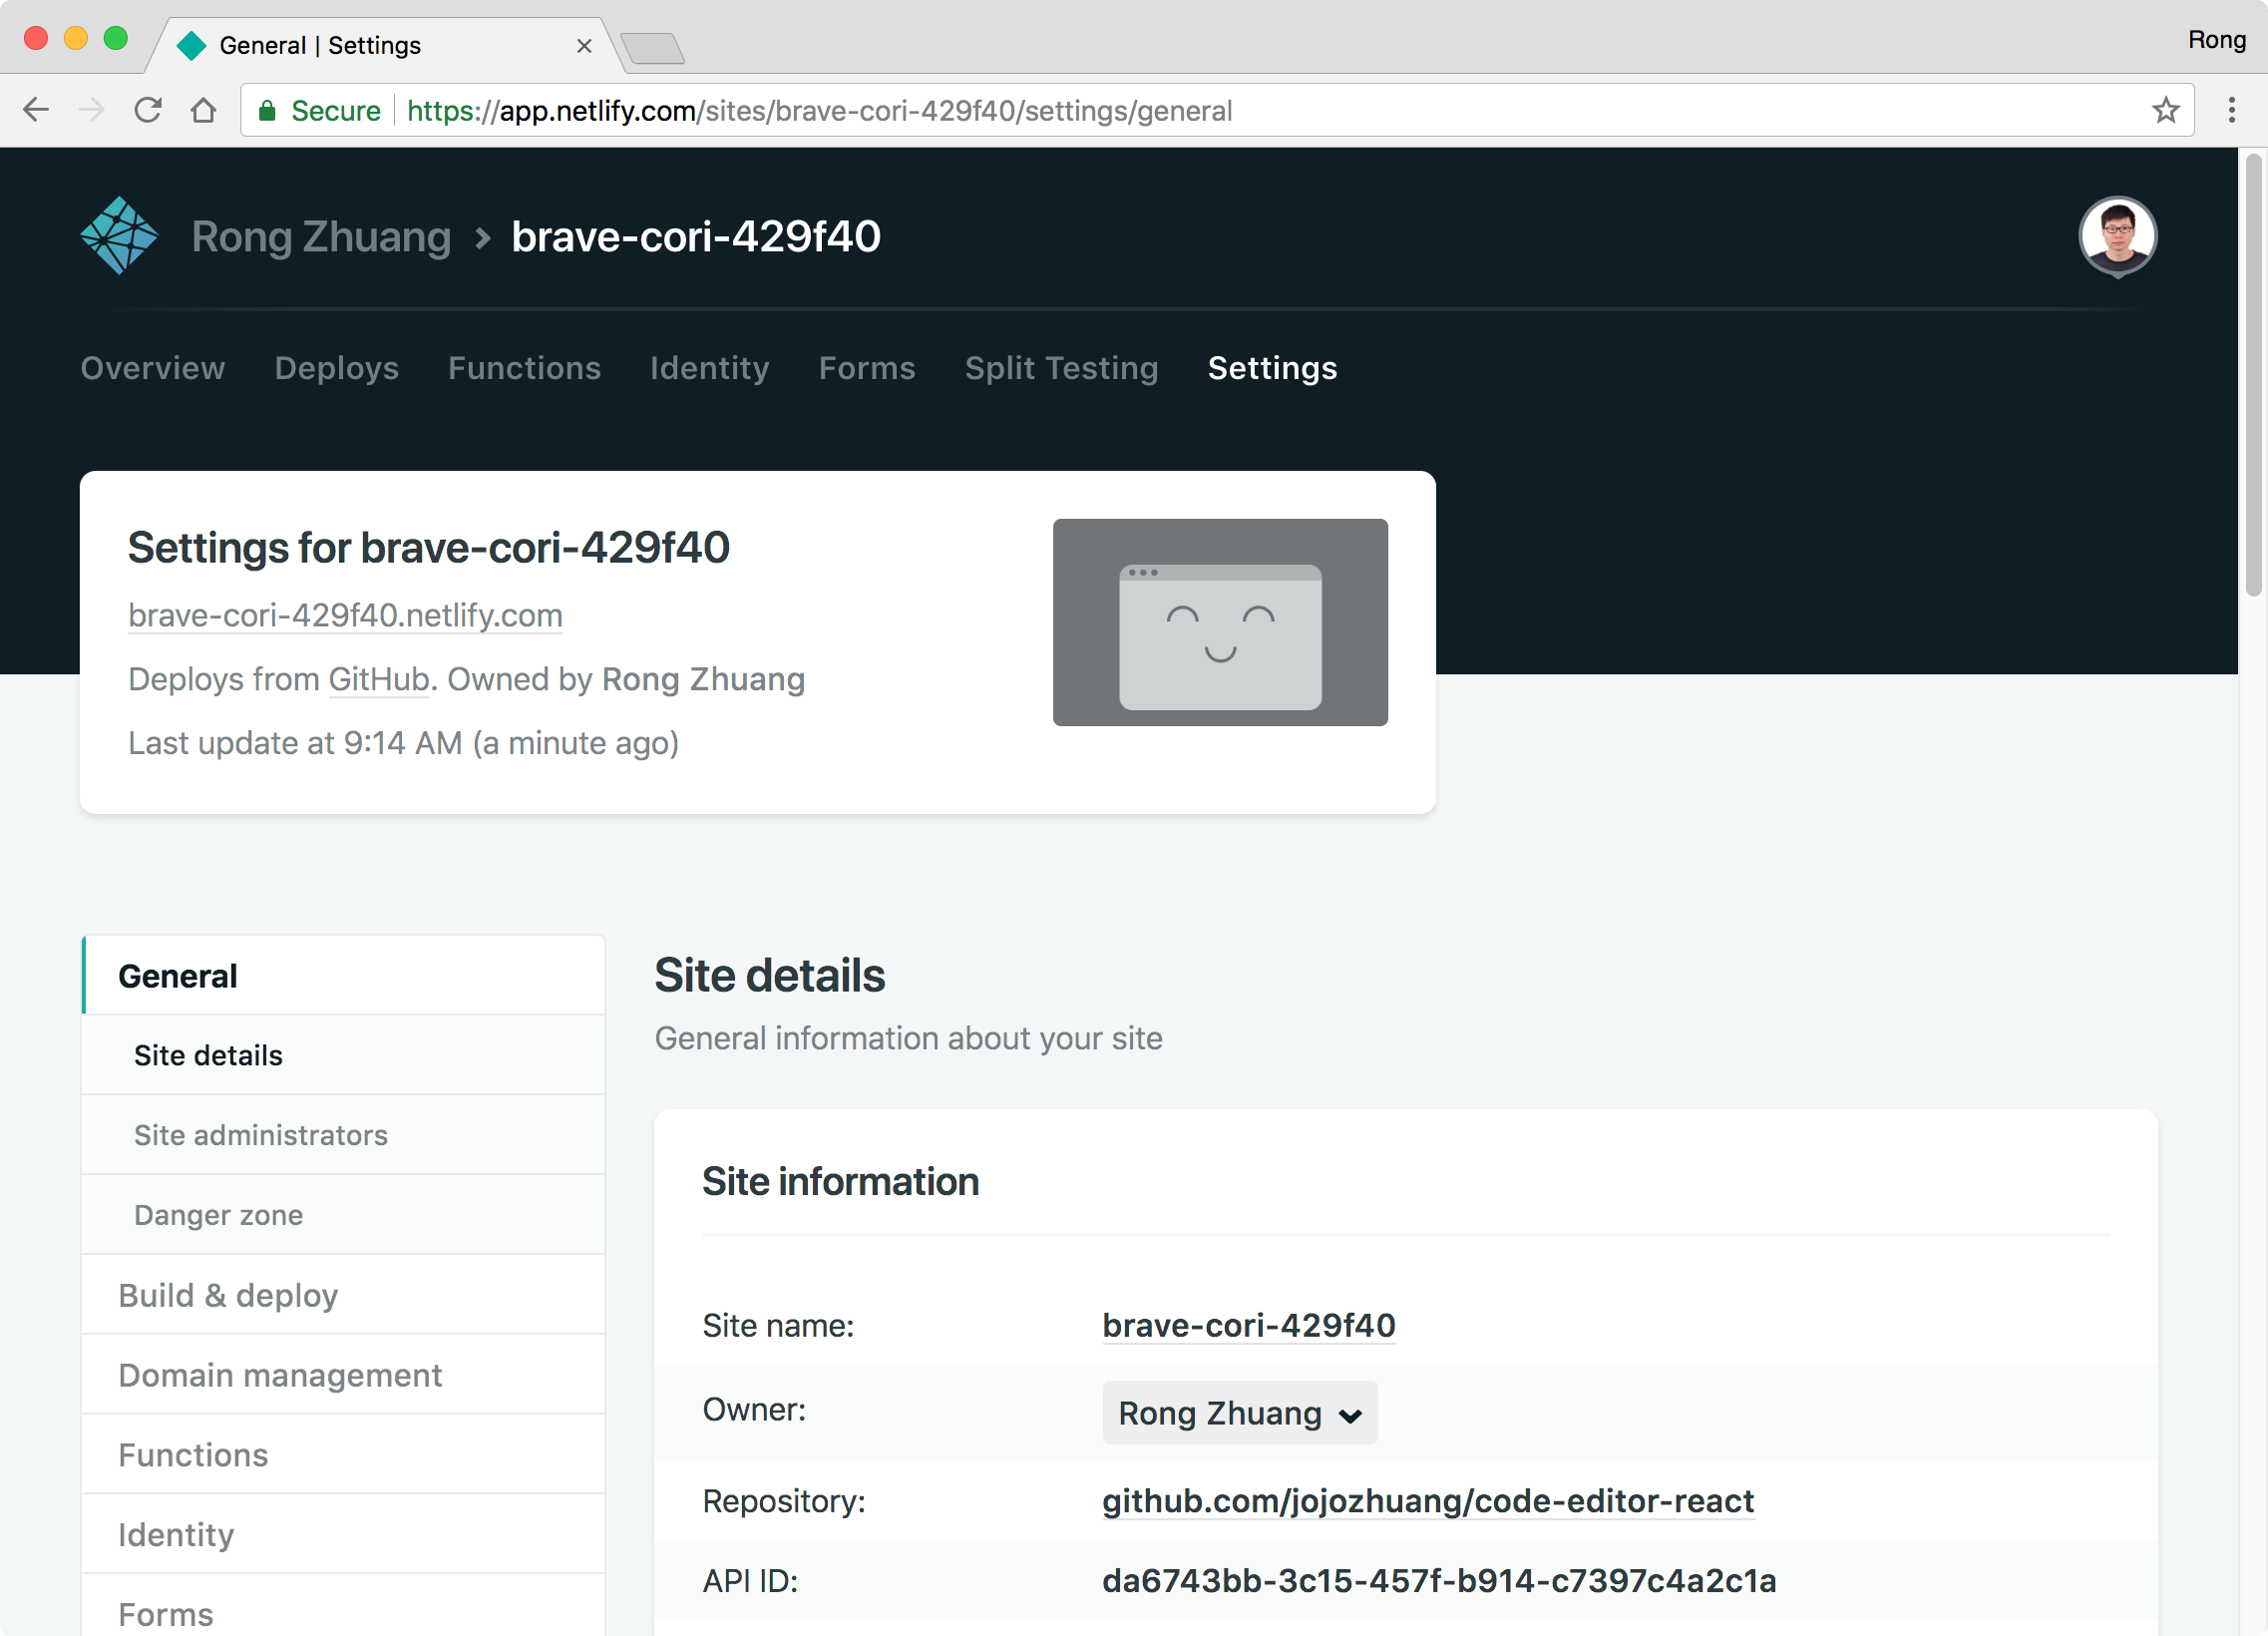
 If no issue occurs, the publish will be done after few seconds(or minutes). Notice the site is given with a random name.
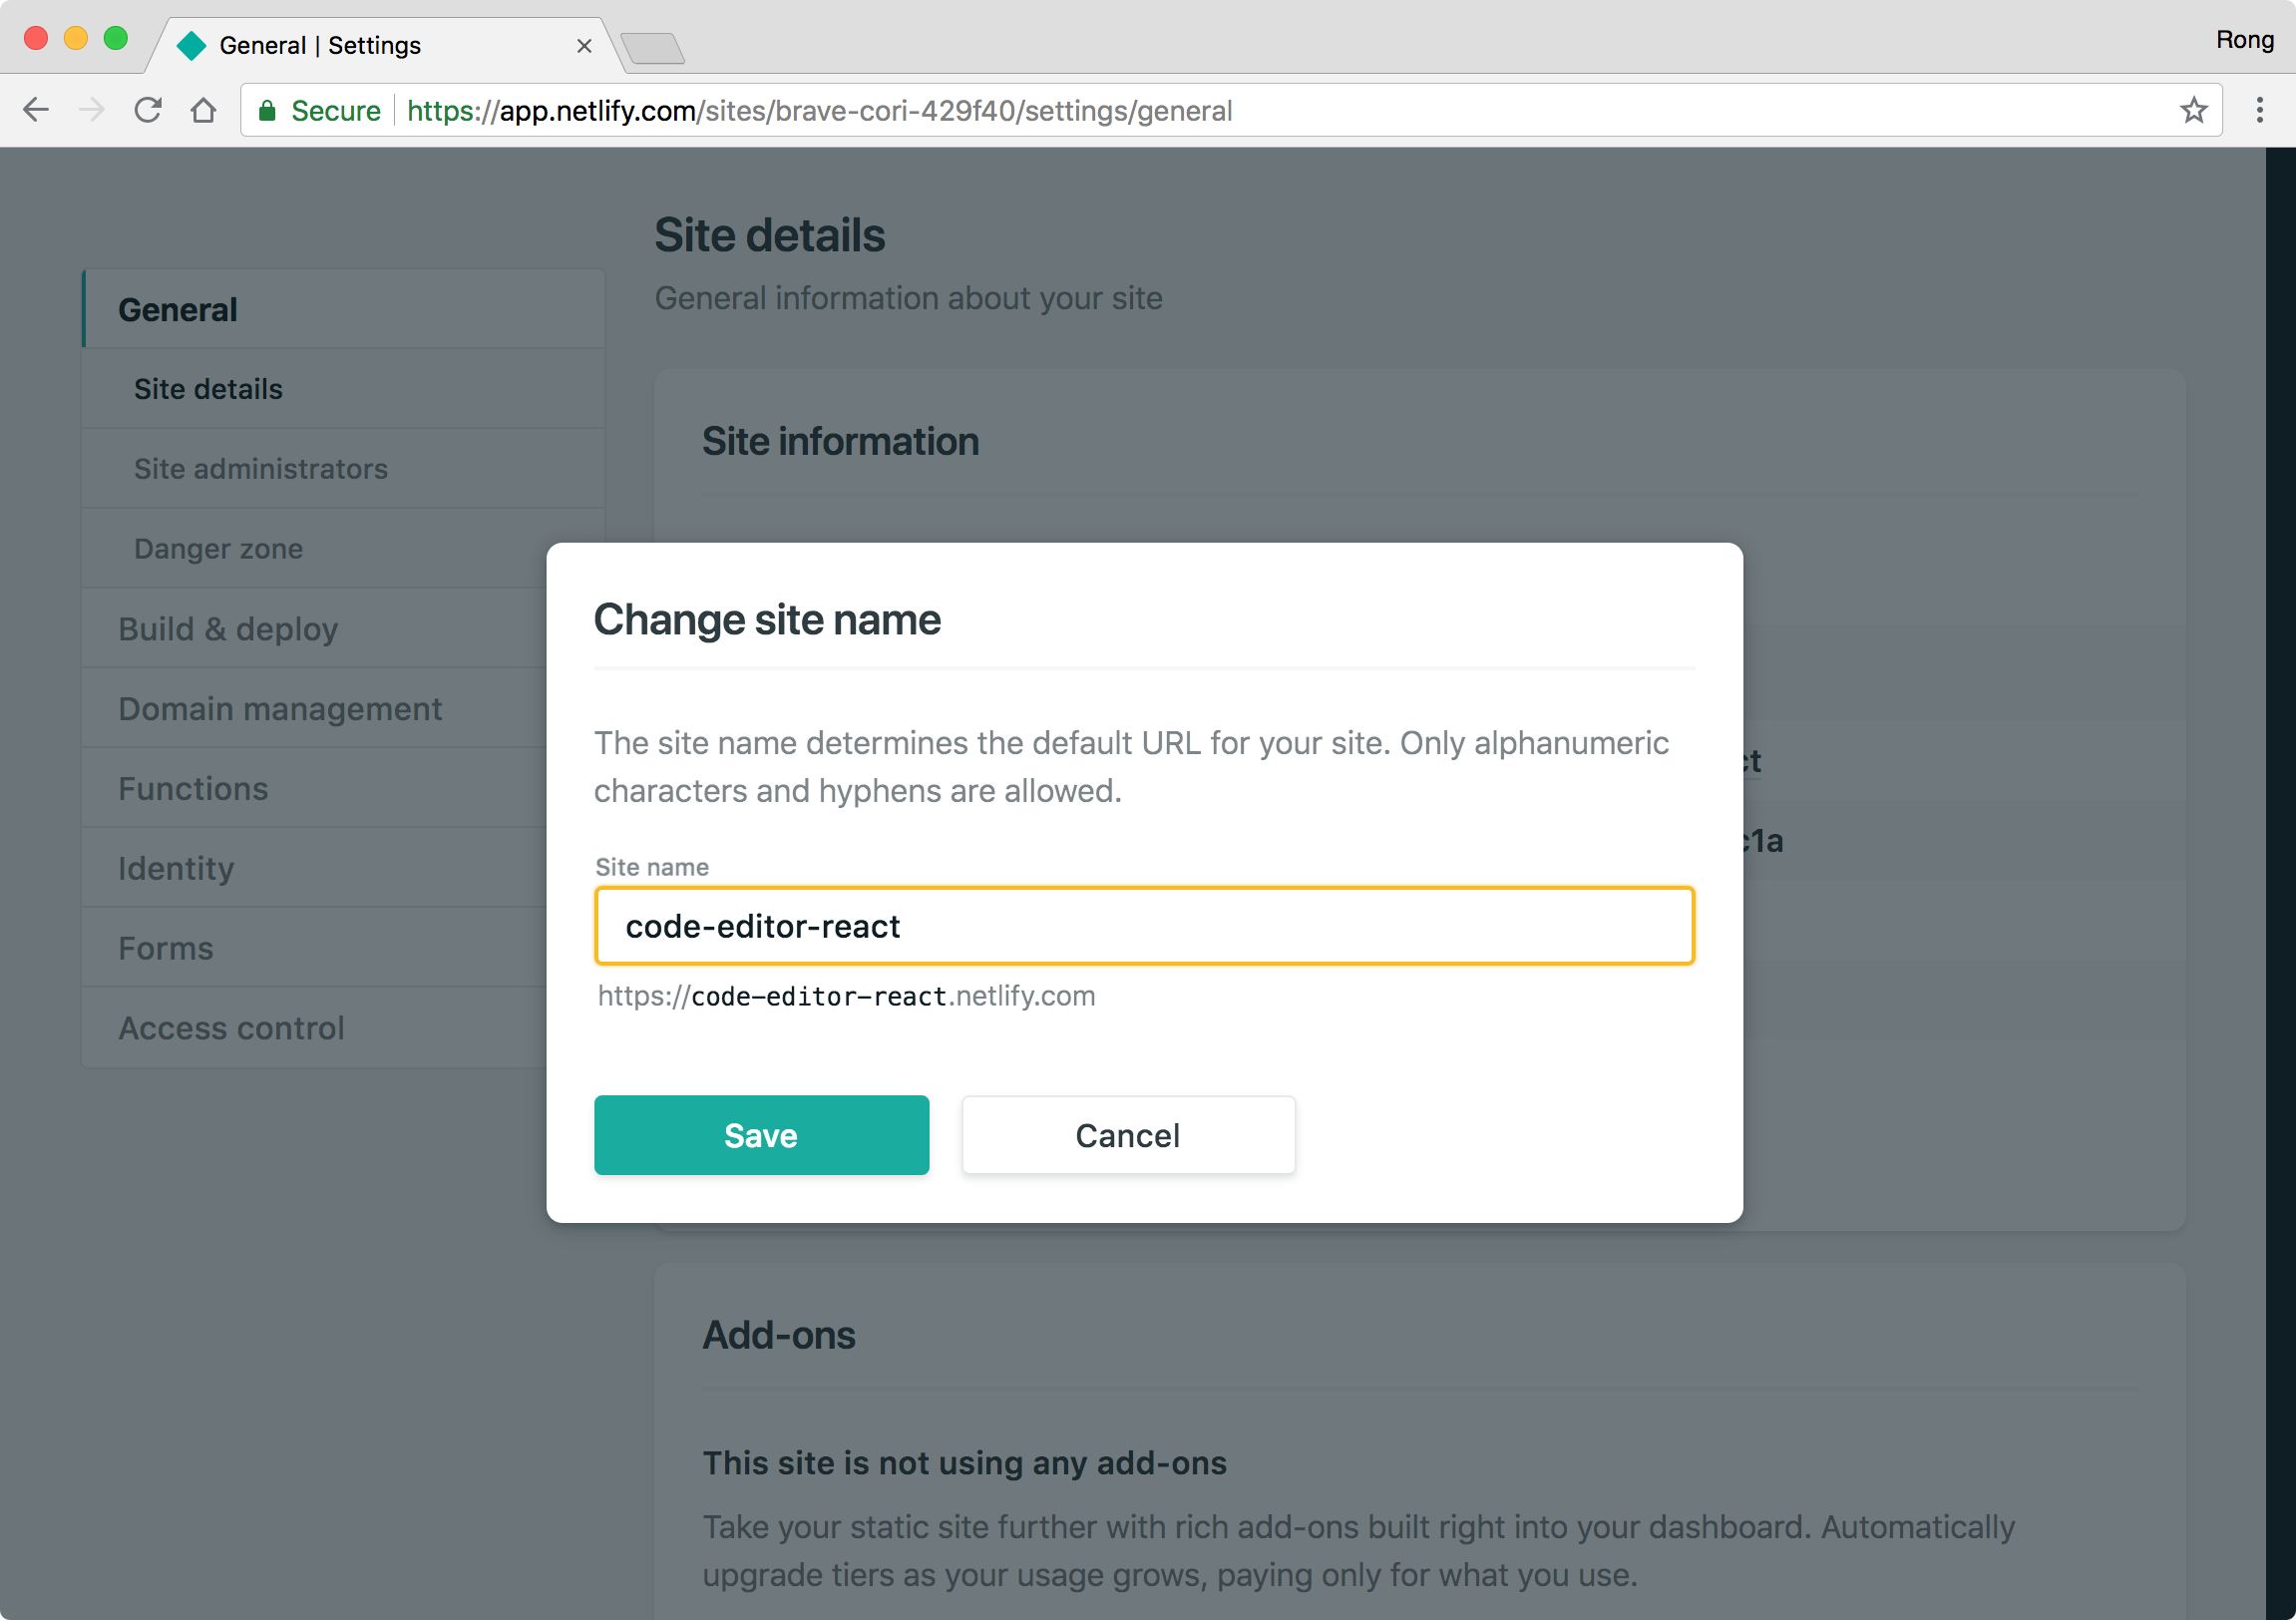
 Switch to Settings tab, scroll down and click the ‘Change site name’ button.
 Change the name to ‘code-editor-react’ and save.
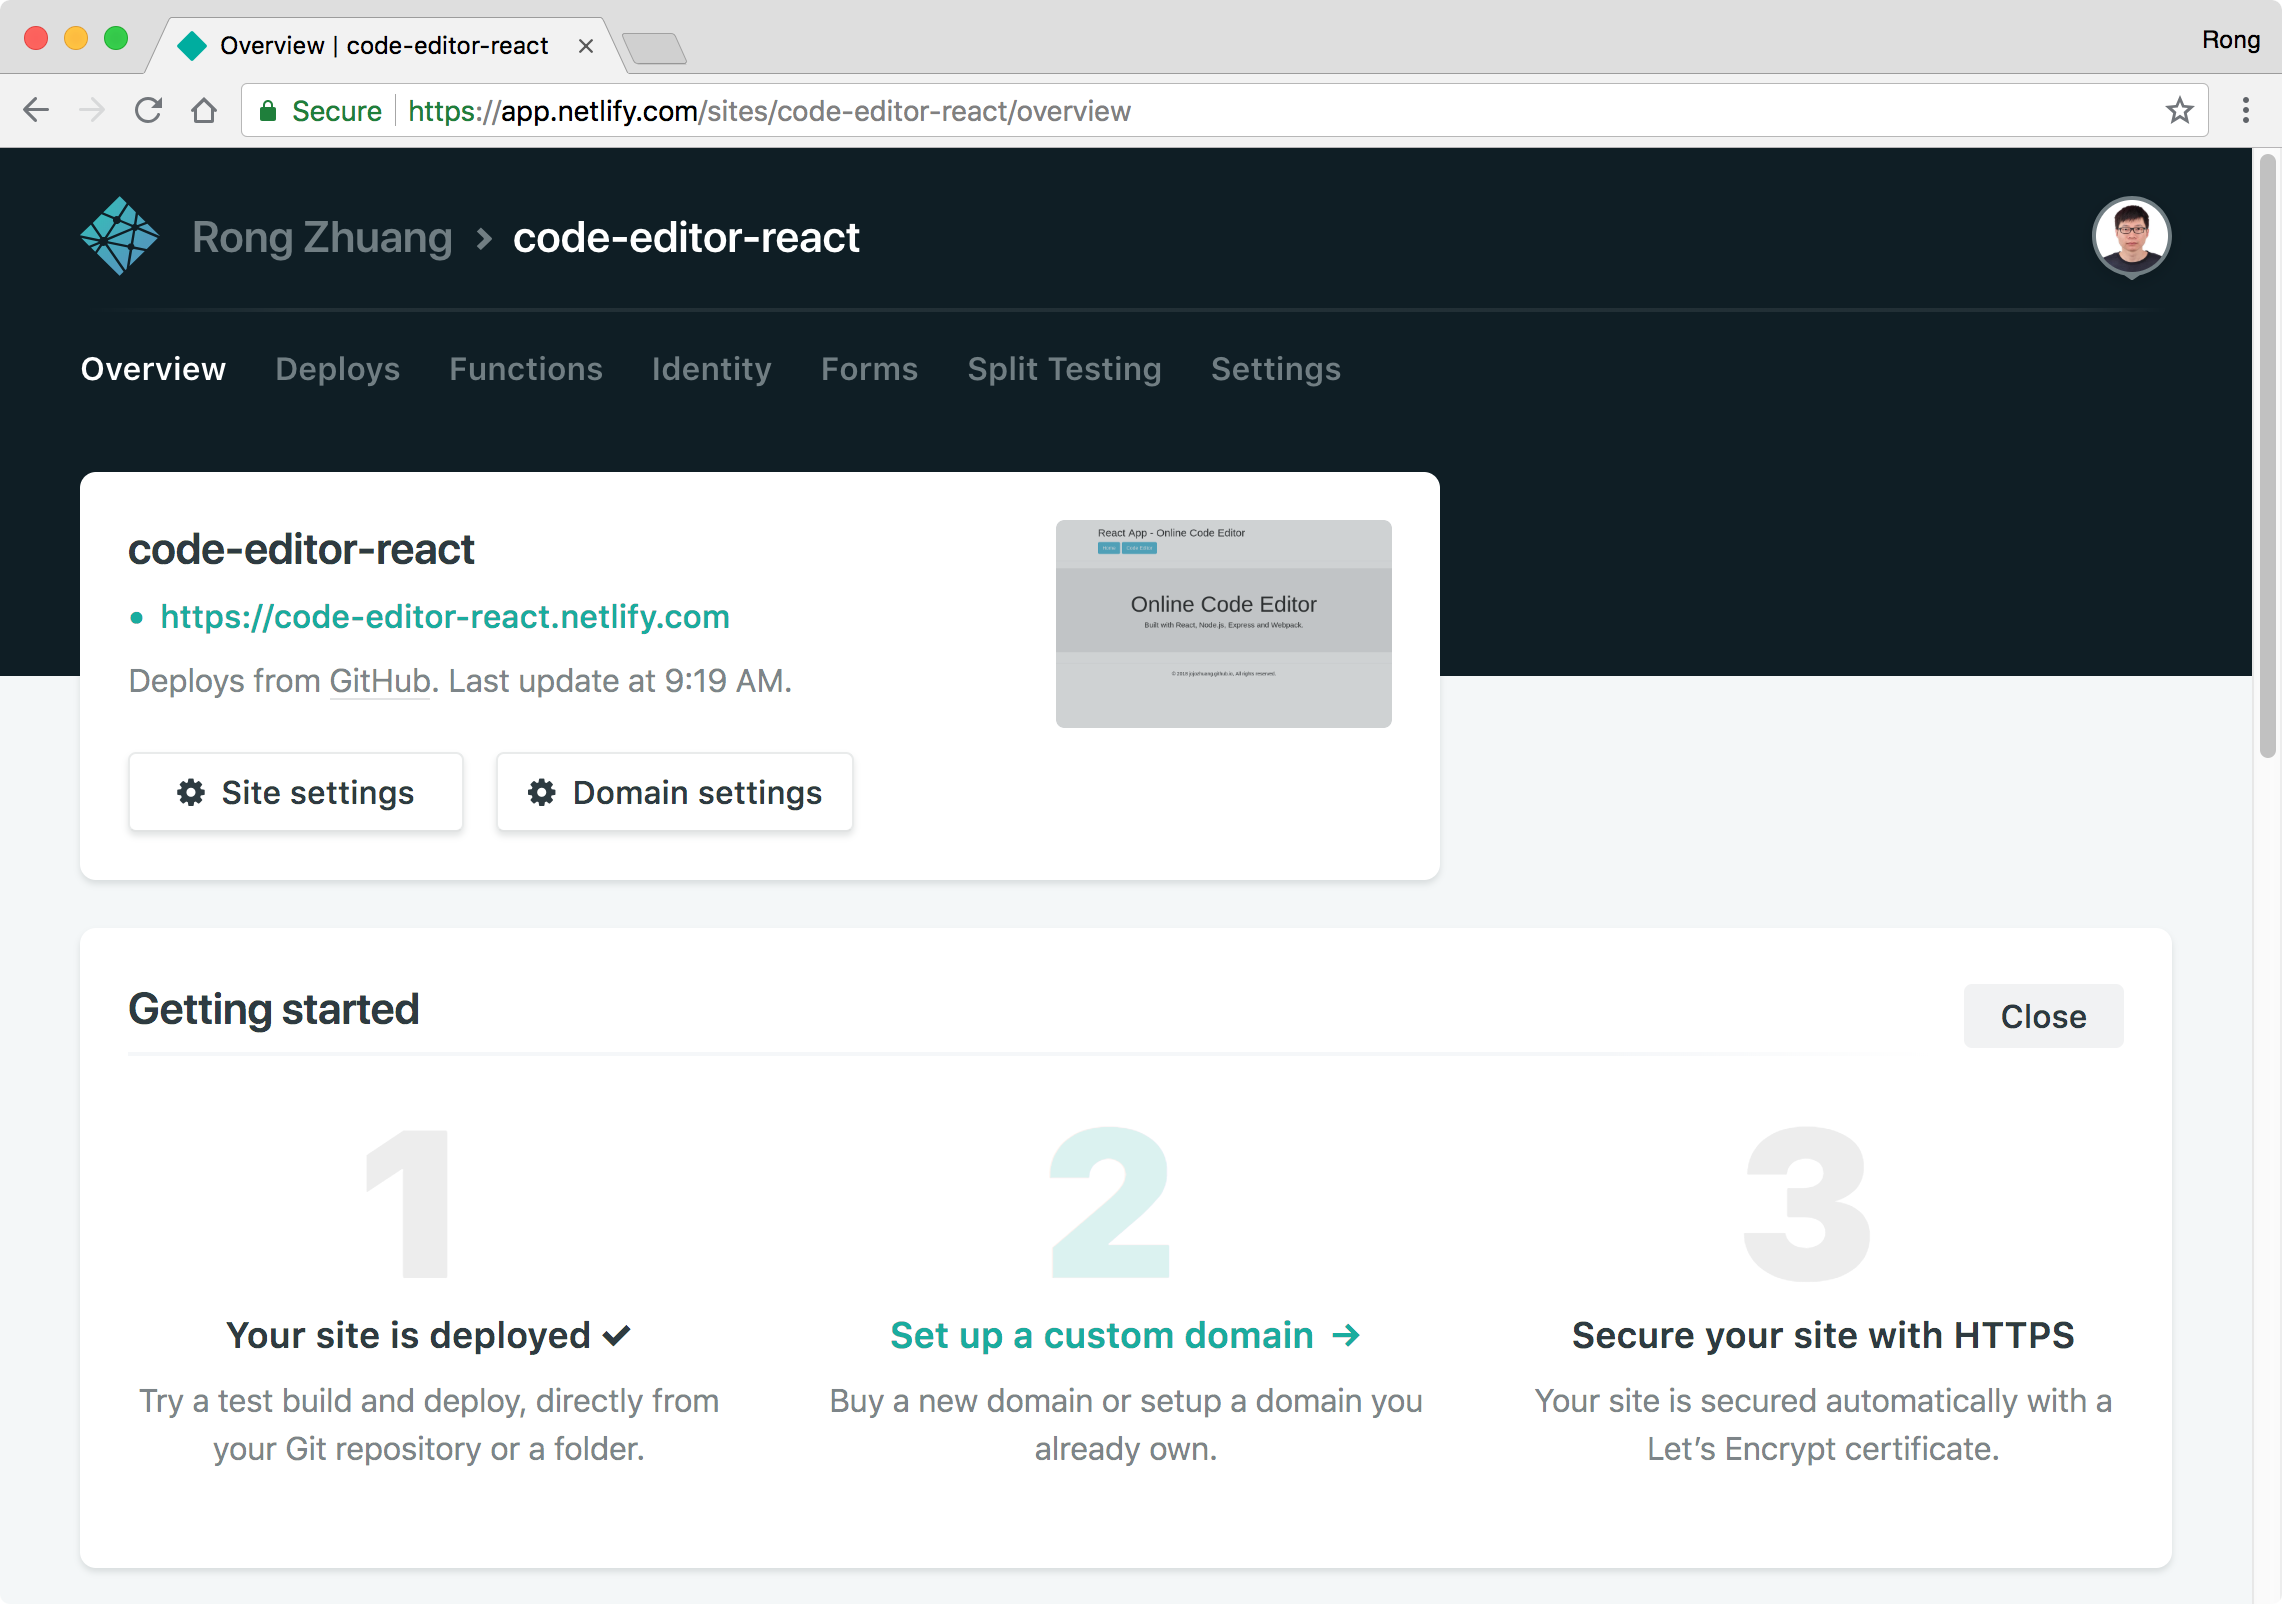
 Go back to overview, we see the new site name with the link.
3.4 Testing Client
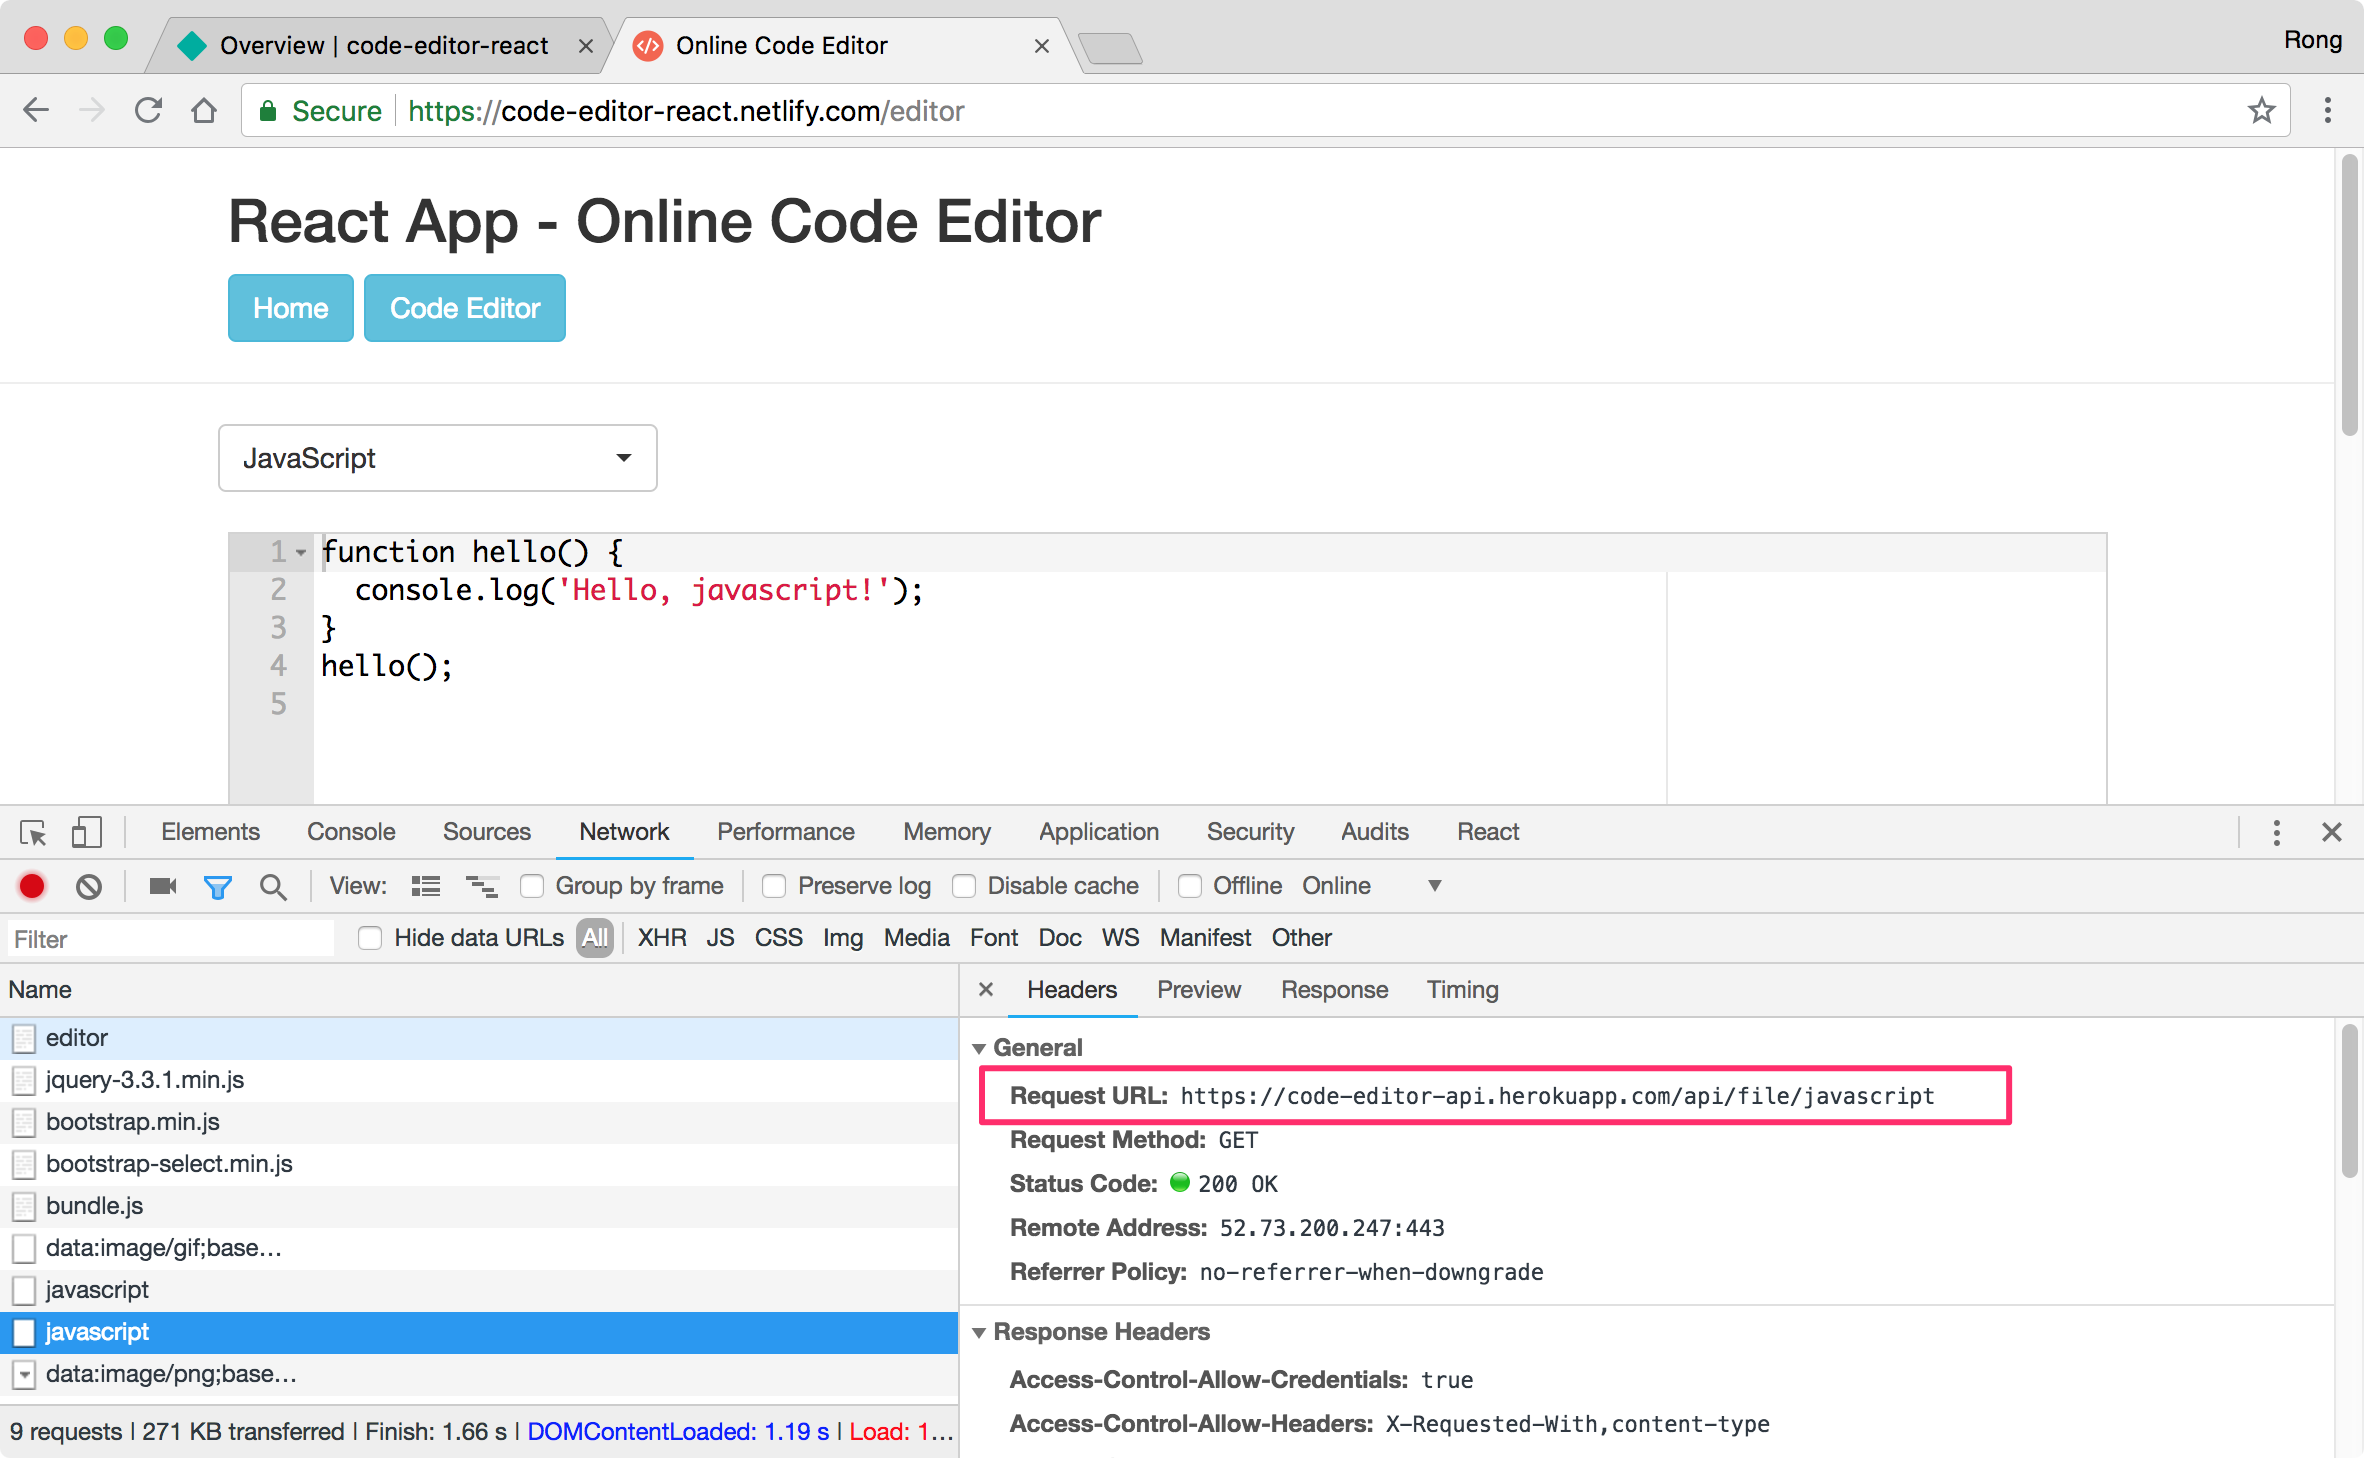
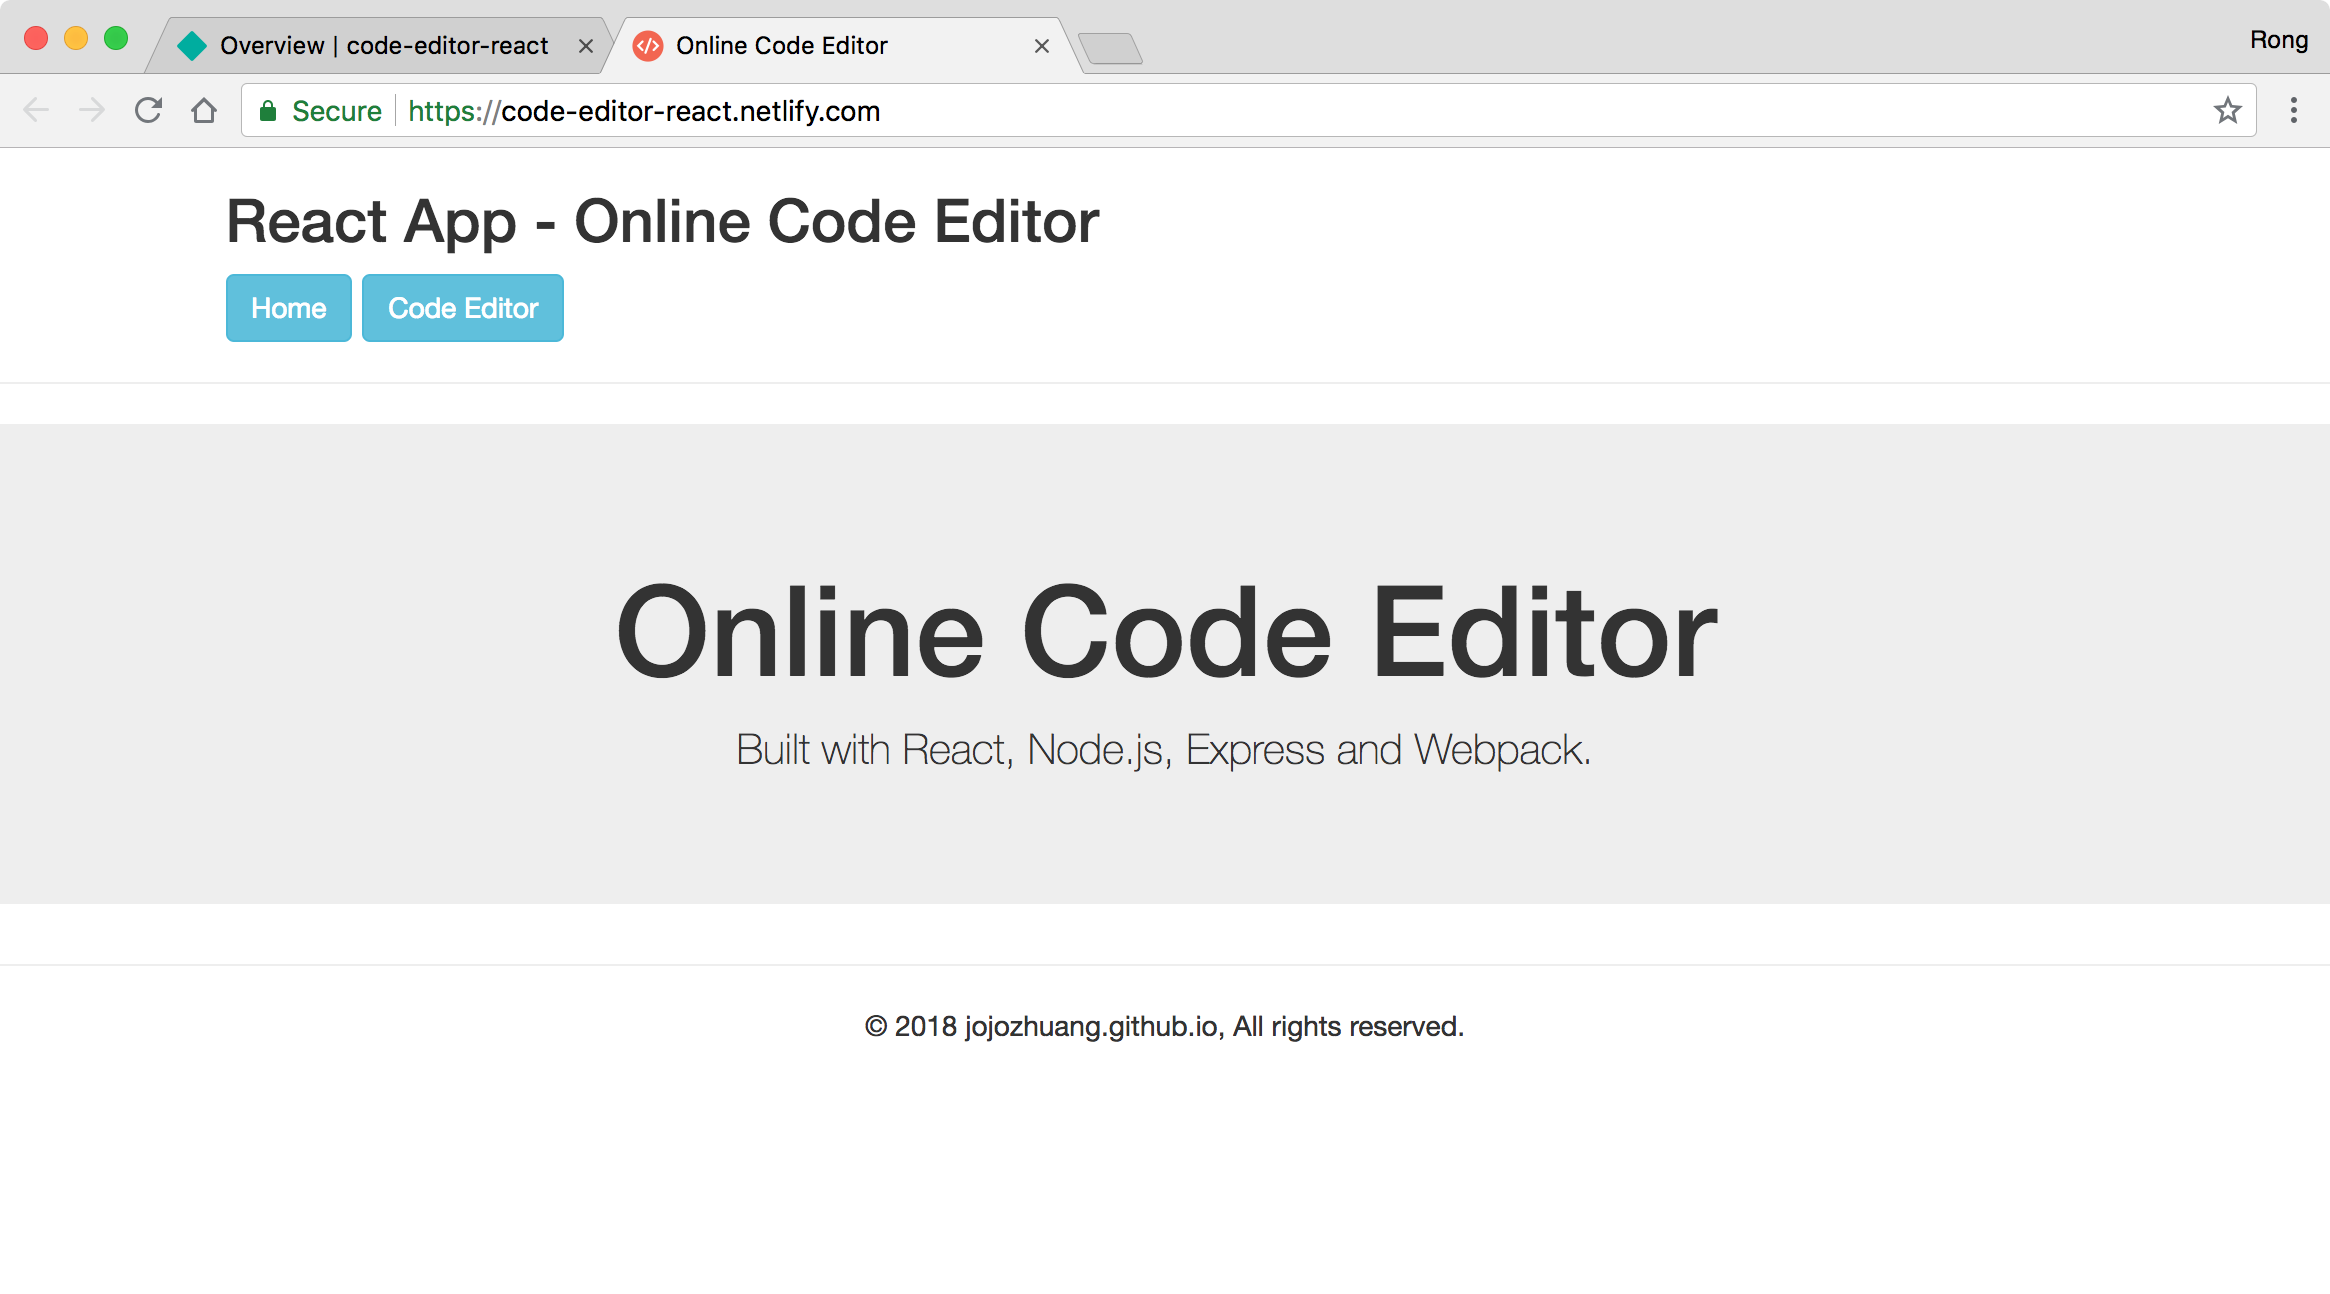
Access https://code-editor-react.netlify.com/, we see the homepage.
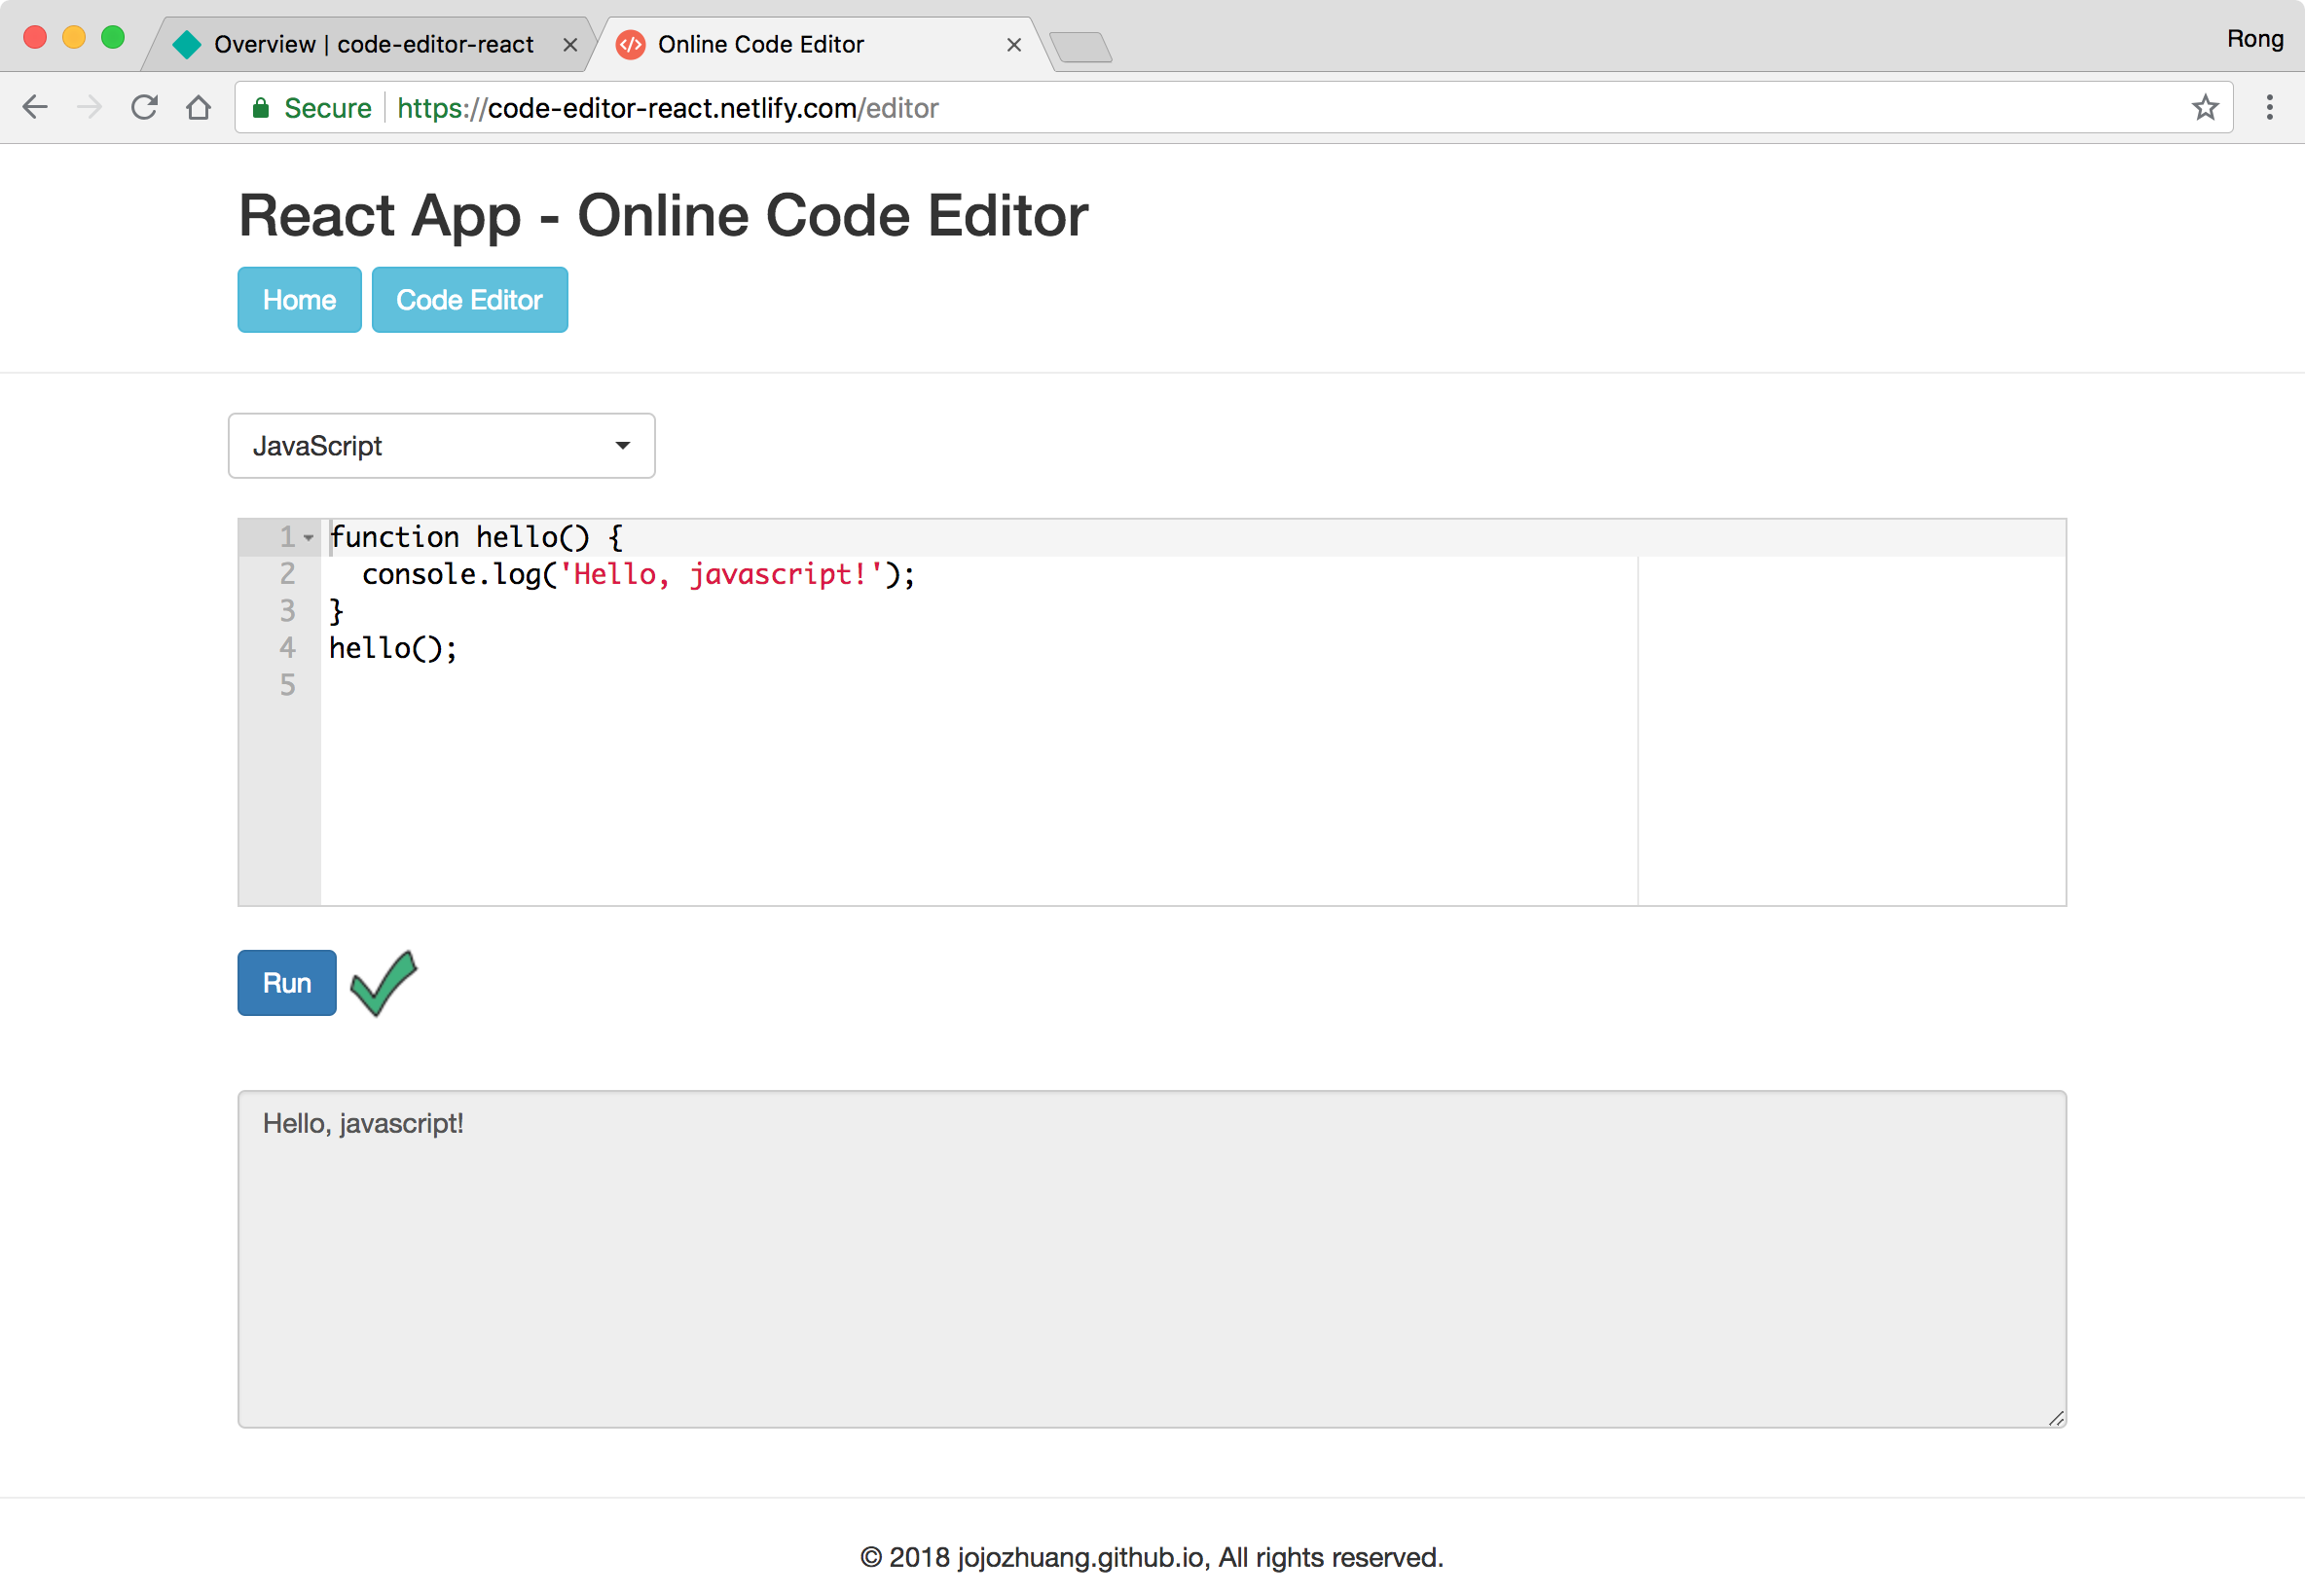
 Click ‘Code Editor’ button, select javascript and click Run. It works properly.
 Though chrome debug tool, we see this React app is calling the RESTful API hosted on Heroku to fetch data.