8521. Setting up Android Development Environment on MacAndroid Studio, Genymotion, and JDK
Introduce how to setup Android development environment on Mac.
1. Development of Android
In order to develop Android applications, you must have the following software installed on your system:
- Java Development Kit (JDK)
- Android Studio
- Genymotion(Emulator, it is optional)
2. Installing JDK on Mac
2.1 Downloading Oracle JDK
Download the latest version of JDK from http://www.oracle.com/technetwork/java/javase/downloads/index.html. Select JDK, in the next page, accept the license and choose ‘jdk-8u151-macosx-x64.dmg’ to download.
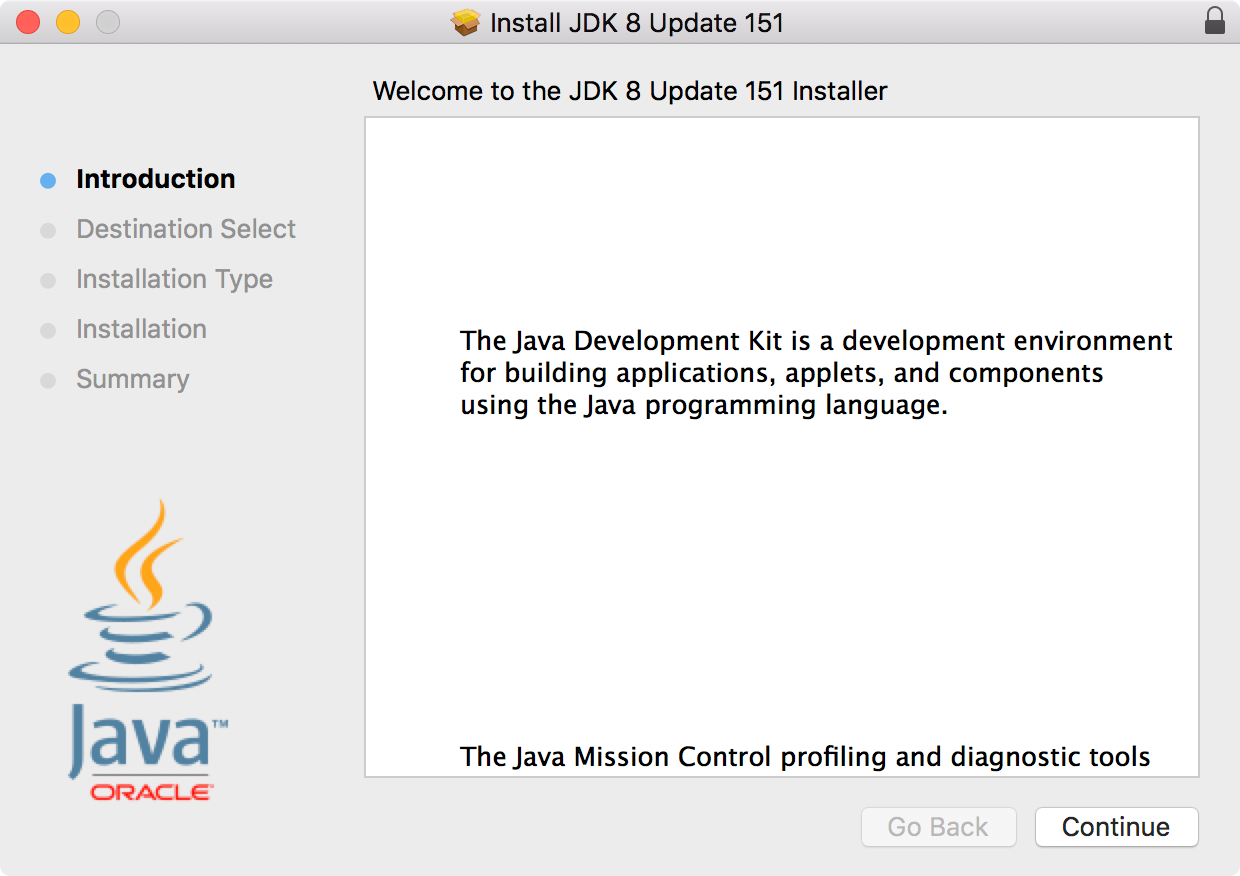
2.2 Installing JDK
After downloading finish, double click on the installer. Follow the wizard to install JDK.
Finally, JDK is installed to /Library/Java/JavaVirtualMachines/jdk1.8.0_151.jdk/.
2.3 Checking Java Version
$ java -version
You should be able to see the java information like below.
java version "1.8.0_151"
Java(TM) SE Runtime Environment (build 1.8.0_151-b12)
Java HotSpot(TM) 64-Bit Server VM (build 25.151-b12, mixed mode)
3. Installing Android Studio
3.1 Downloading Android Studio for Mac
Go to https://developer.android.com/studio/index.html, download Android Studio for Mac, eg. ‘android-studio-ide-171.4408382-mac.dmg’.
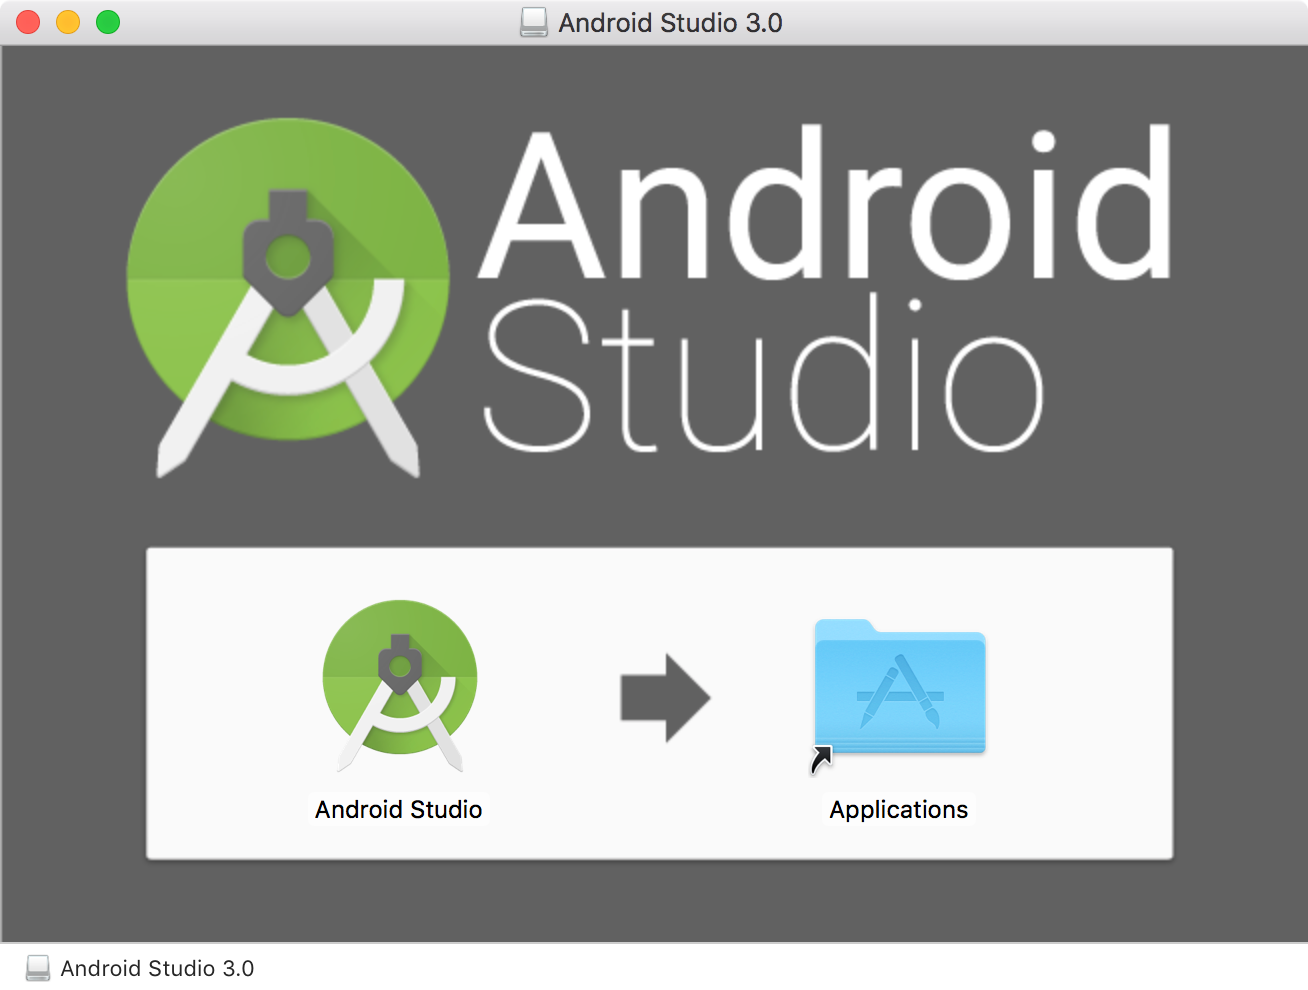
3.2 Installing Android Studio
The installation is very simple. Just double-click on the installer file, and drag Android Studio to Applications folder.
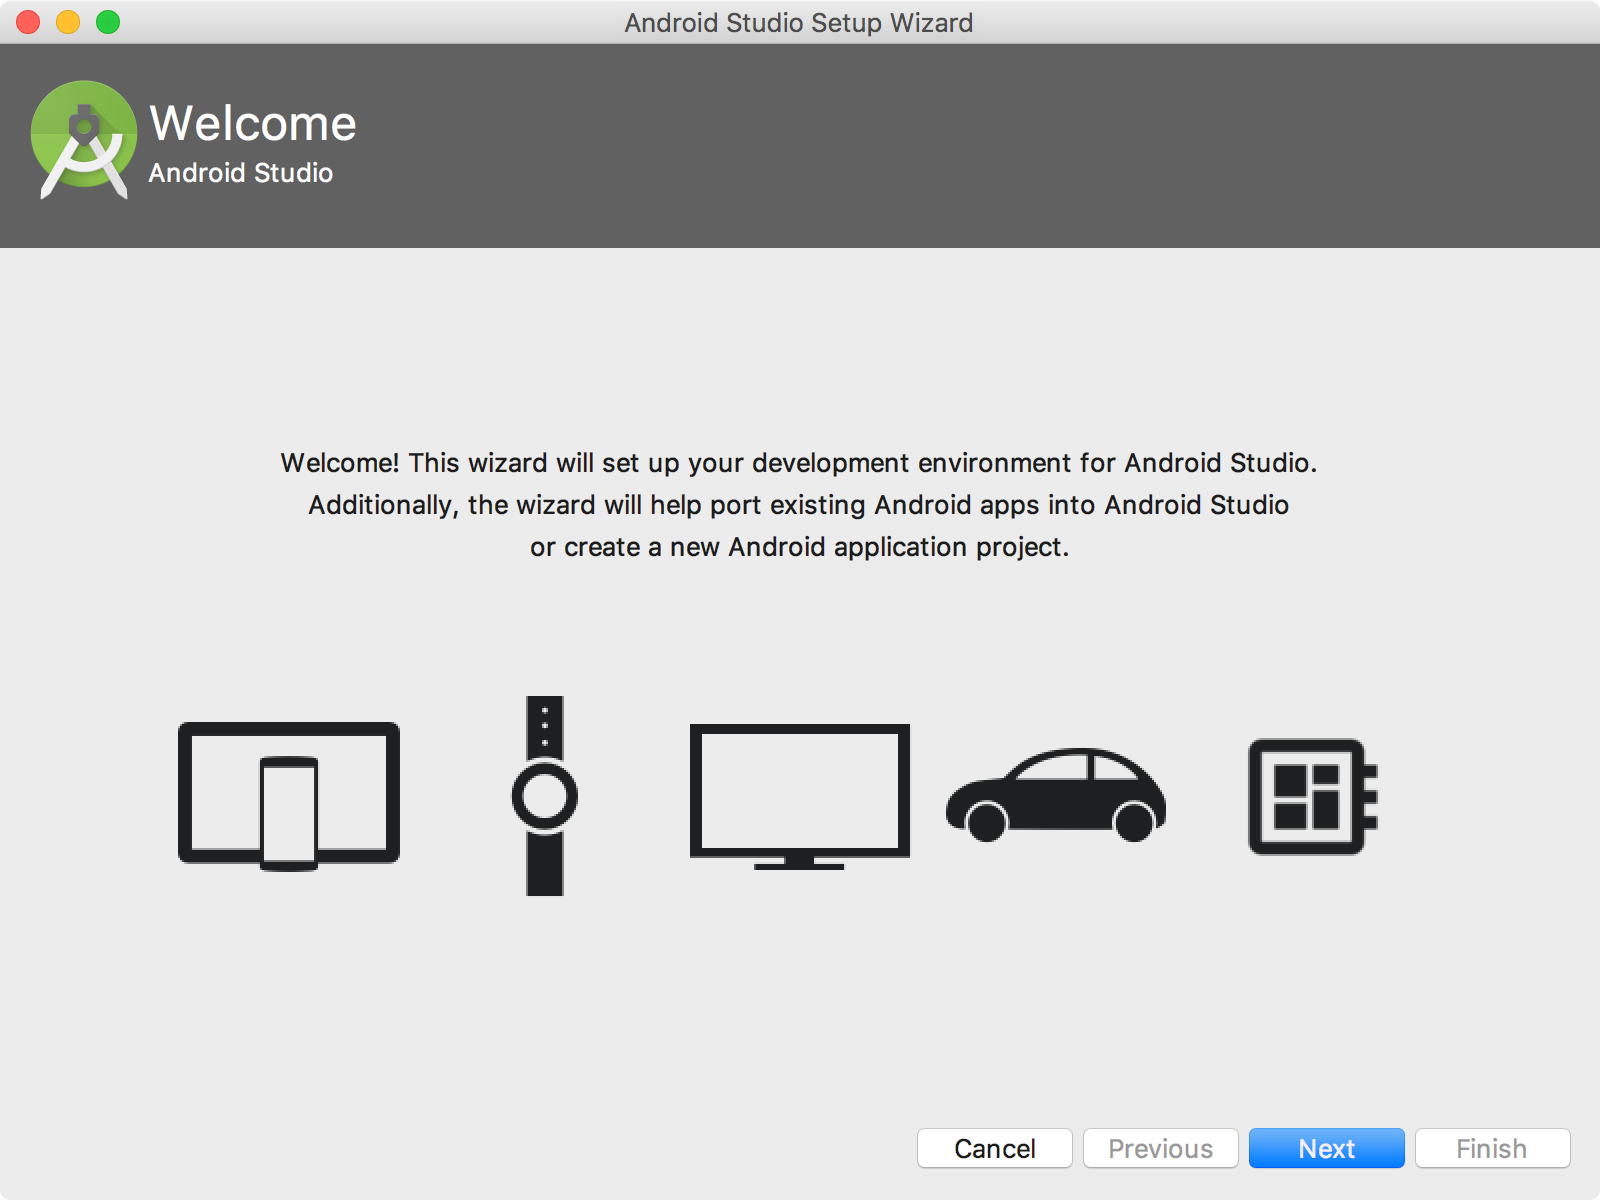
3.3 Configuration of Android Studio
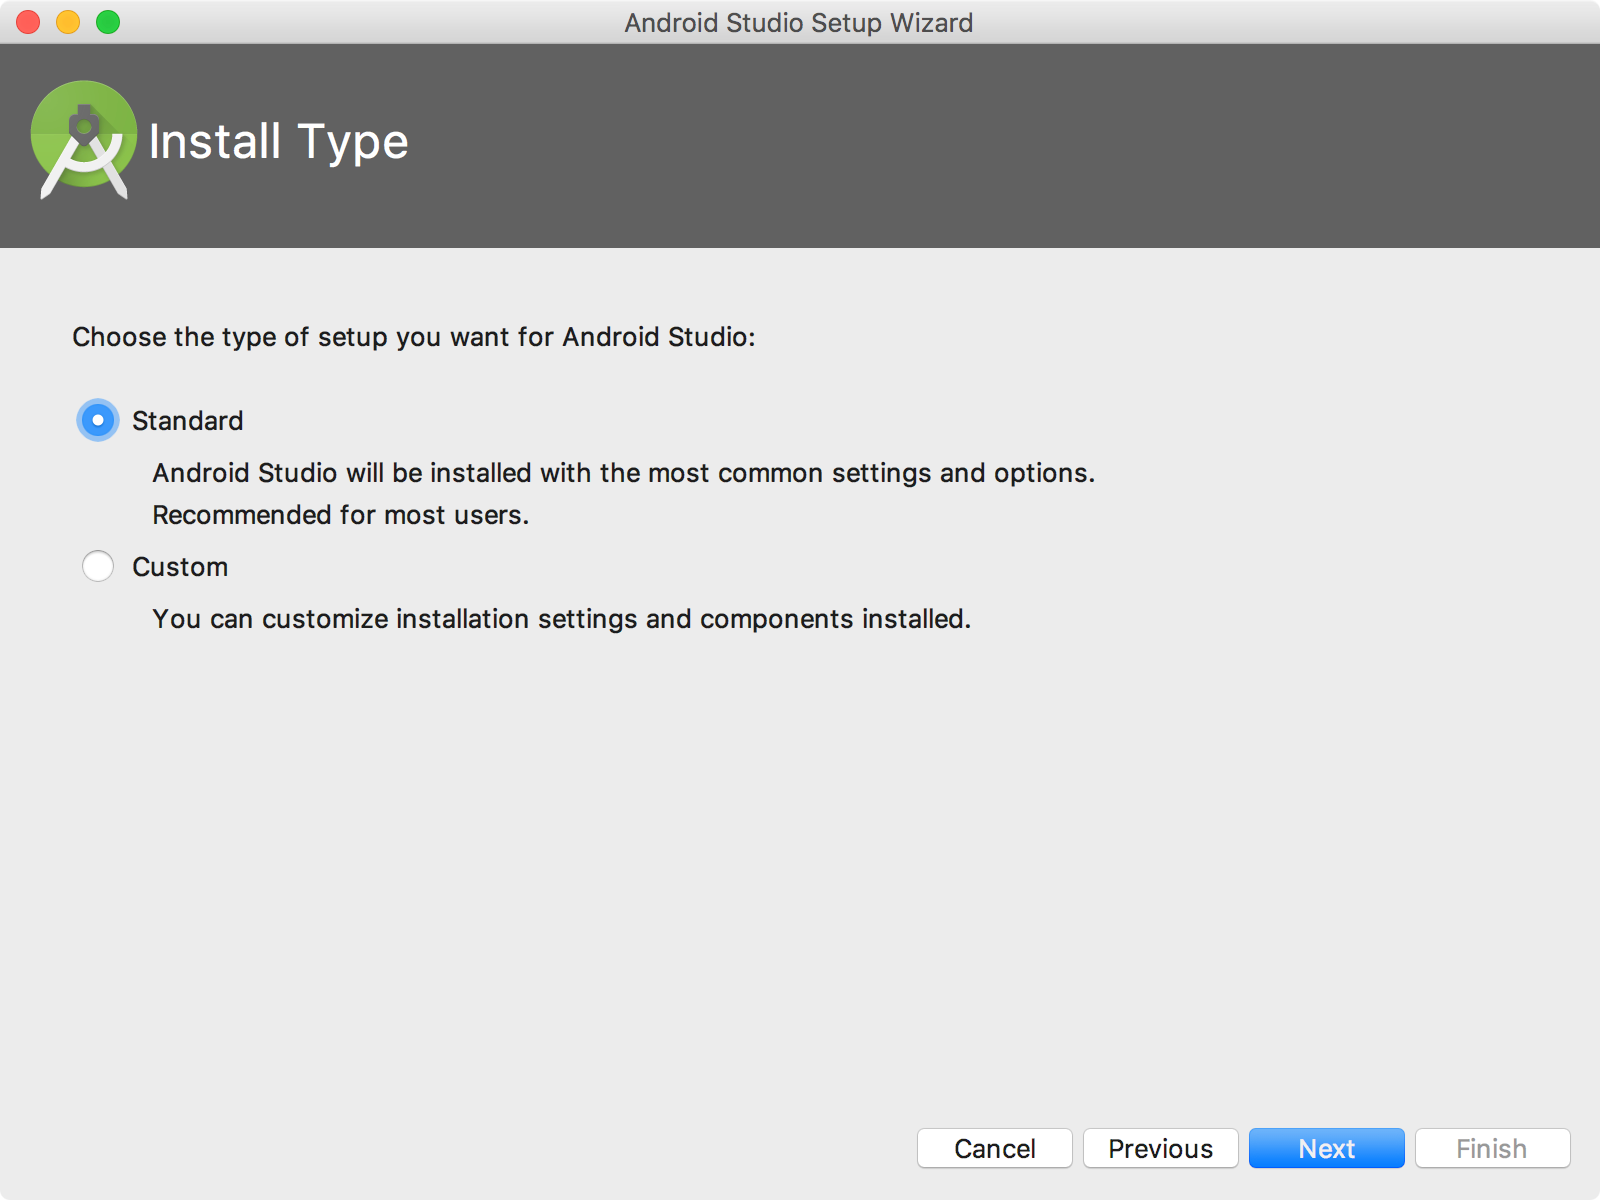
The first time when Android Studio is launched, you need to follow the setup wizard to download components for Android Studio.
Choose ‘Standard’ for install type.
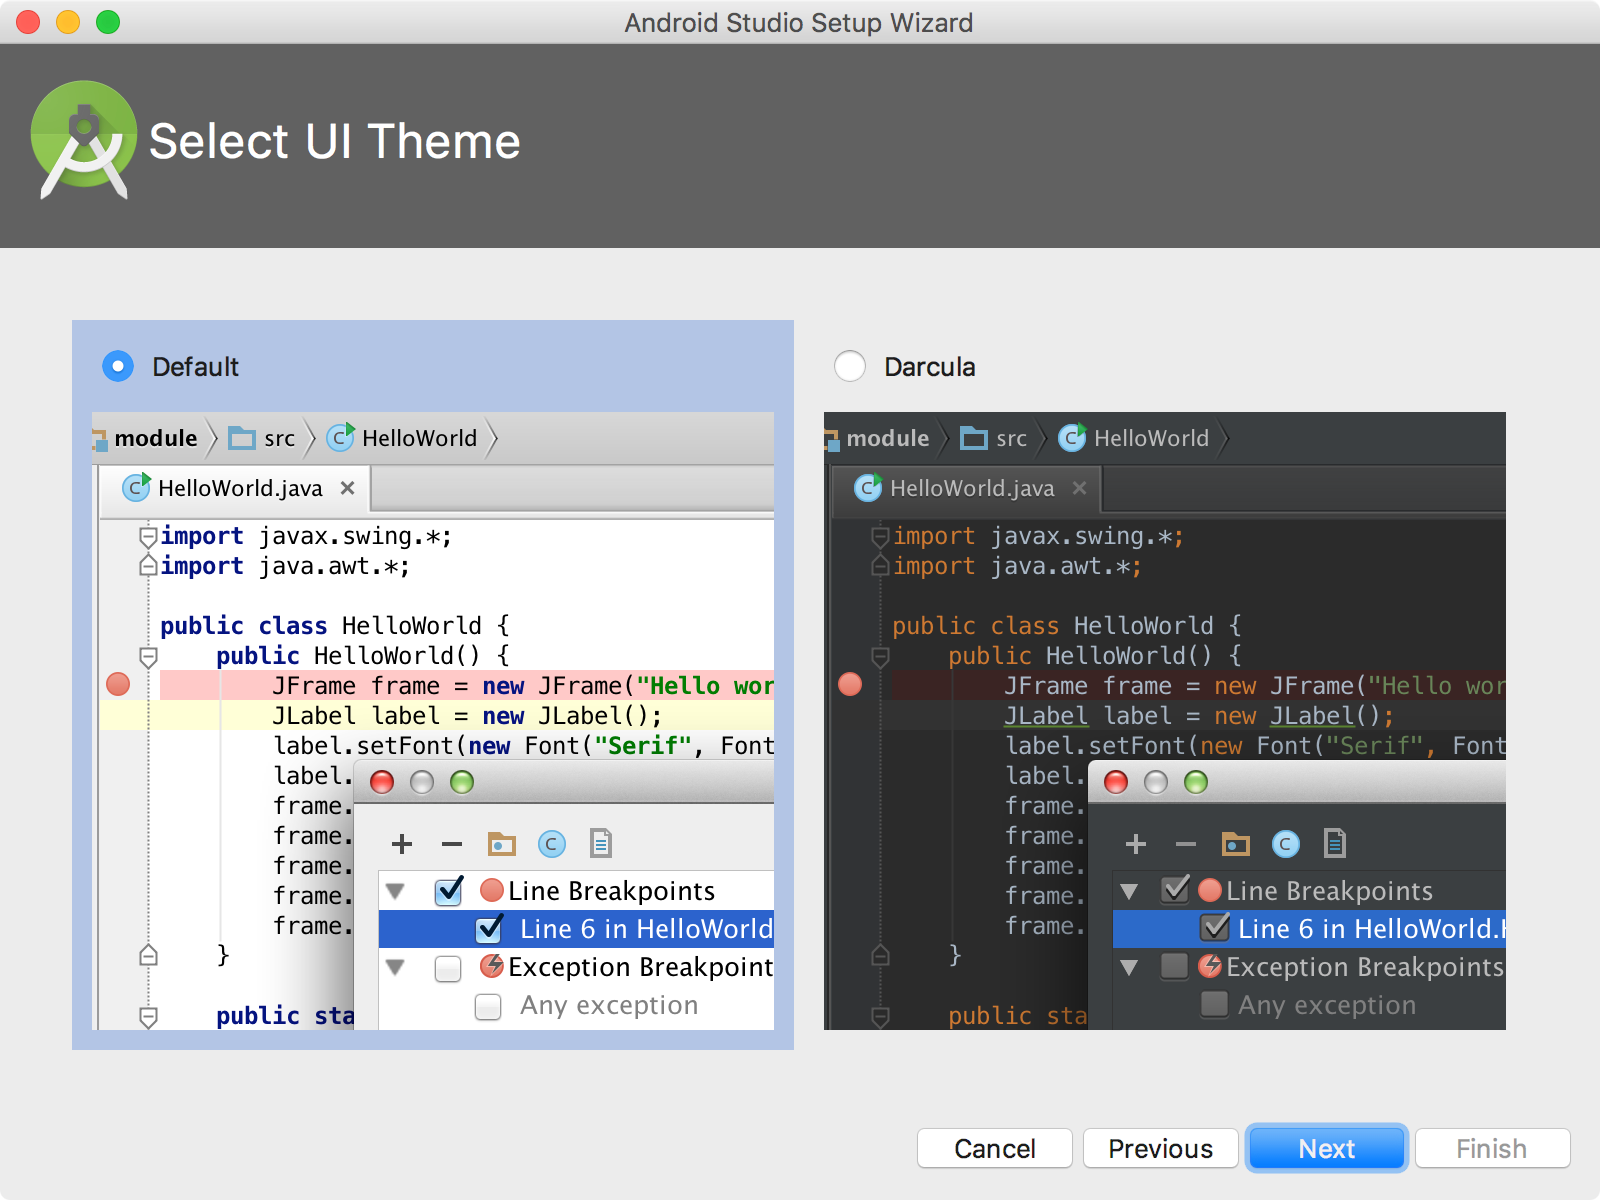
Select the ‘Default’ theme.
Confirm the settings.
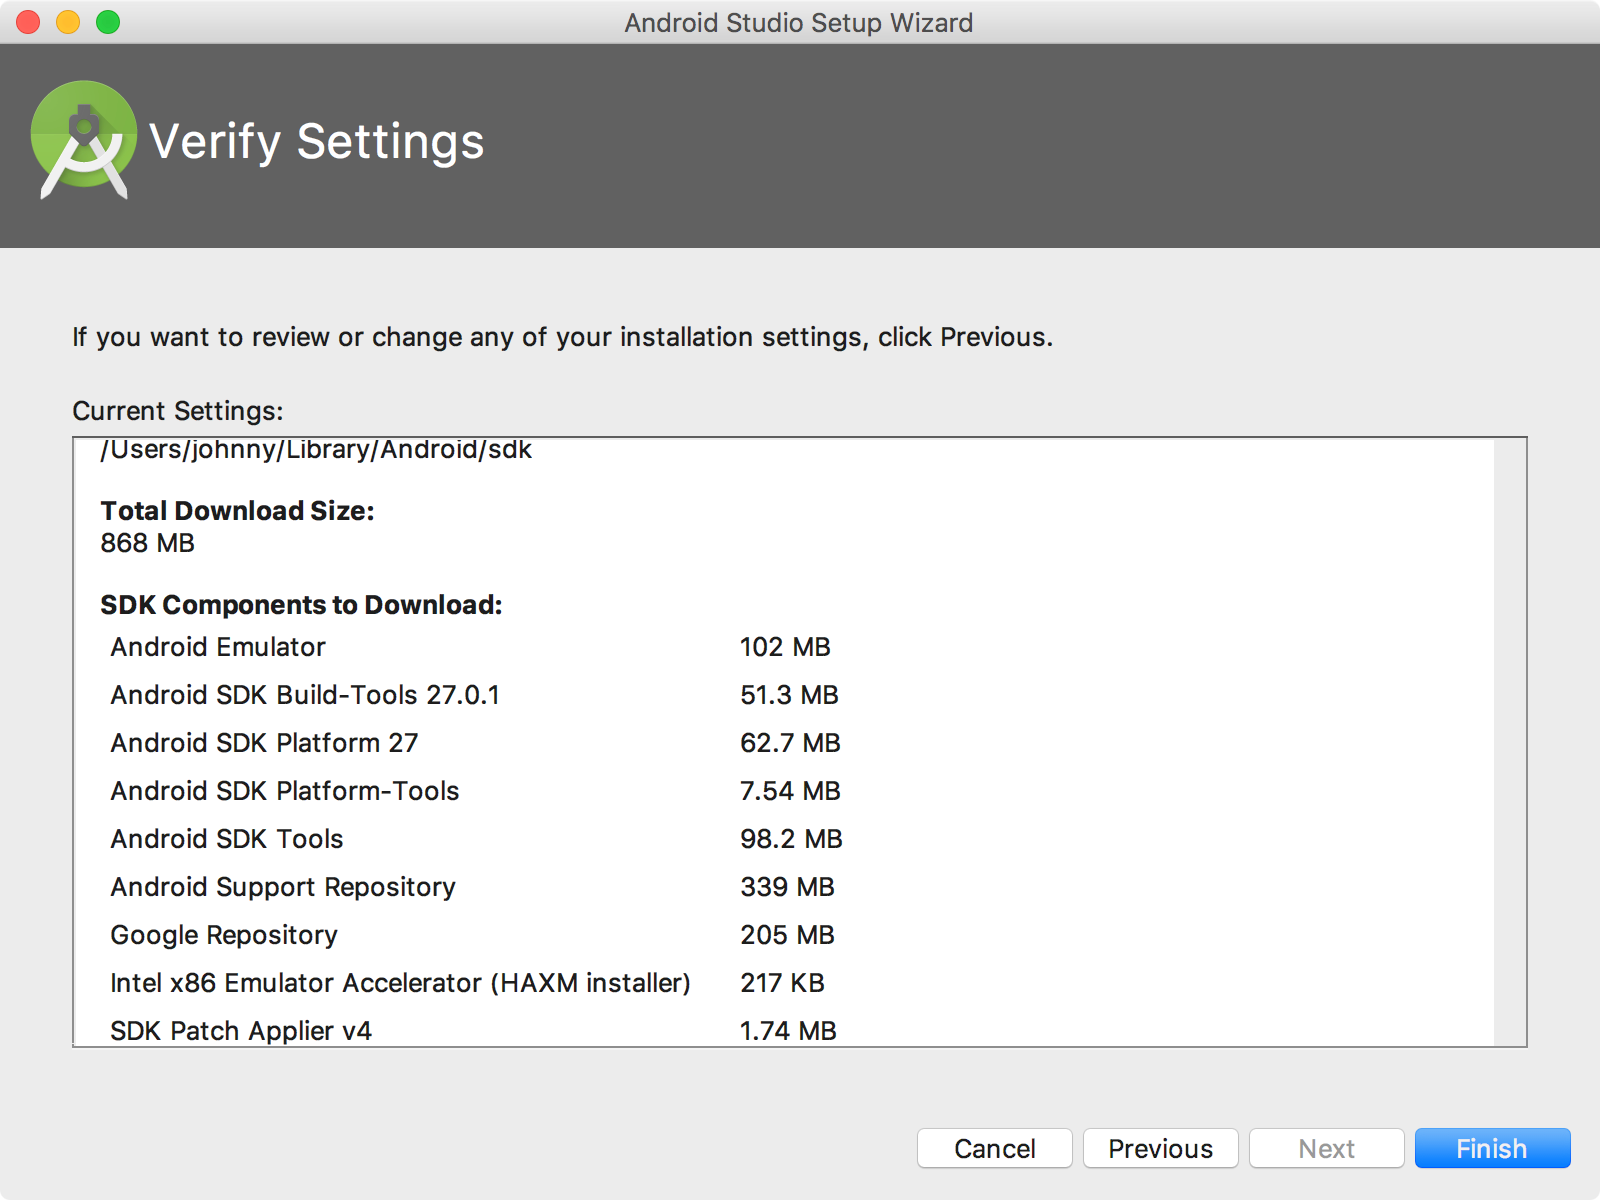
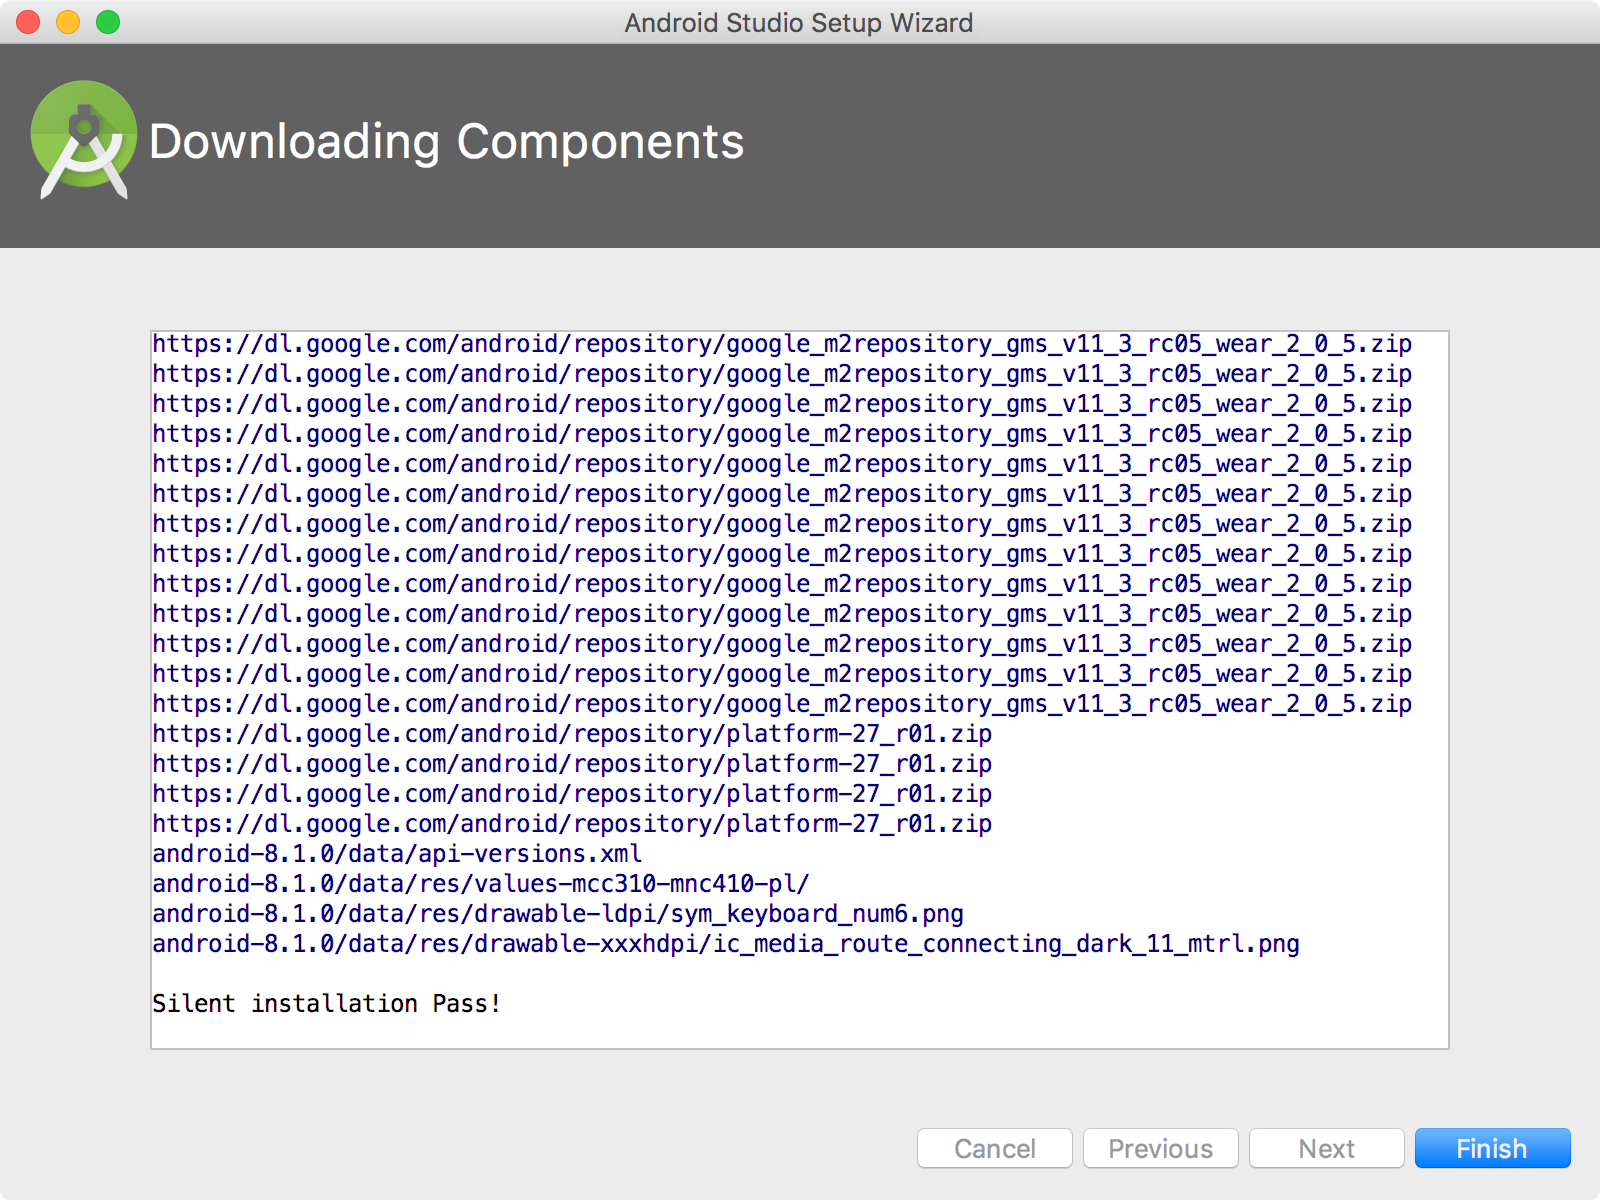
Click ‘Finish’ to start downloading the components.
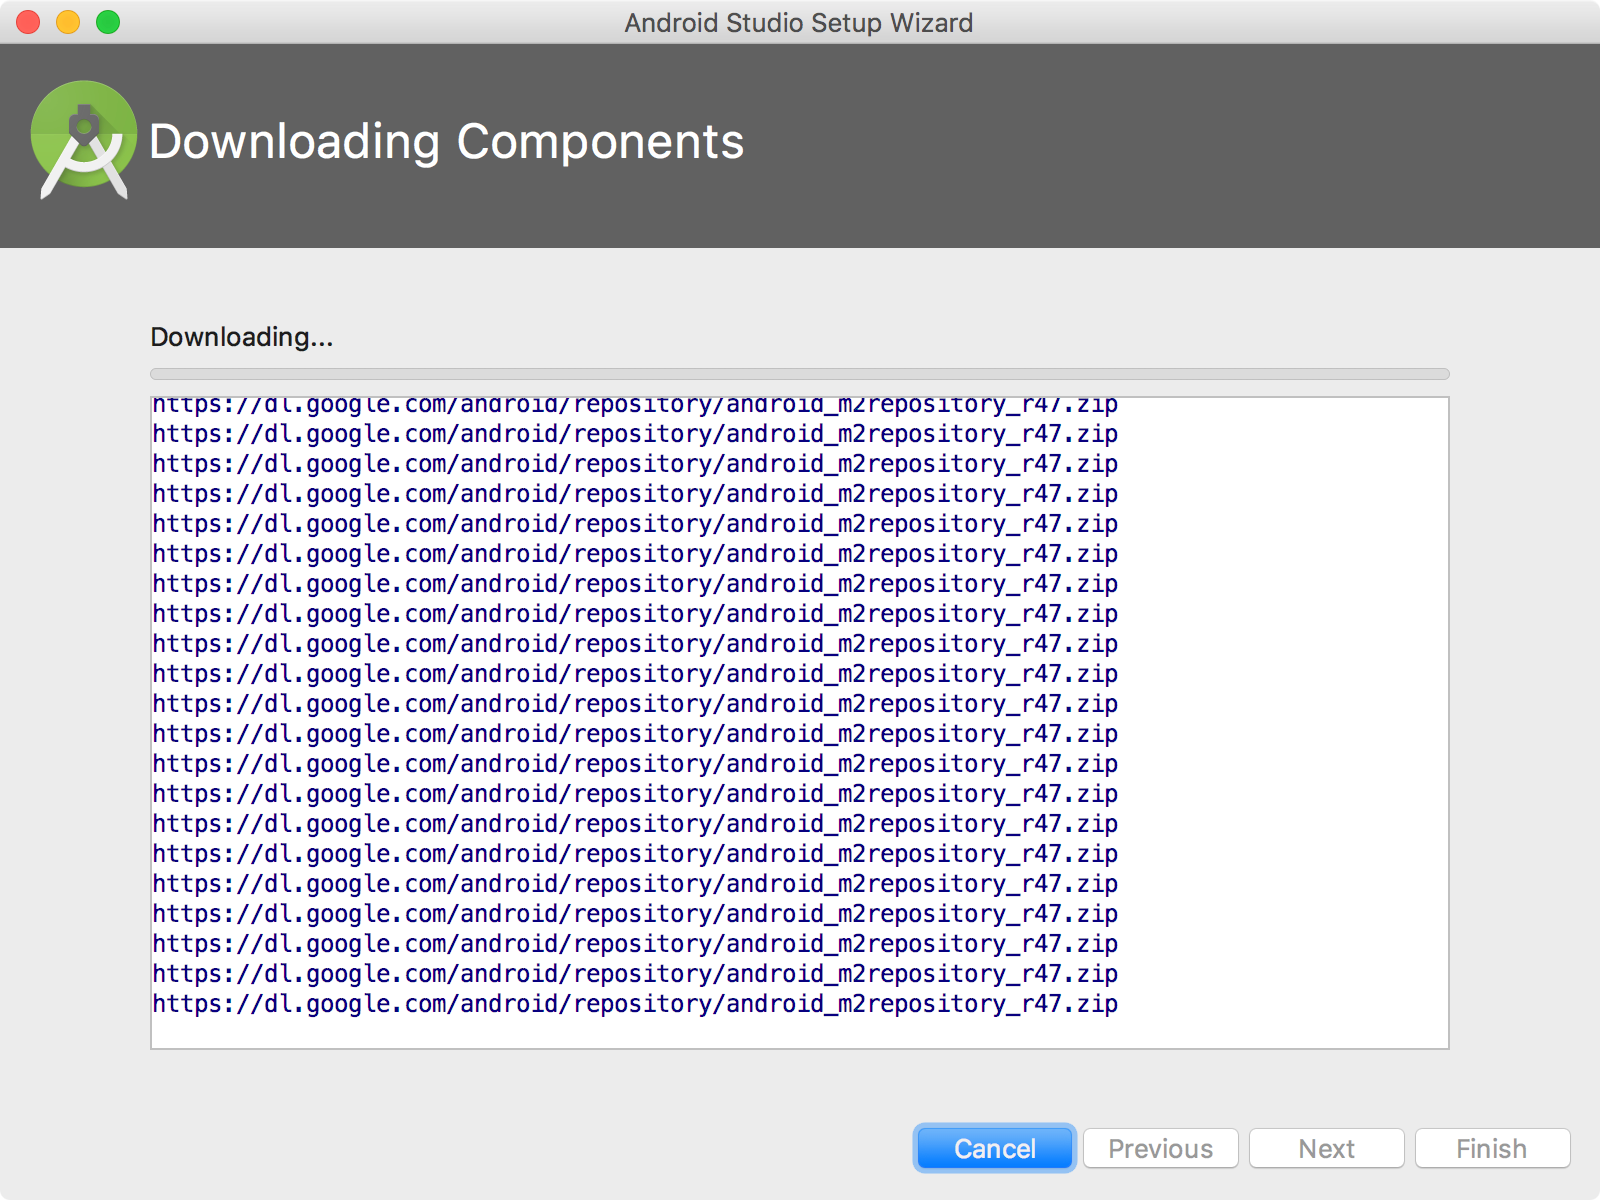
It takes few minutes to finish.
3.4 Launching Android Studio
In the welcome window, choose to create a new project or open an existing project.
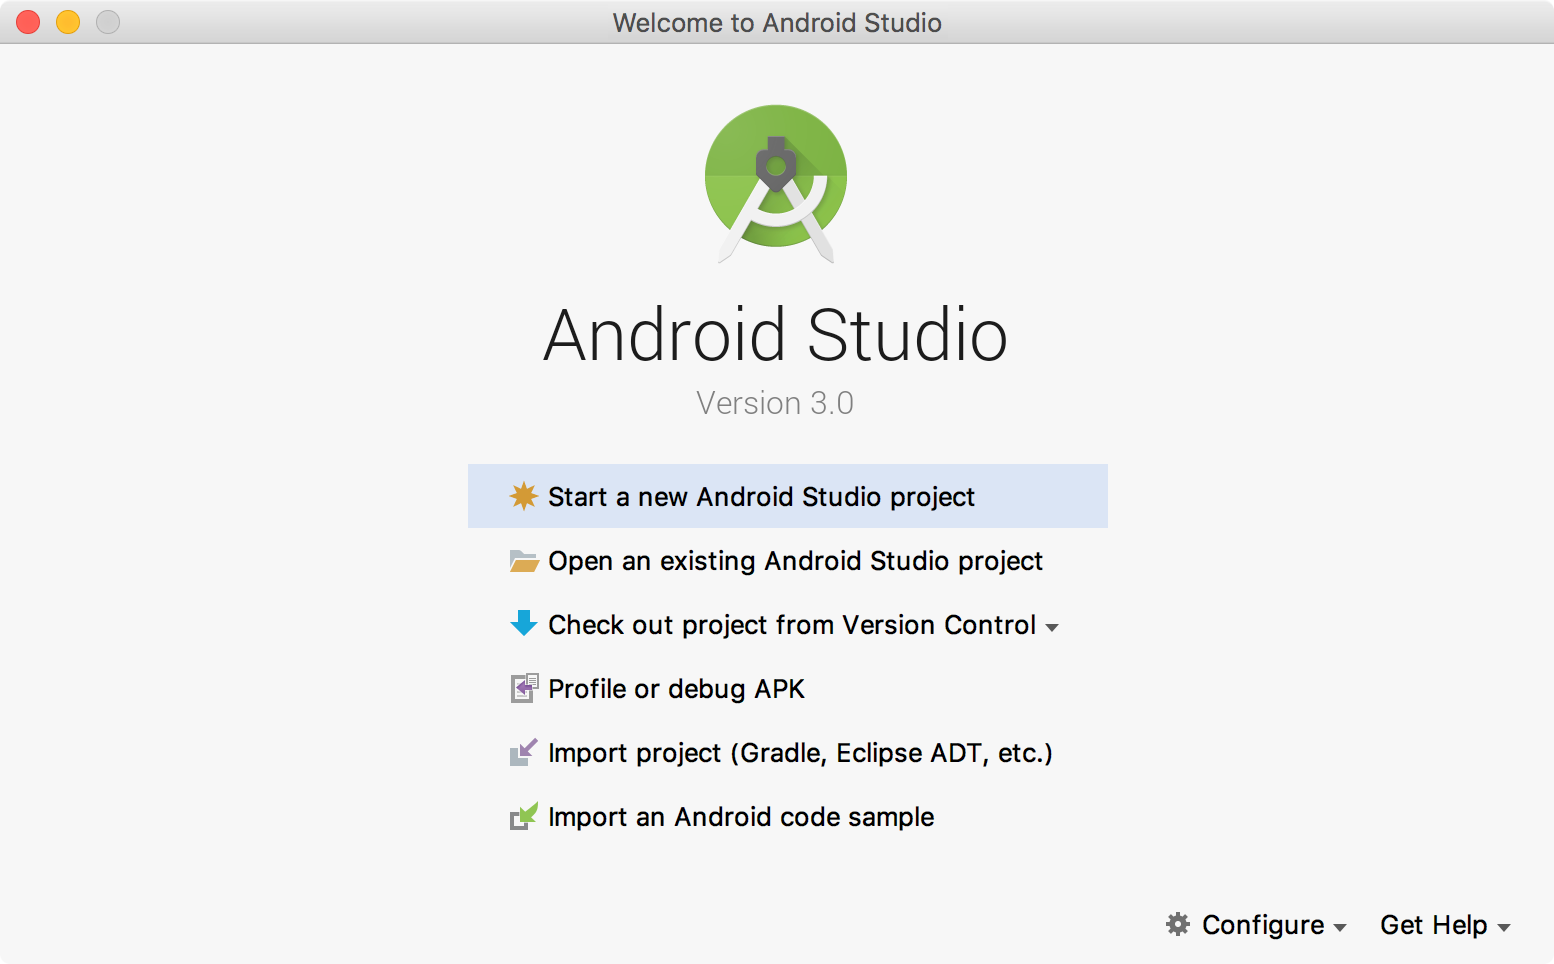
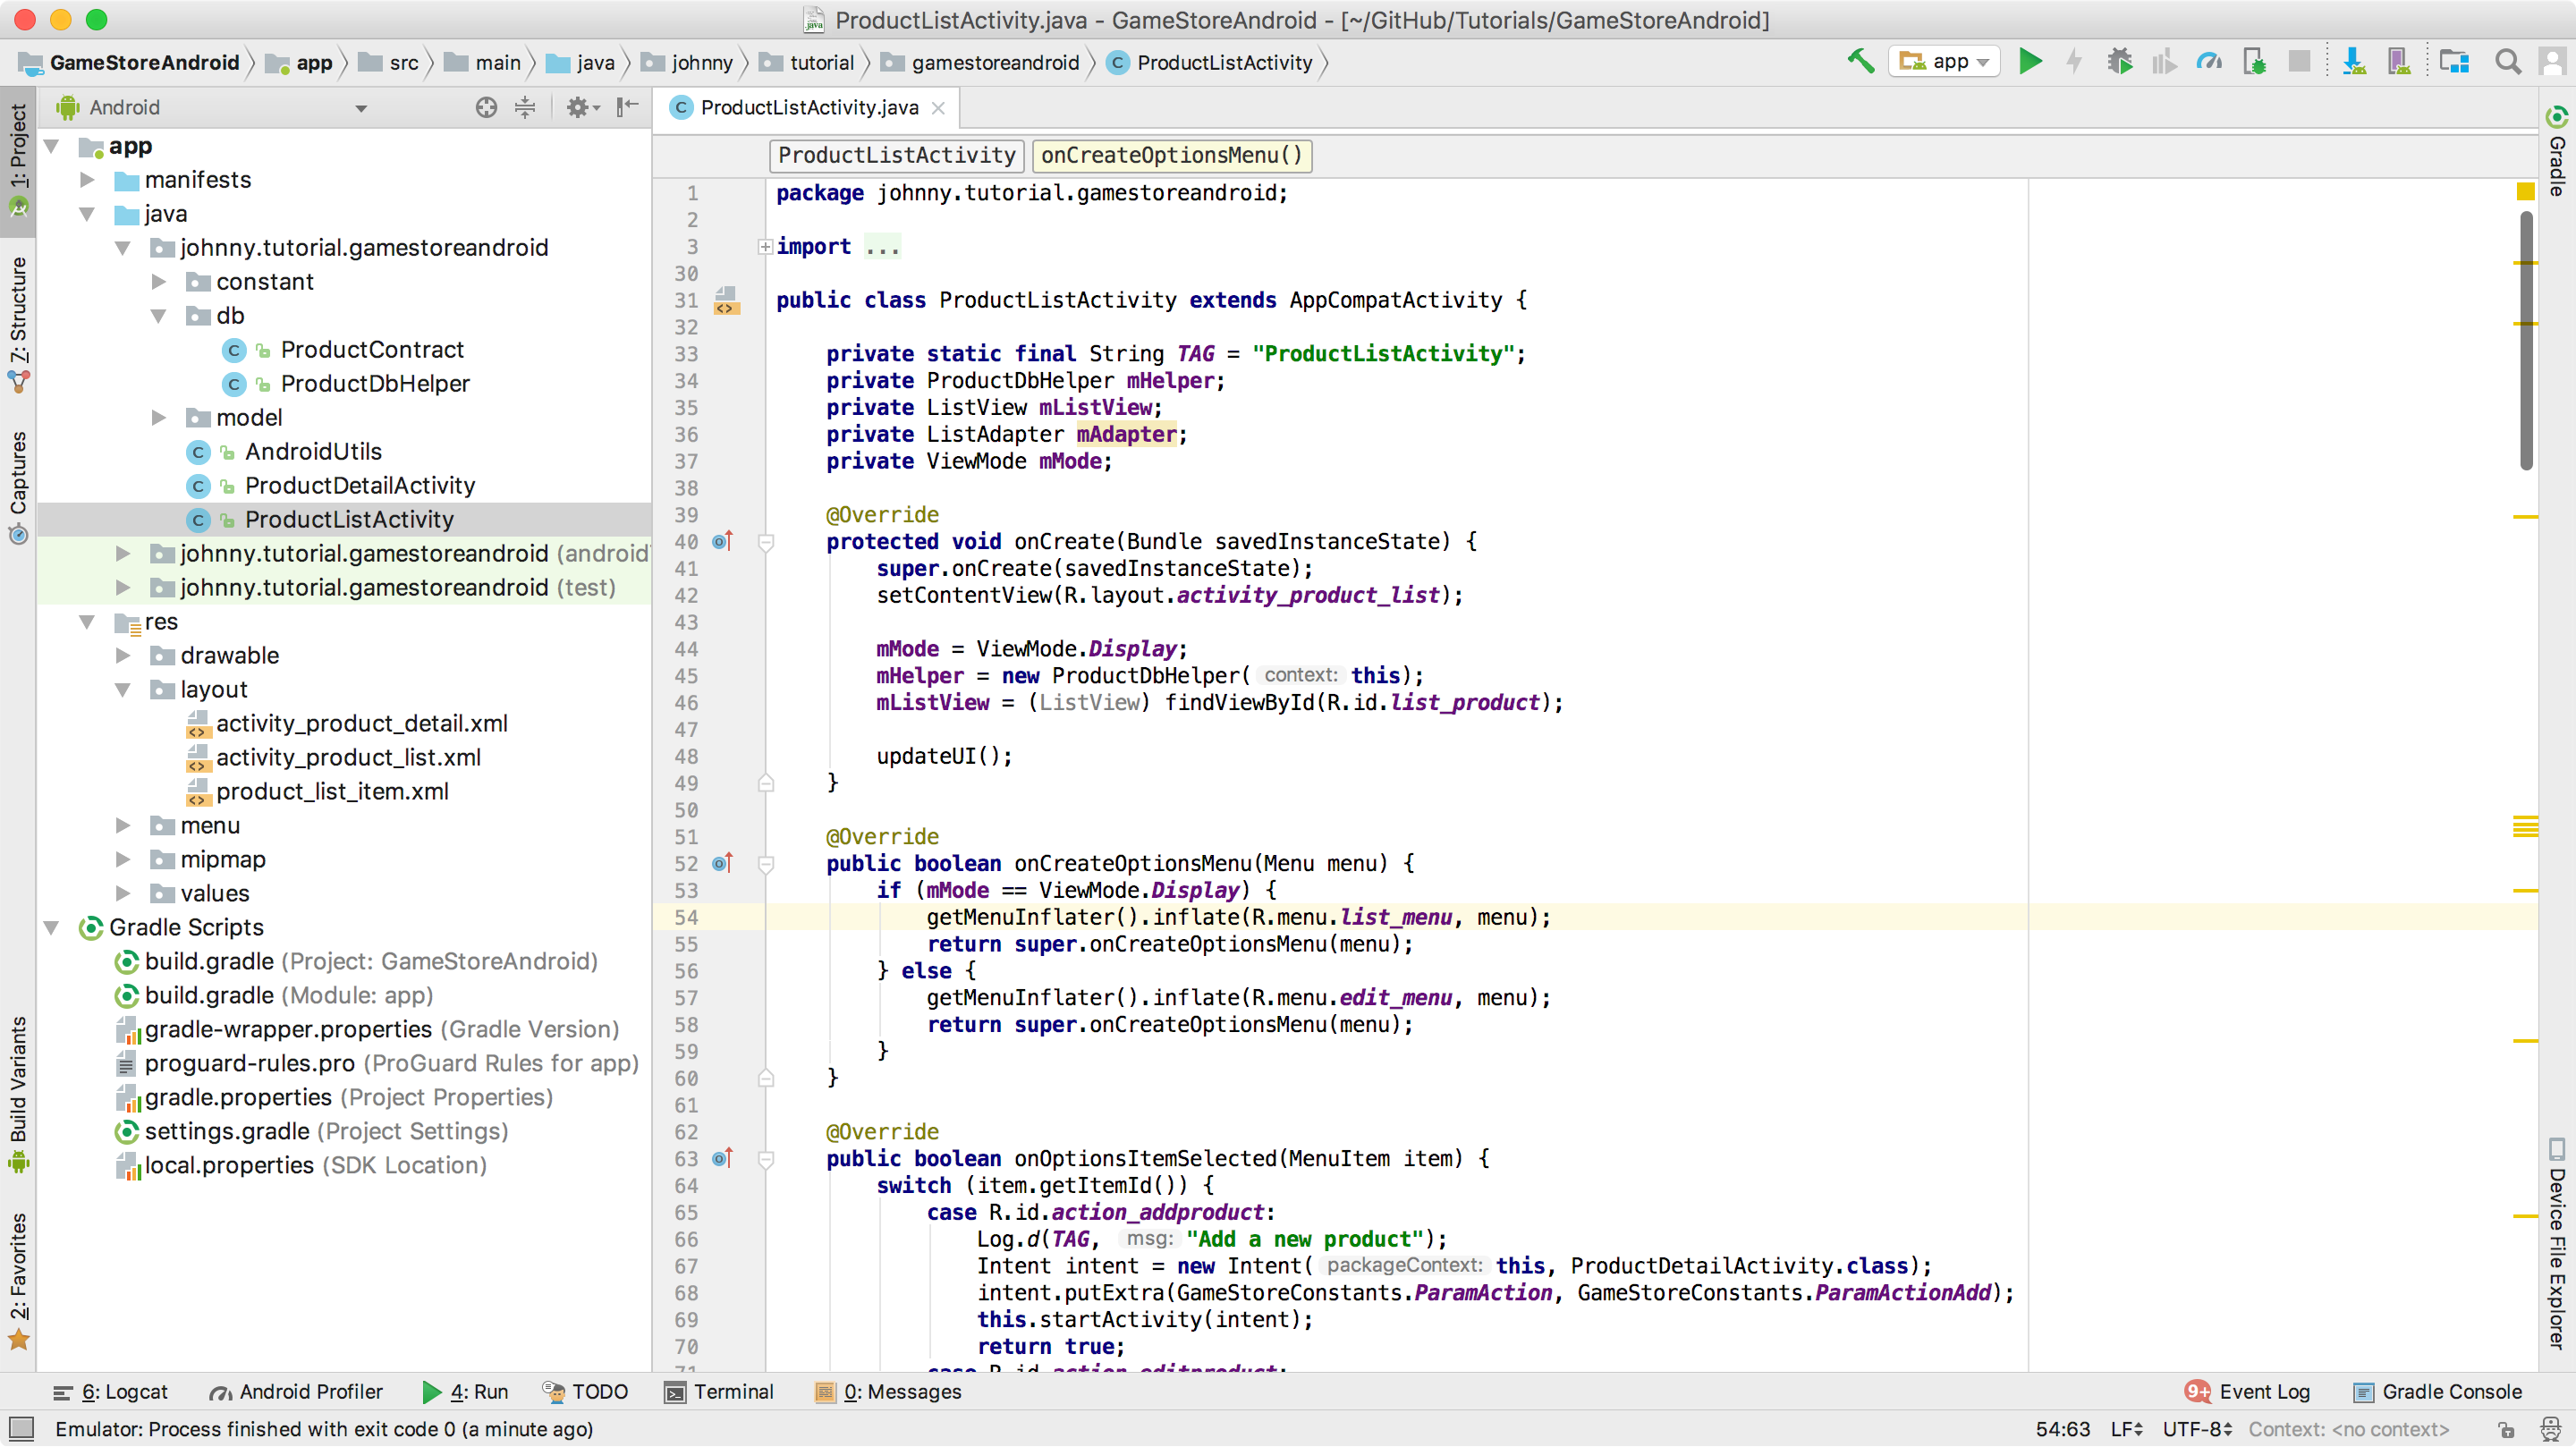
Here, I open one existing Android project on my Mac.
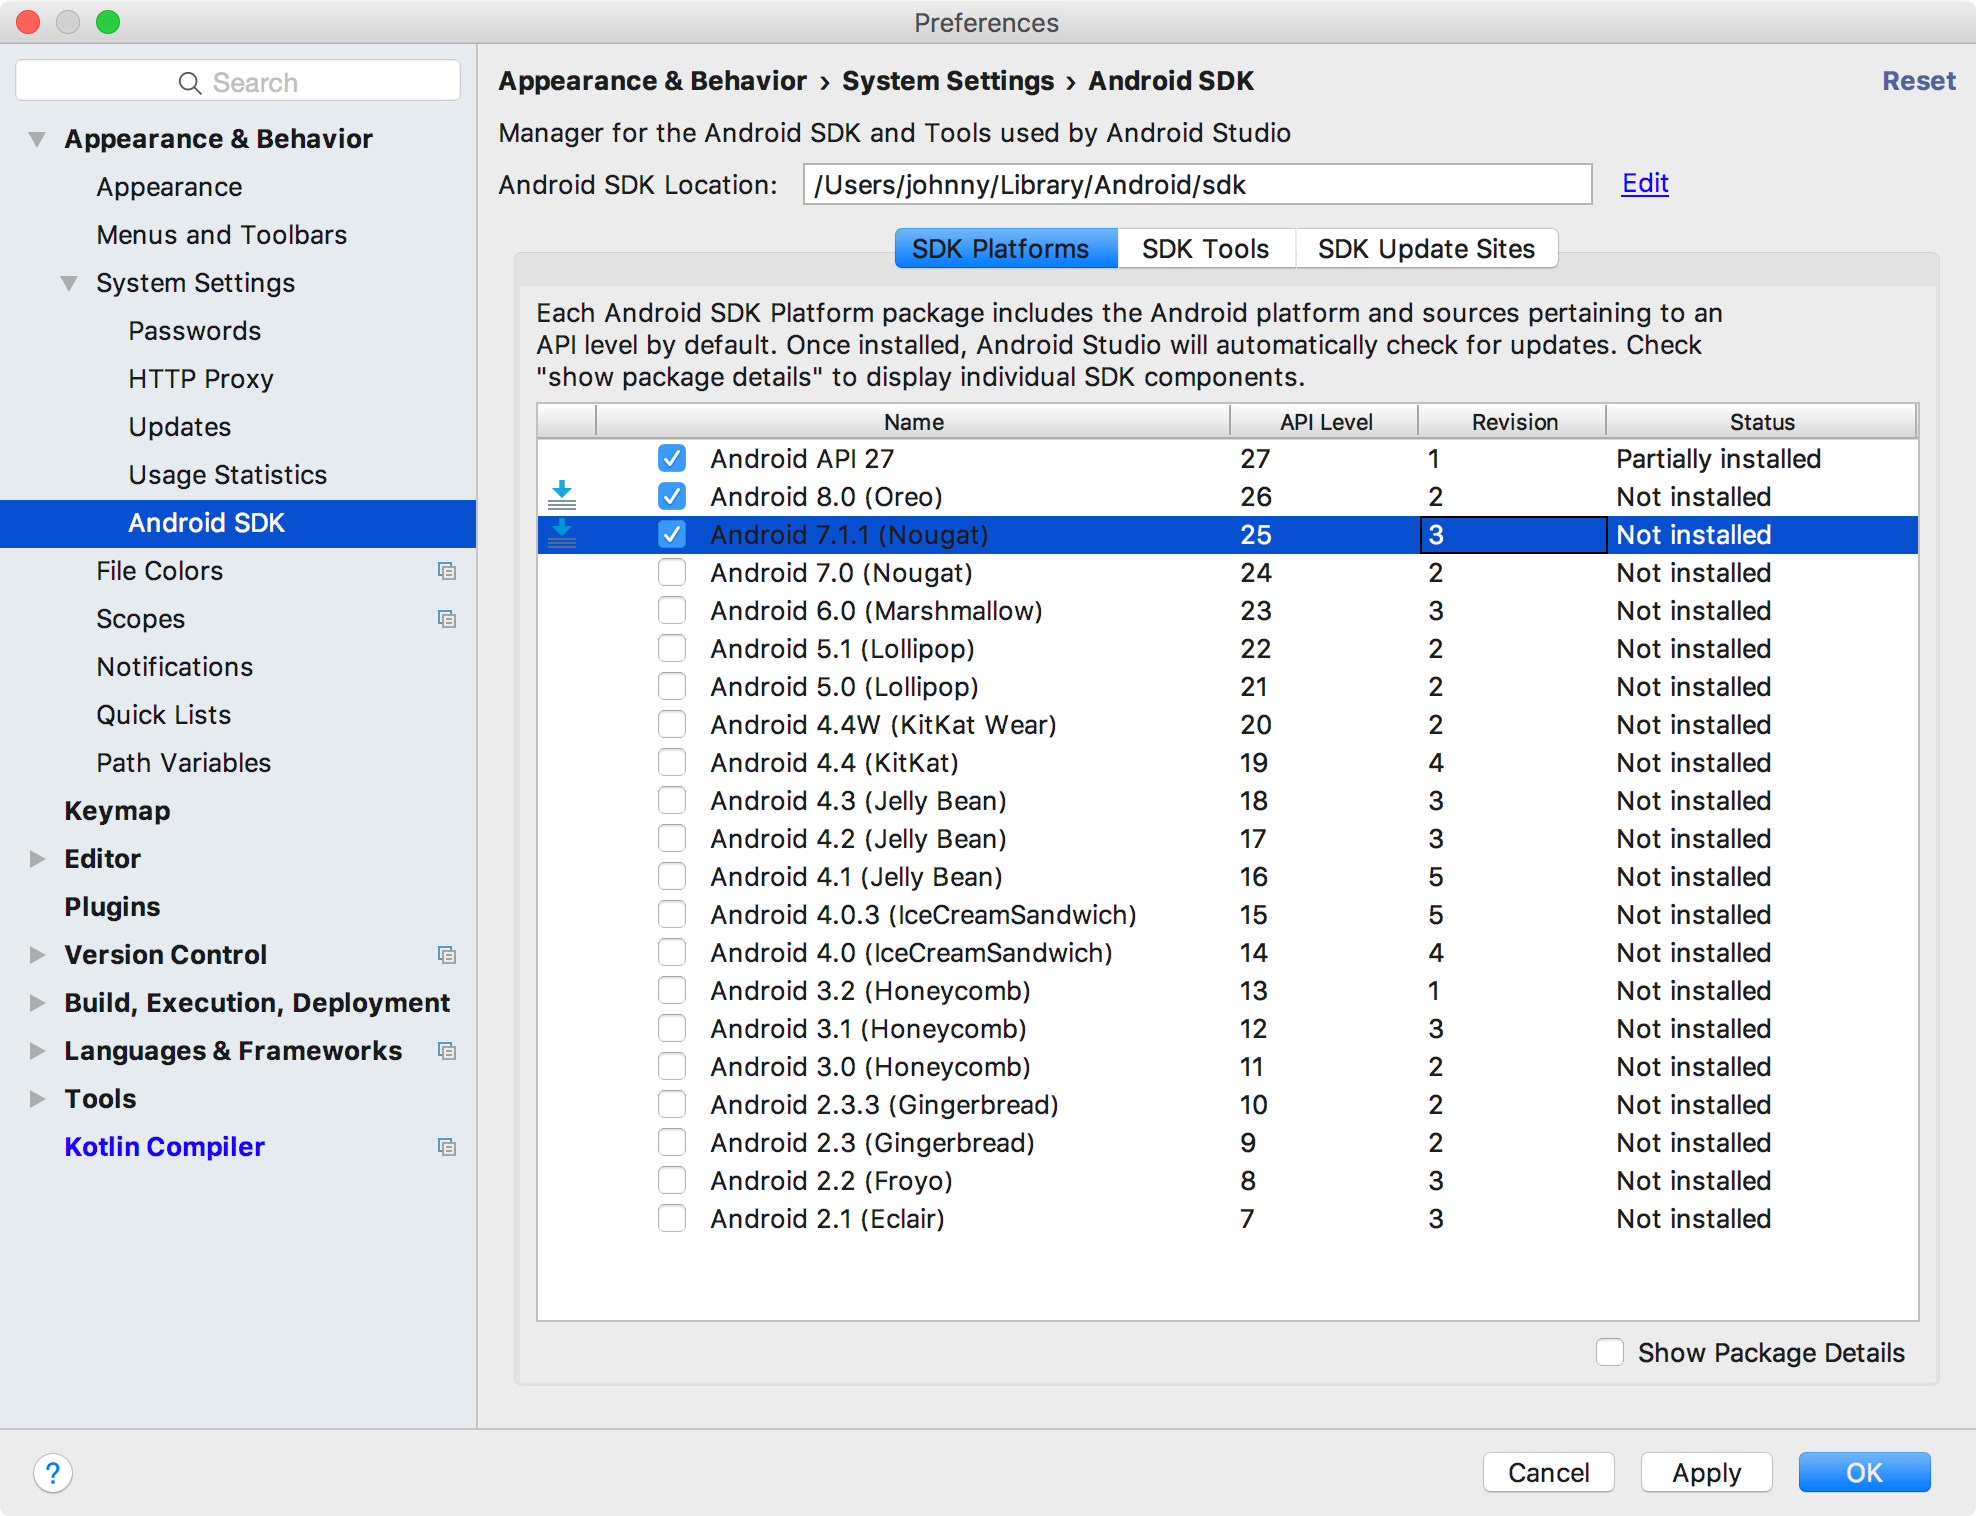
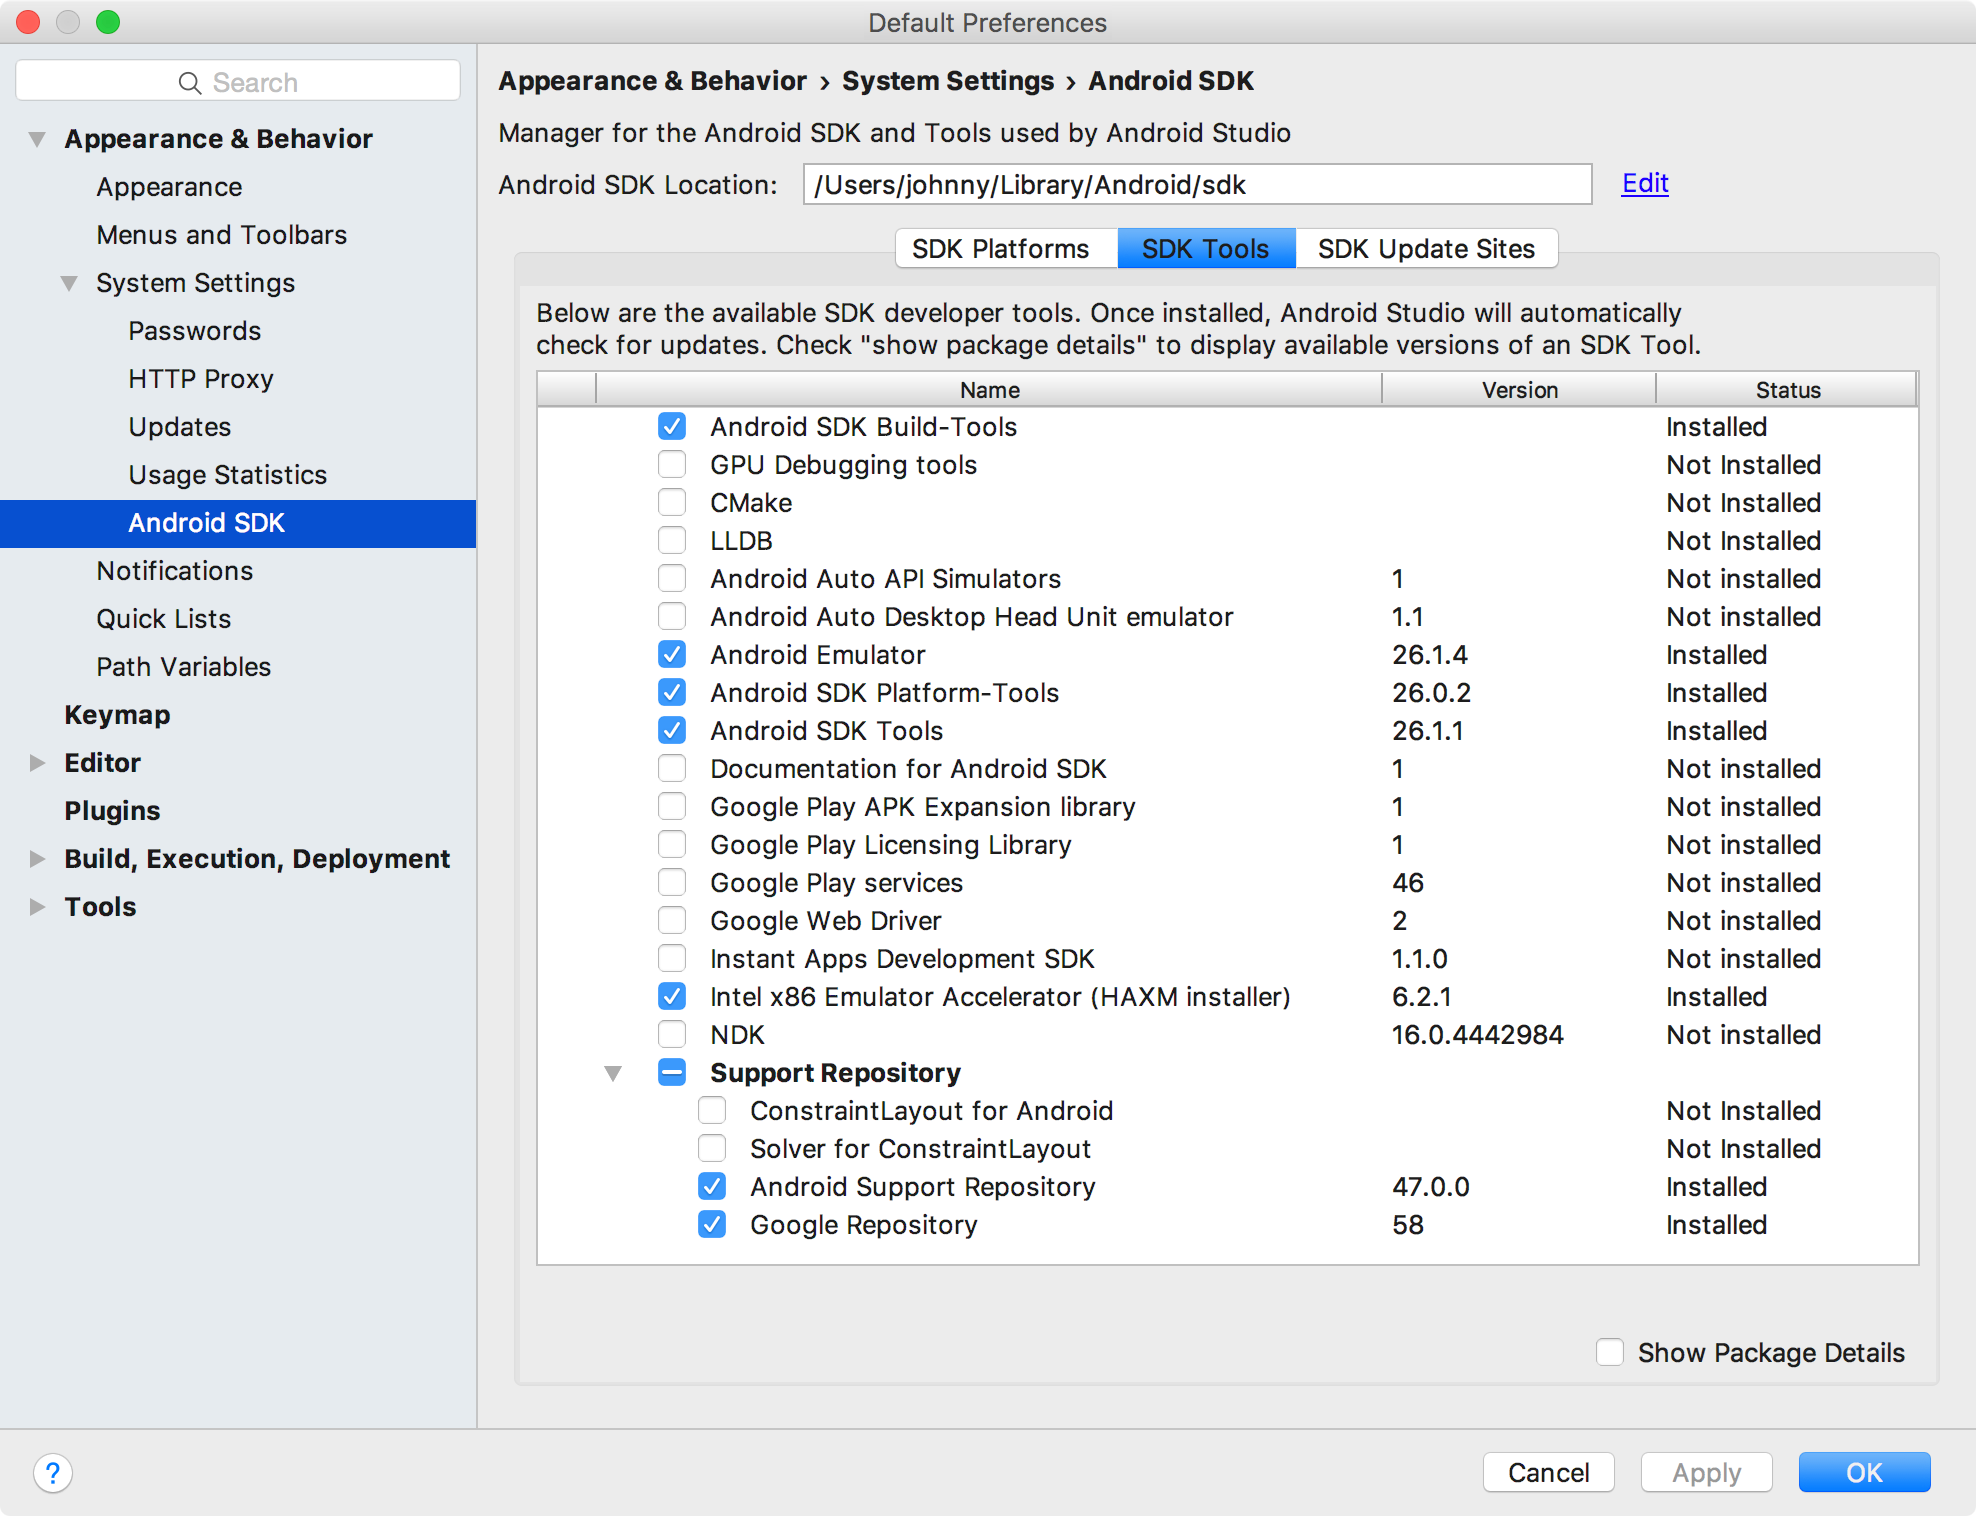
4. Installing Android SDK and Tools
In Android Studio, Tools -> Android -> SDK Manager. Select the SDKs and Tools you want to install, click ‘OK’ and confirm.
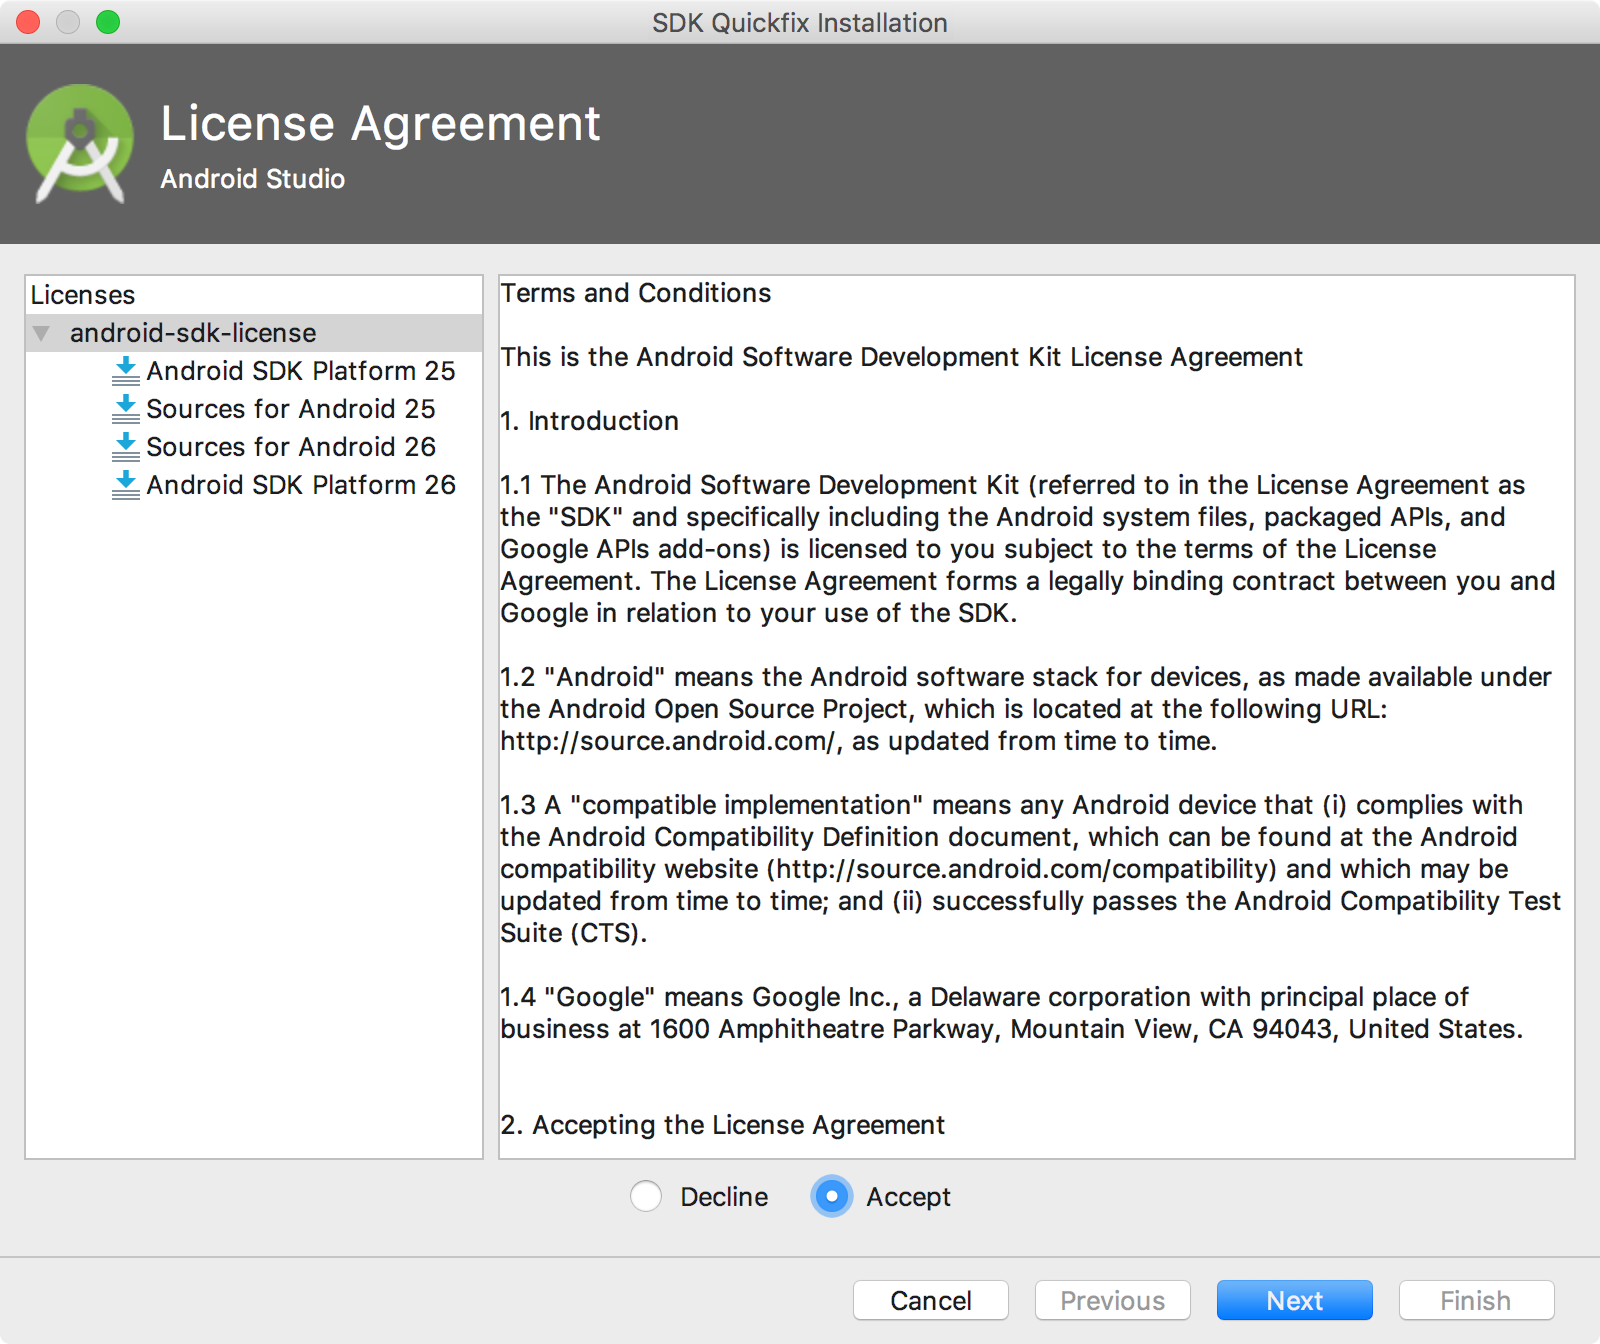
Accept the license agreement and click ‘Next’.
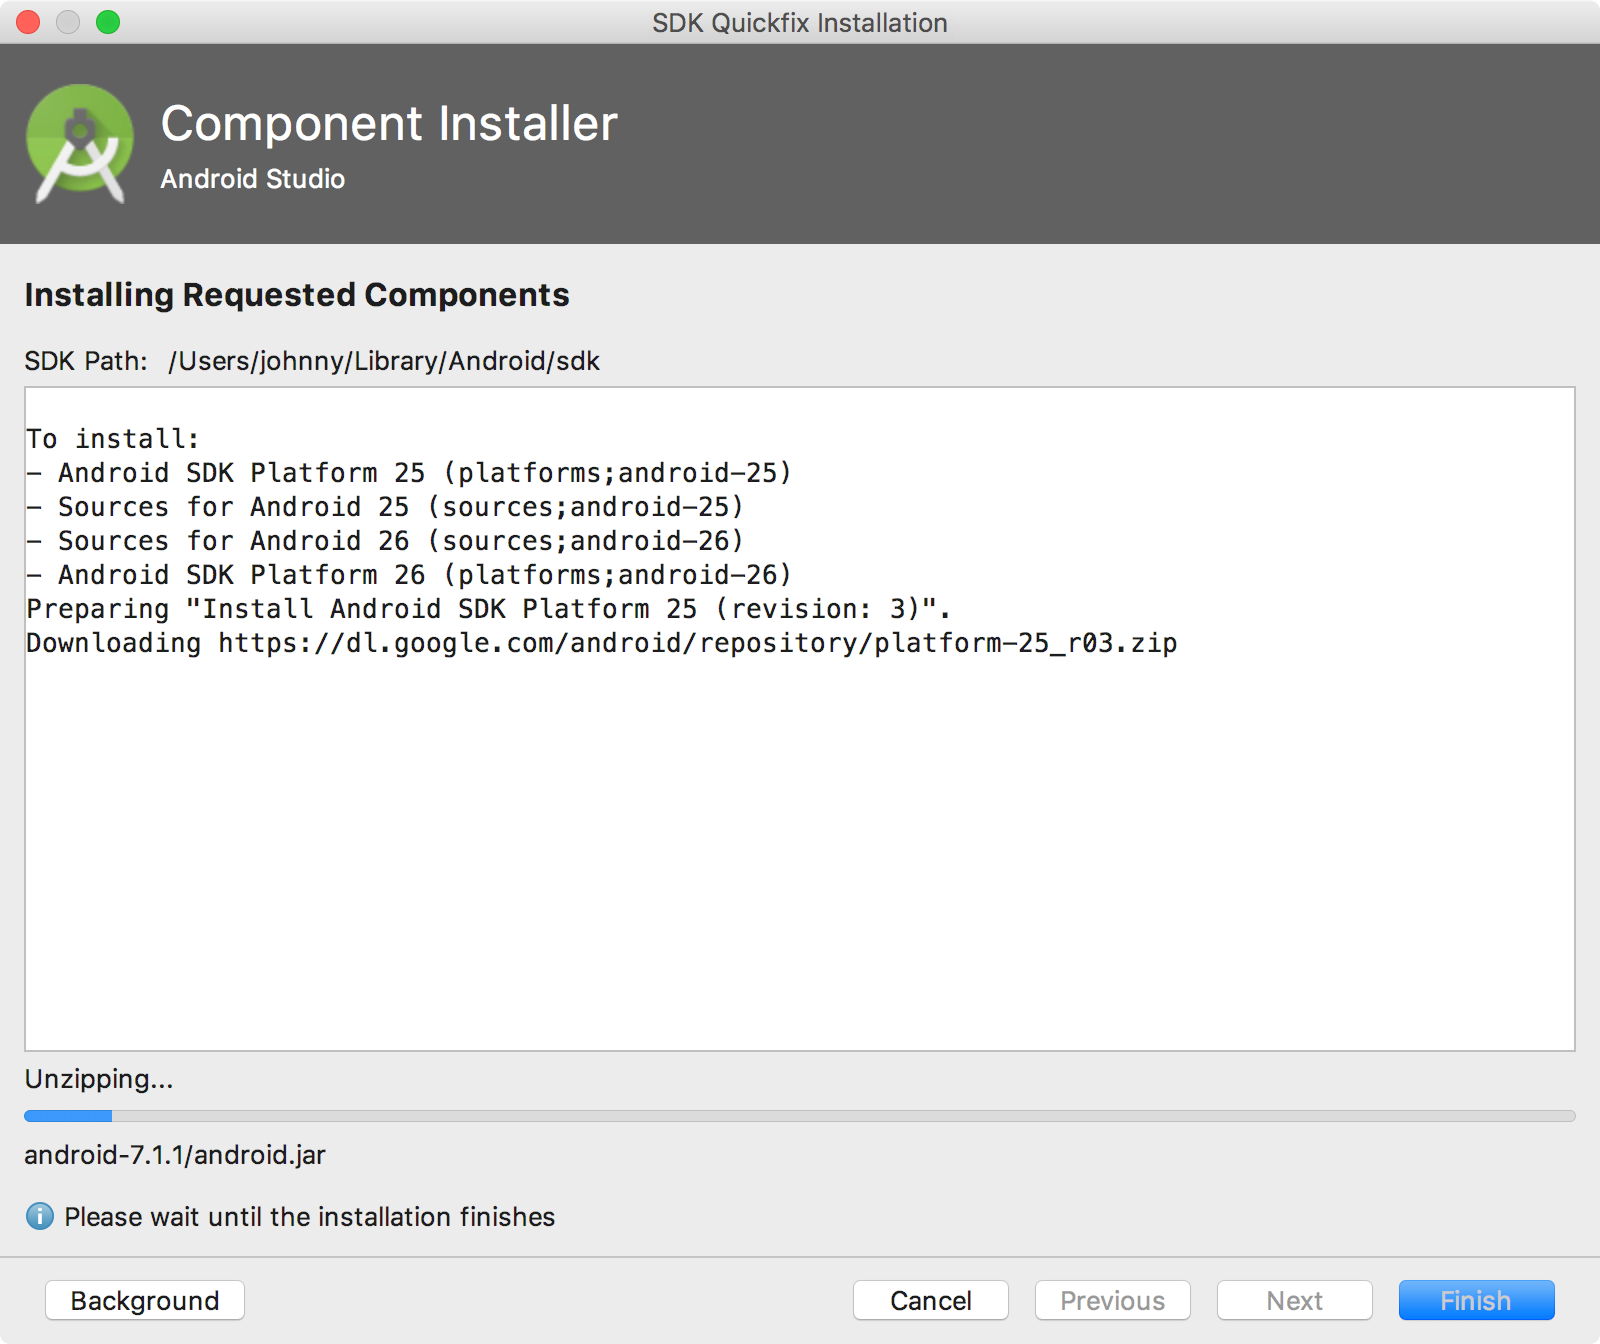
SDK Manager starts to download and install components.
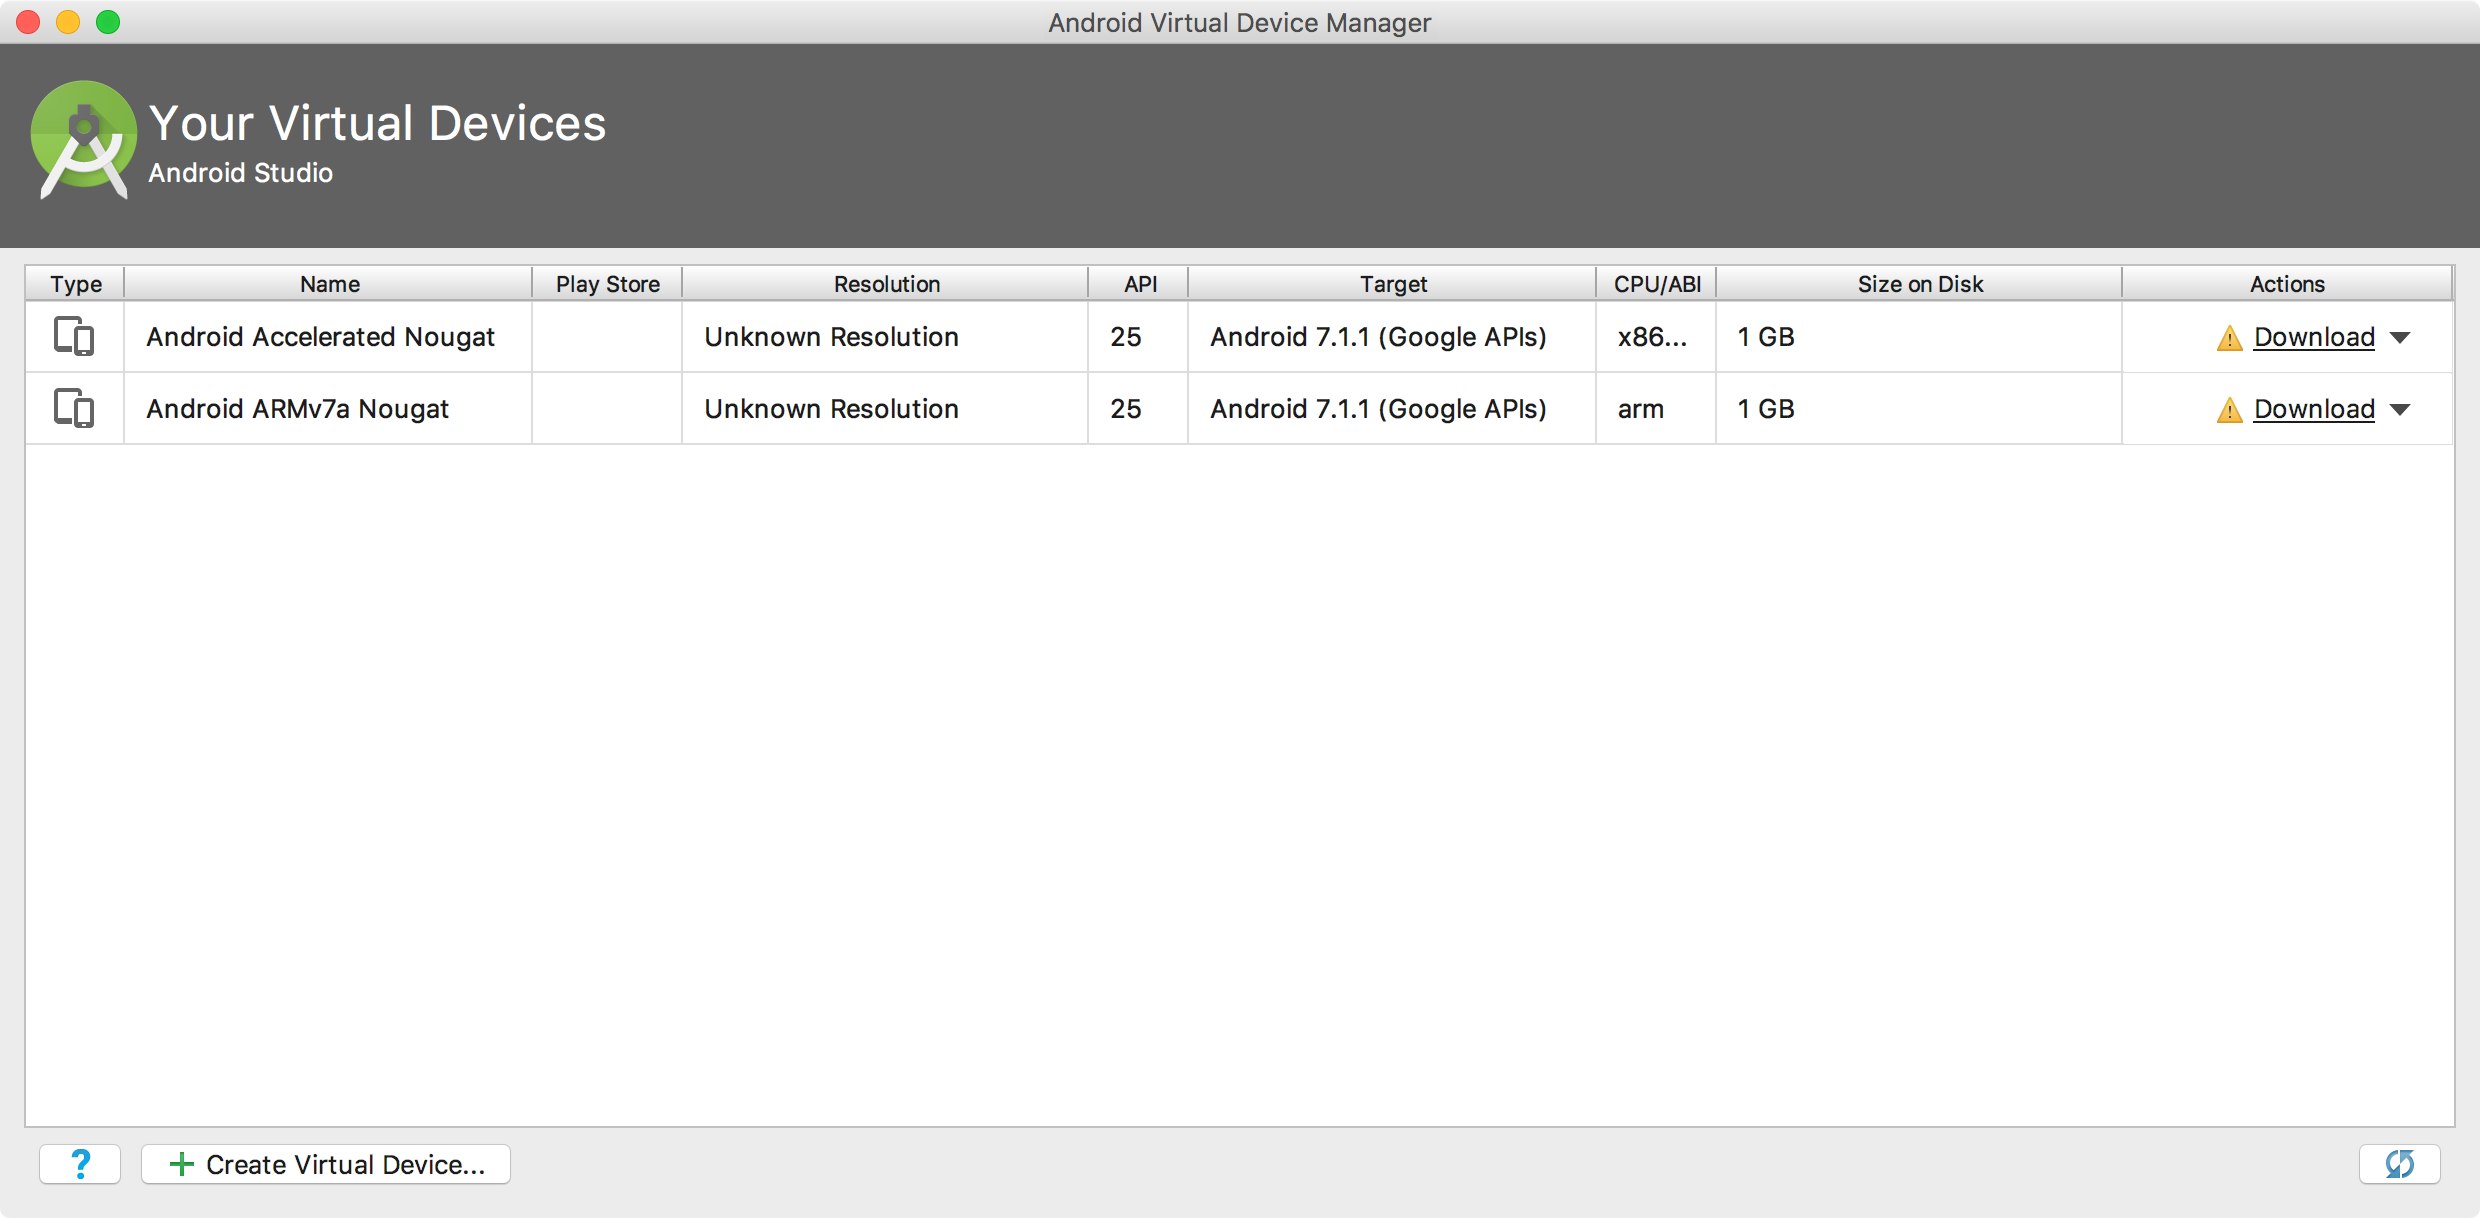
5. Creating Virtual Devices
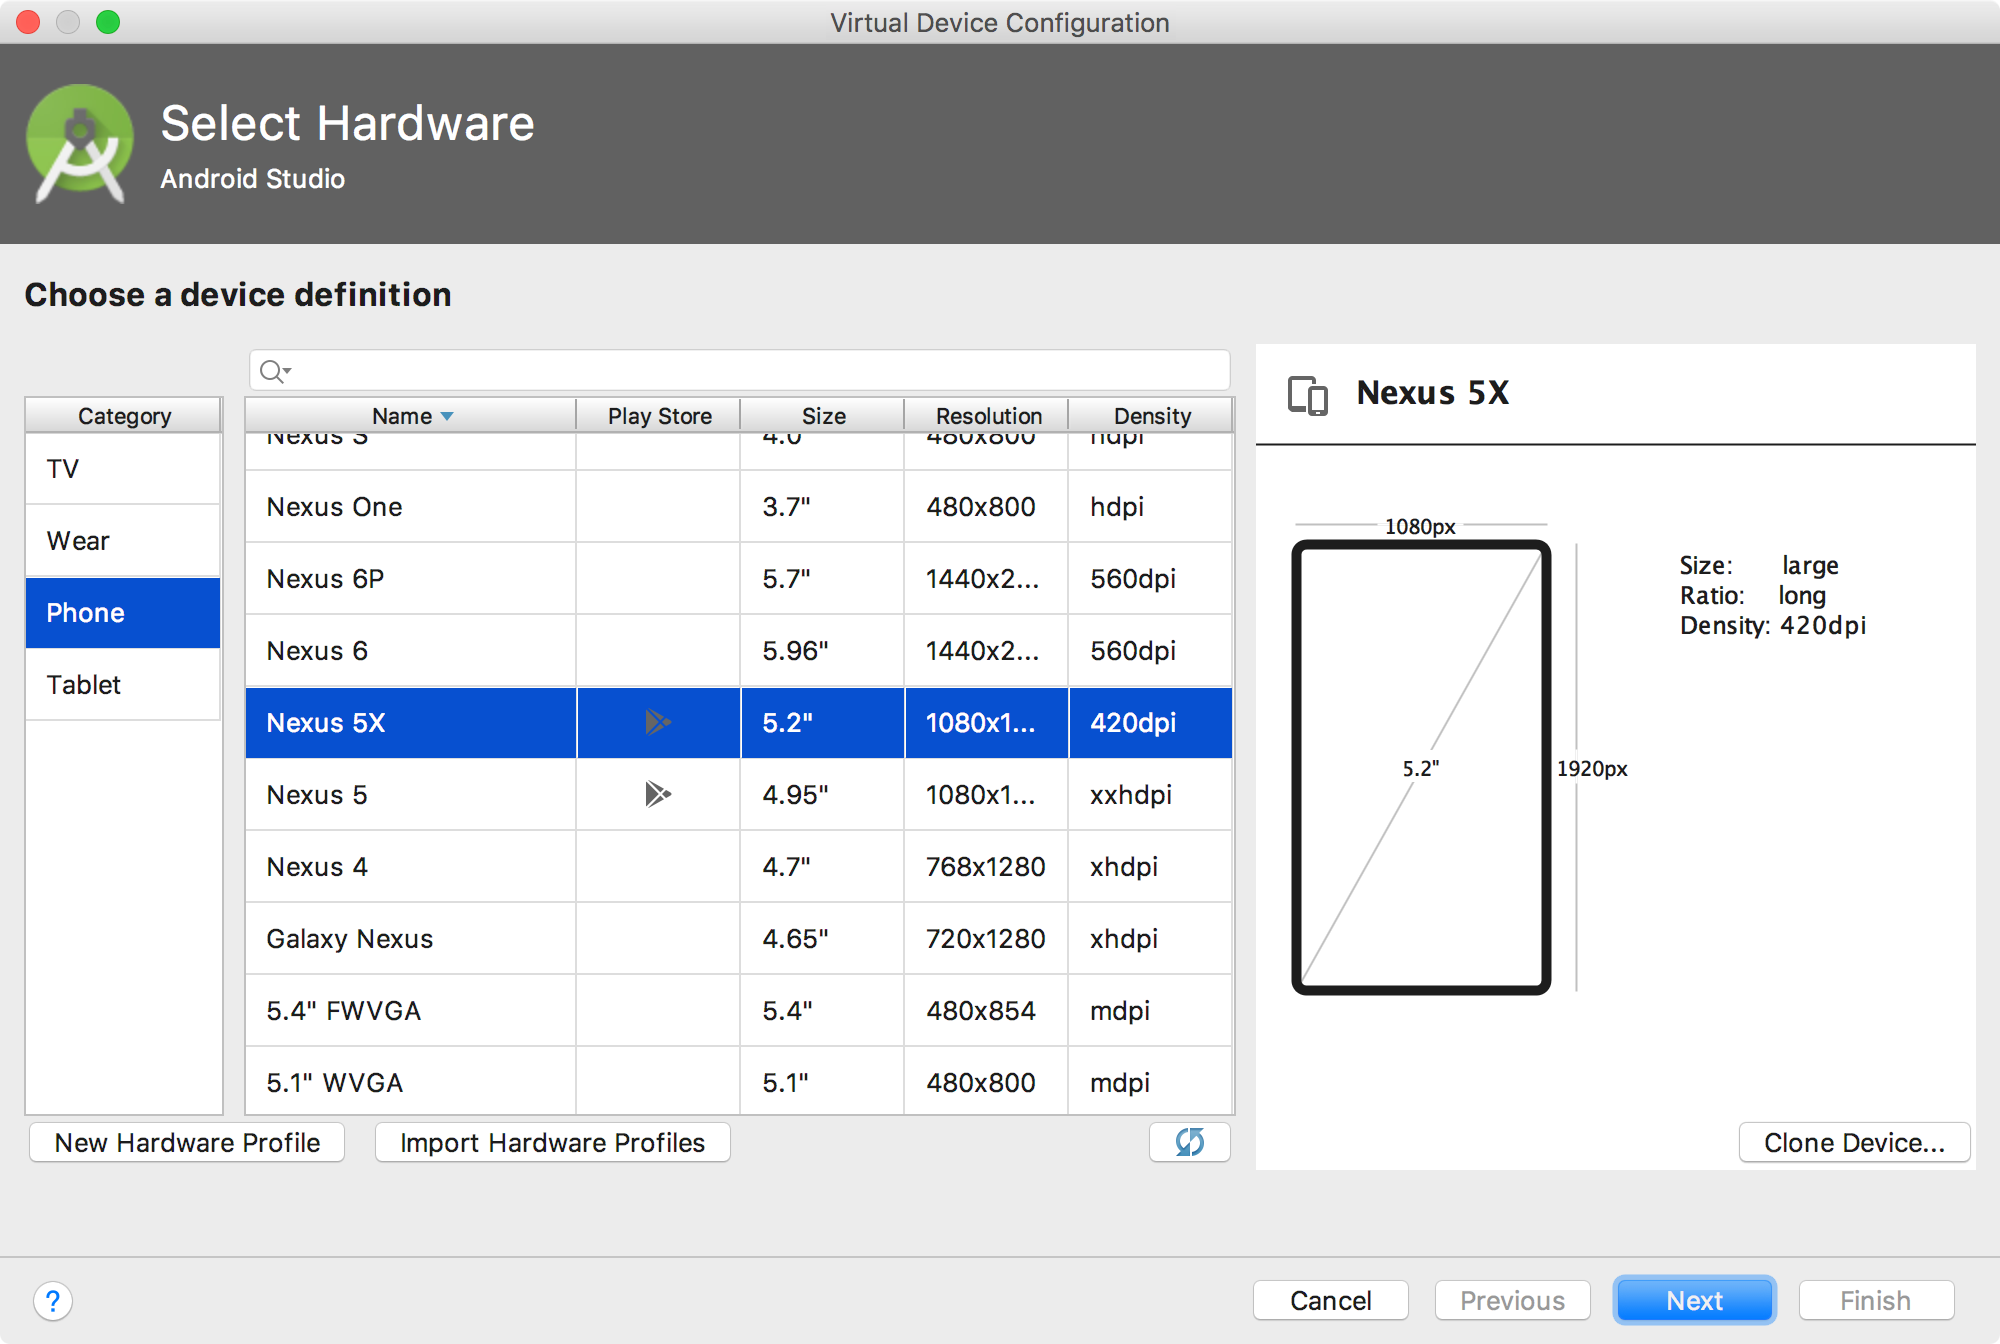
In Android Studio, Tools -> Android -> AVD Manager. Click ‘Create Virtual Device’ button.
Select ‘Phone’ and ‘Nexus 5X’, Next.
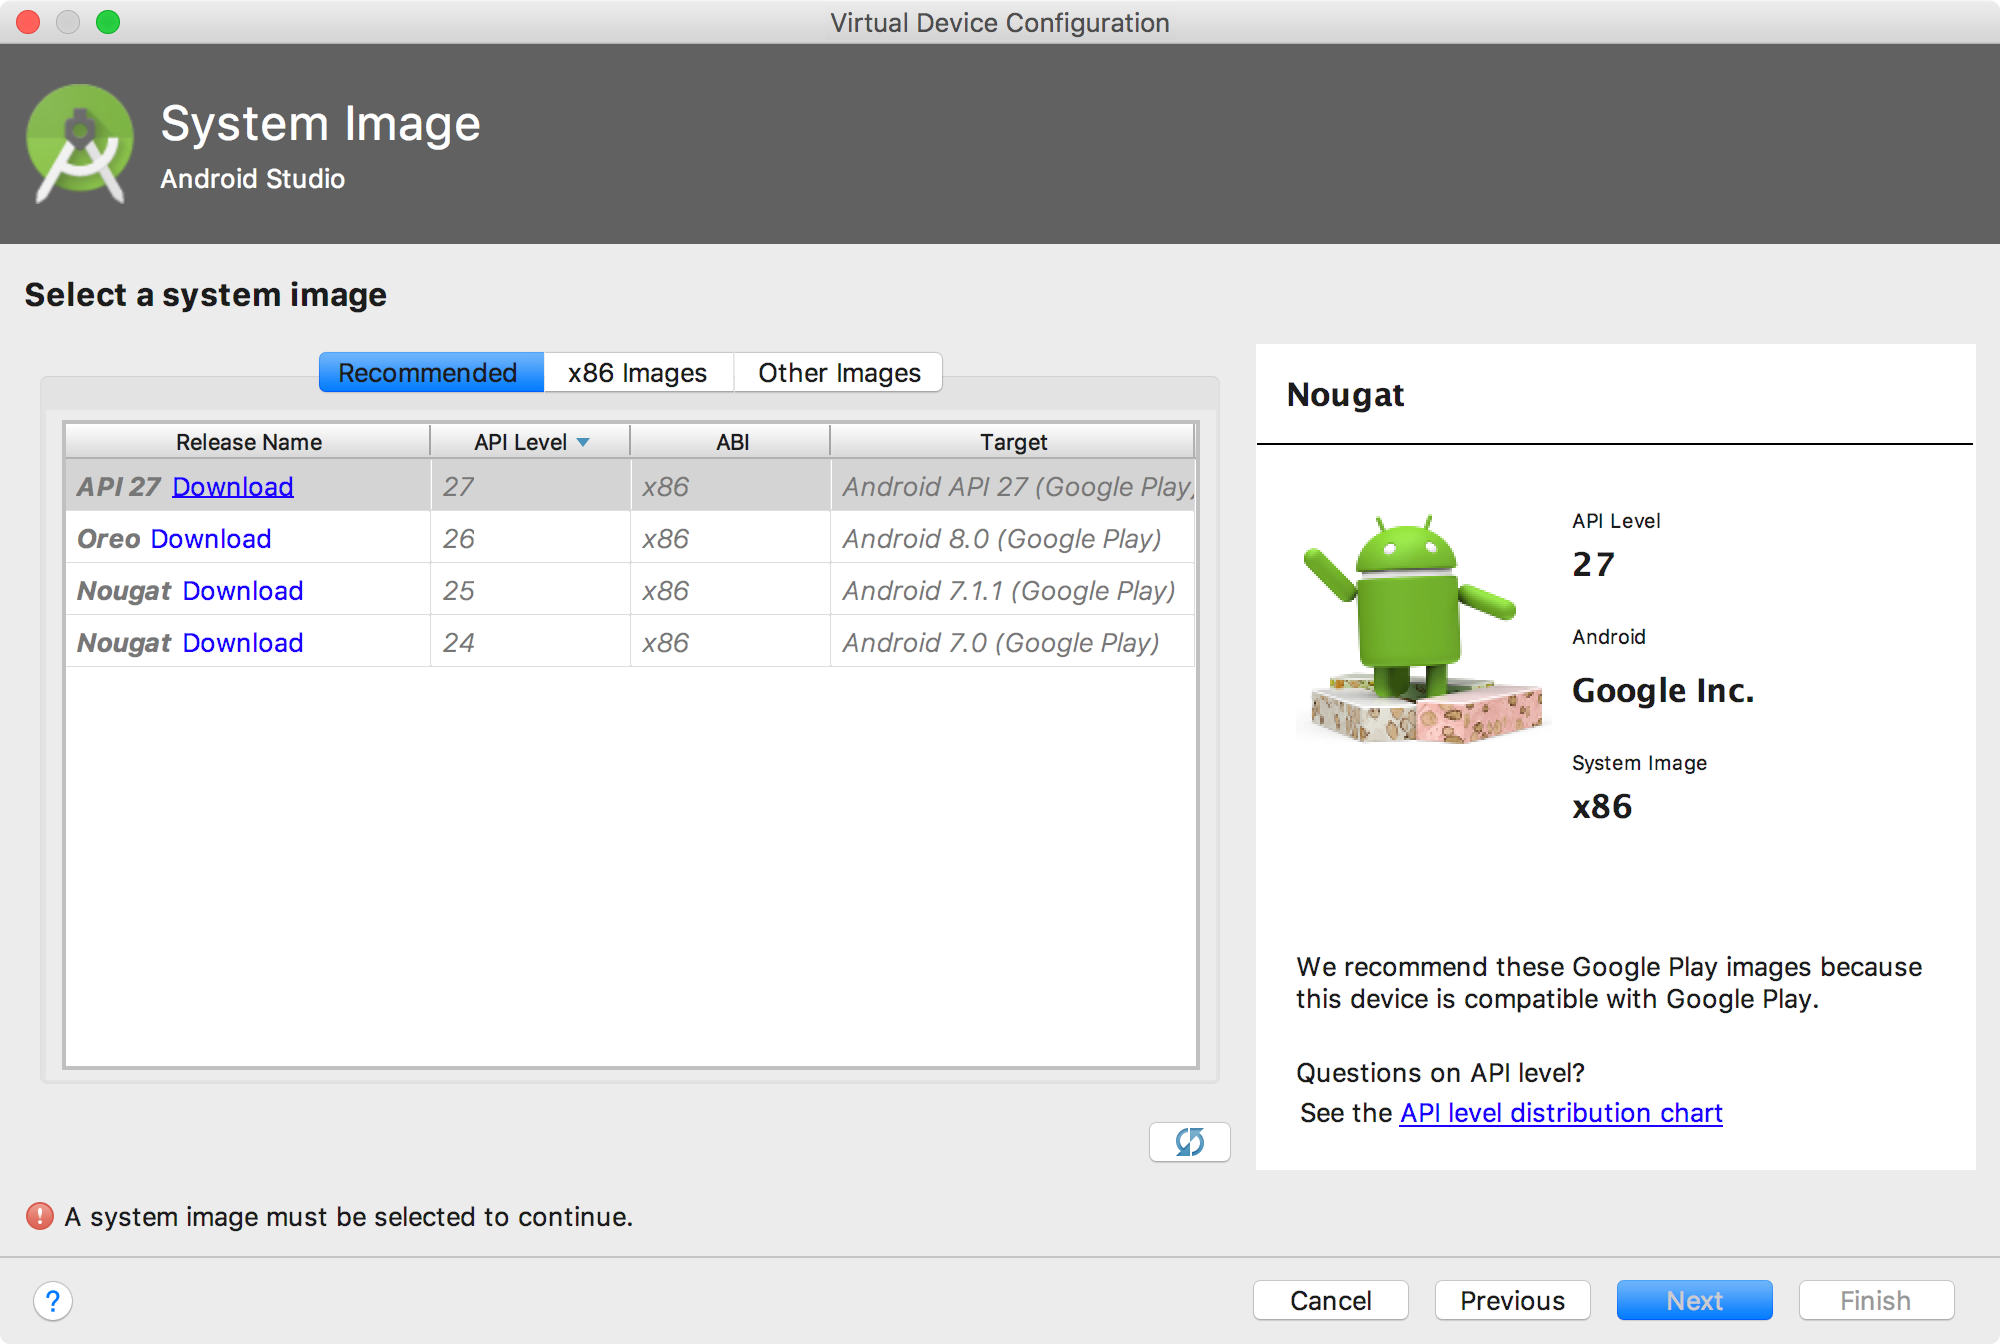
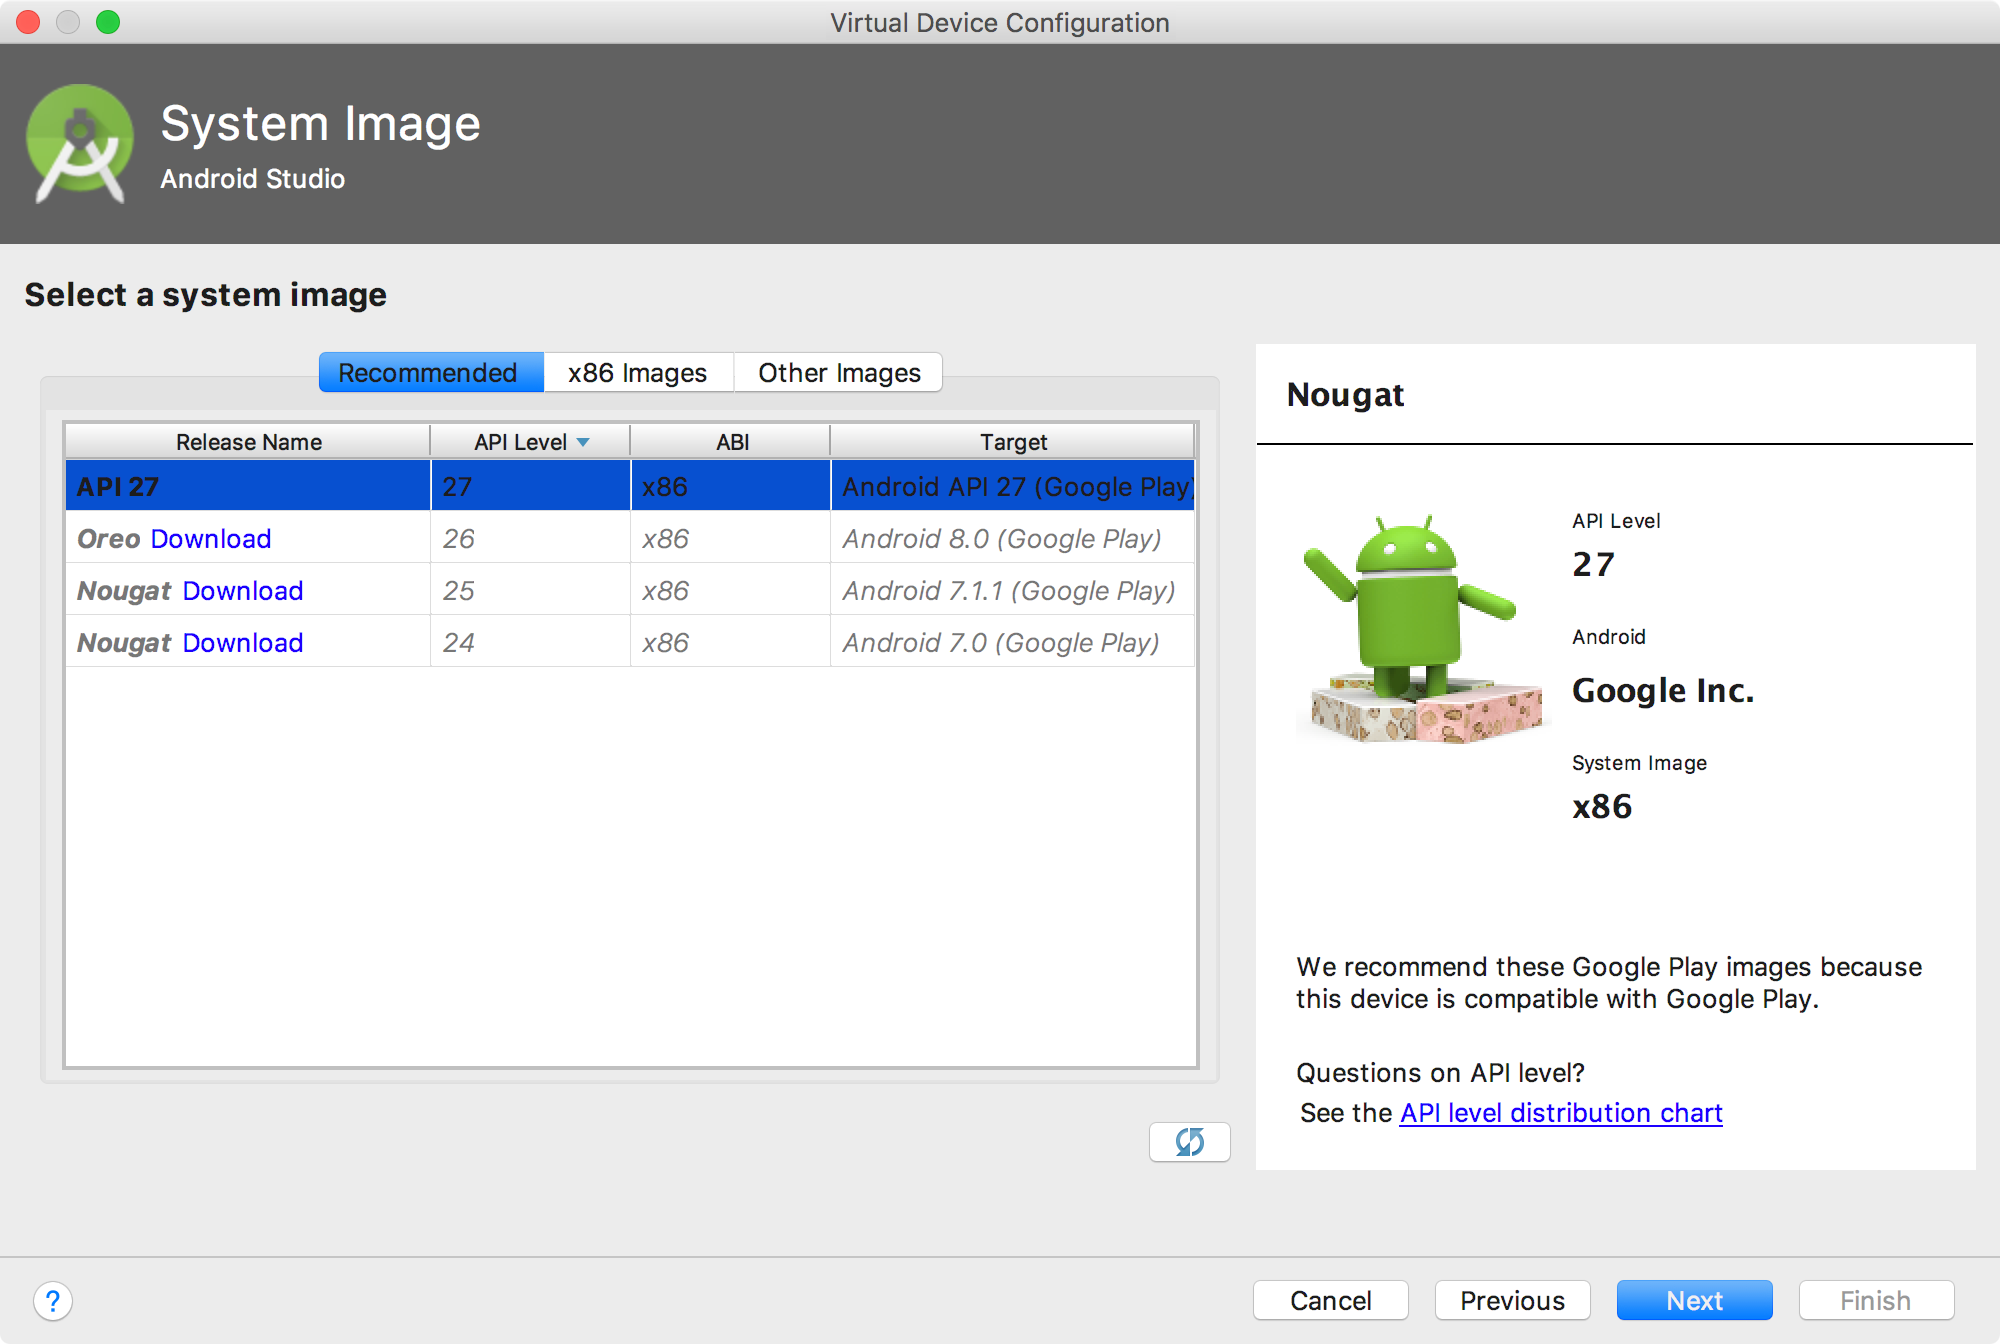
Click ‘Download’ of ‘API 27’.
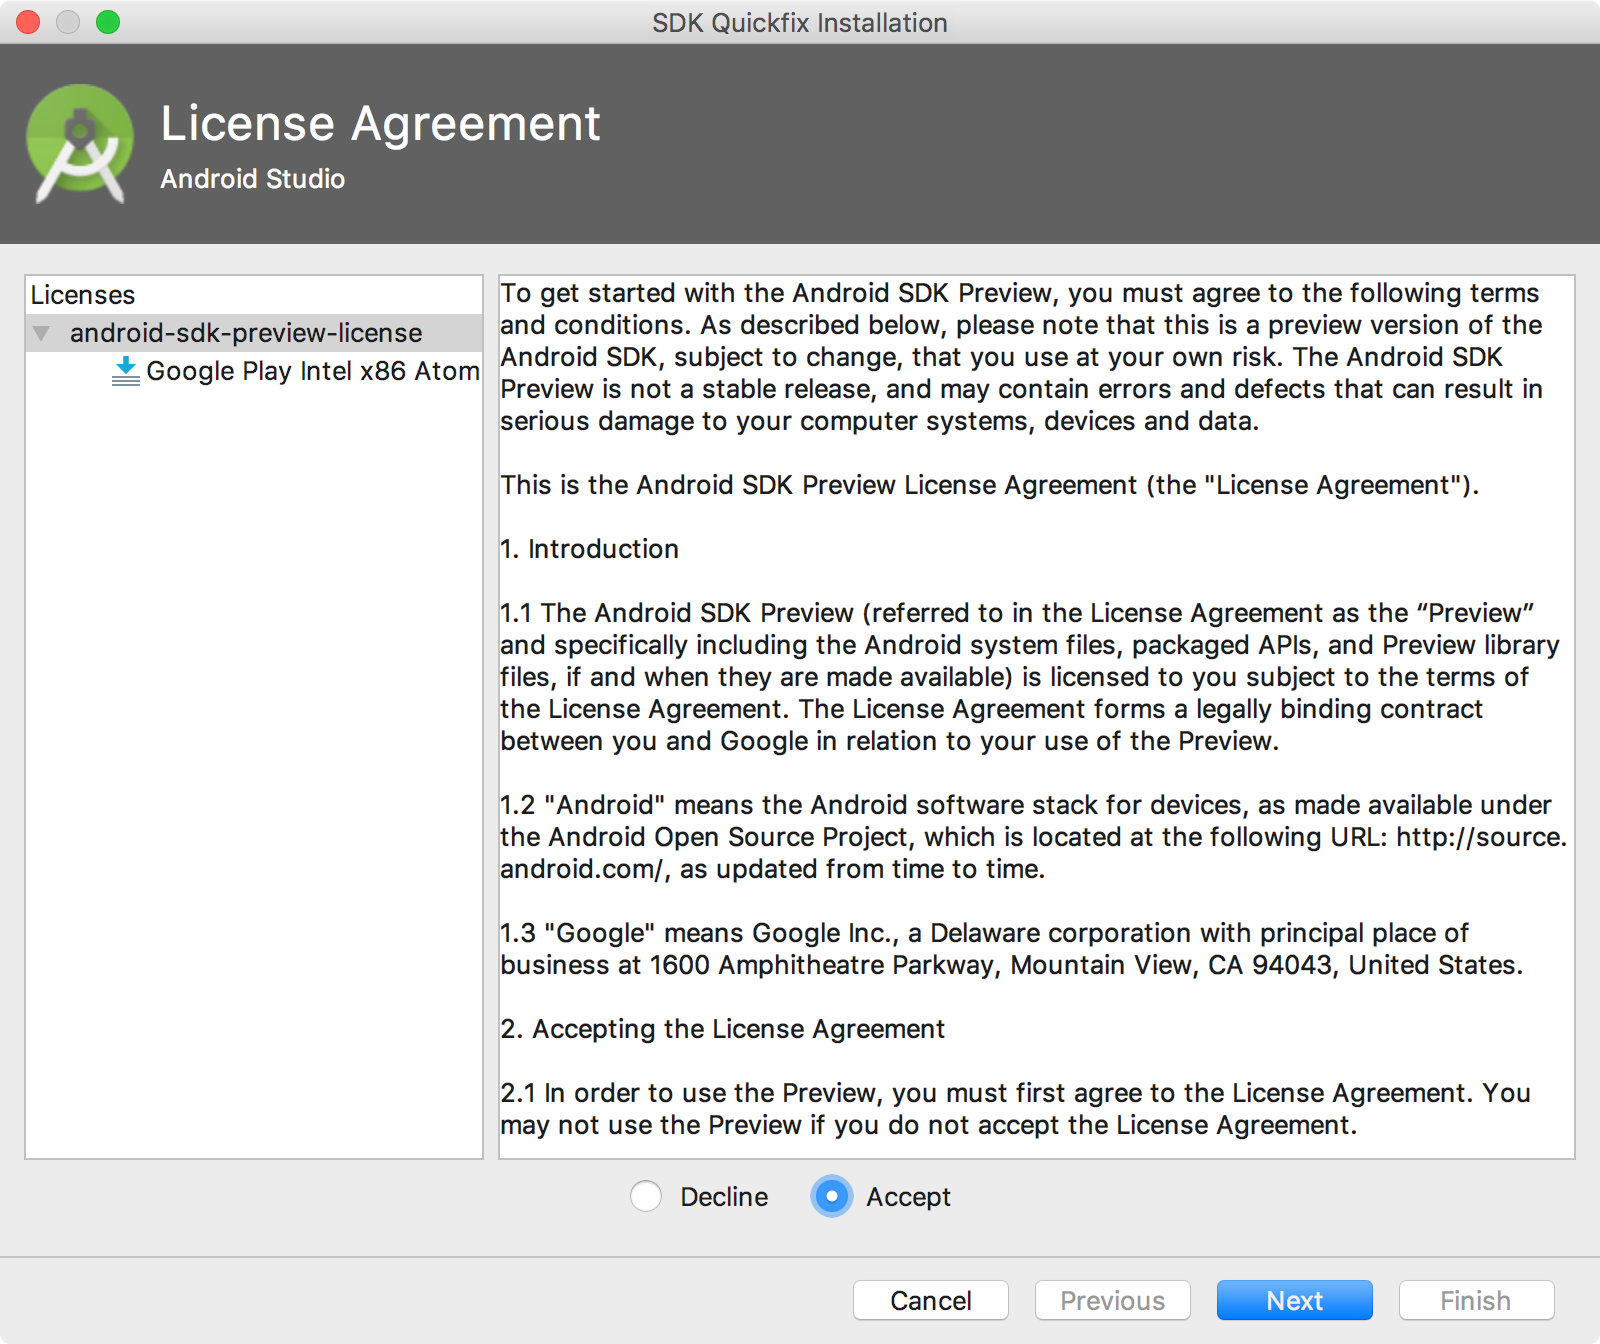
Accept the license agreement.
Start to download the image.
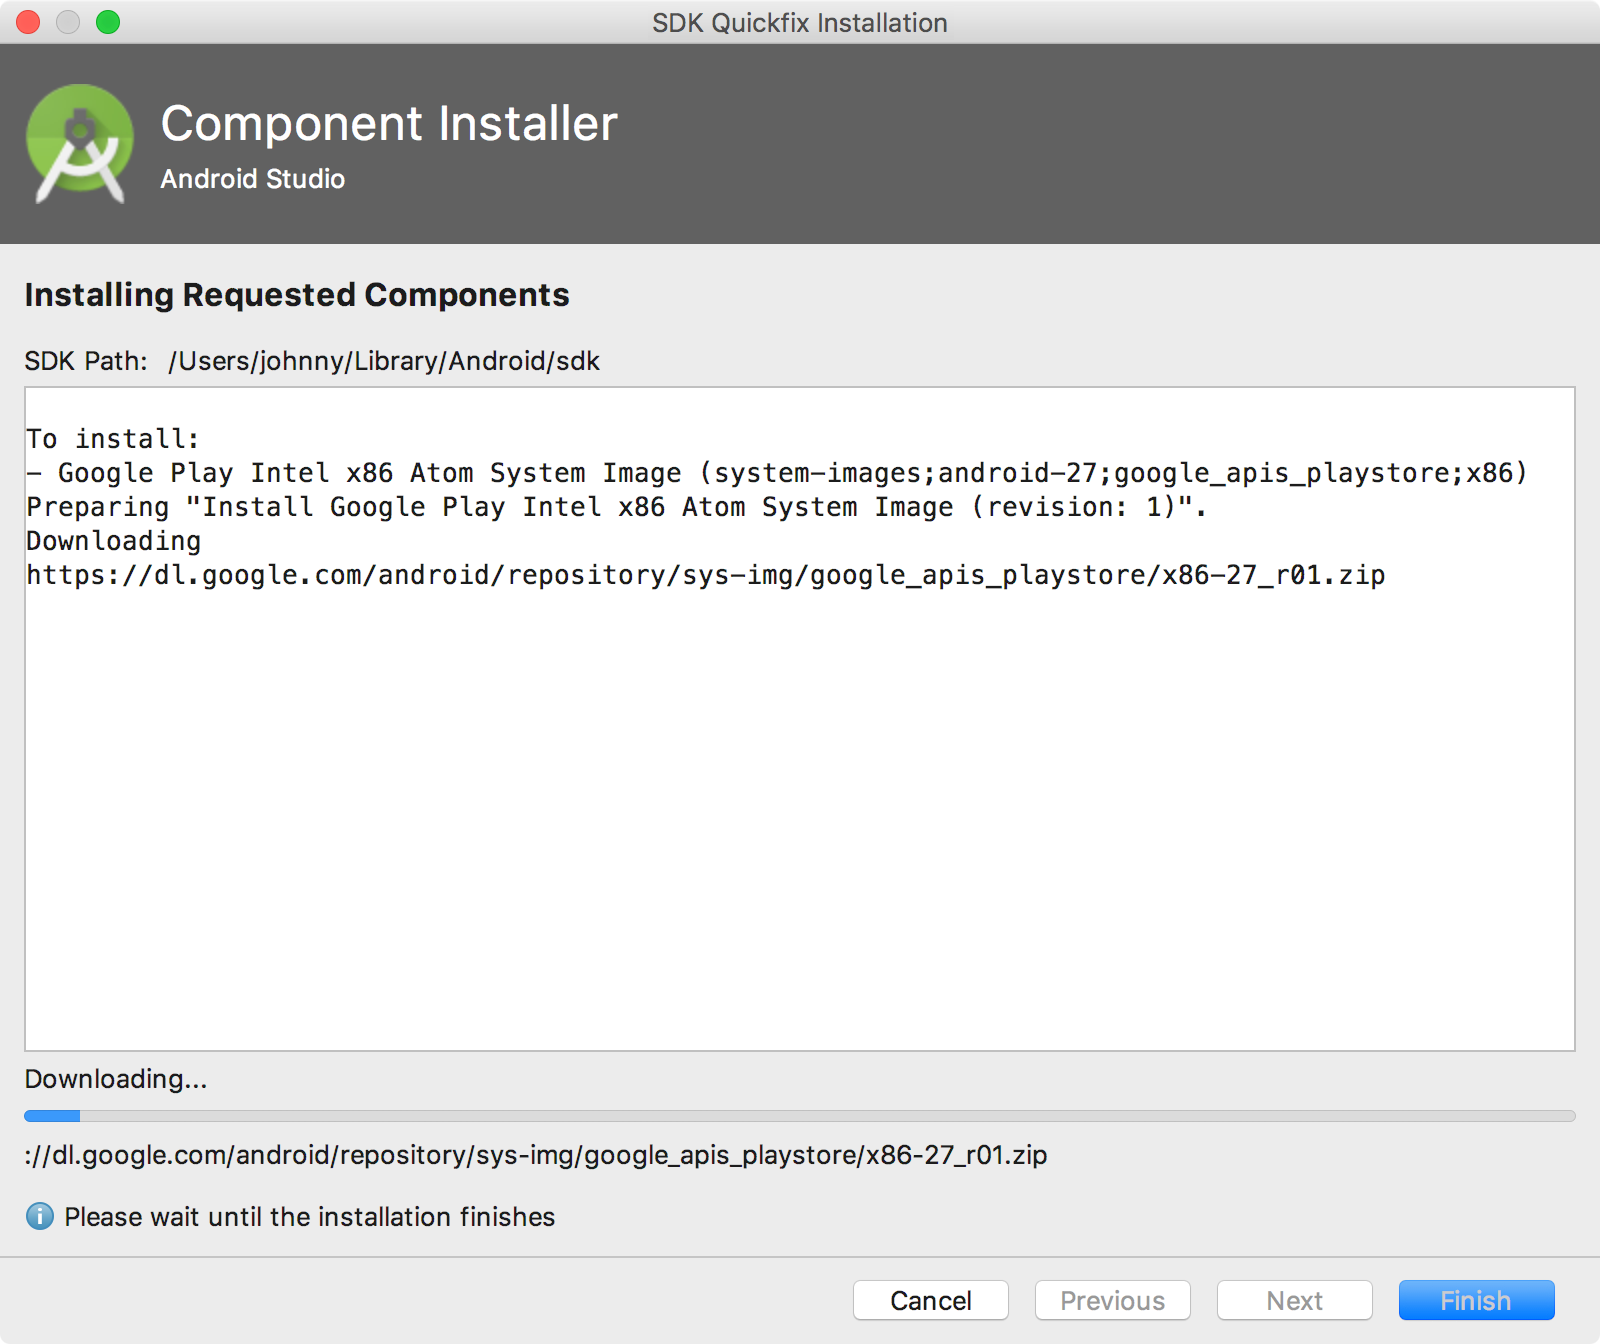
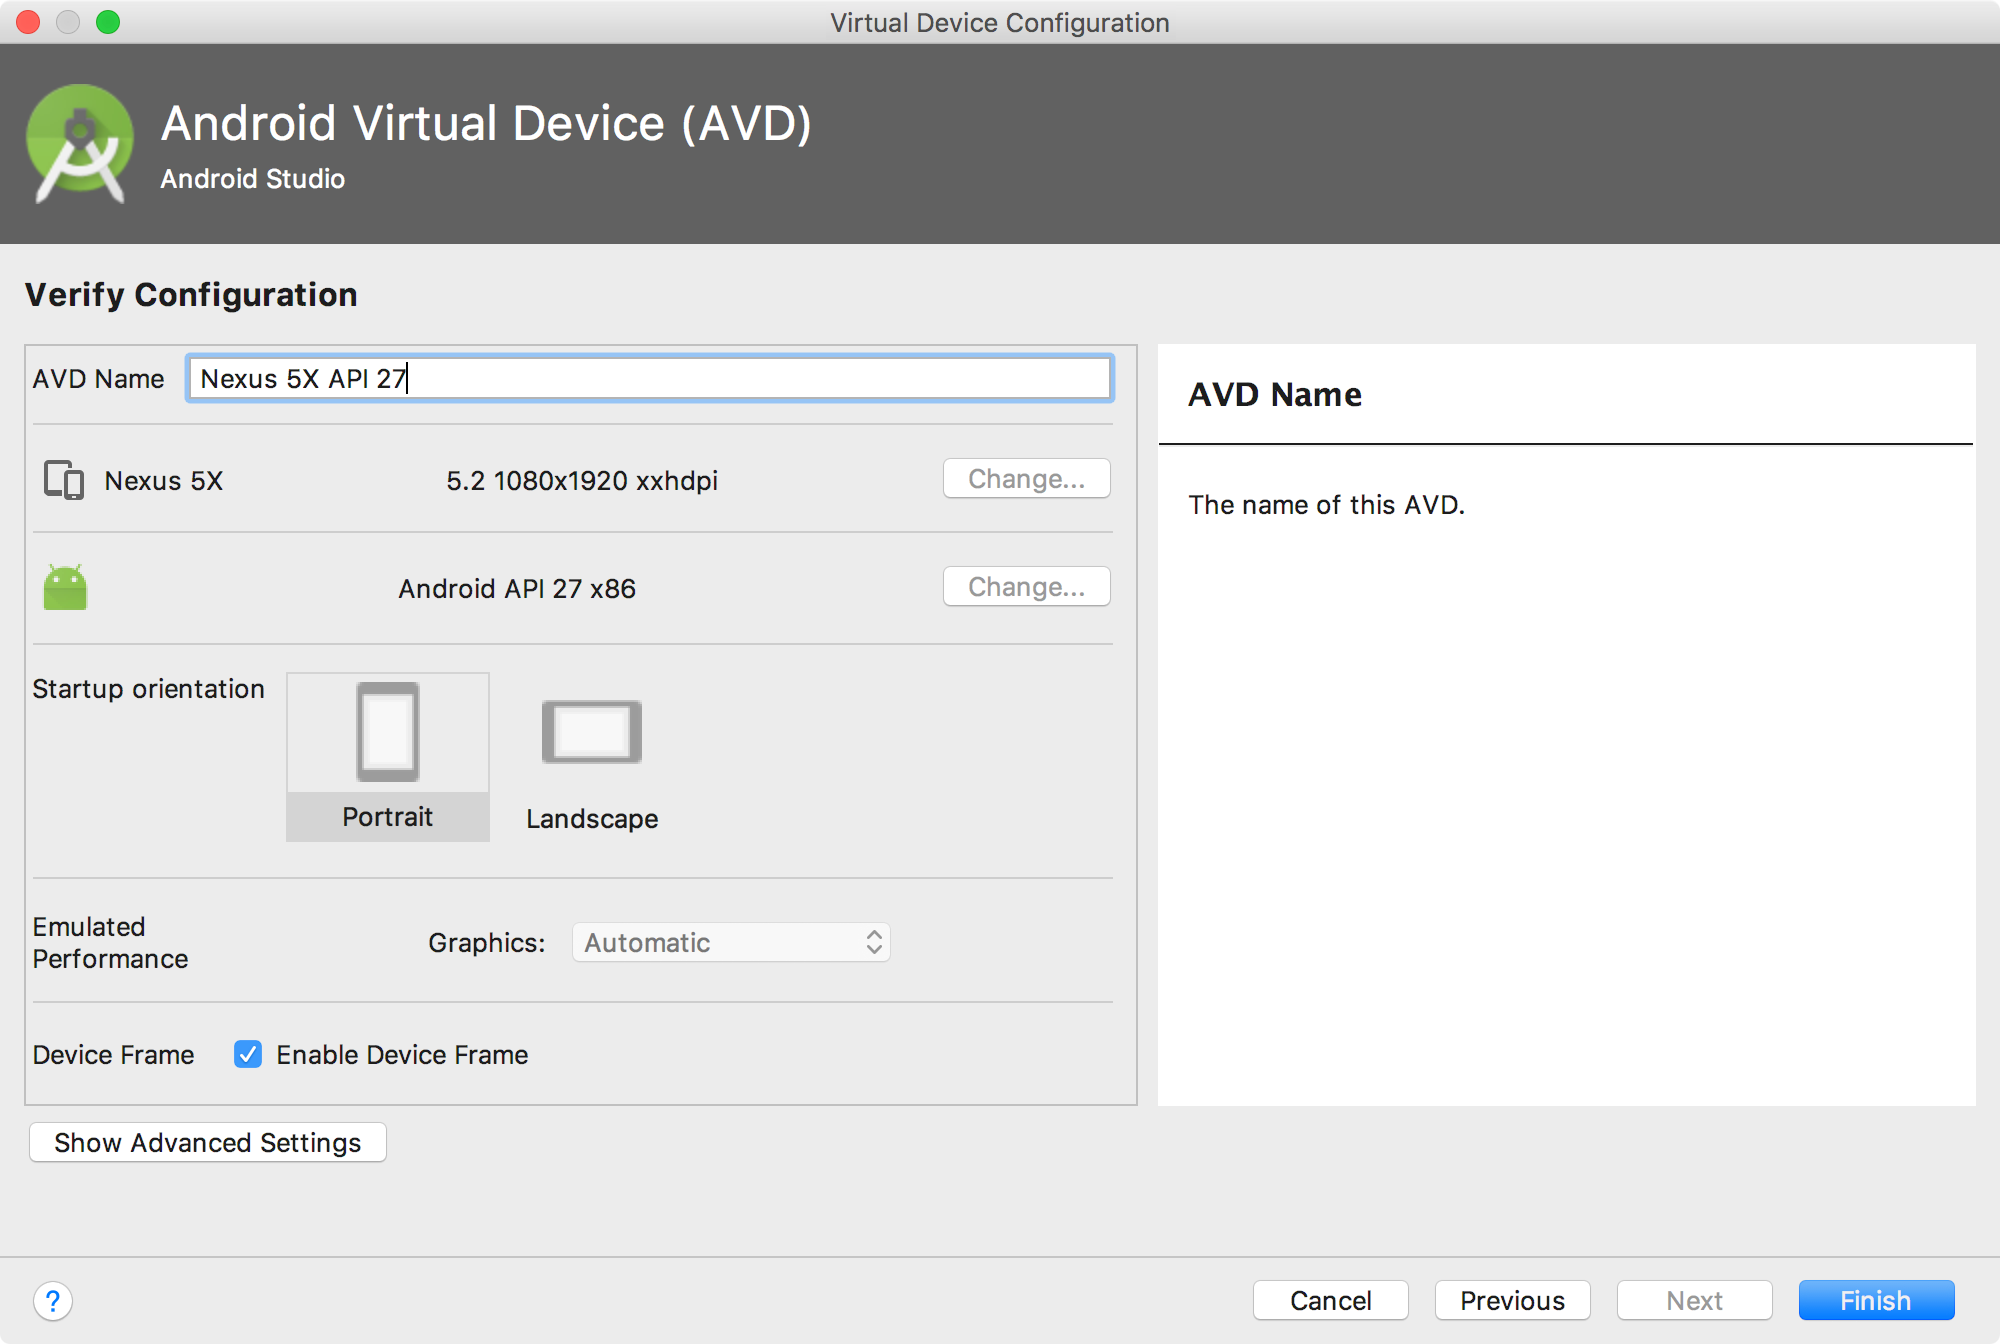
Image is downloaded, click ‘Next’.
Confirm the AVD.
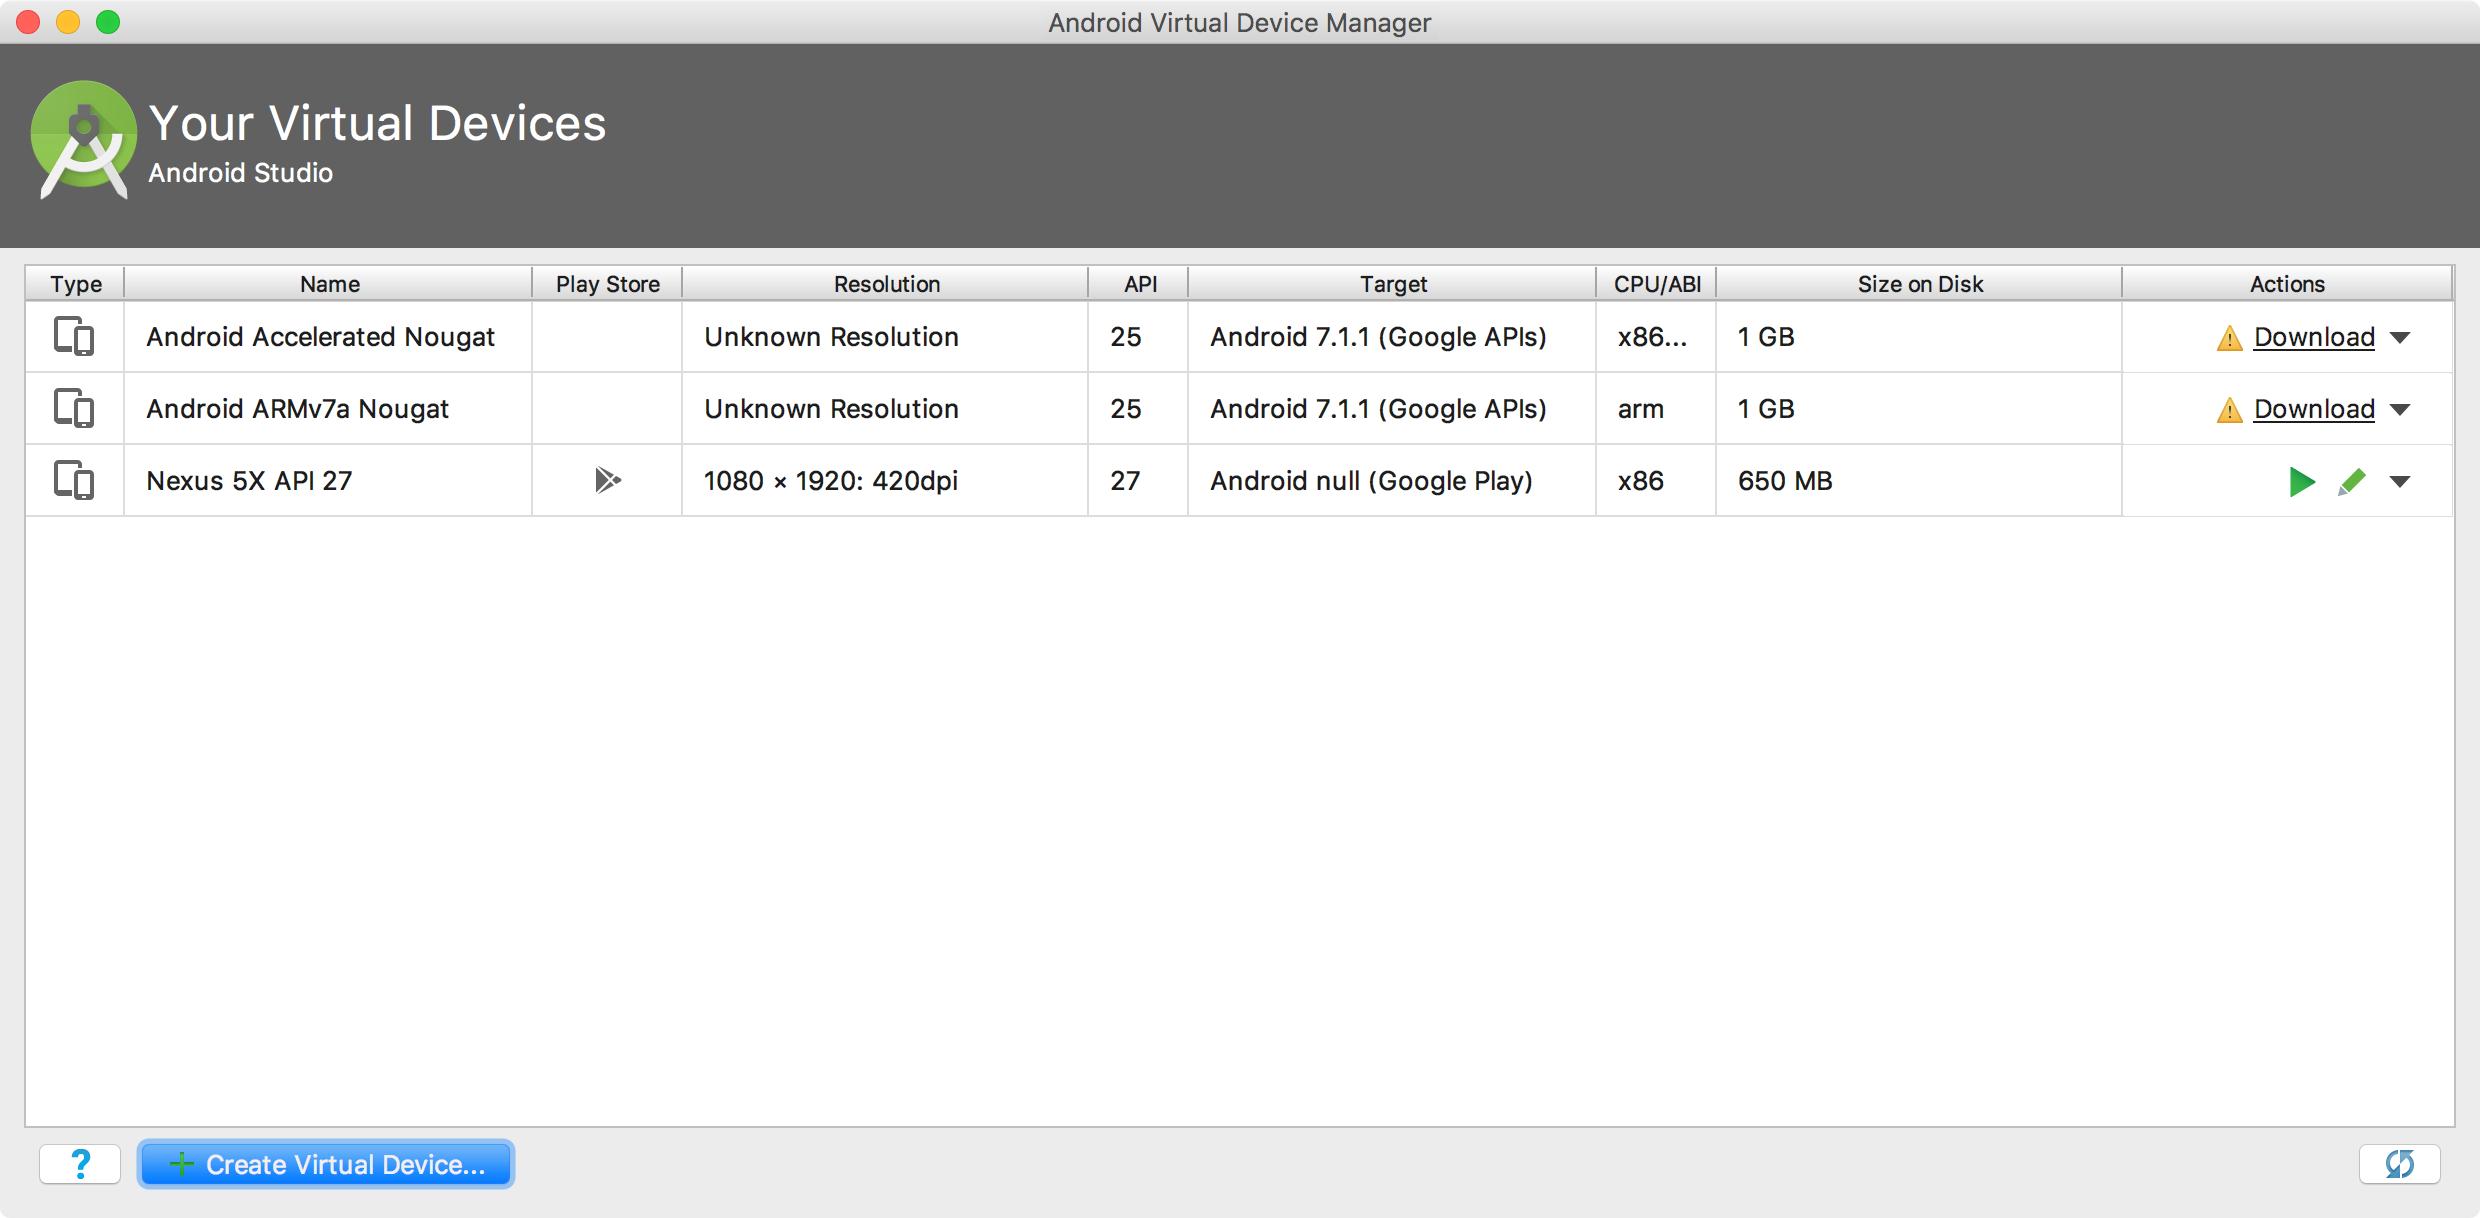
The new virtual device is now in AVD Manger.
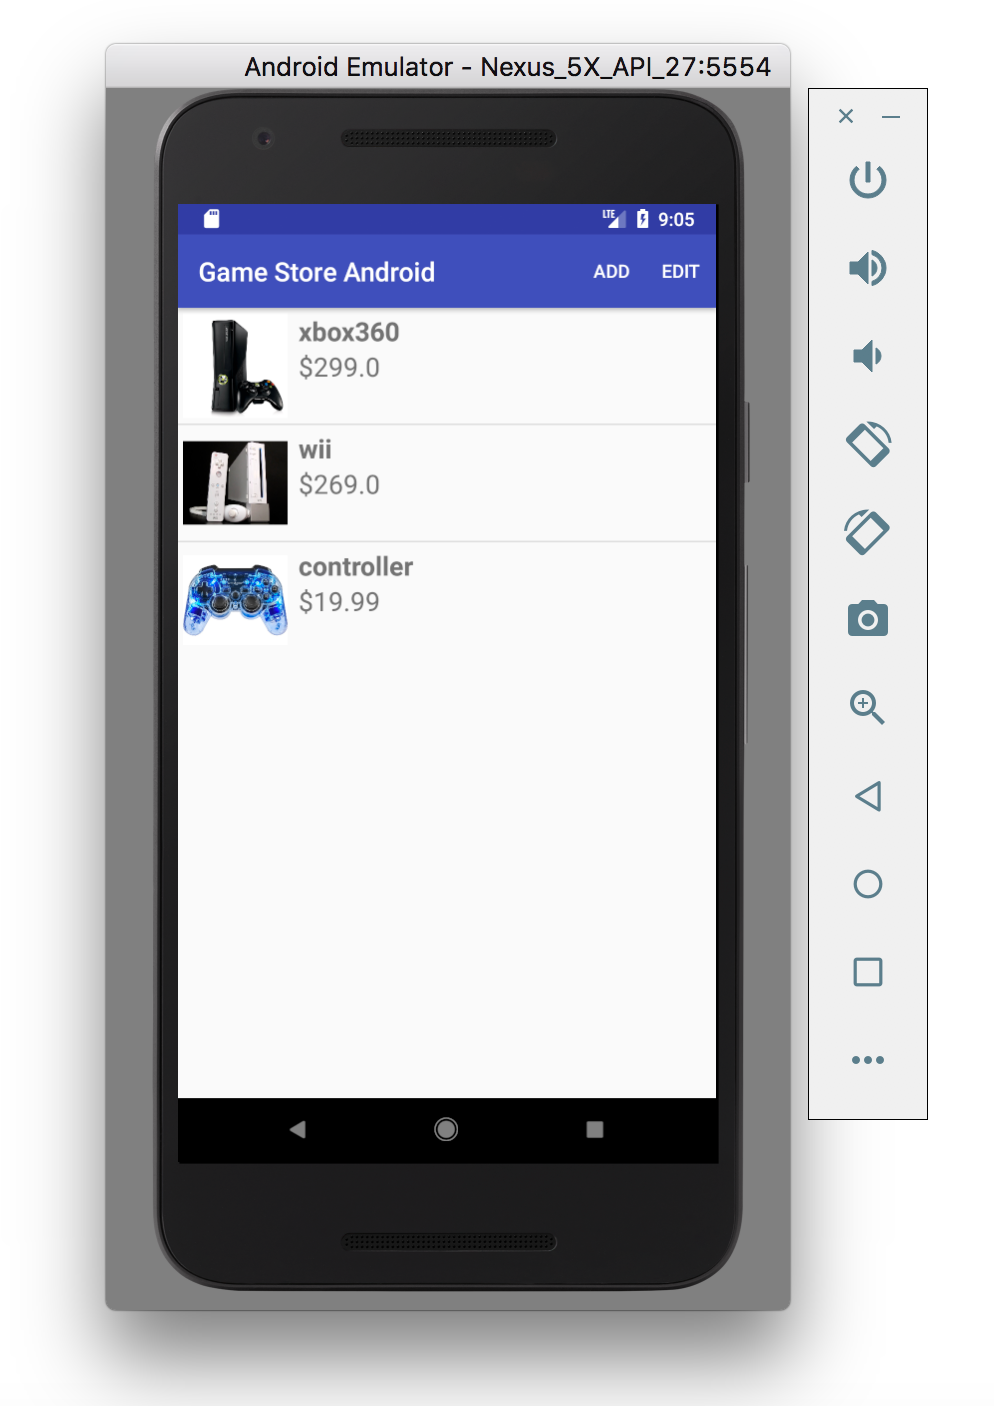
In Android Studio, start running app through menu Run -> Run ‘app’. Choose the virtual device ‘Nexus 5X API27’ we just created.
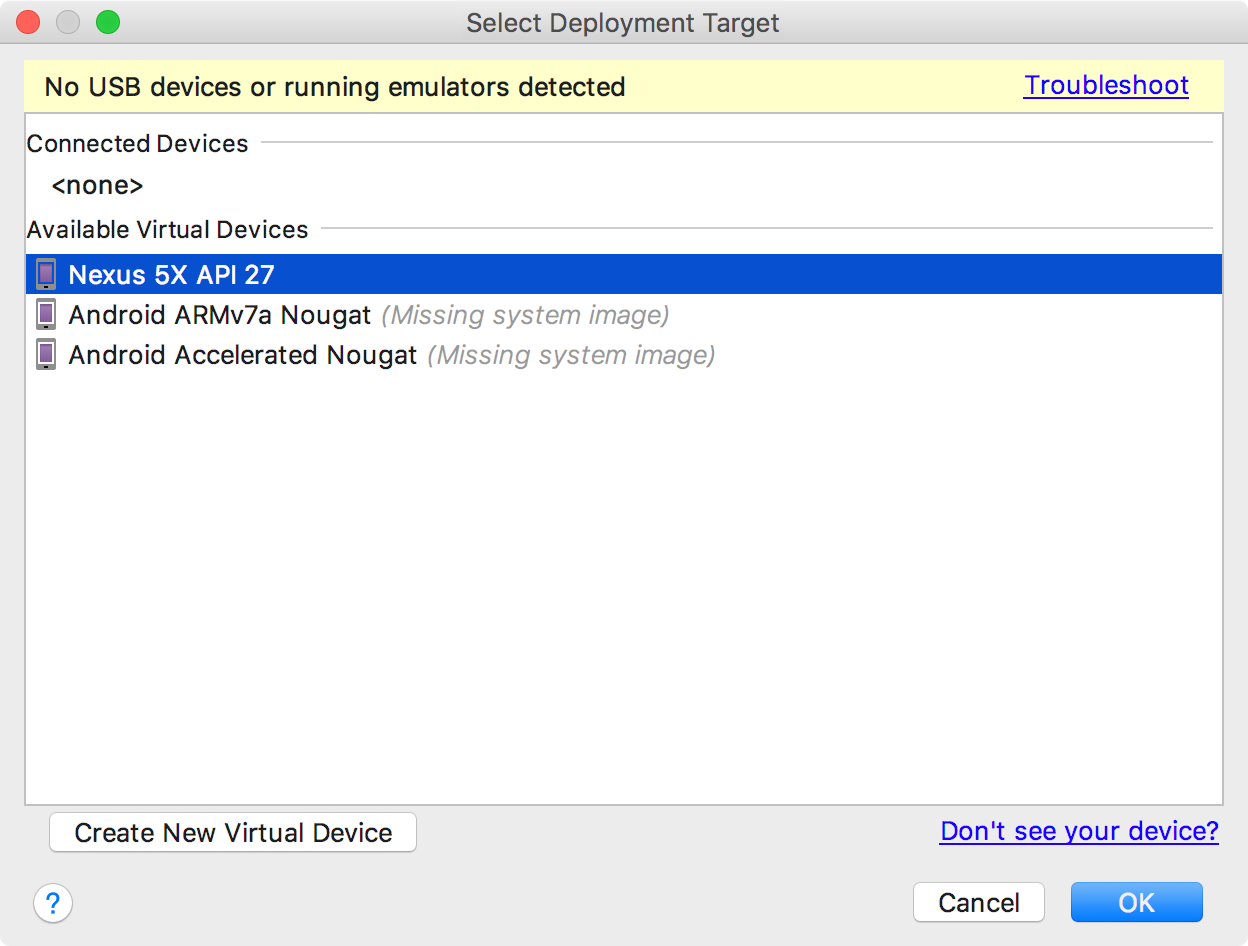
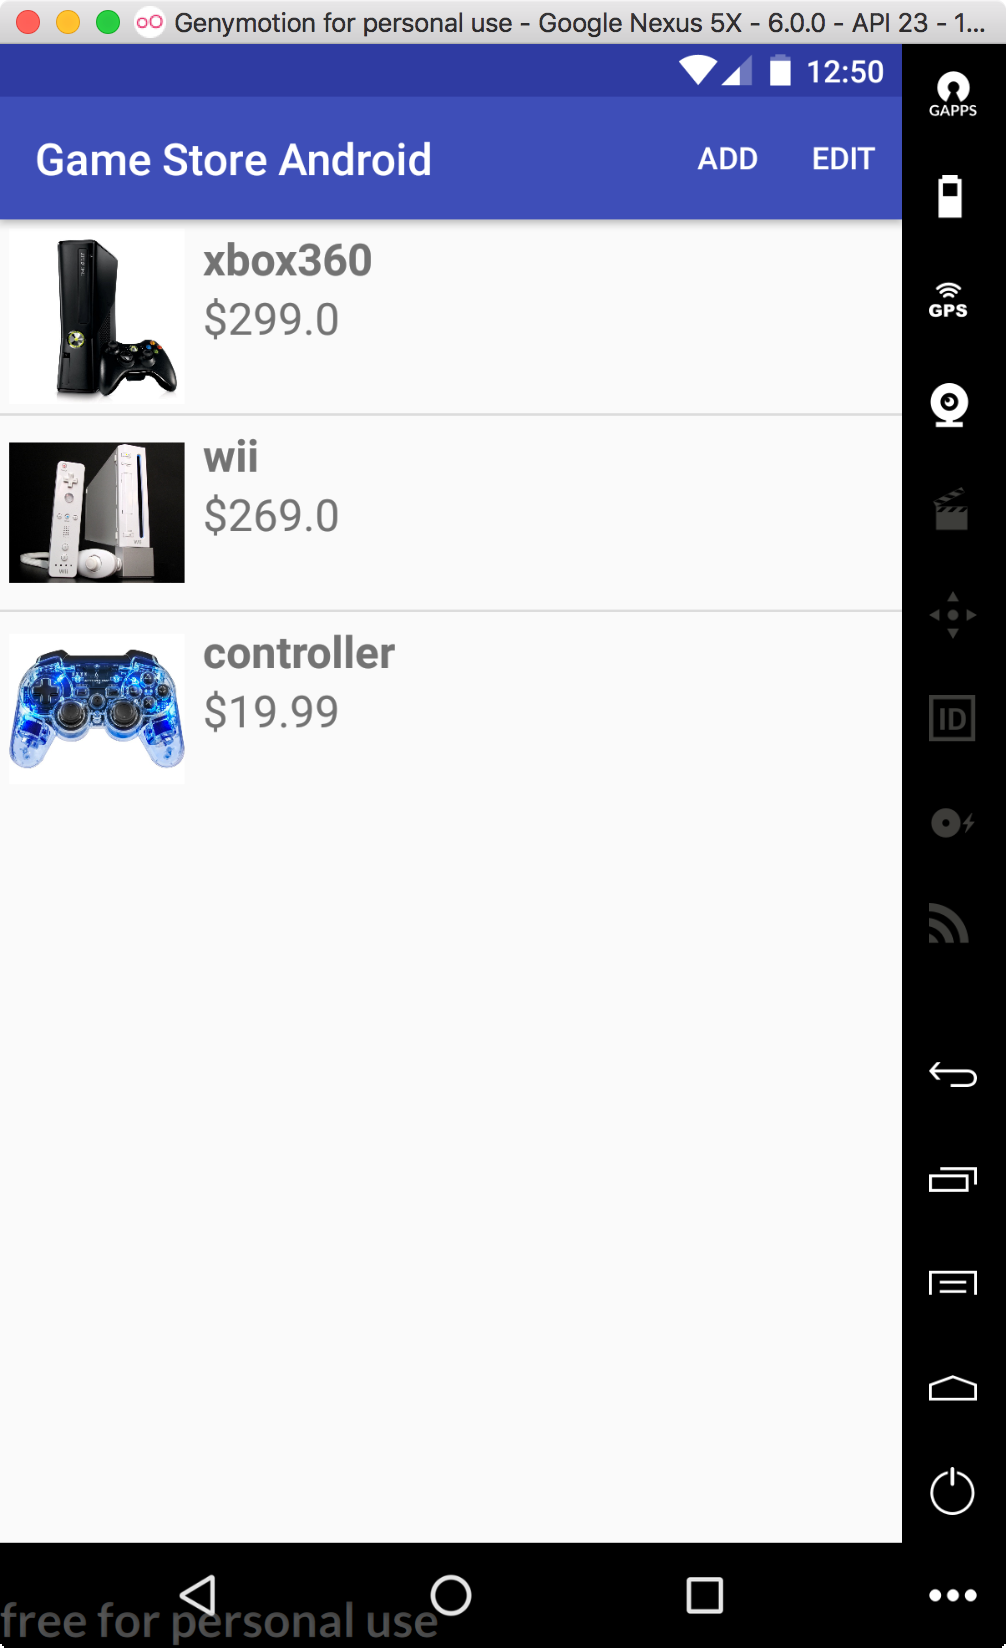
The Android app is running in the emulator.
6. Installing Genymotion
6.1 Creating Genymotion Account
Go to https://www.genymotion.com/account/create/, create an account on Genymotion.
6.2 Downloading and Installing Genymotion
Go to https://www.genymotion.com/download/, download Genymotion for Mac, eg. ‘genymotion-2.11.0.dmg’. Double click on the installer file, and move Genymotion and Genymotion Shell to Applications folder.
6.3 Launching Genymotion
Login with the account created in previous step, select free personal use license.
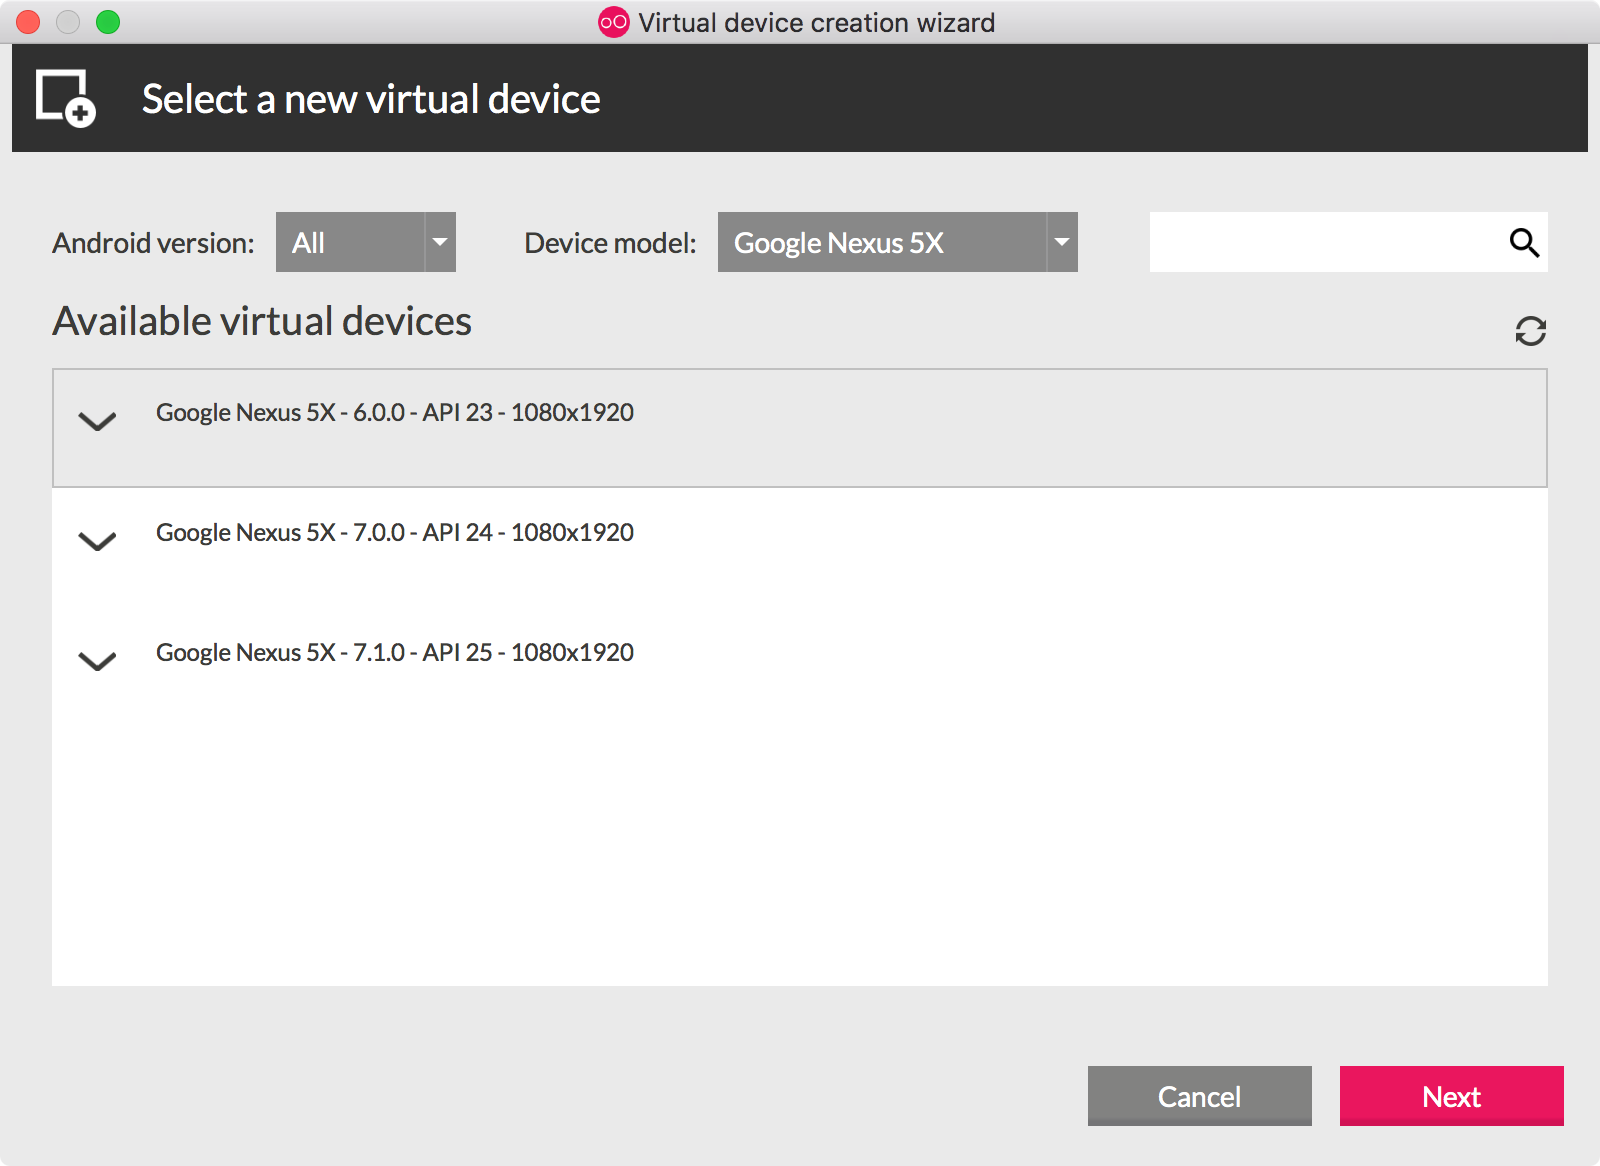
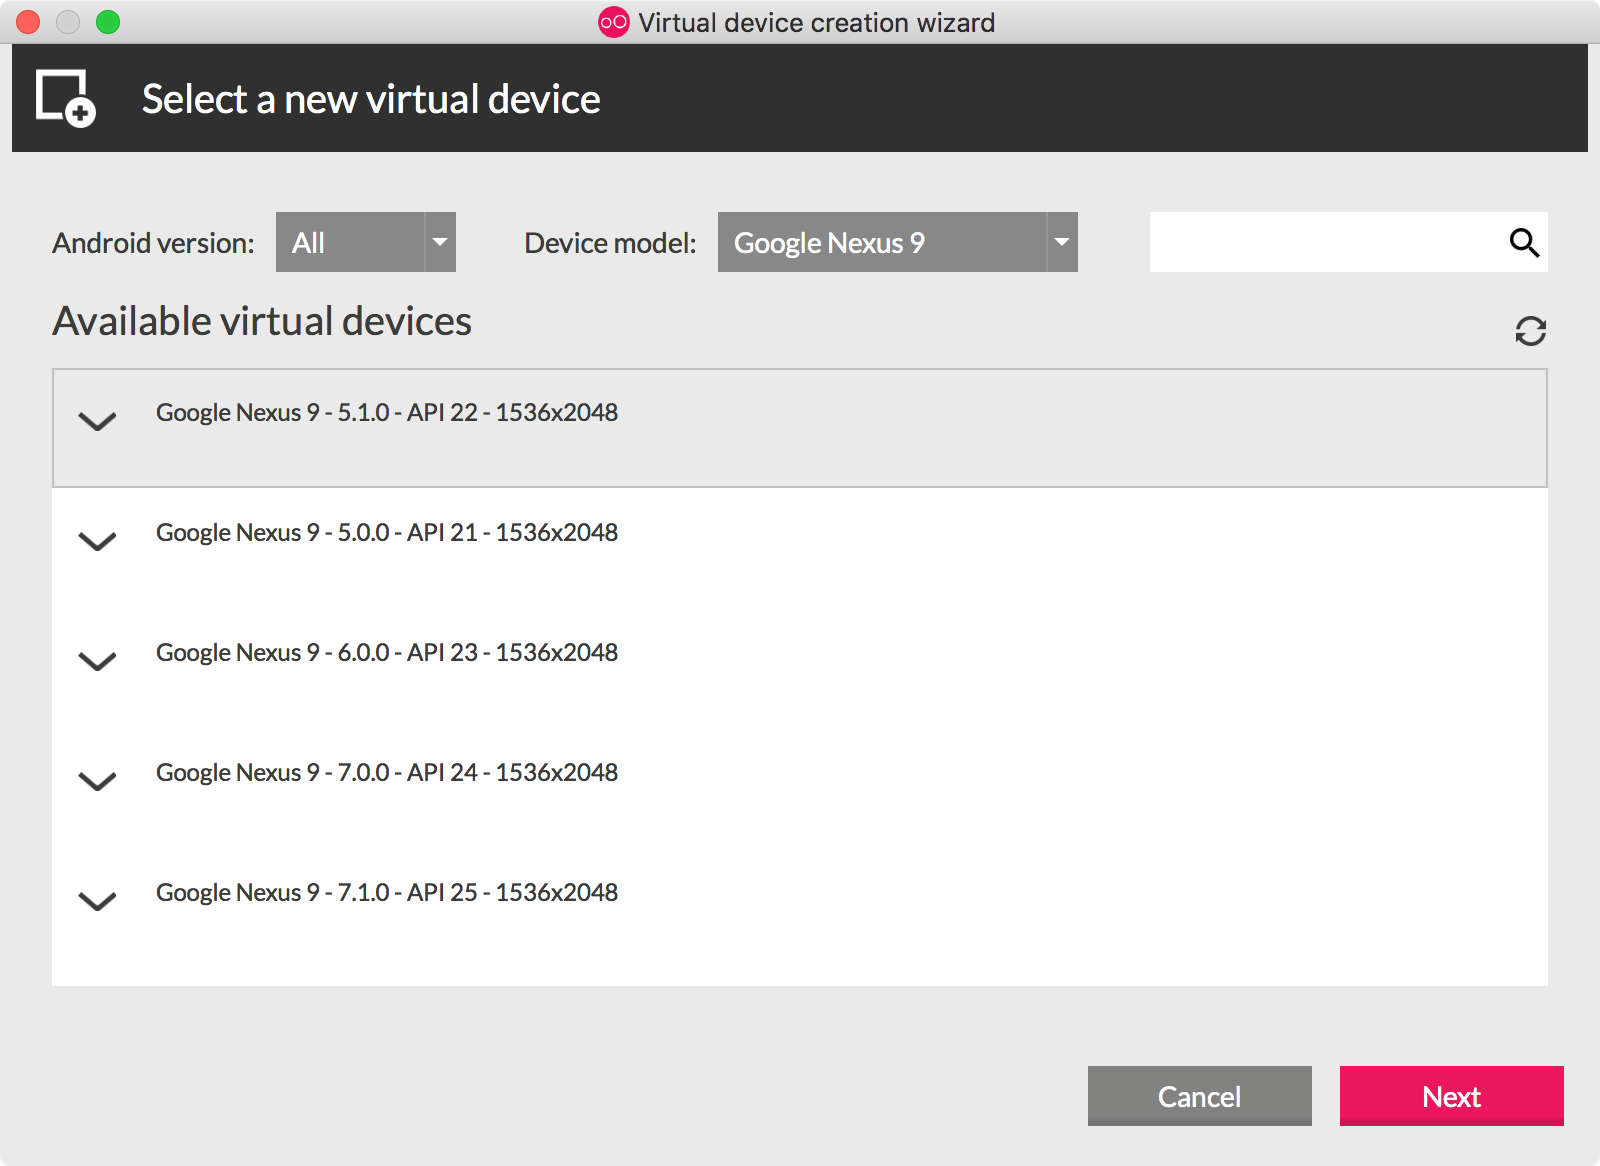
6.4 Adding Virtual Device
Click ‘Add’ button, choose Google Nexus 5X as device model, and select the proper API version.
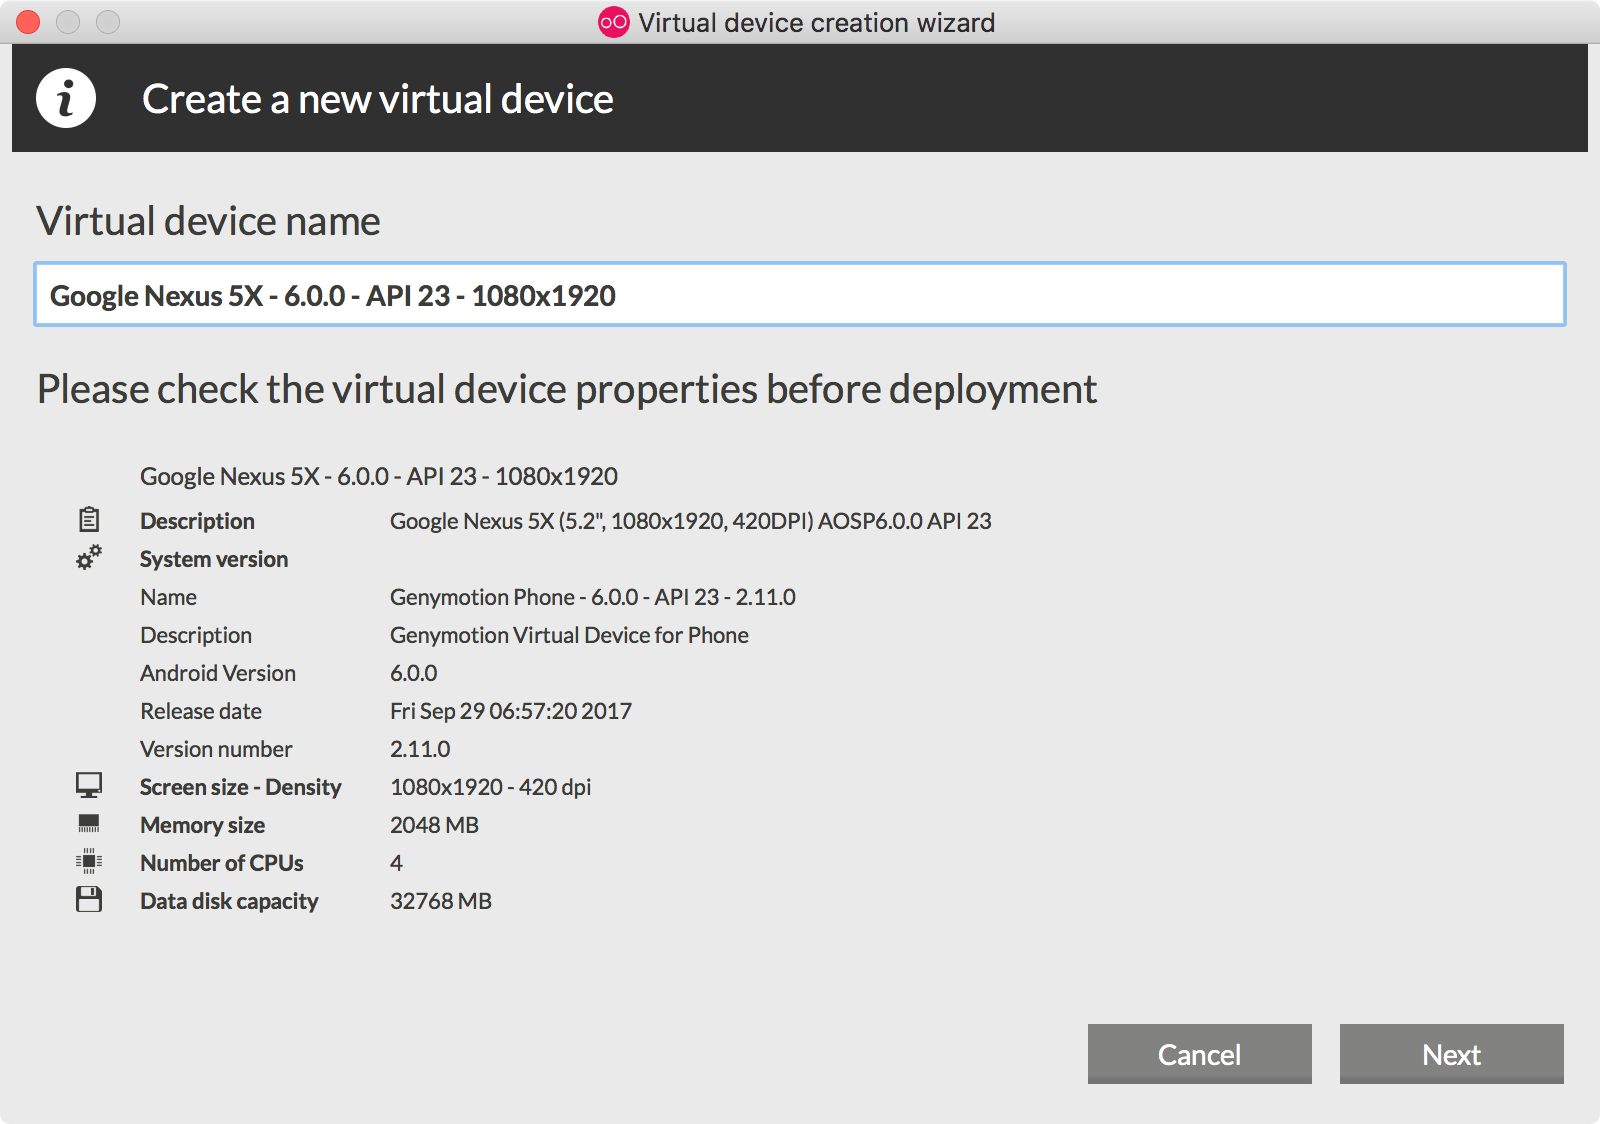
Click Next to confirm the device settings.
Create another virtual device for Google Nexus 9.
Click Next to confirm the device settings.

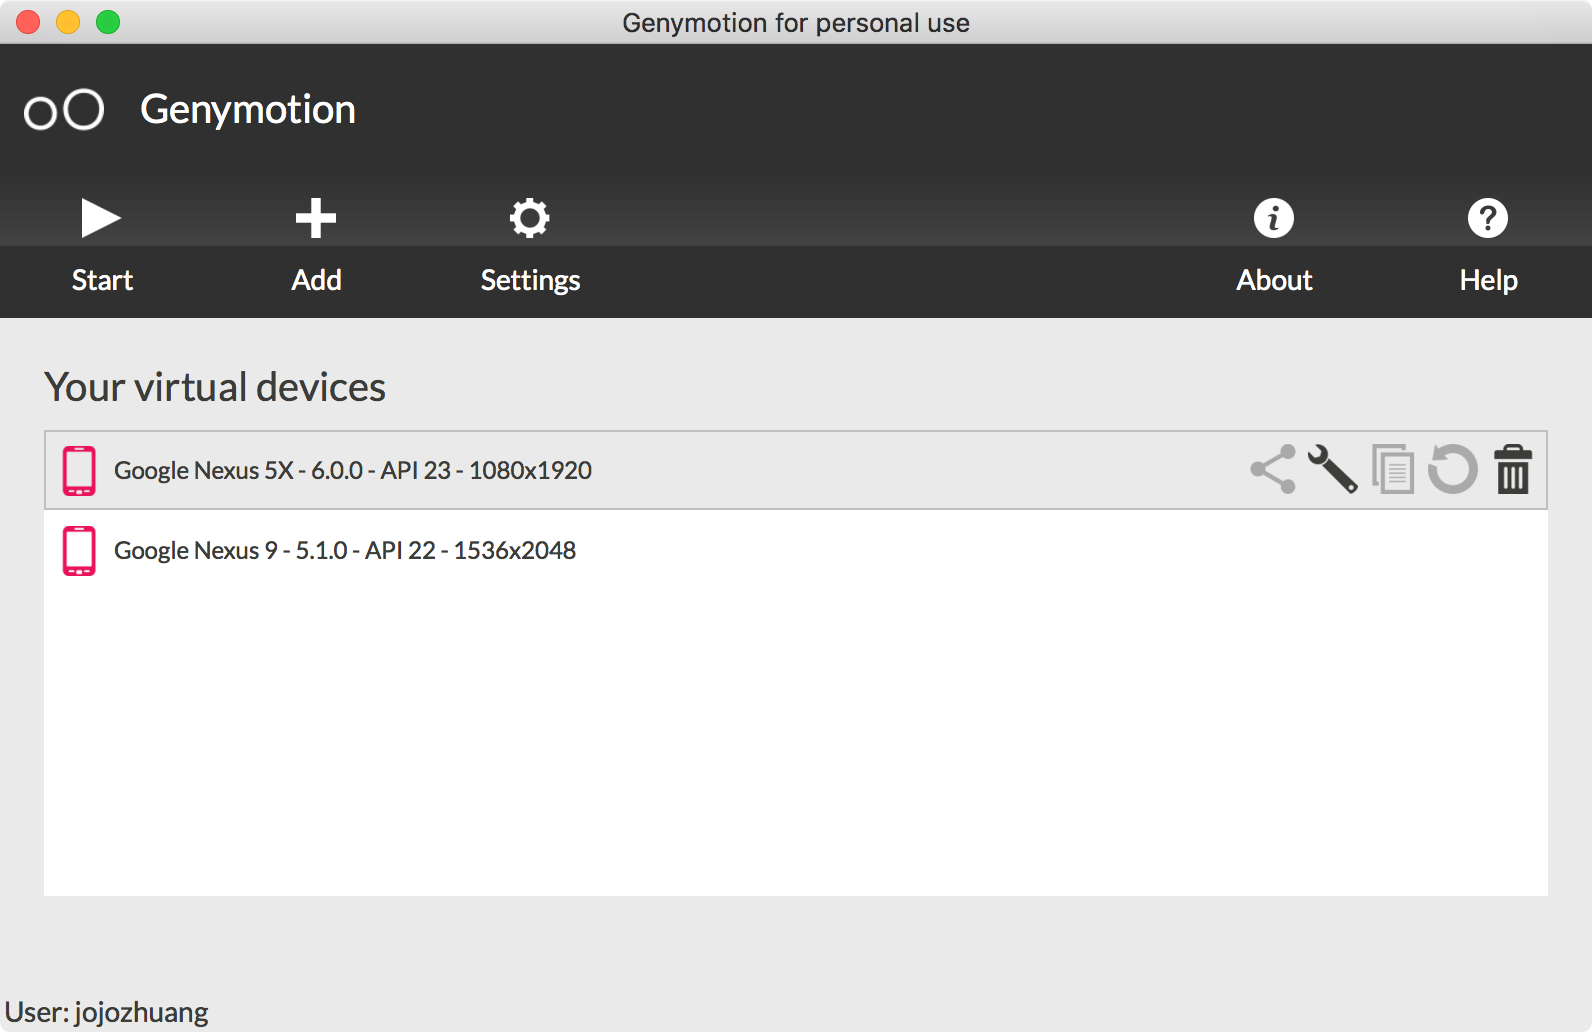
Now, we have two virtual devices, one is for phone, another is for pad.
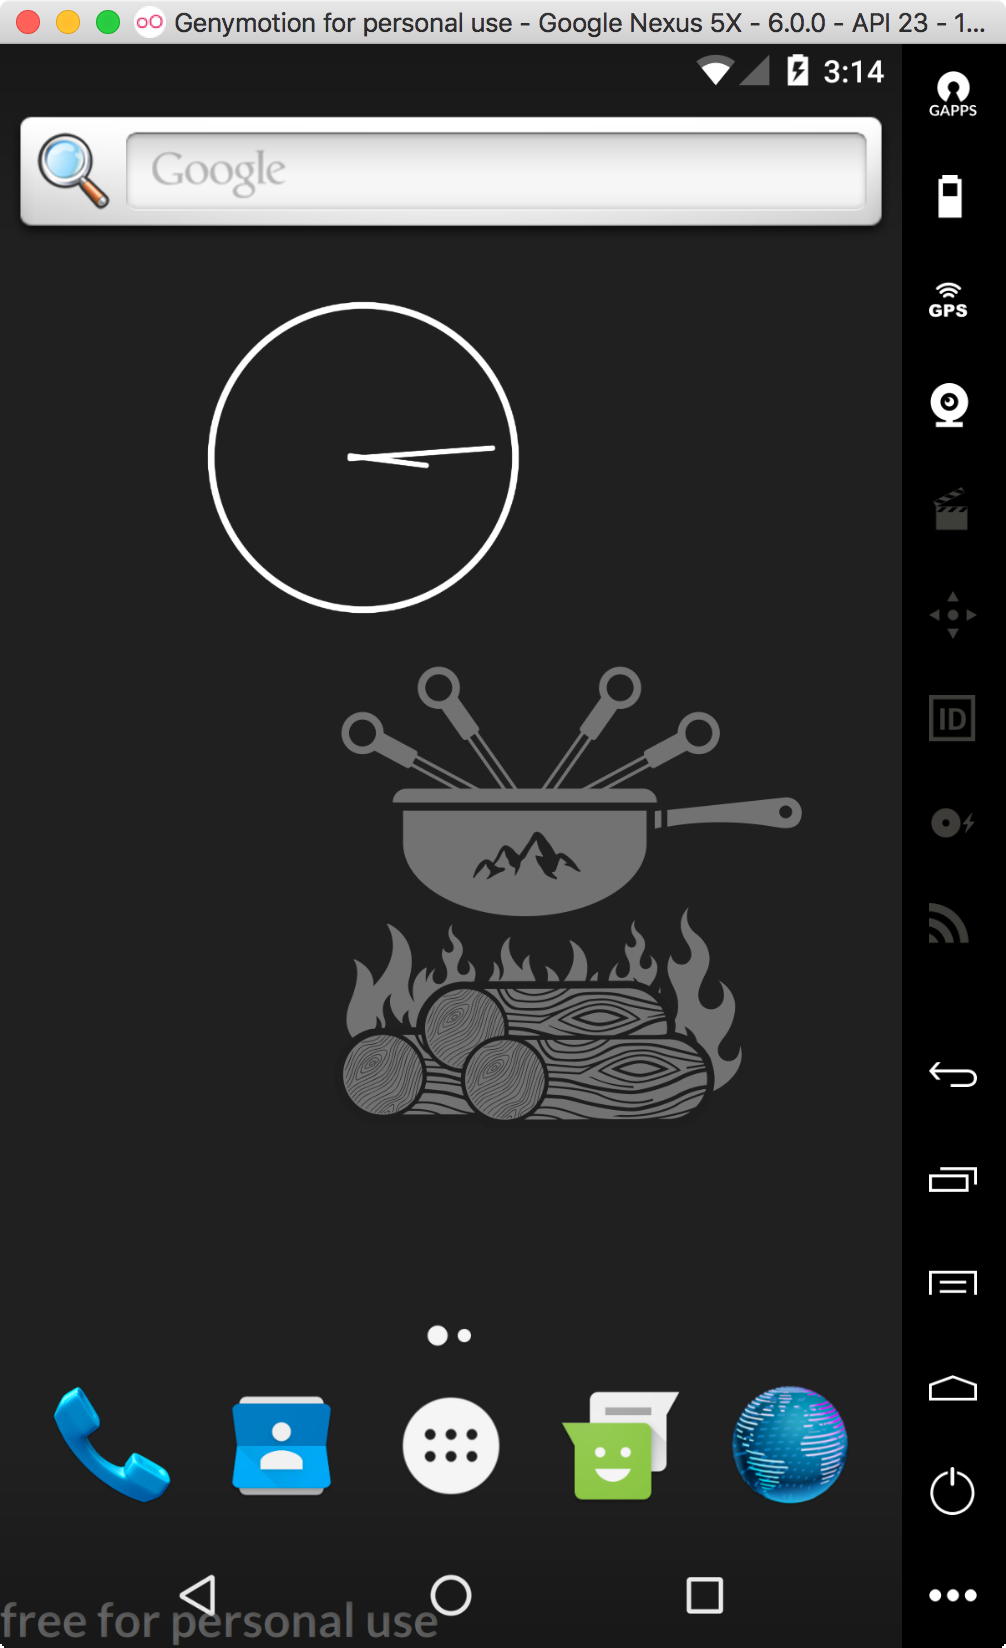
6.5 Starting Virtual Device
Click the Start button to launch the virtual device. It’s running now.
6.6 Choosing Genymotion Virtual Device in Android Studio
In Android, run the app. We can now select the virtual device created by Genymotion.
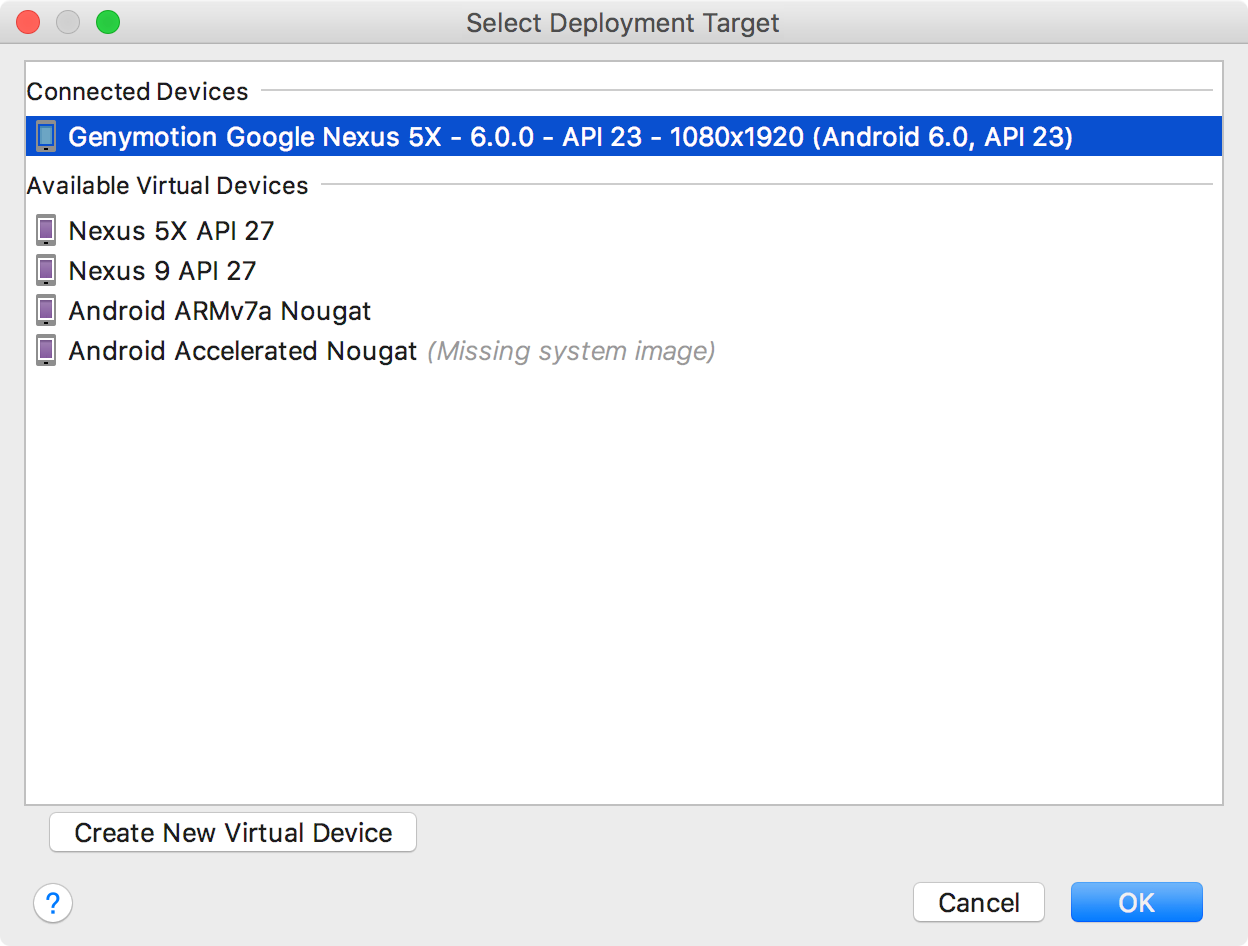
Click OK. App from Android Studio is deployed to Genymotion virtual devices. You can start testing now.