8611. Creating RESTful API with Dummy ServerJSON Server
Setup a dummy server to provide fake data as RESTful APIs.
1. RESTful APIs
When developing web application, we properly need RESTful APIs to provide some JSON data to the front-end application. It takes some time to build a full backend server, e.g. by using ASP.NET Web APIs or Spring Boot as I introduced in the previous postings. Actually, another option is to setup a dummy server to provide dummy data as RESTful service.
JSON Server is a very useful tool, which helps to quickly setup RESTful APIs with CRUD operations. It returns data in JSON format.
2. Installing JSON Server
Use npm to install json server. Option ‘-g’ makes it installed globally.
$ npm install -g json-server
Create a folder in your local machine.
$ mkdir dummyserver
$ cd dummyserver
Then, create a file named ‘products.json’ with json object.
$ touch products.json
{
  "products": [
       {
          "id": 1,
          "productName": "Xbox 360",
          "price": 299,
          "image": "http://localhost:3000/images/xbox360.jpg"
       },
       {
          "id": 2,
          "productName": "Wii",
          "price": 269,
          "image": "http://localhost:3000/images/wii.jpg"
       },
       {
          "id": 3,
          "productName": "Wireless Controller",
          "price": 19.99,
          "image": "http://localhost:3000/images/controller.jpg"
       }
    ]
}
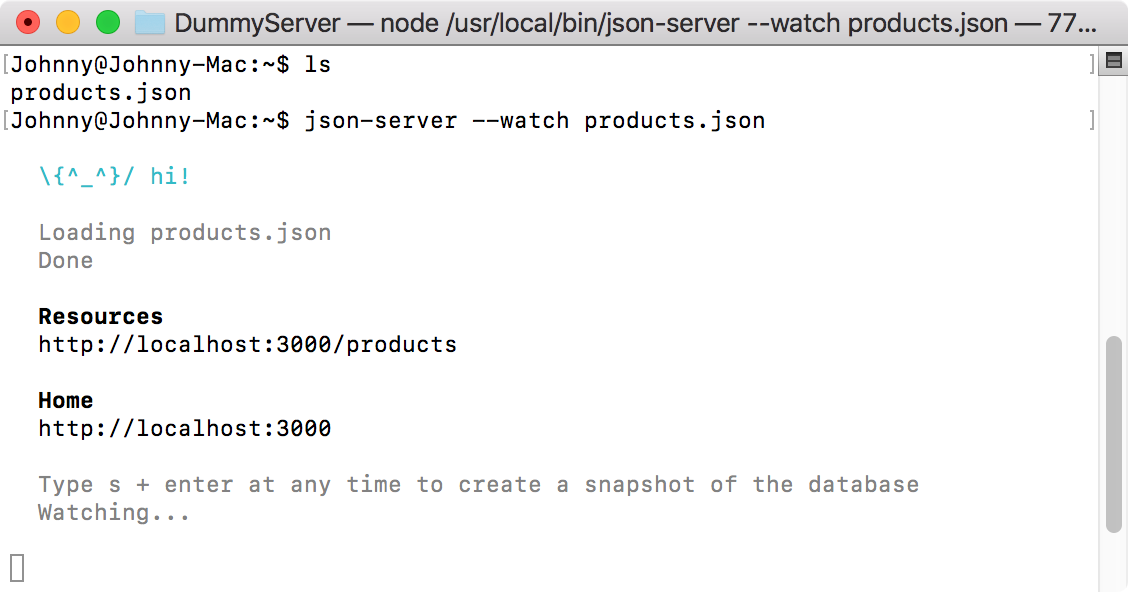
3. Running JSON Server
Start the dummy server.
$ json-server --watch products.json
You can start JSON Server on other ports with the –port option.
$ json-server --watch products.json --port 5000
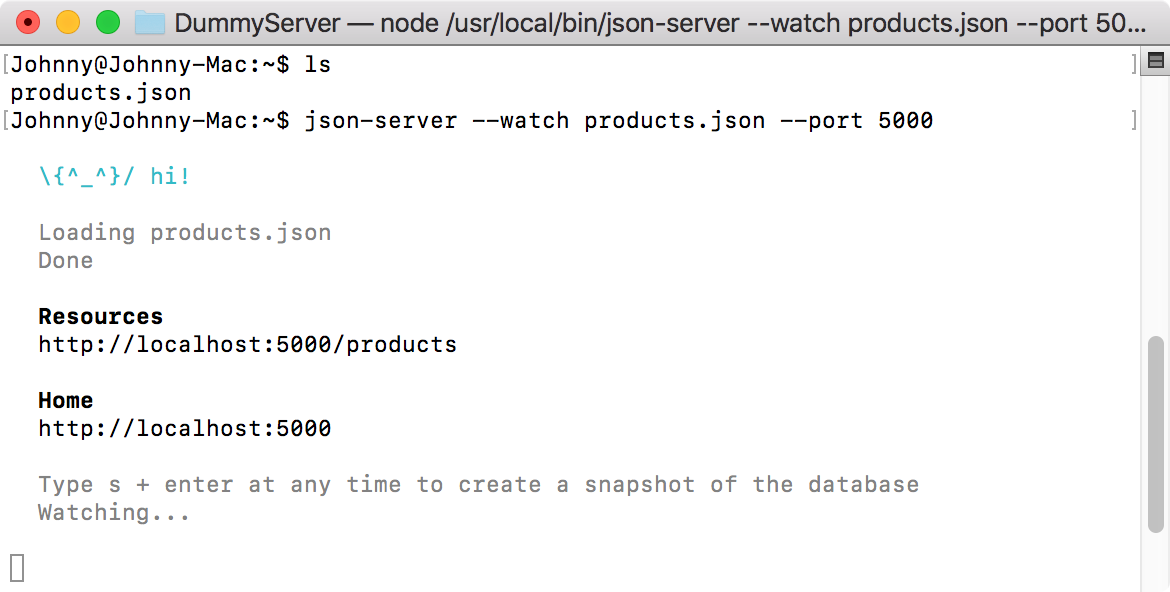
Open web browser to access http://localhost:5000/.
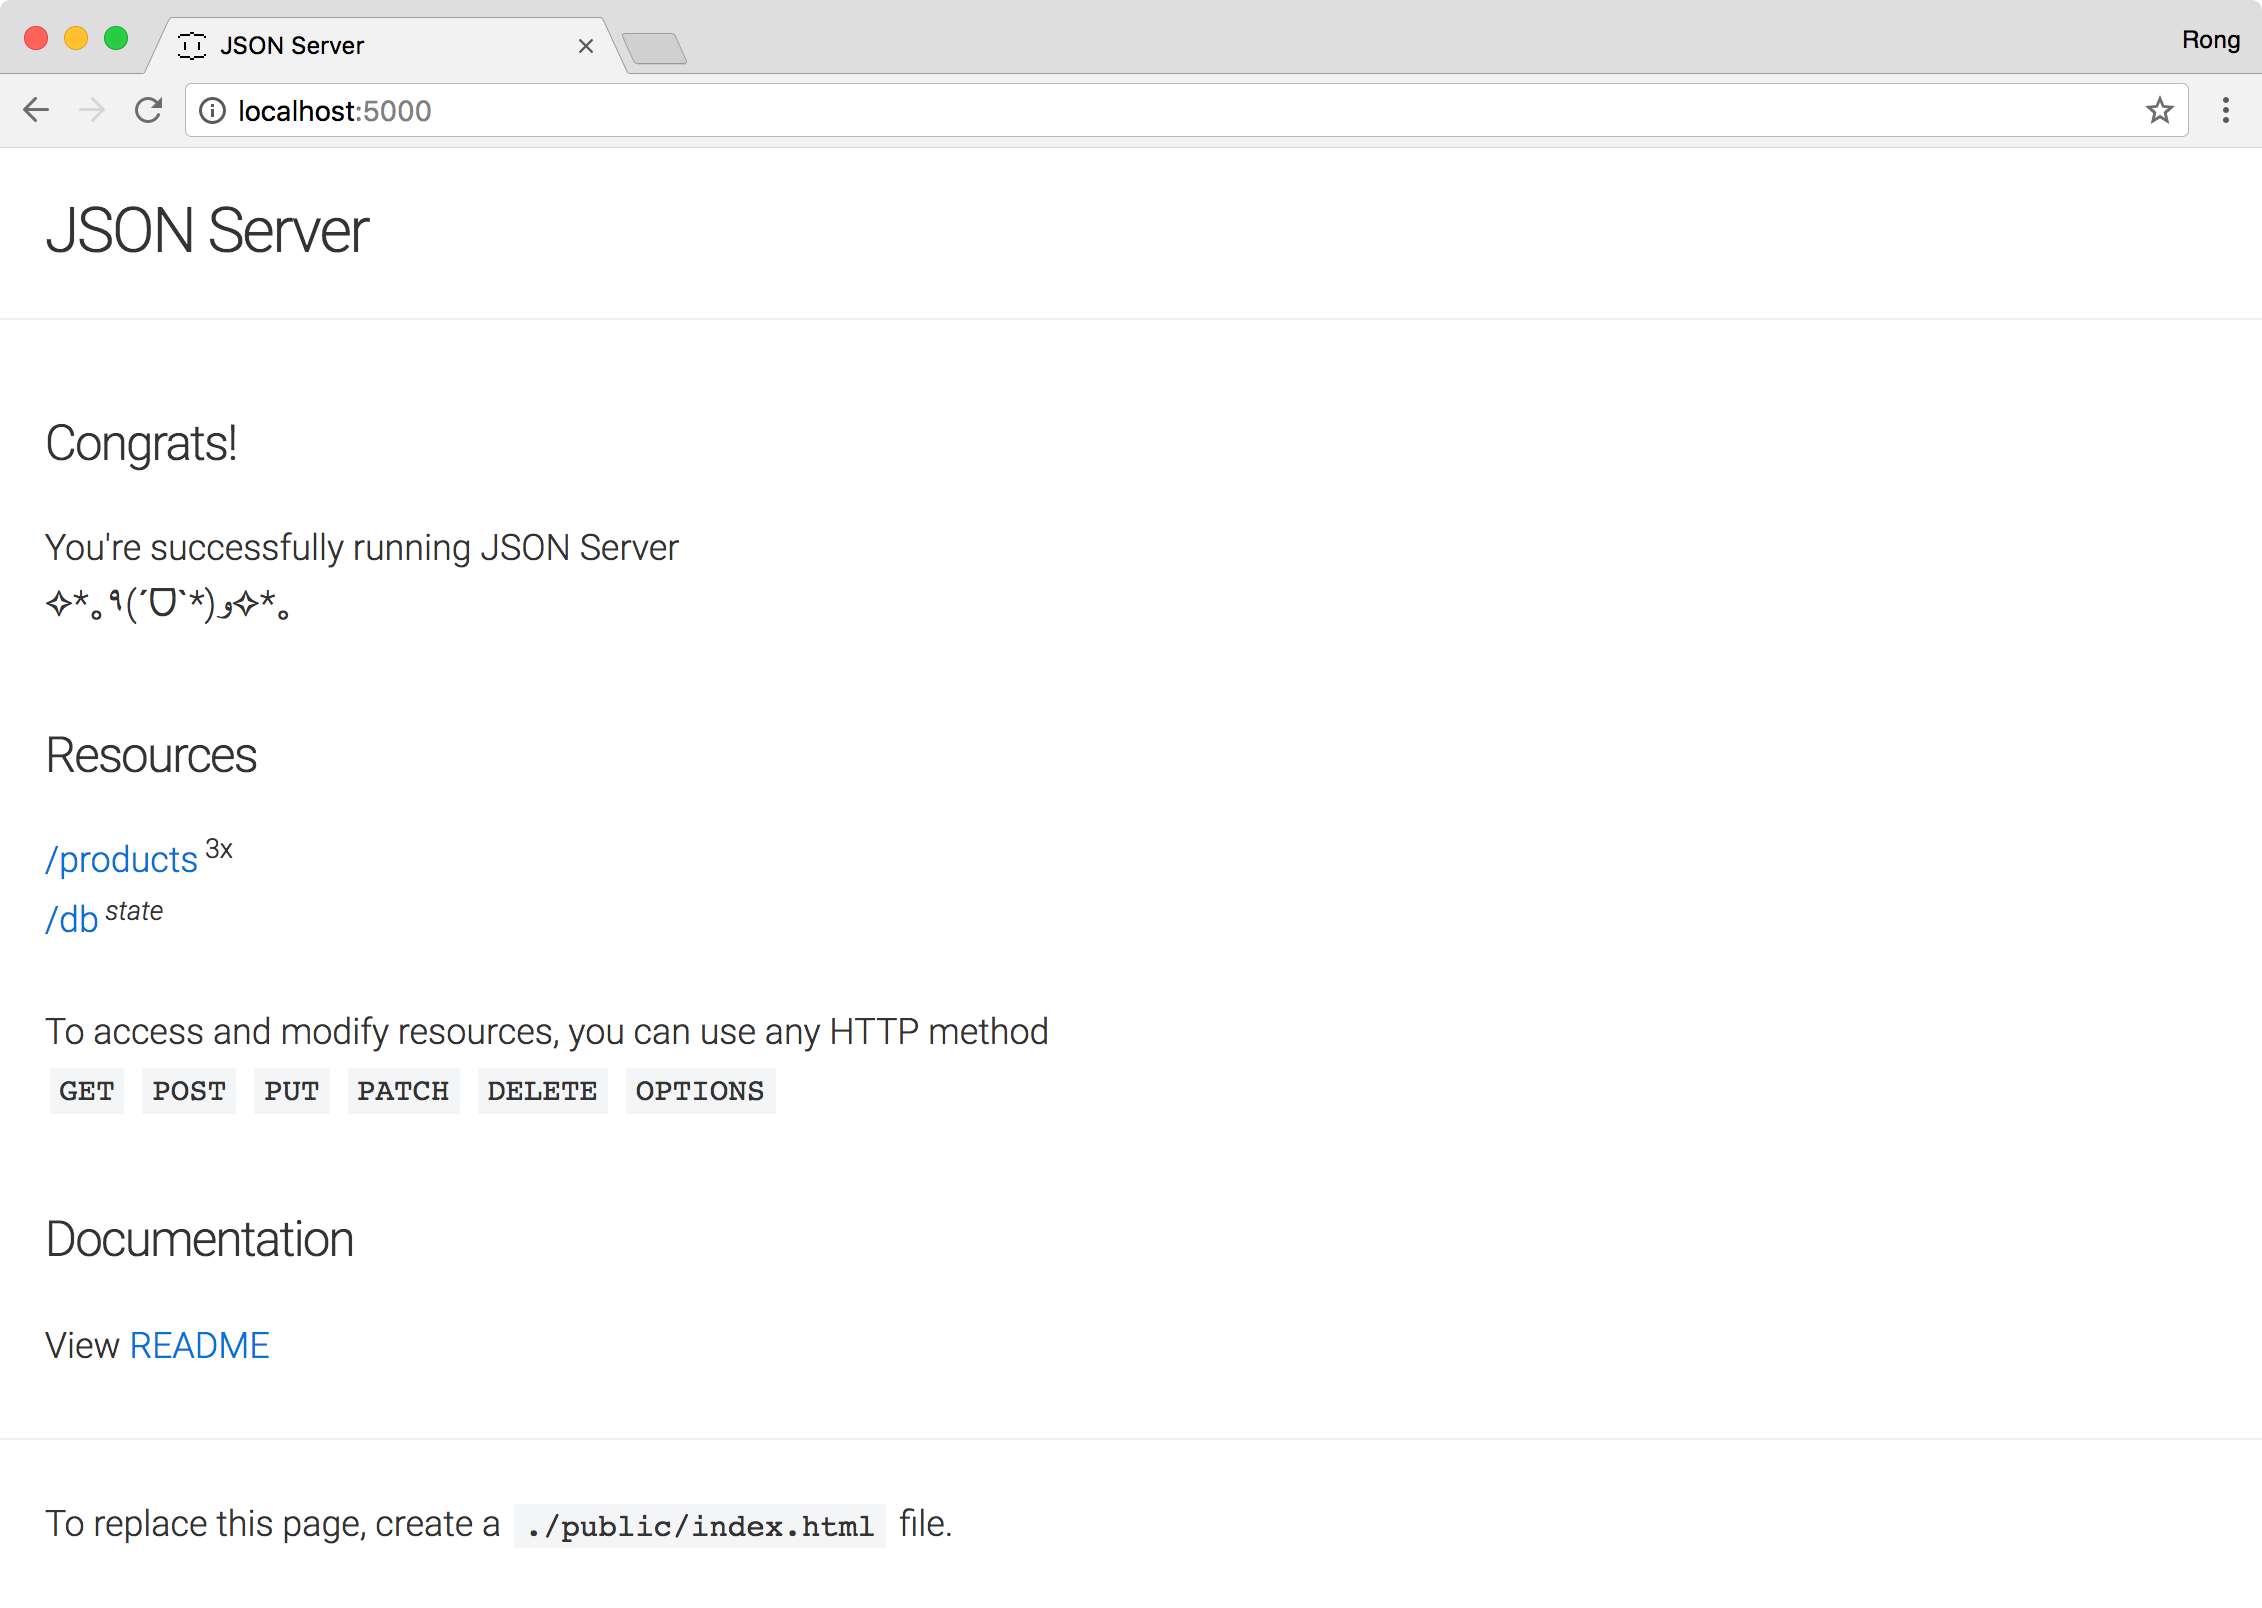
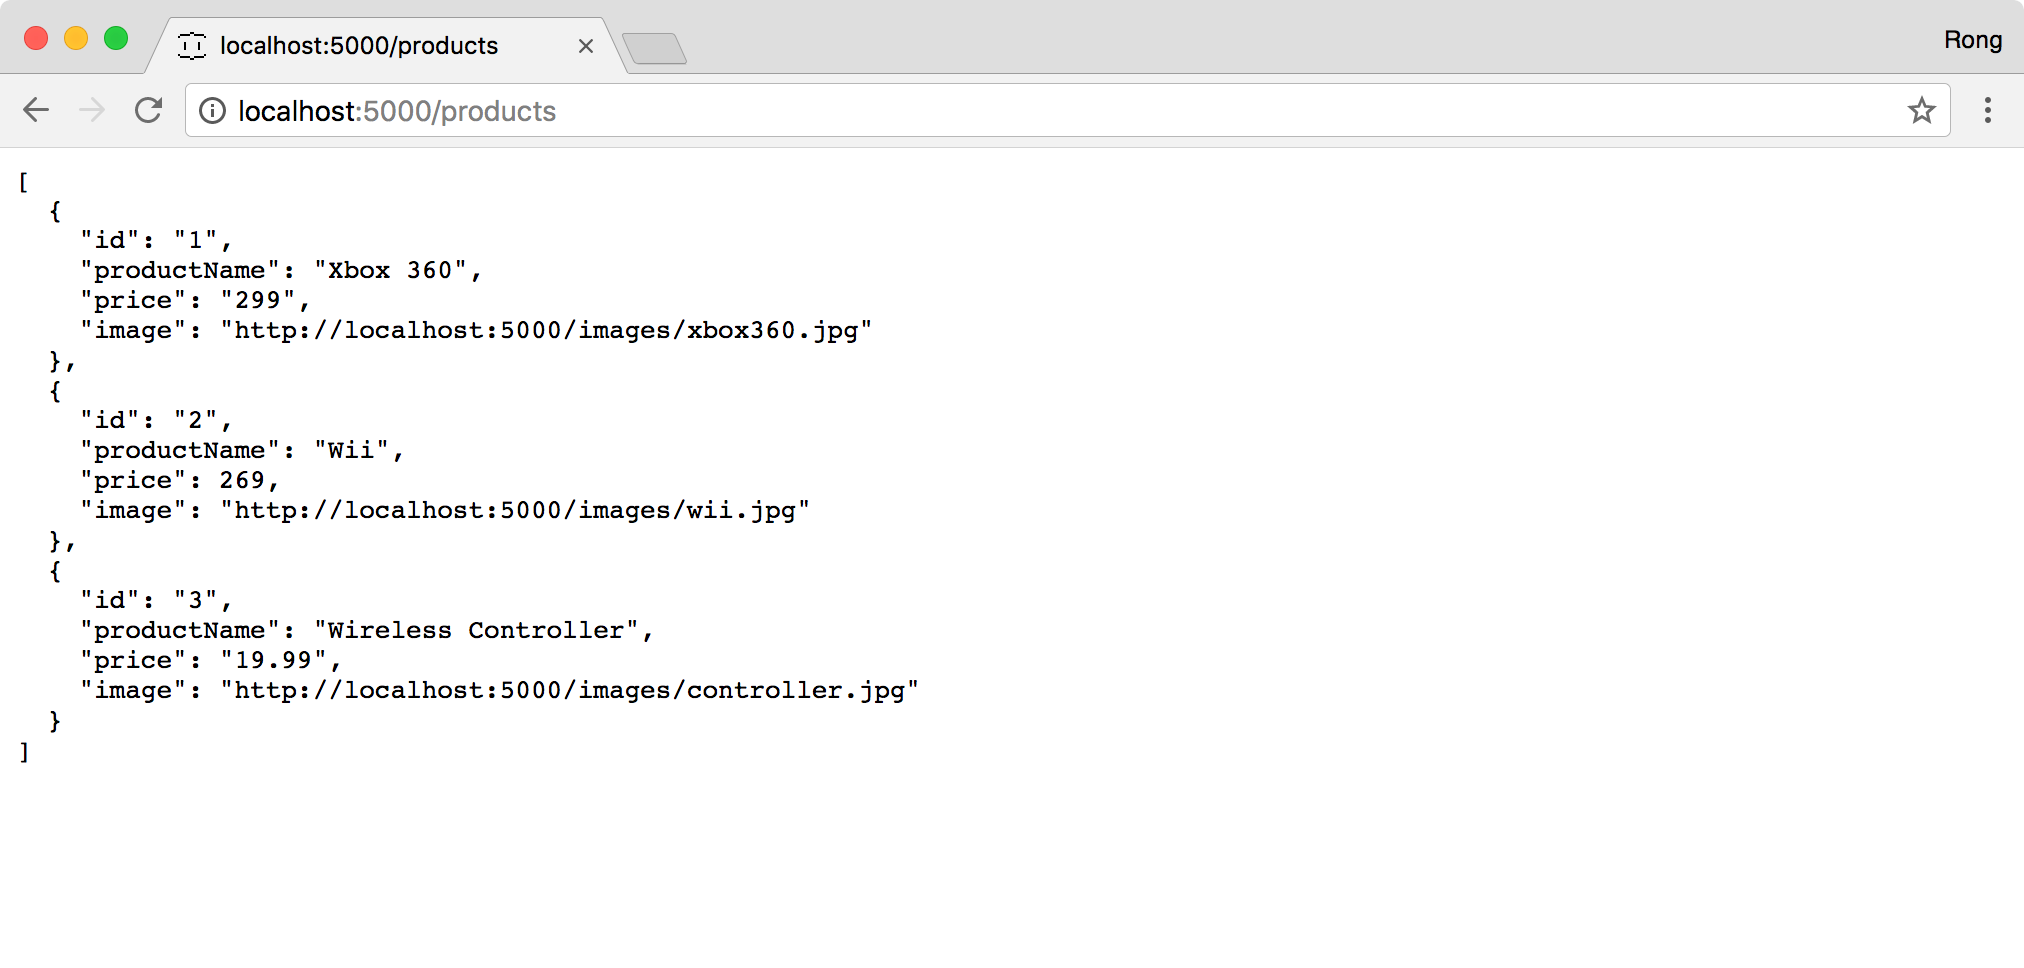
Click on the ‘/products’ link or directly access http://localhost:5000/products. Three products are returned in JSON format.
4. Serving Static Files
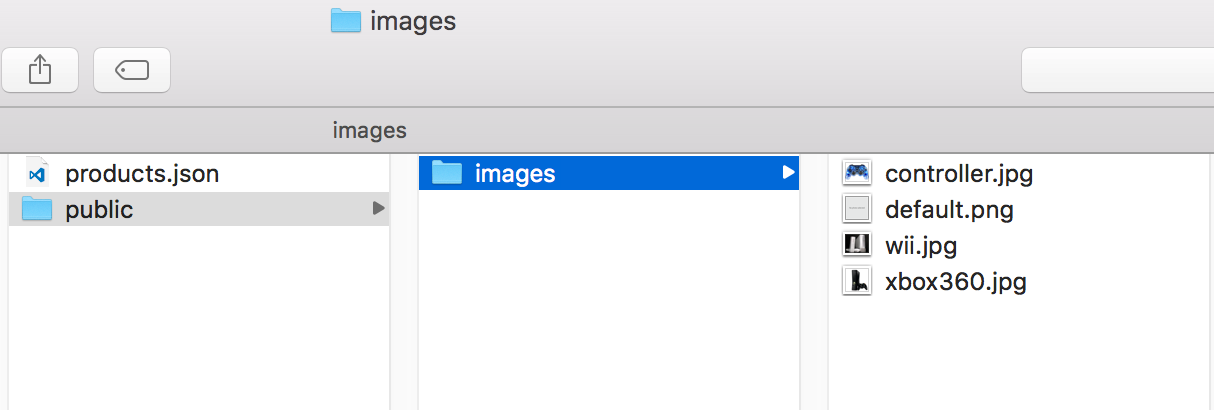
JSON server supports to serve static files, including image. Create a folder named ‘public’ and put images into this folder.
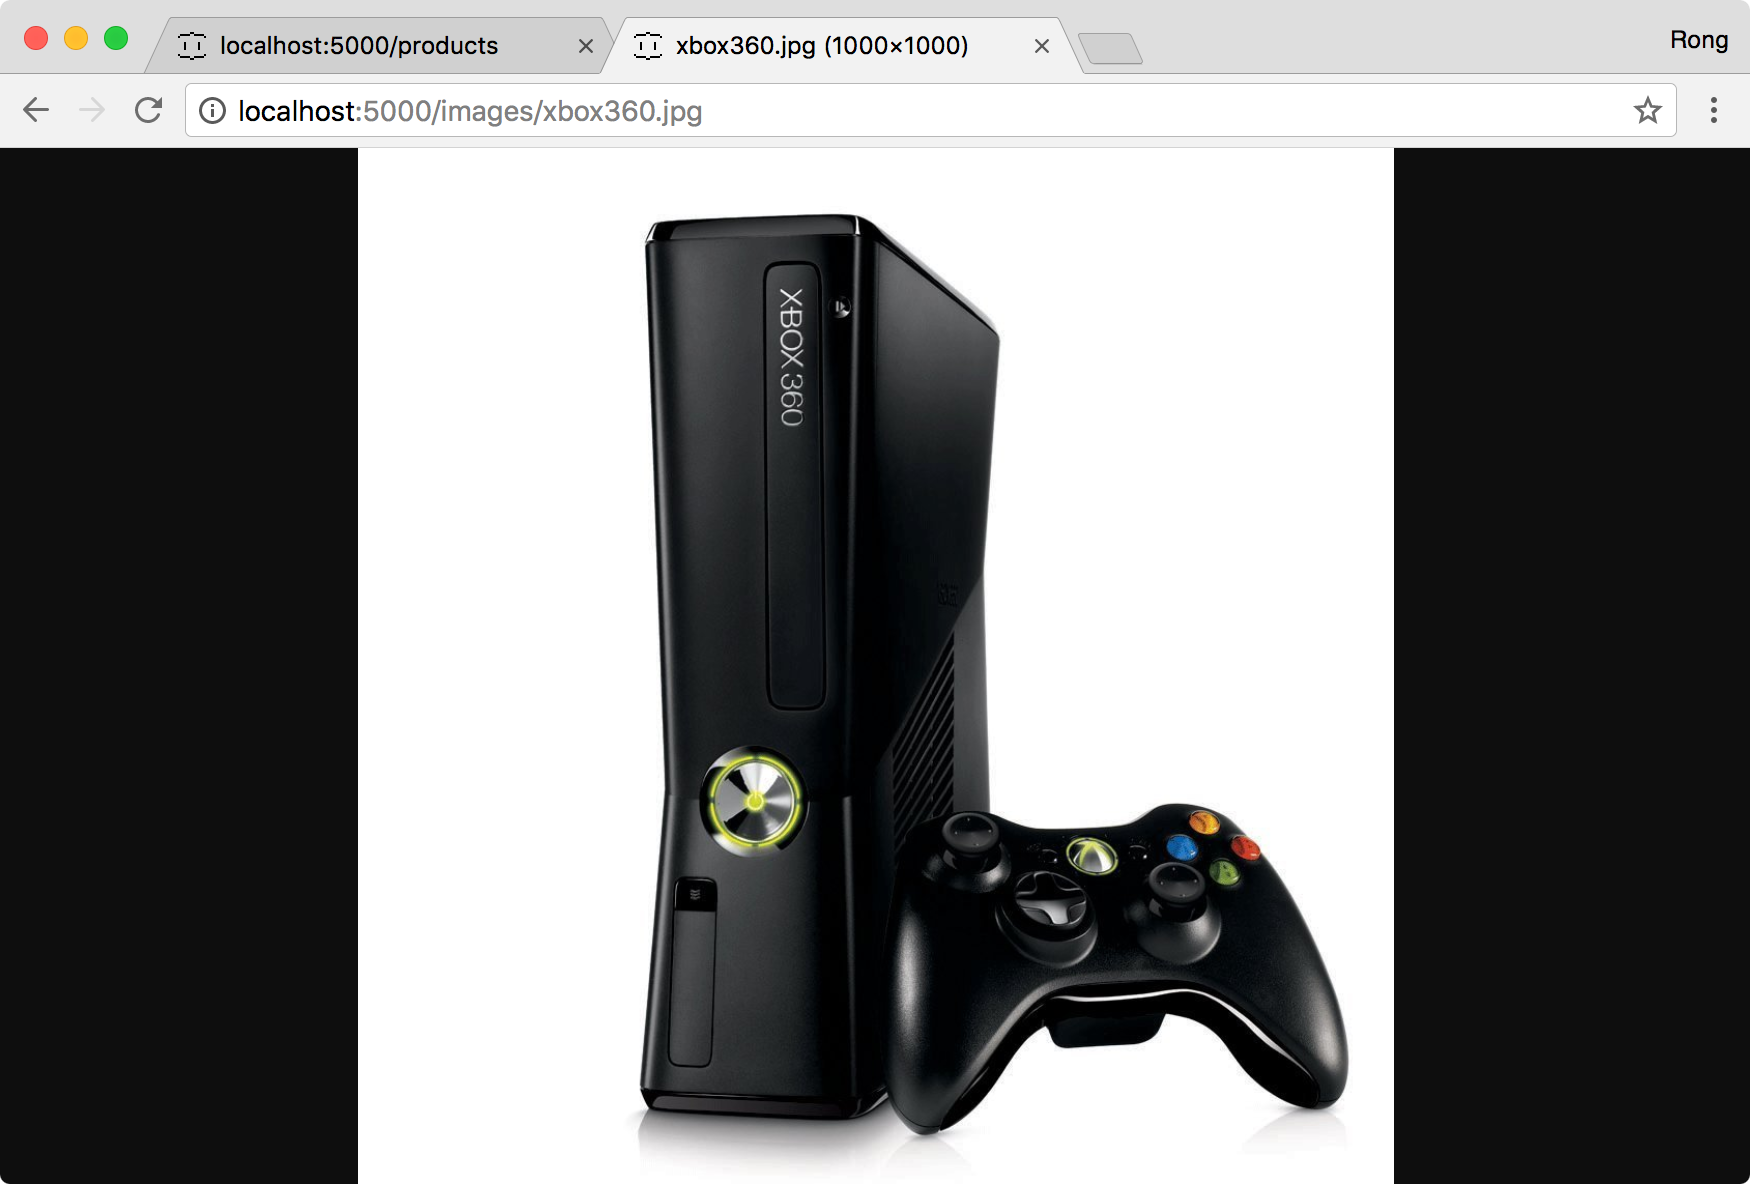
Restart the server and access the image url, eg.’http://localhost:5000/images/xbox360.jpg’.
5. Custom Routes
Create a routes.json file under the root folder, add the following route.
{
  "/api/*": "/$1"
}
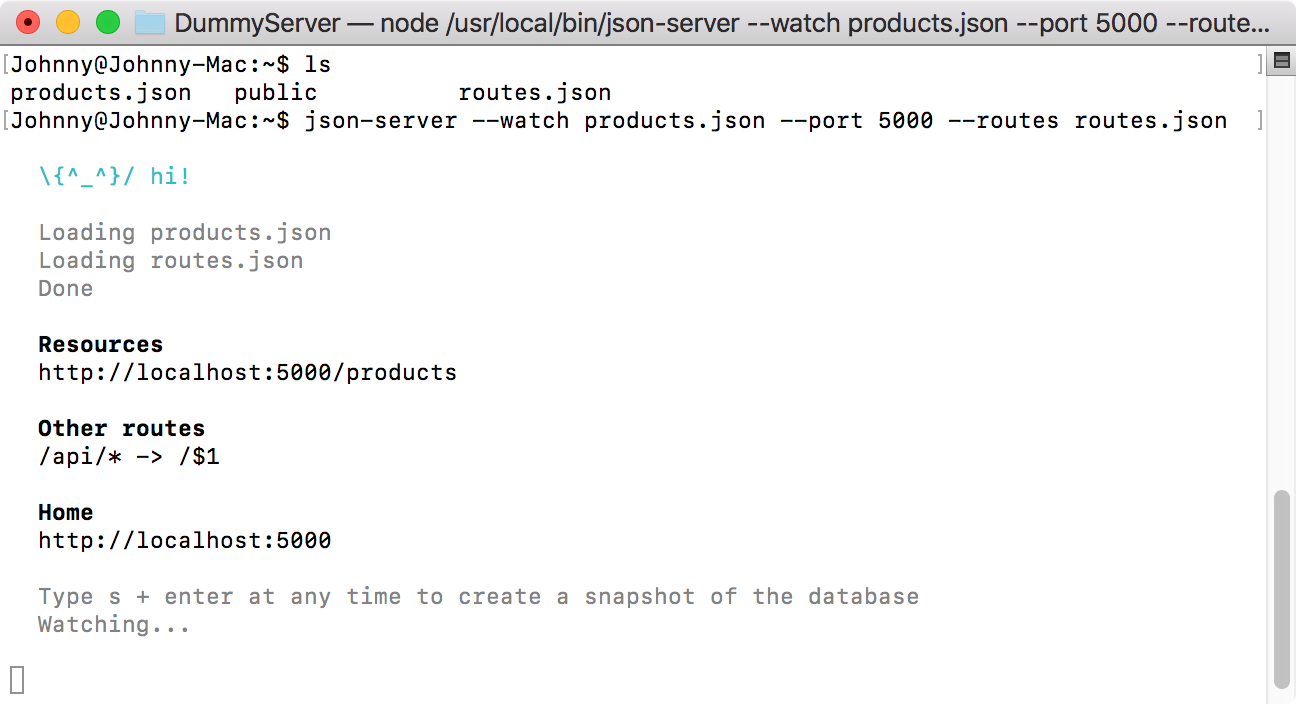
Start JSON Server with –routes option.
$ json-server --watch products.json --port 5000 --routes routes.json
Now you can access resources using additional routes.
/api/products # → /products
/api/products/1  # → /products/1
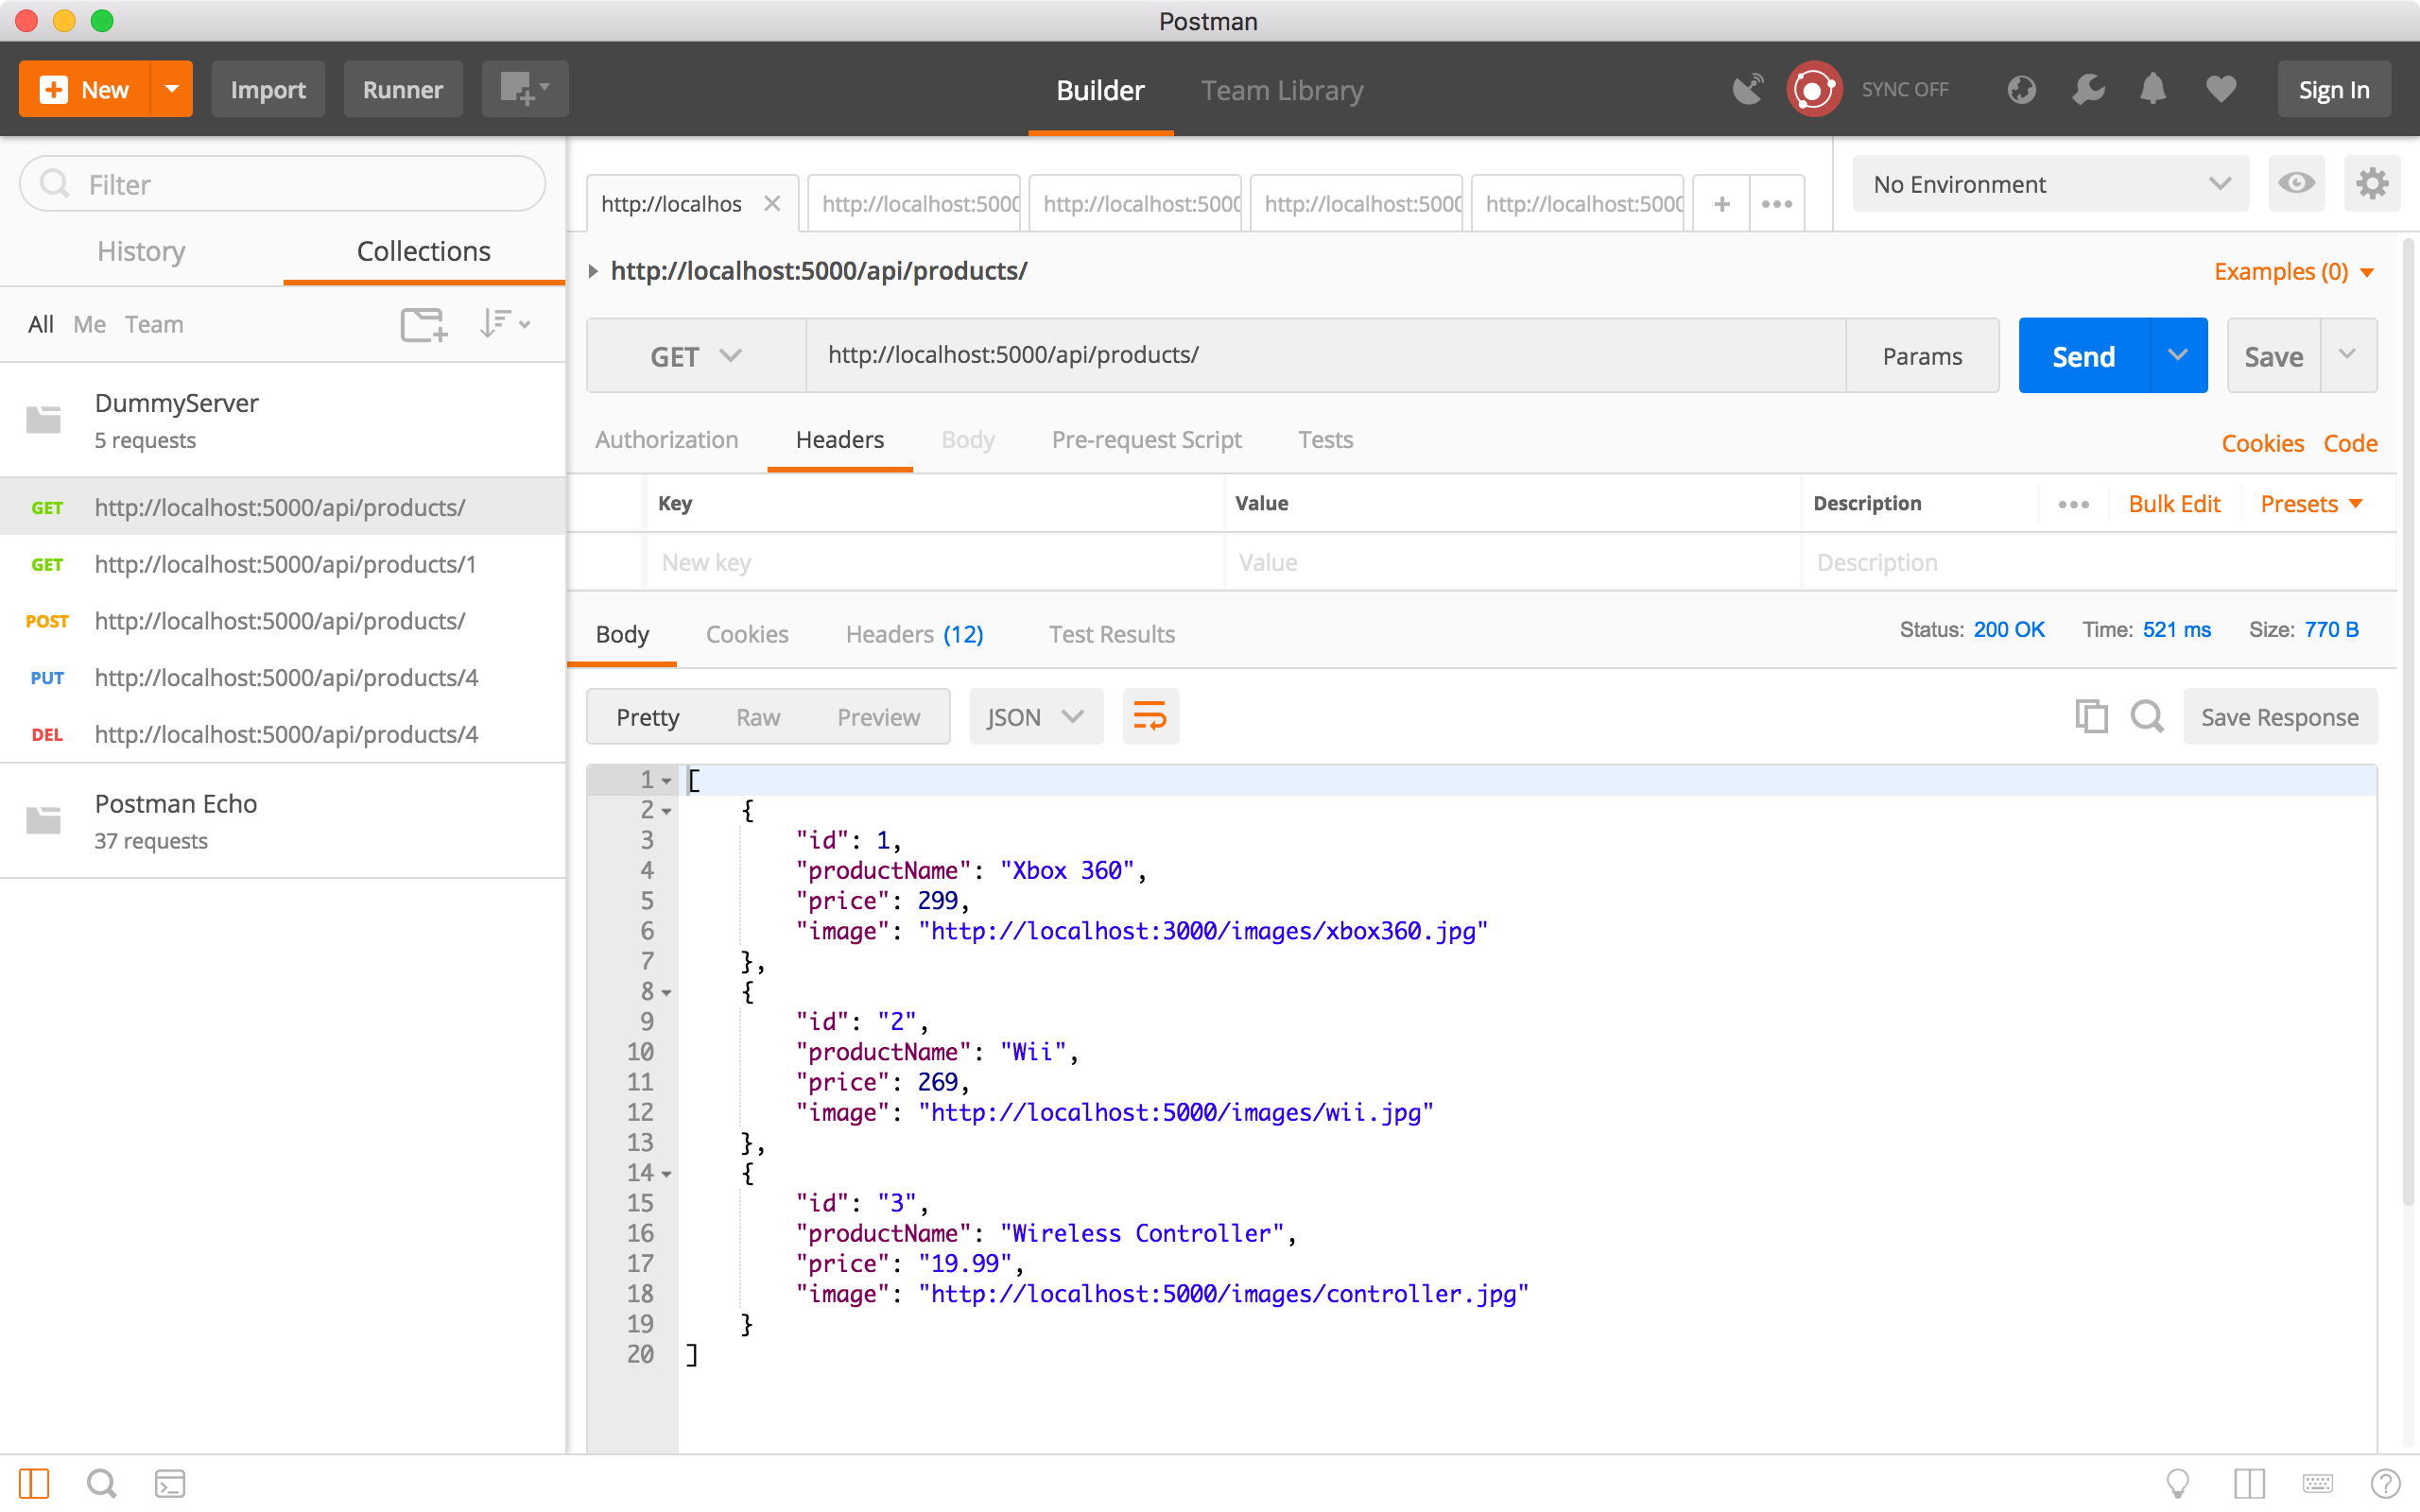
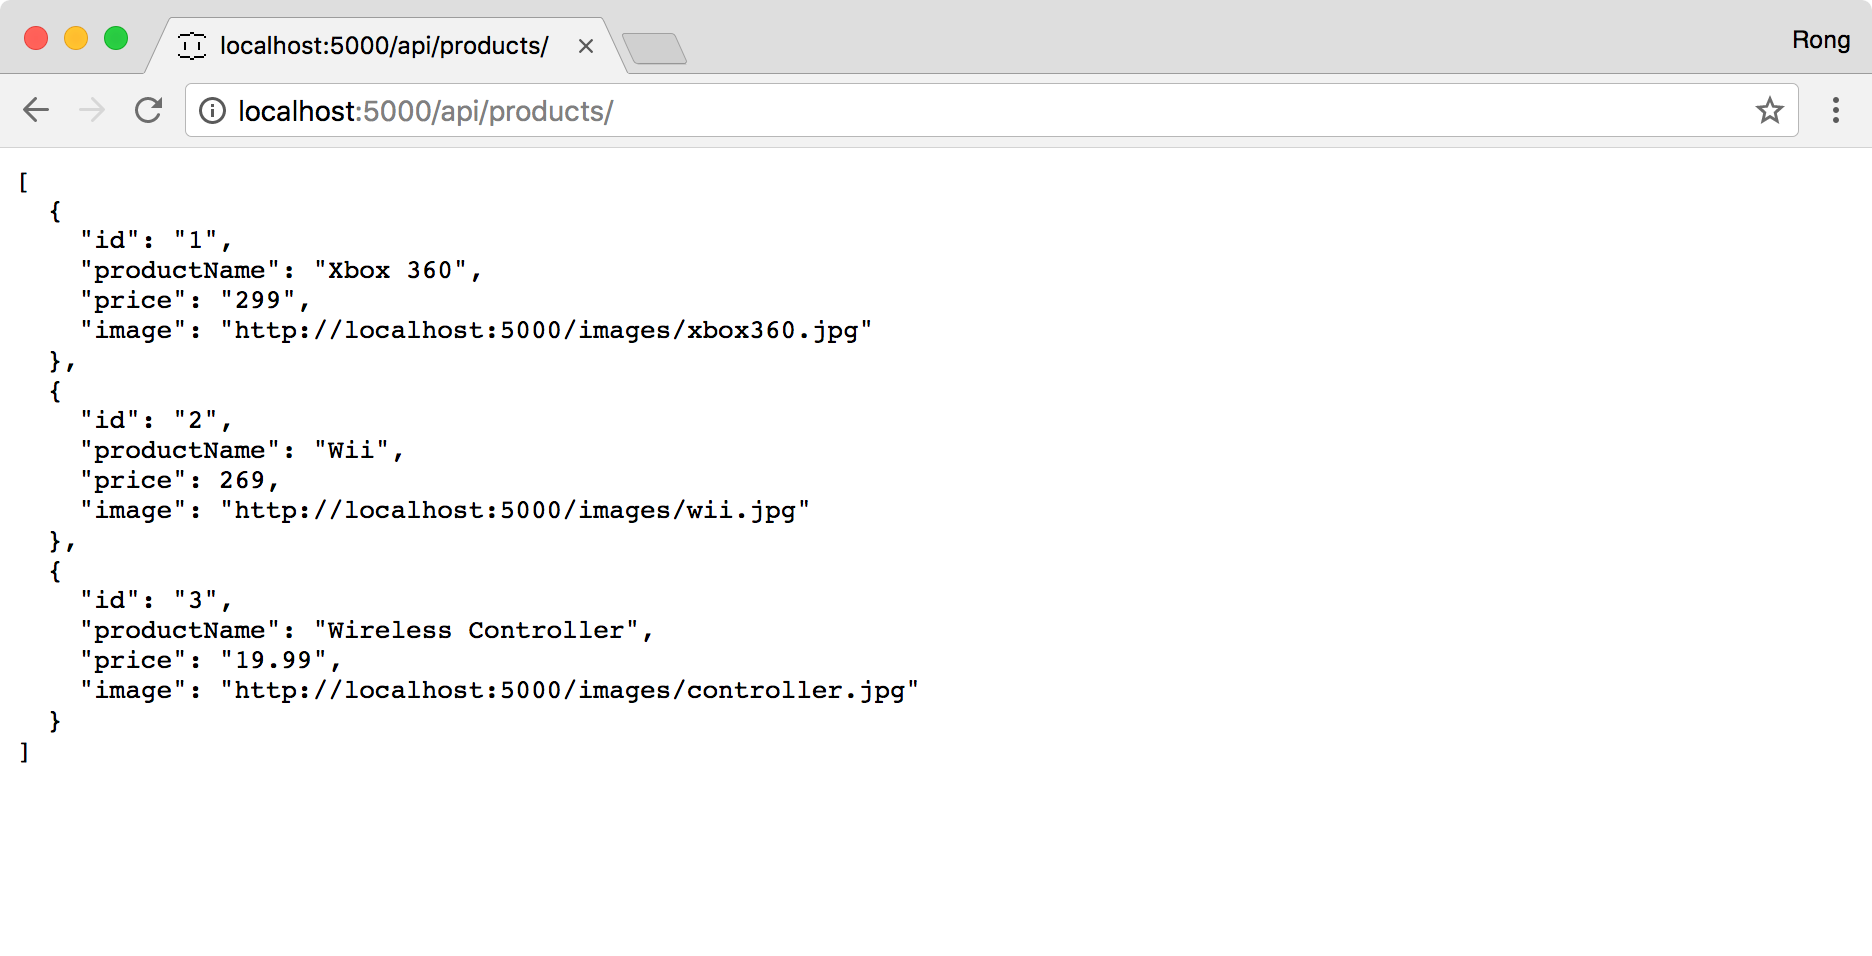
Access http://localhost:5000/api/products/ in web browser.
Finally, this server provides following APIs.
| API | Description | Request body | Response body |
|---|---|---|---|
| GET /api/products | Get all products | None | Array of Products |
| GET /api/products/{id} | Get a product by ID | None | Product |
| POST /api/products | Add a new product | Product | Product |
| PUT /api/products/{id} | Update a product | Product | None |
| DELETE /api/products/{id} | Delete a product | None | None |
6. Testing with Postman
Use Postman to access http://localhost:5000/ for testing. Create new collection named ‘RESTfulDummy’, all requests will be saved to this collection.
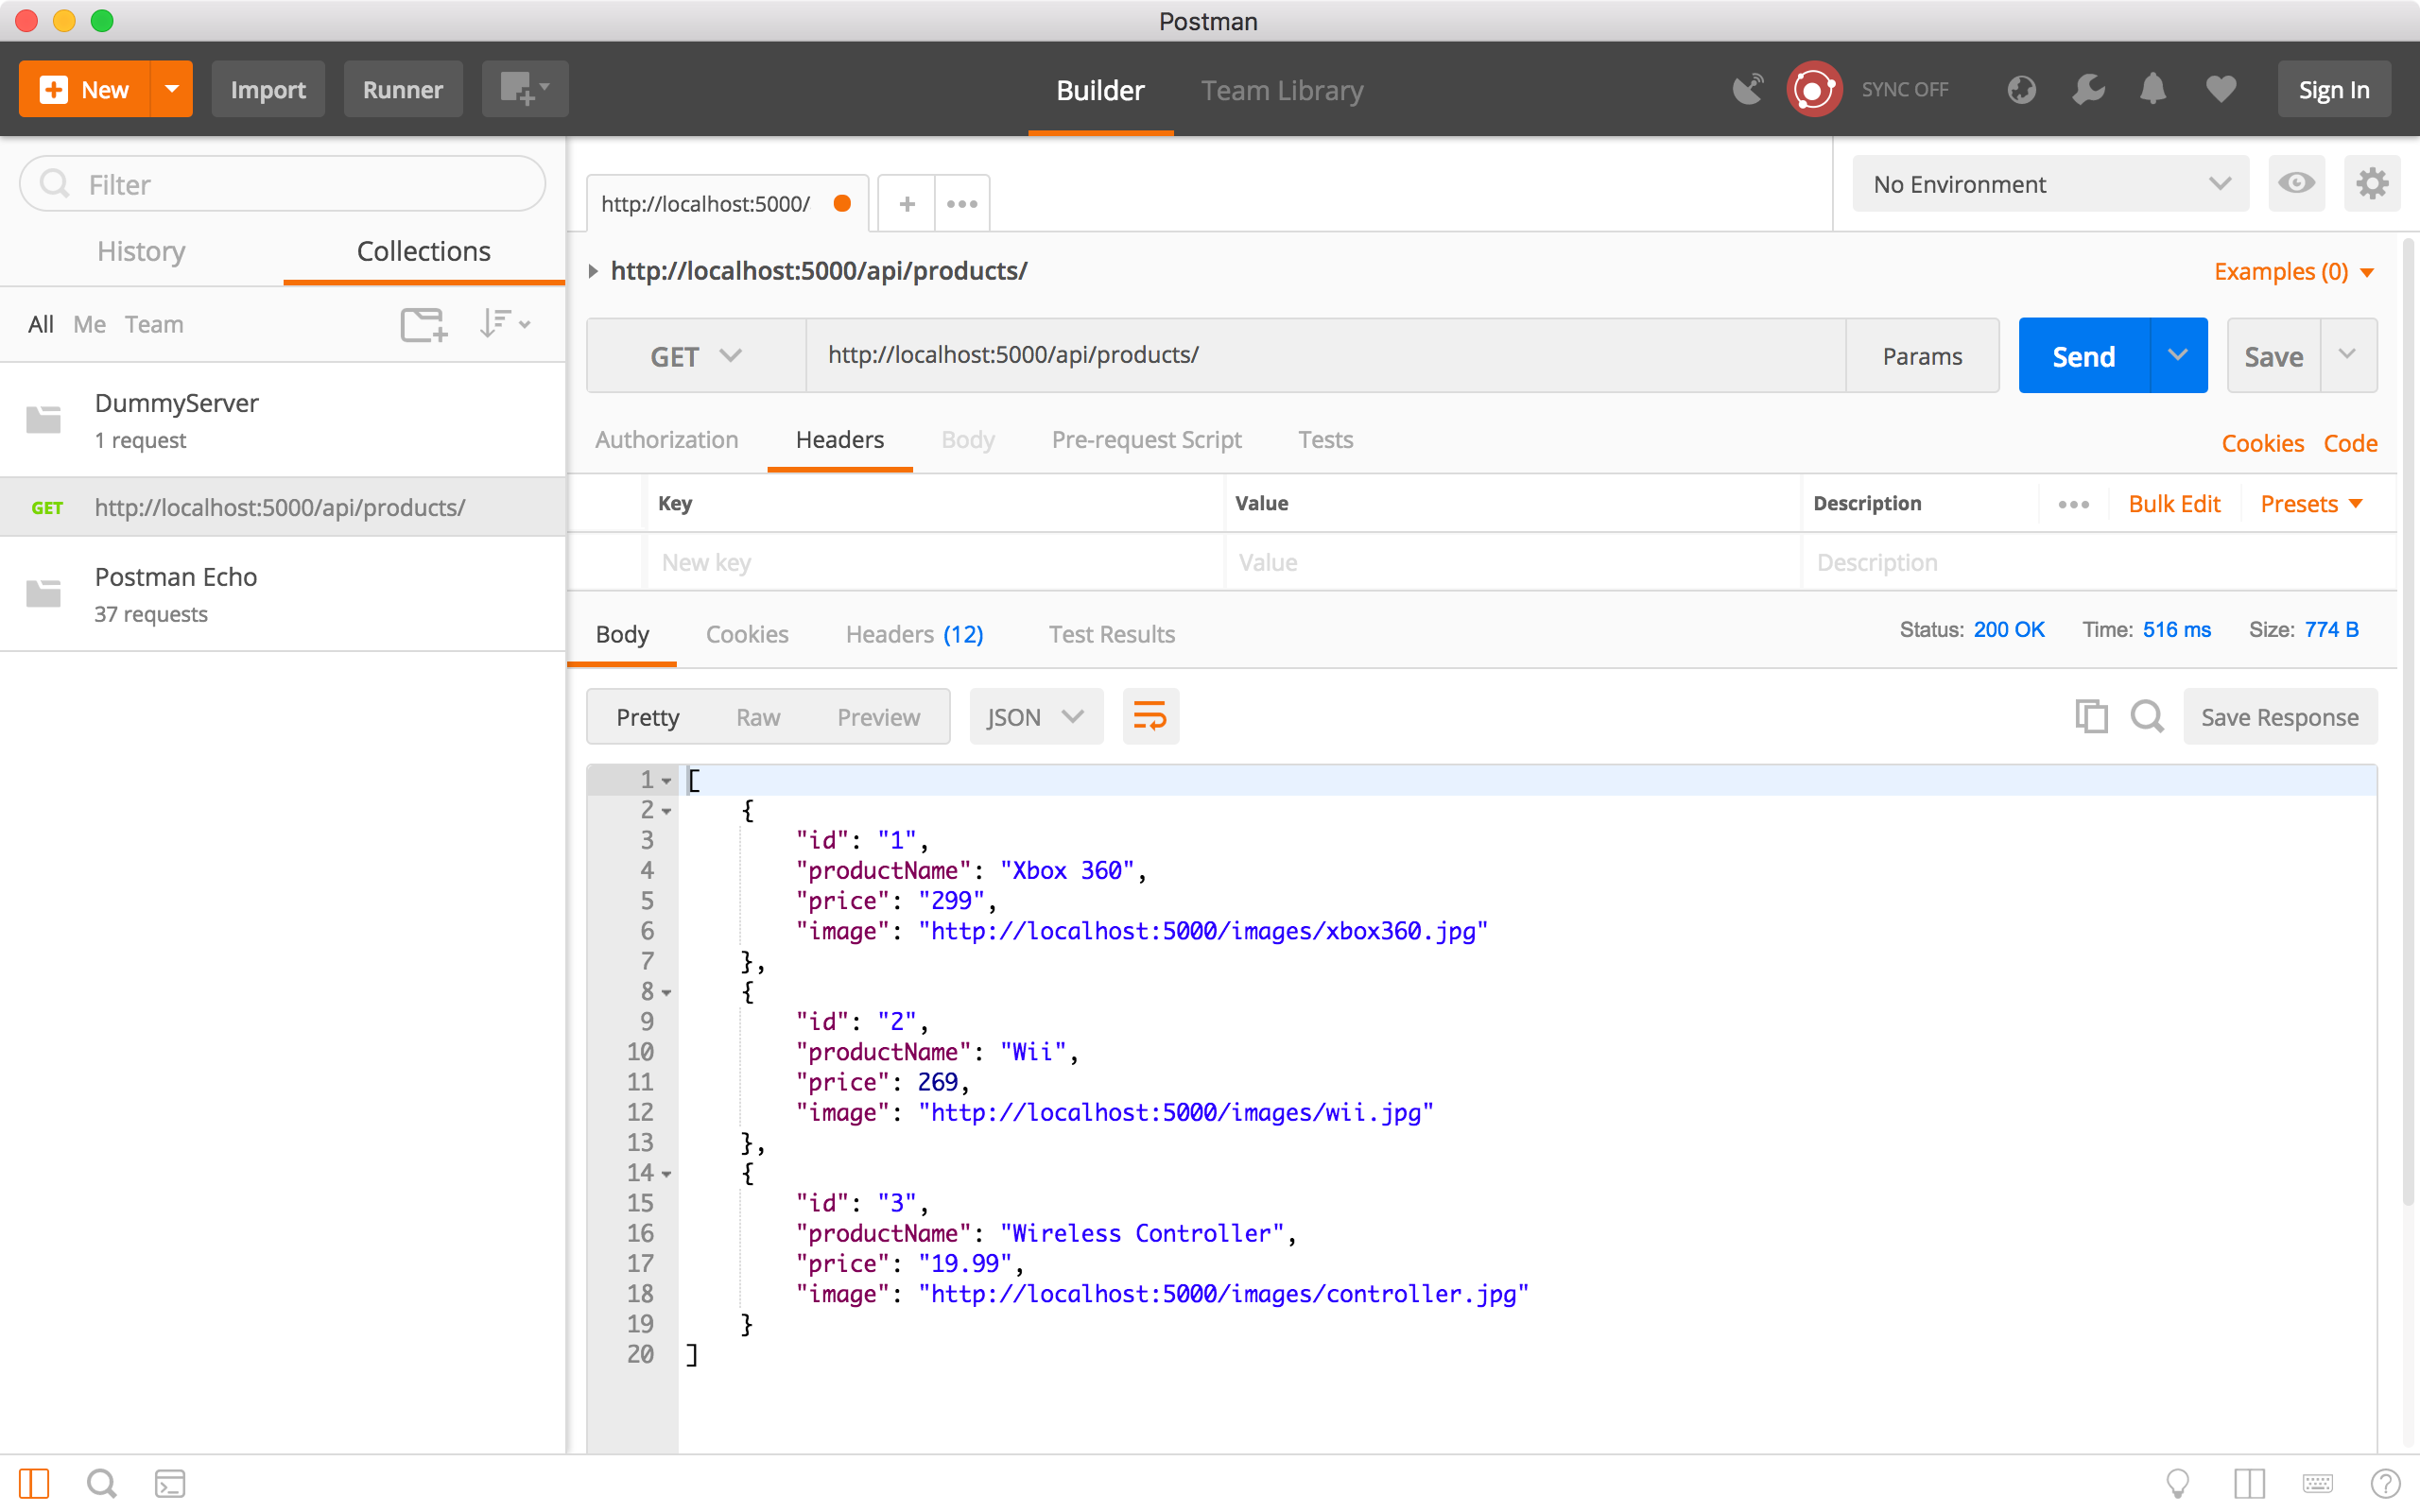
6.1 Get All Products
Create a request, choose ‘GET’ method and specify ‘http://localhost:5000/api/products’ as the URL, click the Send button. All three products are returned in the response body.
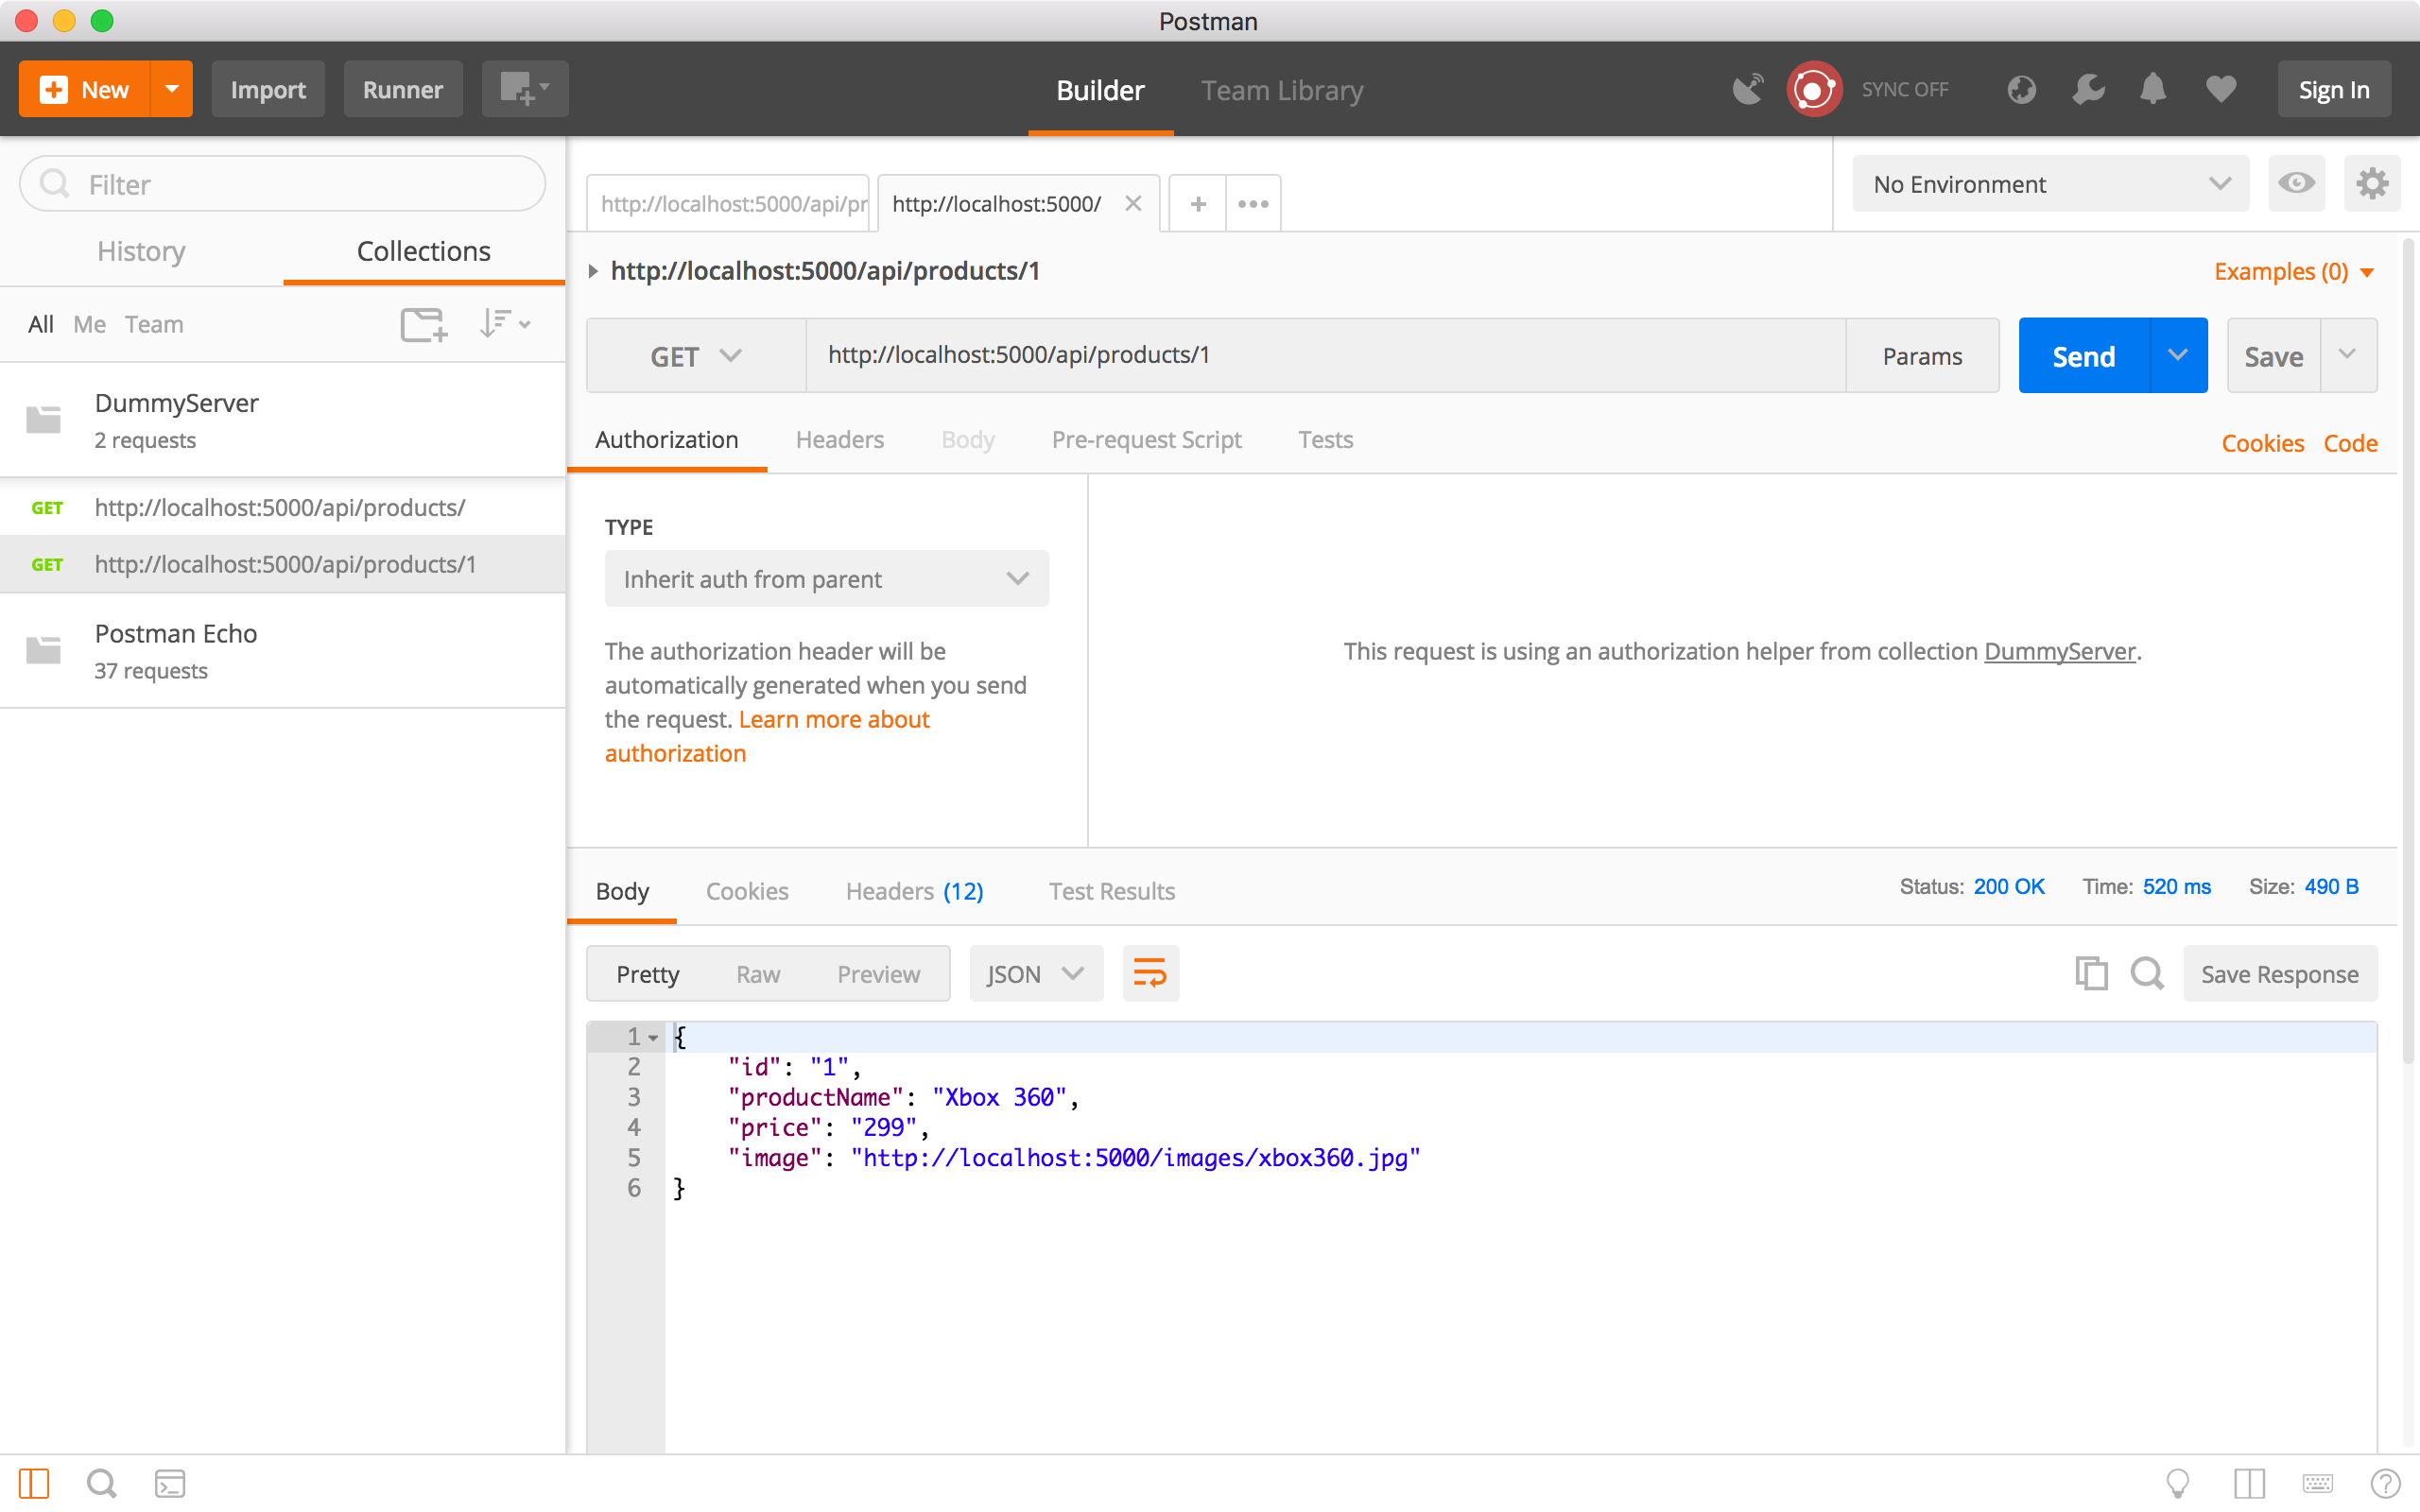
6.2 Get Product by ID
Create a new request, choose the ‘GET’ method and specify ‘http://localhost:5000/api/products/1’ as the URL, click the Send button. Product with ID equals to ‘1’ is returned in the response body.
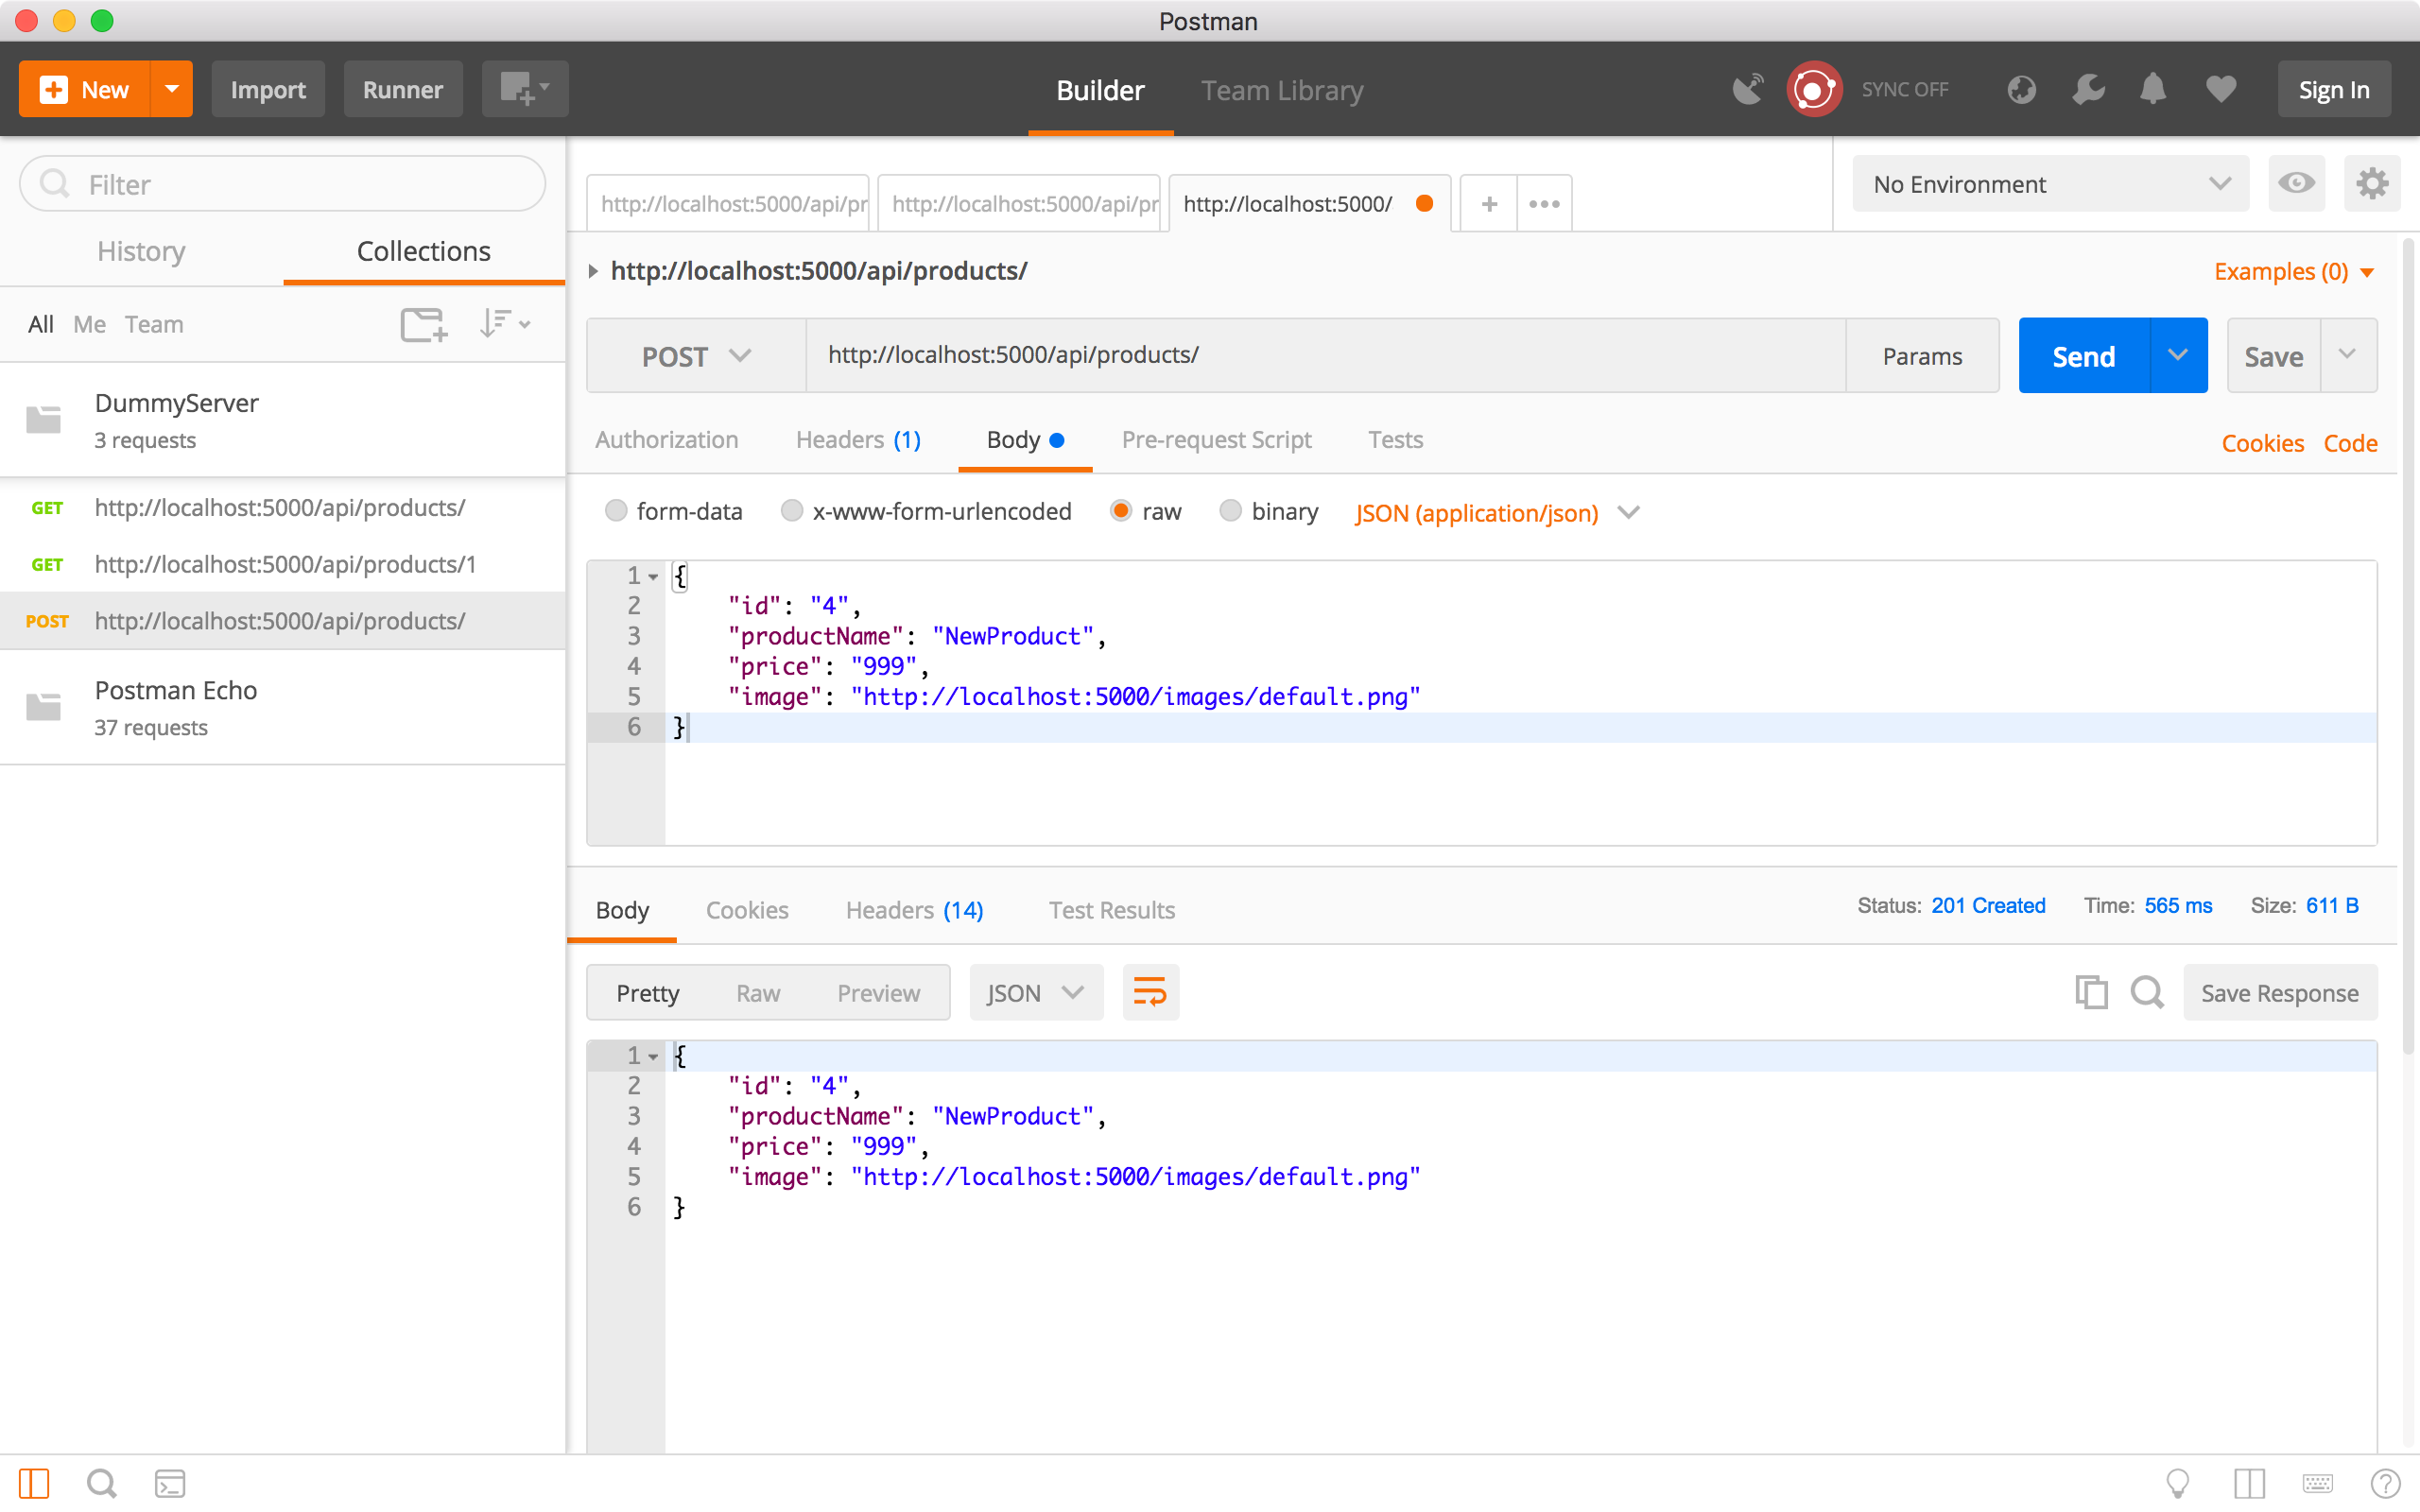
6.3 Add New Product
Create another request, choose the ‘POST’ method and specify ‘http://localhost:5000/api/products/’ as the URL. In the Request Body, select ‘raw’, provide the new product information in JSON format, and choose ‘JSON(application/json)’.
{
    "id": "4",
    "productName": "NewProduct",
    "price": "999",
    "image": "http://localhost:5000/images/default.png"
}
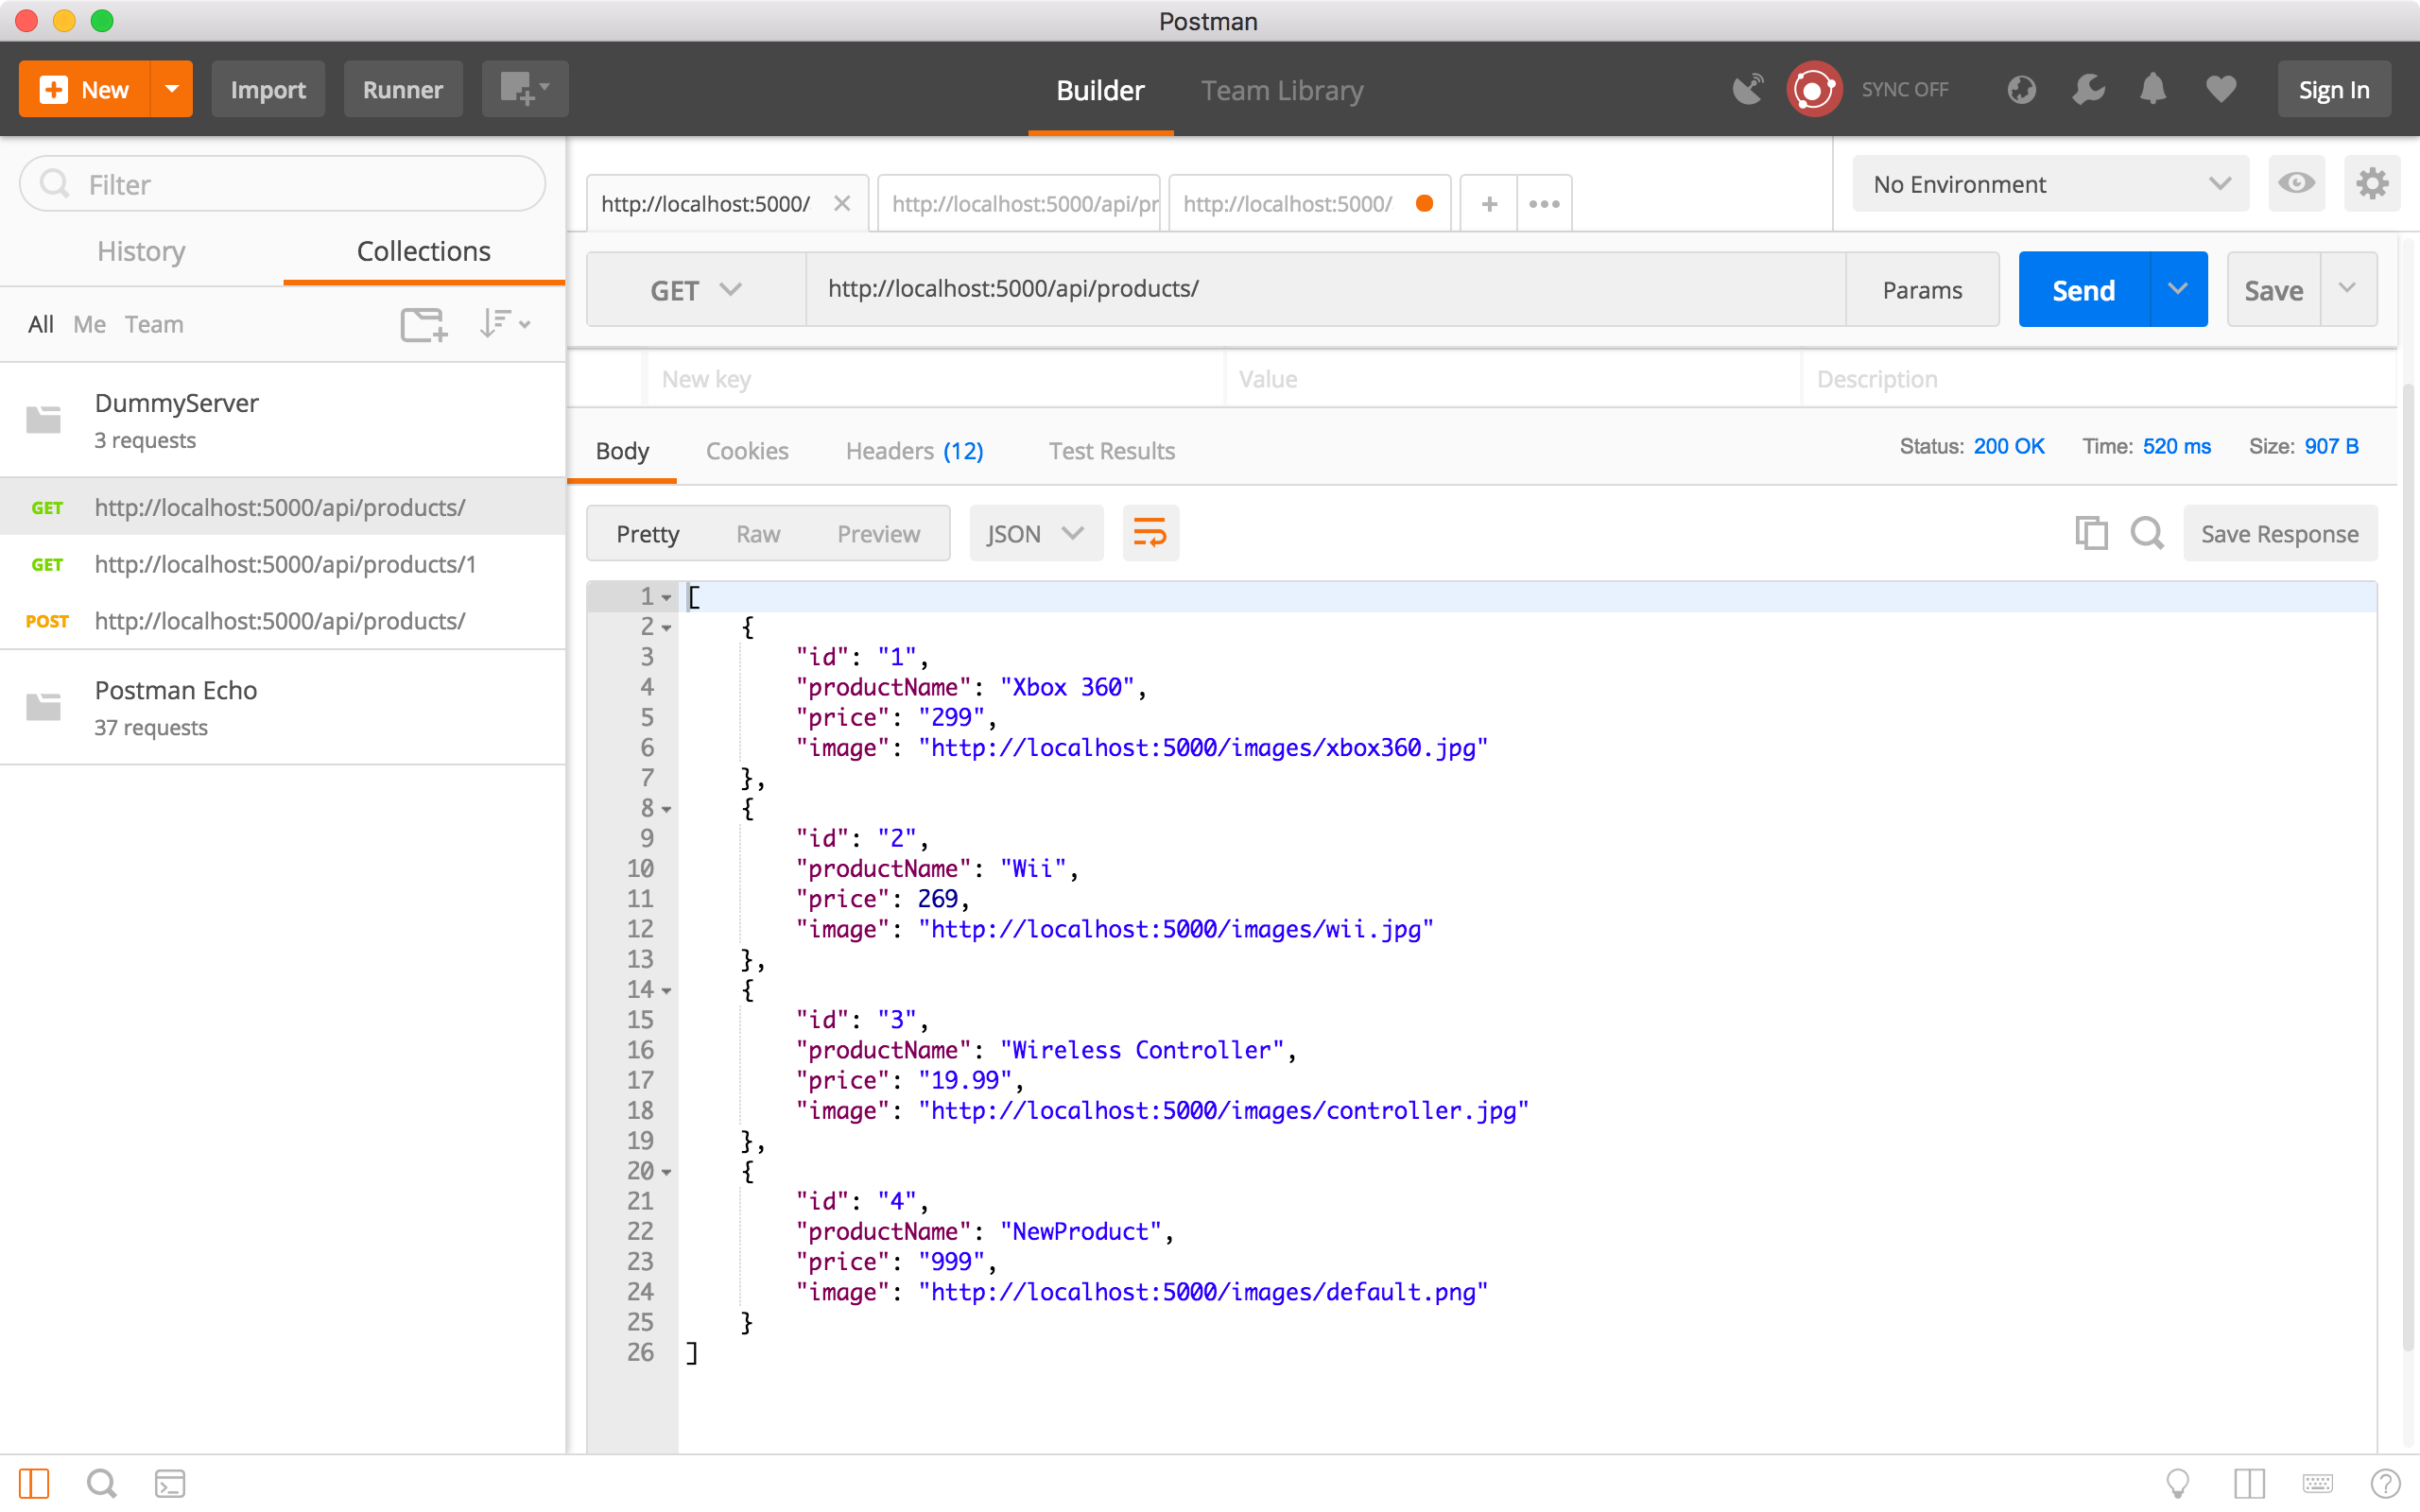
Click the Send button. In the response body, we see the new product.
 Run the ‘Get all products’ request to verify whether the new product is created. We see there is a new product with ID equals to 4.
6.4 Update Product
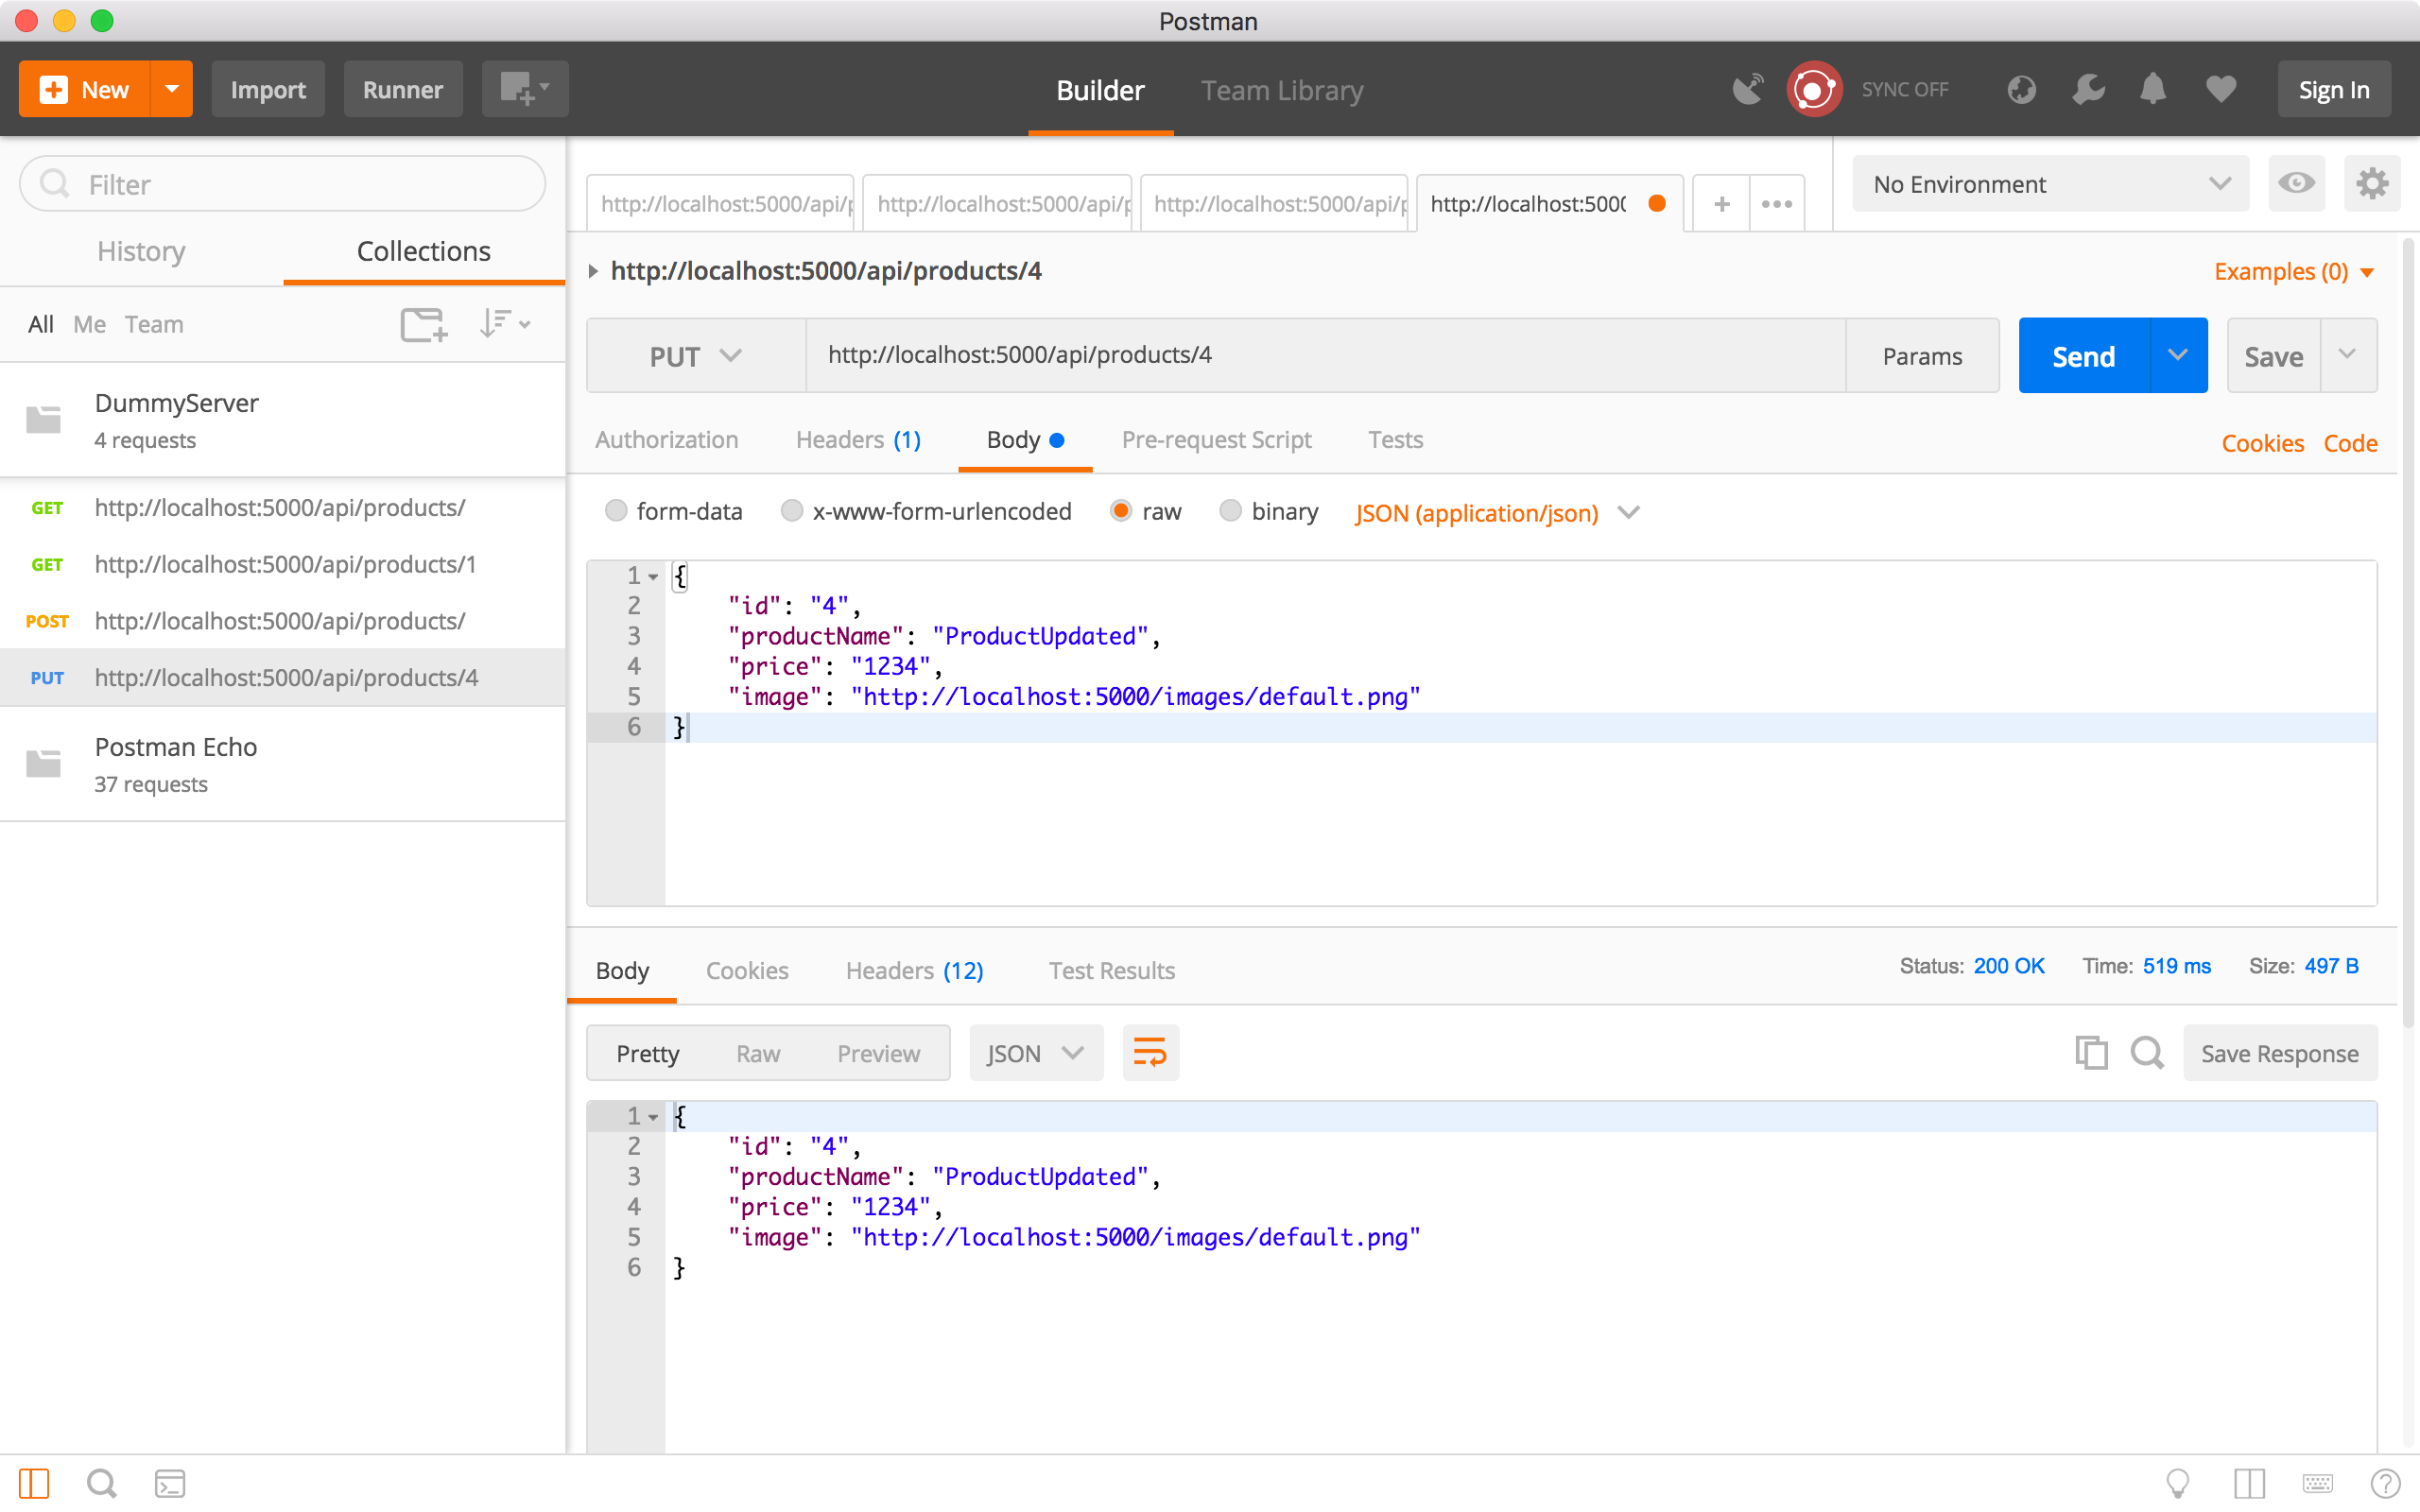
Create a new request, choose ‘PUT’ method and specify ‘http://localhost:5000/api/products/4’ as the URL. In the Request Body, select ‘raw’, provide the new product information in JSON format, and choose ‘JSON(application/json)’.
{
    "id": "4",
    "productName": "ProductUpdated",
    "price": "1234",
    "image": "http://localhost:5000/images/default.png"
}
Click the Send button. In the response body, we see the product has new name and price.
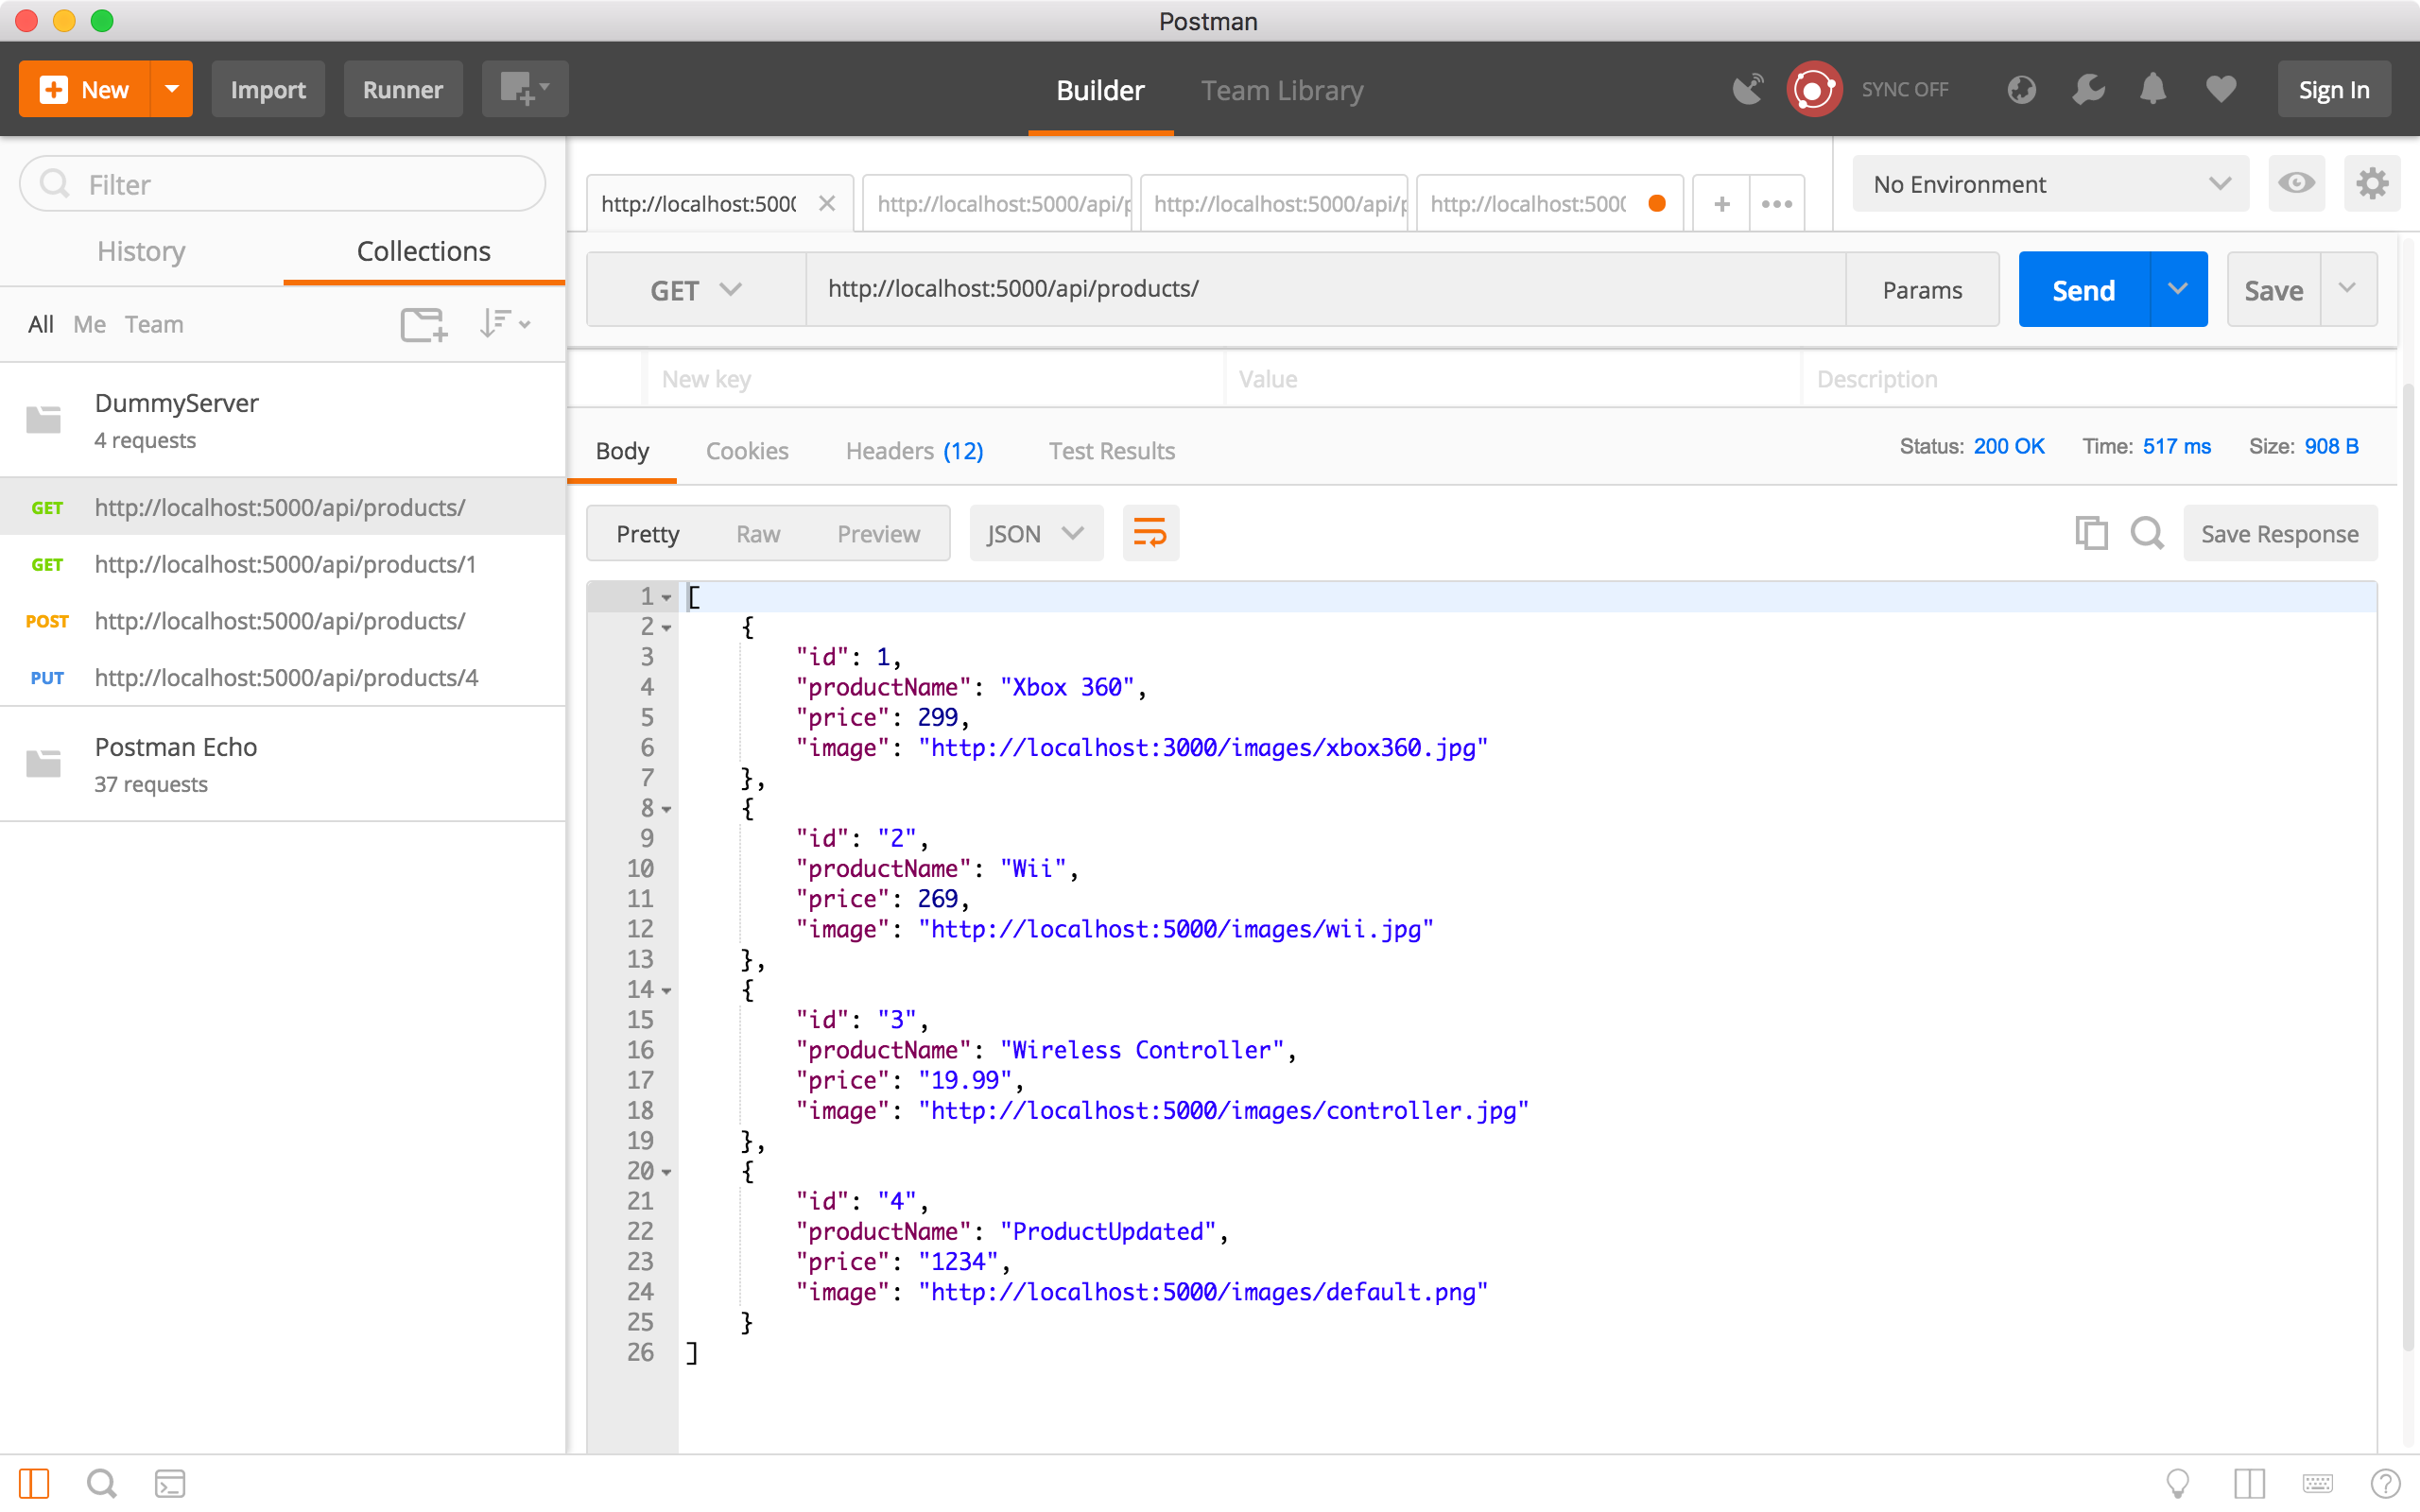
 Run the ‘Get all products’ request to verify whether the product is updated. We see product 4 has new name and price.
6.5 Delete Product
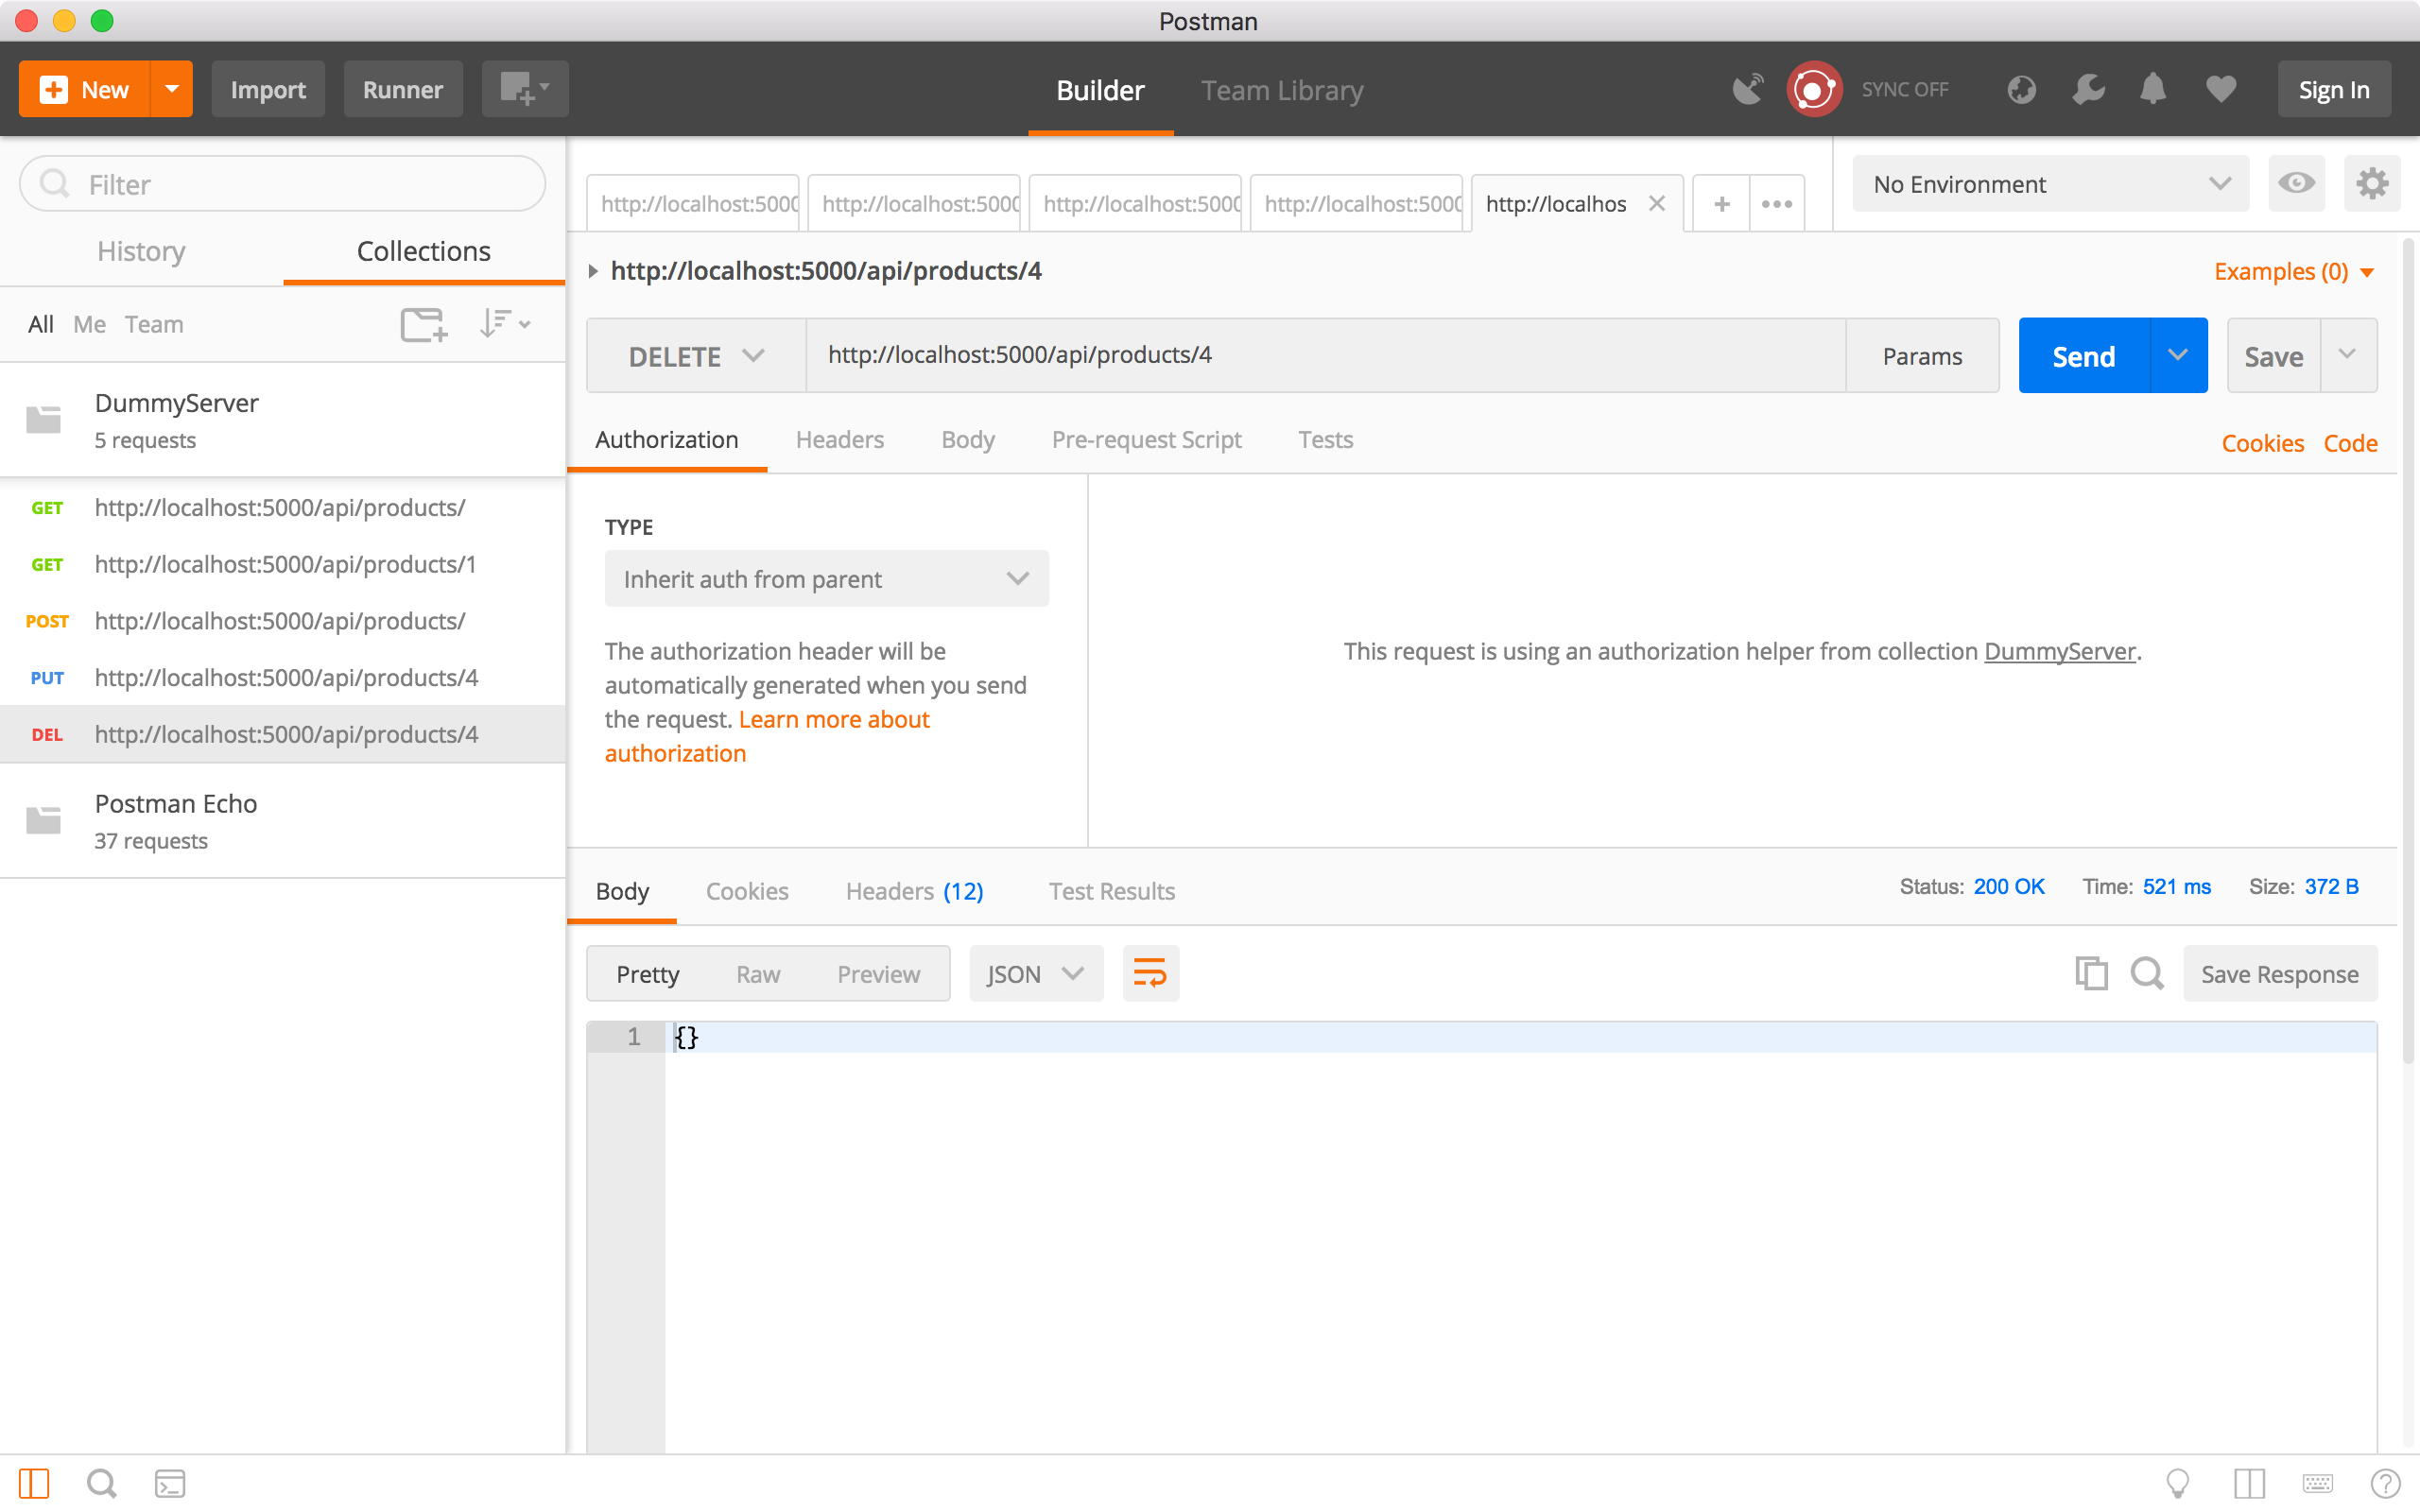
Create a new request, choose ‘DELETE’ method and specify ‘http://localhost:5000/api/products/4’ as the URL, click the Send button. There is no response body returned, but we see the status is ‘200 OK’. Product 4 should be deleted.
 Run the ‘Get all products’ request to verify whether product4 is deleted. We see product 4 is no longer existing.