2025. Installing and Using AtomAtom and Markdown
Introduce how to install and use Atom to create MarkDown file and write code.
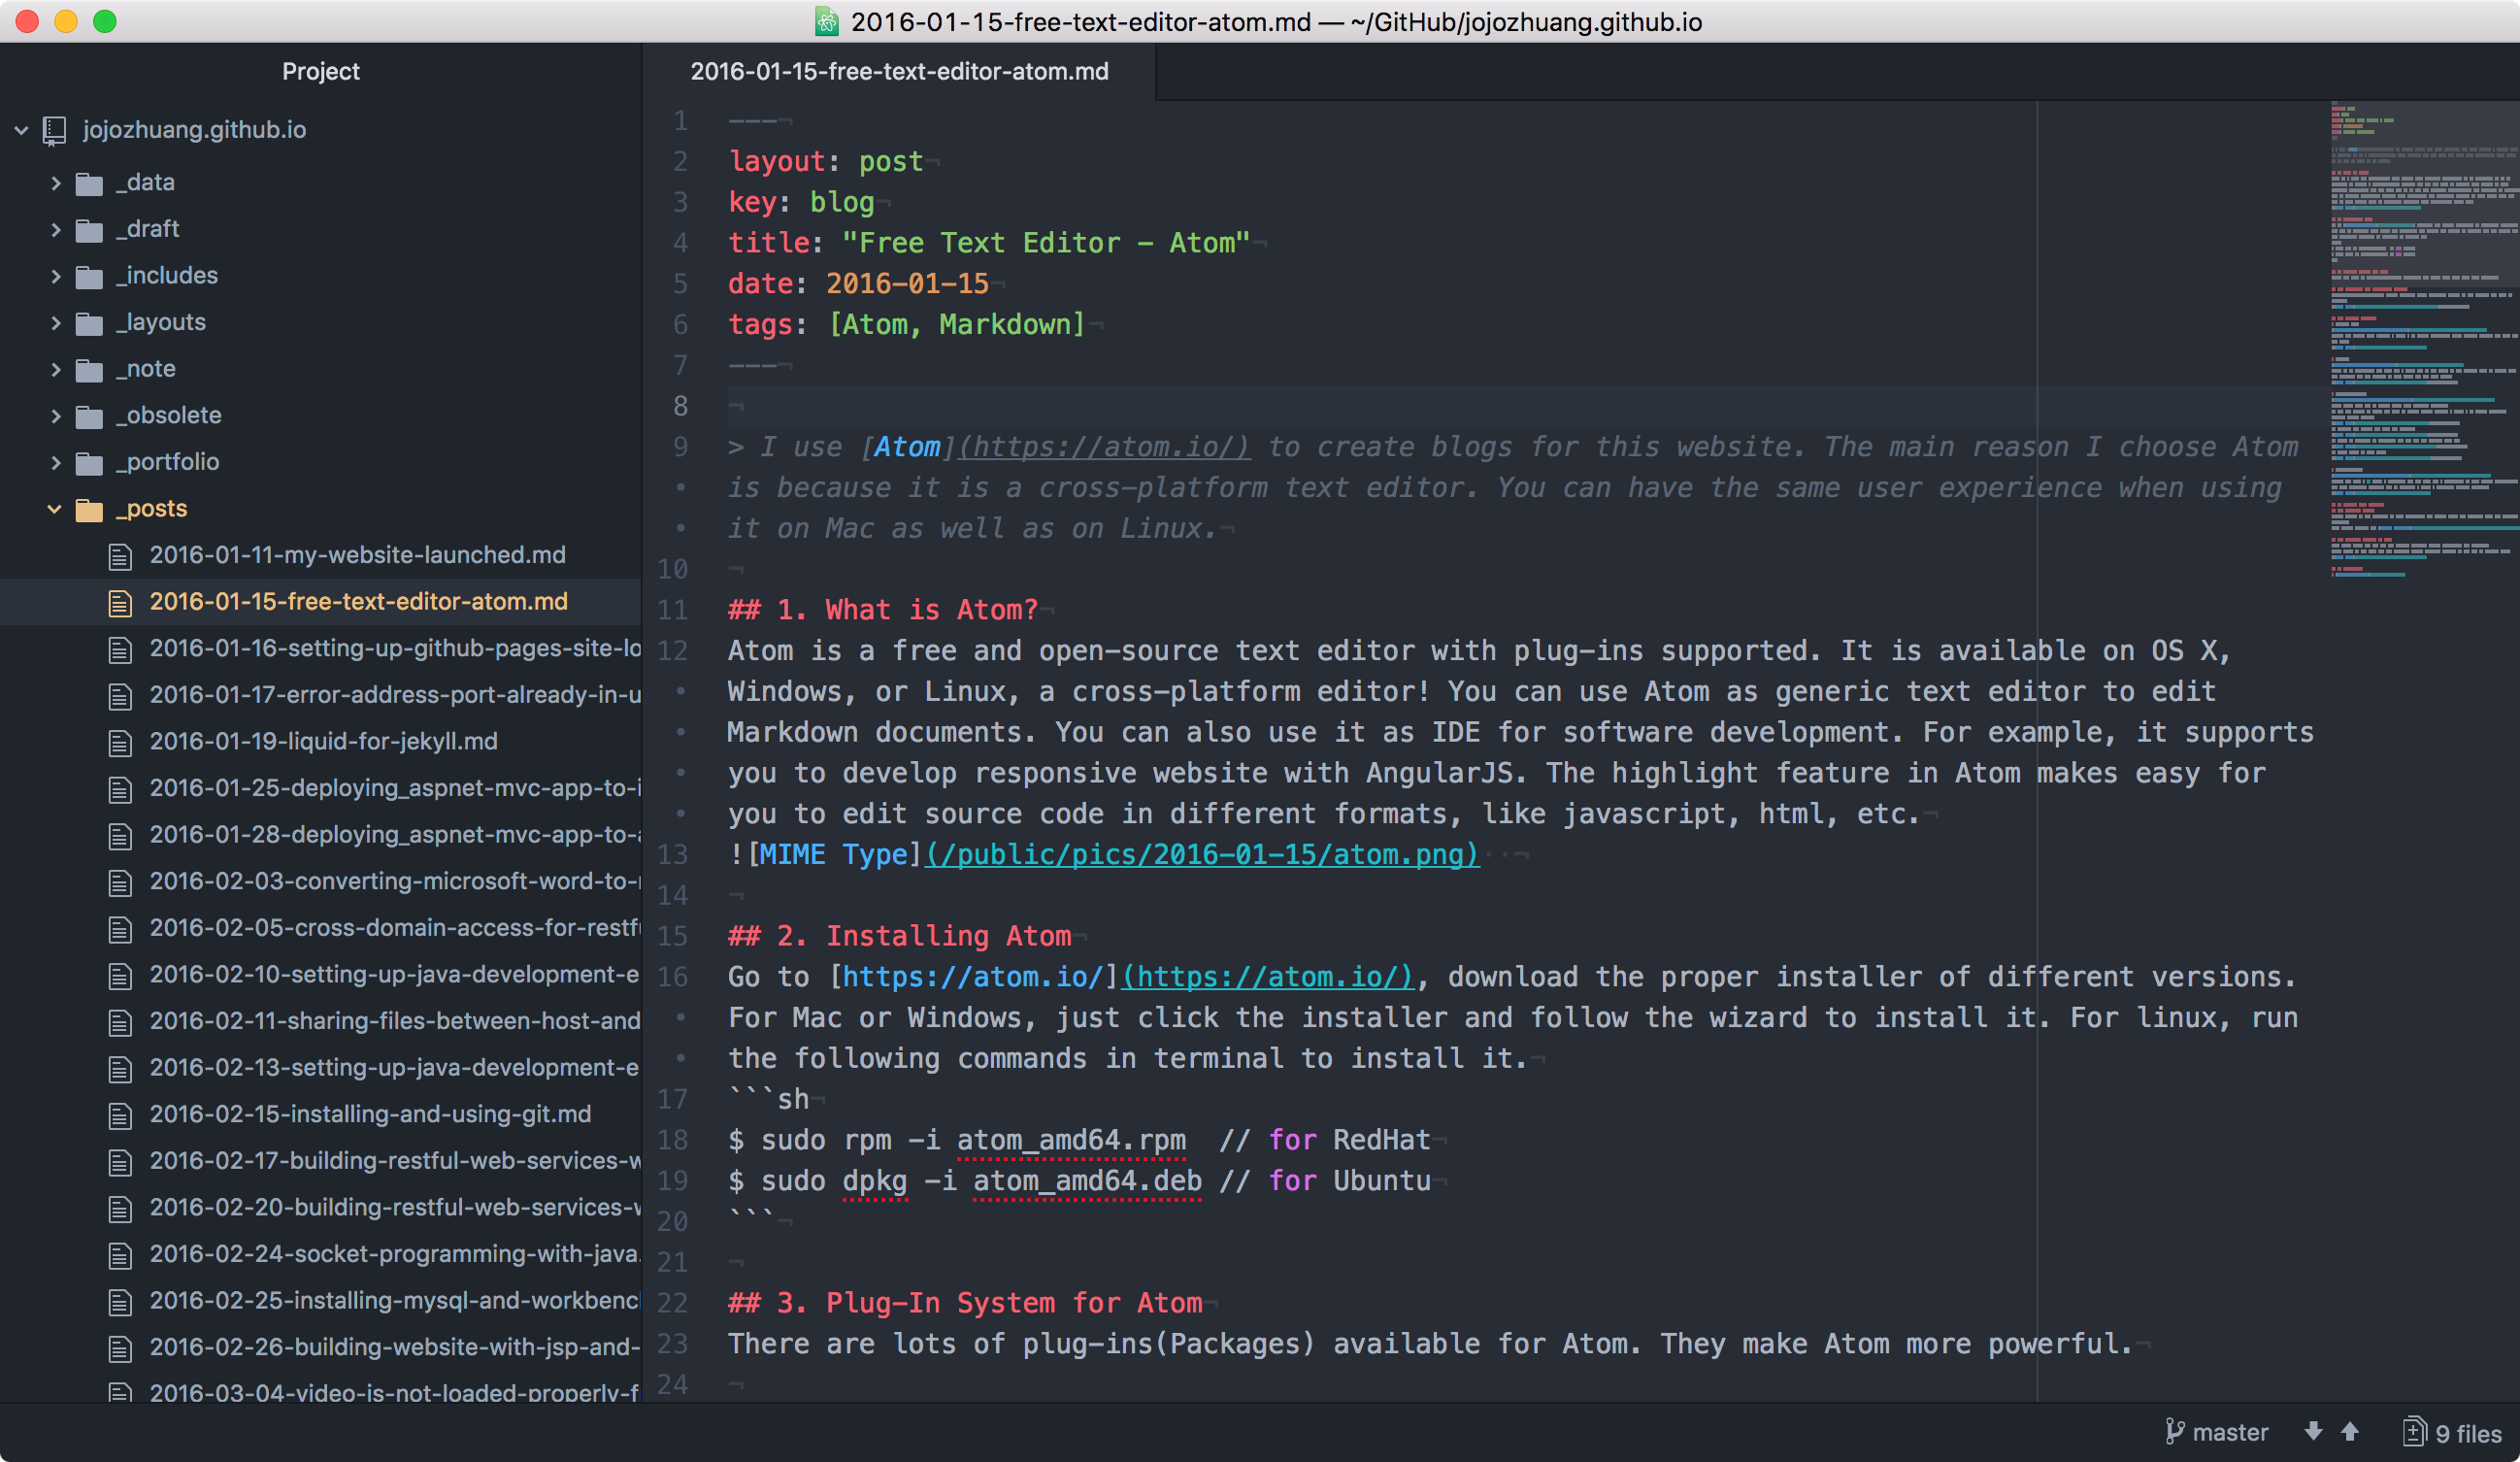
I use Atom to create blogs for this website. The main reason I choose Atom is because it is a cross-platform text editor. You can have the same user experience when using it on Mac as well as on Linux.
1. What is Atom?
Atom is a free and open-source text editor with plug-ins supported. It is available on OS X, Windows, or Linux, a cross-platform editor! You can use Atom as generic text editor to edit Markdown documents. You can also use it as IDE for software development. For example, it supports you to develop responsive website with AngularJS. The highlight feature in Atom makes easy for you to edit source code in different formats, like javascript, html, etc.
2. Installing Atom
Go to https://atom.io/, download the proper installer of different versions. For Mac or Windows, just click the installer and follow the wizard to install it. For linux, run the following commands in terminal to install it.
$ sudo rpm -i atom_amd64.rpm  // for RedHat
$ sudo dpkg -i atom_amd64.deb // for Ubuntu
3. Plug-In System for Atom
There are lots of plug-ins(Packages) available for Atom. They make Atom more powerful.
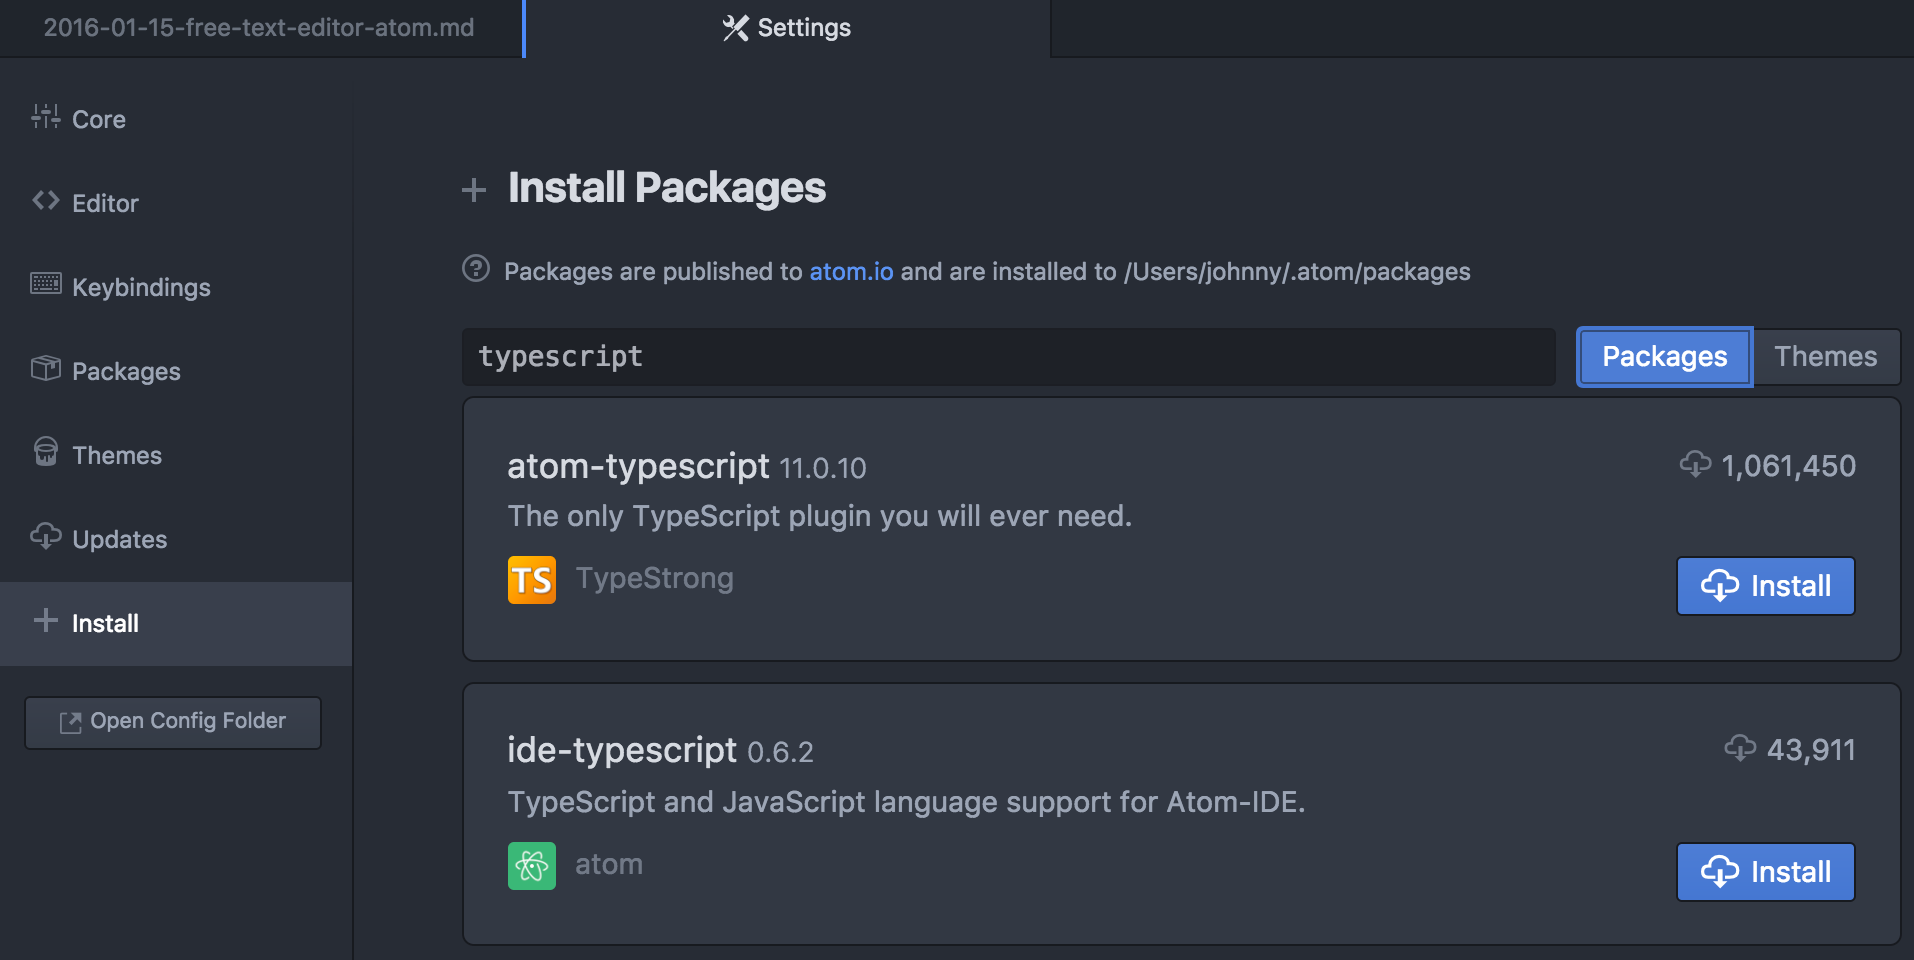
3.1 Searching and Installing Plug-In
Atom->Preferences->Install, search package. Click ‘Install’ button of the package you want to install.
3.2 Popular Plug-Ins
-
Compare File
https://atom.io/packages/compare-files
Select two files, then Command + Shift + P, search ‘Compare’, click command button, you will see the diff.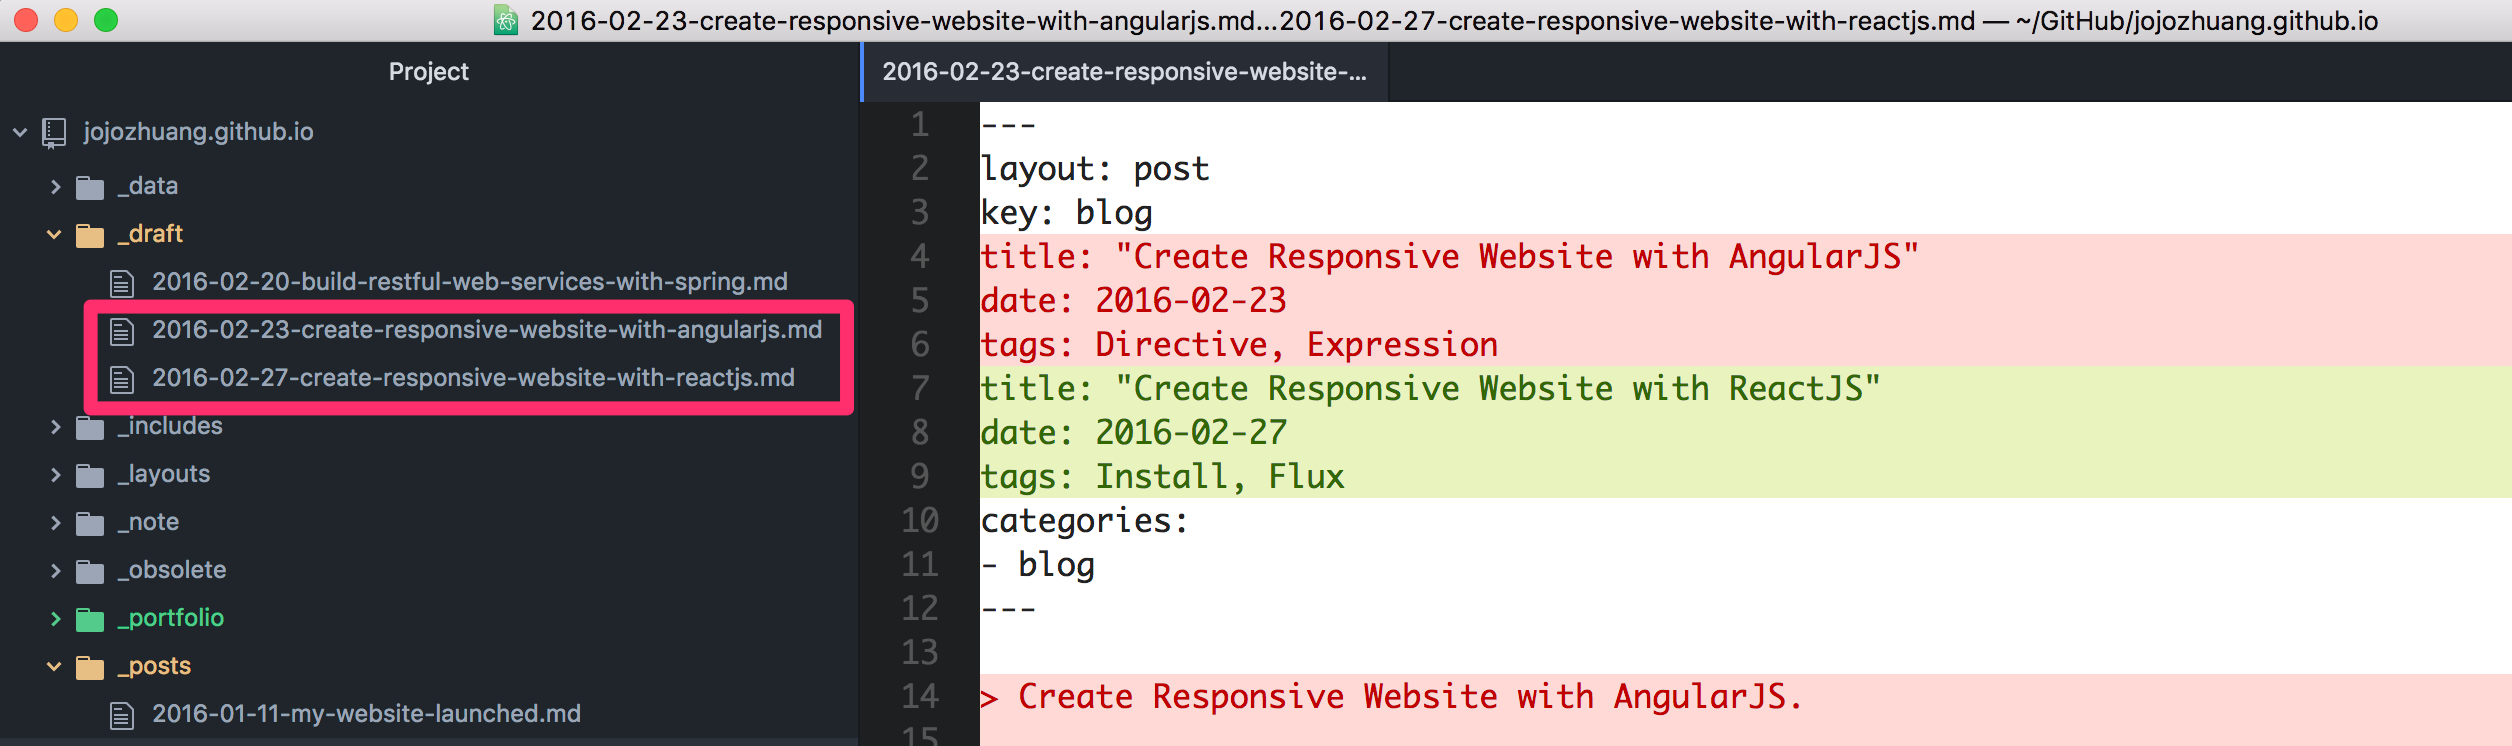
-
Minimap
https://atom.io/packages/minimap
After it is installed, you will see a small map at the right of the editor. This is useful when the document you are editing is very large and has many pages.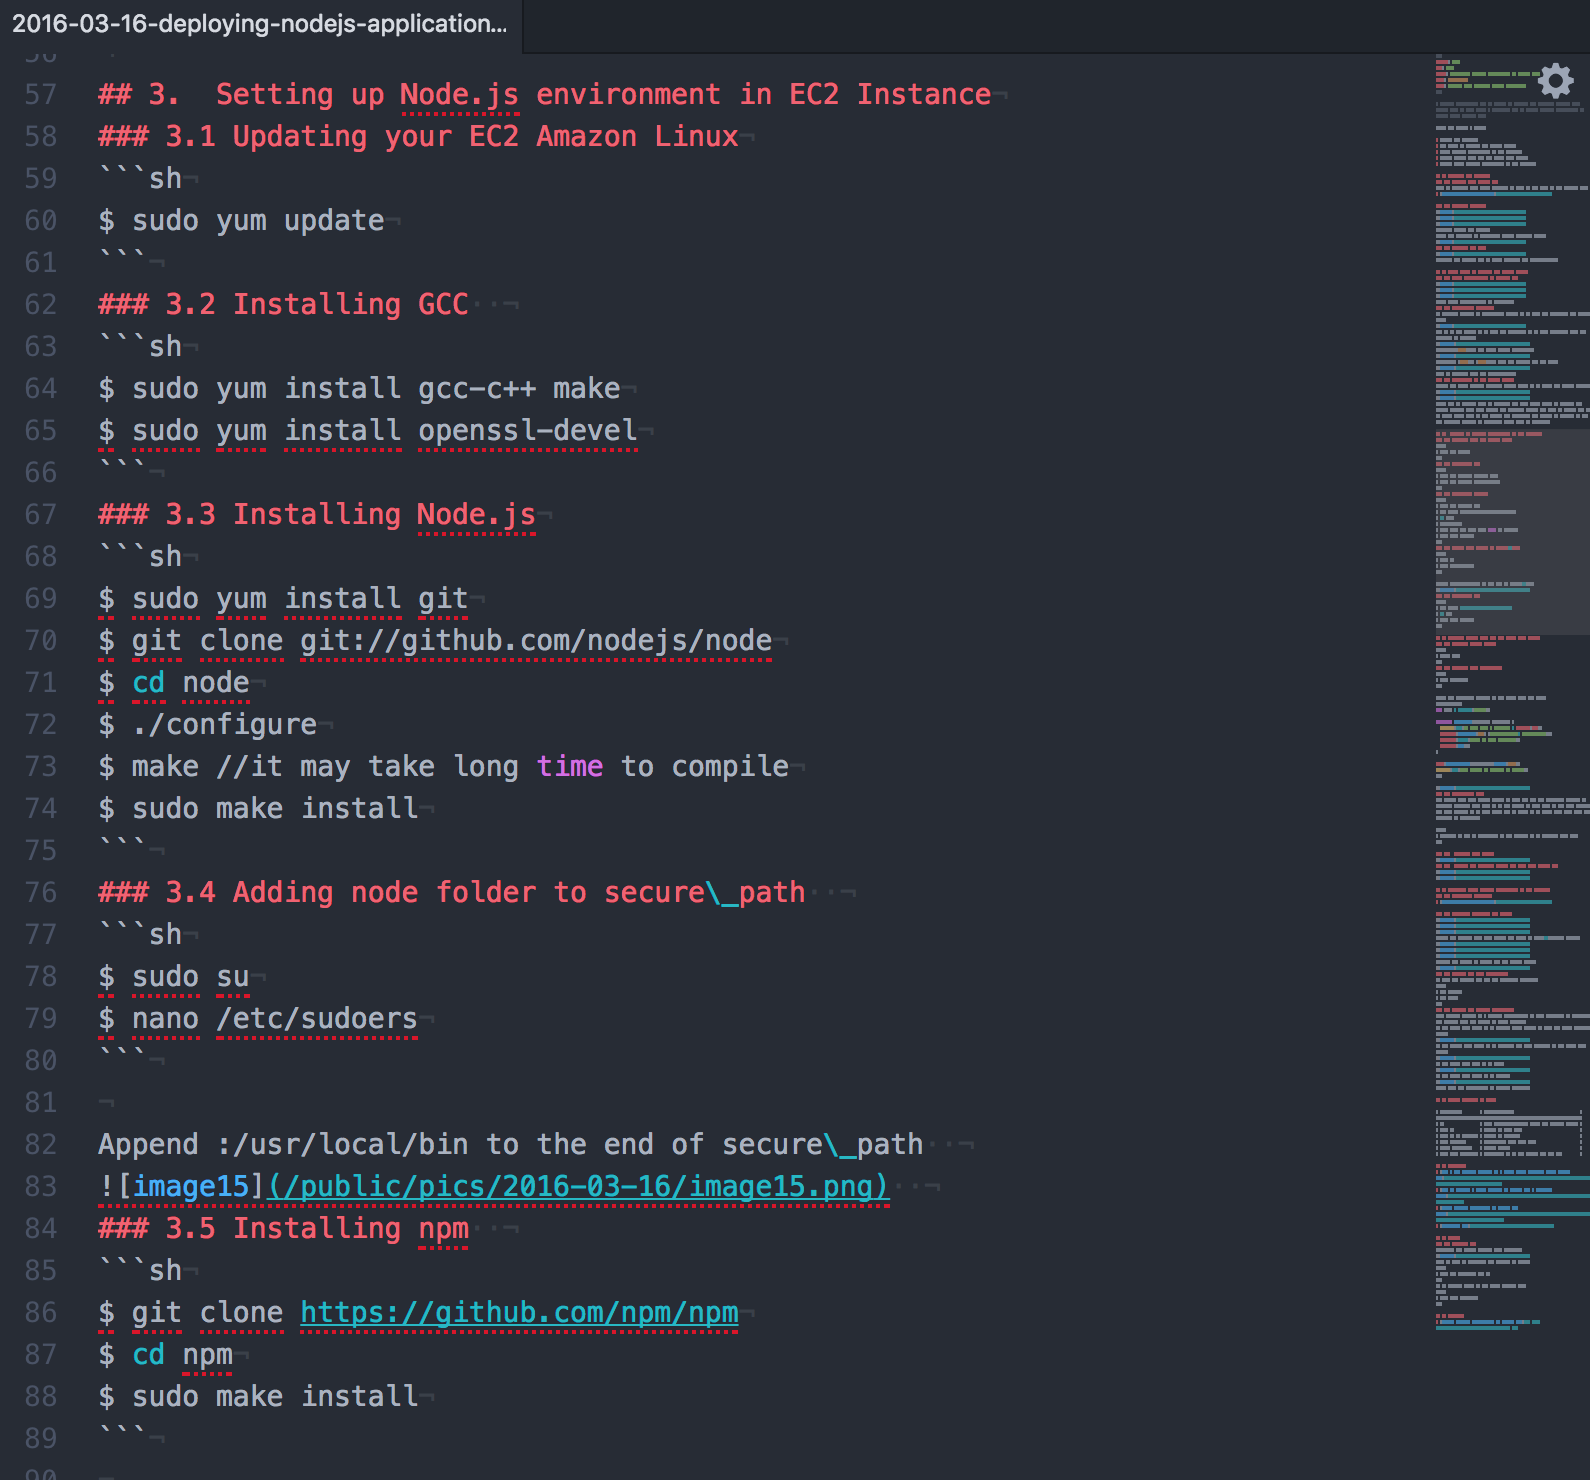
-
Markdown-Writter
https://atom.io/packages/markdown-writer
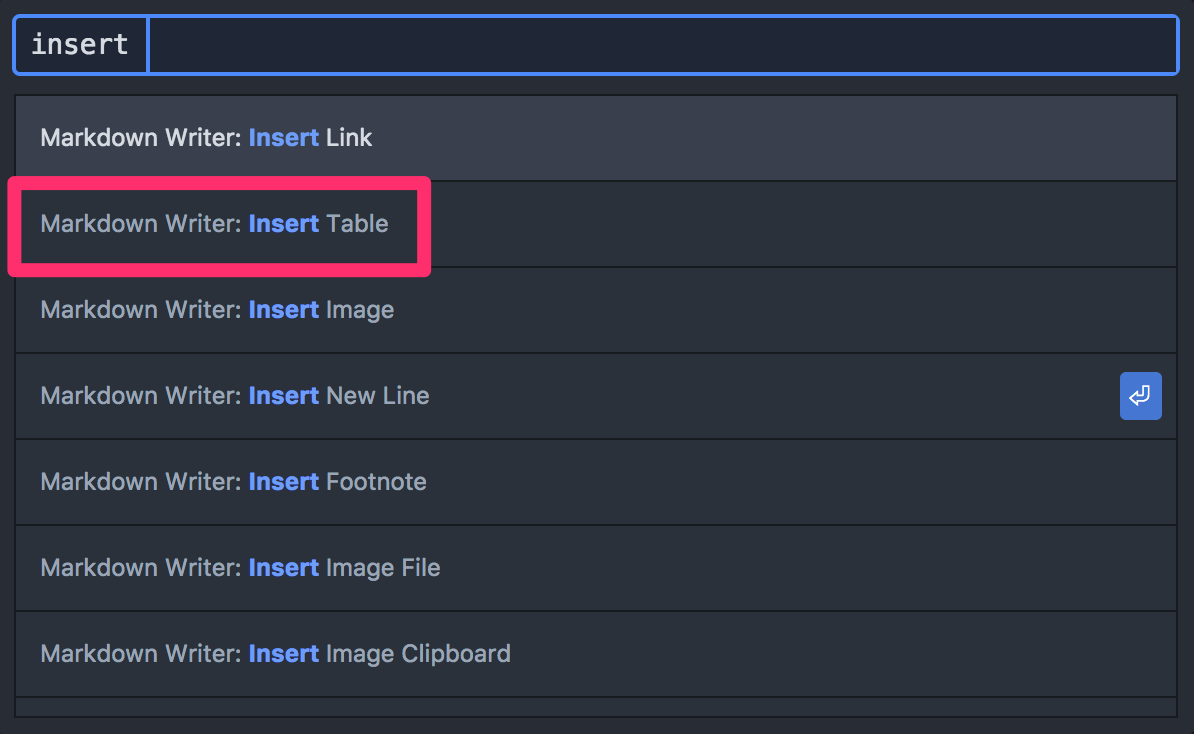
Below steps show how to insert table into Markdown document.
1) Put the cursor to where you want to insert table, Command + Shift + P, search ‘markdown writer: insert table’.
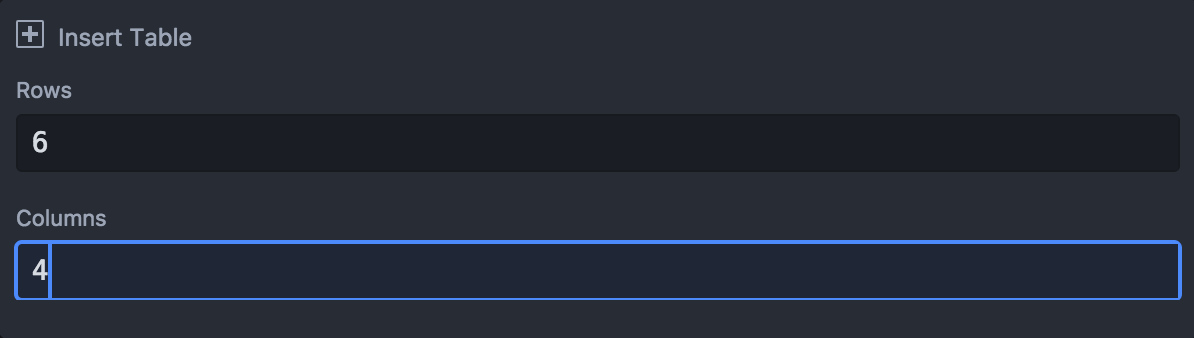
2) Specify the number for rows and columns.
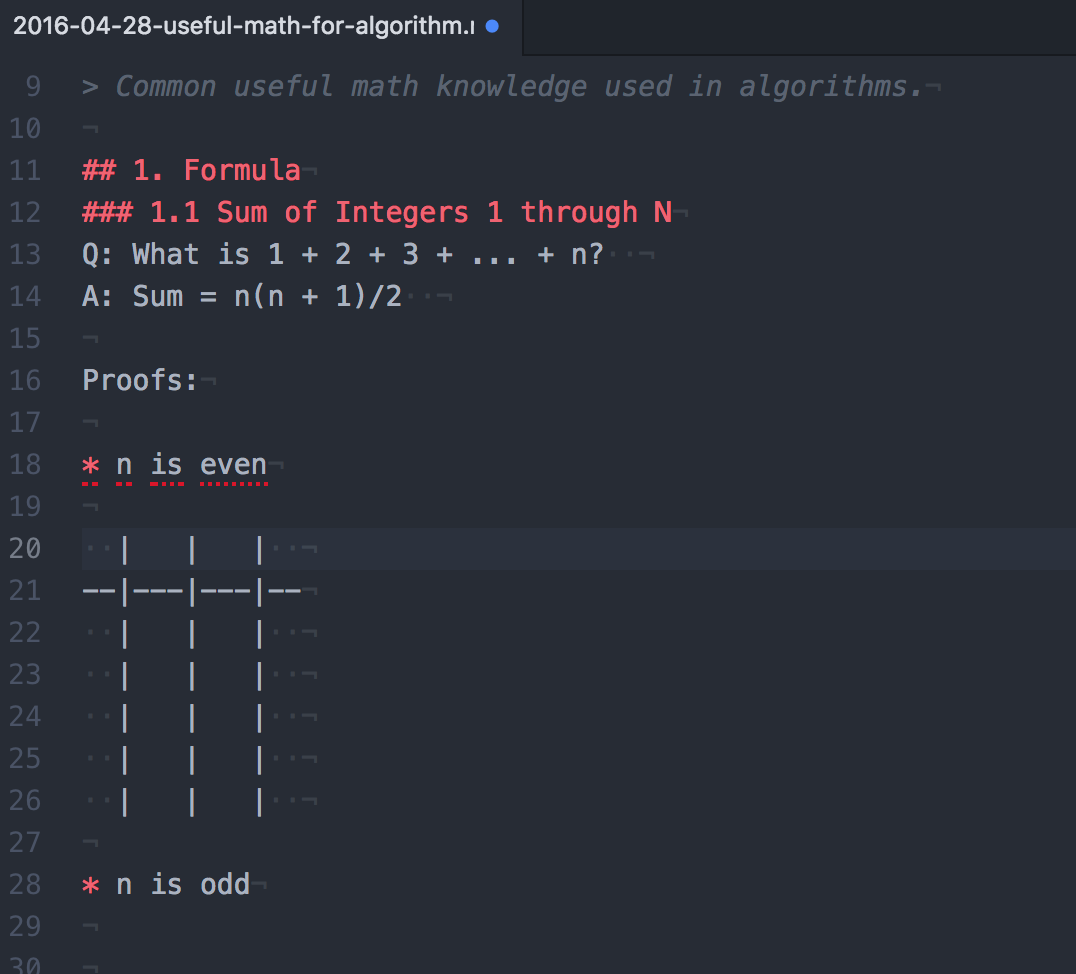
3) Table is inserted to document. You can now add content into it.
4) Table shown in html page.
-
Atom-Shortcuts
https://atom.io/packages/atom-shortcuts
Simply hit ctrl + ` (ctrl + backtick) and you will get a cheatsheet on your screen immediately. The most important shortcut key is ‘Command + Shift + P’(Toggle command palette).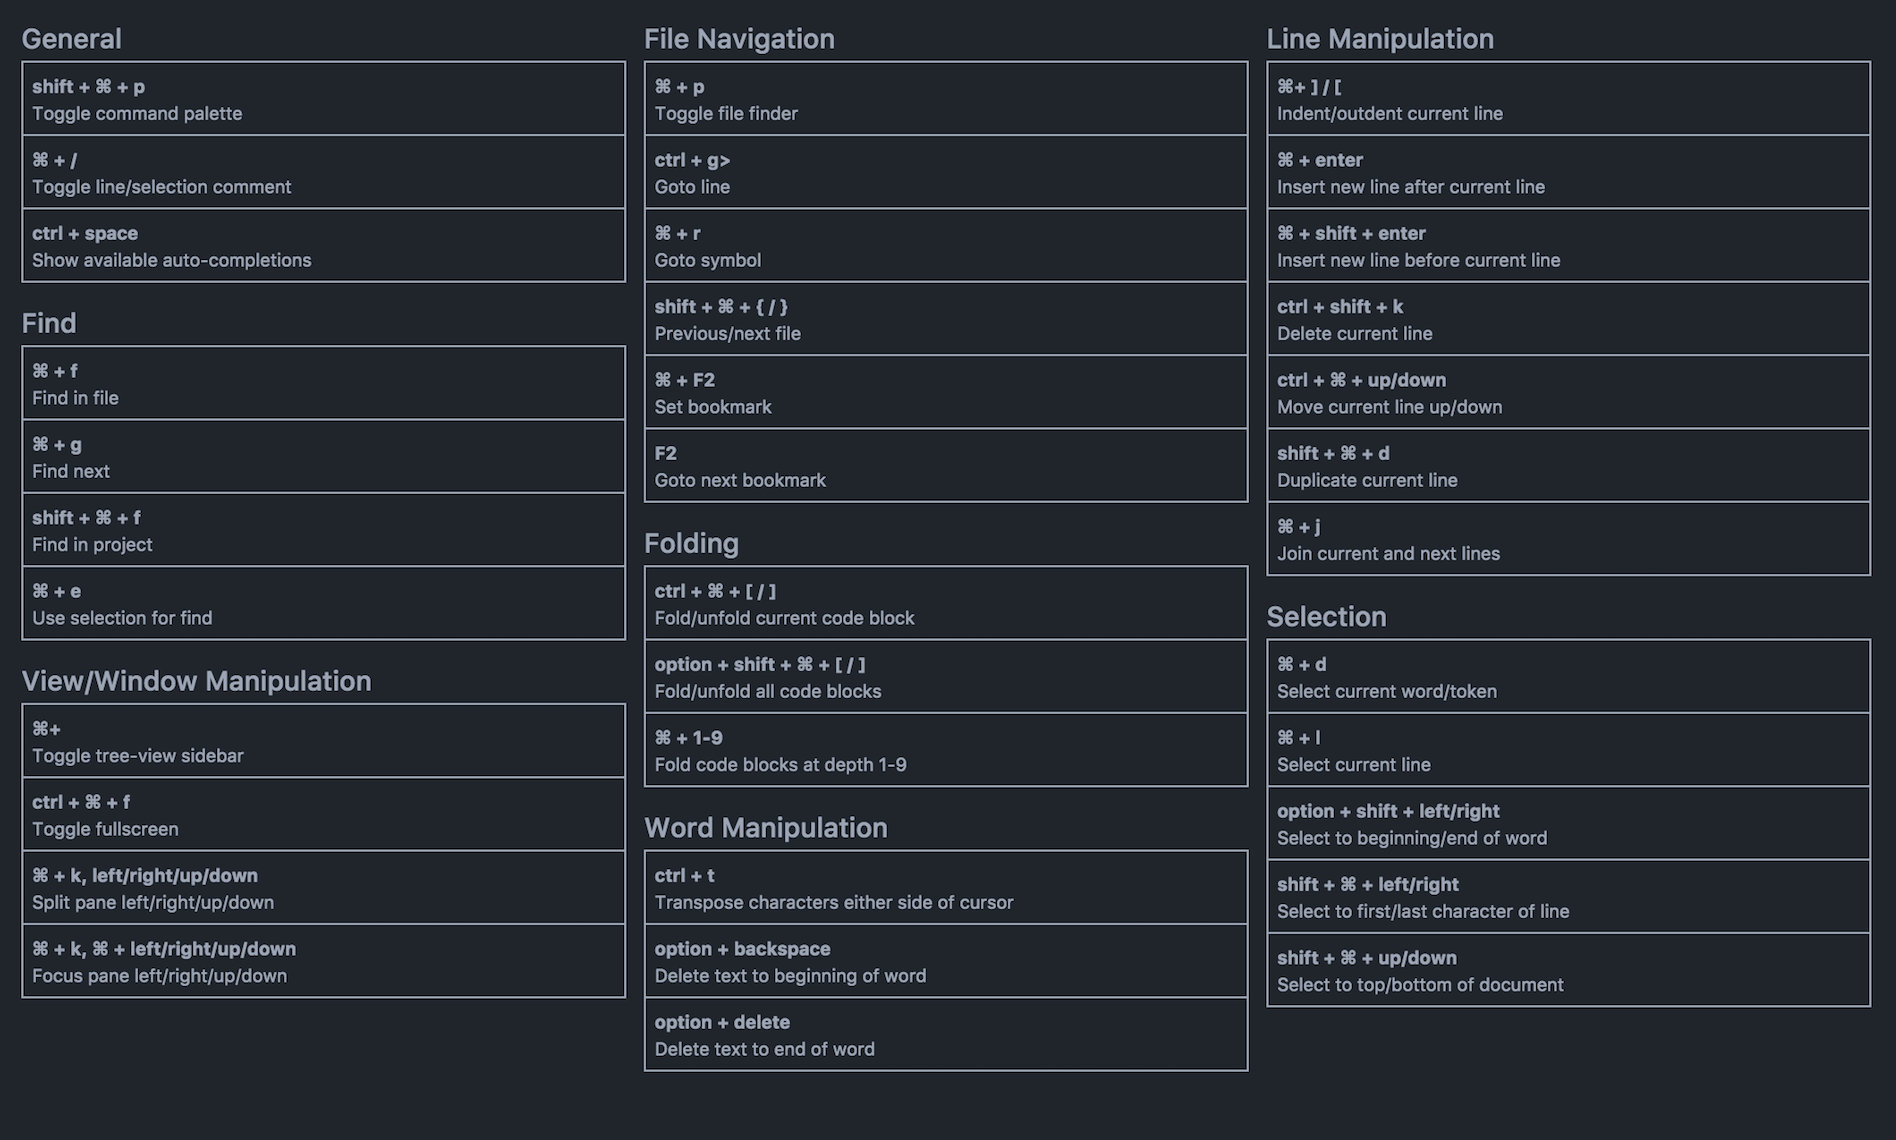
4. Working with Markdown
4.1 Markdown Syntax
Before trying to use Markdown to edit documents, you should first get familiar with the Markdown syntaxes. Some syntax samples for Github Markdown.
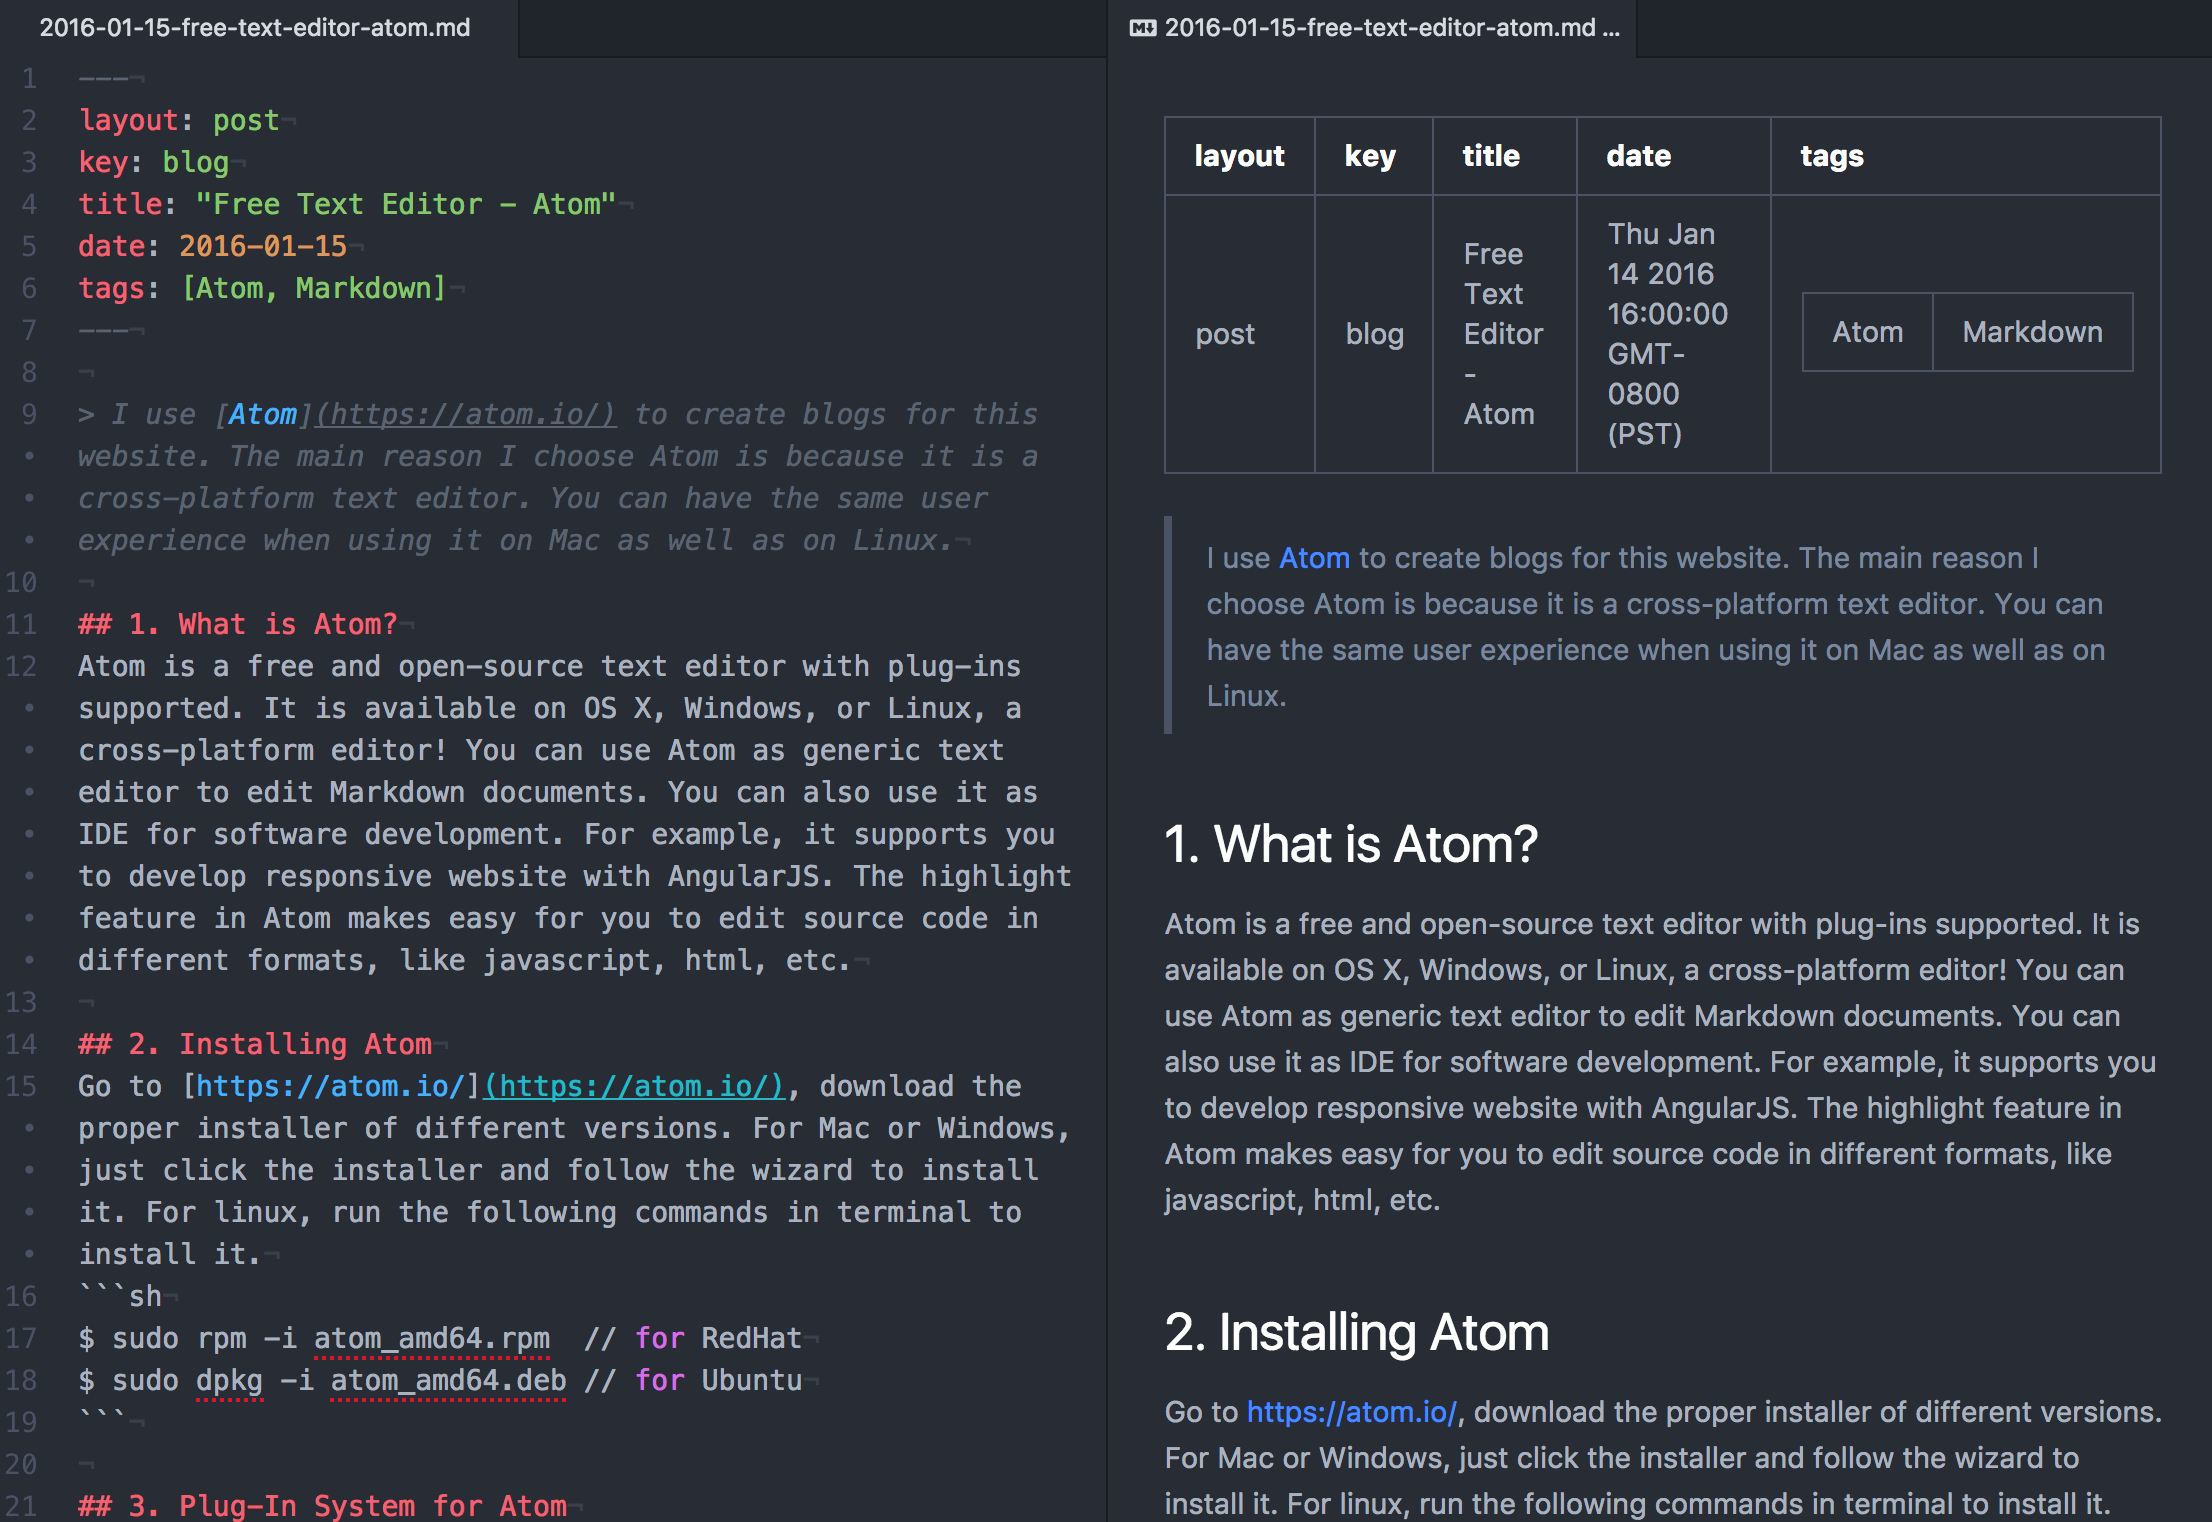
4.2 Markdown Preview in Atom
When using Atom, you can use the preview function before submitting the document.
Right click on the file you are editing, choose Markdown Preview at the top of context menu.
5. Shortcuts
5.1 Inserting characters at the beginning of multiple lines
For example, insert bullet number at the head of each line.
From:
Introduction To VPCs
Build A Custom VPC - Part 1
Build A Custom VPC - Part 2
Network Address Translation (NAT)
Access Control Lists (ACL)
Custom VPCs and ELBs
VPC Flow Logs
Bastions
Direct Connect
VPC End Points
Summary
VPCs Quiz
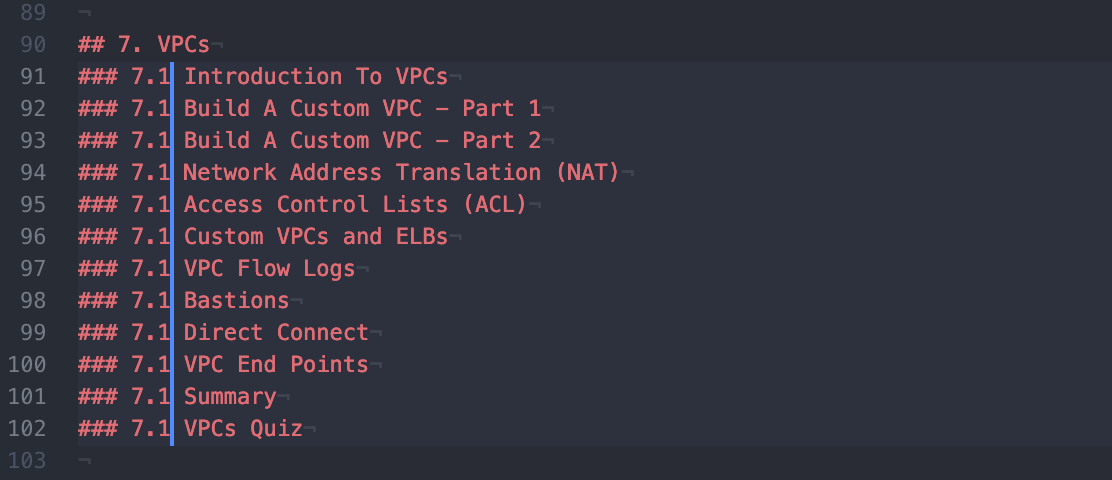
To:
### 7.1 Introduction To VPCs
### 7.1 Build A Custom VPC - Part 1
### 7.1 Build A Custom VPC - Part 2
### 7.1 Network Address Translation (NAT)
### 7.1 Access Control Lists (ACL)
### 7.1 Custom VPCs and ELBs
### 7.1 VPC Flow Logs
### 7.1 Bastions
### 7.1 Direct Connect
### 7.1 VPC End Points
### 7.1 Summary
### 7.1 VPCs Quiz
Do as follows:
- Select the lines, or [
ctrl+A] to select all. - Go to Selection Tab > Click on ‘Split into lines’, or [
Cmd+Shift+L] - Move the cursor to leftmost by clicking
Leftarrow, or [Cmd+Left Arrow] - Now, you can type anything and it will be added to the starting of each line!