3525. Running Multiple Containers with Docker ComposeDocker and Compose
Tutorial for how to define and run multiple containers with Docker Compose.
1. Recalling What’ve Achieved
Three ways to create containers:
- Run container through command line without creating our own images.
- Create images with Dockerfile and run containers based on customized images.
- Define and run containers with Docker Compose.
We’ve learned how to create mysql and tomcat container with the above first two ways. In this posting, we will learn how to use Docker Compose to simplify the process.
2. What is Docker Compose?
Compose is a tool for defining and running multi-container Docker applications. With Compose, you use a Compose file to configure your application’s services. Then, using a single command, you create and start all the services from your configuration.
Using Compose is basically a three-step process.
- Define your app’s environment with a Dockerfile so it can be reproduced anywhere.
- Define the services that make up your app in docker-compose.yml so they can be run together in an isolated environment.
- Lastly, run docker-compose up and Compose will start and run your entire app.
3. Creating Docker Compose
3.1 Getting MySQL Backup File
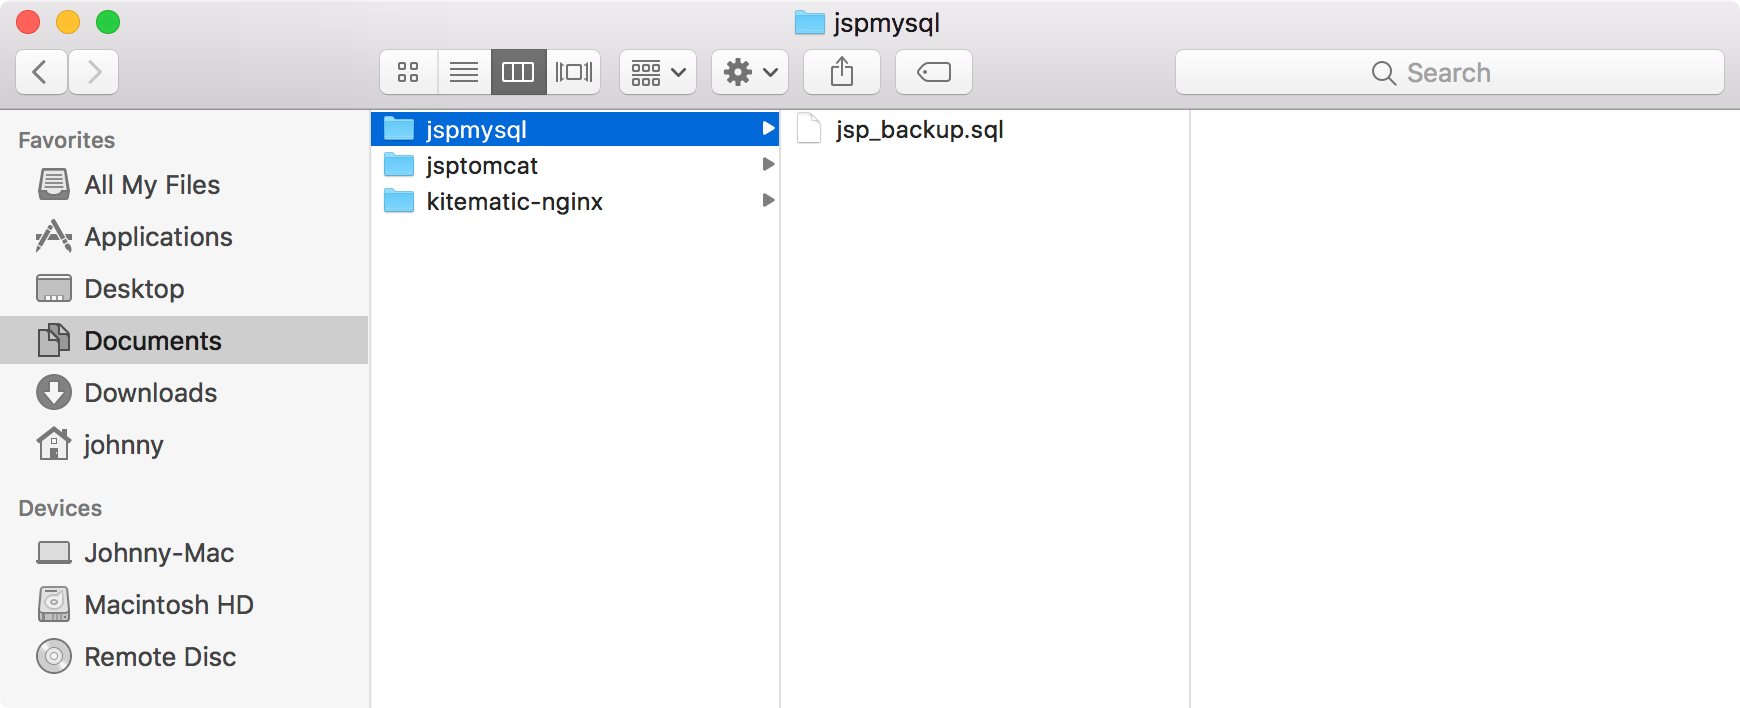
Download the backup file for MySQL from My GitHub, and put it into ~/Documents/jspmysql/. This folder will be mounted to MySQL container later.
3.2 Getting JSP Tutorial Application
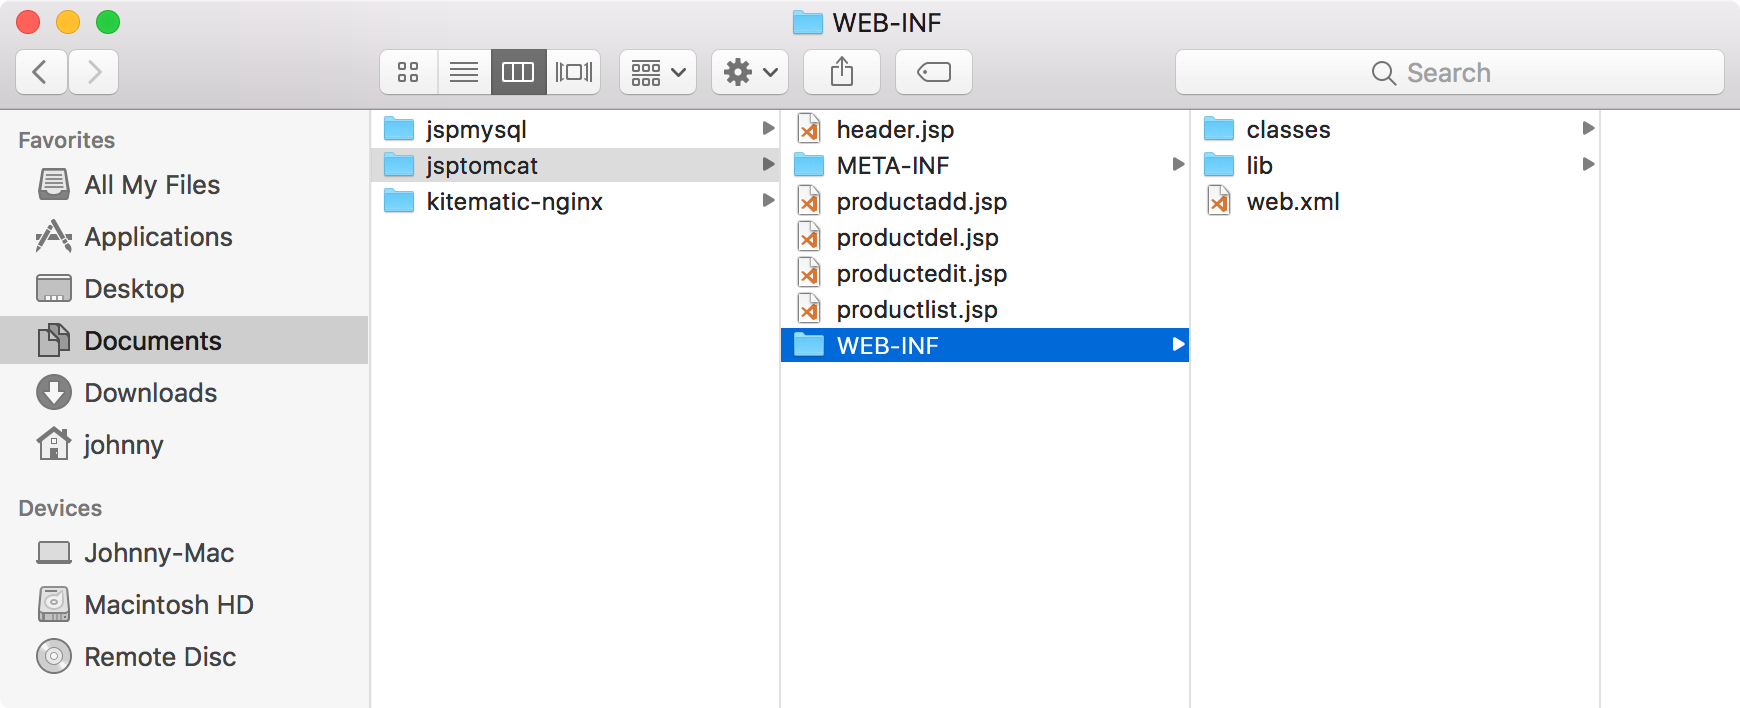
Download the source files of JSP Tutorial application from My GitHub, compile and deploy all jsp and class files into ~/Documents/jsptomcat/. This folder will be mounted to Tomcat container later.
3.3 Creating Compose File
Create one file named docker-compose.yml in any directory on local machine.
$ cd ~/Johnny
$ mkdir DockerCompose
$ cd DockerCompose
$ vim docker-compose.yml
Edit docker-compose.yml, fill with following content.
version: '3.0'
services:
  web:
    image: tomcat
    environment:
    - JPDA_ADDRESS=8000
    ports:
    - "31020:8080"
    - "8000:8000"
    volumes:
    - ~/Documents/jsptomcat/:/usr/local/tomcat/webapps/jsptutorial
  database:
    image: mysql
    environment:
    - MYSQL_ROOT_PASSWORD=jsppassword
    ports:
    - "6603:3306"
    volumes:
    - ~/Documents/jspmysql/:/docker-entrypoint-initdb.d
The following points need to be noted about the above file.
- The web and database keywords are used to define two separate containers. One will be running our tomcat web server and the other will be our MySQL database.
- The image keyword is used to specify the image from Docker Hub for our tomcat and mysql containers.
- The environment keyword is used to configure environment variables.
- The ports keyword is used to mention the ports that need to be exposed for the container.
- The volumes keyword is used to define volumes between local machine and containers.
3.4 Running Docker Compose file
Open Docker terminal, navigate to the folder where the Docker compose file locates. Run the following command. (Make sure remove or stop the existing MySQL and Tomcat container first.)
$ docker-compose up -d
This command will take the docker-compose.yml file in your local directory and start building the containers. Option -d makes this process run in background. Once executed, all the images will start downloading and the containers will start automatically.
Check the containers.
$ docker ps
As you see, two containers are running now.

Use the following command to stop the containers.
$ docker-compose down
4. Verifying the Containers
4.1 Checking Tomcat Container
Environment variable for tomcat is set correctly.
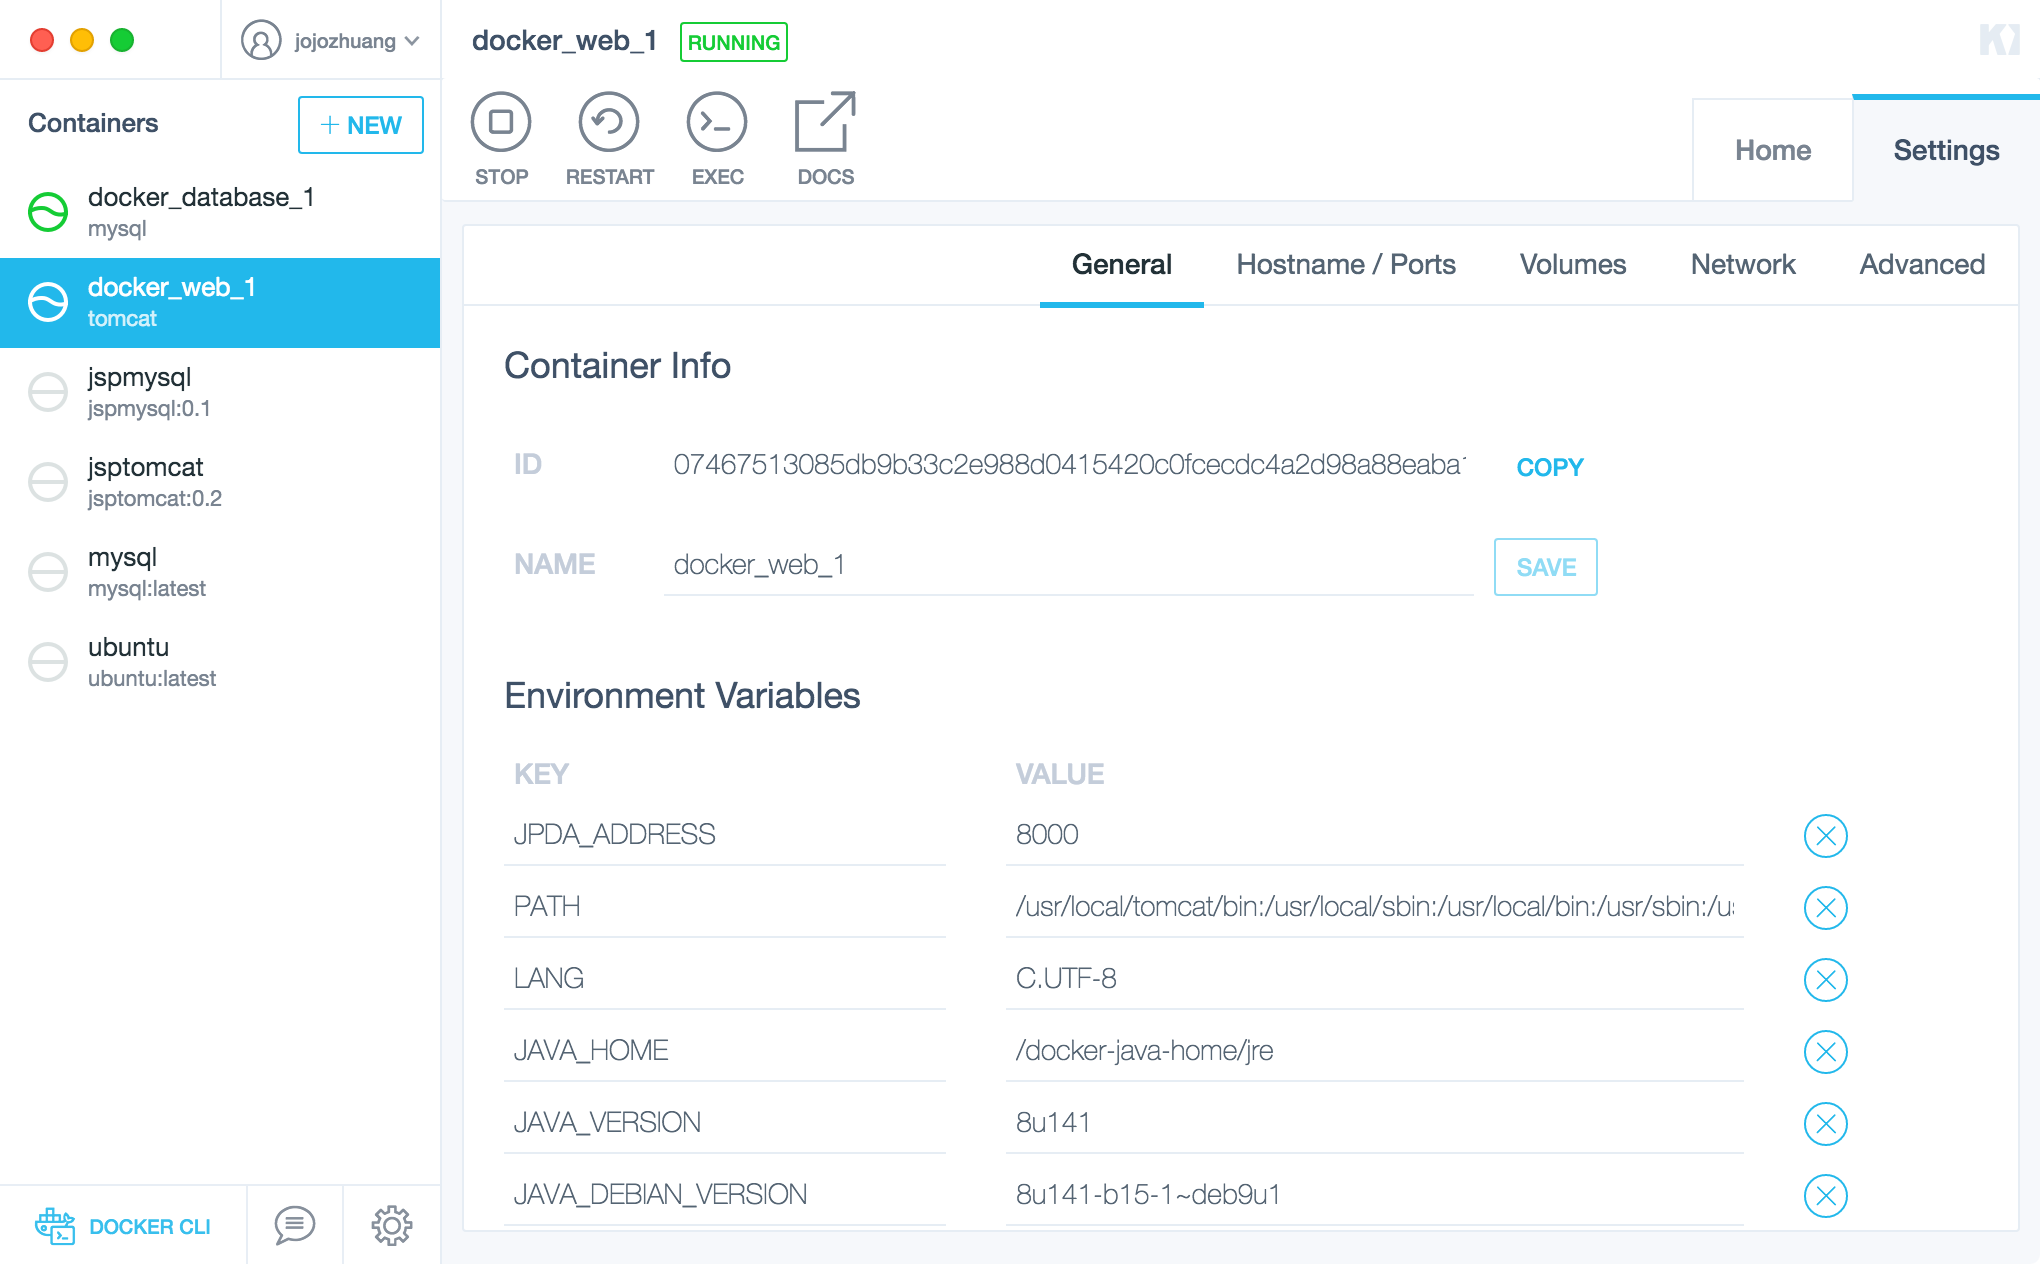
Ports are also configured.
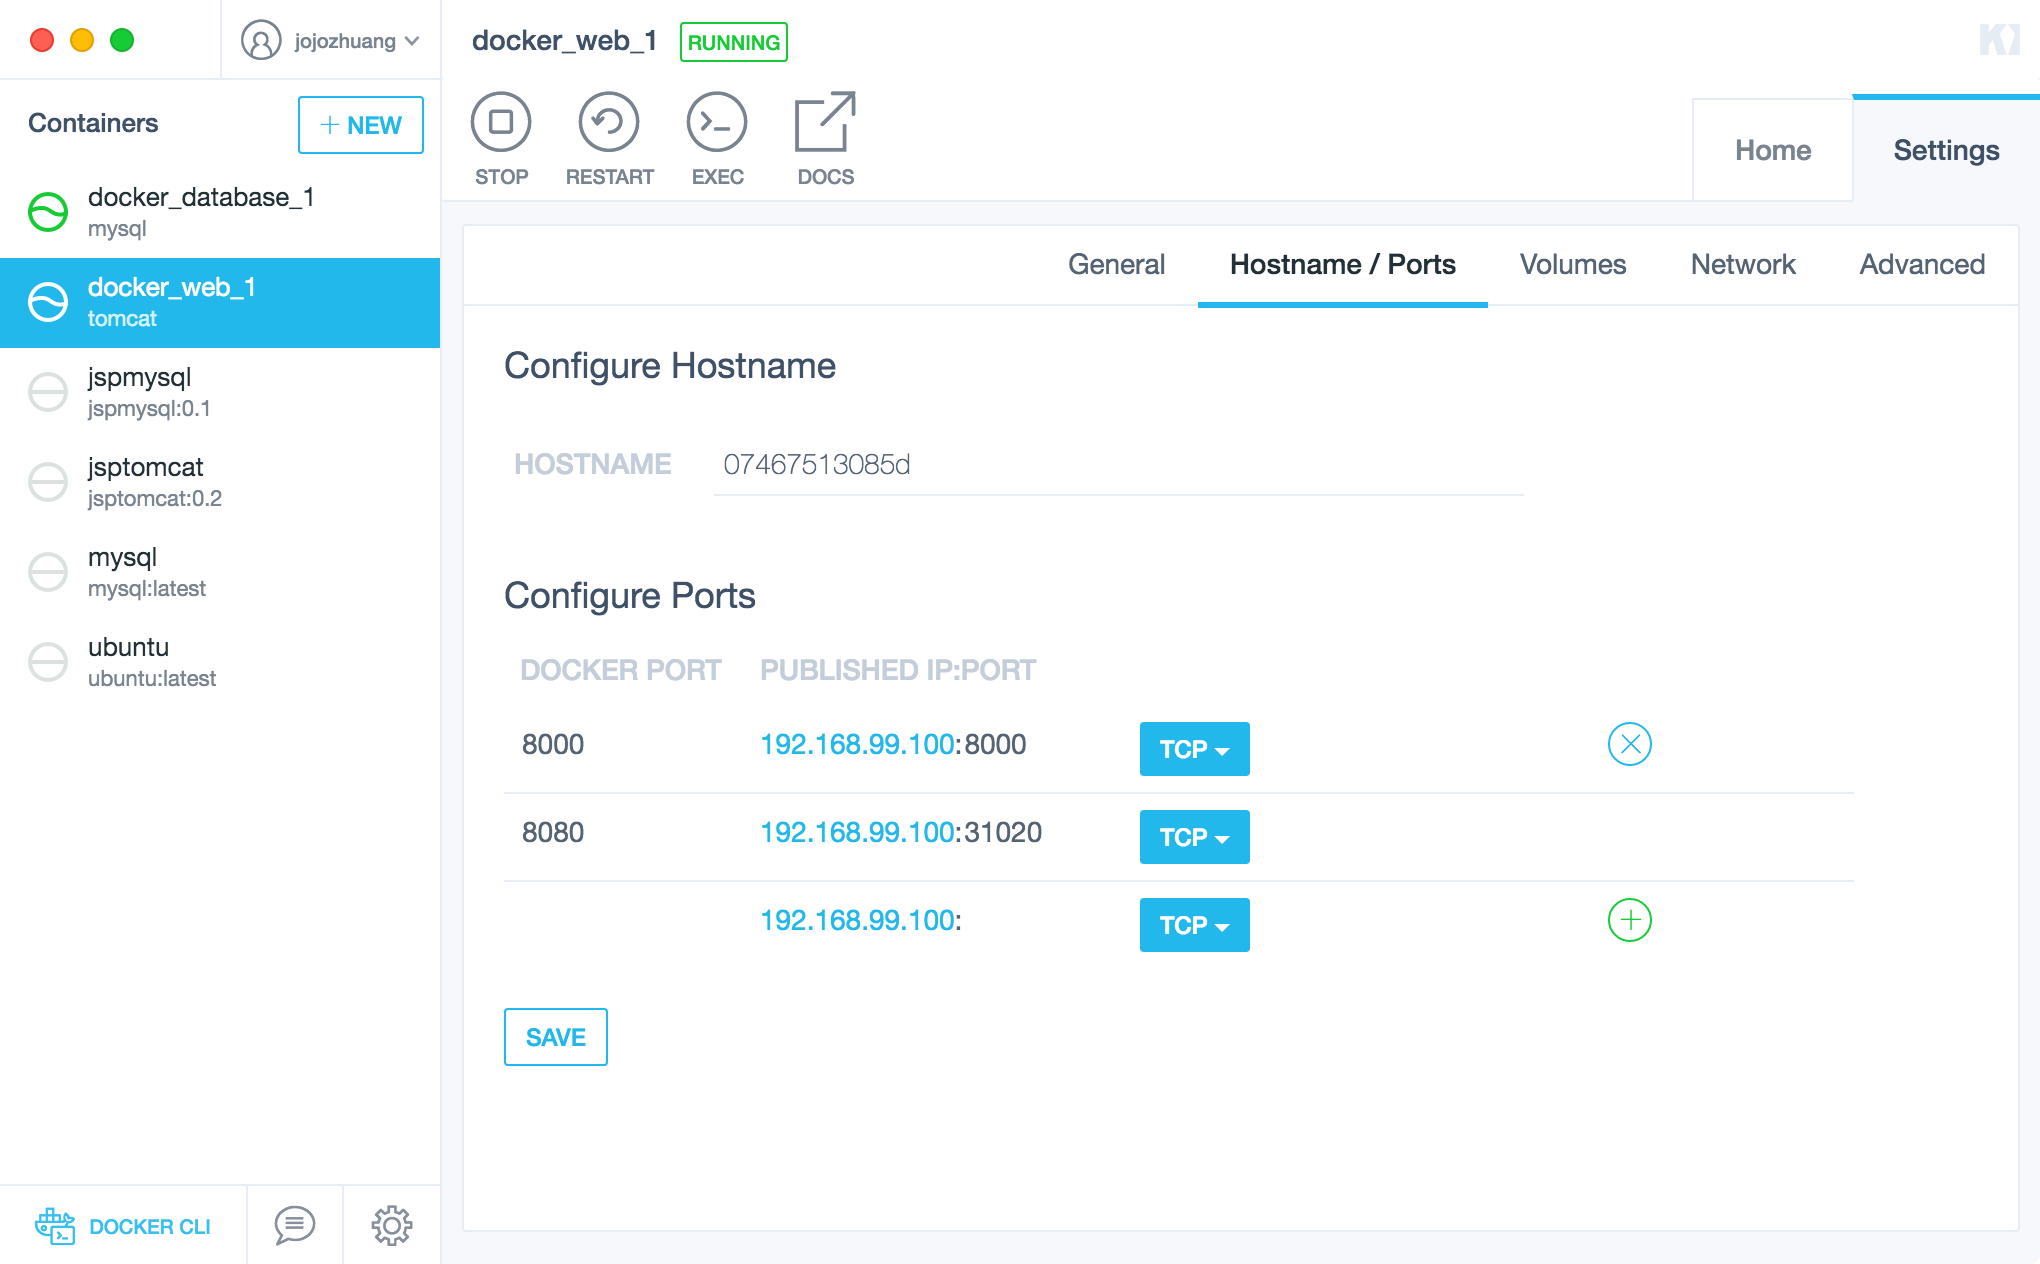
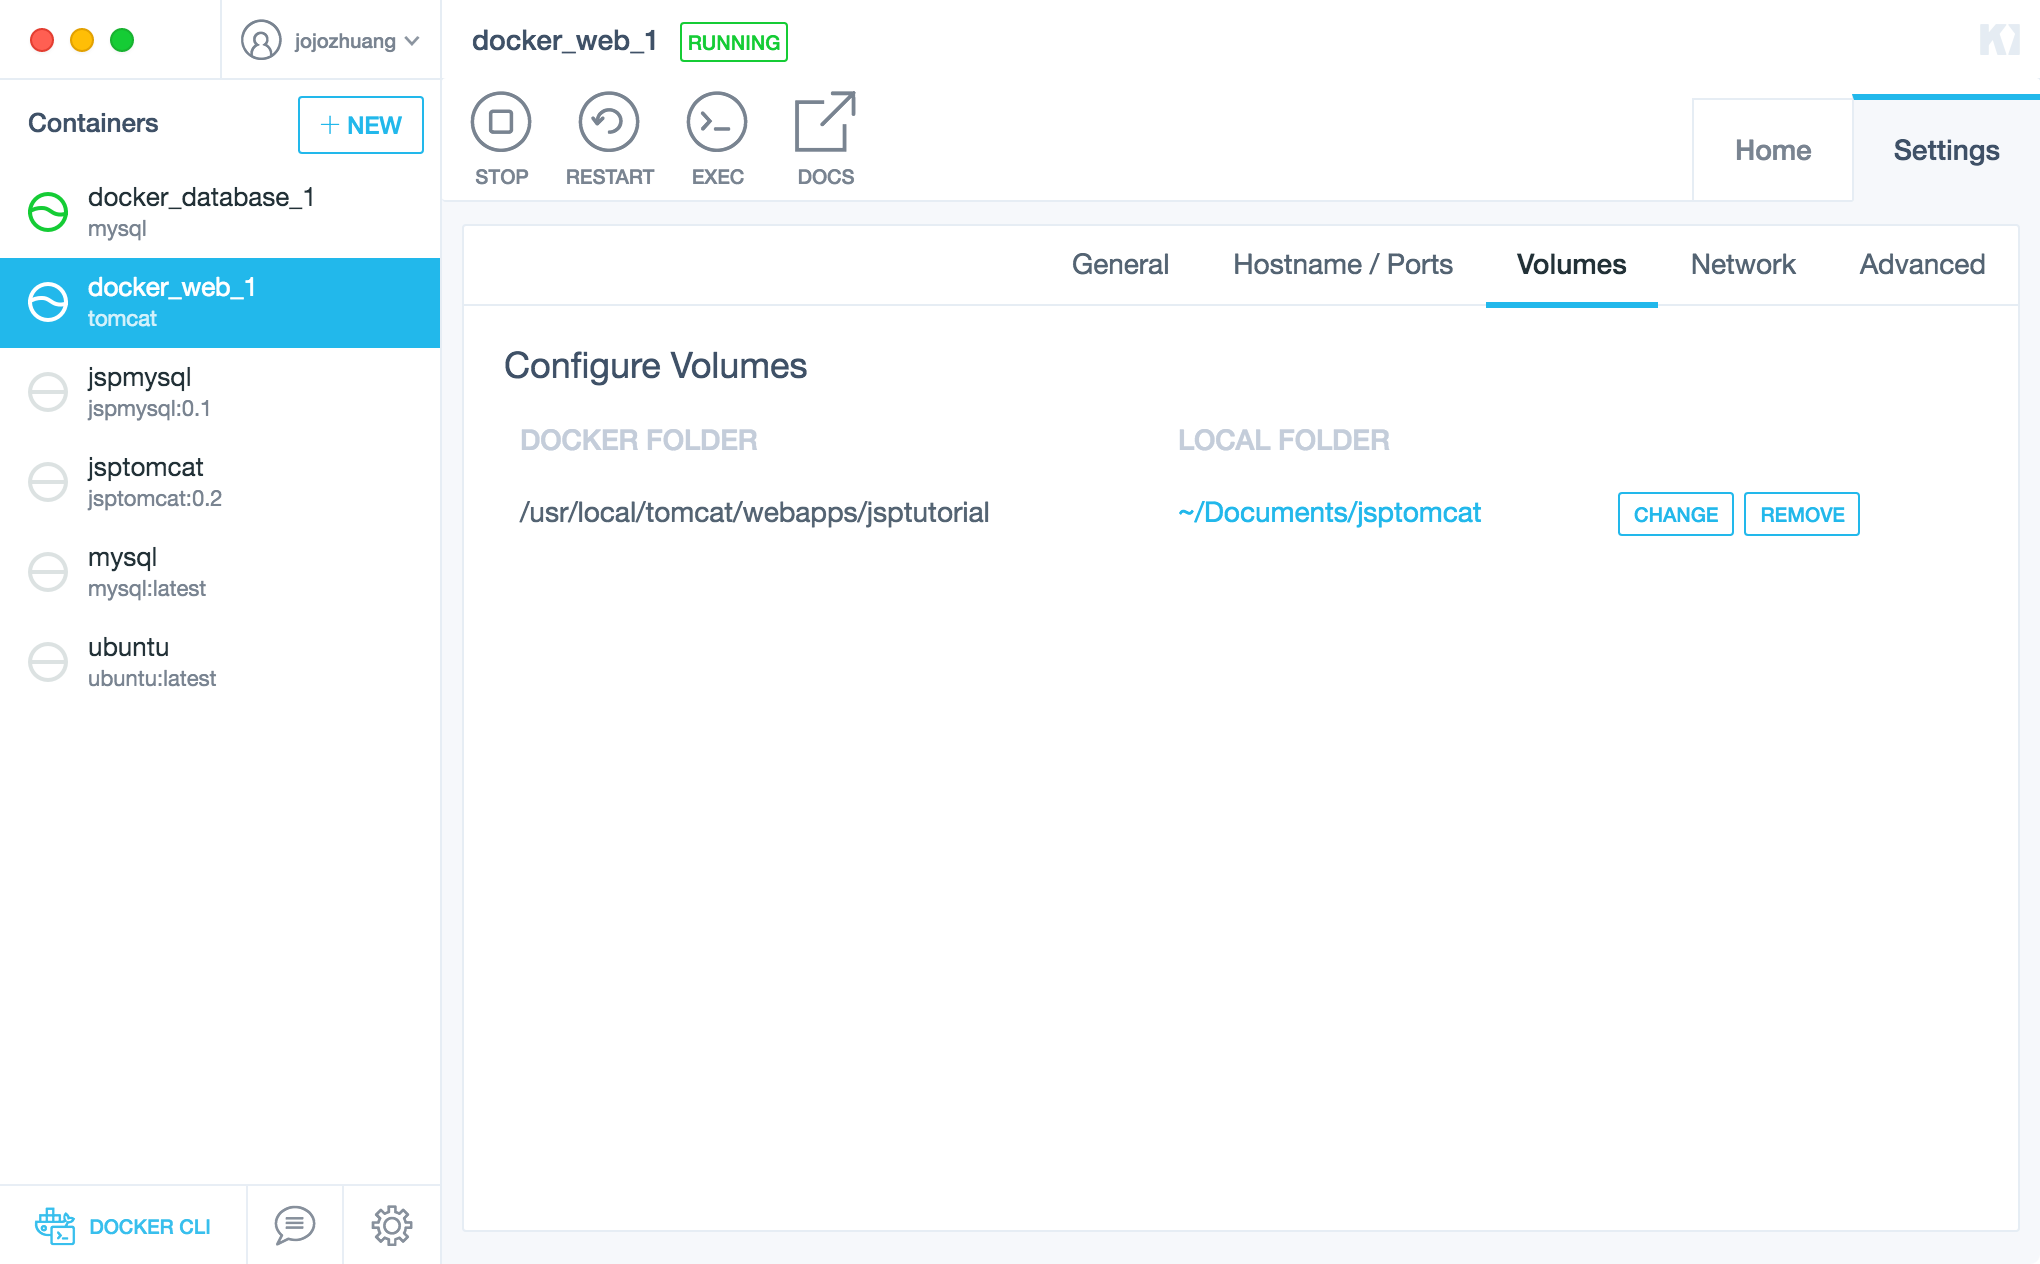
Volume is also configured correctly.
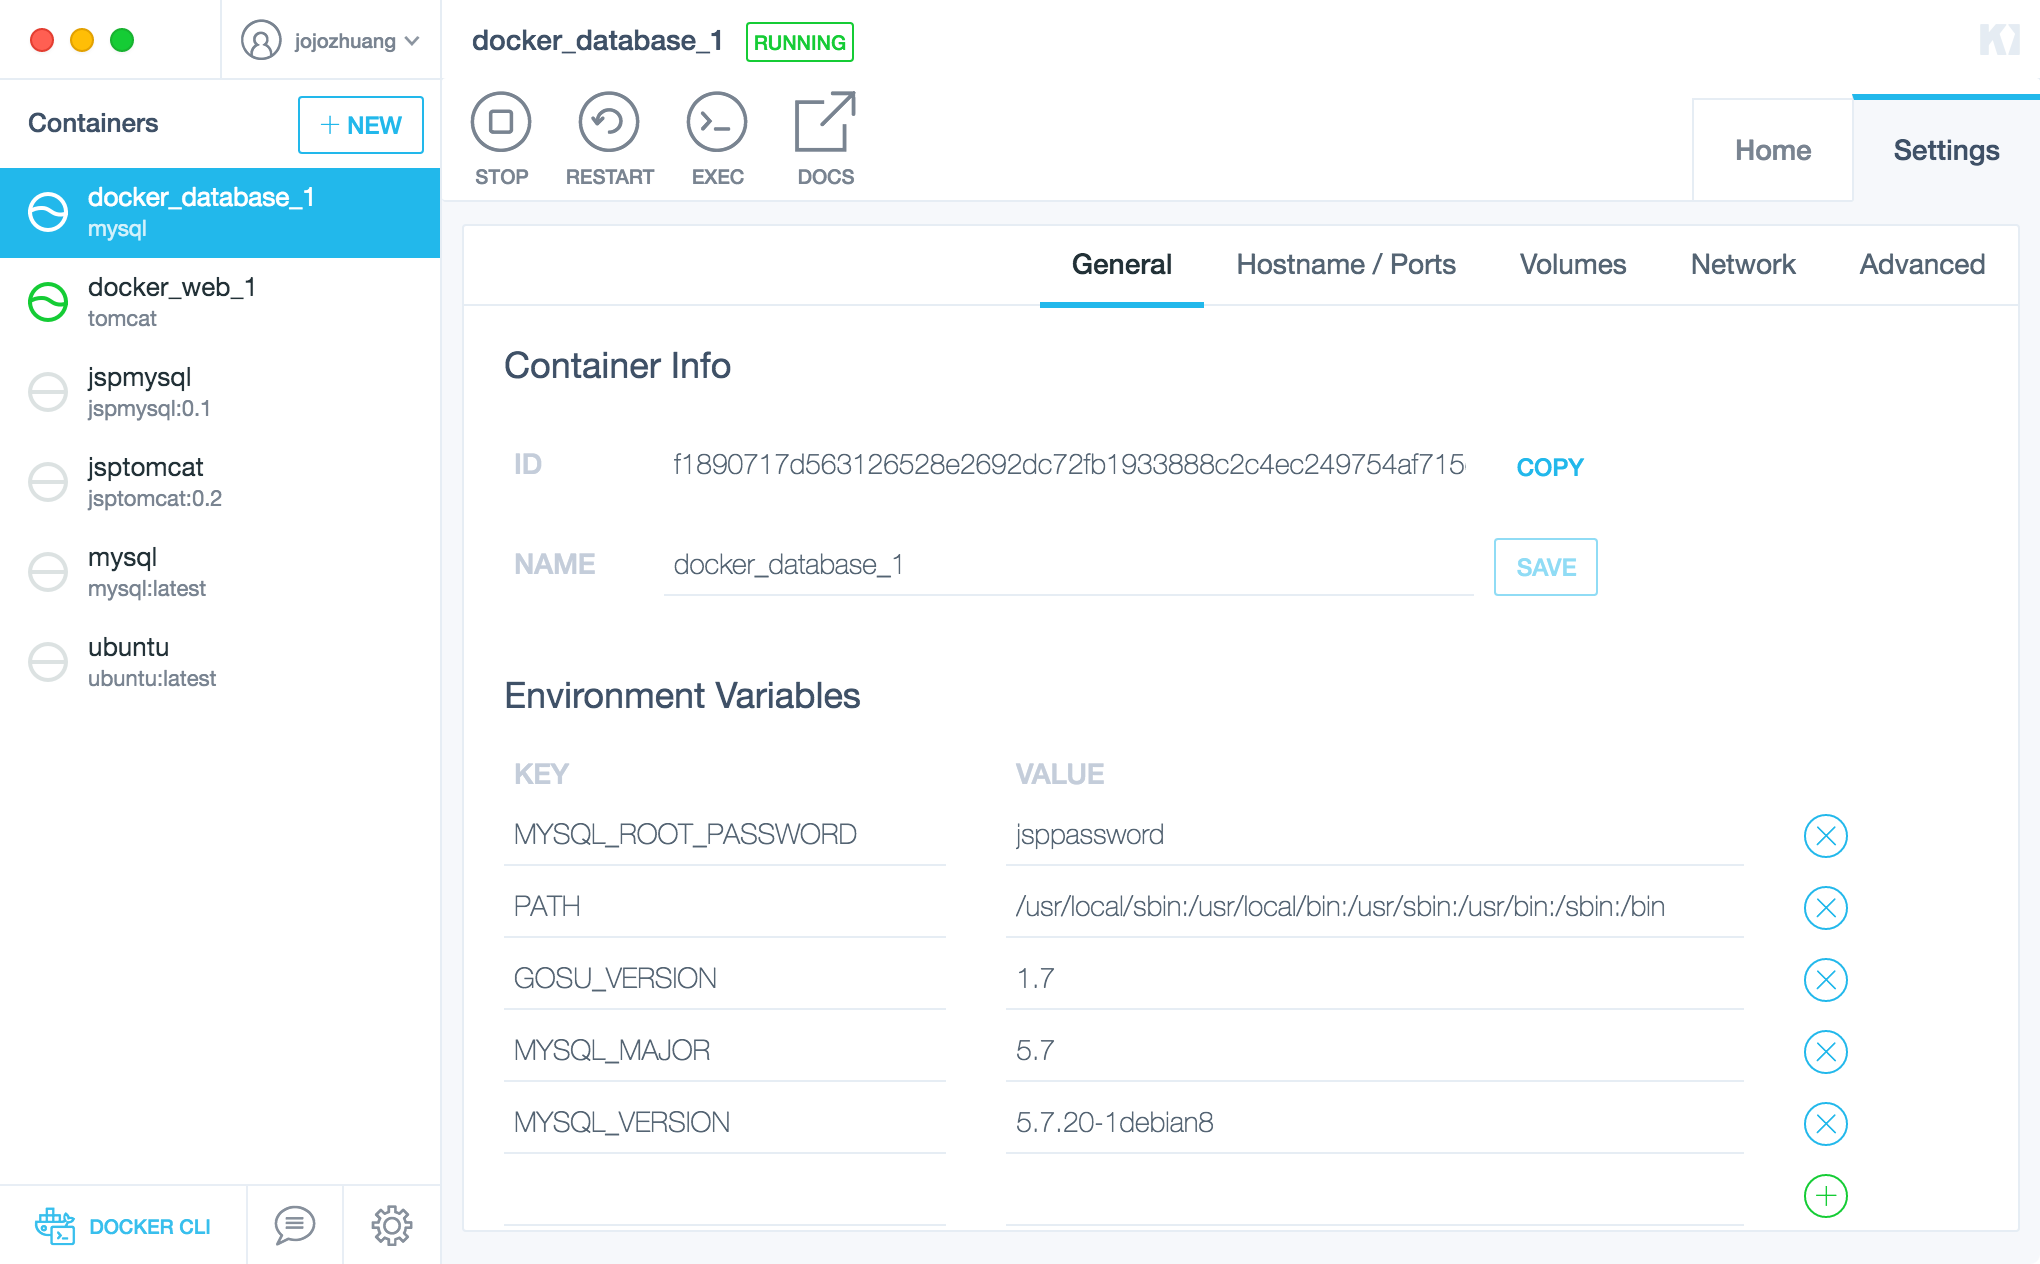
4.2 Checking Tomcat Container
Environment variable for mysql is set correctly.
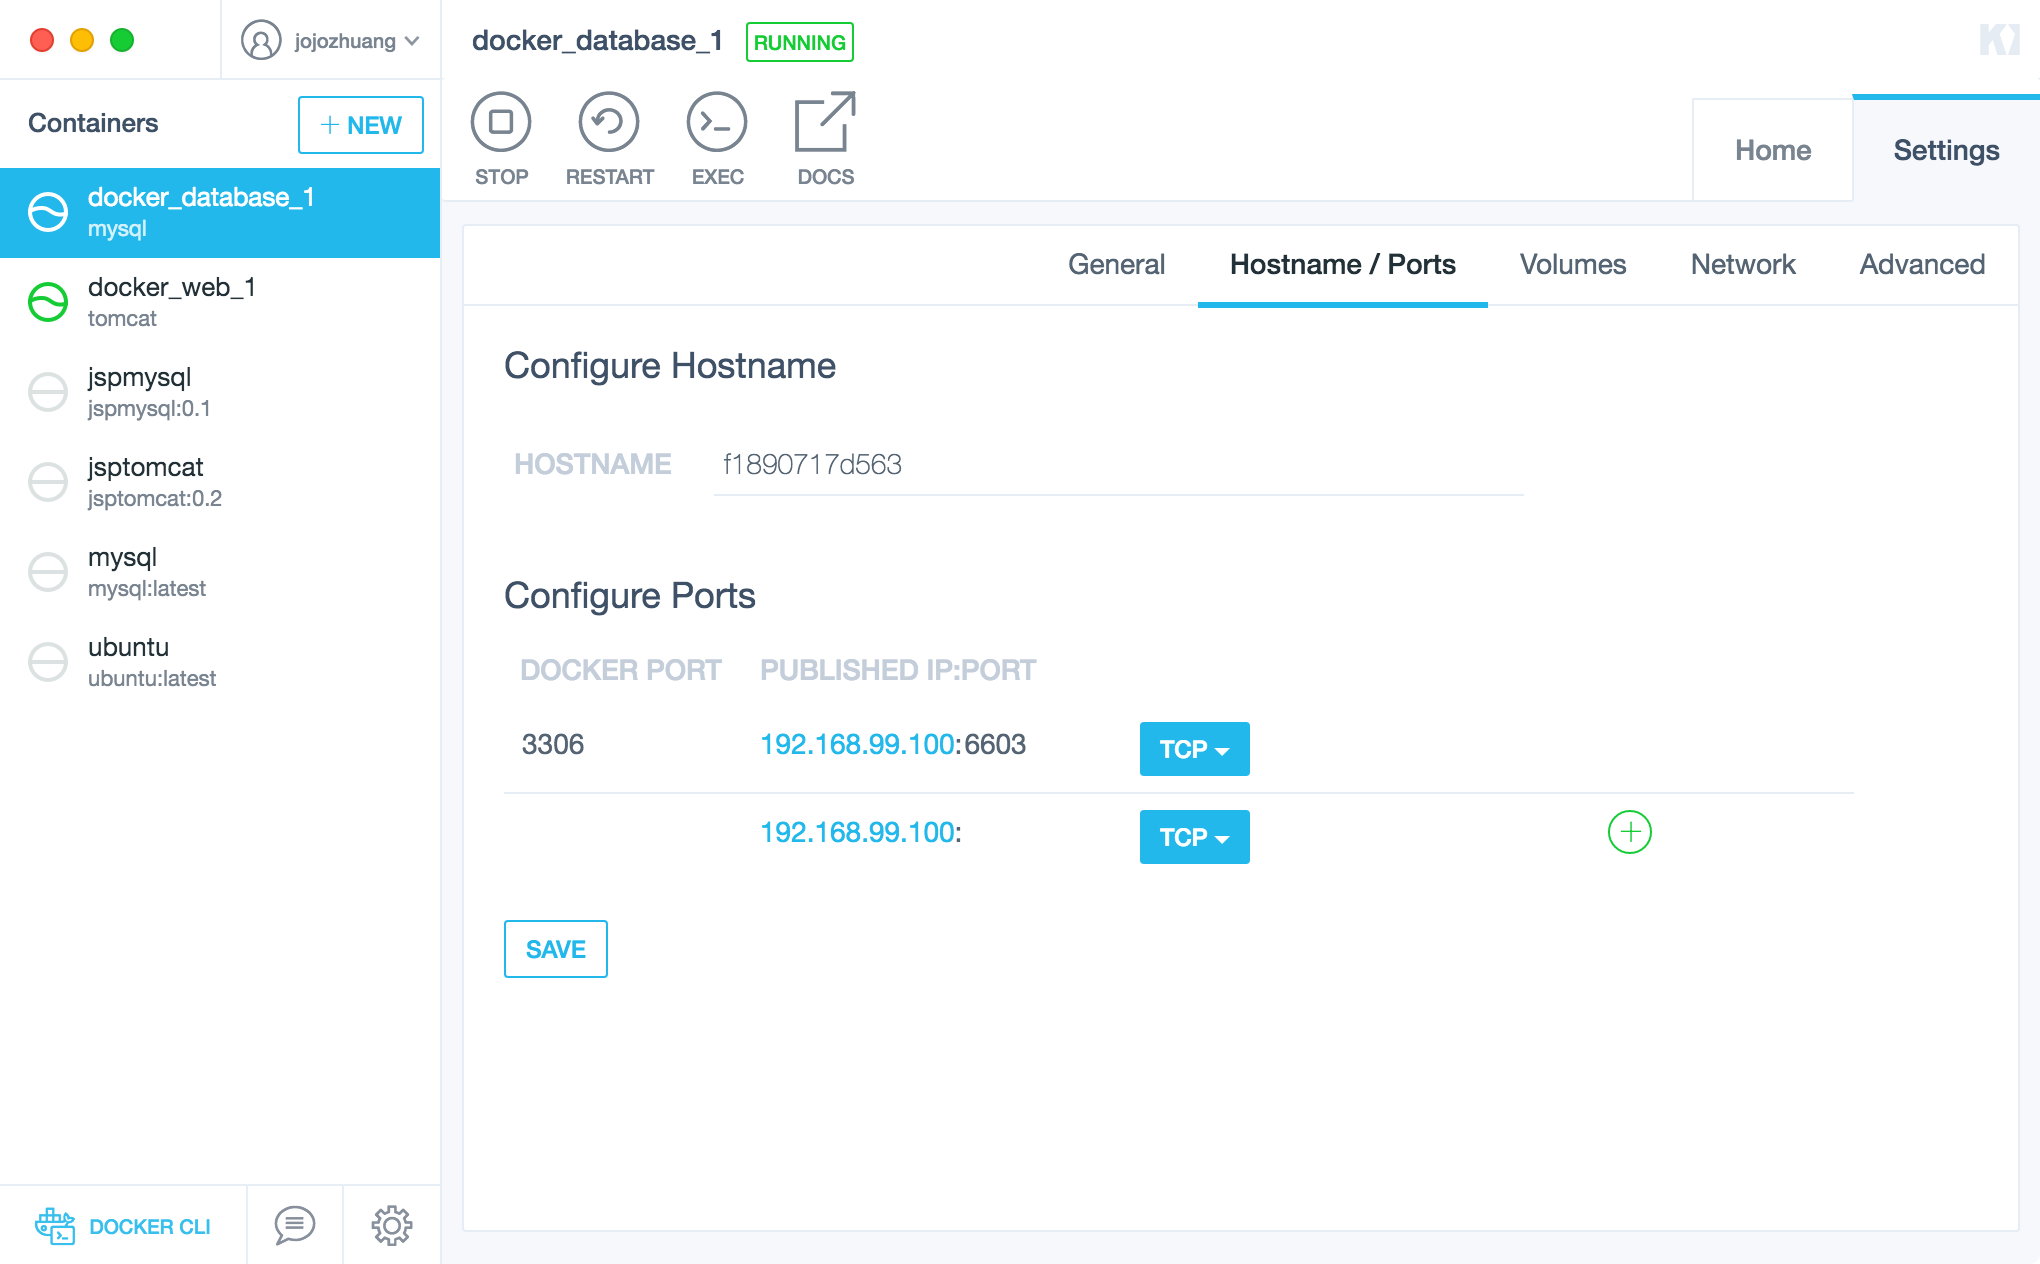
Ports are also configured.
Volume is also configured correctly.

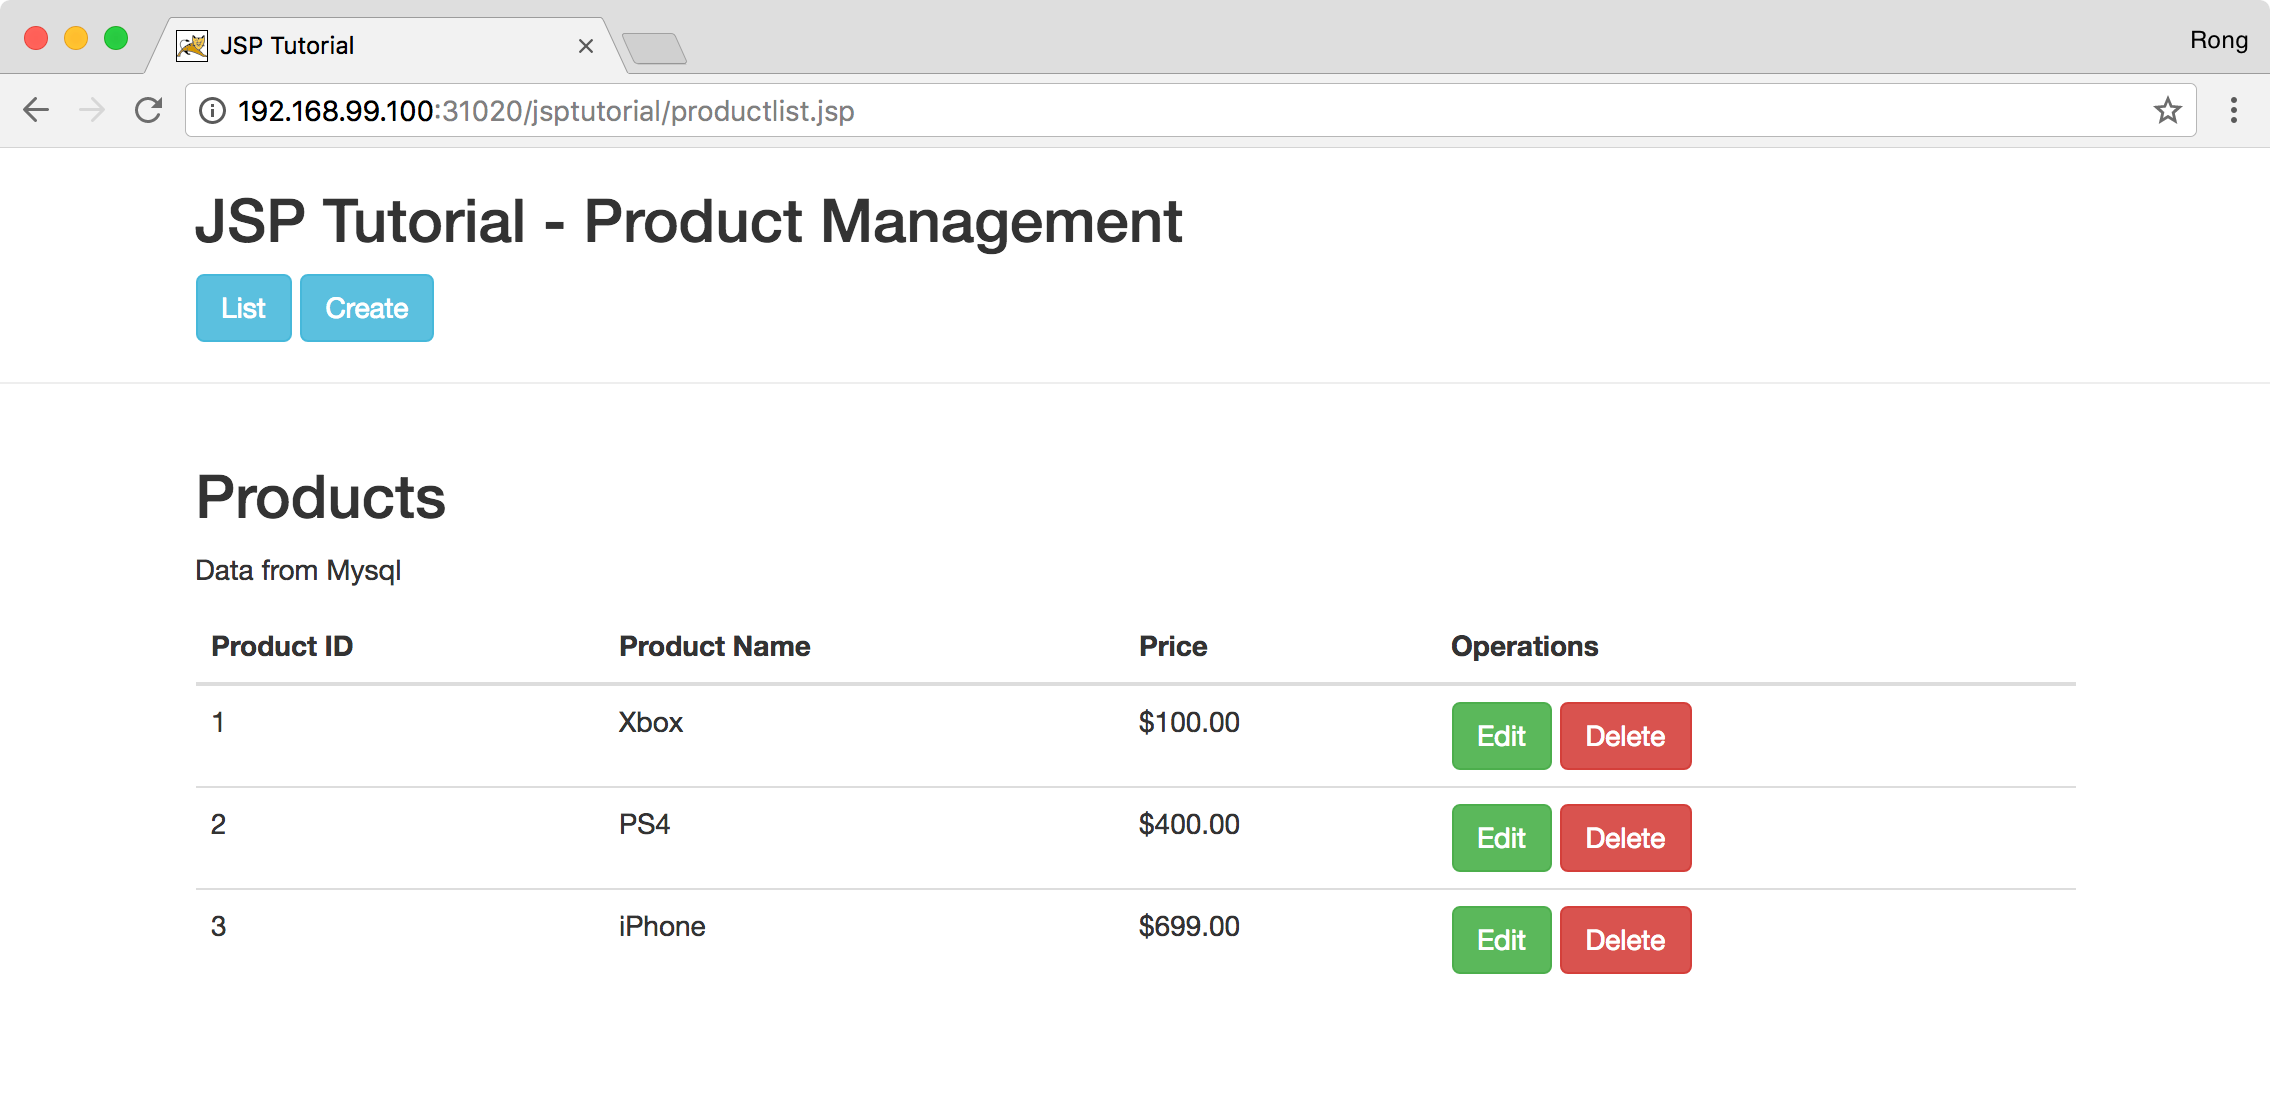
4.3 Accessing Game Store Website
Access http://192.168.99.100:31020/jsptutorial/productlist.jsp in web browser. JSP Tutorial application is launched successfully!