8373. Deploying Text Compare Angular App to NetlifyNetlify
Introduce how to deploy angular application to Netlify.
1. Netlify
Netlify is an online service which builds, deploys, and manages modern web projects. Netlify basically initiates its own kind of repository that pushes both to a Github repository and its own services. It offers hosting for front-end projects with many options.
2. Deploying Application From Github Repository
In this tutorial, I will deploy my Game Store Angular app to Netlify.
2.1 New Netlify Account
Go to https://app.netlify.com/signup to create a Netlify account with your GitHub account.
2.2 New Site from GitHub
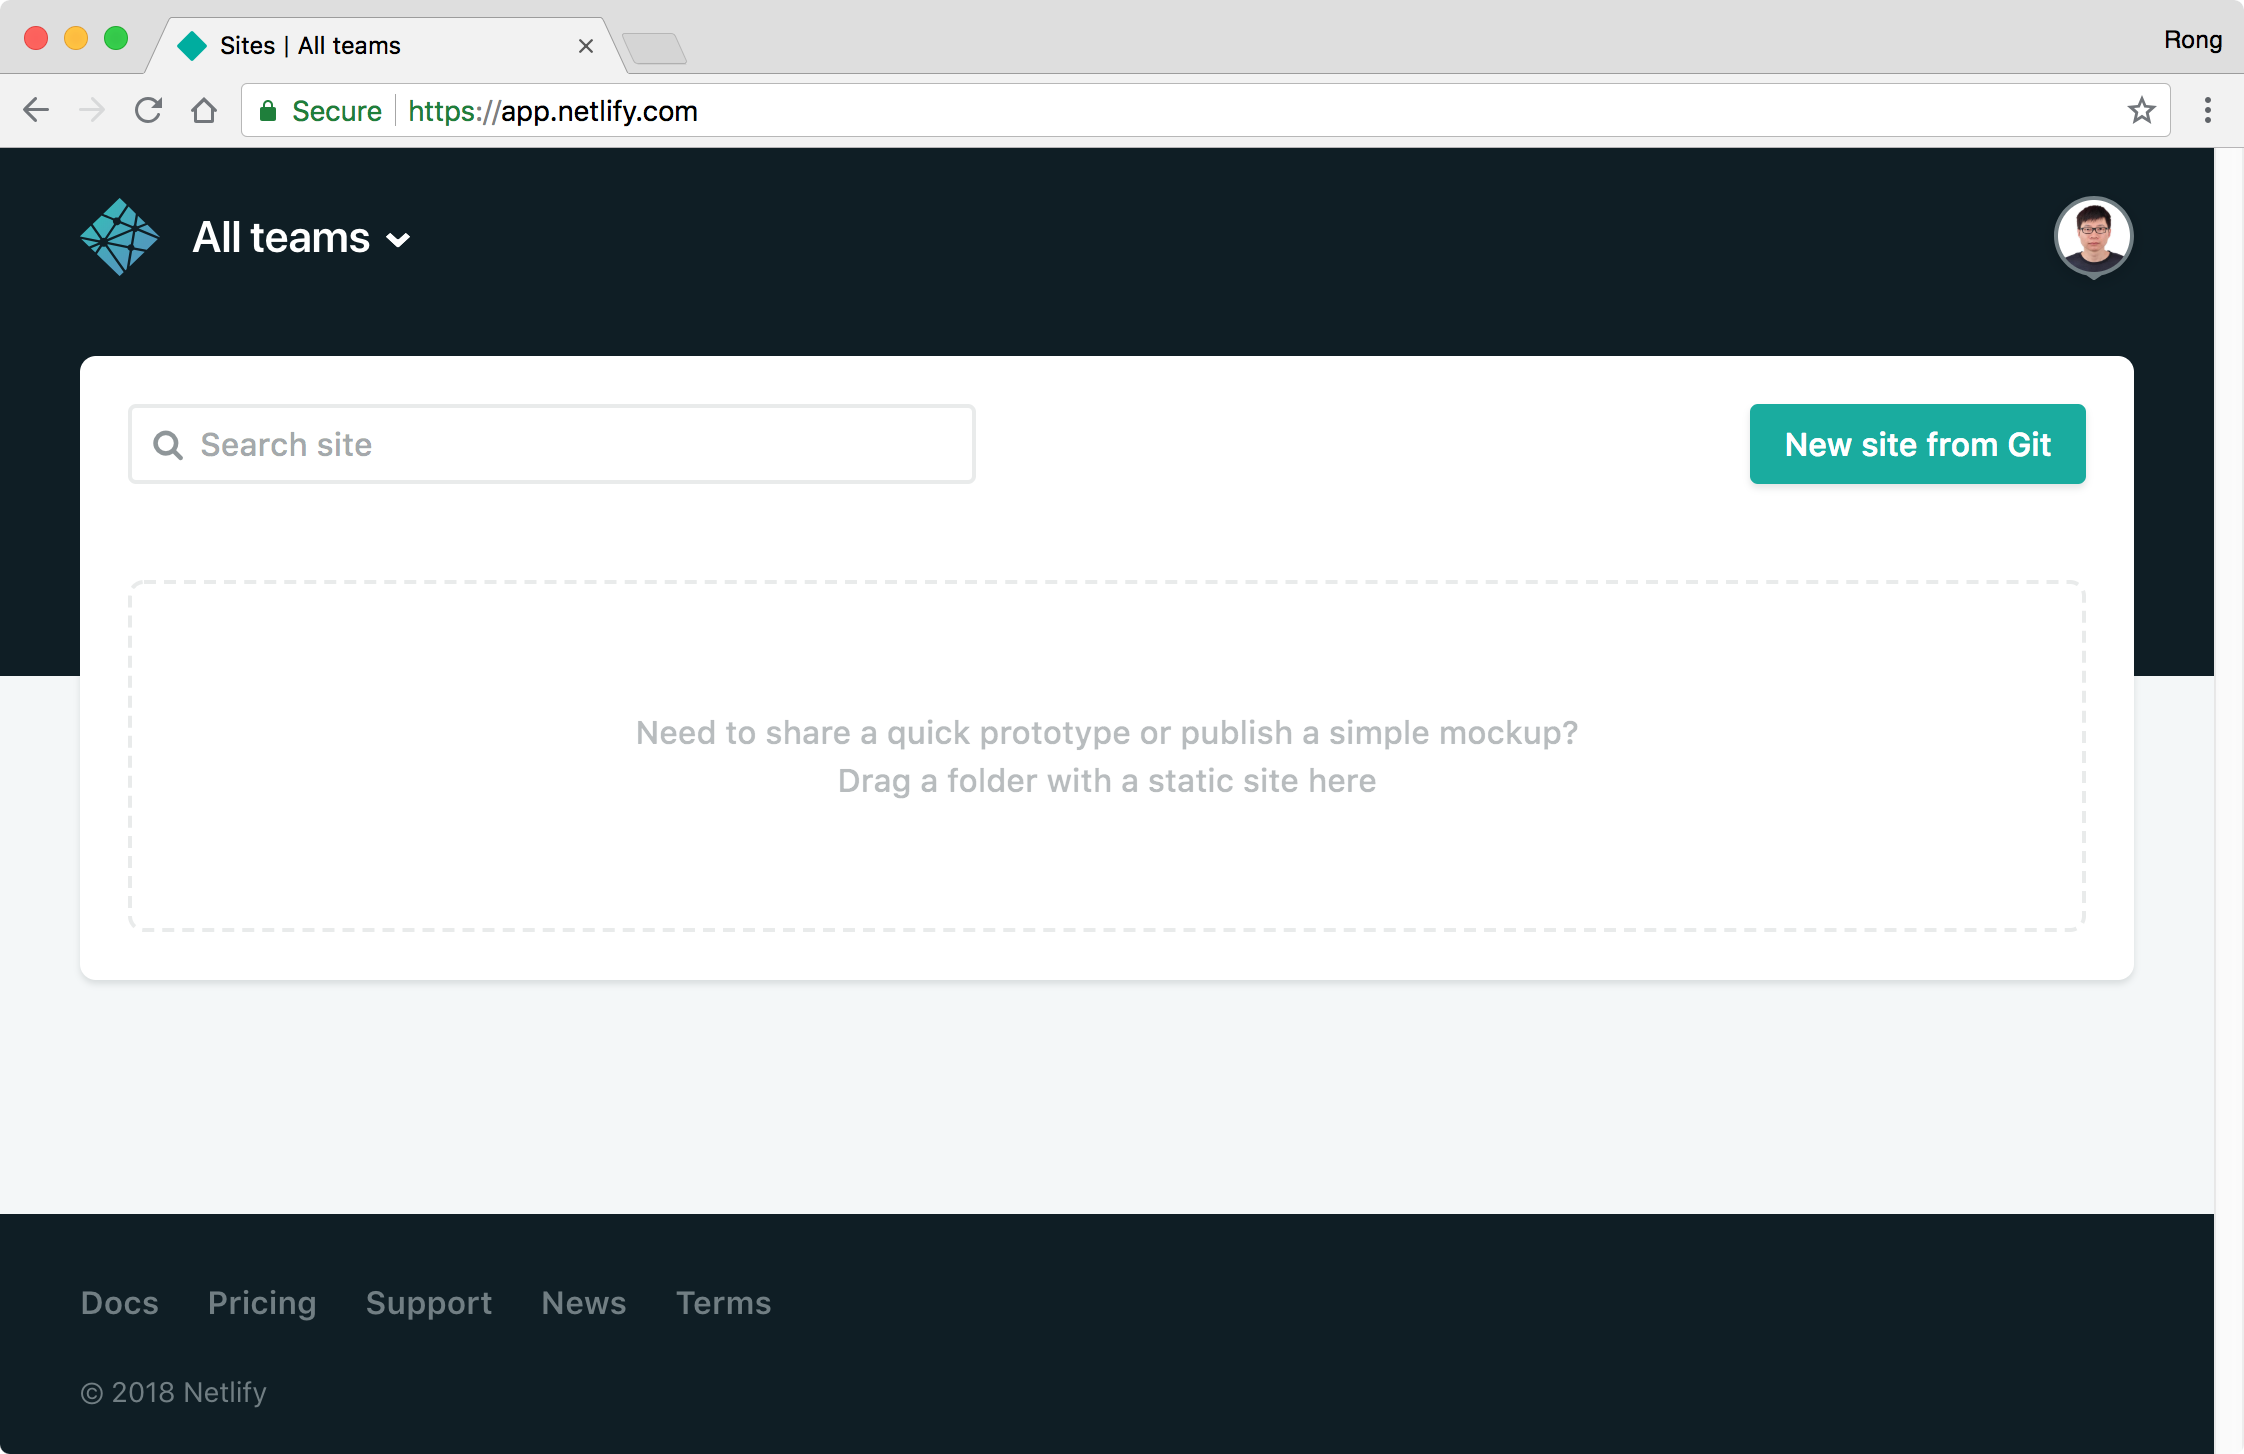
After login, you are in the app home page, click ‘New site from Git’.
 Choose ‘Github’, next.
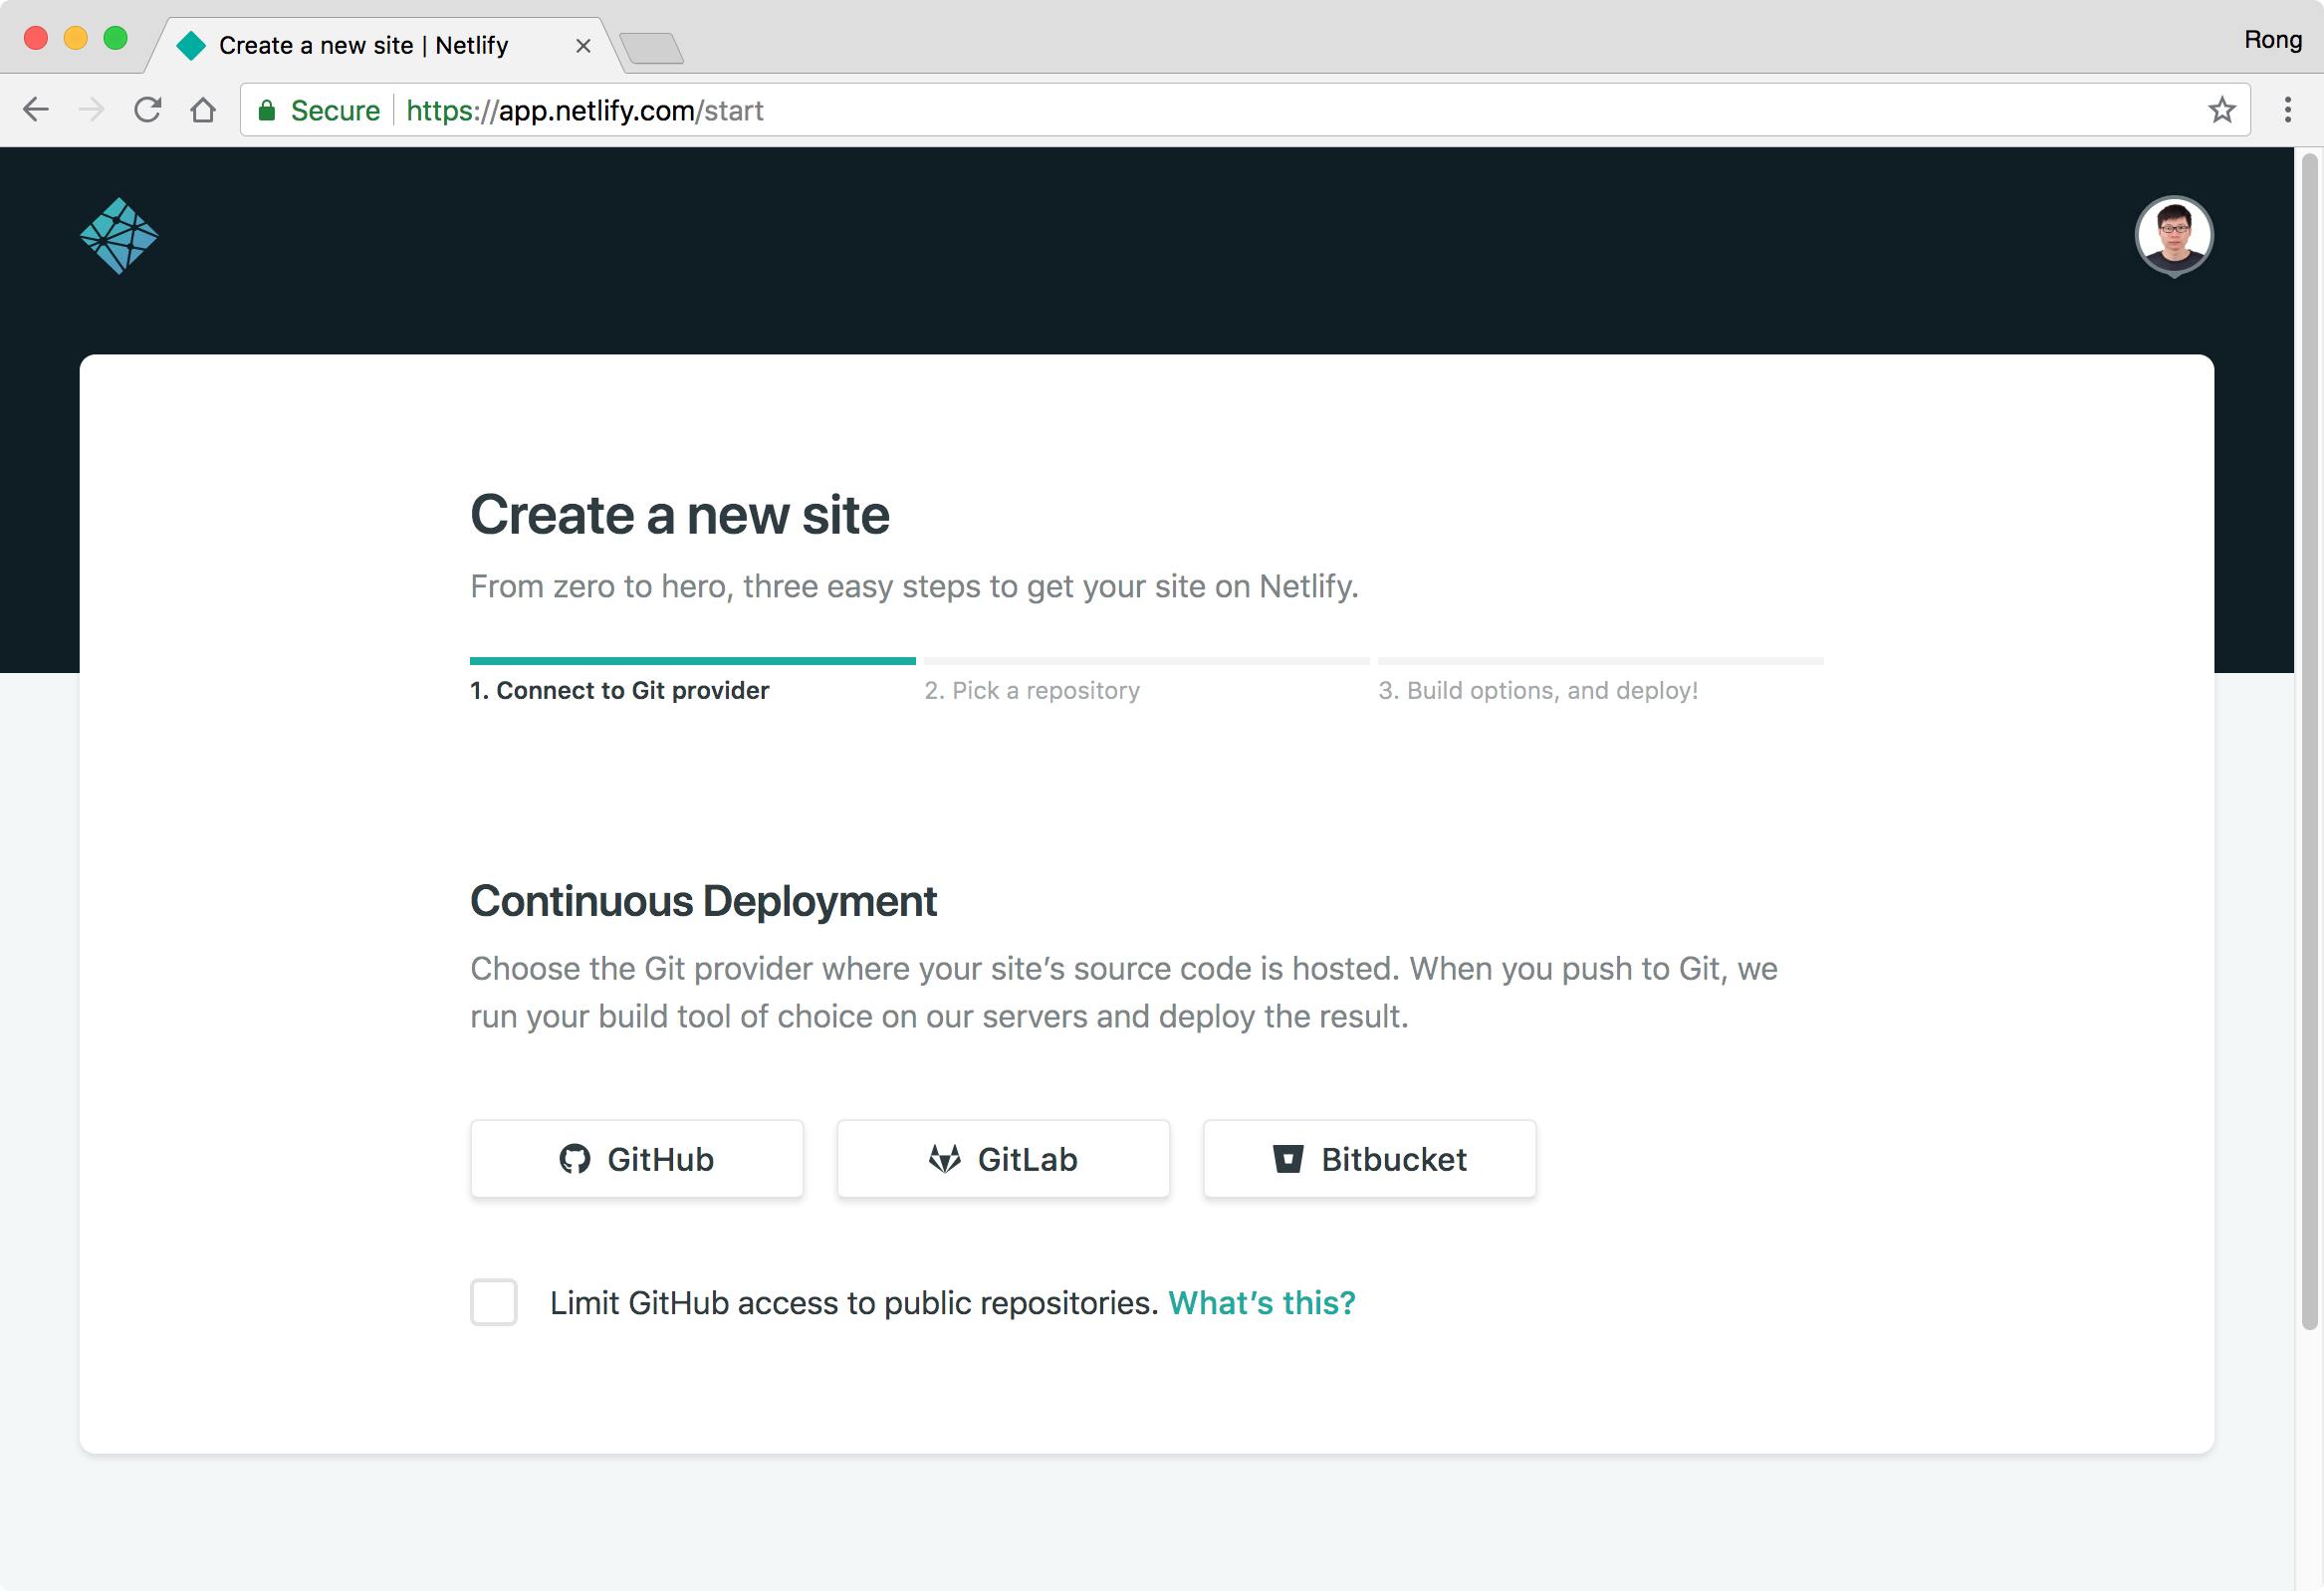 Authorize Netlify to access your GitHub account, next.
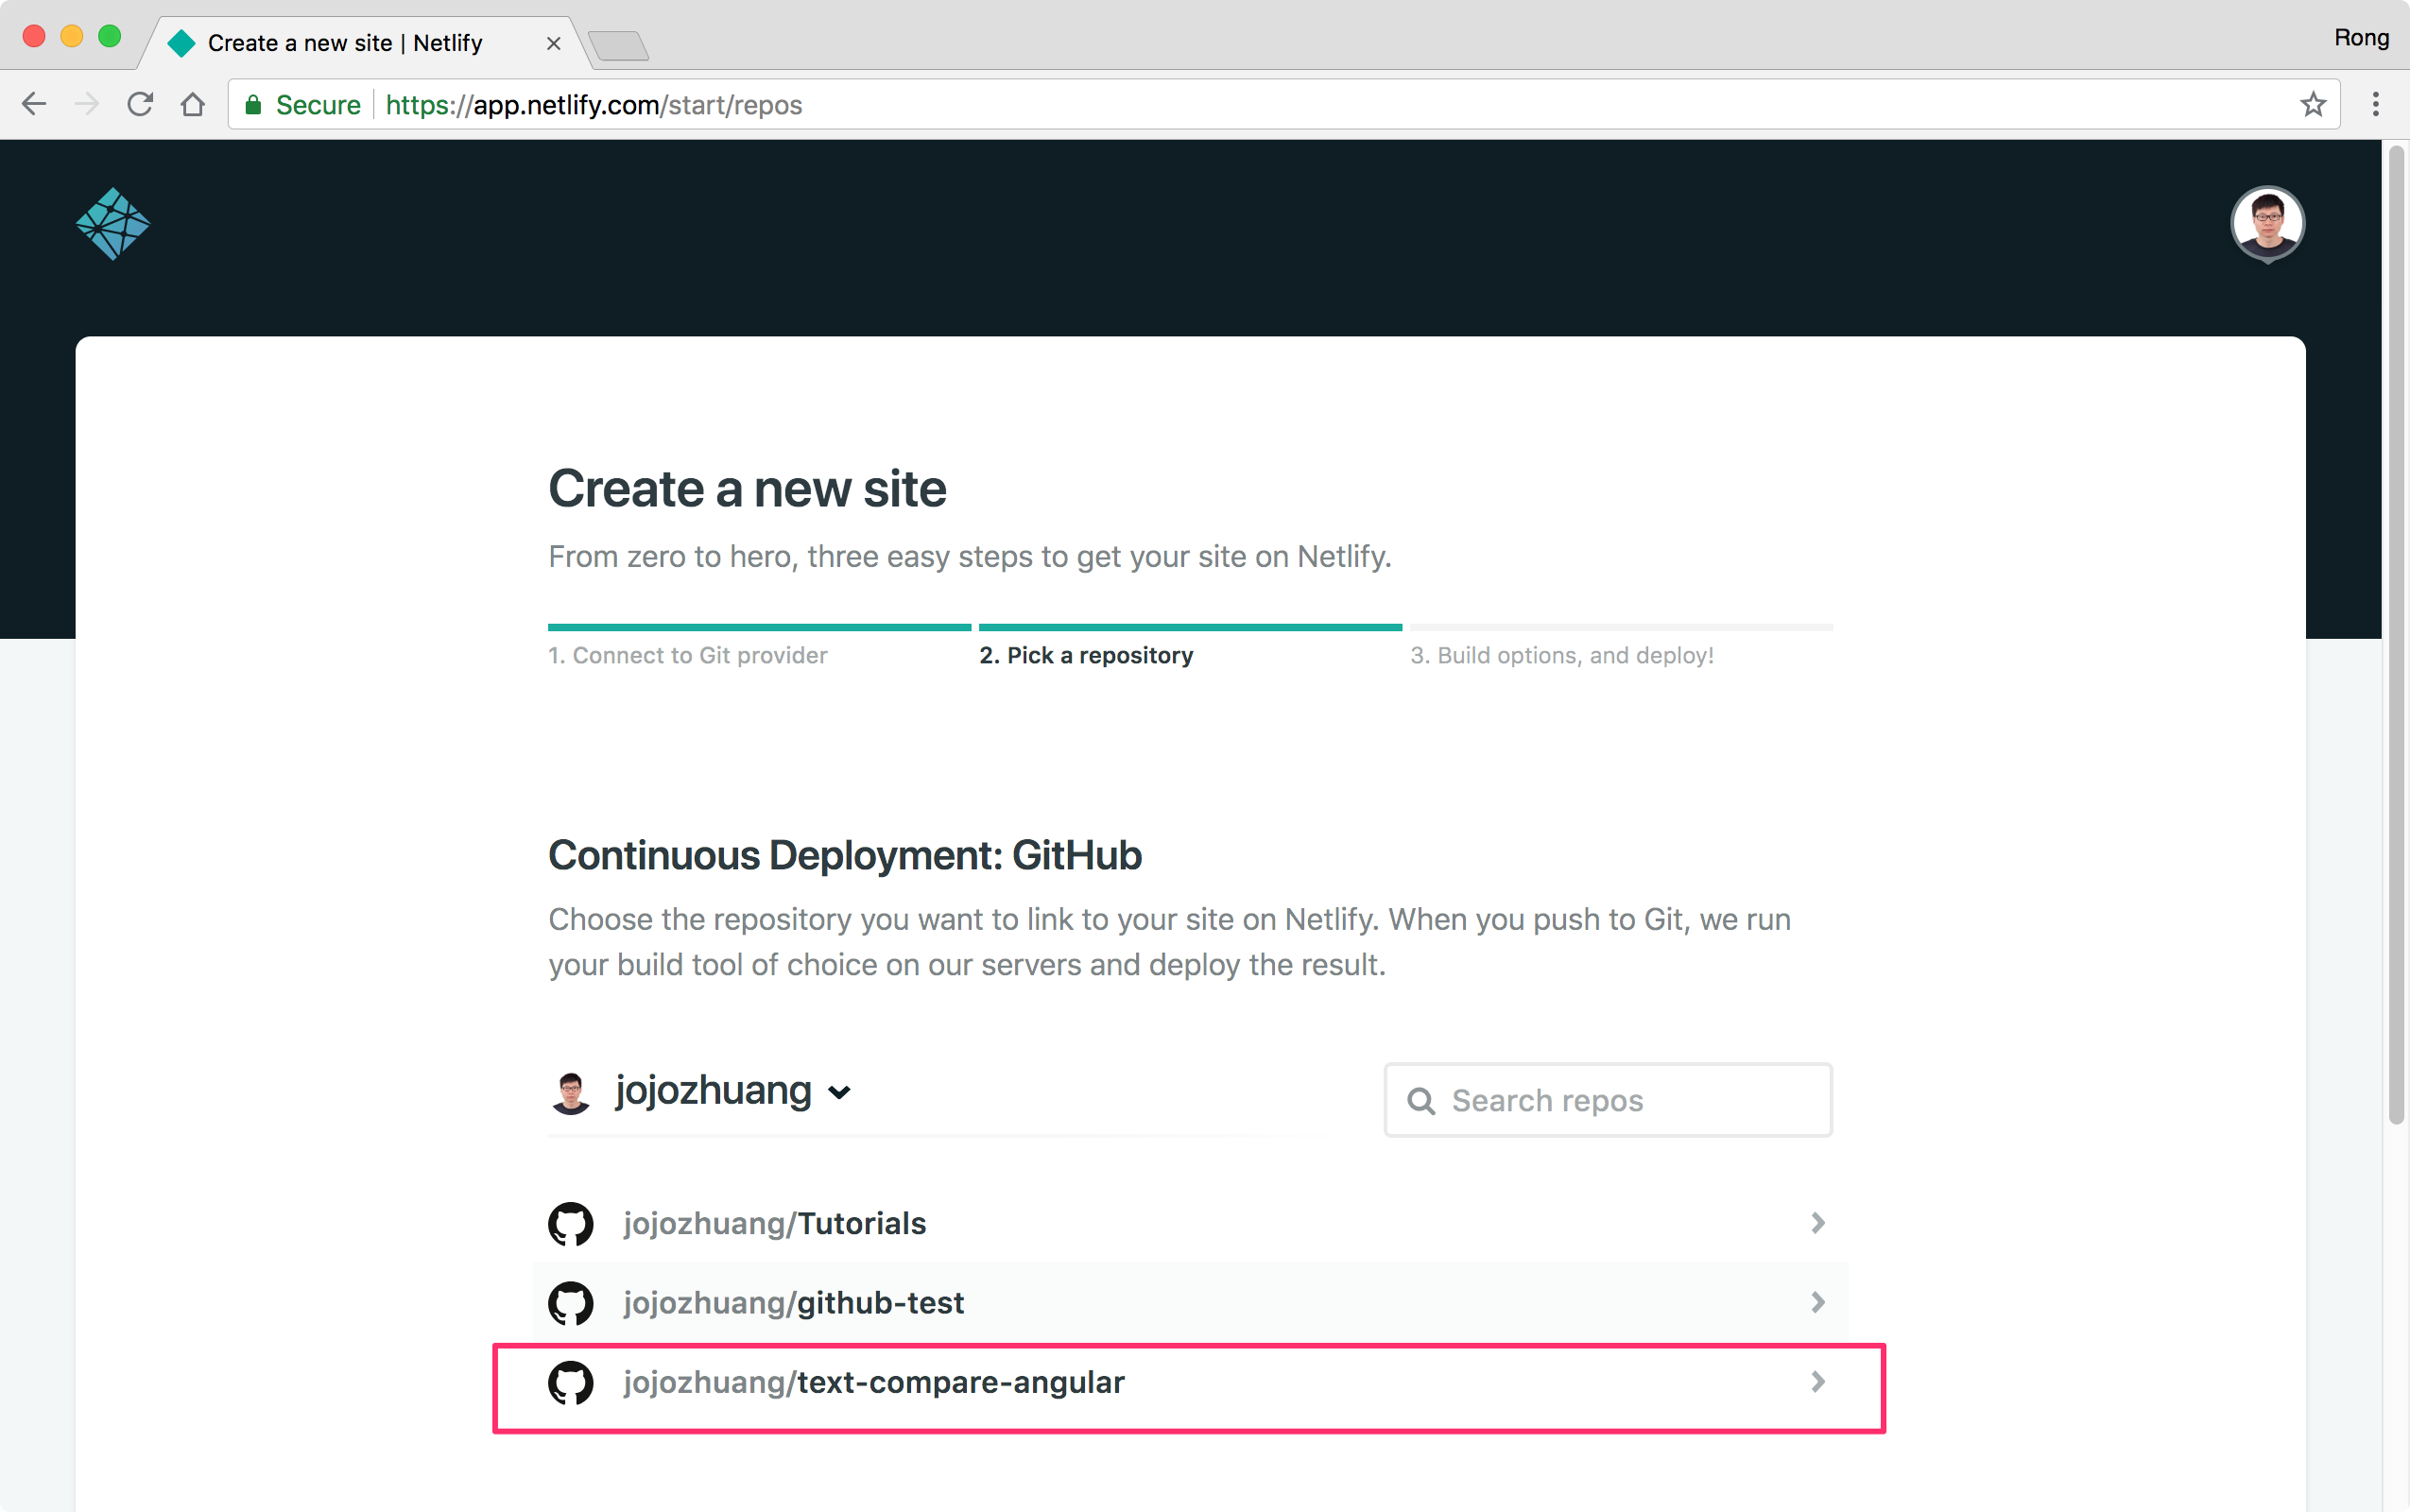
 Choose the repository ‘text-compare-angular’, next.
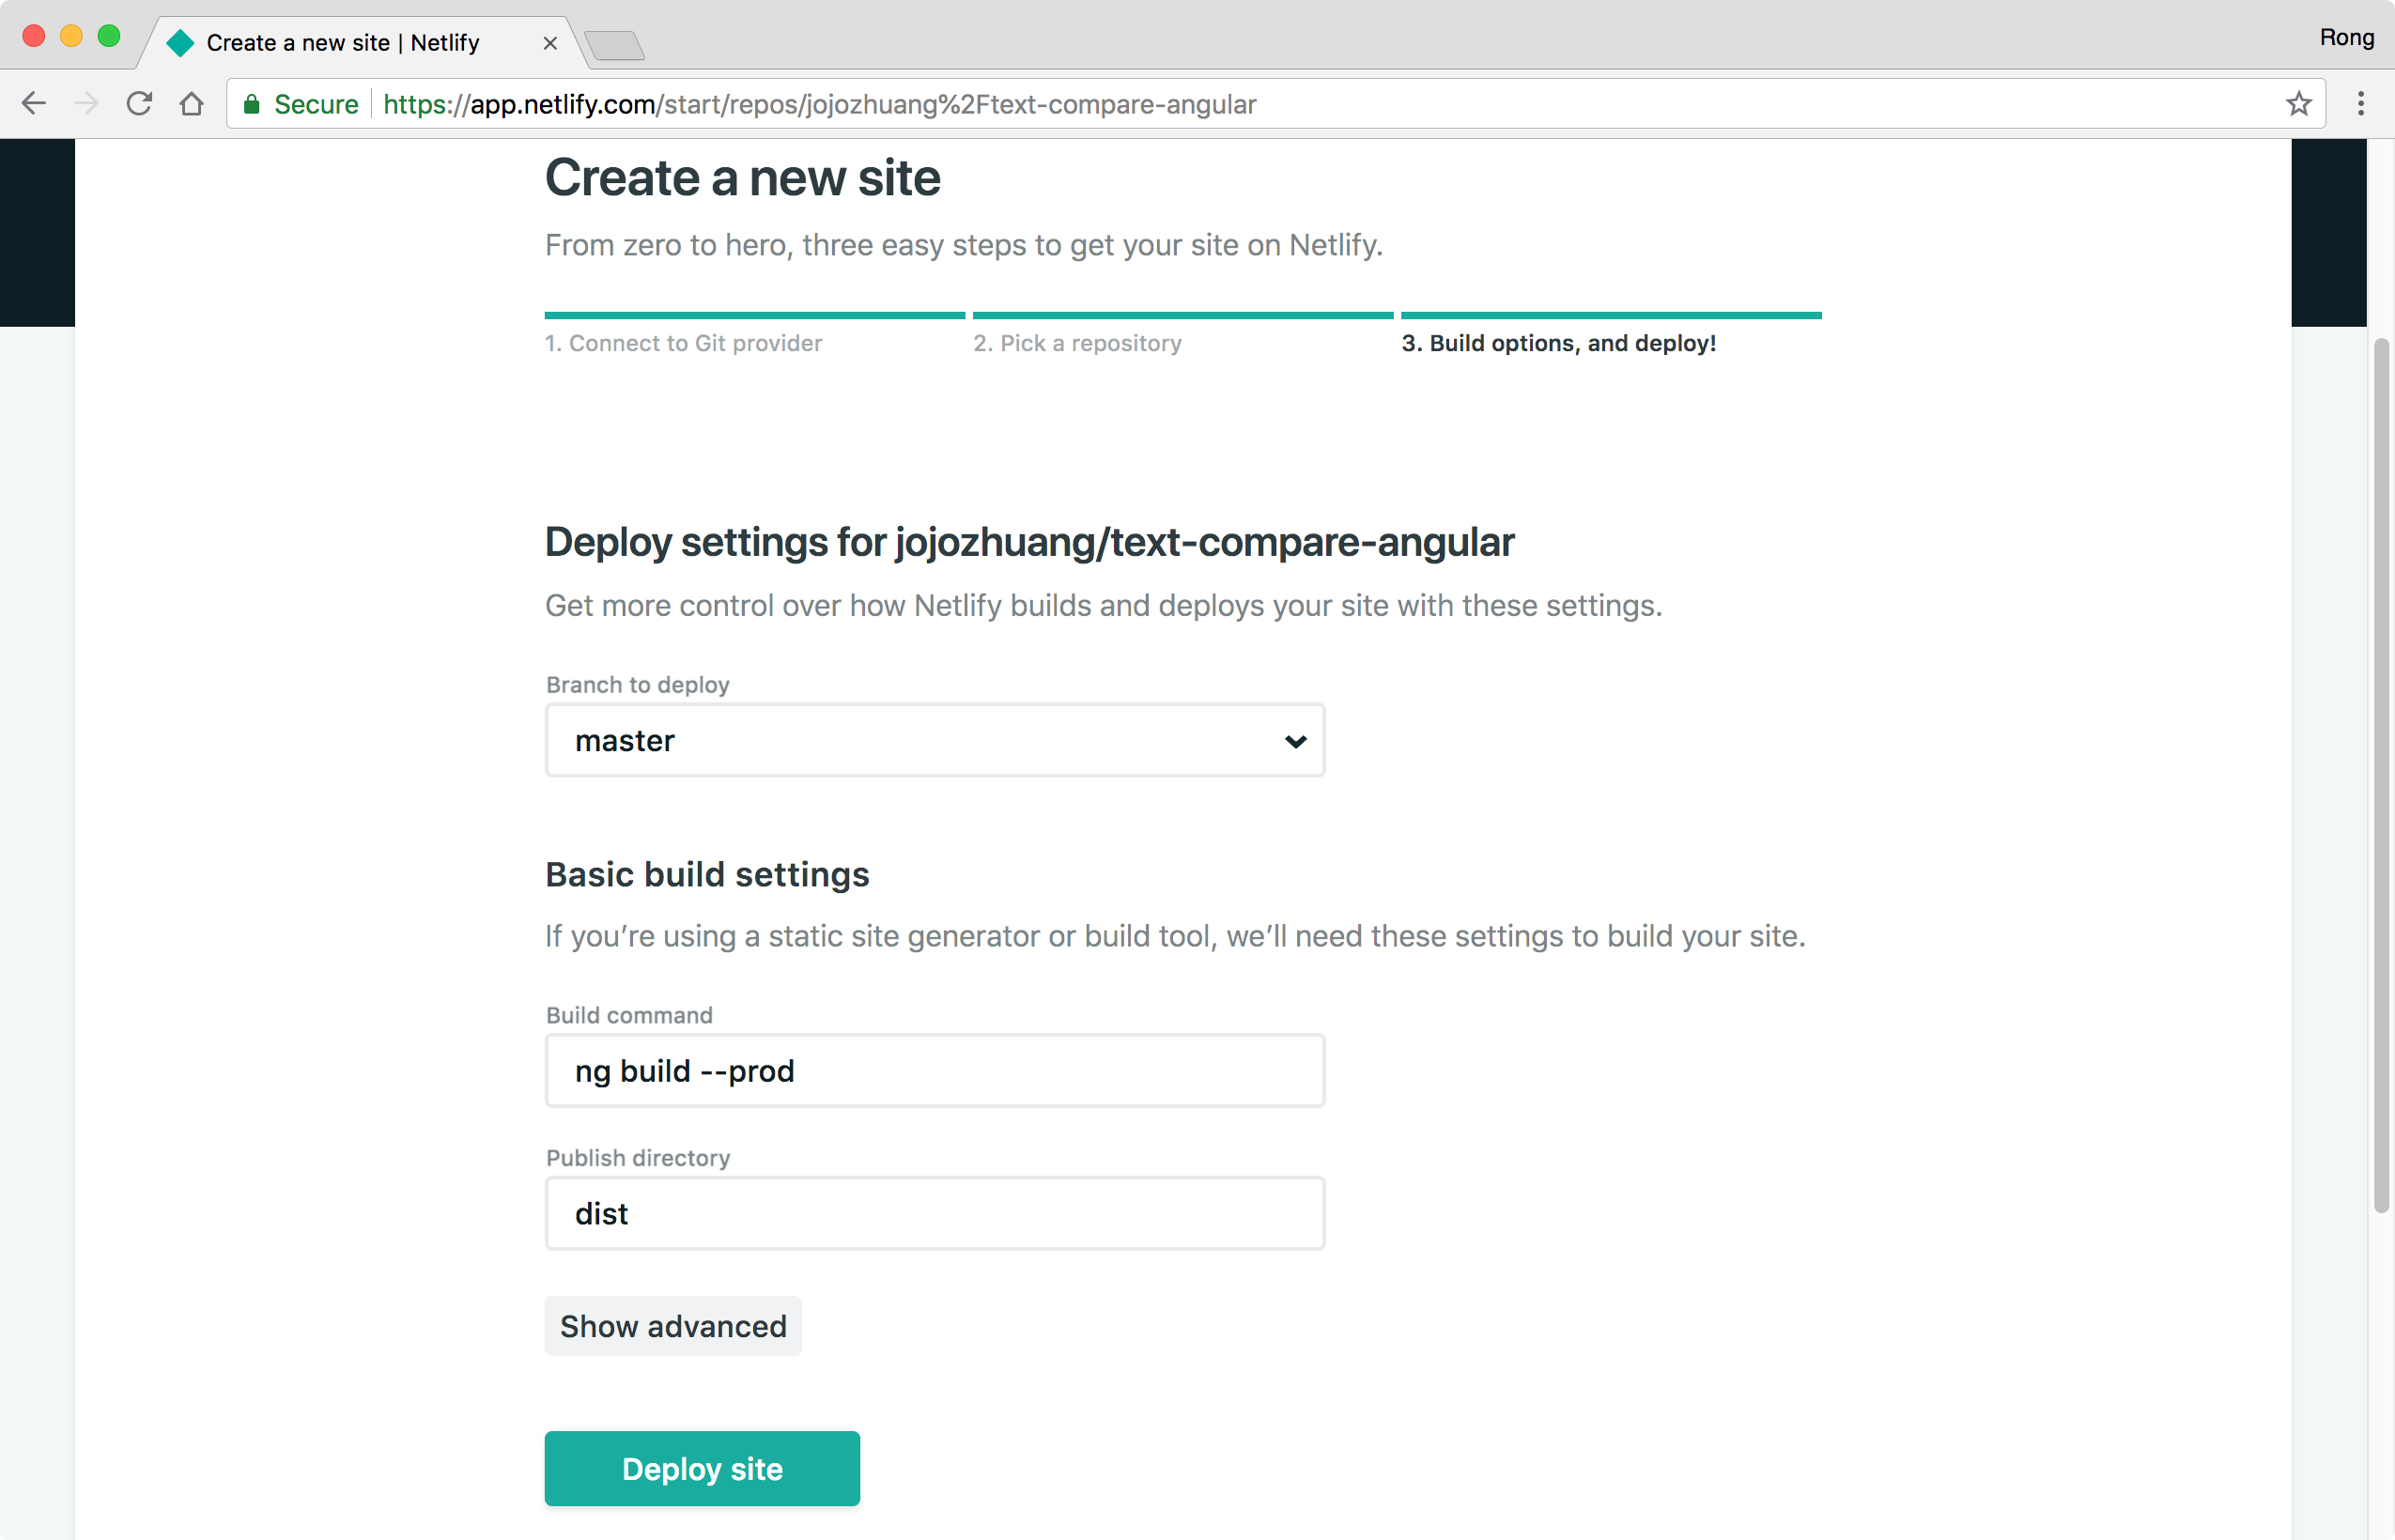
 Choose
 master for the Branch to deploy, set ng build --prod to the Build command, and set dist to the Publish directory, click the ‘Deploy site’ button.
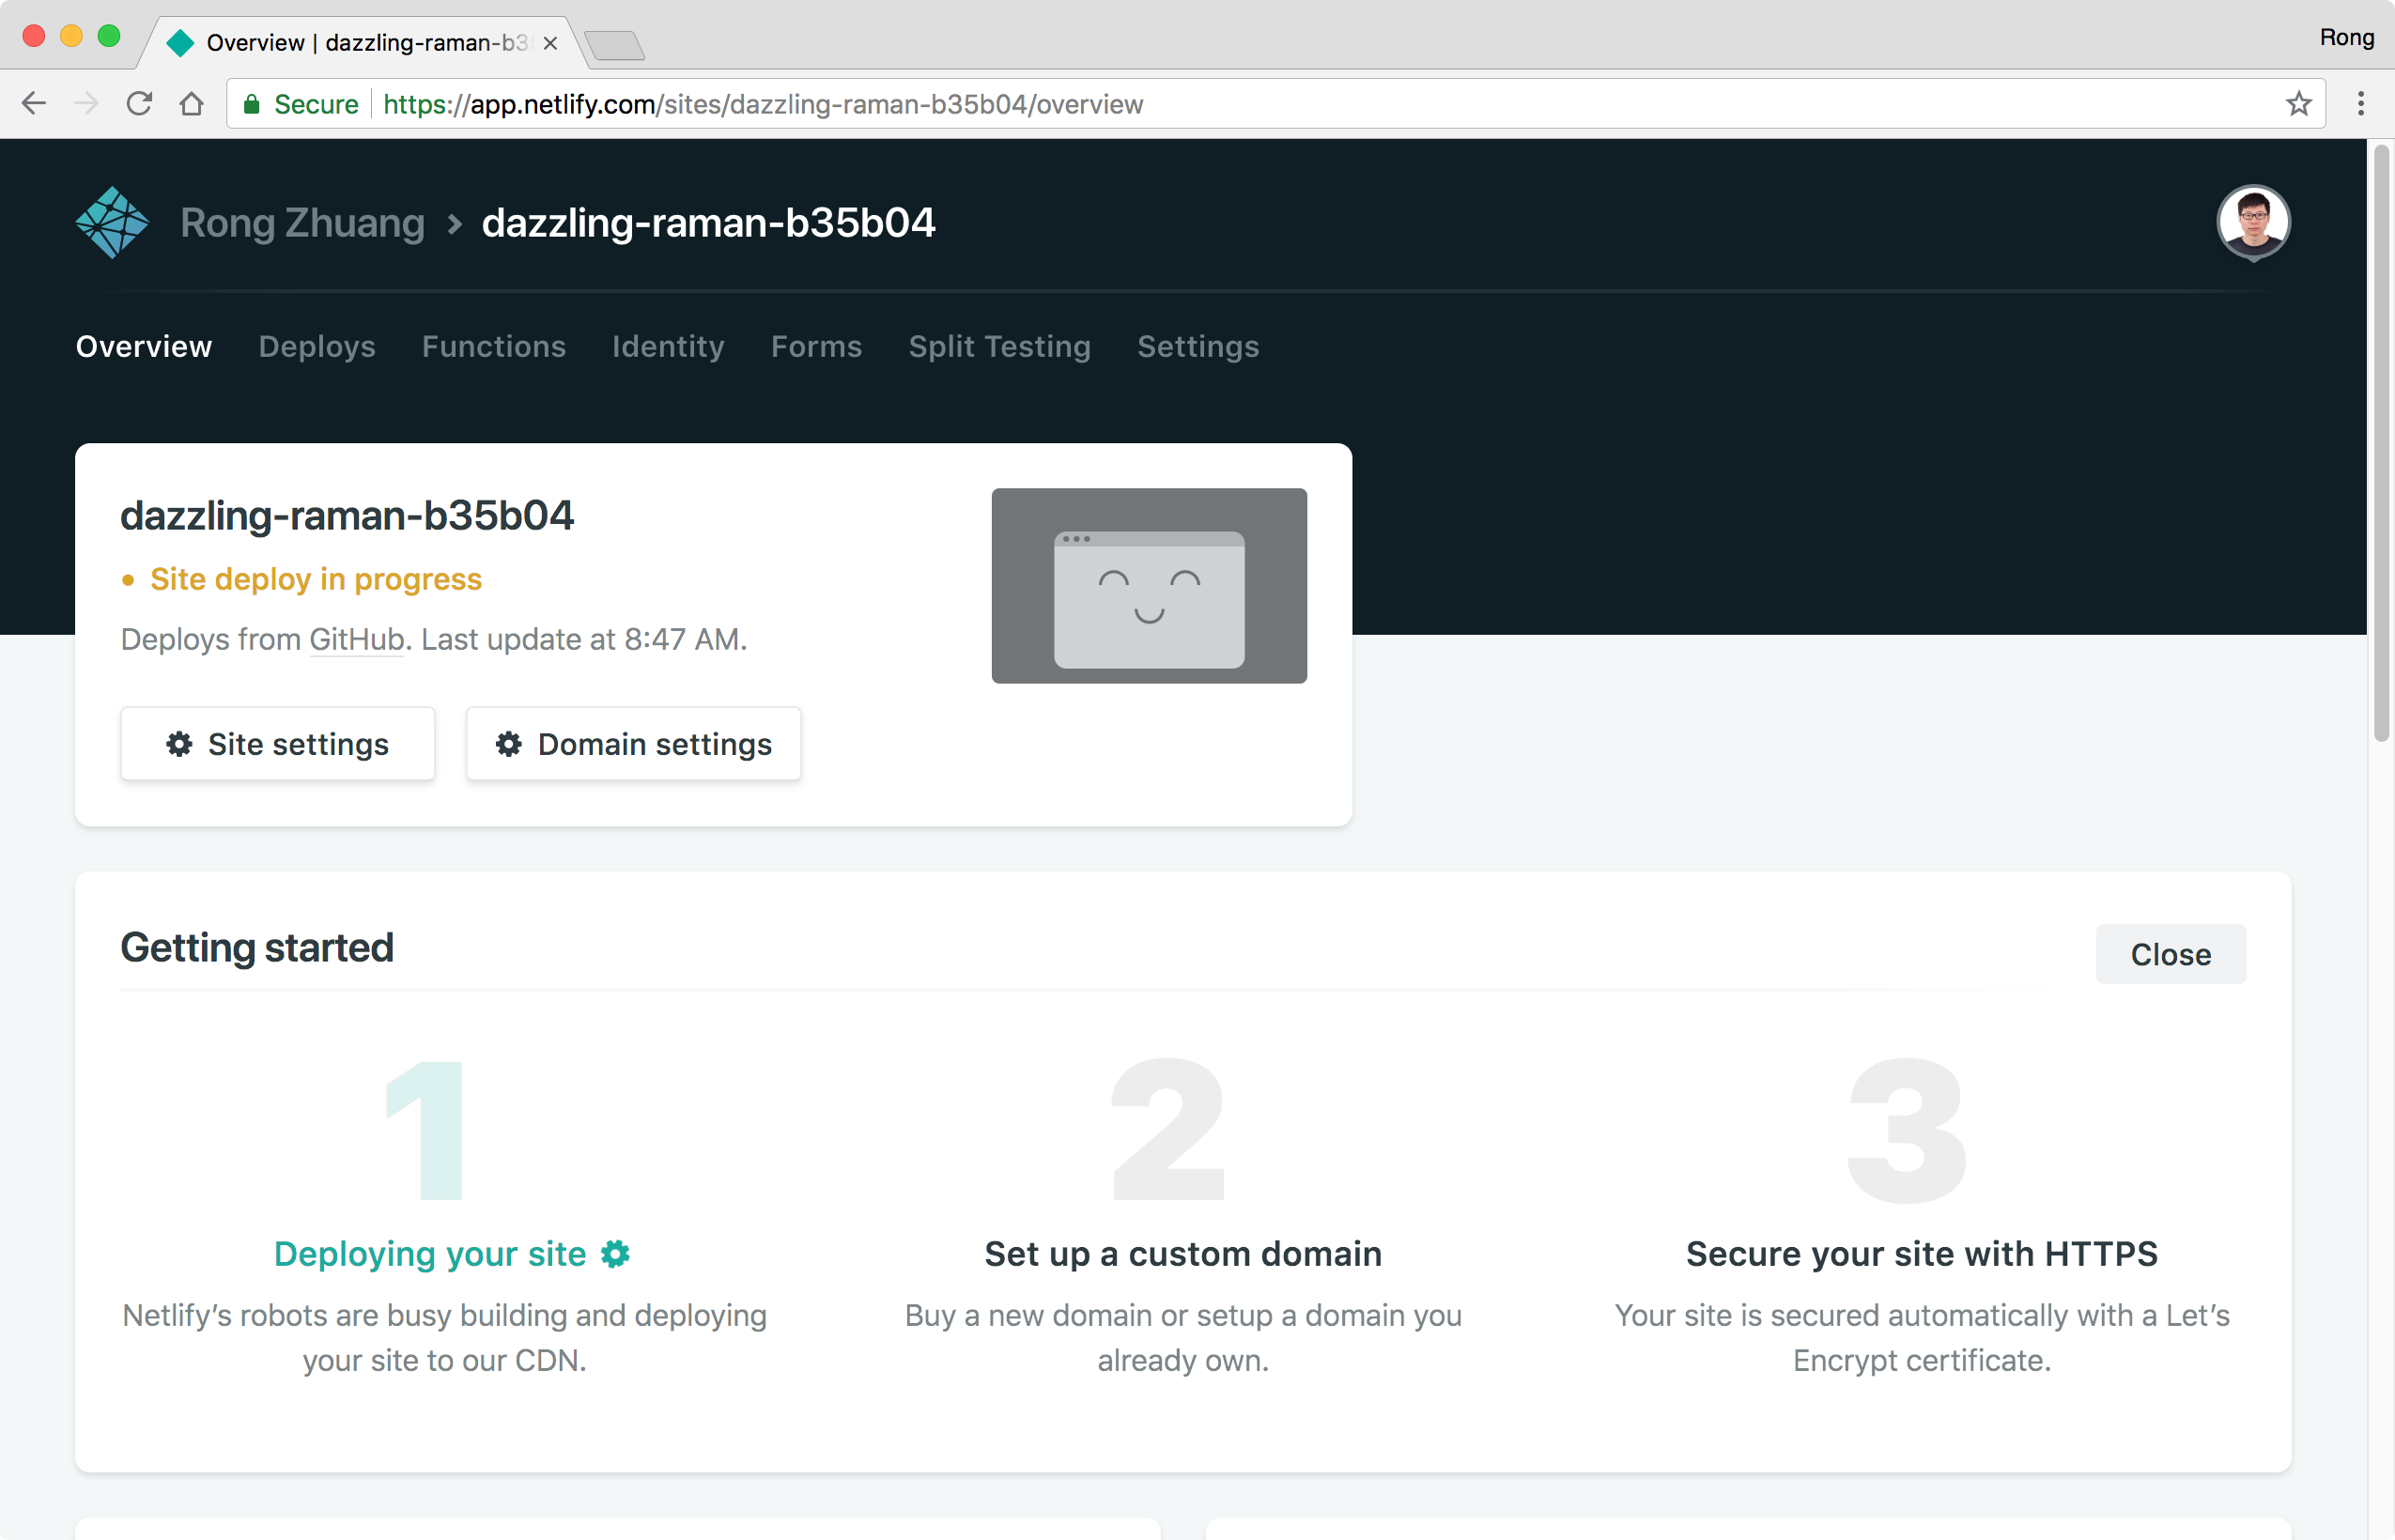
 Netlify will start to deploy your site.
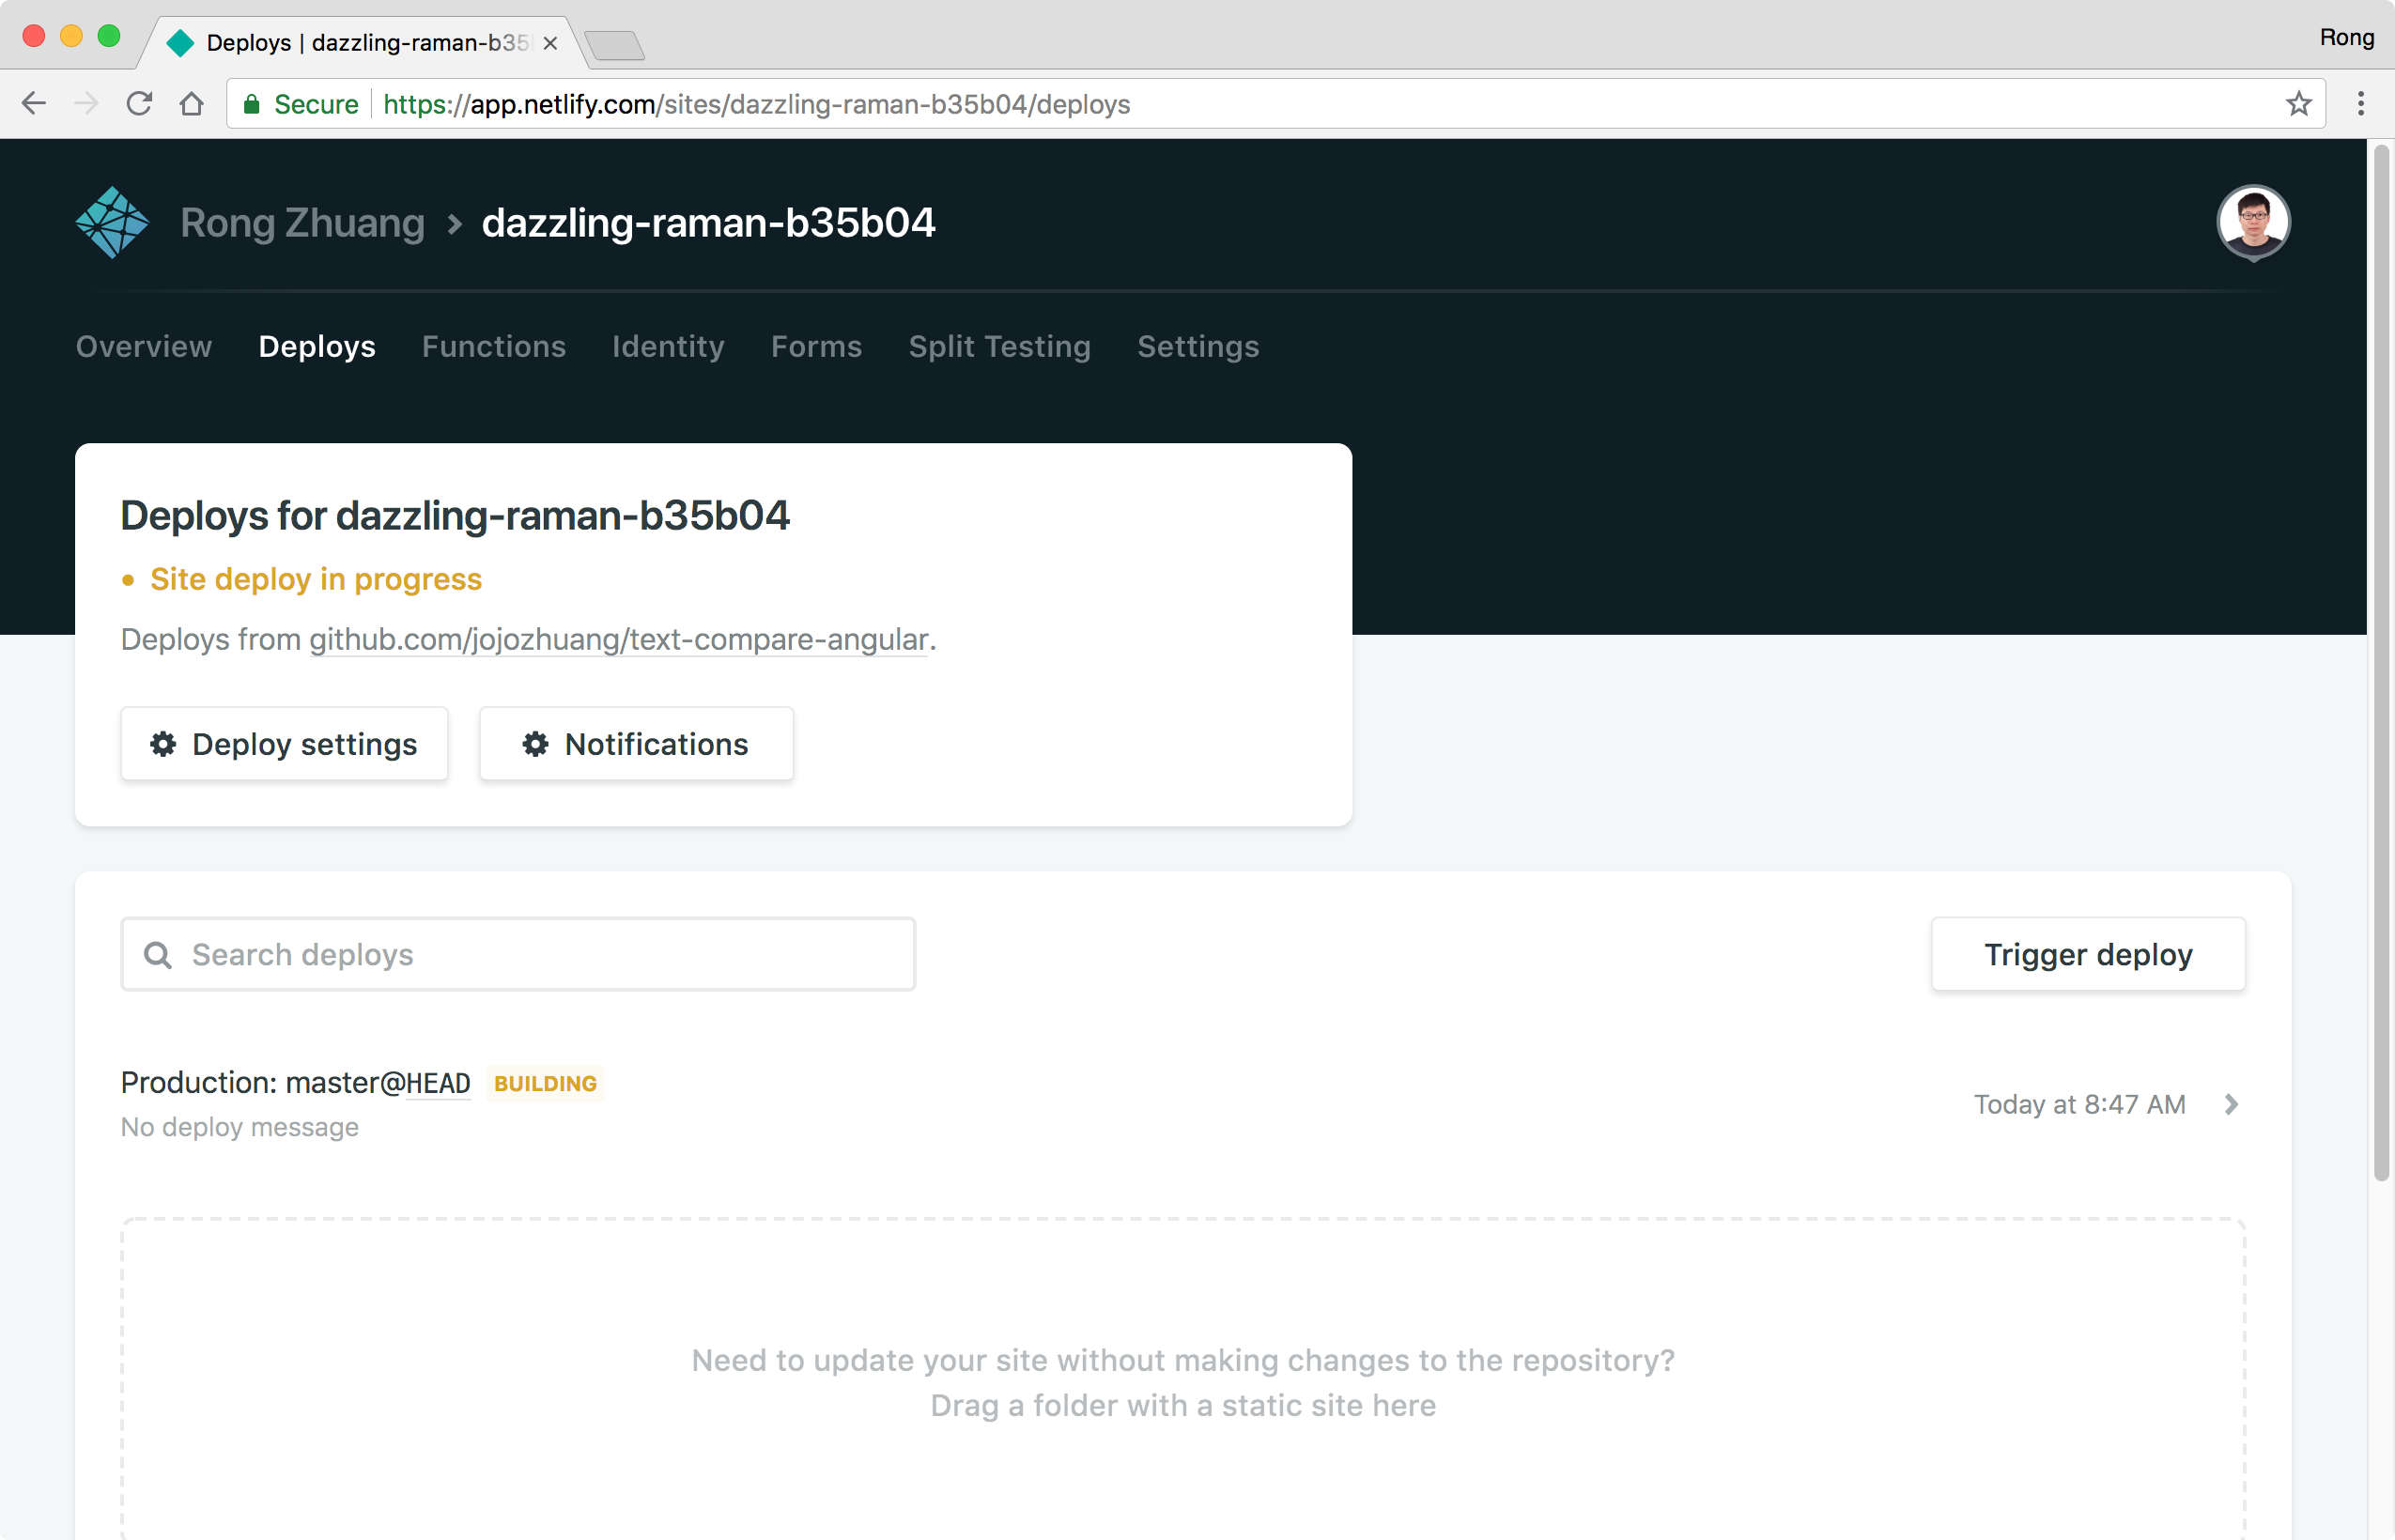
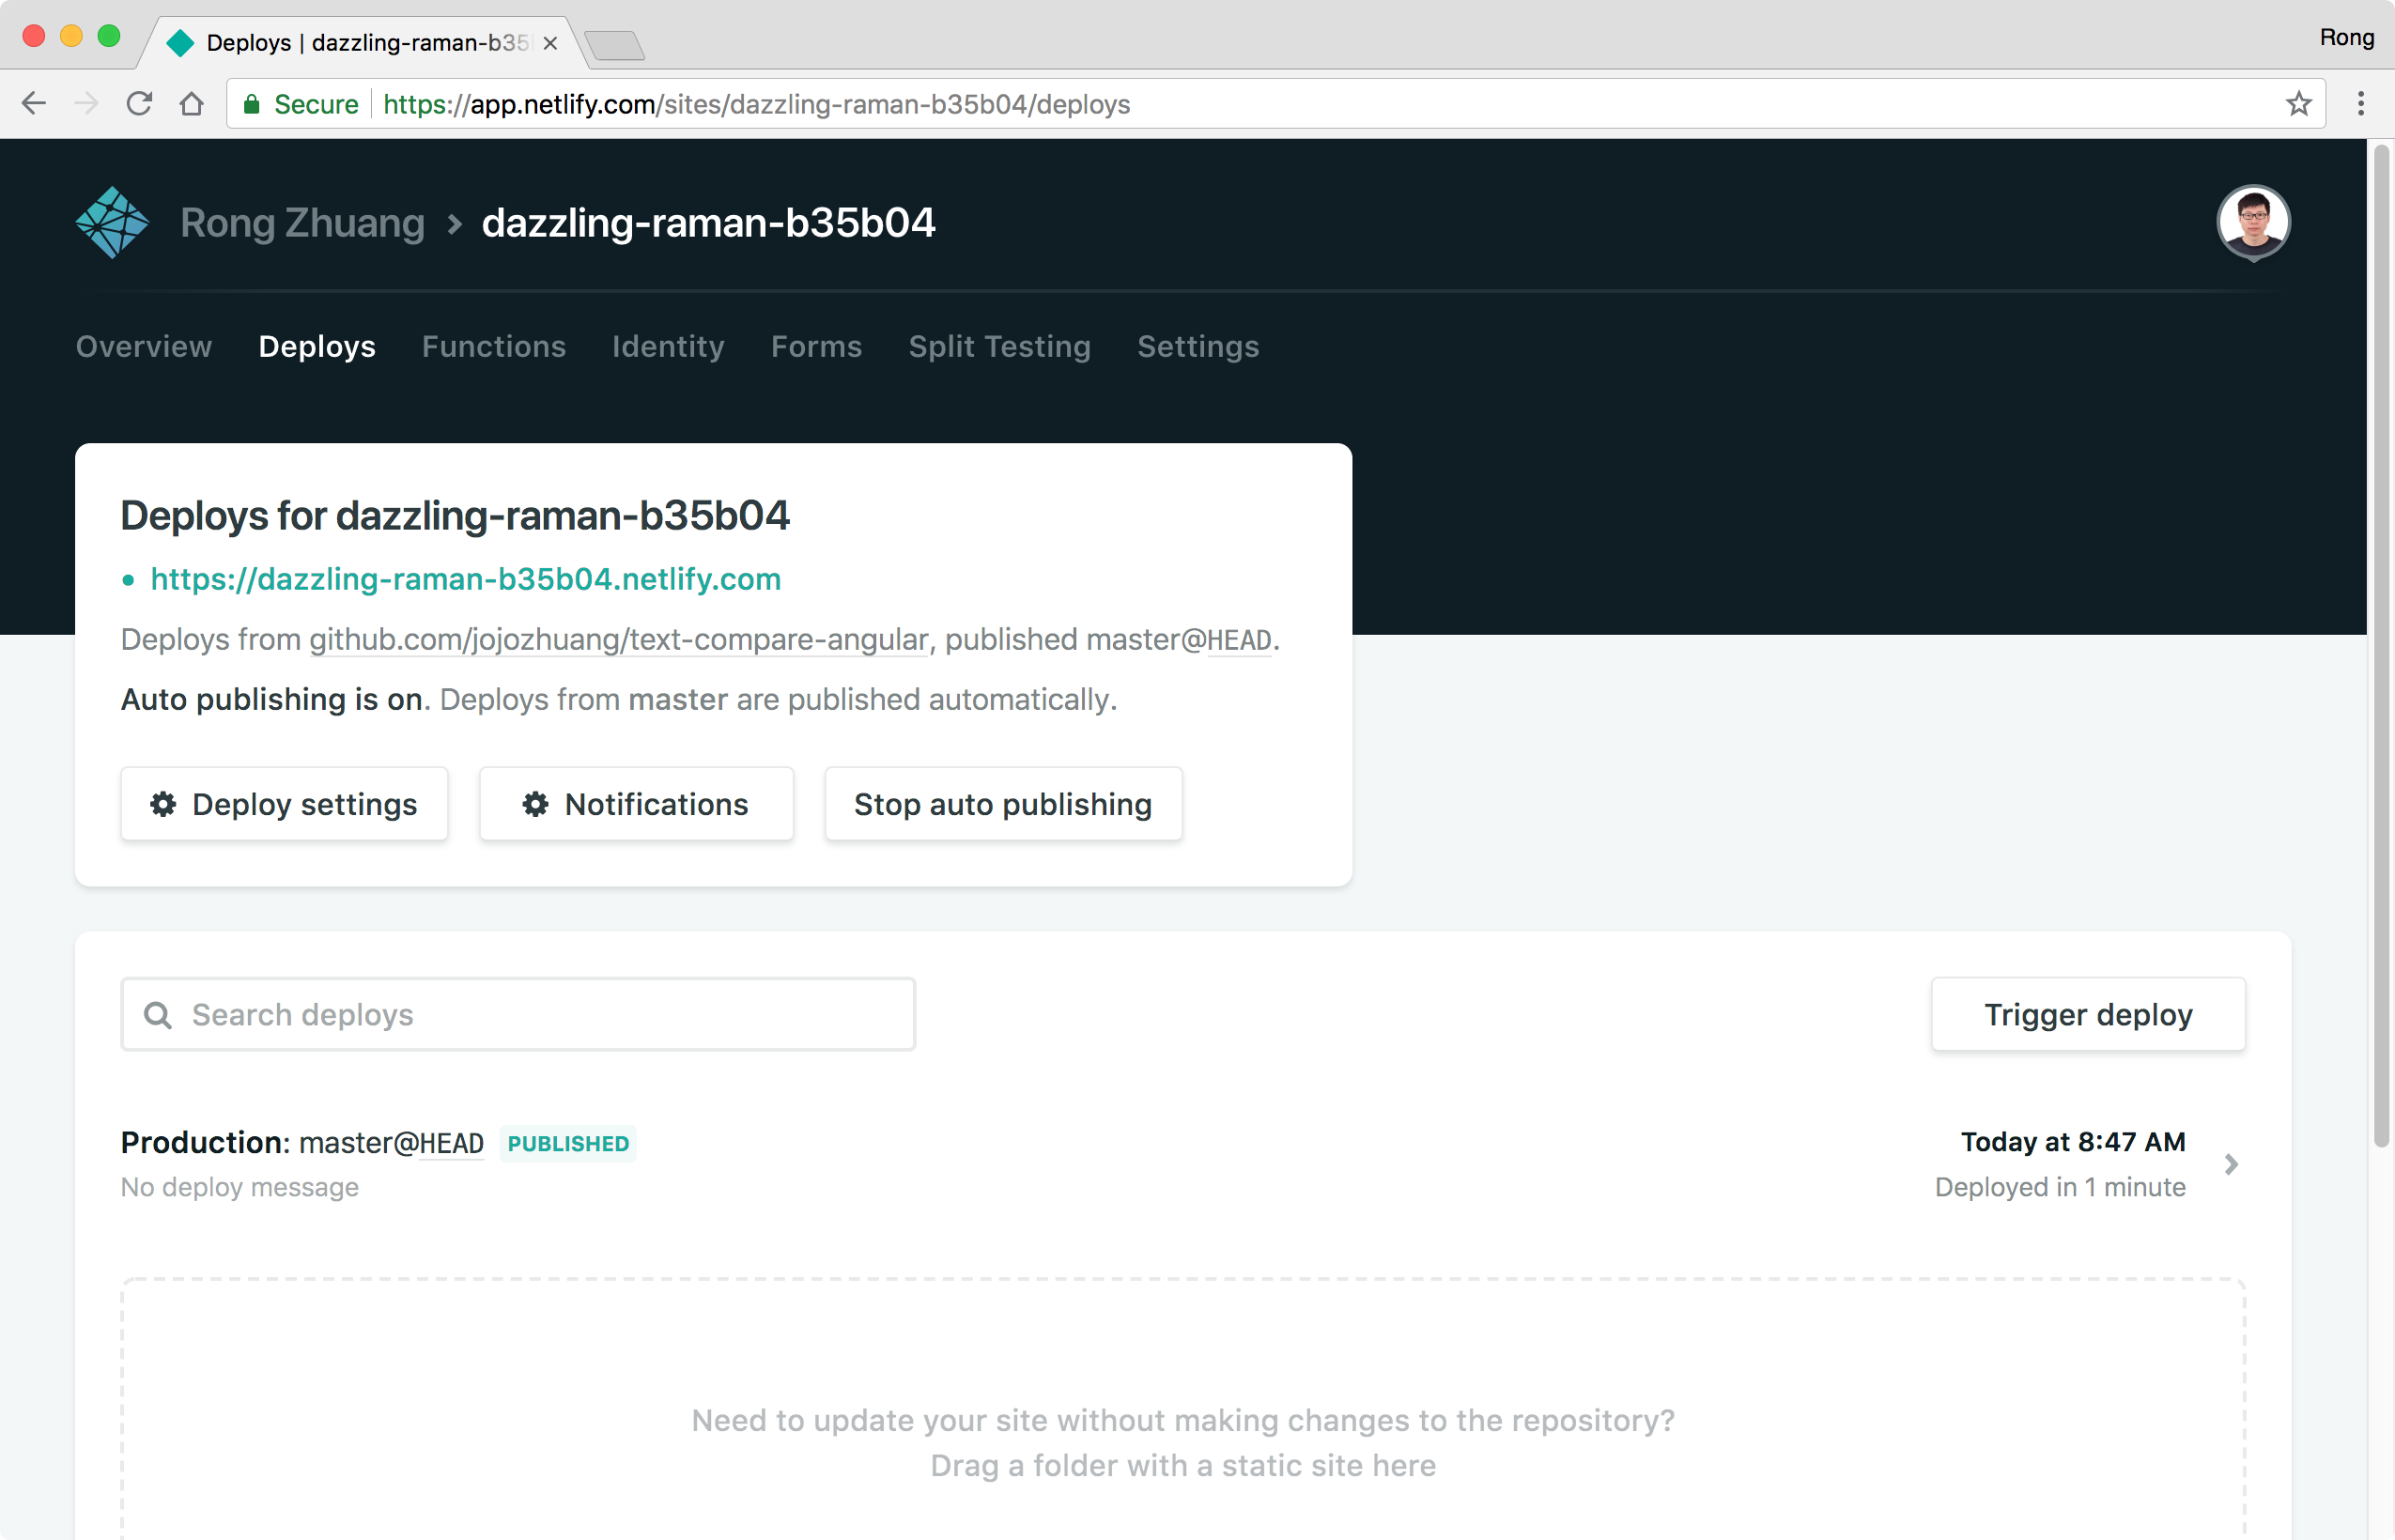
 Switch to ‘Deploy’ tab to monitor the status and check the logs.
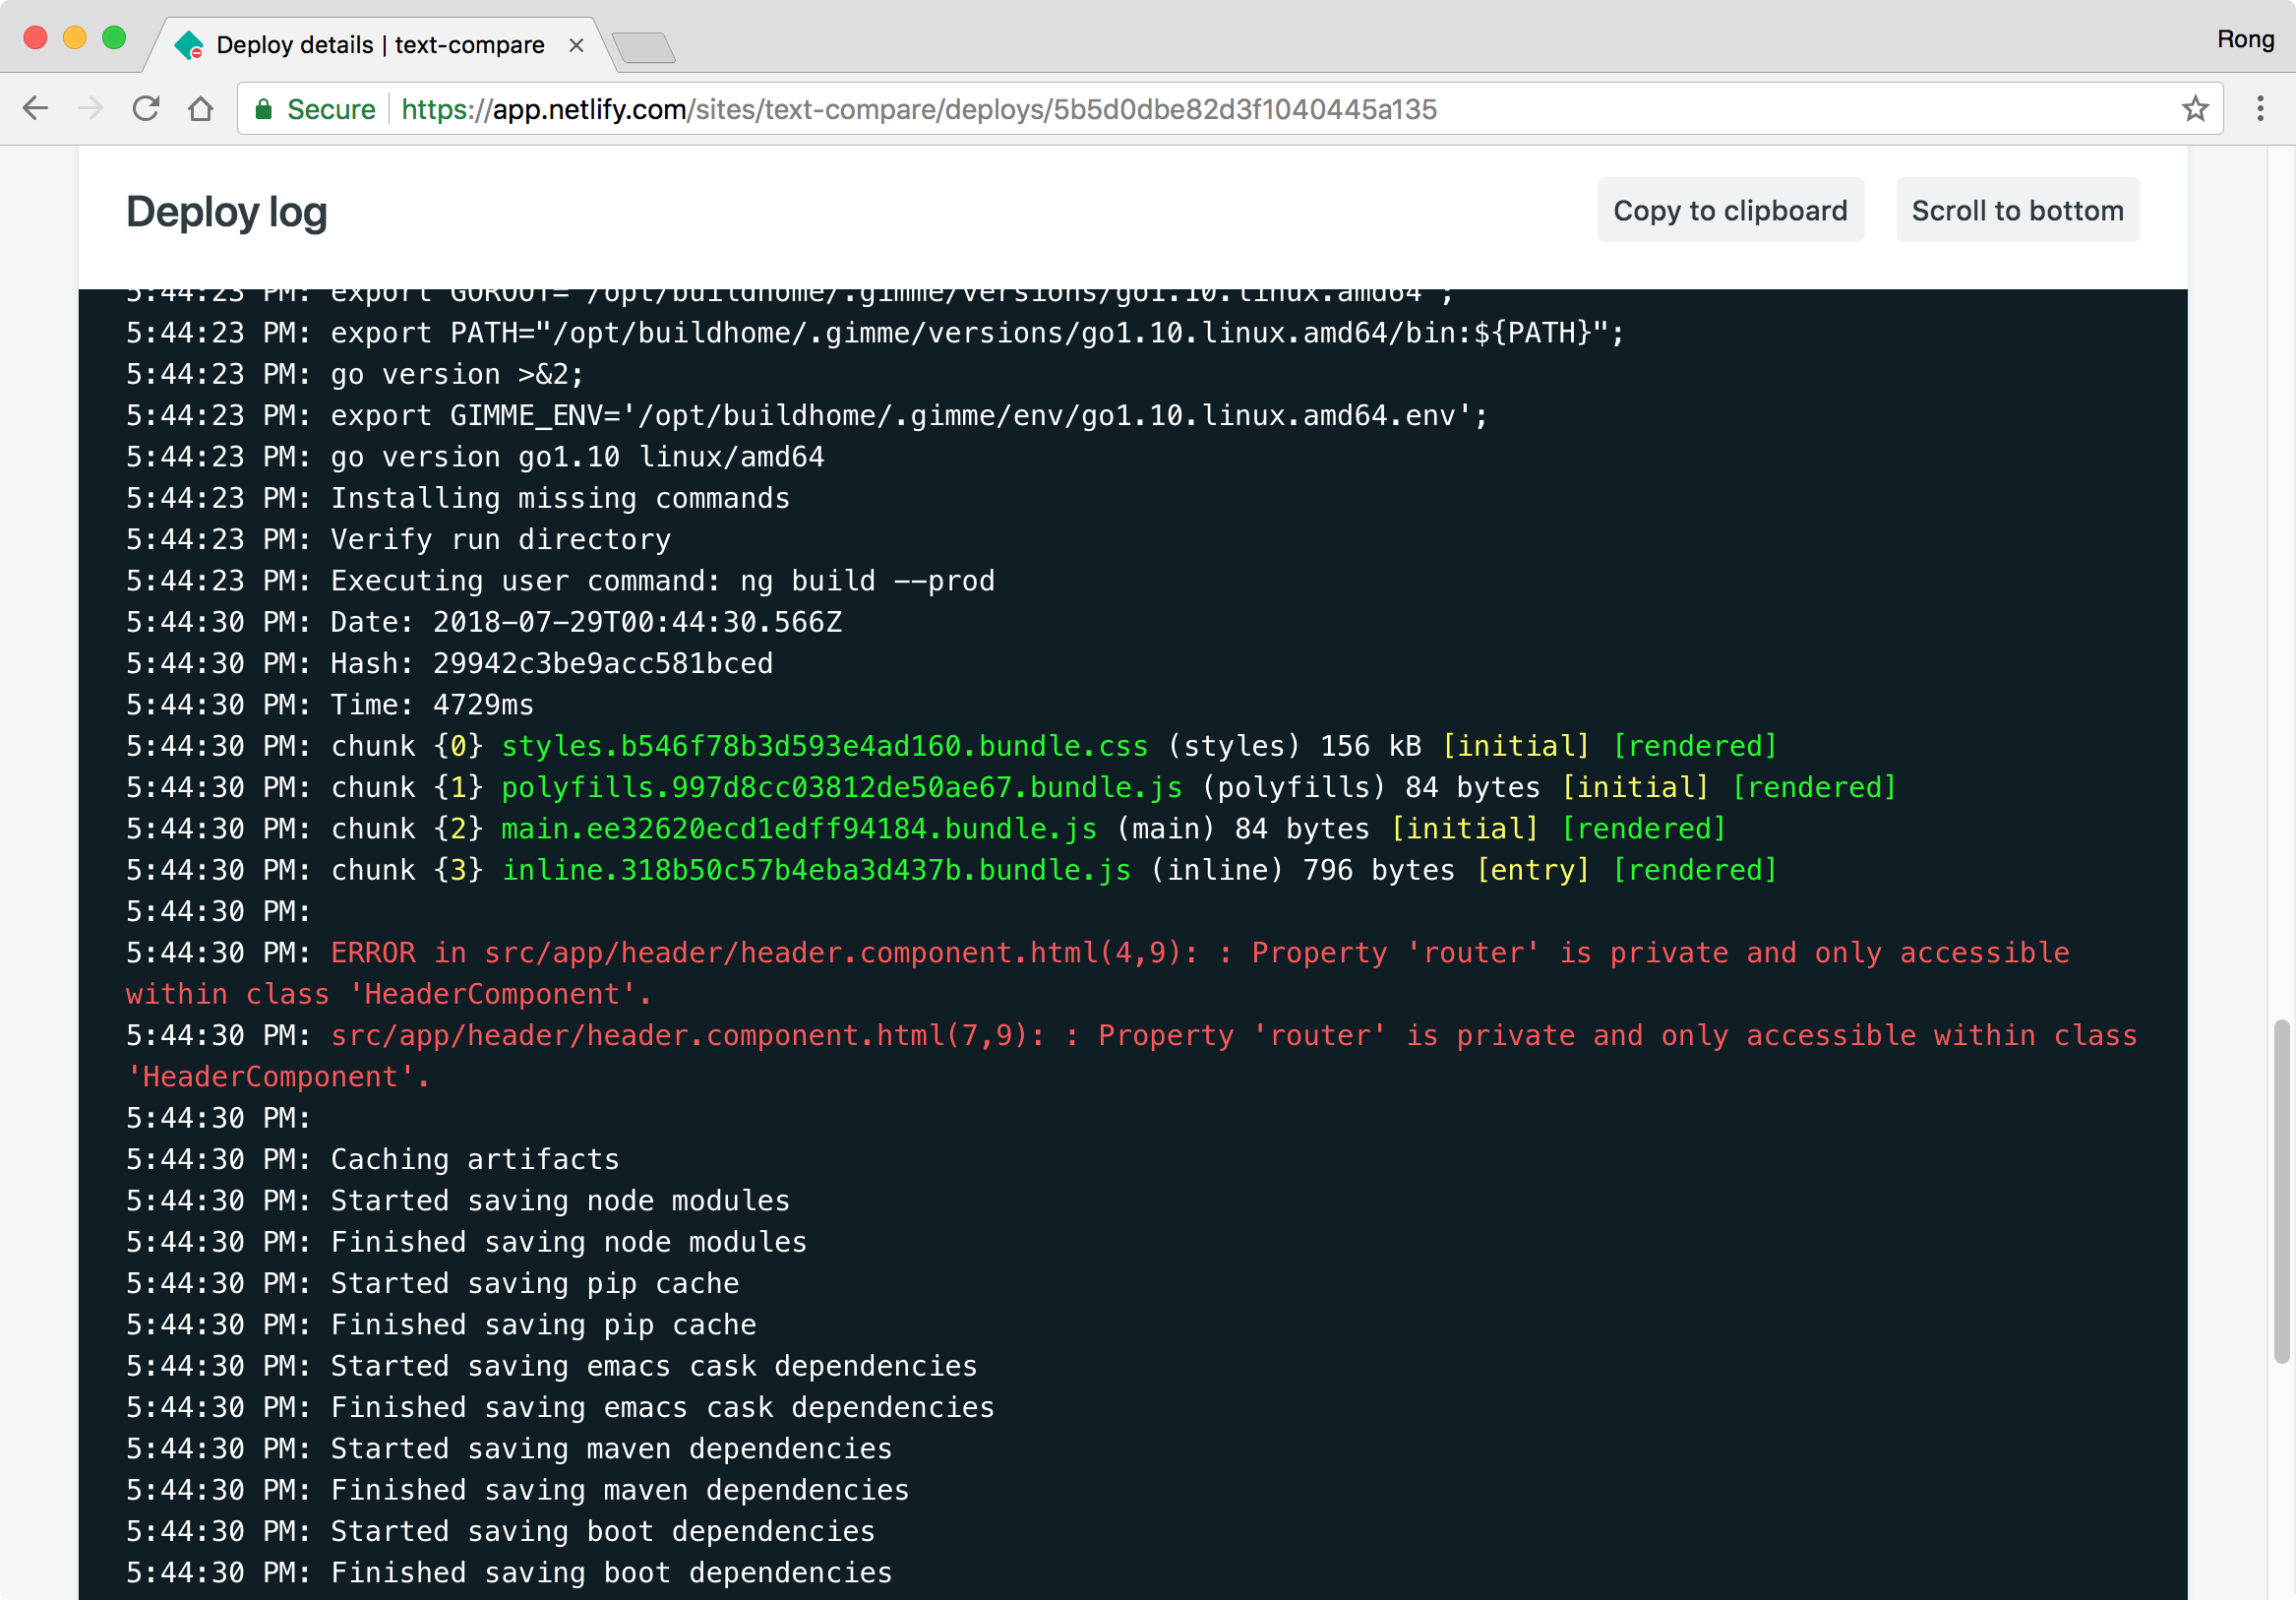
 If the deployment fails, click on the FAILED build, check the log and you should see the error in details.
 If no issue occurs, the publish will be done after few seconds(or minutes).
2.3 Testing
Switch back to the ‘Overview’ tab, click on the green link.
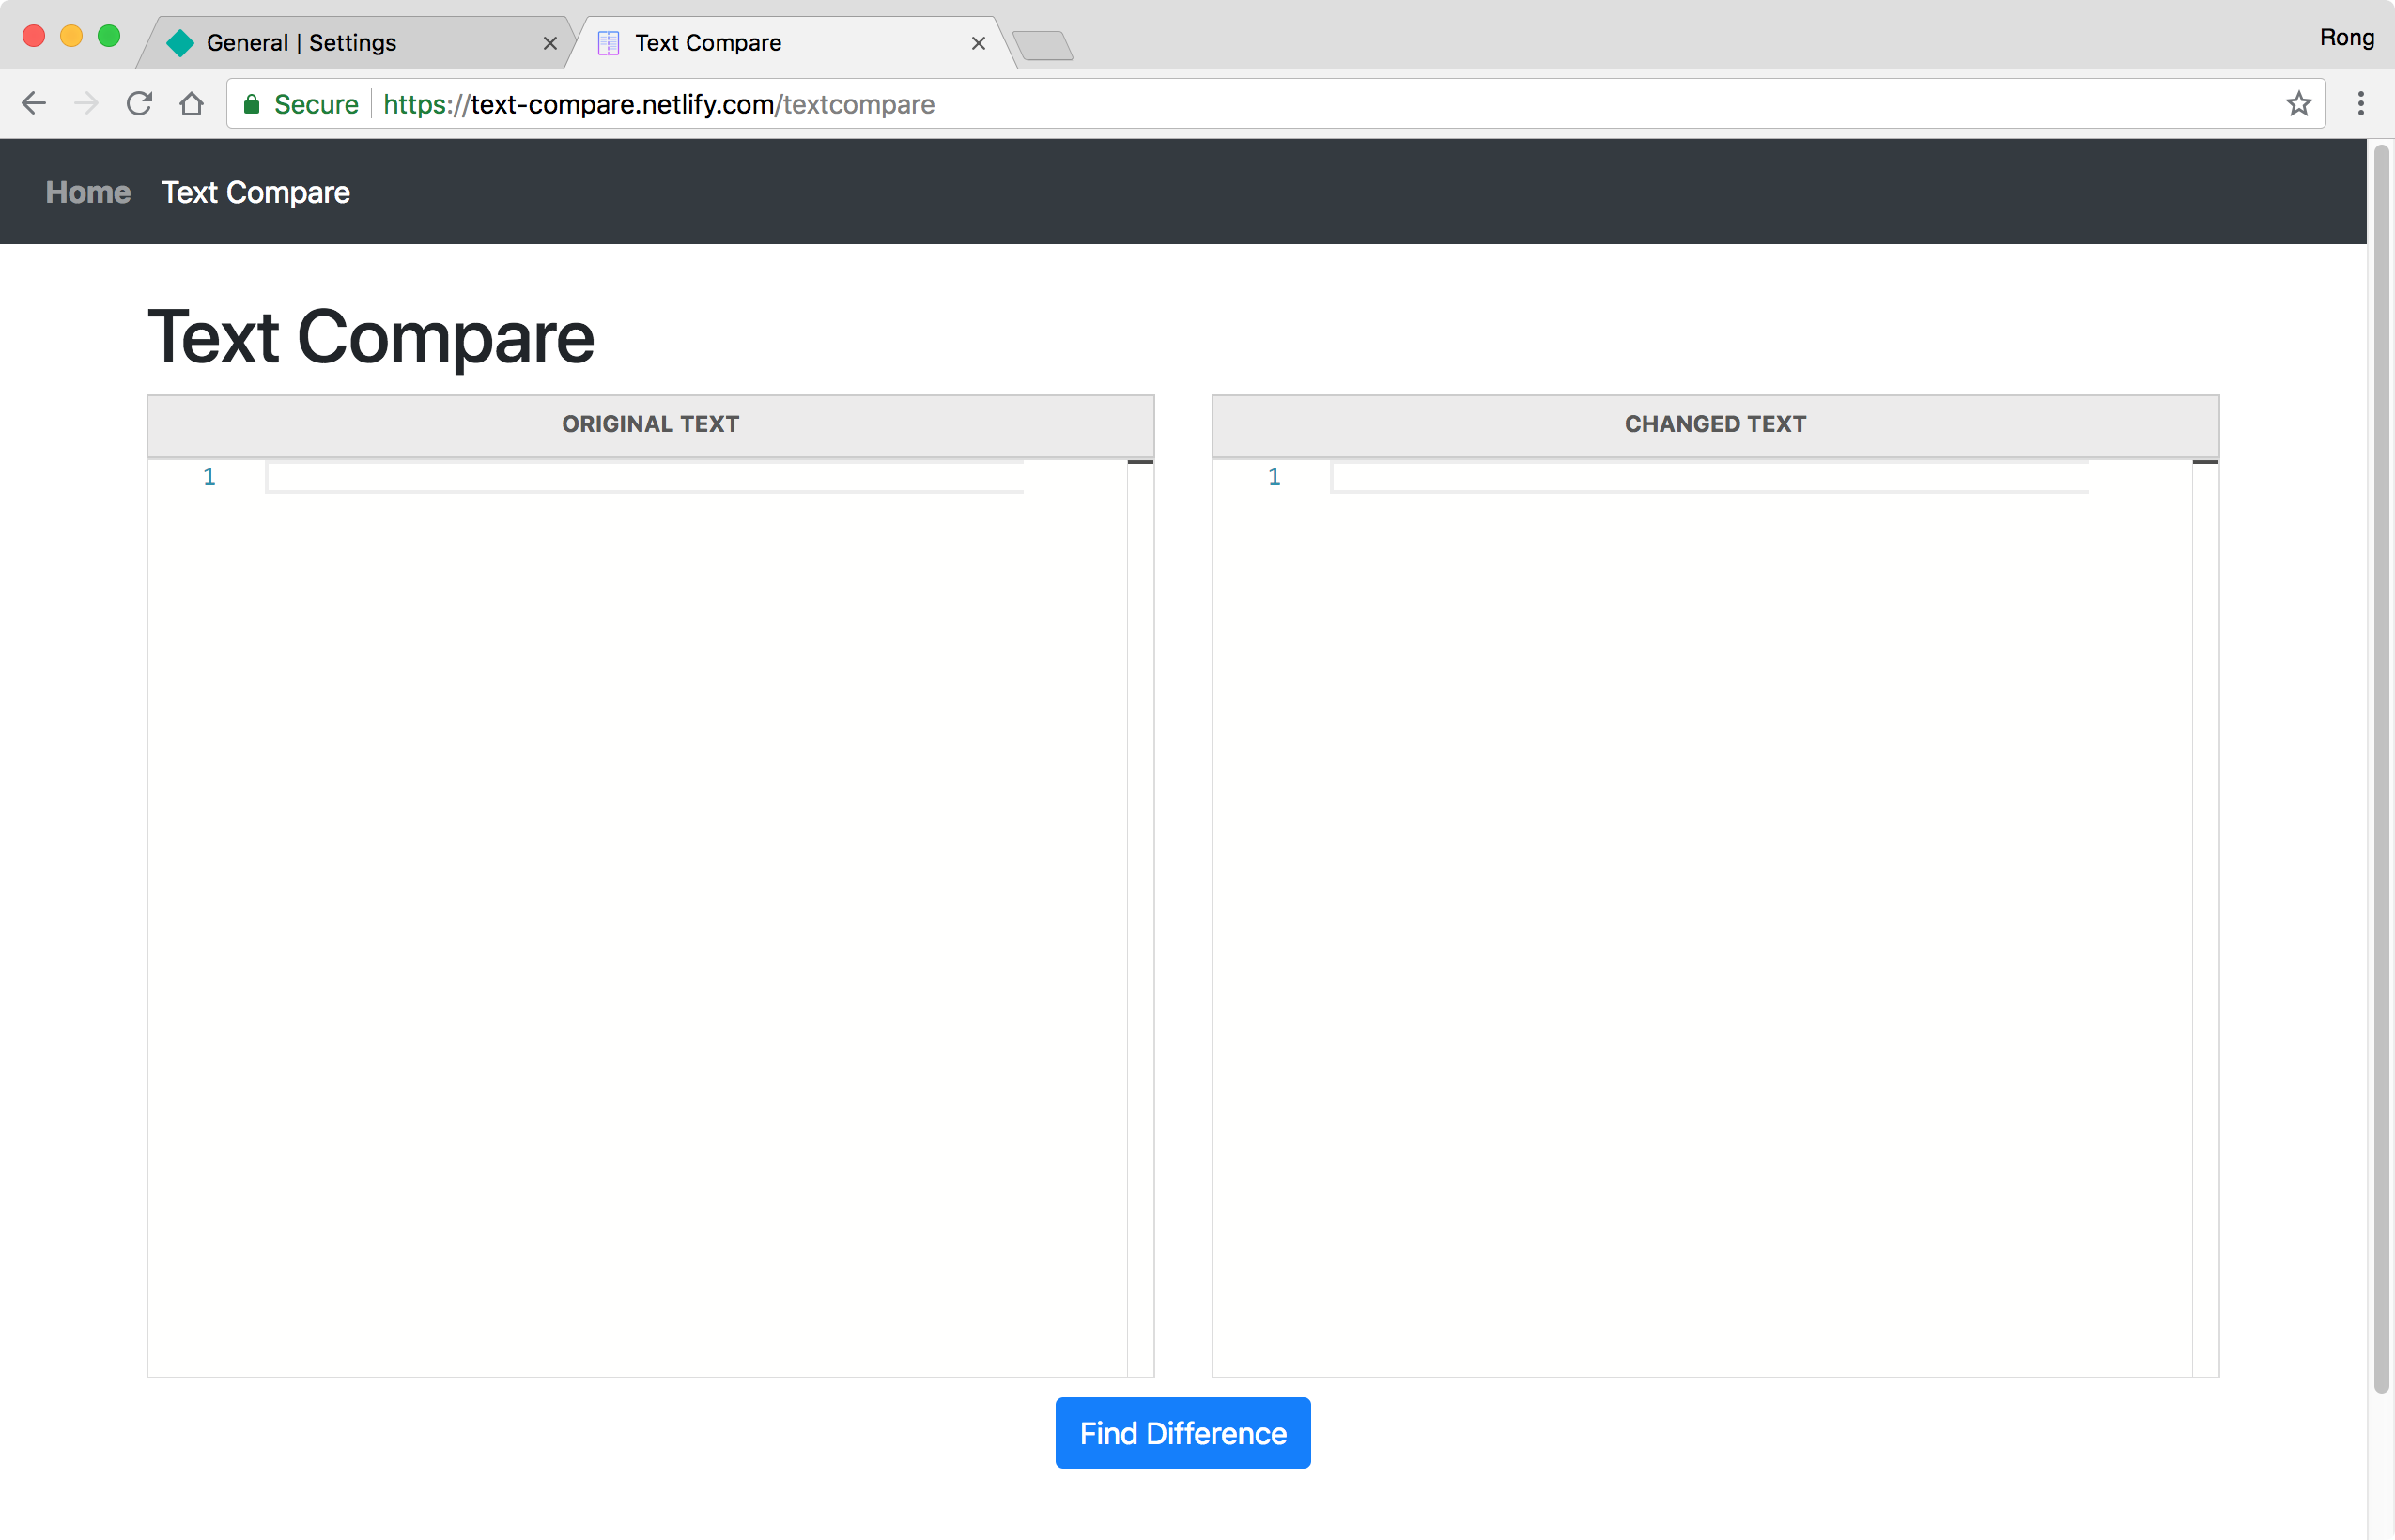
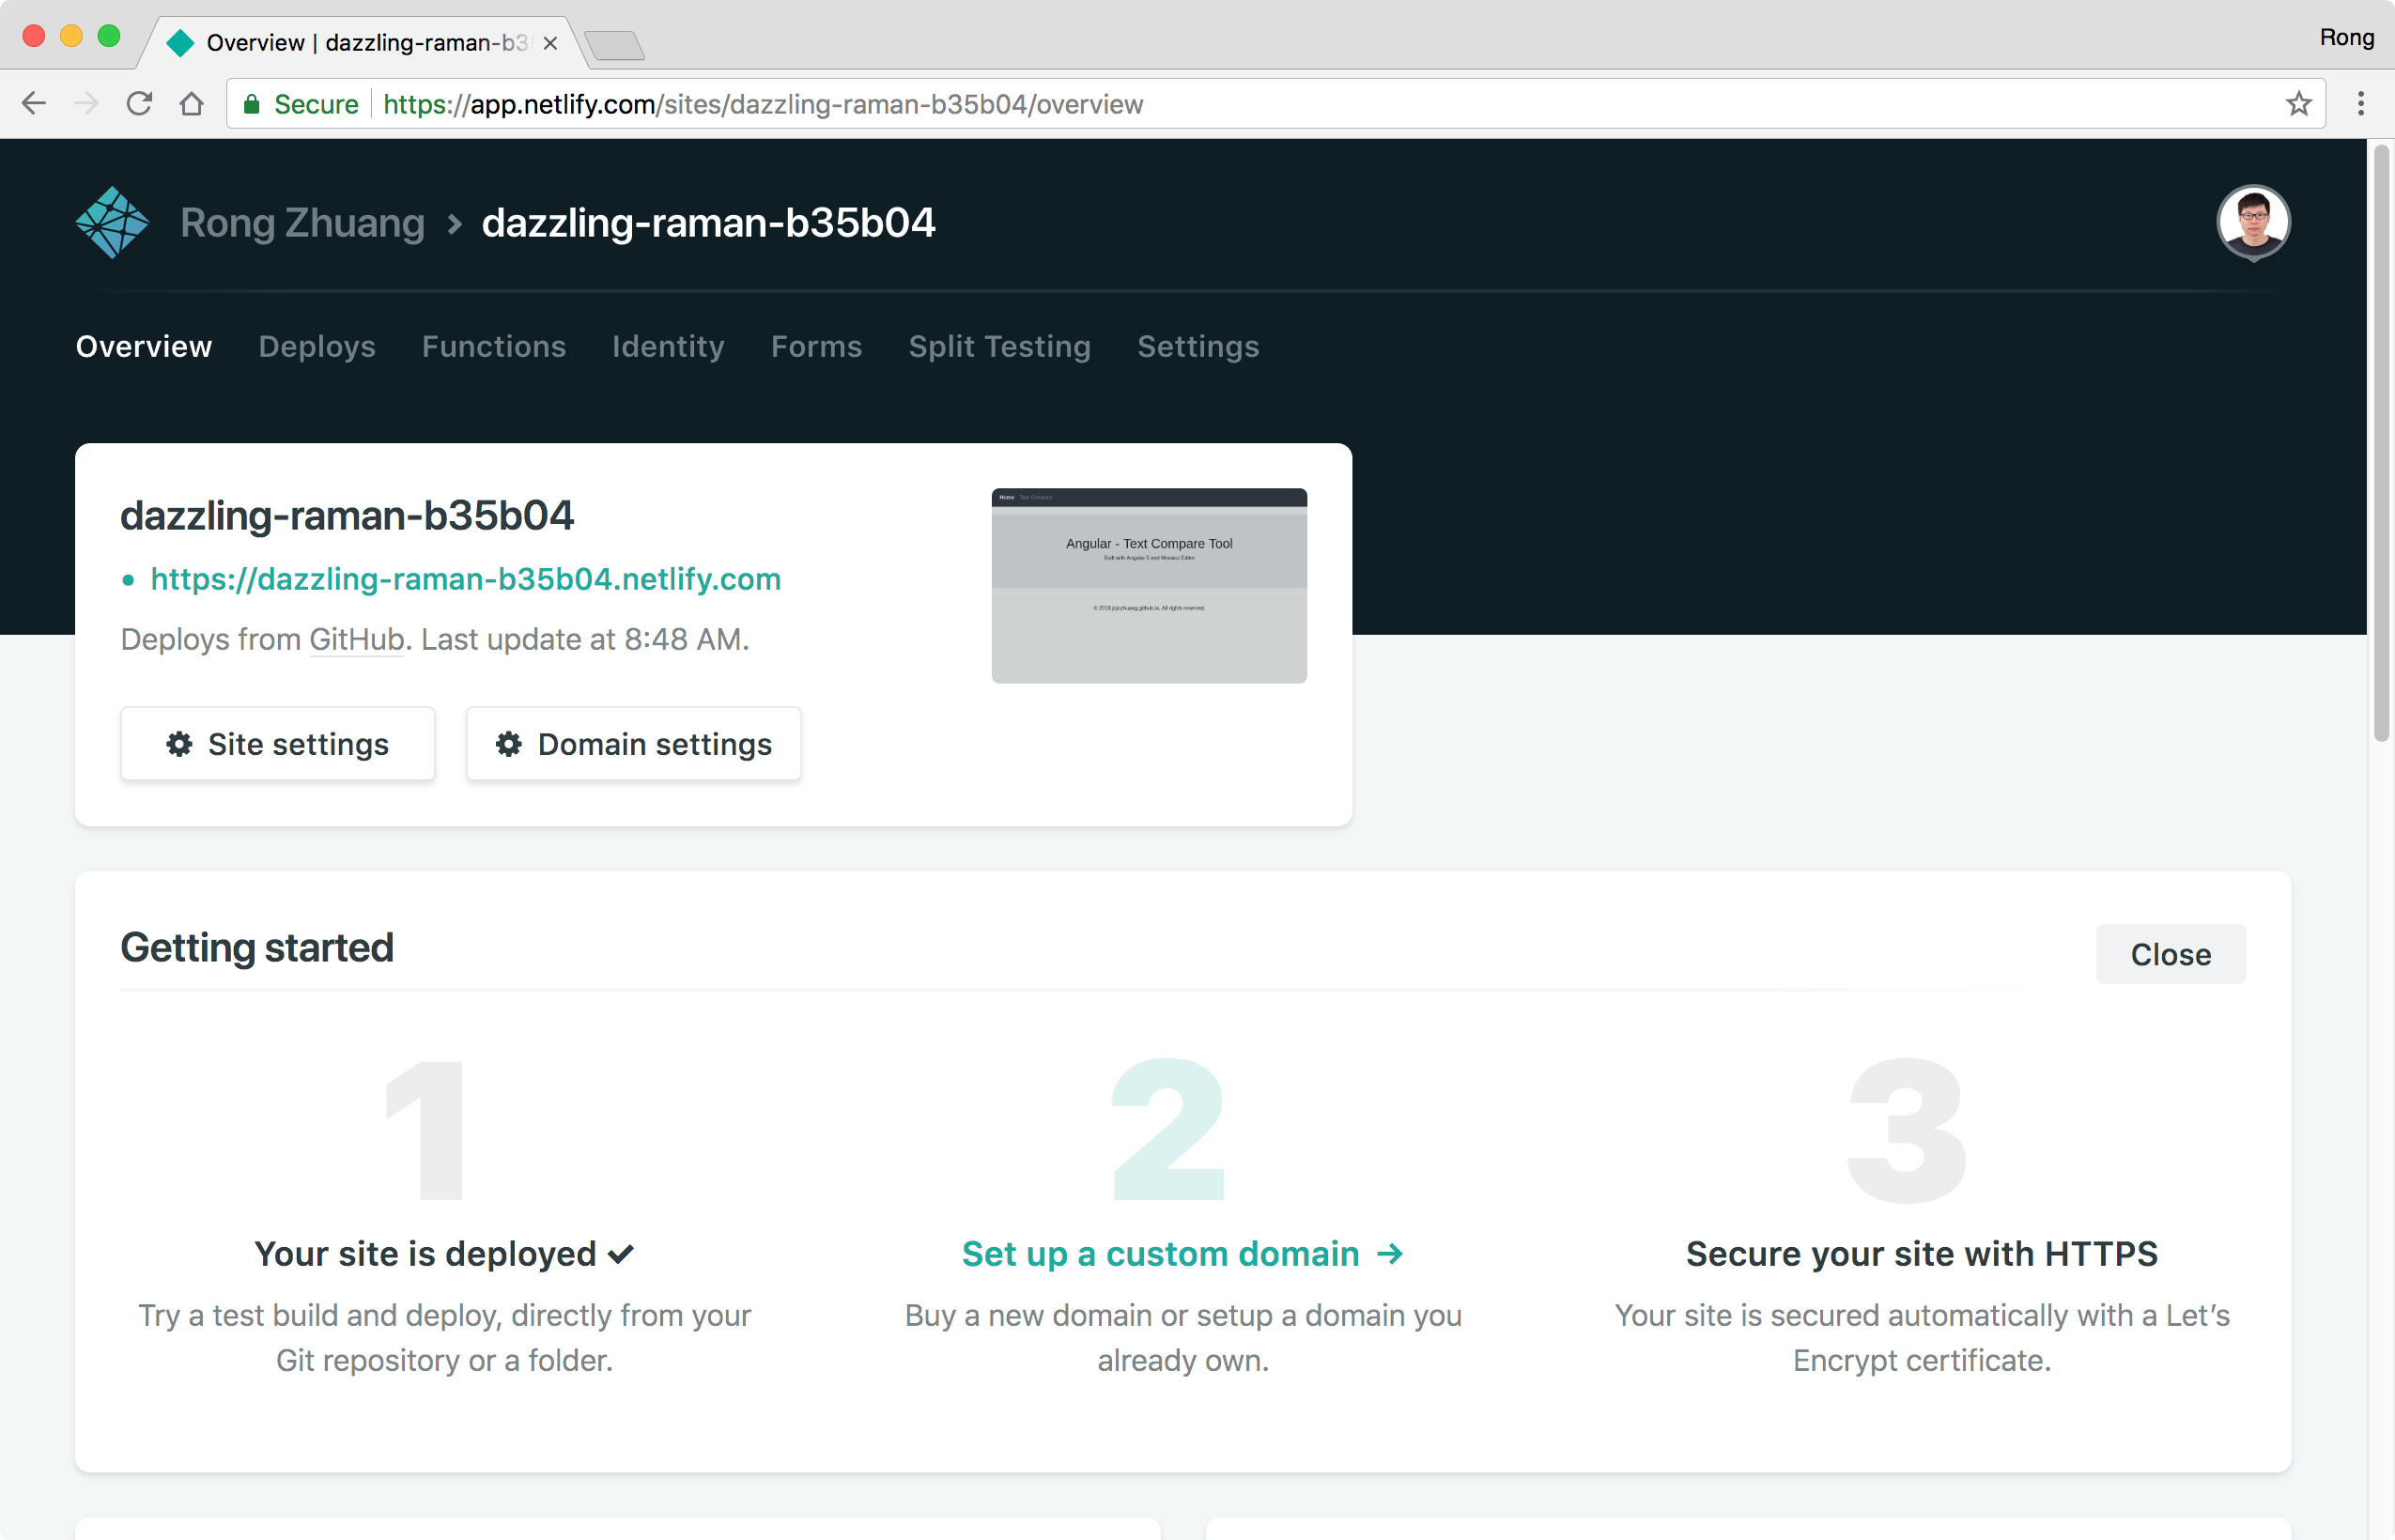 Our app is now running in the domain of Netlify.
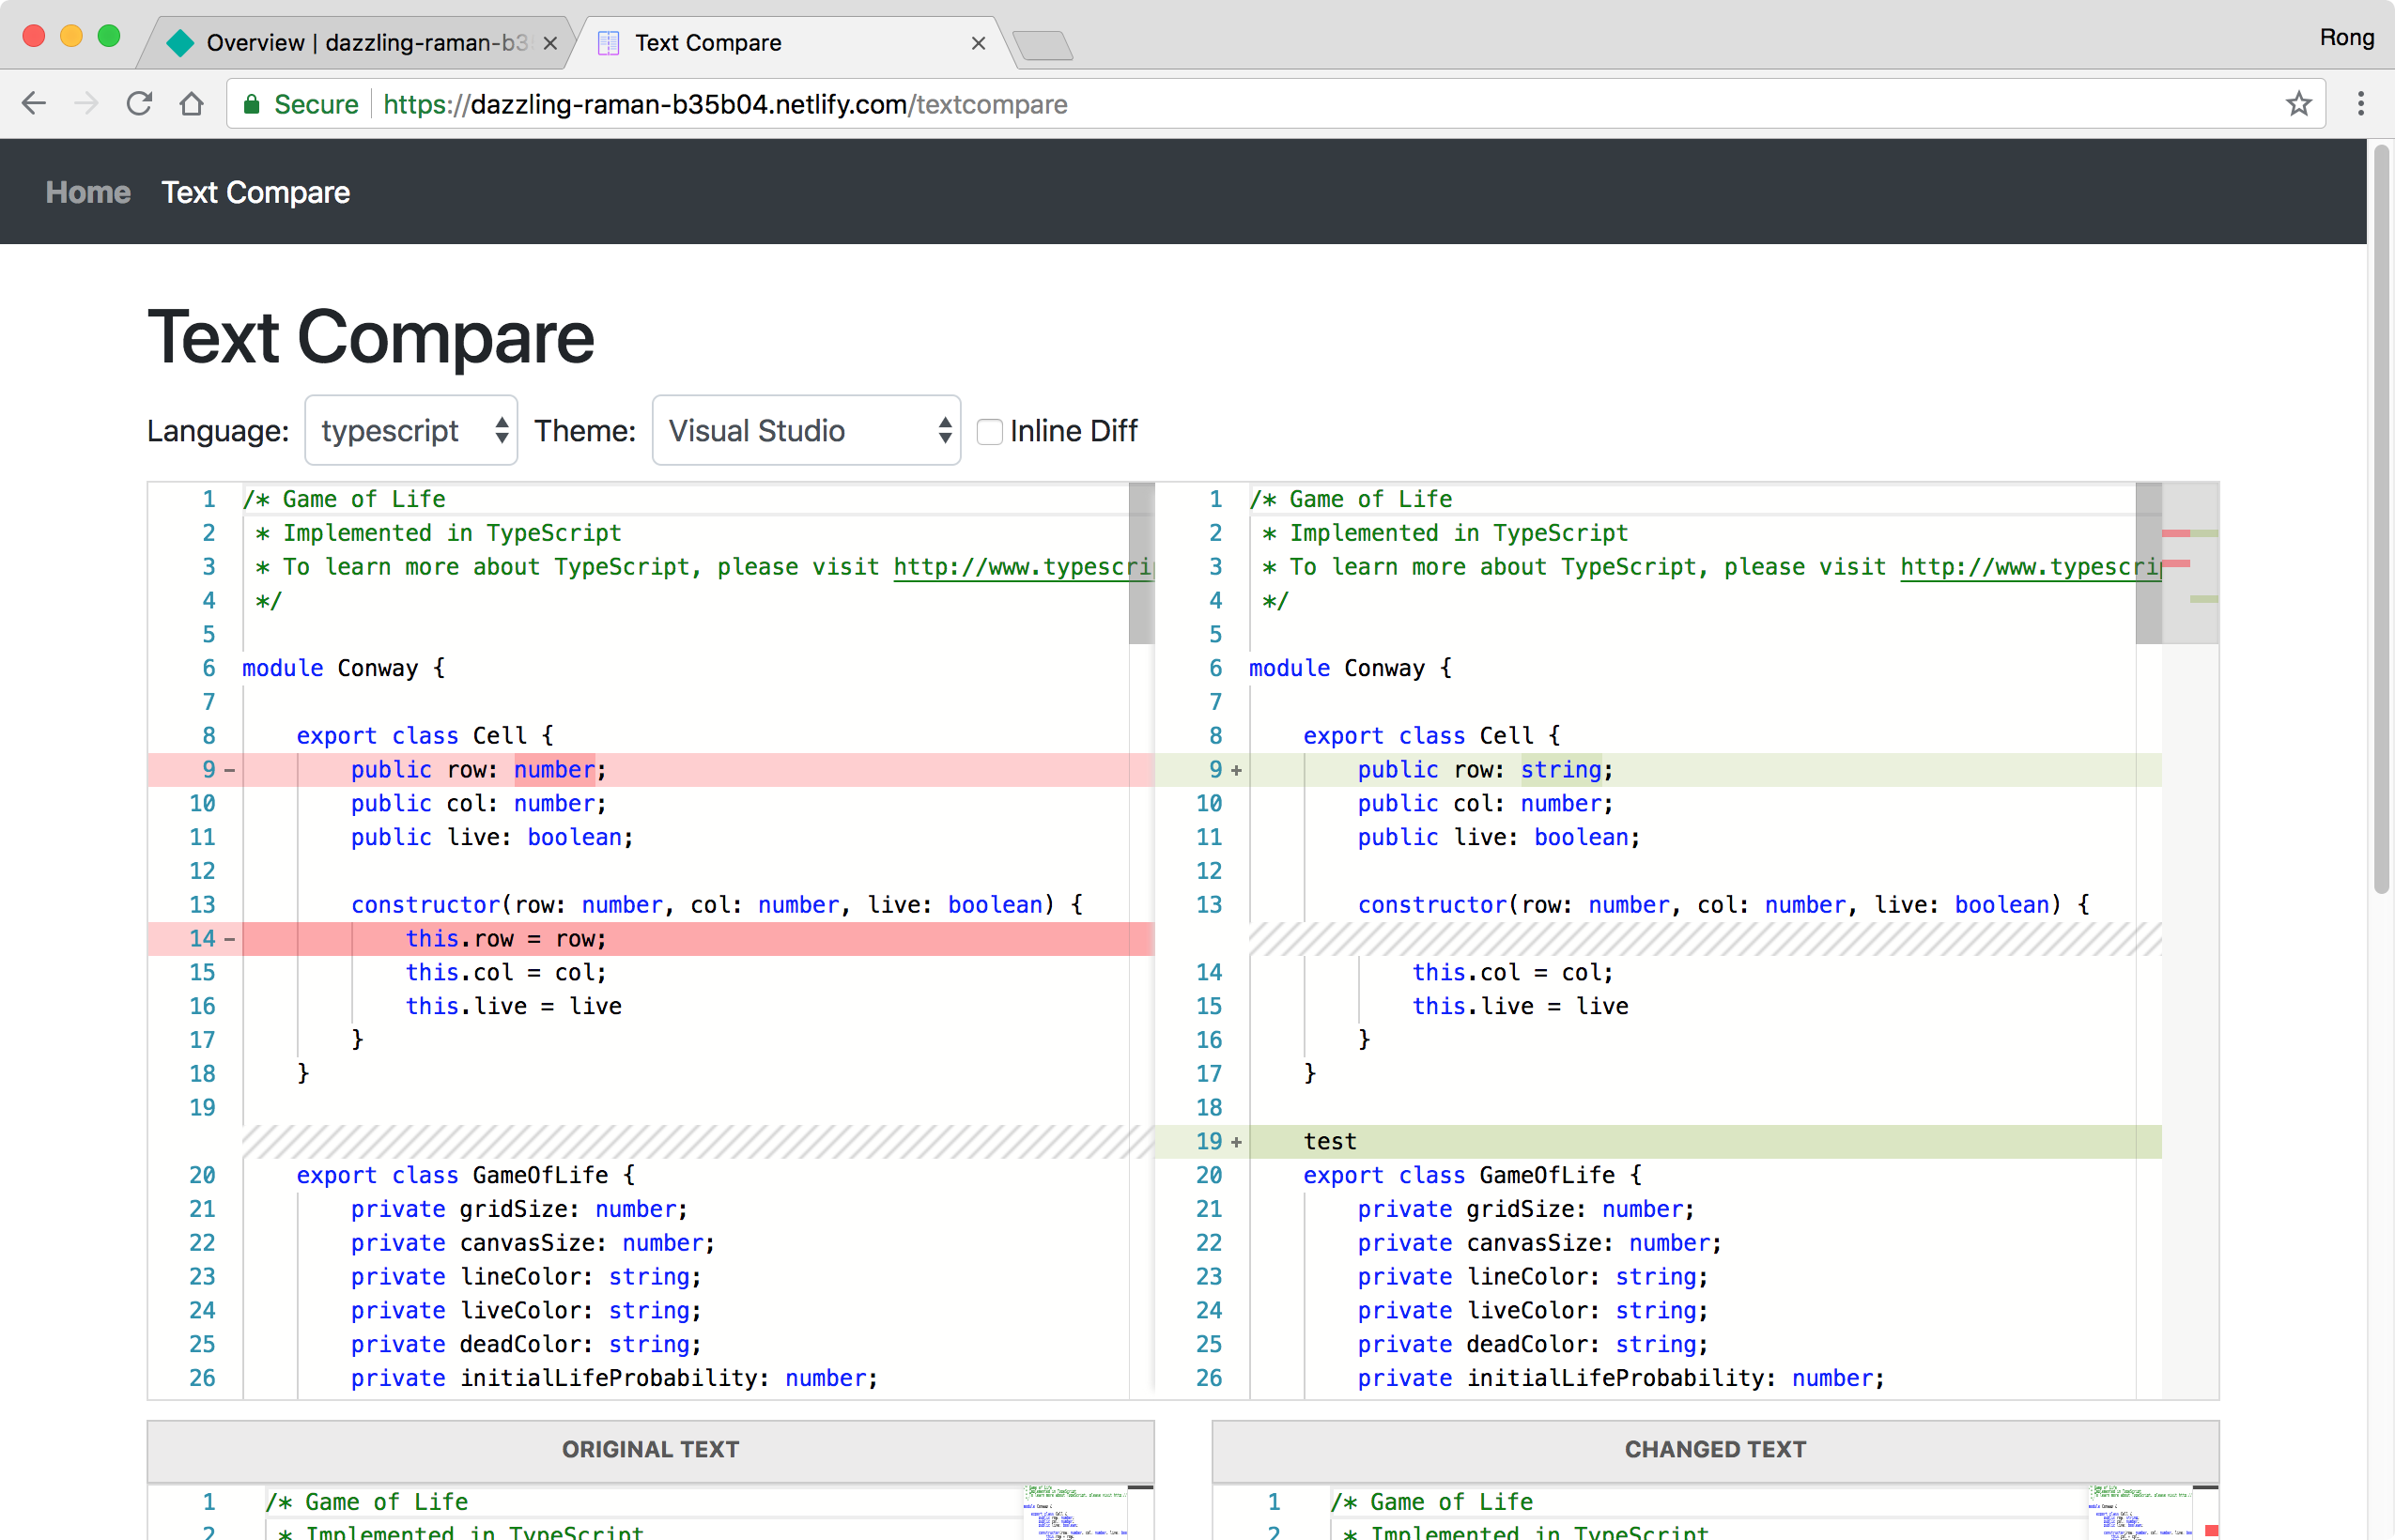
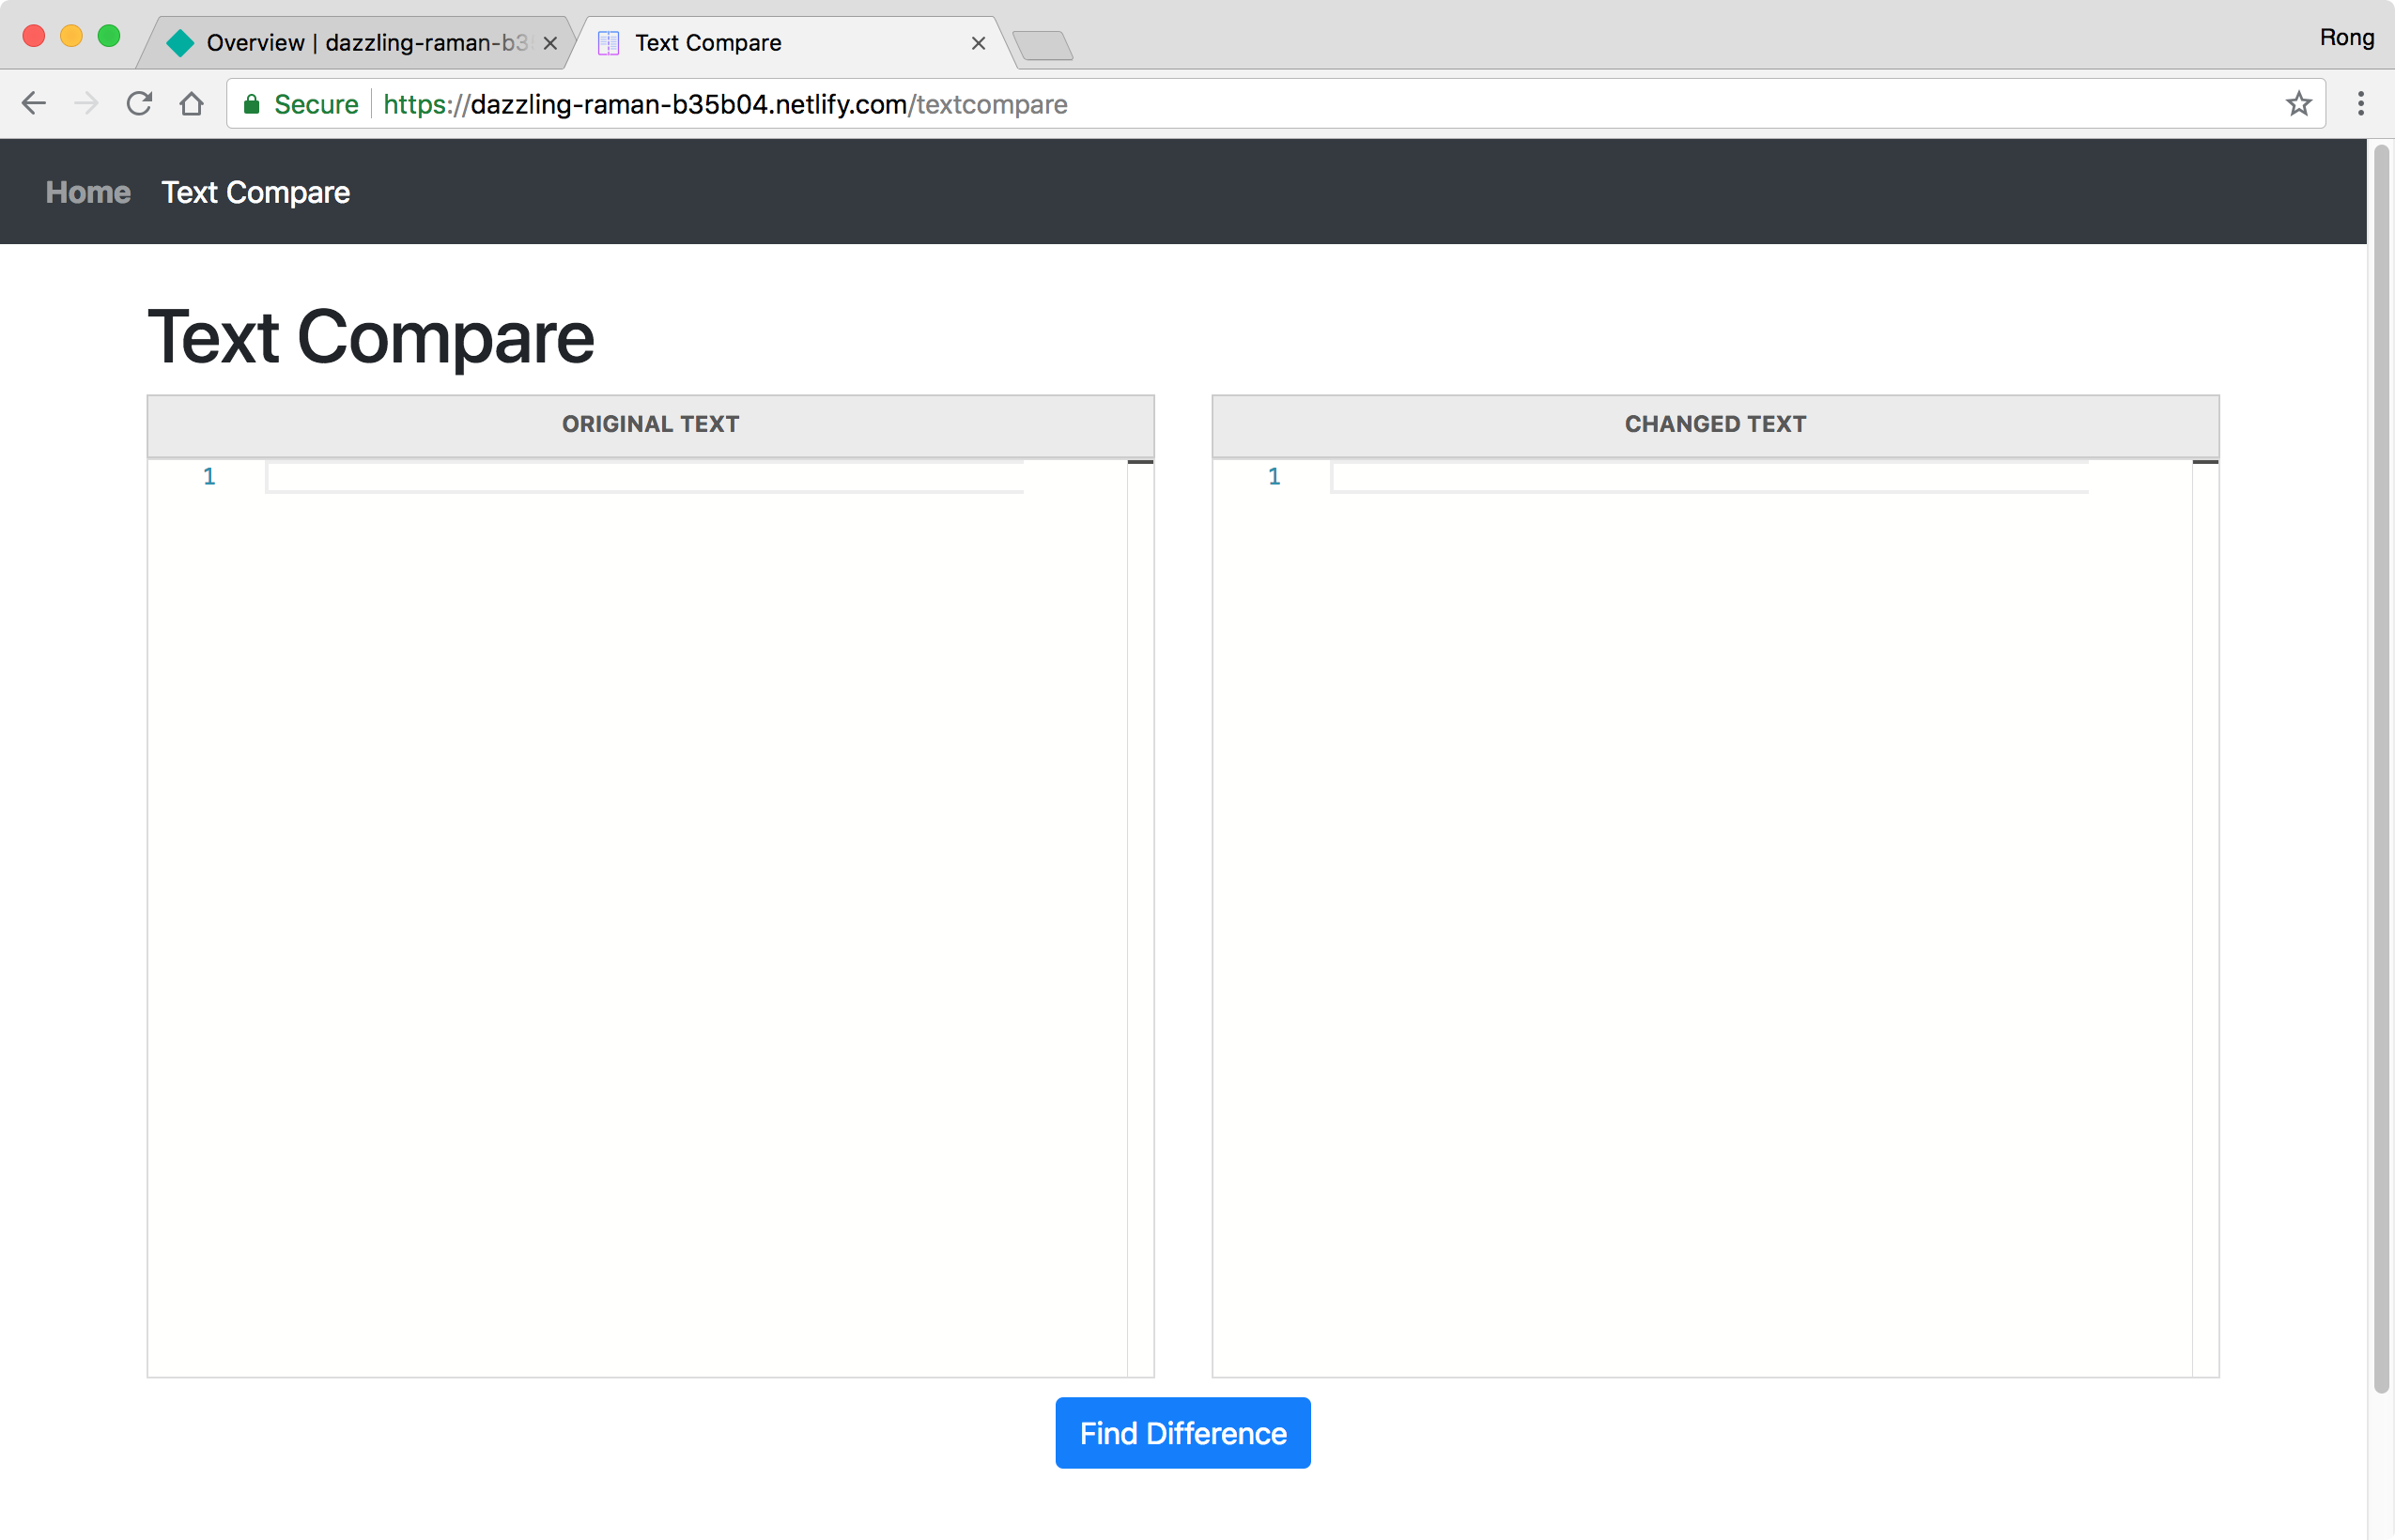 Try to input some texts in the two input boxes and click ‘Find Difference’ button. You should be able to see the difference.
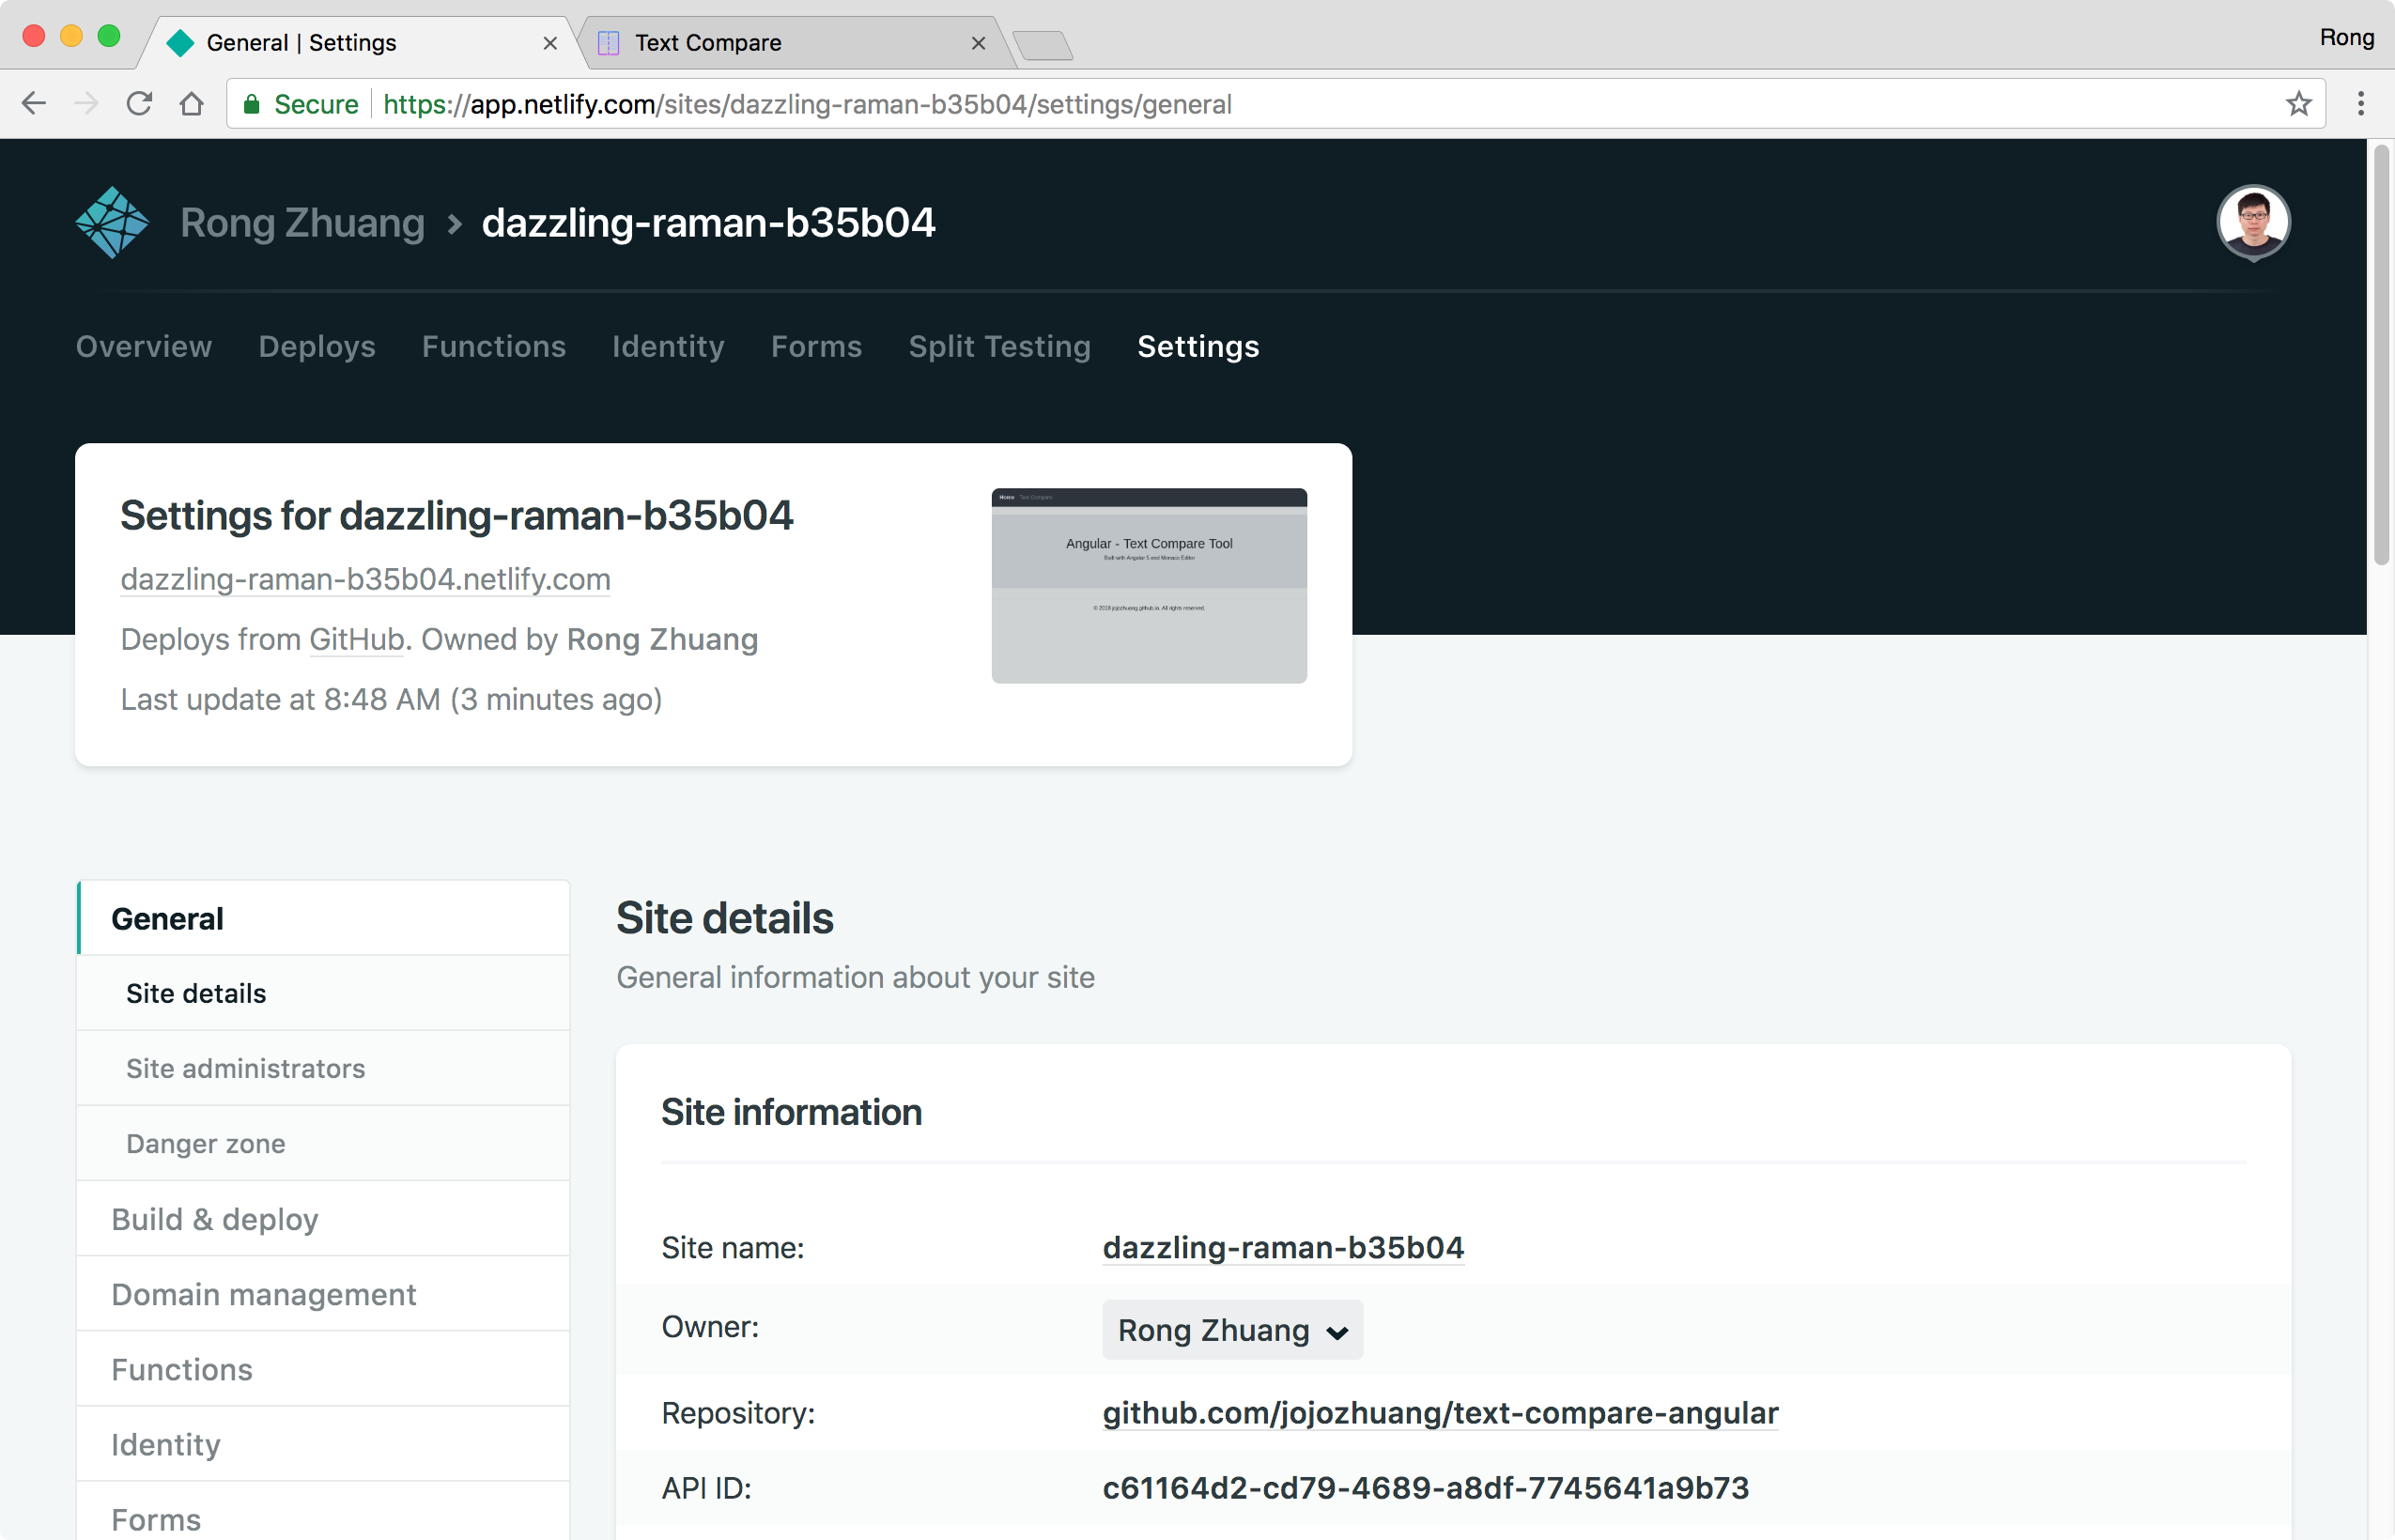
2.4 Changing Site Name
Switch to Settings tab, scroll down and click the ‘Change site name’ button.
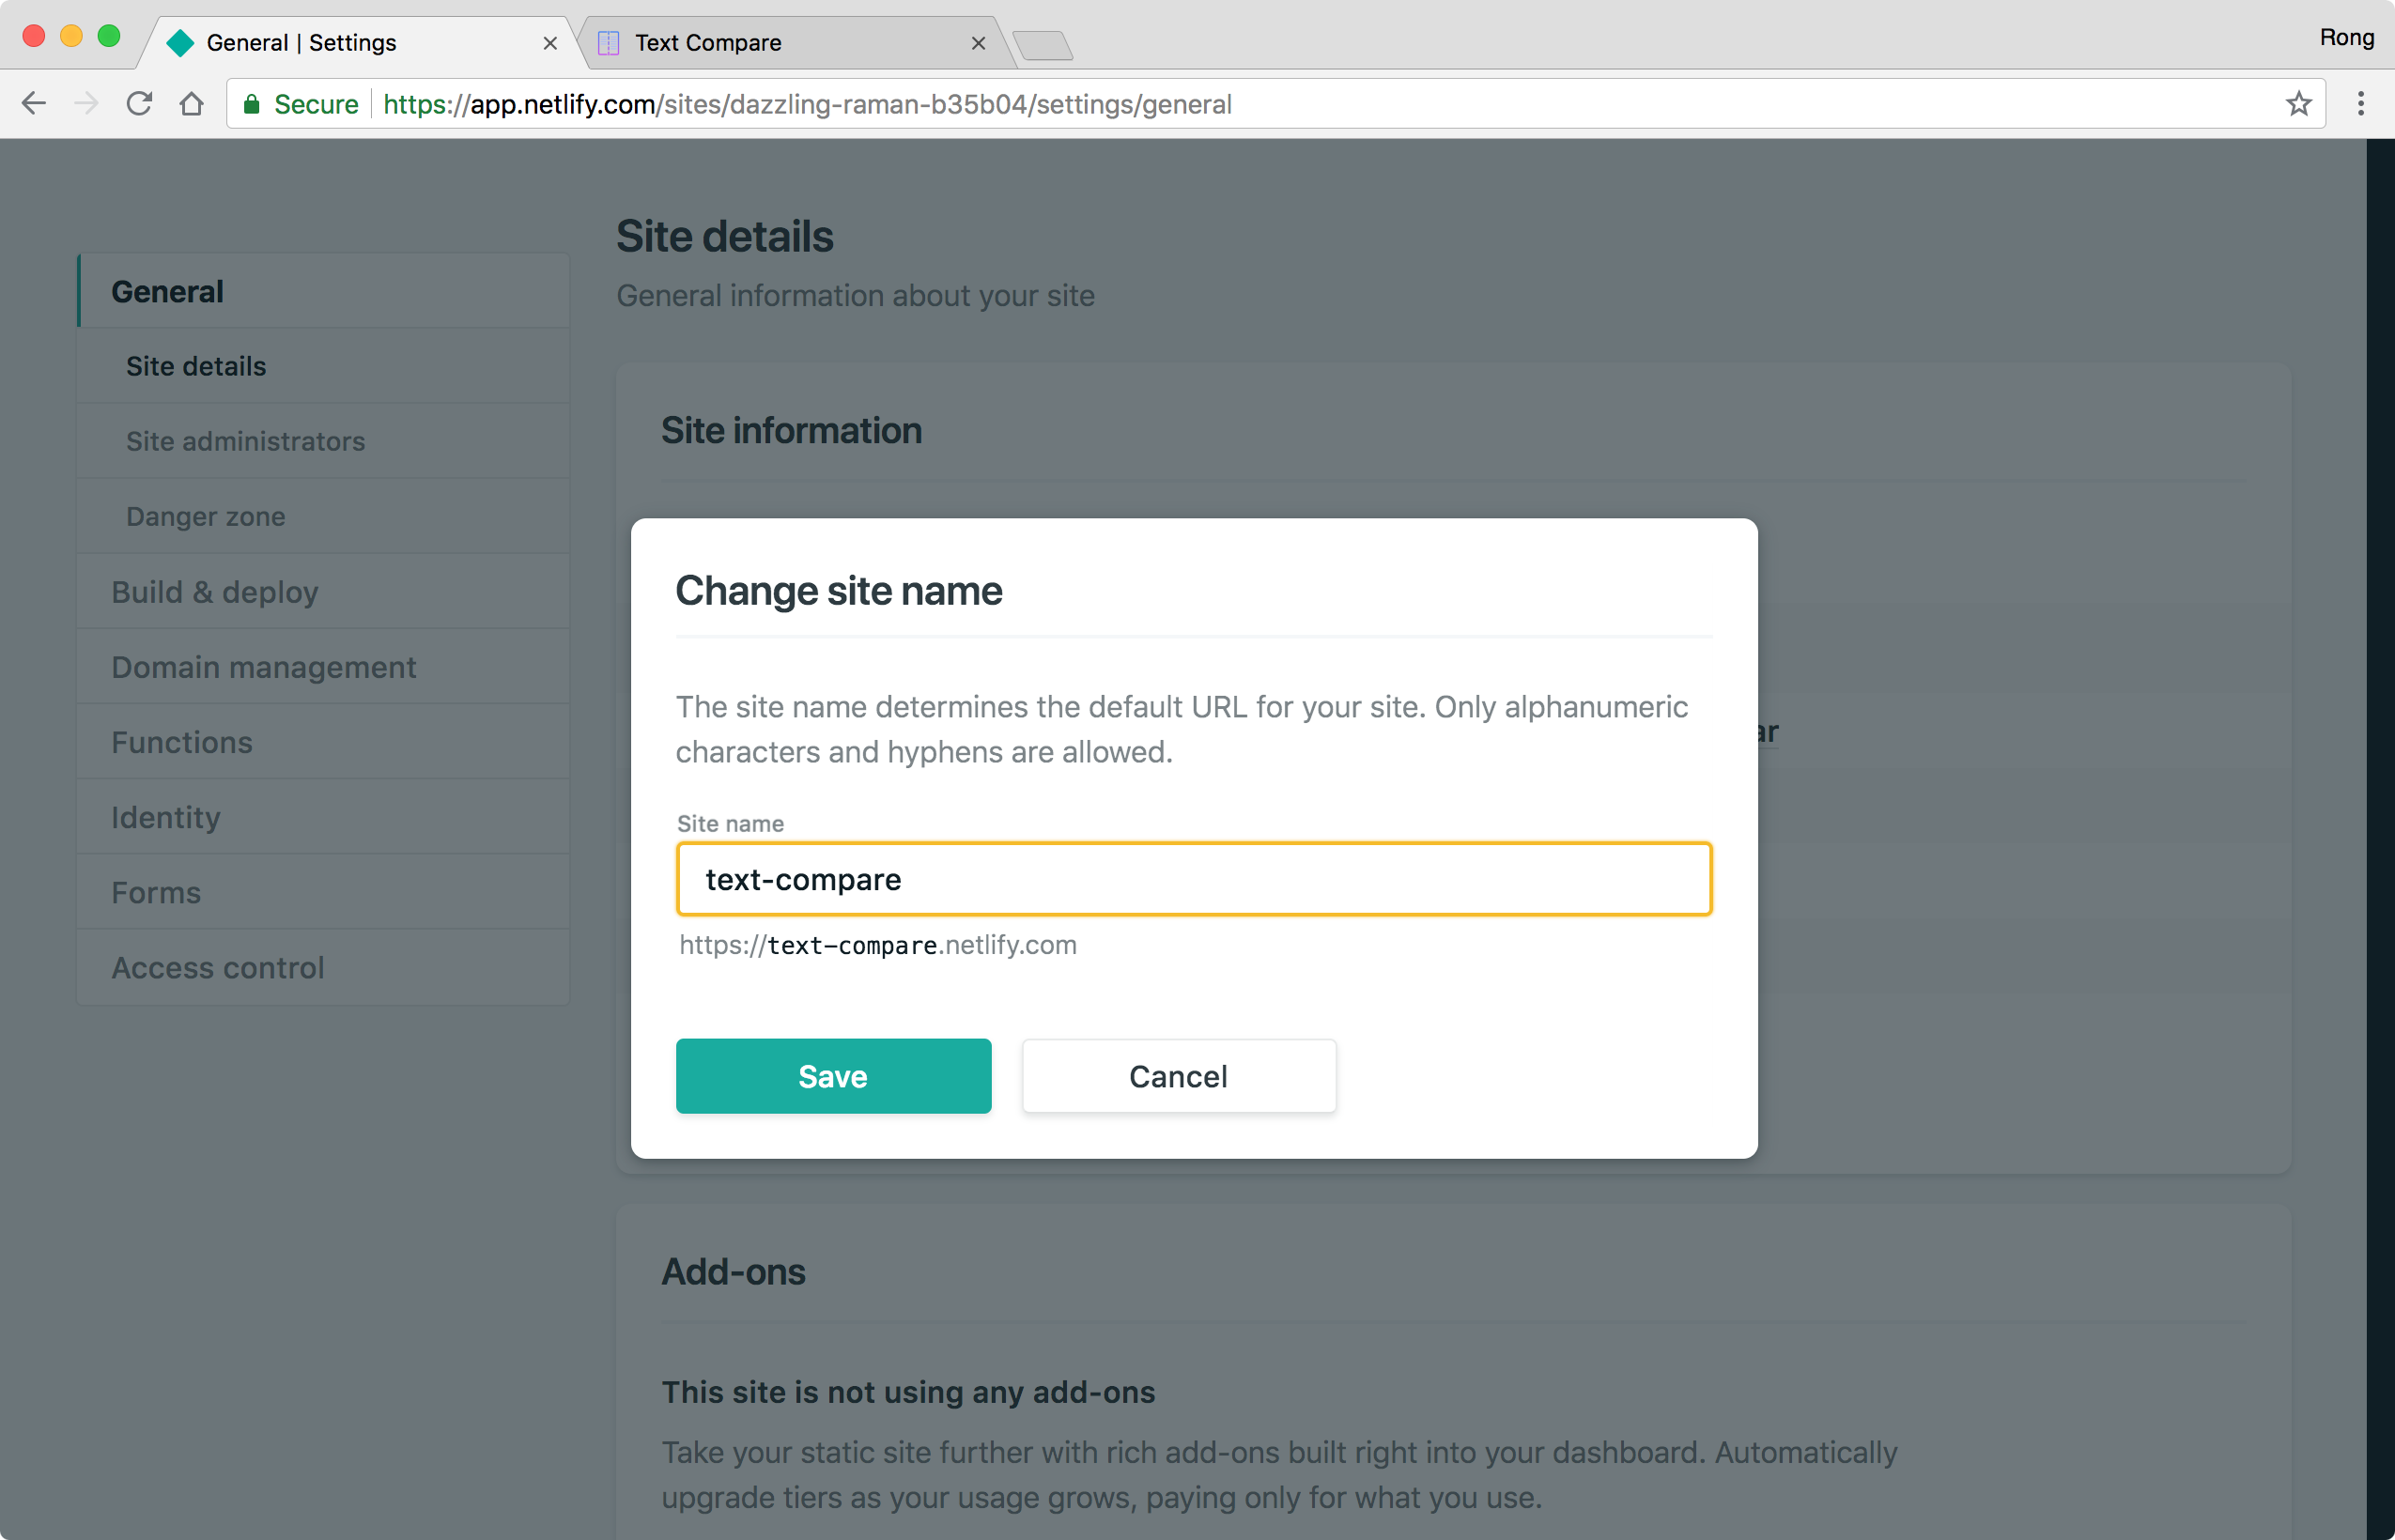
 Change the name to ‘text-compare’ and save.
 Access your site with the new URL, it should work.