9601. Deploying ASP.NET MVC Application to IISIIS and ASP.NET
Deploy ASP.NET application to local IIS web server.
There are totally 4 steps:
- Install required components in IIS.
- Publish files to IIS: copy files to server and create website in IIS.
- Add Port Exception to Windows Firewall.
- Assign public IP Address to your website.
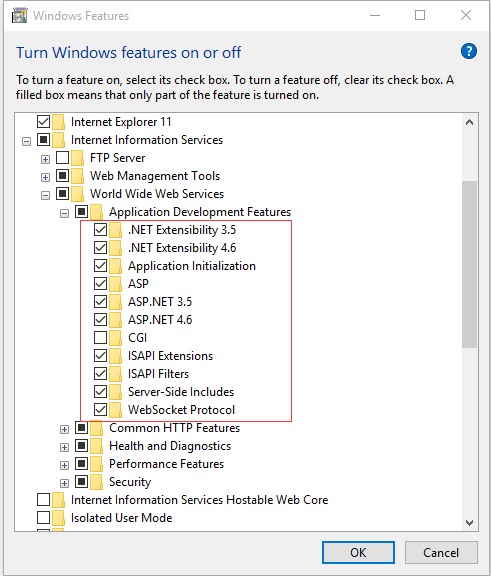
1. Installing required components in IIS
Control Panel-> Programs and Features
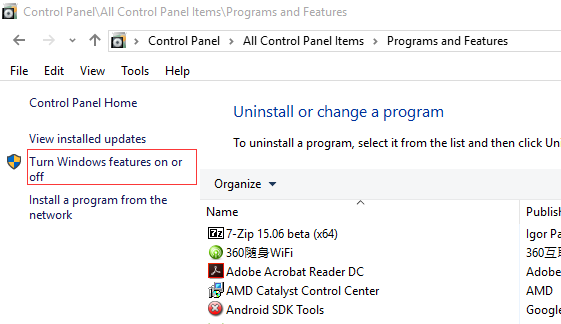
Select IIS(Internet Information Services)
2. Publishing files to IIS
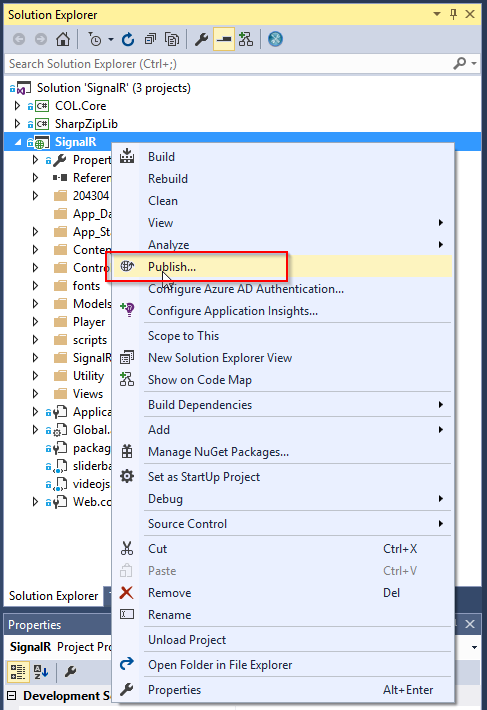
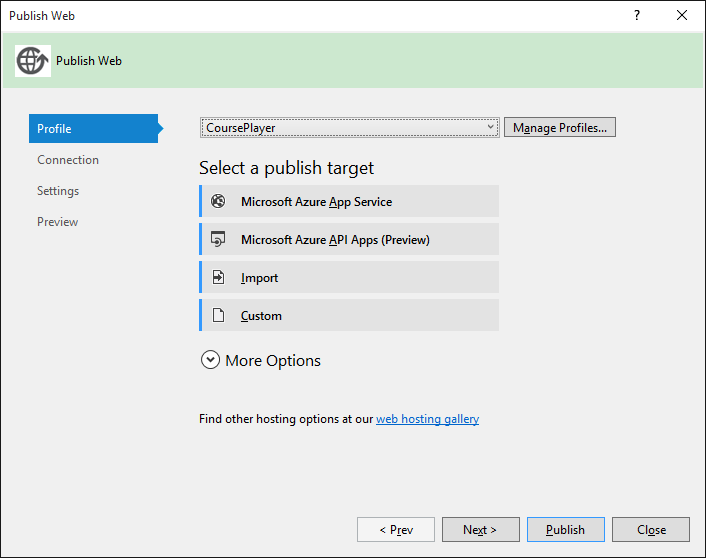
2.1 Starting to Publish
In Visual Studio, select project - > Publish…
2.2 Creating a new profile
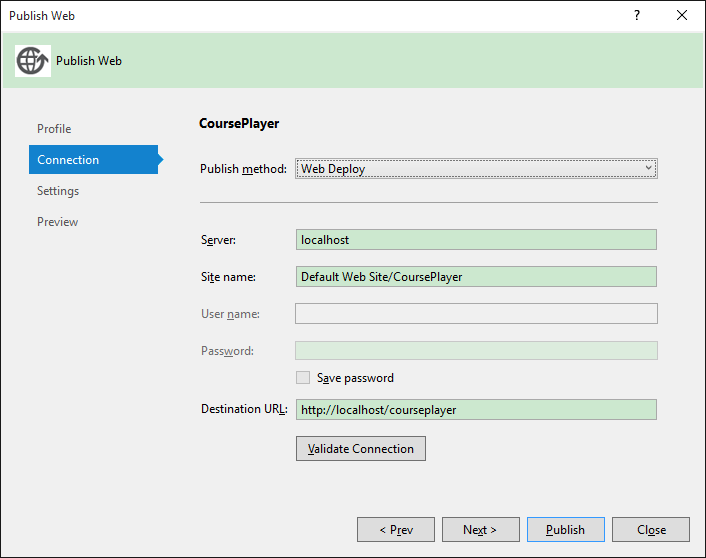
2.3 Connection
Configure server and website. Here we choose the default website.
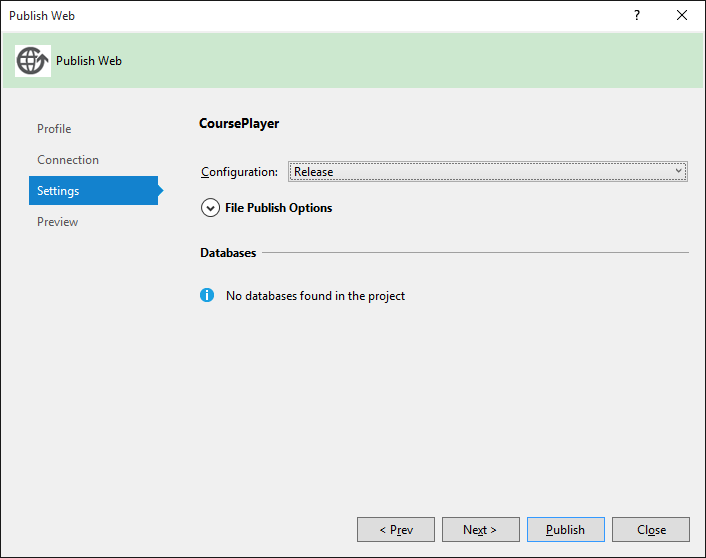
2.4 Settings
Choose ‘Release’.
2.5 Preview
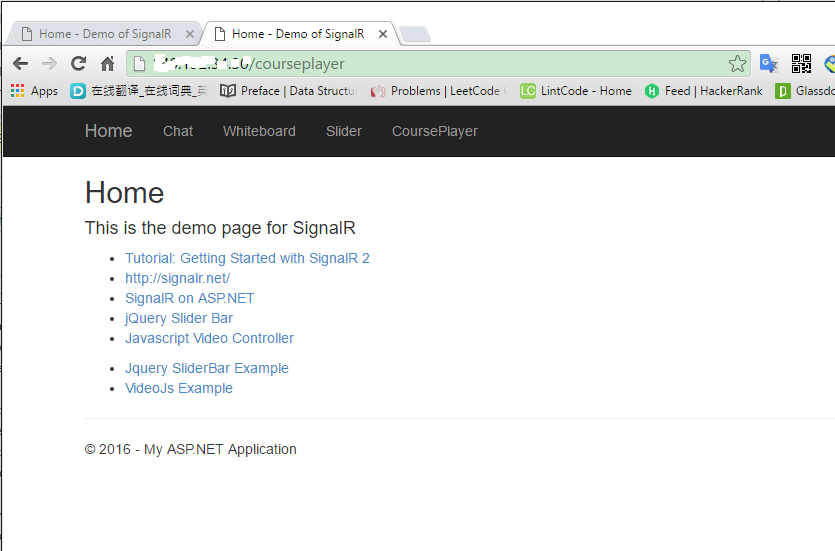
Check what files are to be deployed. Click ‘Publish’ button if no issue.
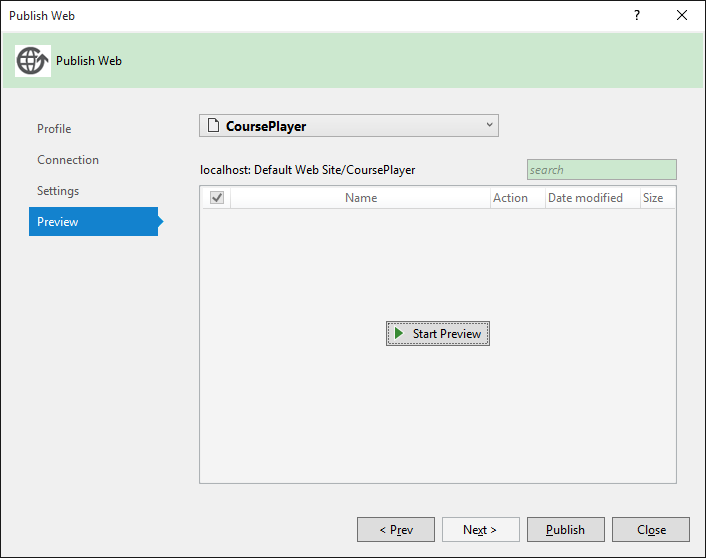
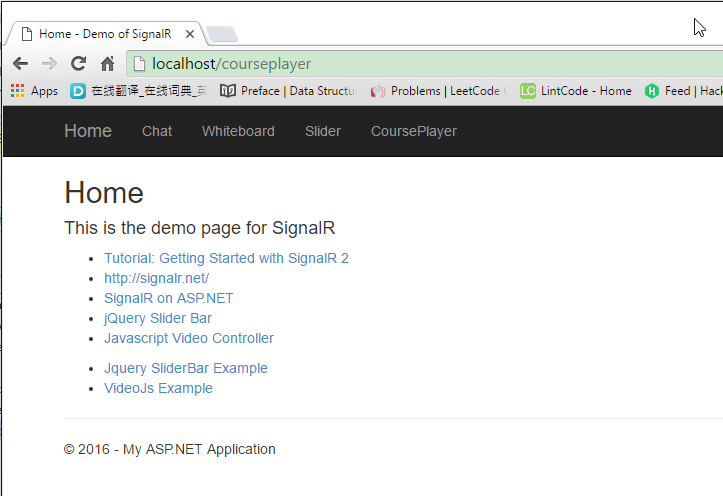
Your web browser will be opened automatically to access your website.
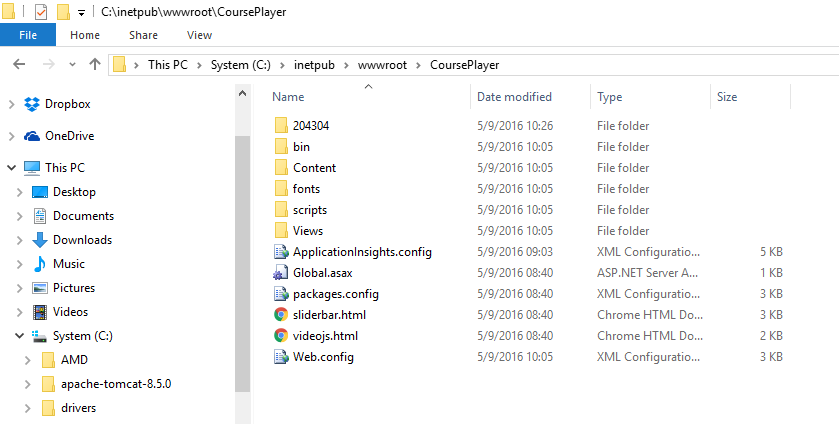
2.6 Files in IIS After Publish
All of files for the published website are copied to ‘C:\inetpub\wwwroot\CoursePlayer’.
3. Adding Port Exception to Firewall
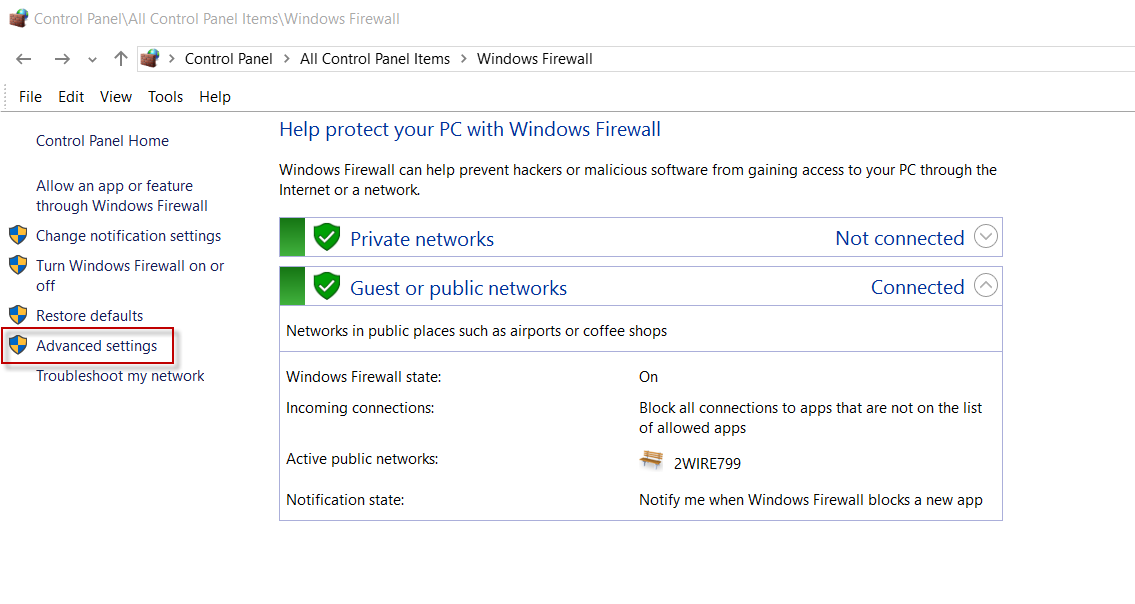
3.1 Opening Firewall
Control Panel -> Windows Firewall
3.2 Advanced setting
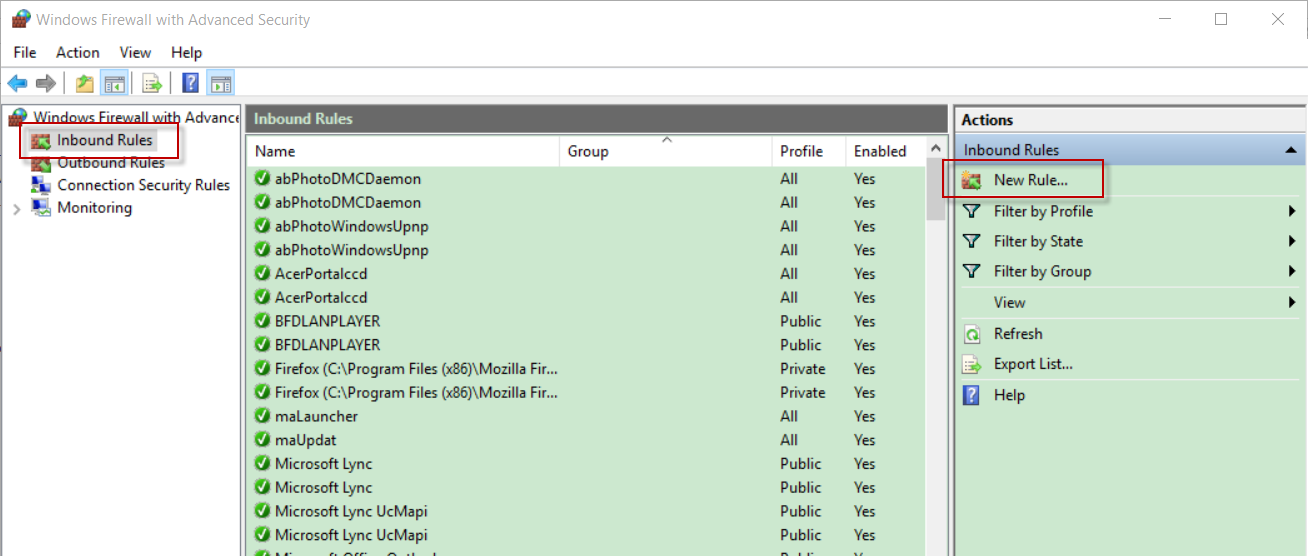
3.3 Inbound Rules -> New Rule…
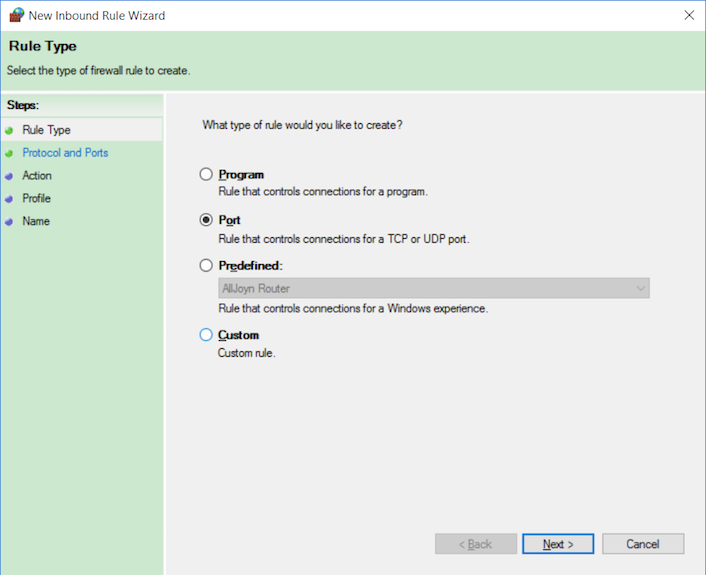
3.4 Rule Type
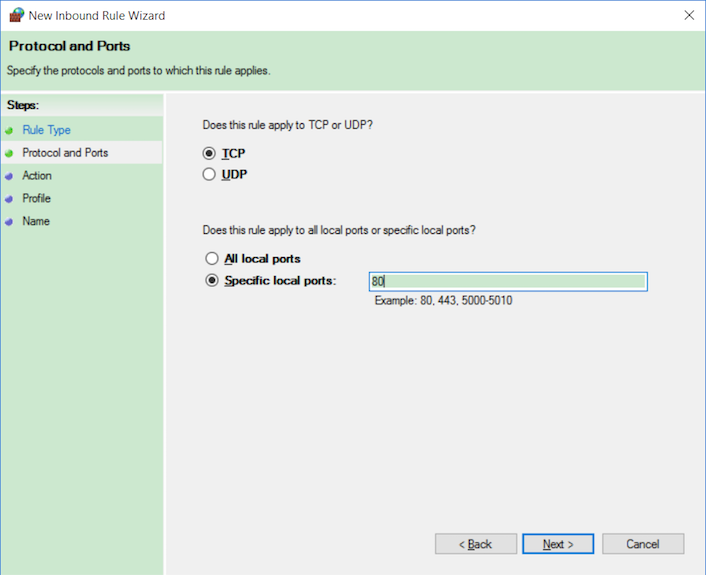
3.5 Protocol and Ports
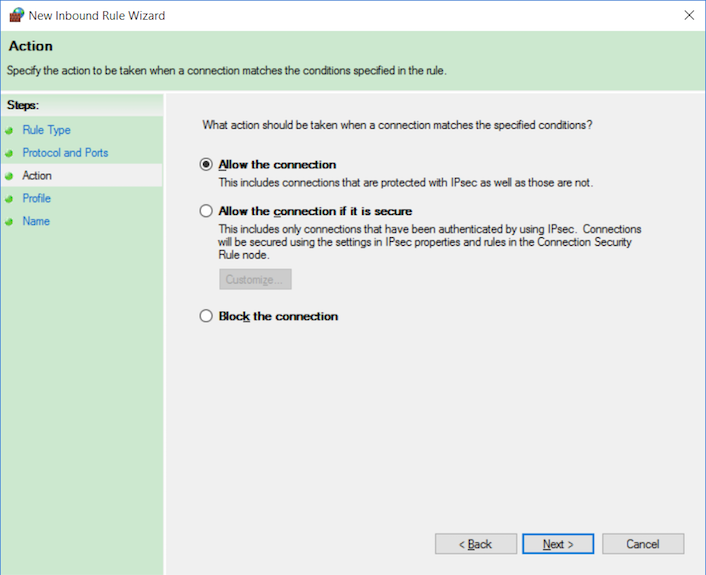
3.6 Action
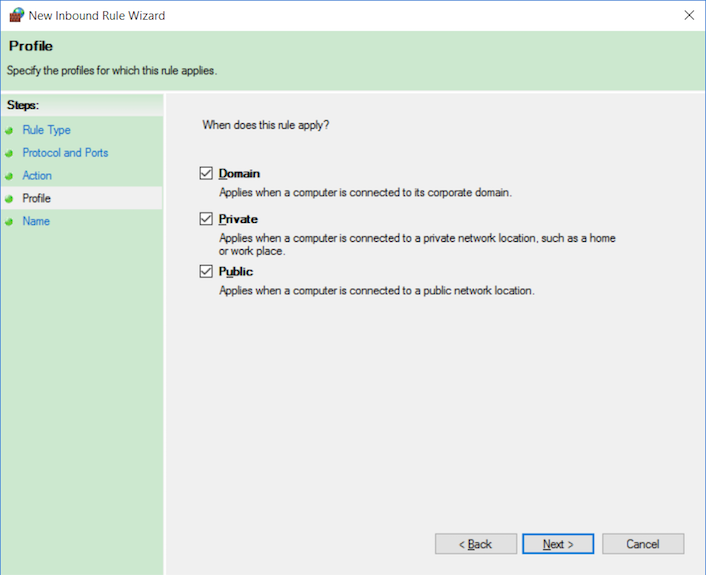
3.7 Profile
3.8 Name
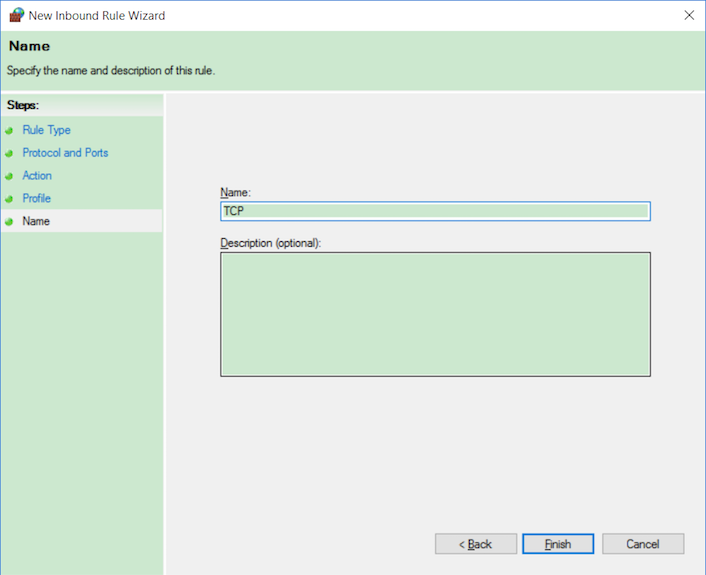
After the above steps, your machine is exposed to the outside world.
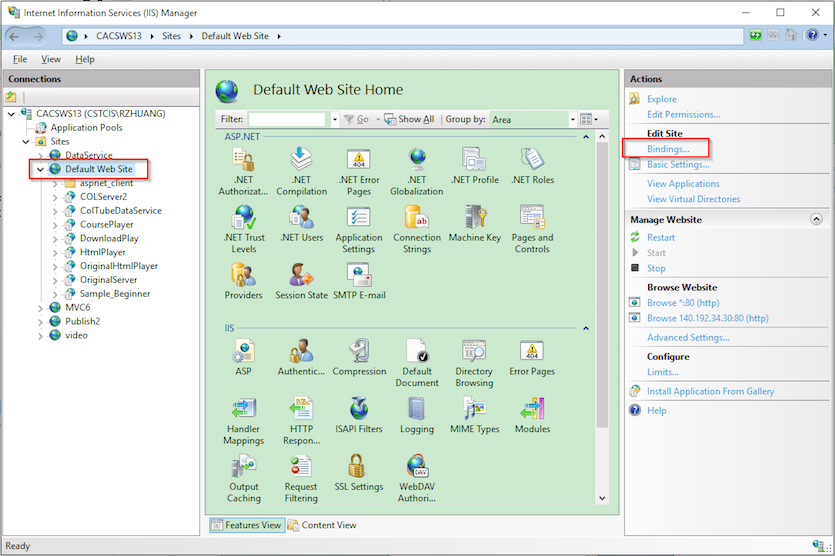
4. Assigning Public IP address to your website.
4.1 In IIS, add Binding to website
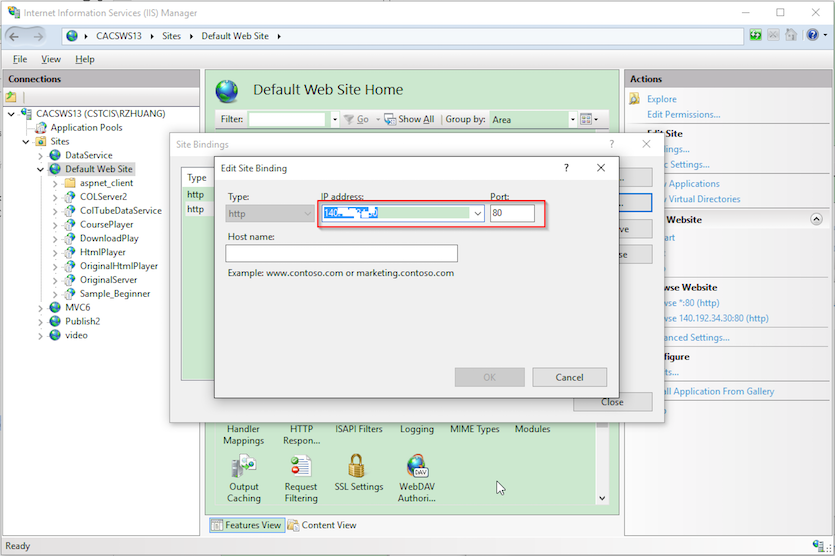
4.2 Setting IP Address and Port.
If you choose another port, you must add the port number to firewall exception, refer to step 3.
4.3 Accessing website with ip address, don’t miss the last slash.