4127. AWS-EC2-Elastic File SystemAWS and EC2
Share data between multiple instances with EFS.
1. Elastic File System
1.1 What Is EFS?
Amazon Elastic File System (Amazon EFS) provides a simple, scalable, fully managed elastic NFS file system for use with AWS Cloud services and on-premises resources. It is built to scale on demand to petabytes without disrupting applications, growing and shrinking automatically as you add and remove files, eliminating the need to provision and manage capacity to accommodate growth.
1.2 Benefits of Using EFS
- Supports the Network File System version 4 (NFSv4) protocol.
- You only pay for the storage you use (no pre-provisioning required.)
- Can scale up to the petabytes
- Can support thousands of concurrent NFS connections
- Data is stored across multiple AZ’s within a region
- Read After Write Consistency
2. Lab - EFS
Create an EFS file system and two Linux instances that can share data using the file system.
2.1 Creating EFS
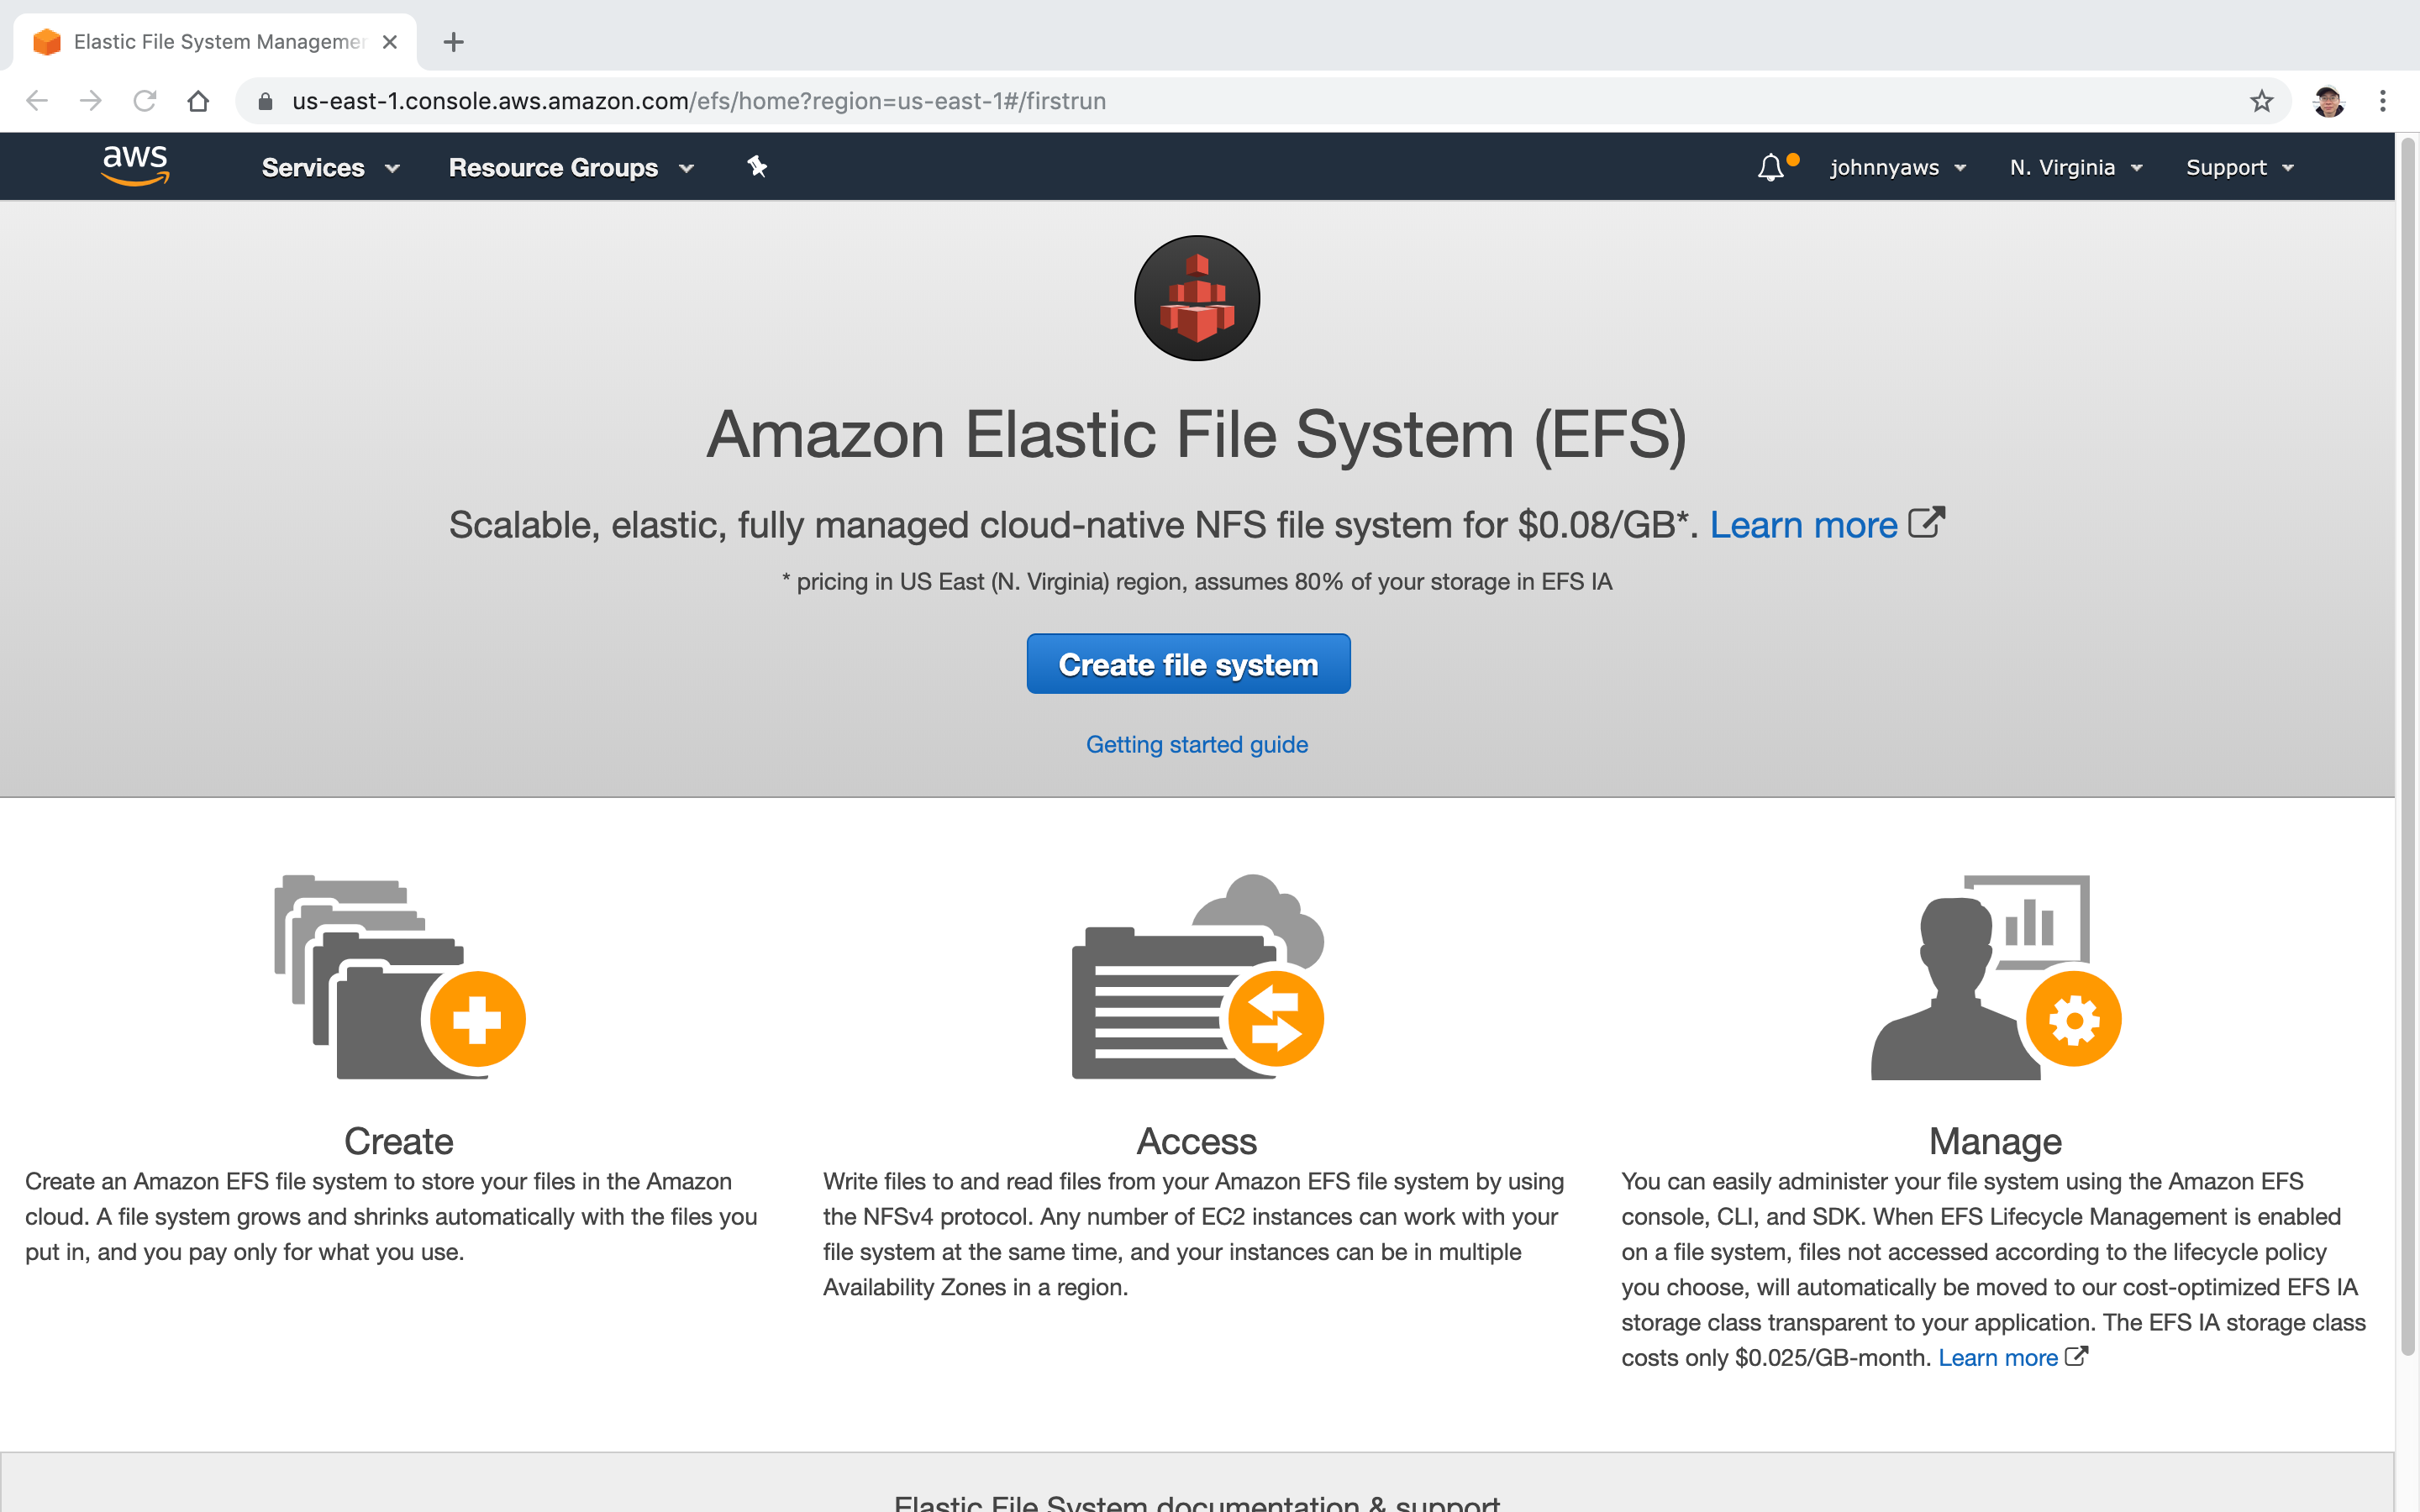
Go to Services->Storage->EFS, Create File System.
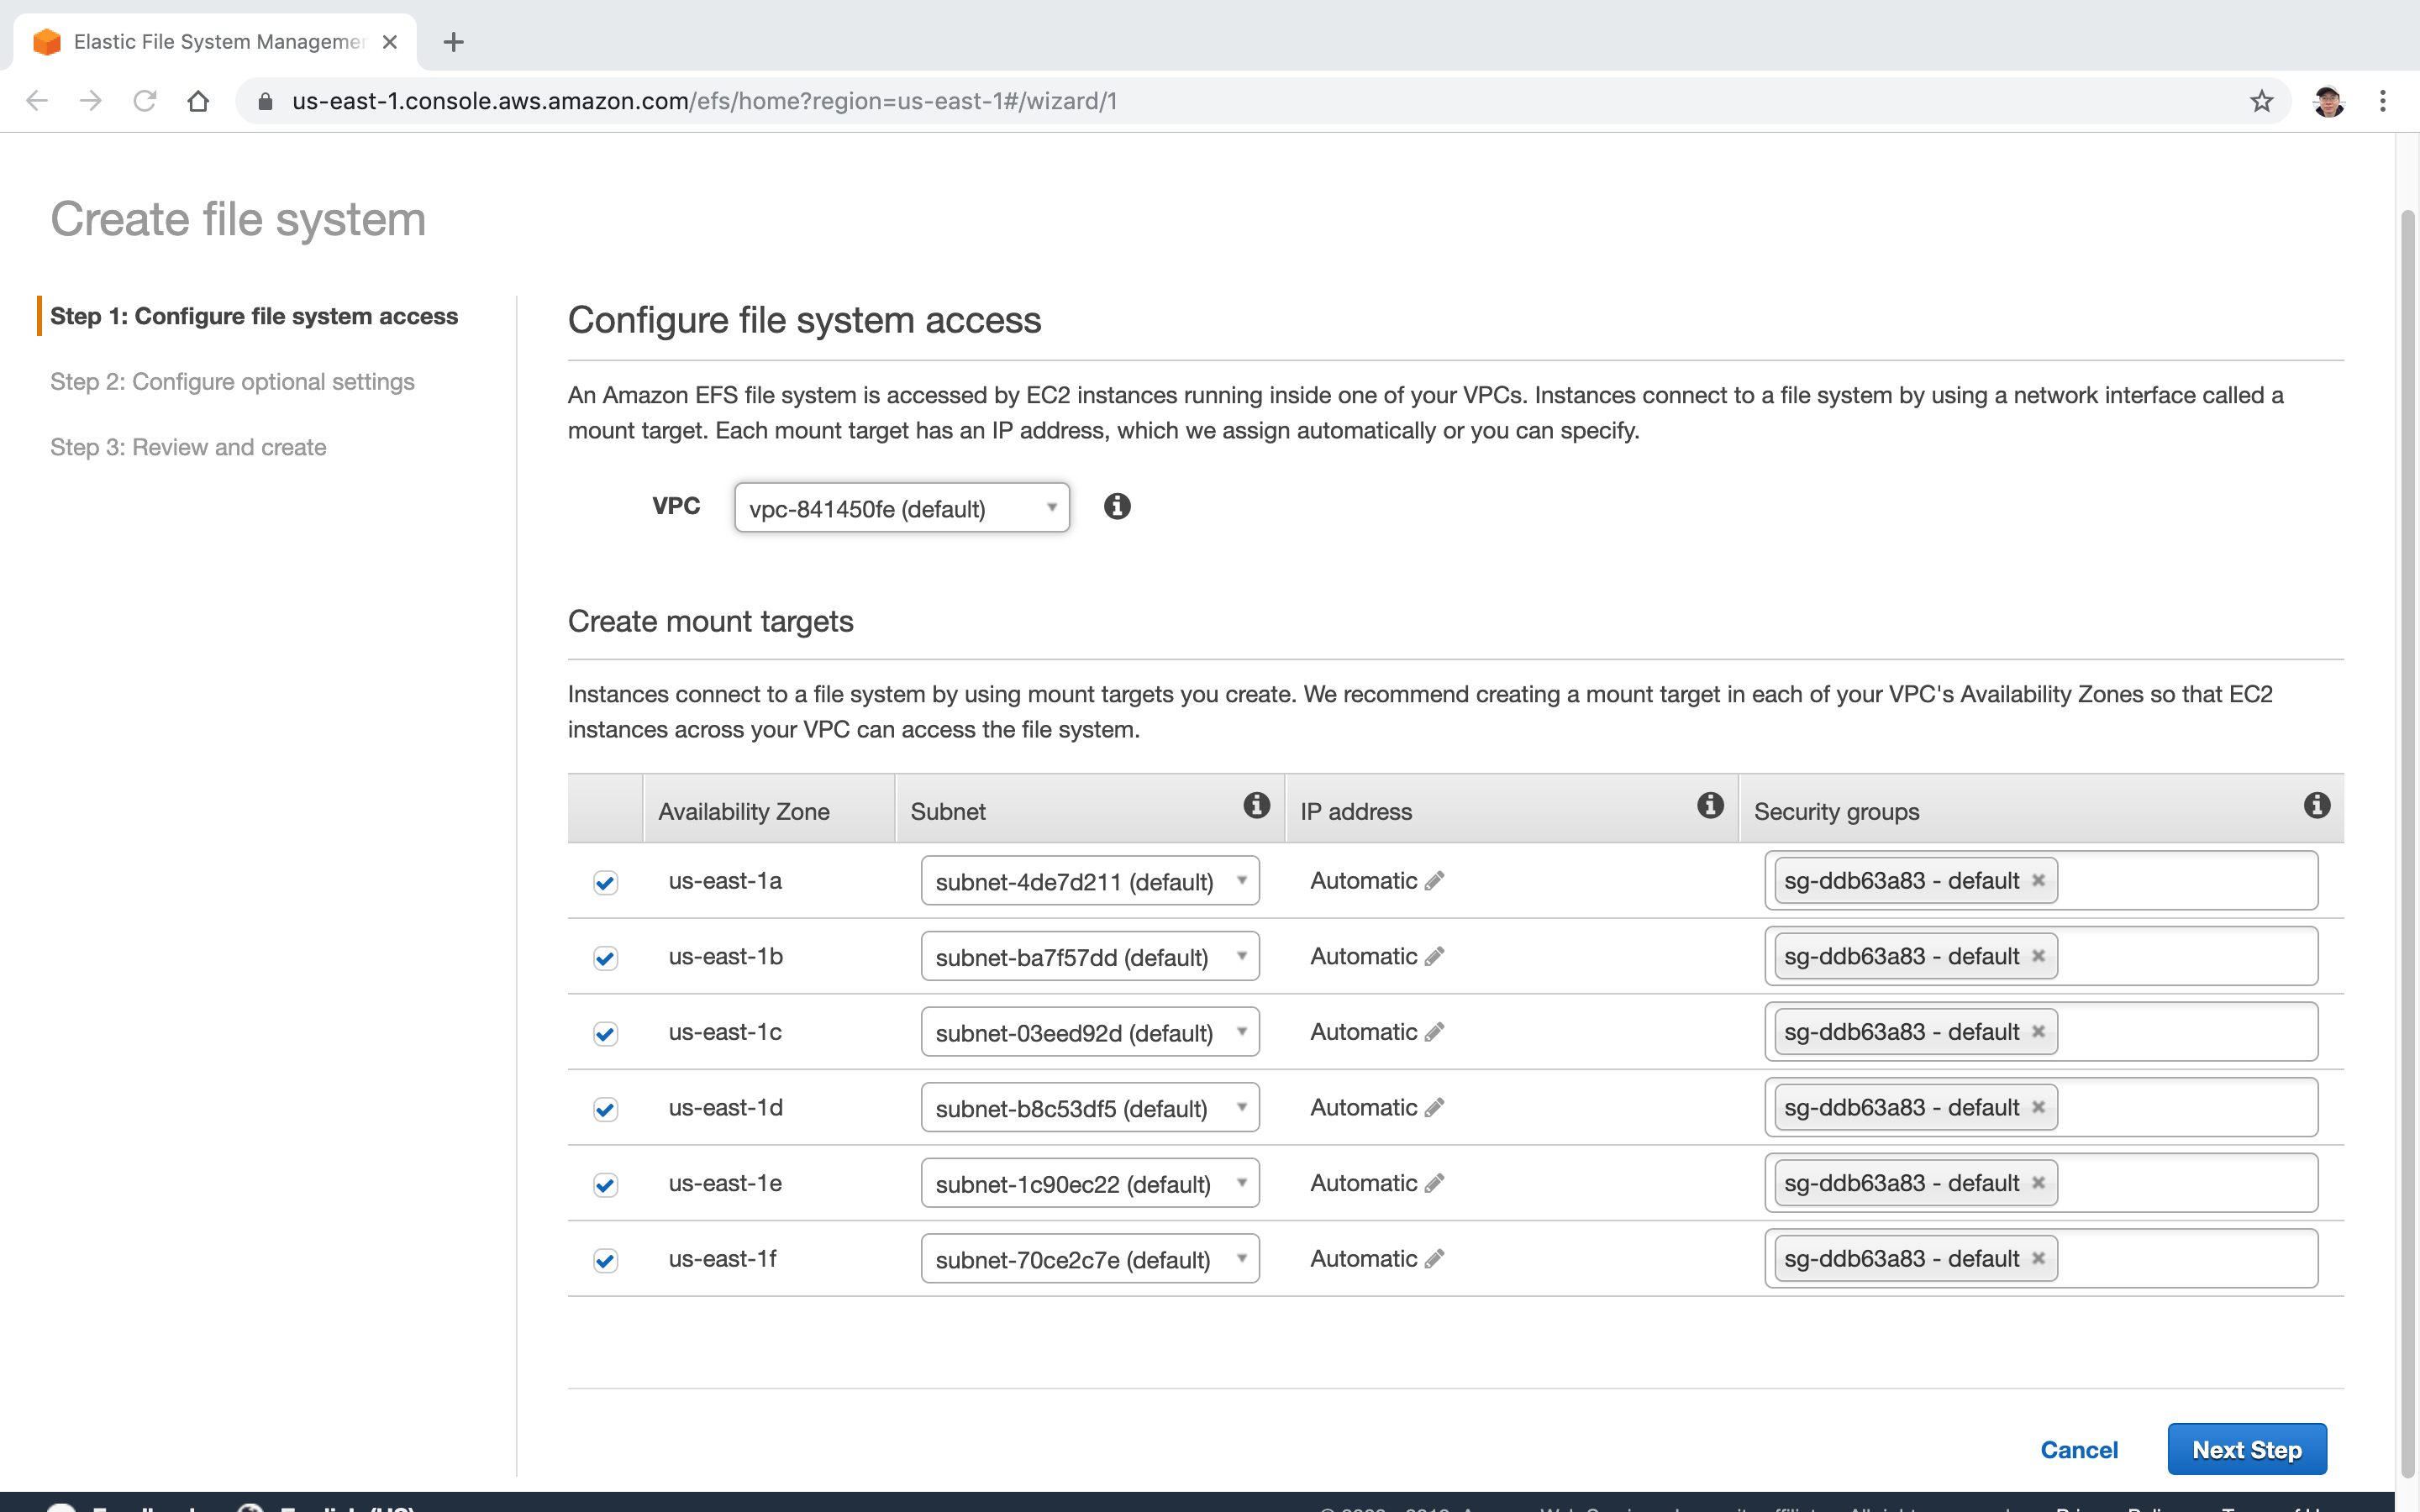
 Keep default, next.
 Just enable the encryption, next.
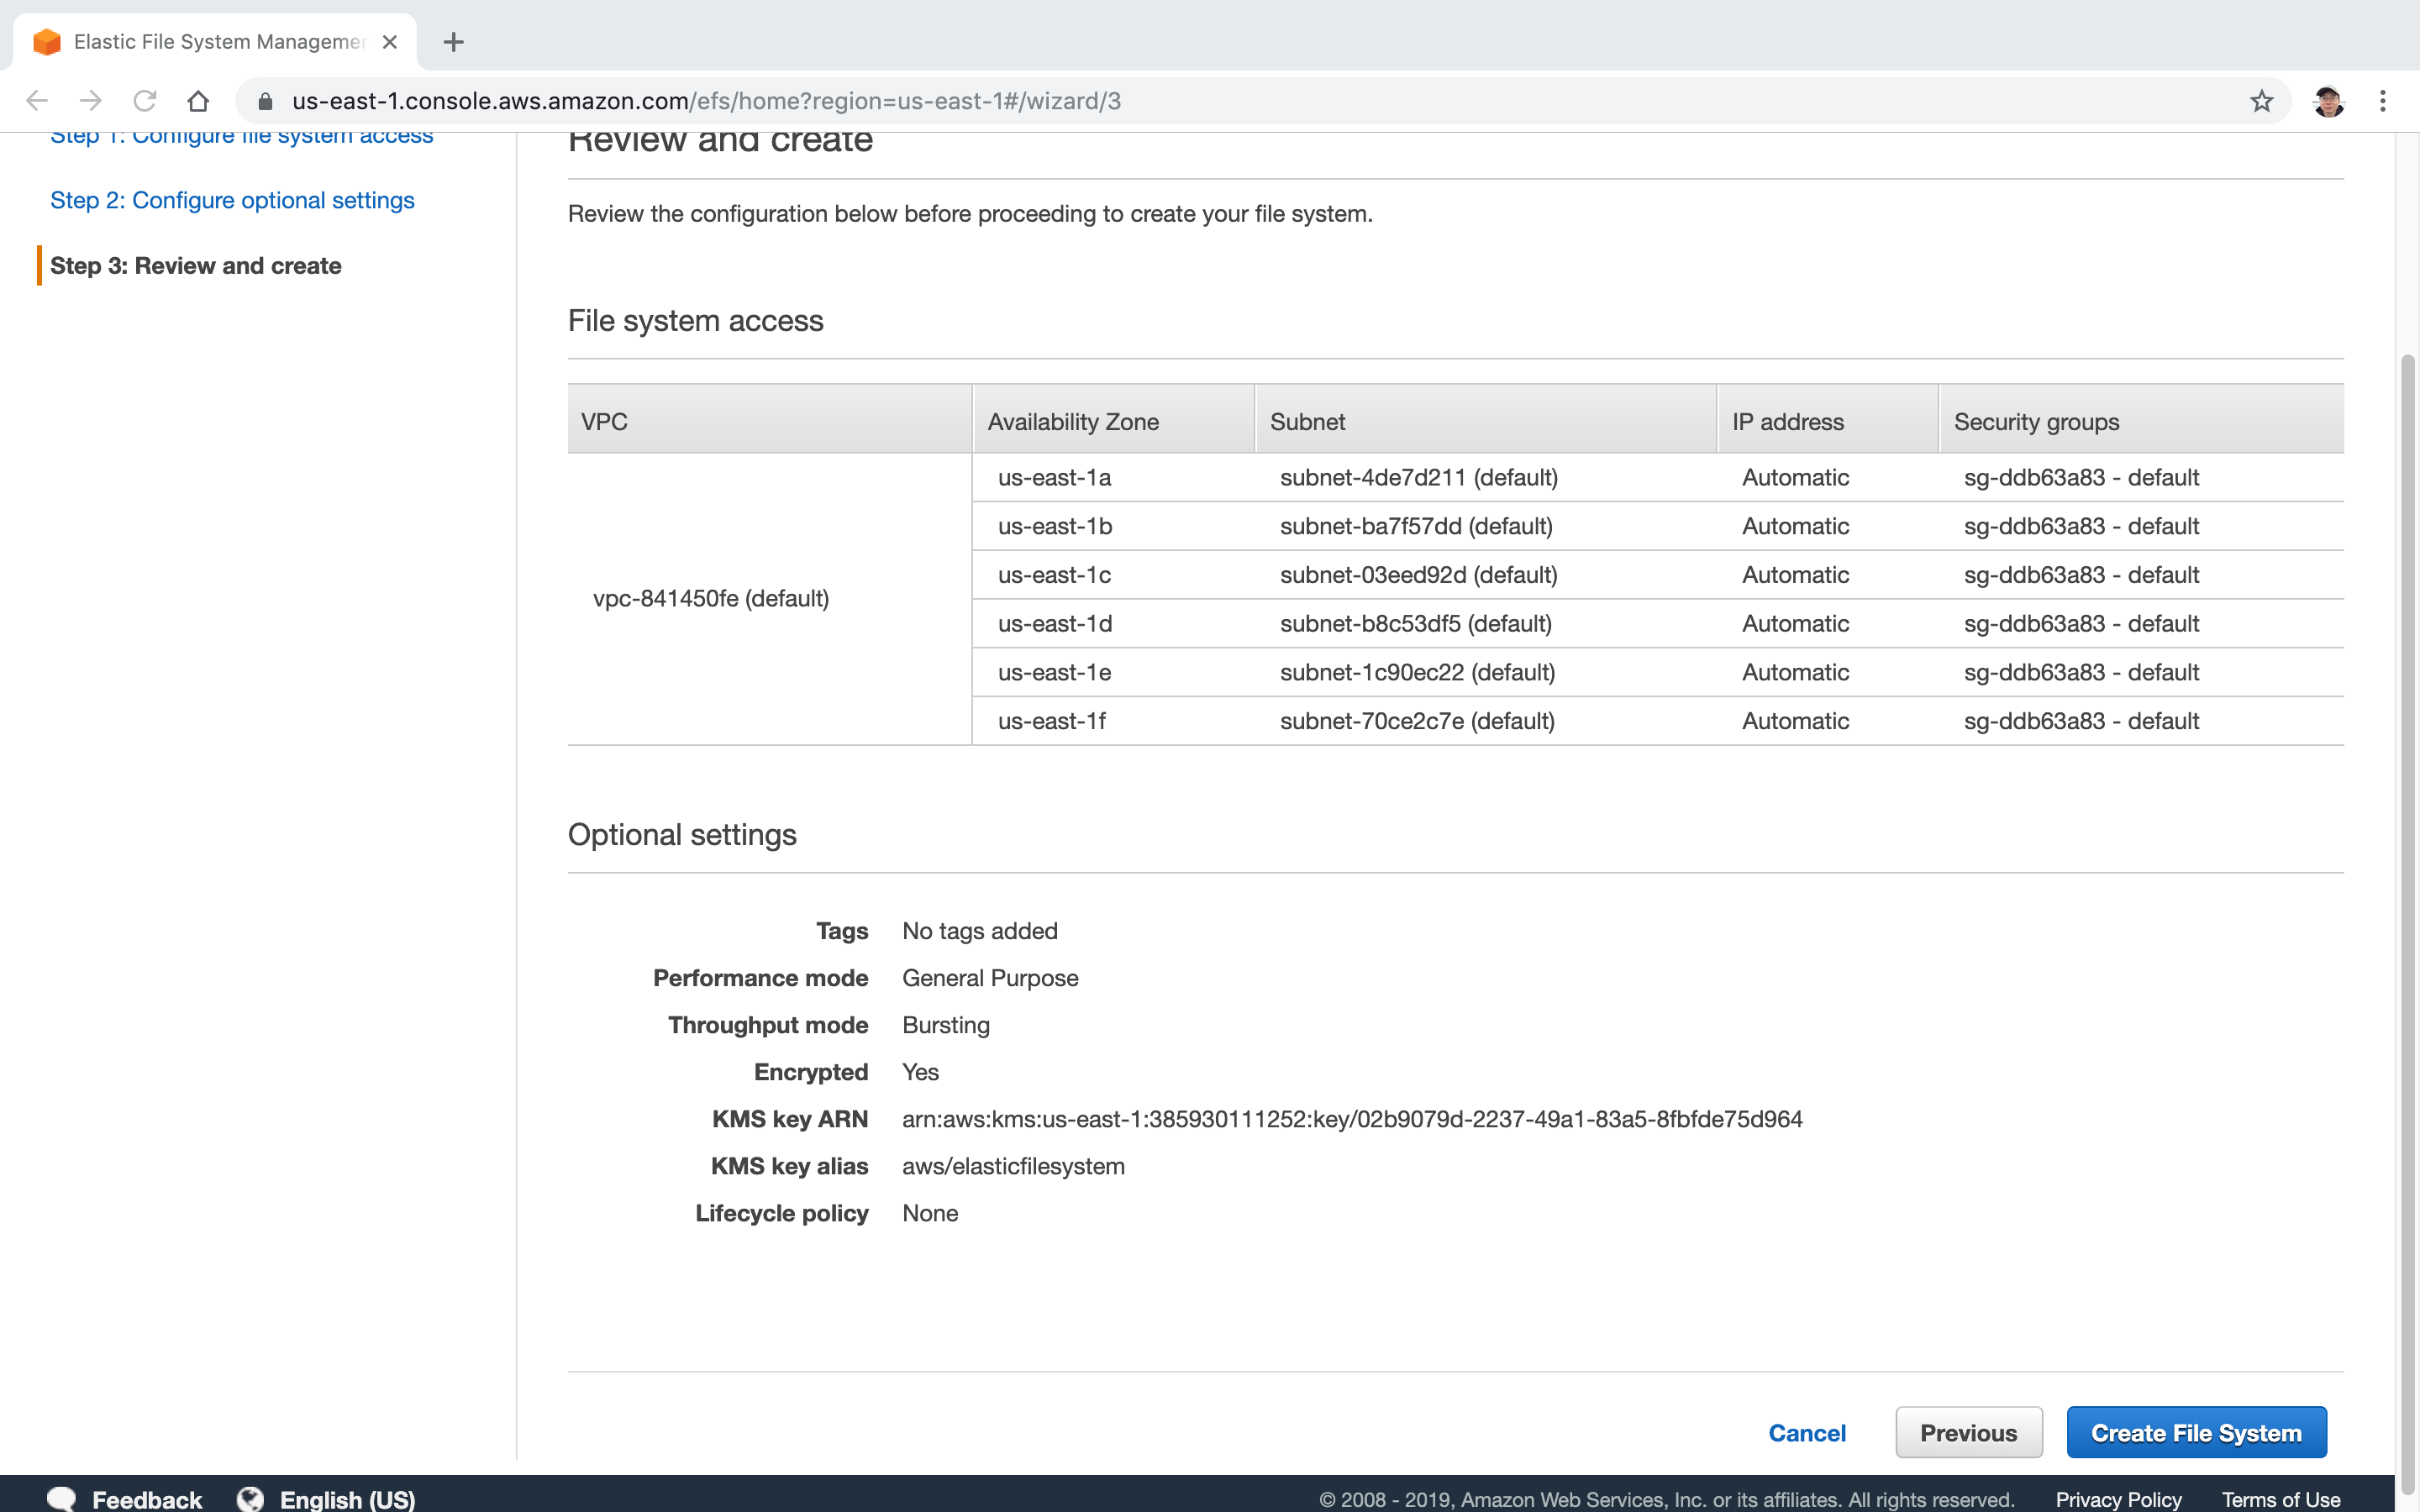
 Keep default, Create File System.
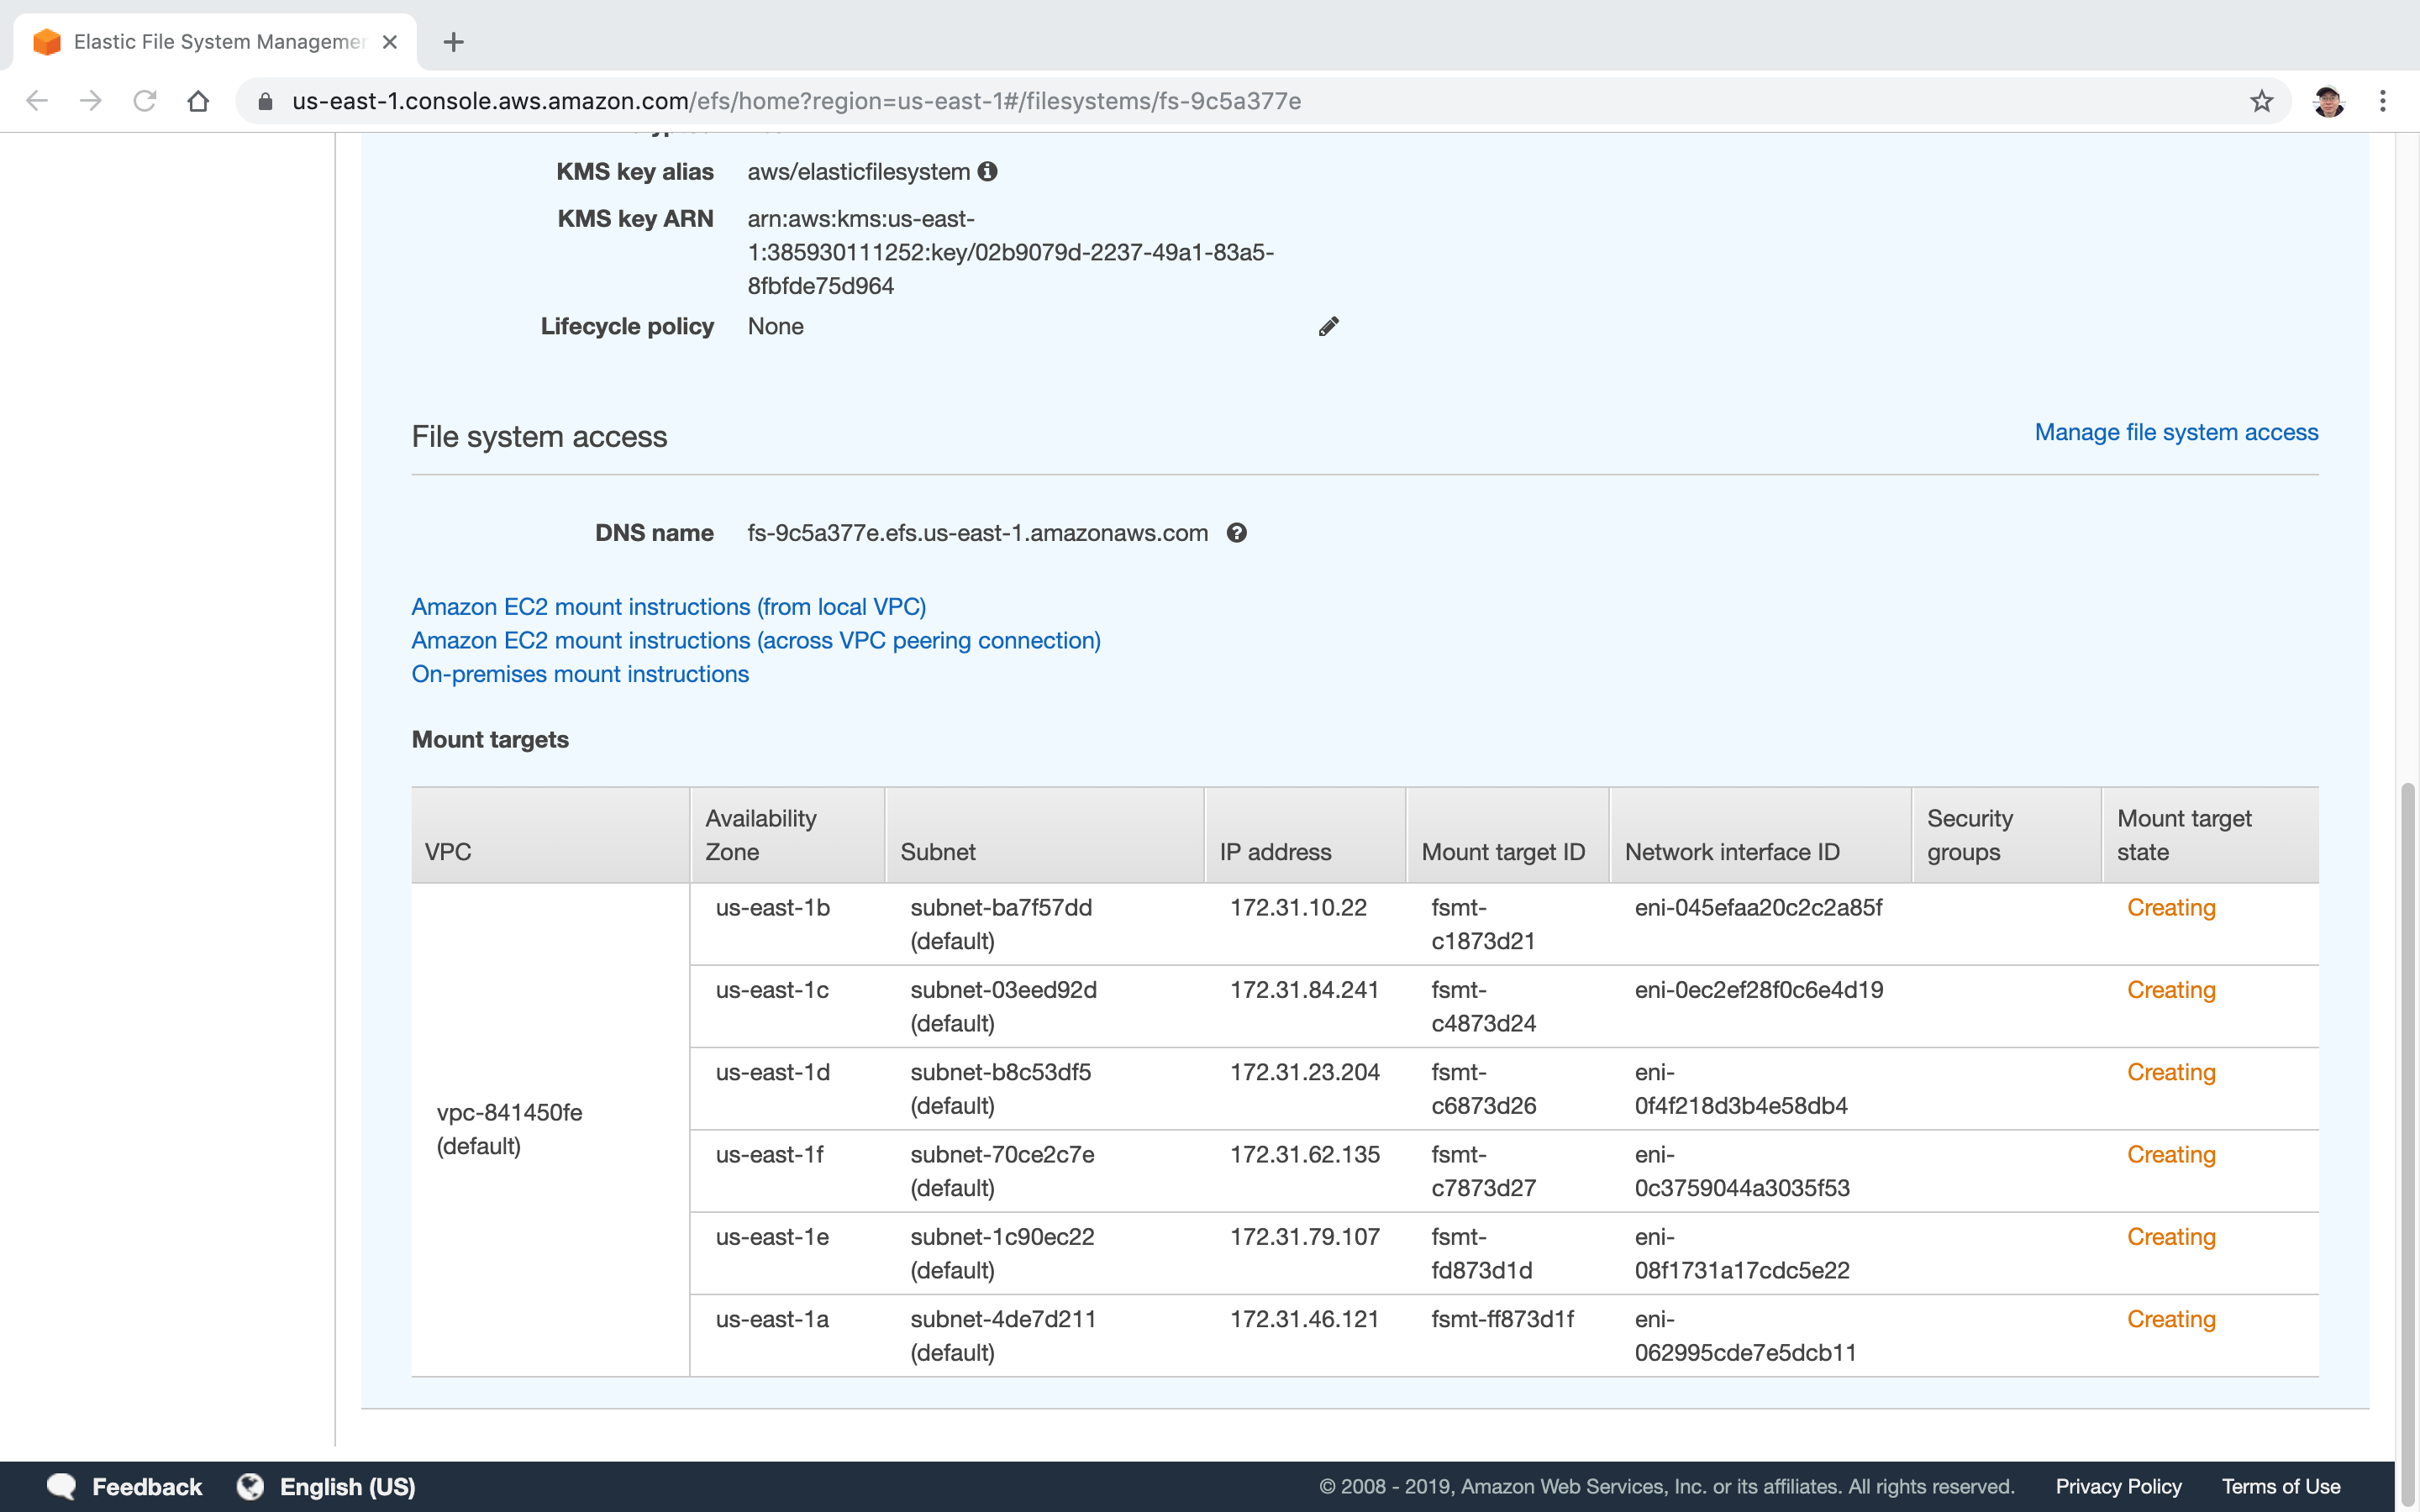
 It will take few minutes to finish.
 Mount targets are being created cross Availability Zones.
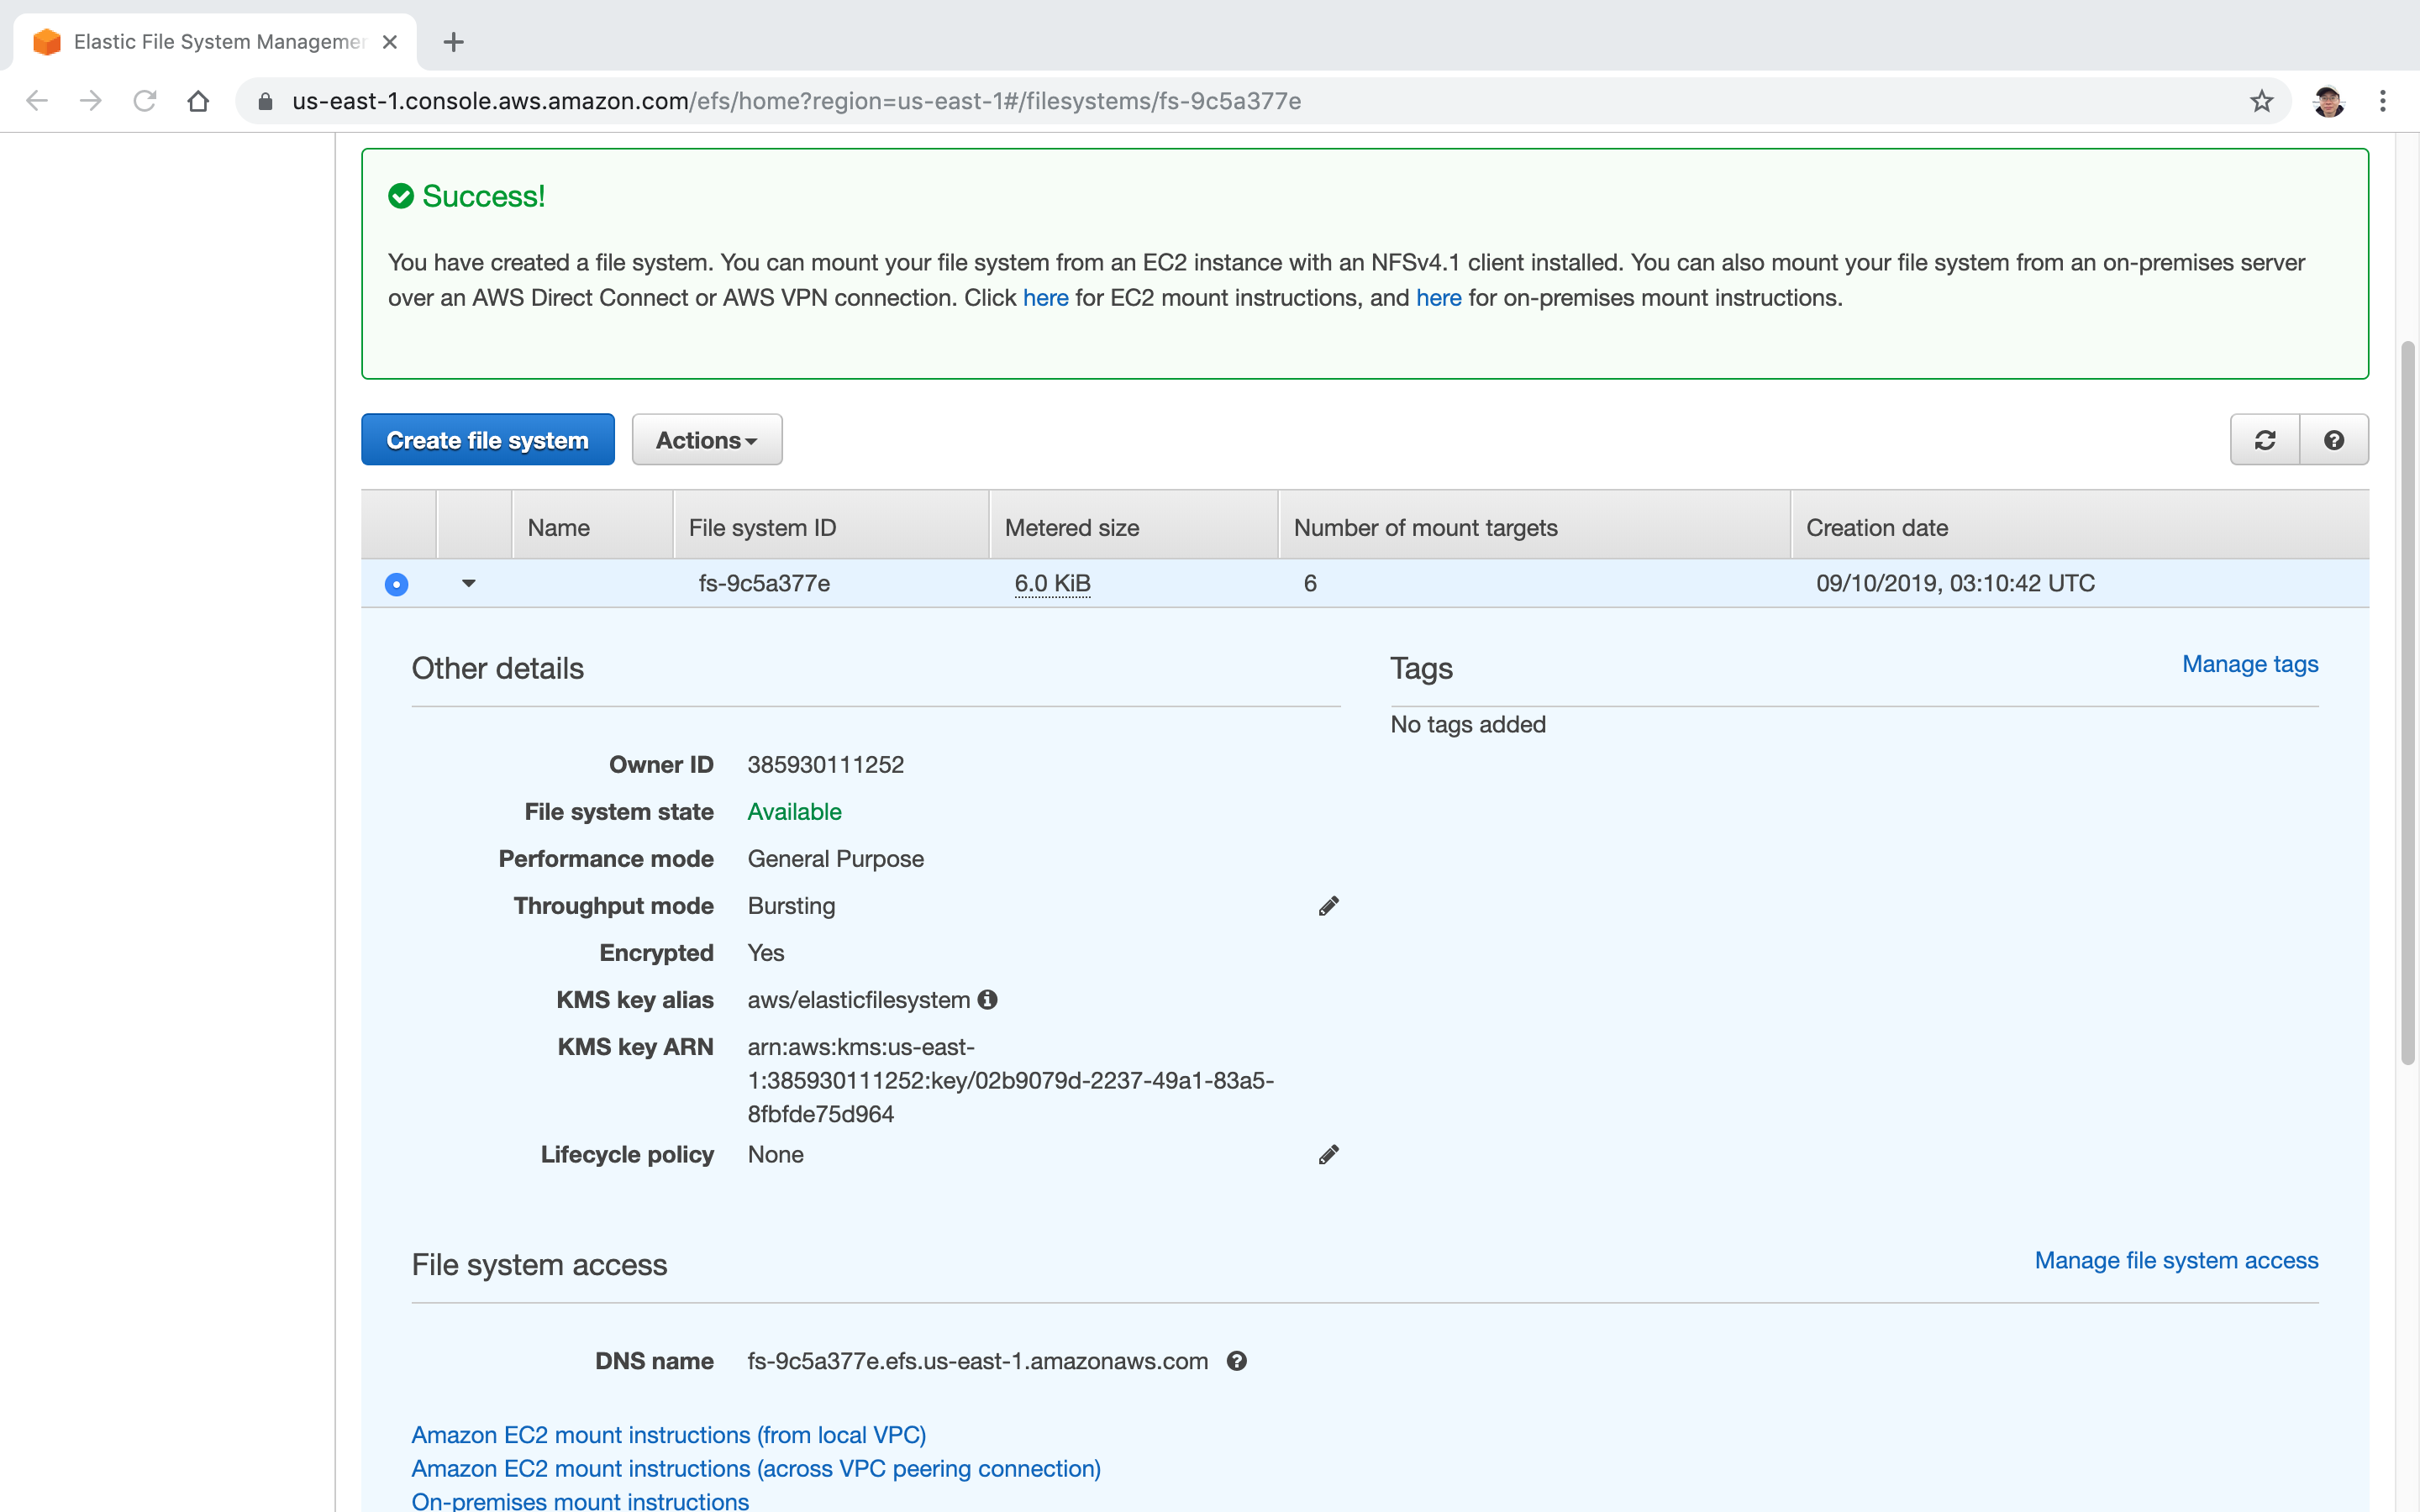
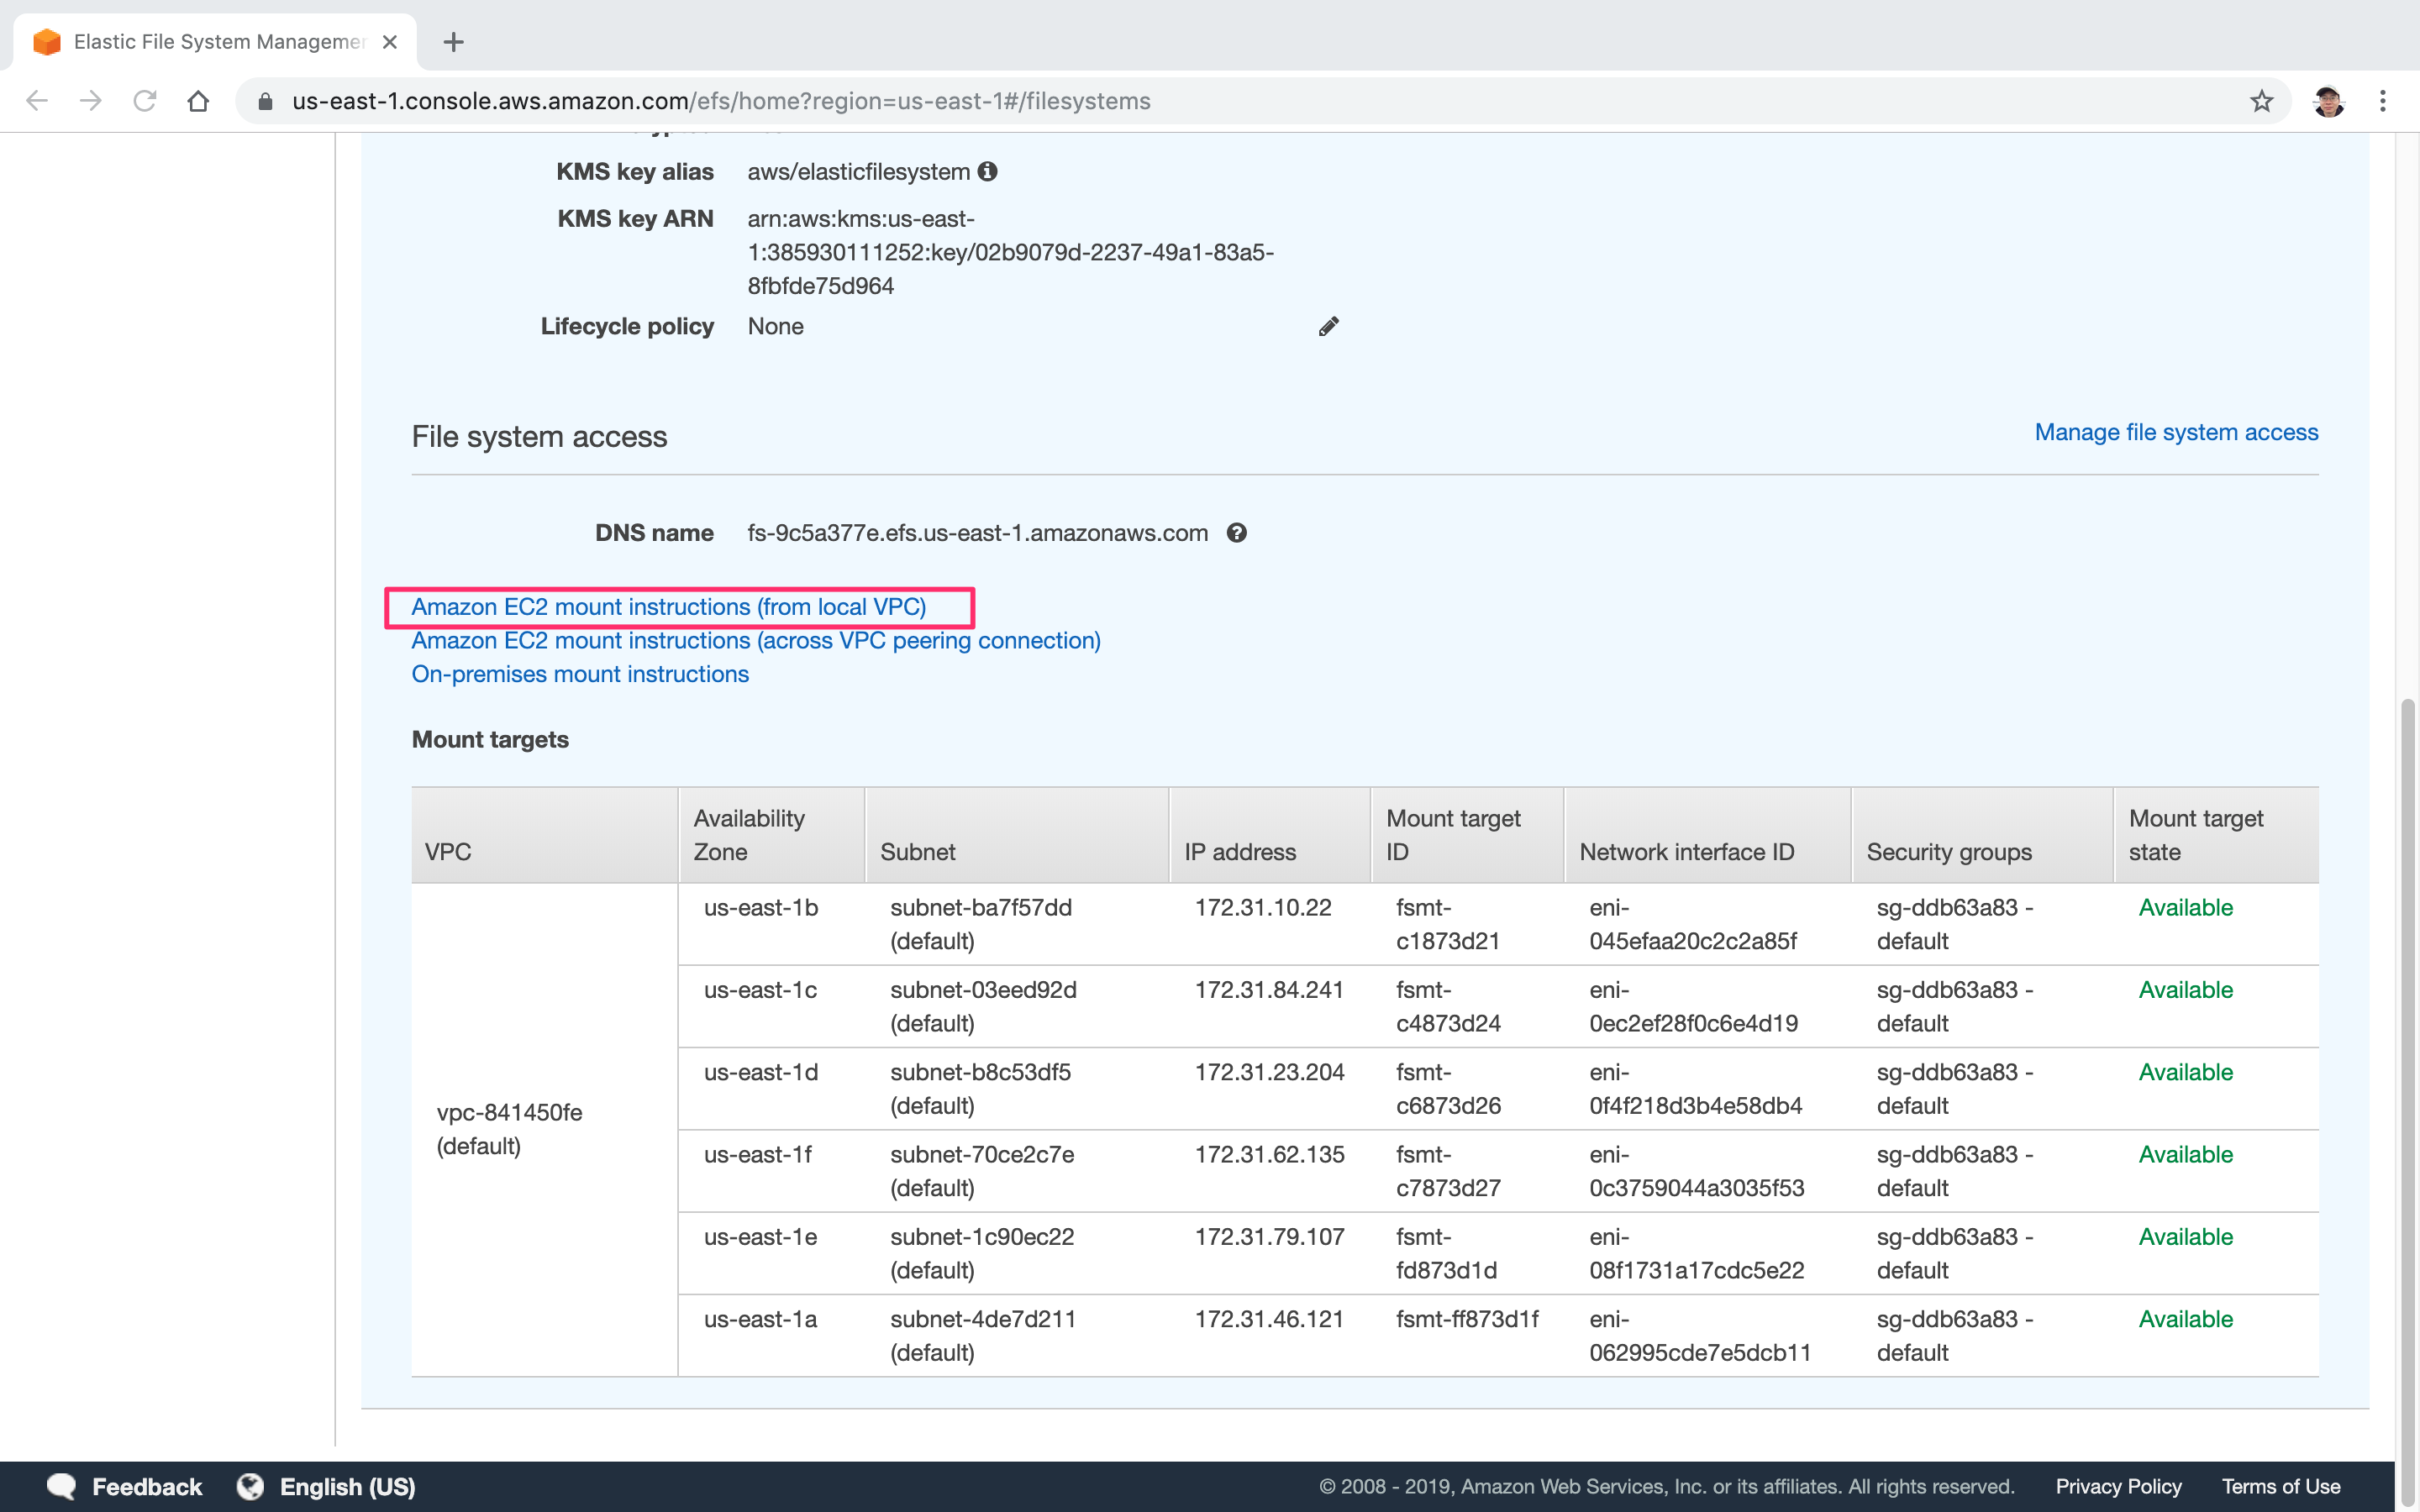
 Wait until EFS is created, click on “Amazon EC2 mount instructions (from local VPC)”.
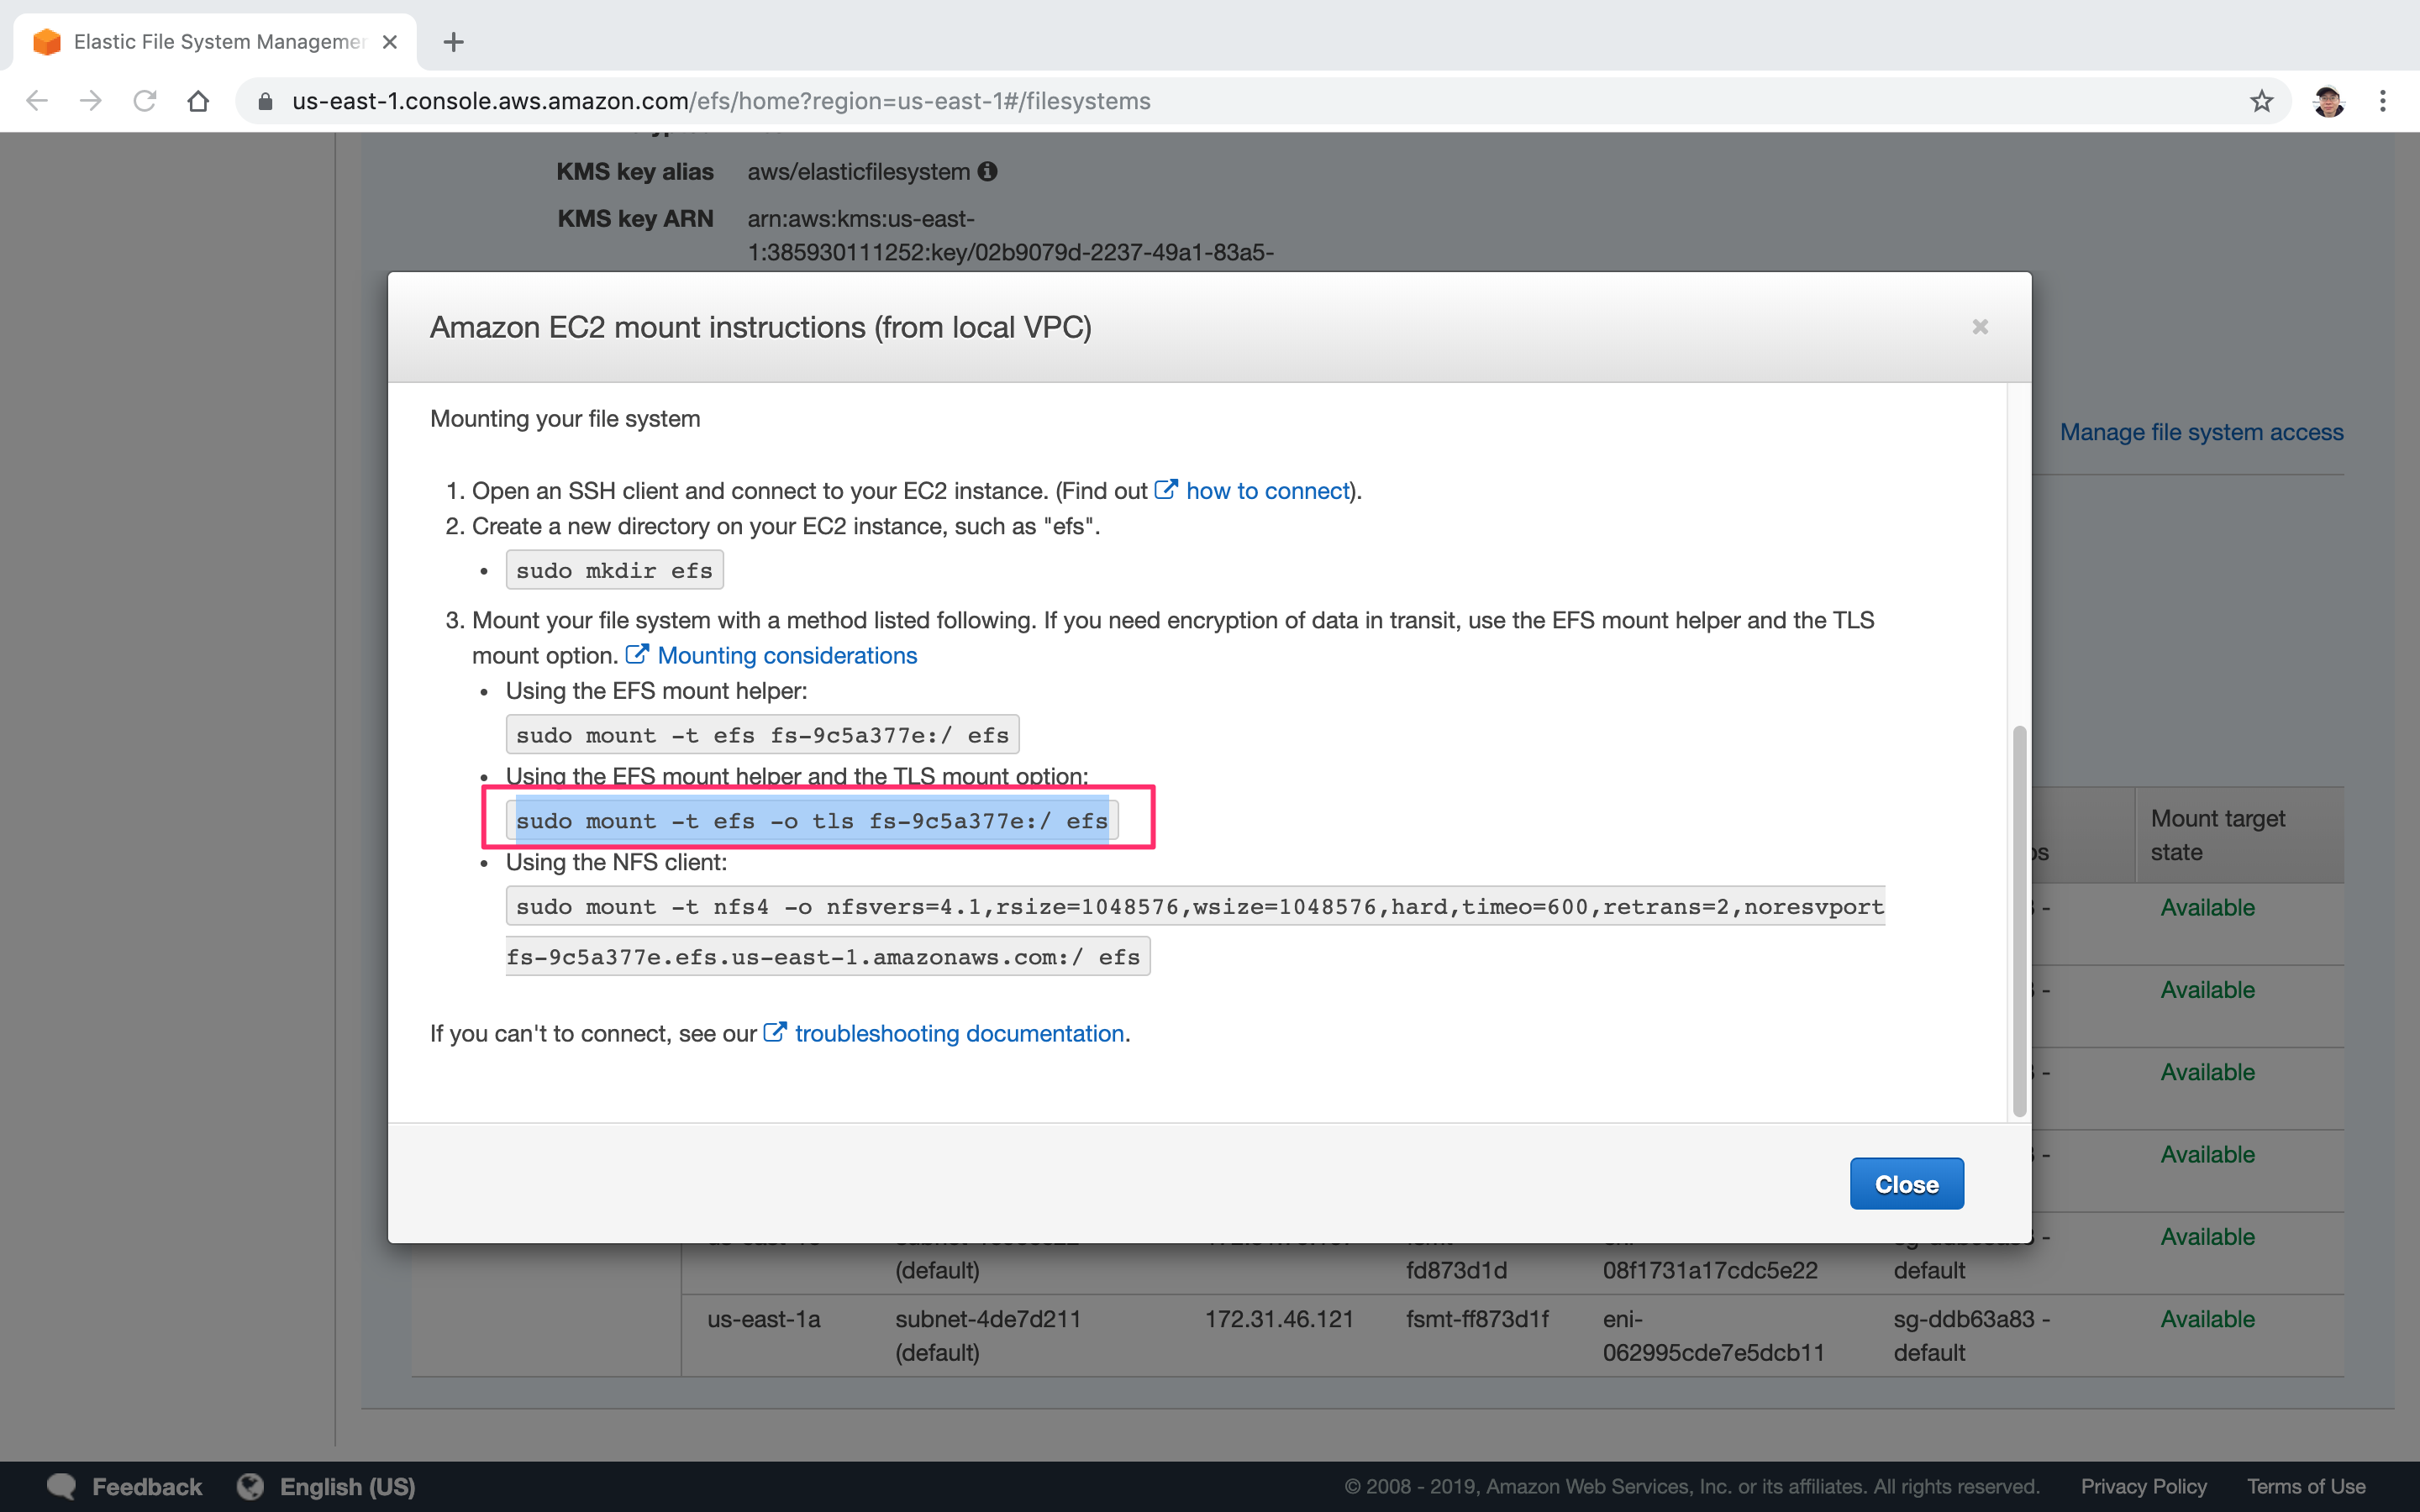
 Copy the TLC command , “sudo mount -t efs -o tls fs-9c5a377e:/ efs”. We will use it in terminal later.
2.2 Editing Security Group
Meanwhile, go to Services->EC2->Security Group, select the default security group, switch to “Inbound” tab.
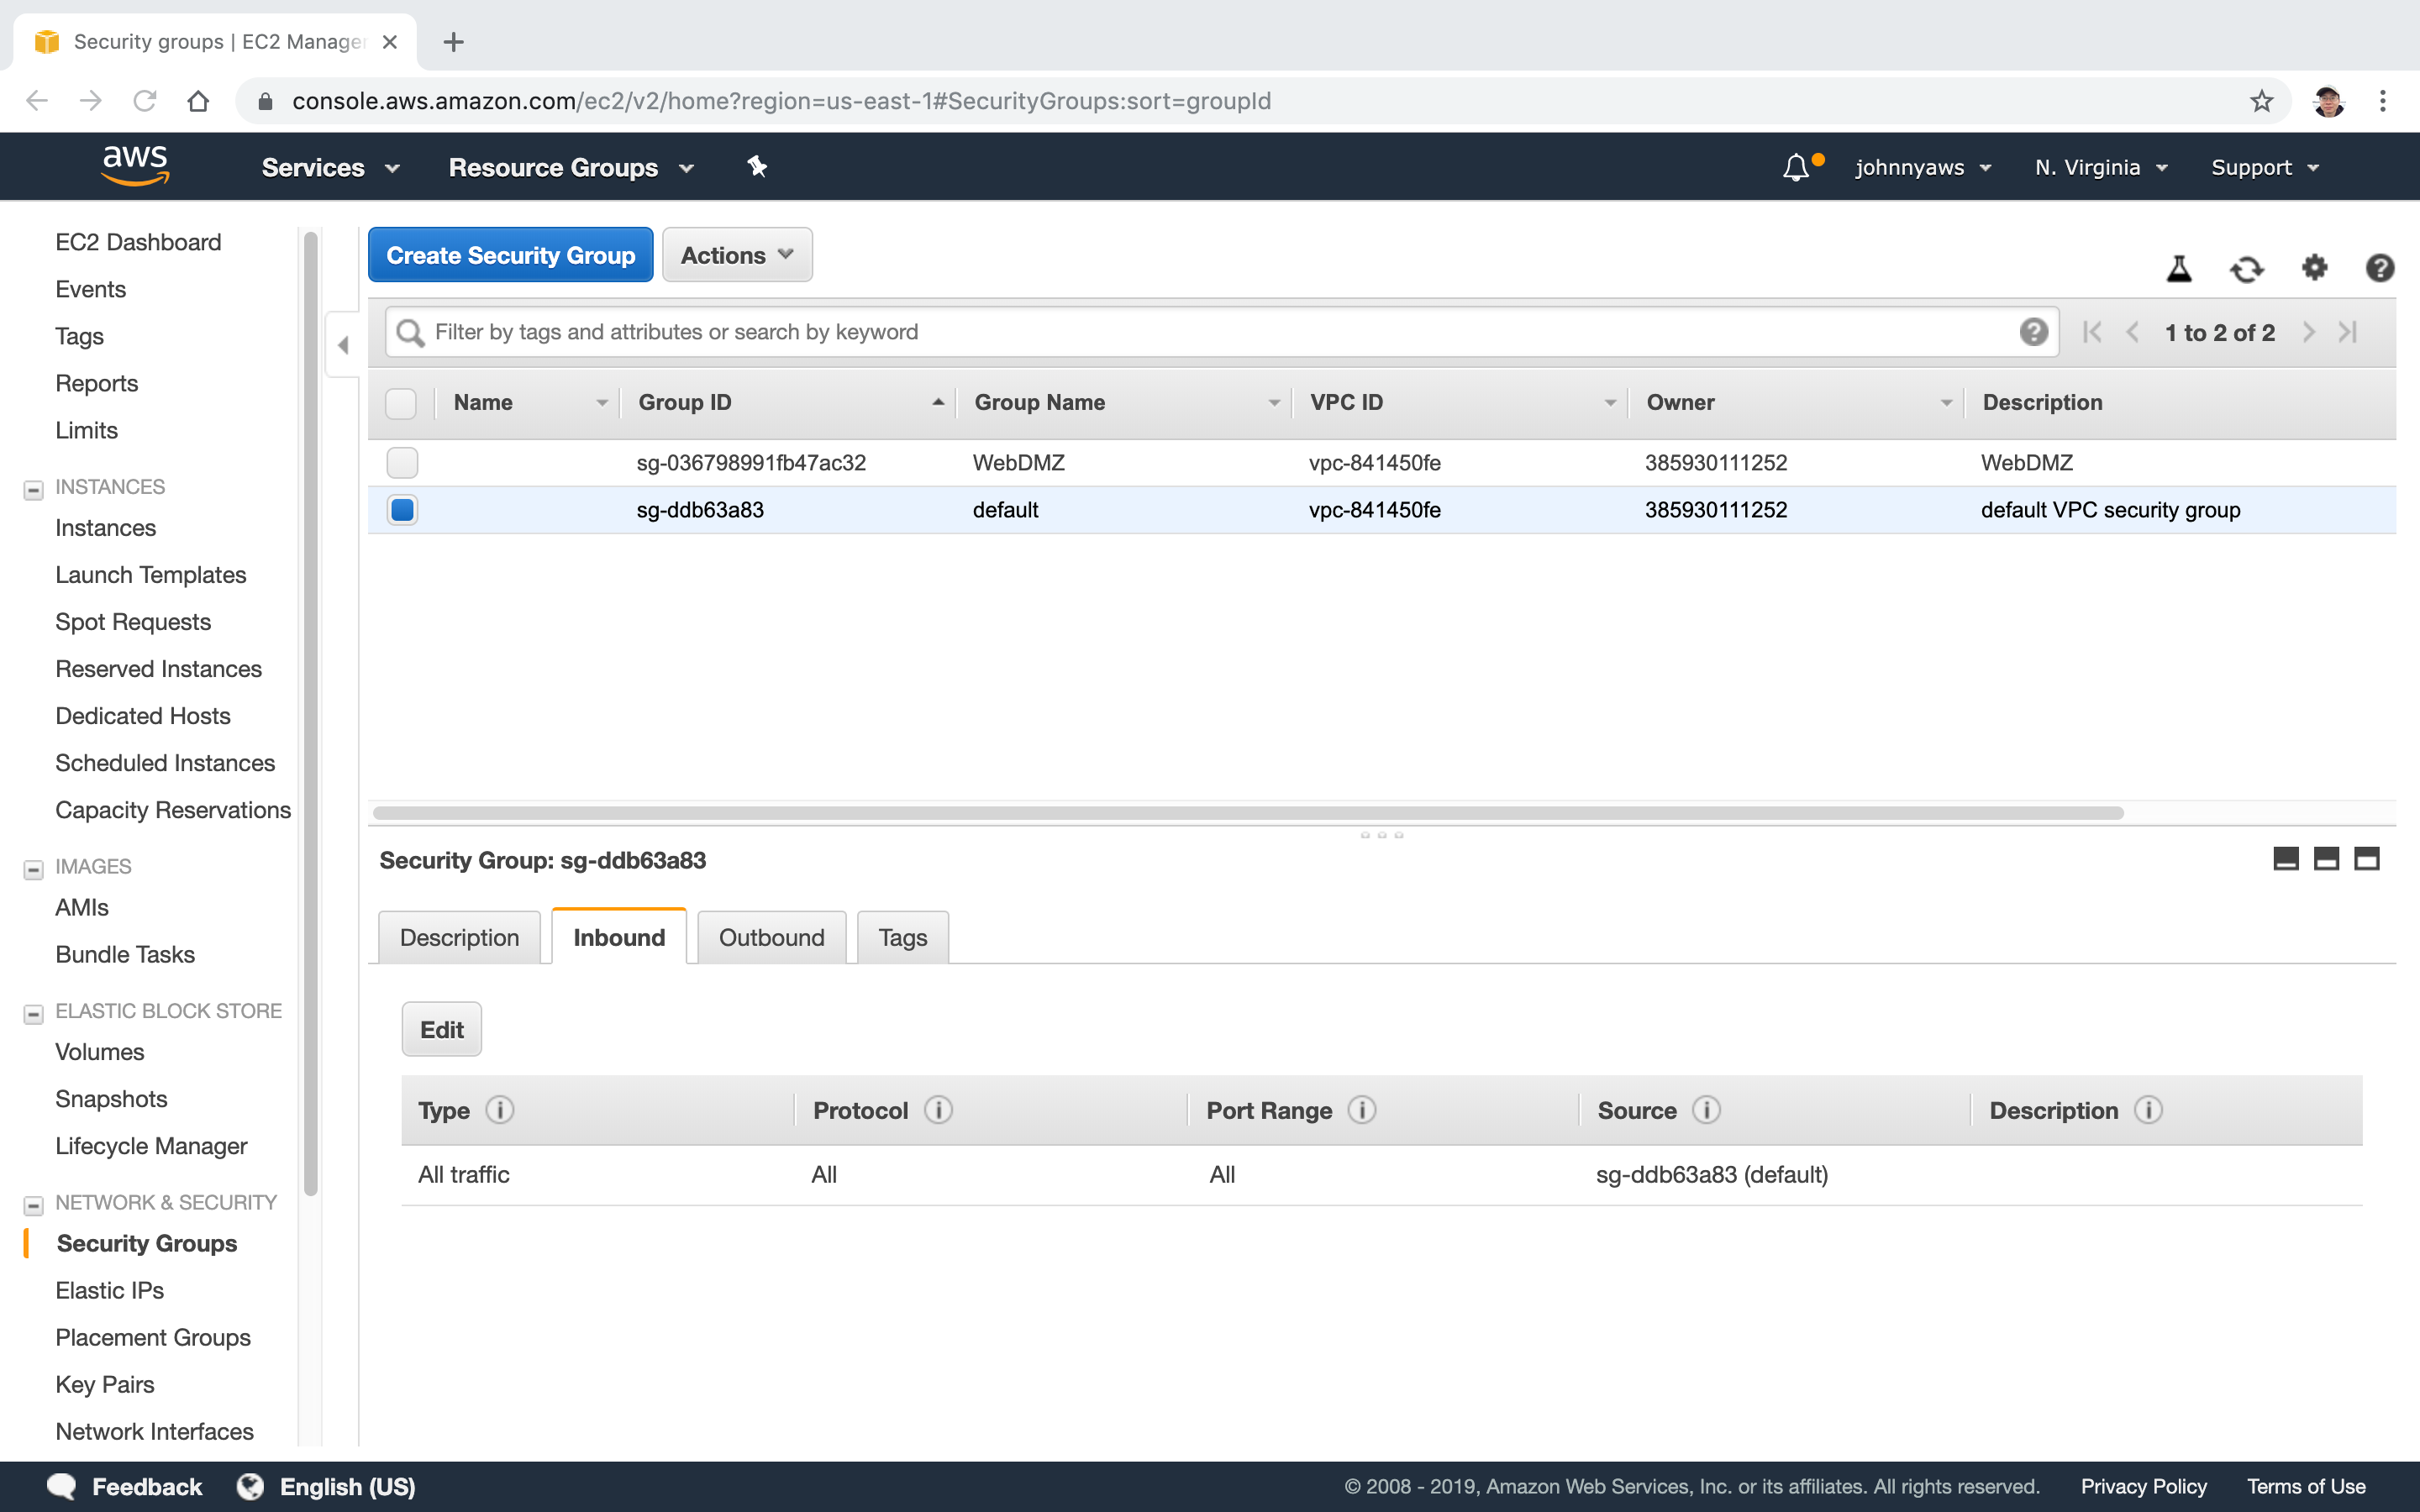 Click Edit->Add Rule, choose NFS and select ‘WebDMZ’ security group, Save.
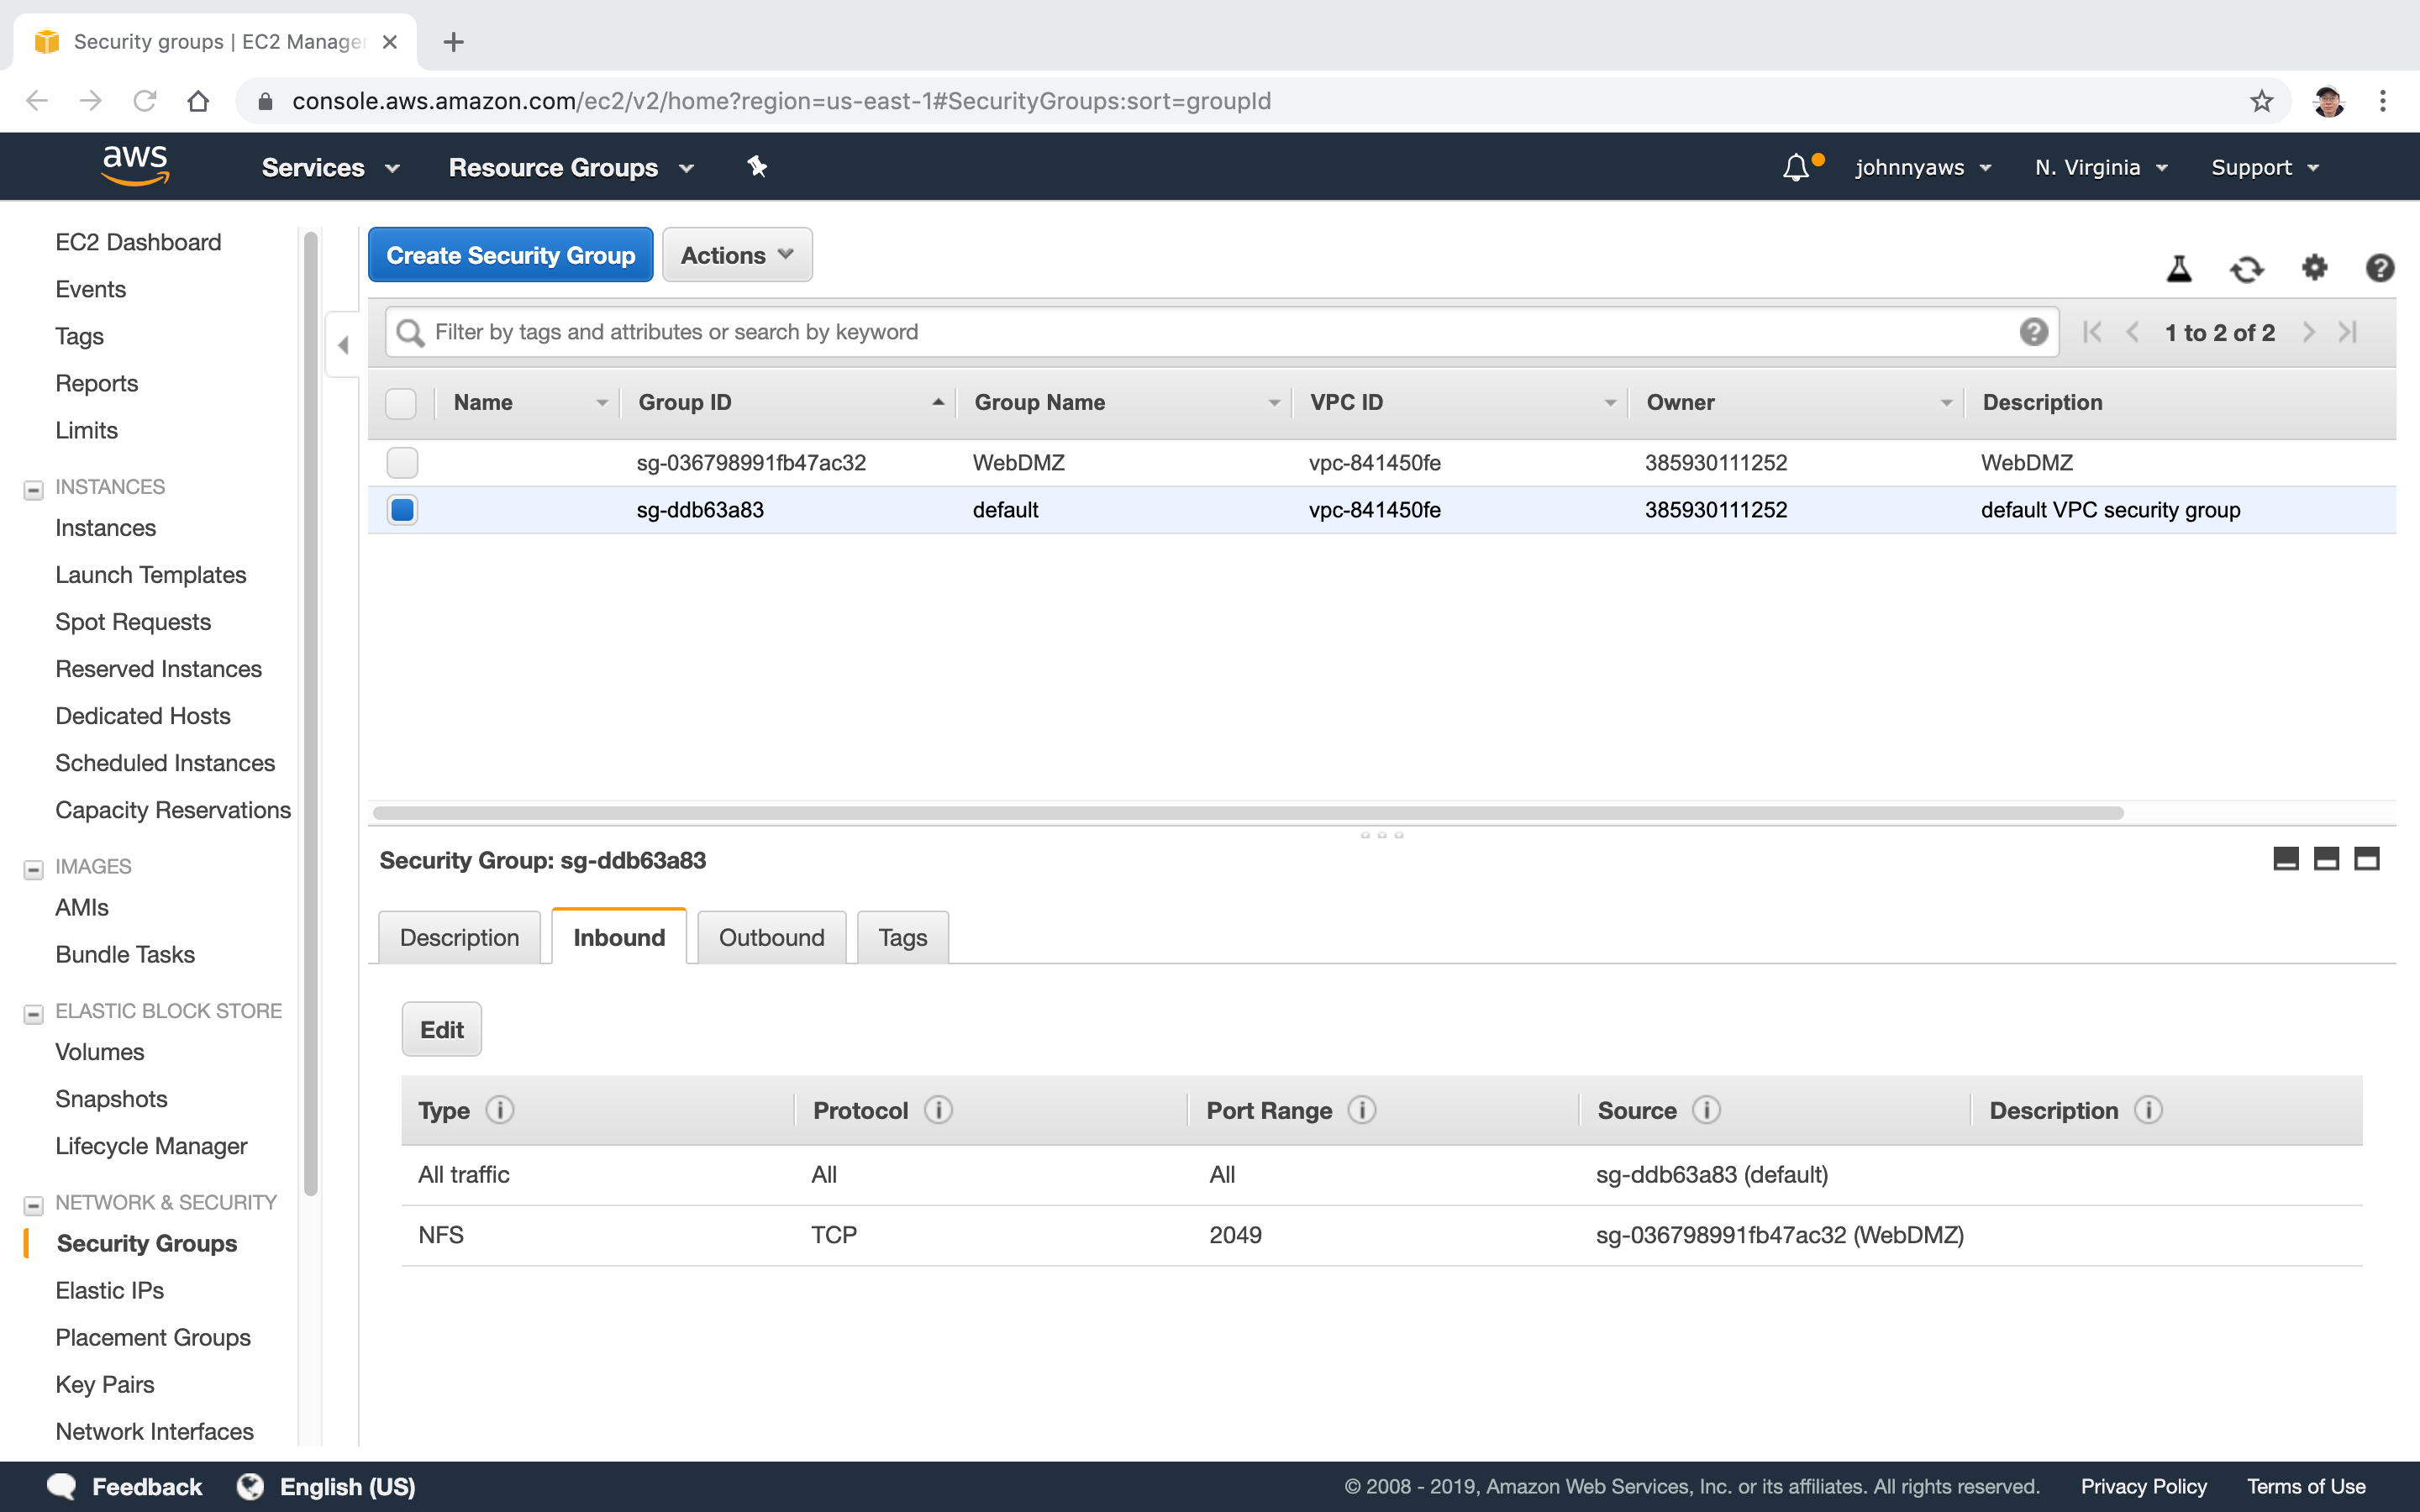
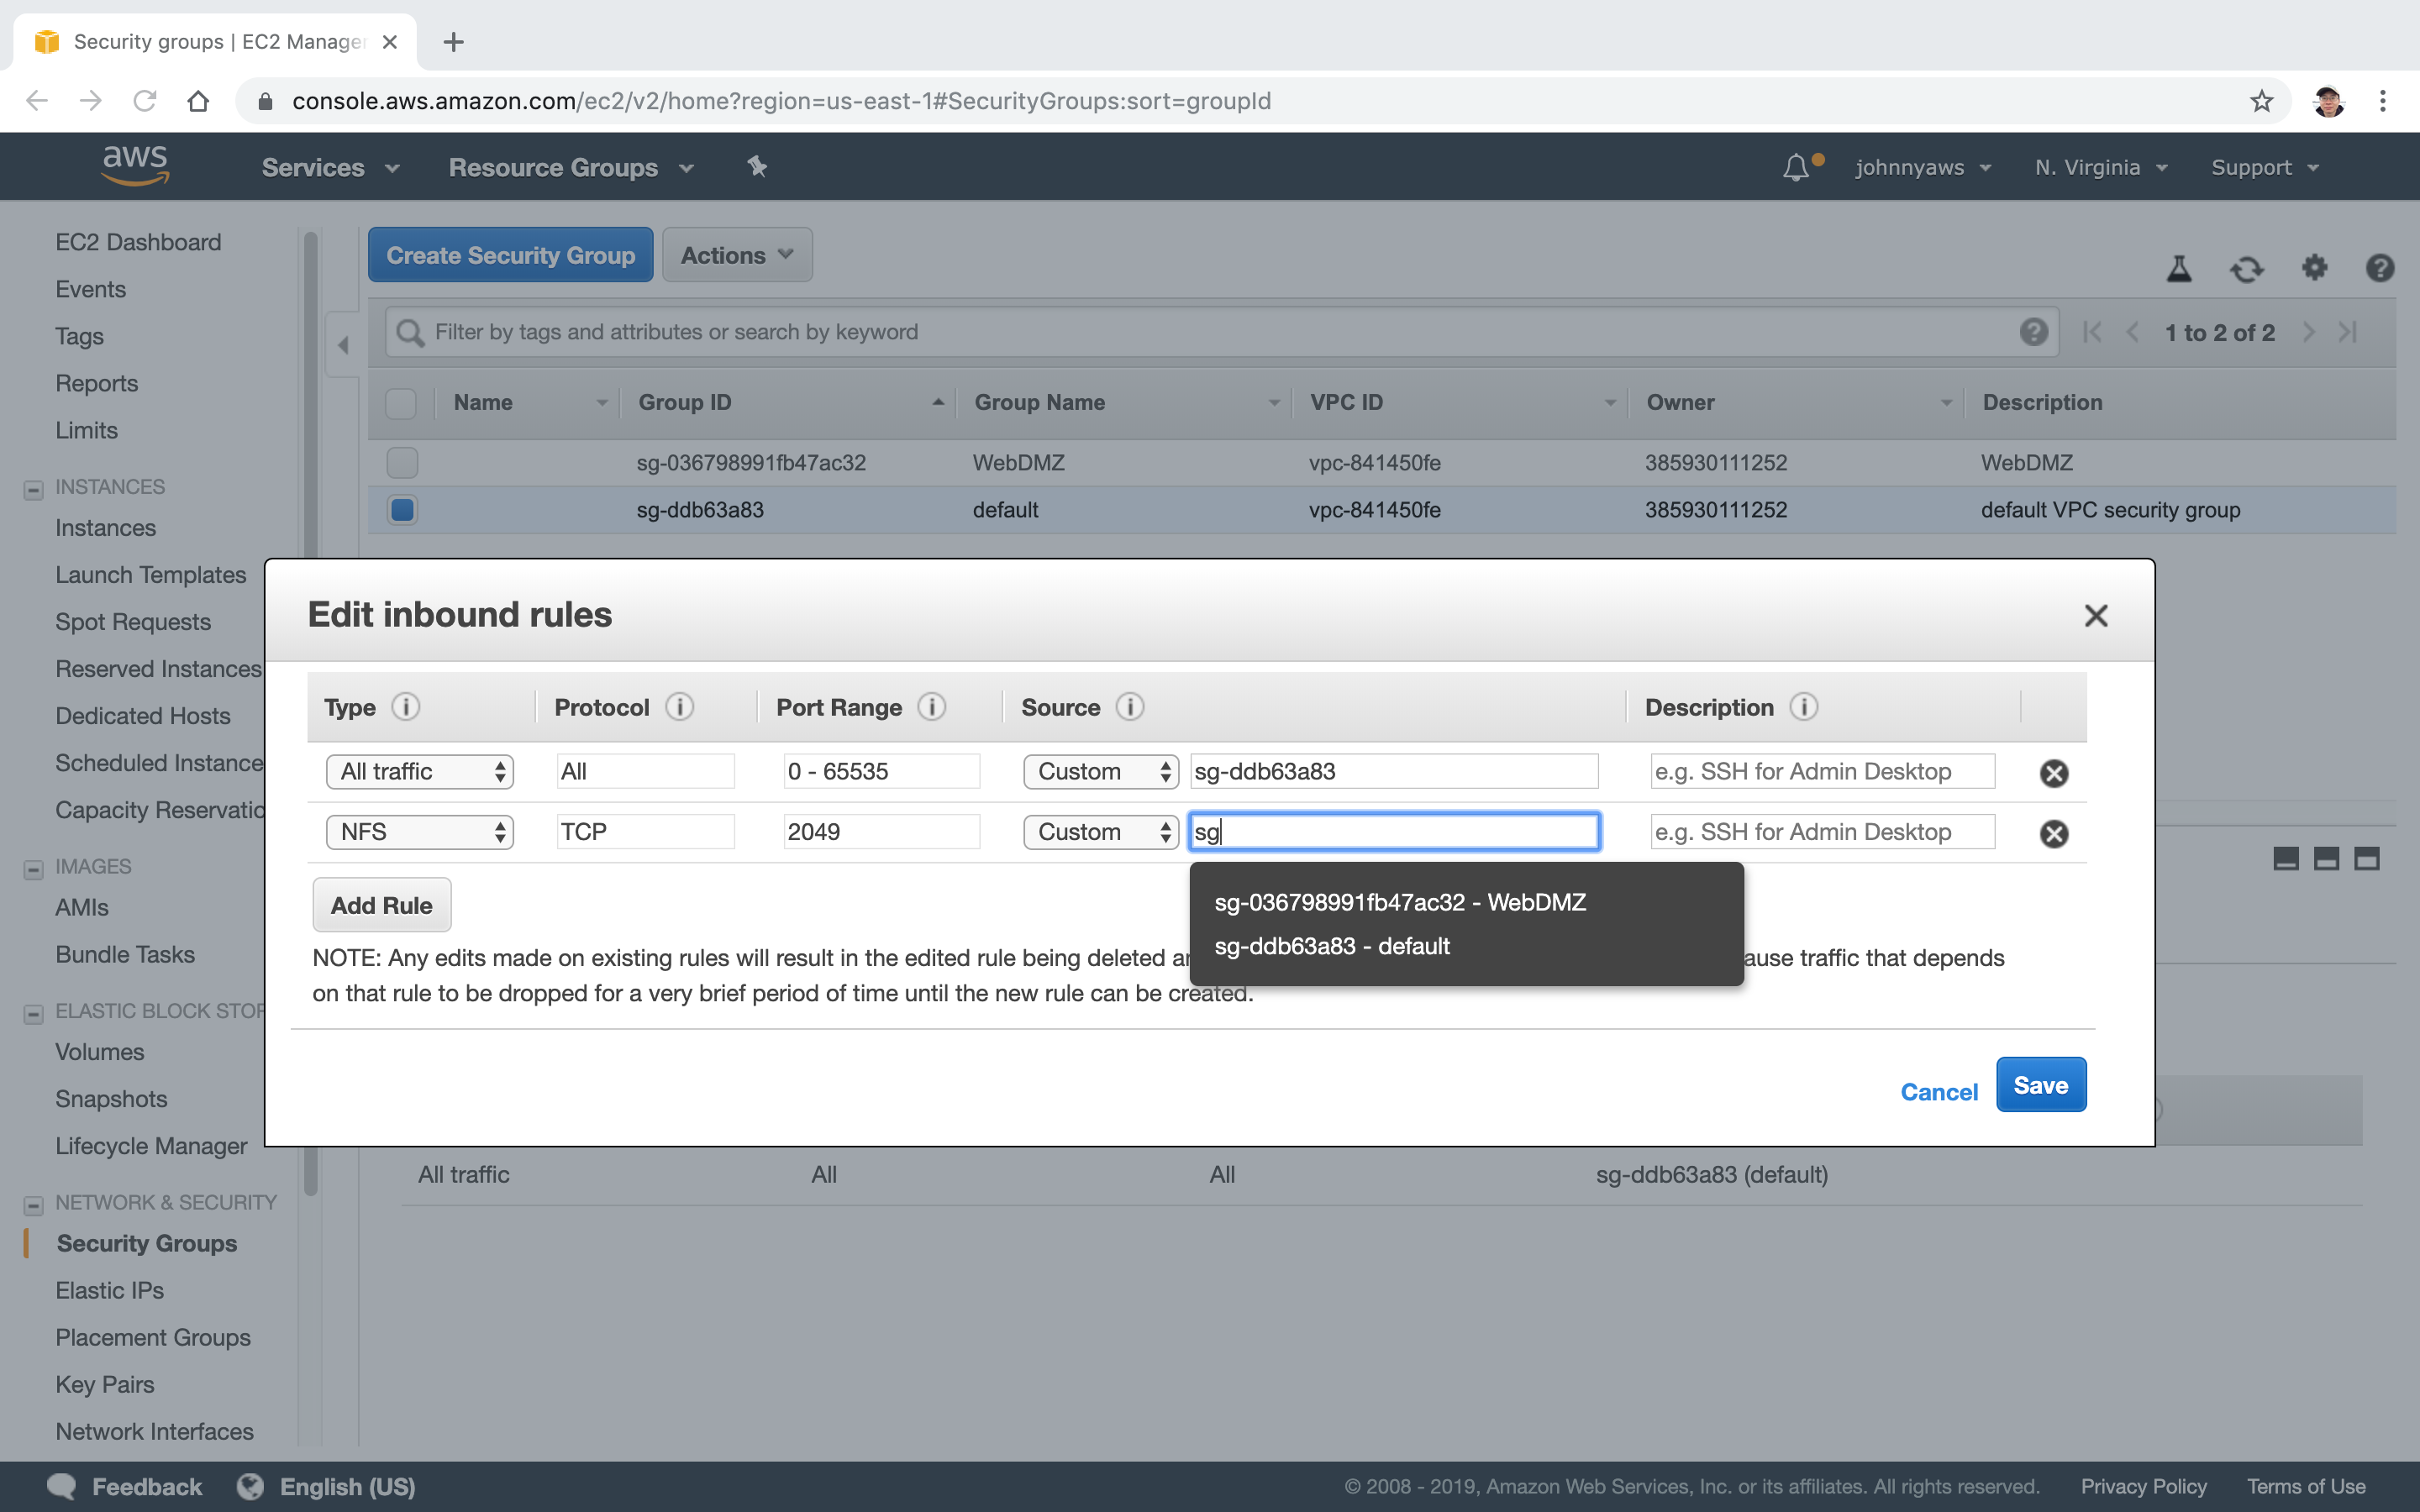 Now NFS is in the inbound.
2.3 Creating Instances
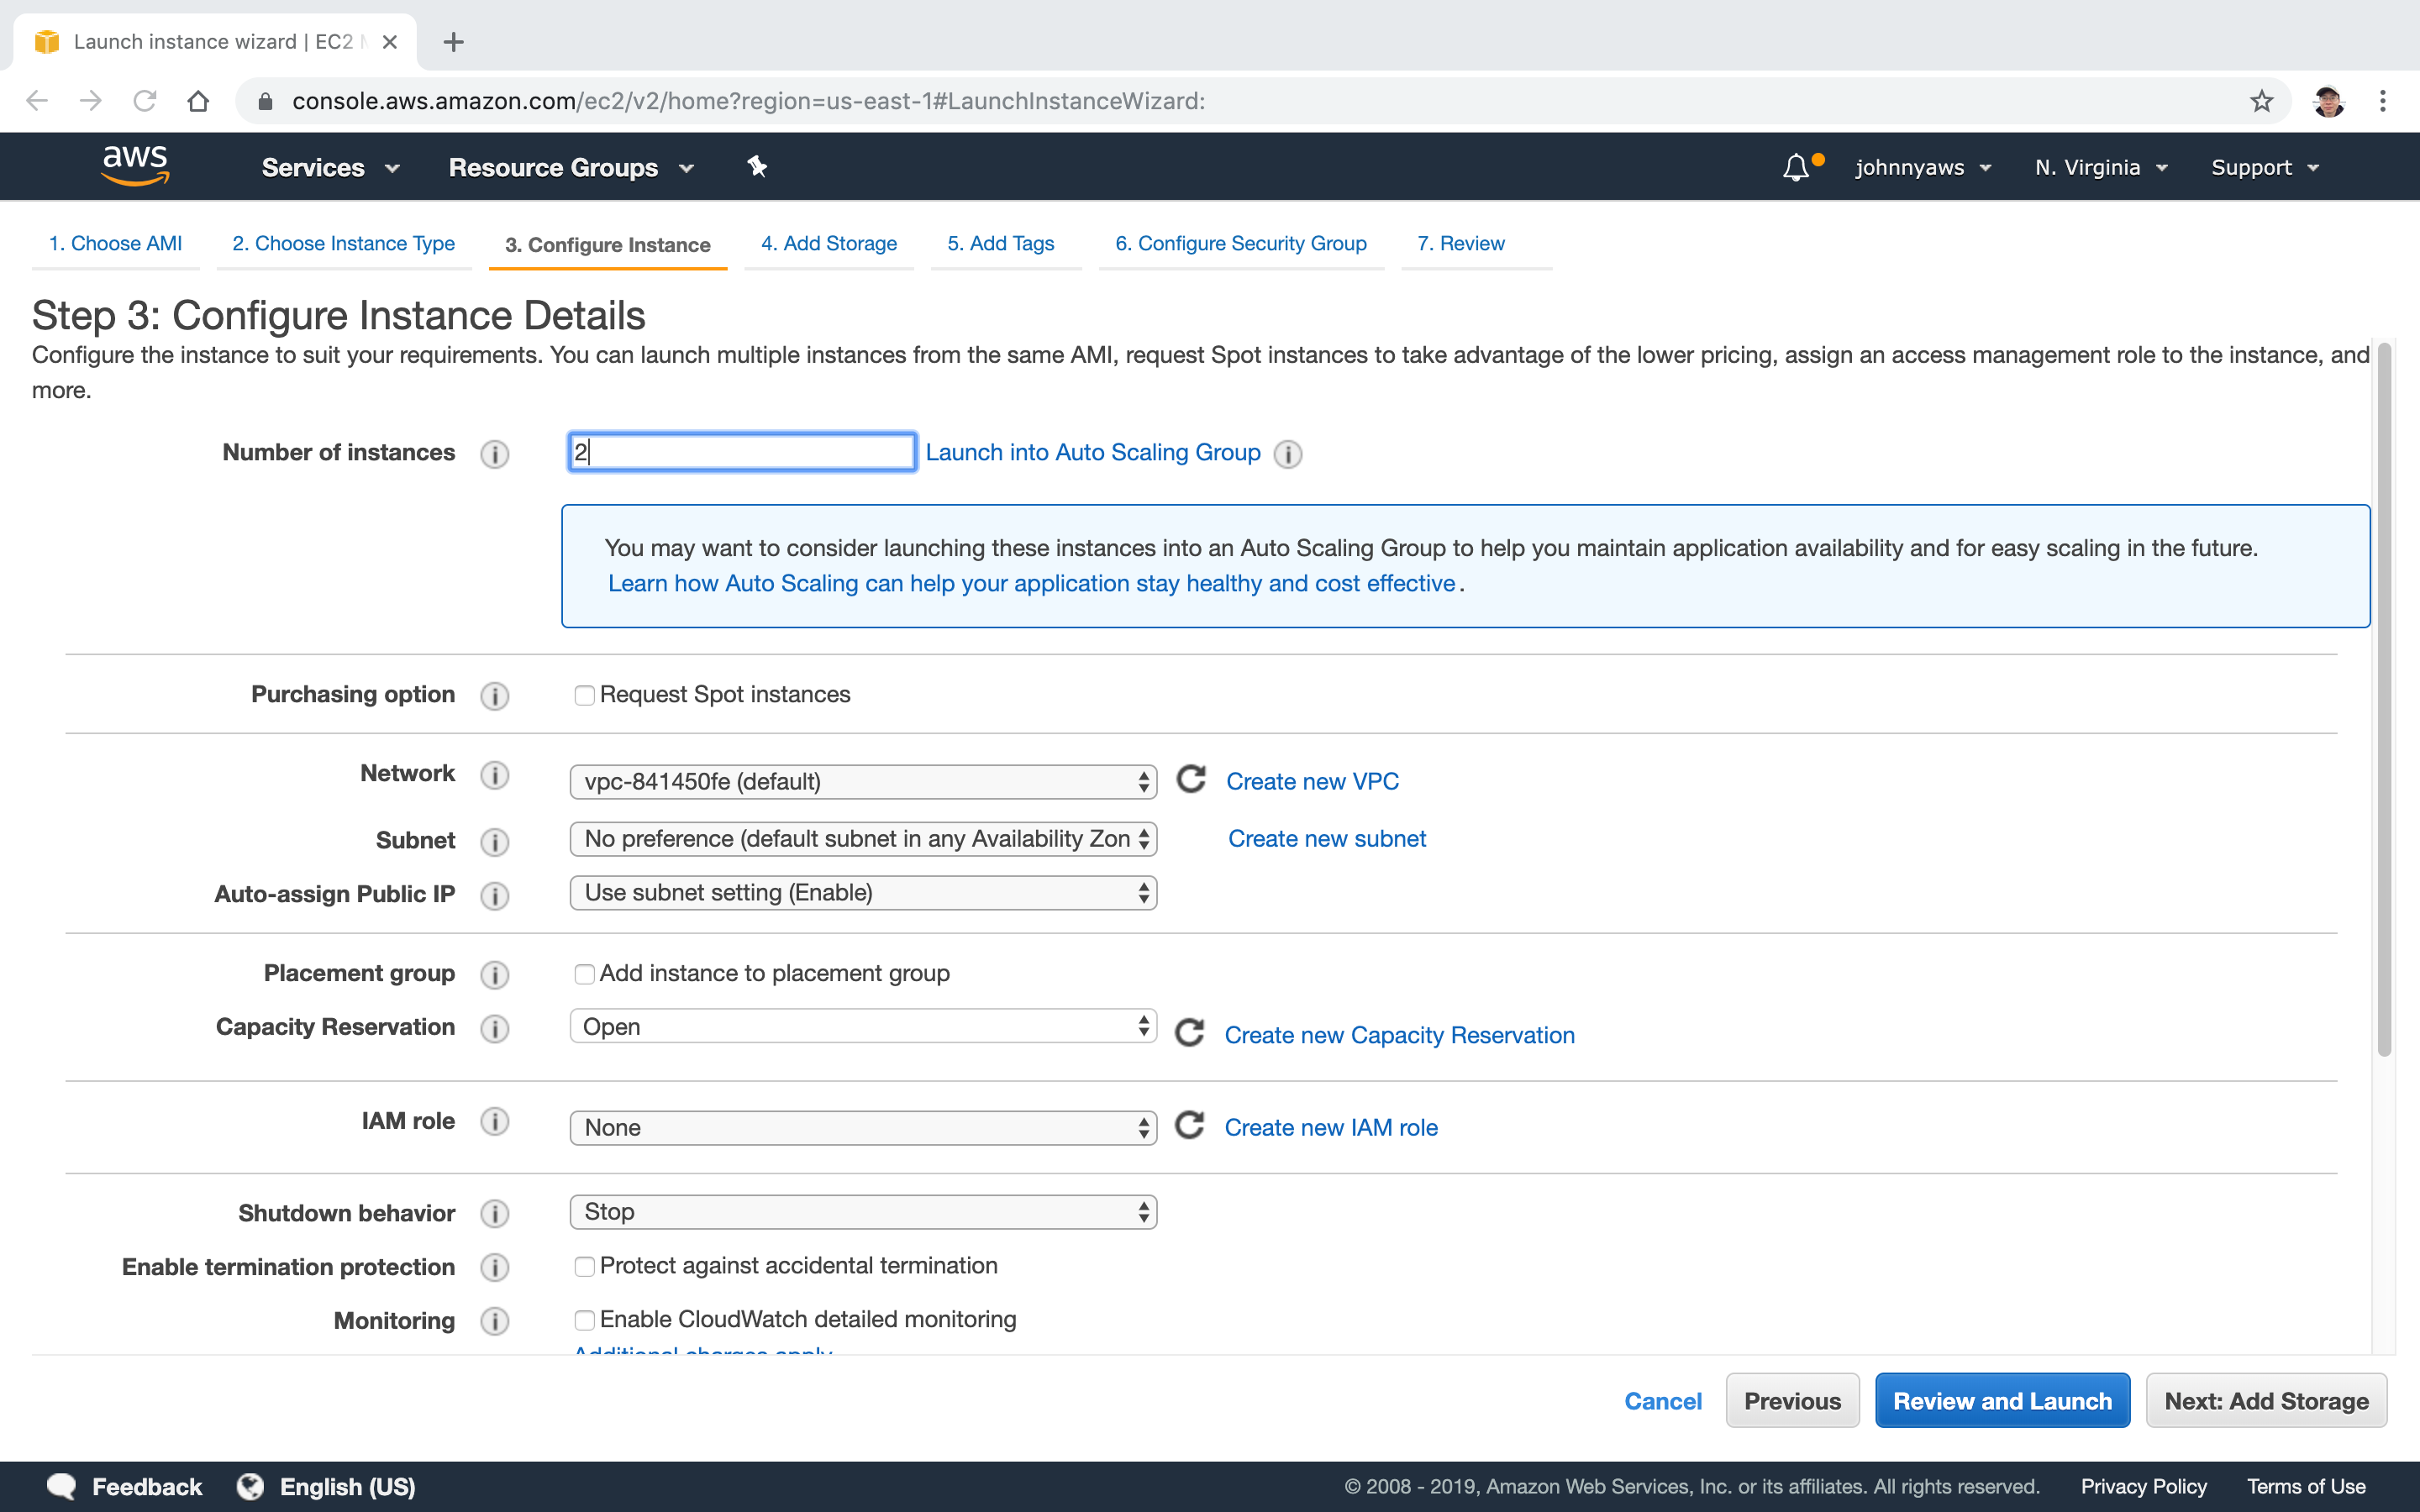
Create new instance with bootstrap script(User Data), set “Number of instances” = 2.
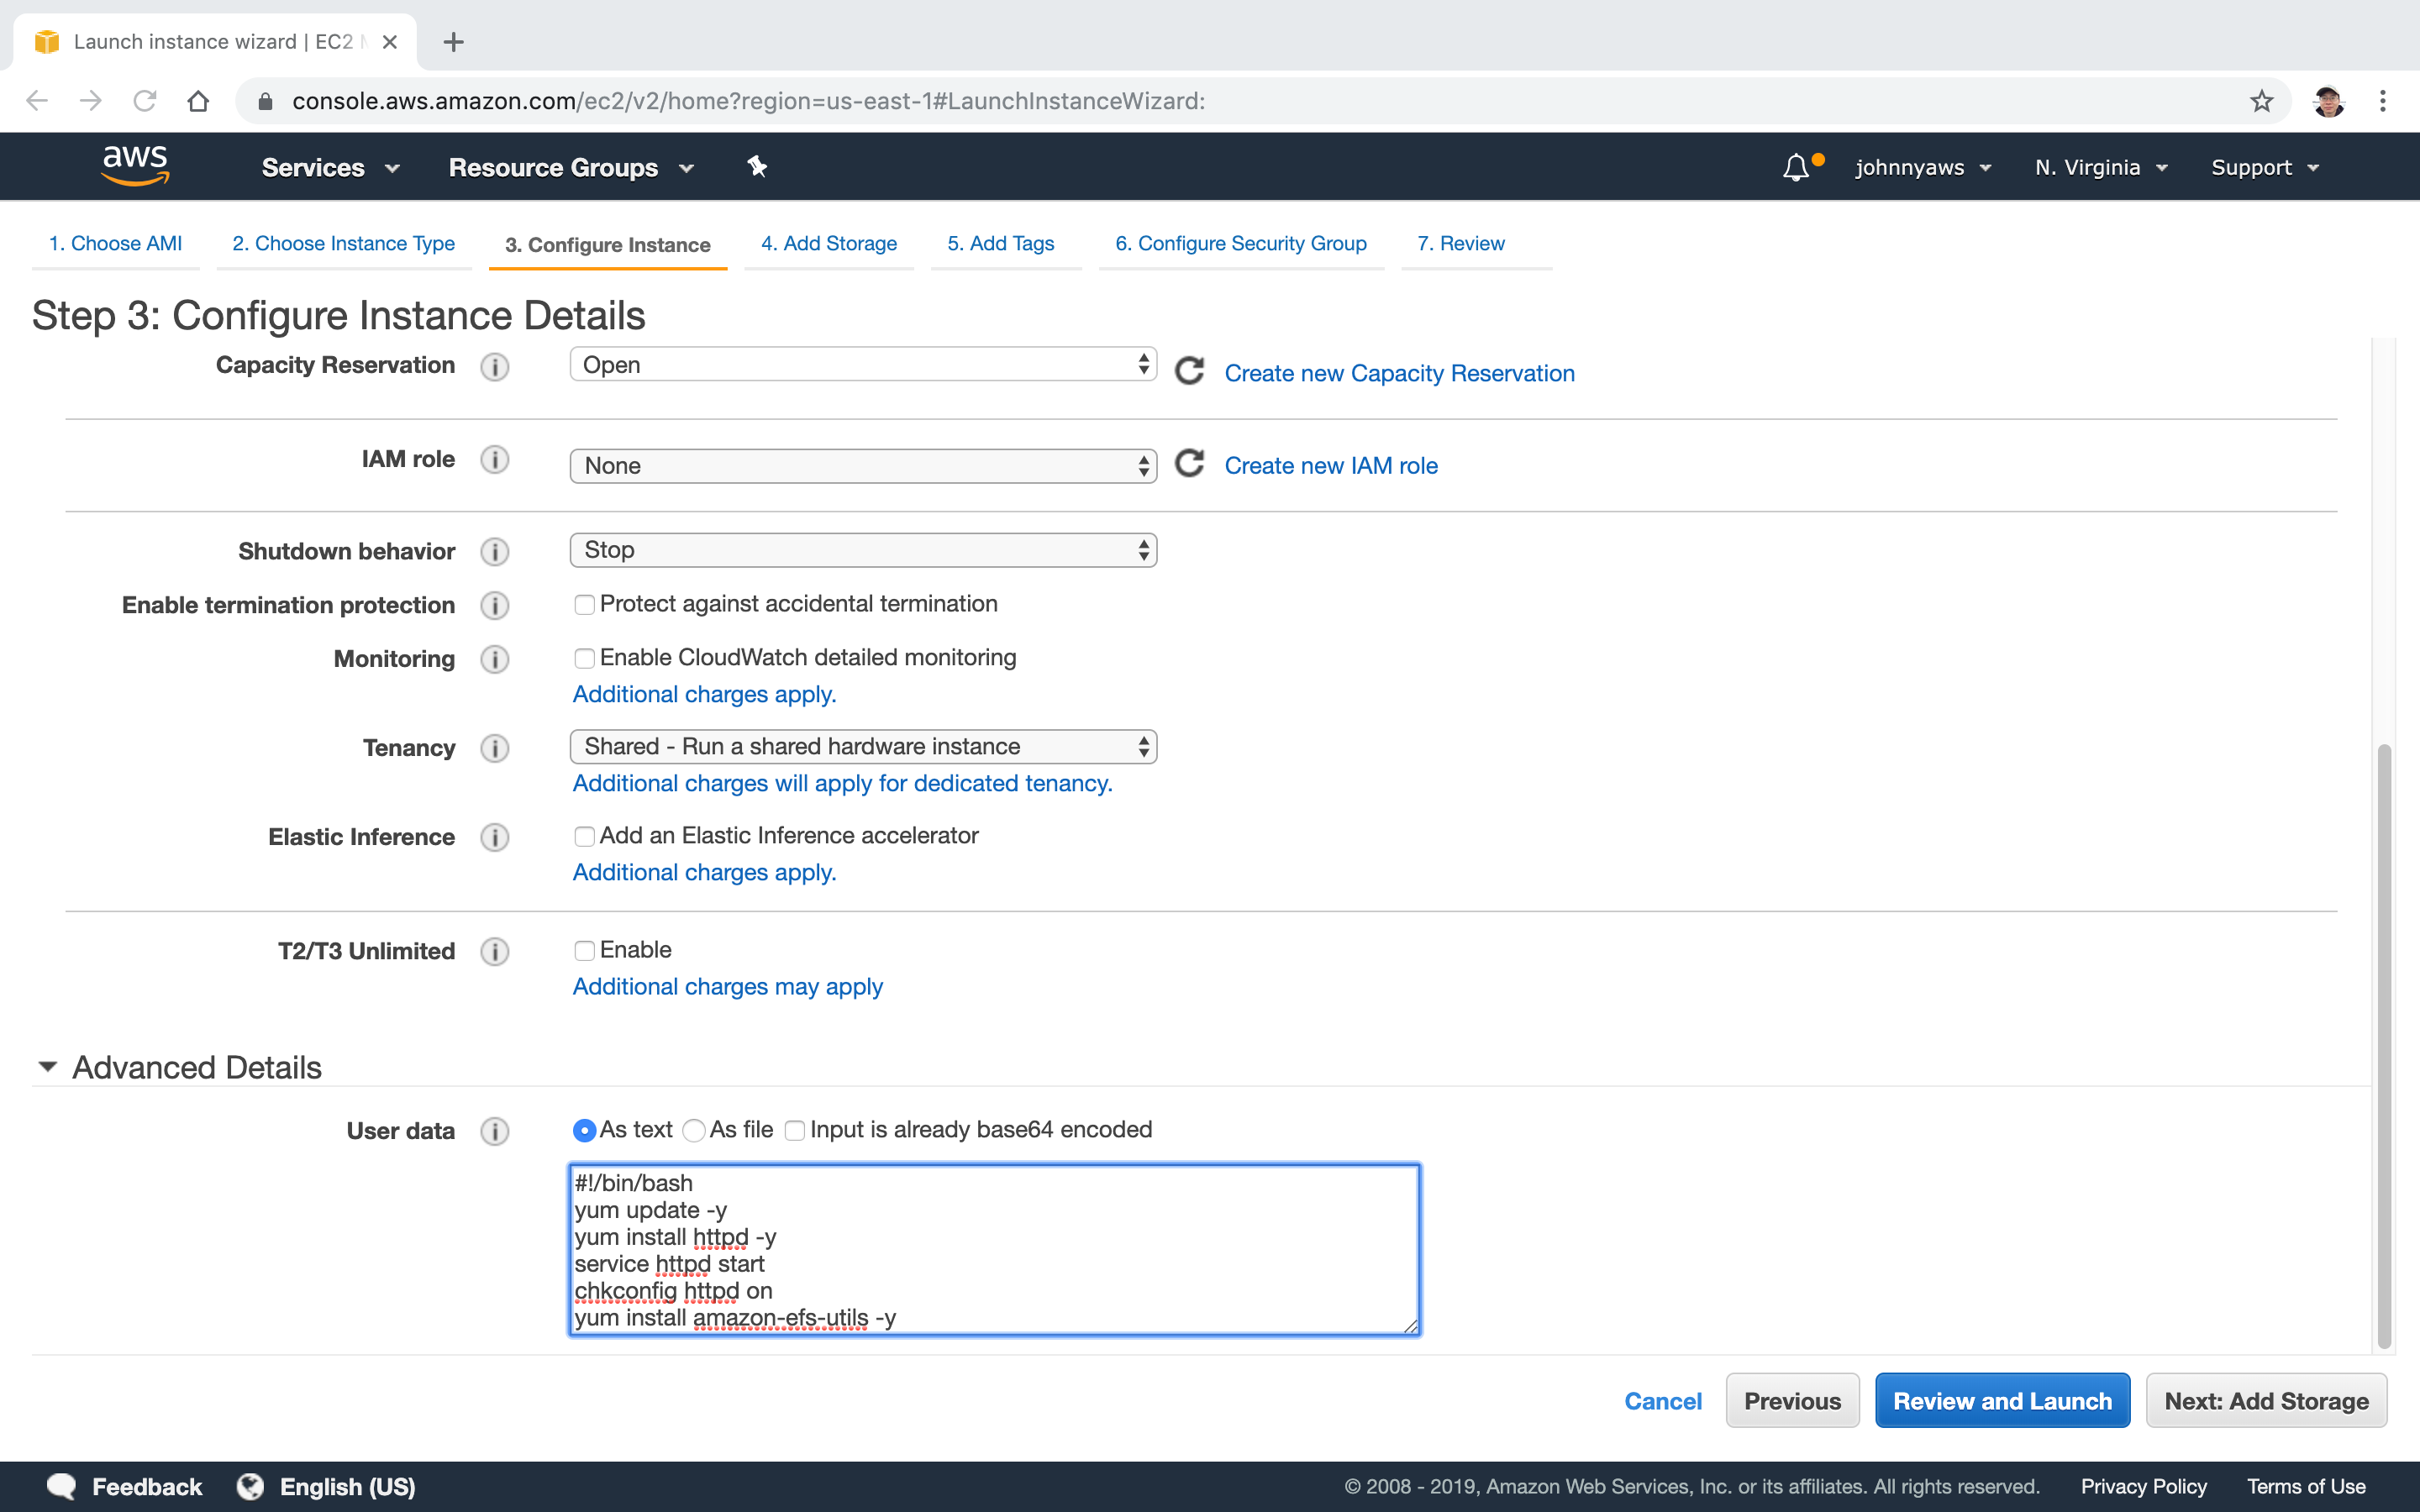
 Put the following shell script to user data. This script will install and launch Apache server, then install amazon-efs-utils.
#!/bin/bash
yum update -y
yum install httpd -y
service httpd start
chkconfig httpd on
yum install amazon-efs-utils -y
 Once the two instances are launched, note the public IP addresses.
2.4 Mounting EFS in Instances
Open two terminals to SSH to these two EC2 instances. In the first instance, navigate to ‘/var/www/html’, nothing there.
[ec2-user@ip-172-31-88-216 ~]$ sudo su
[root@ip-172-31-88-216 ec2-user]# cd /var/www/html
[root@ip-172-31-88-216 html]# ls
[root@ip-172-31-88-216 html]#
Repeat the same steps in second instance.
[ec2-user@ip-172-31-83-133 ~]$ sudo su
[root@ip-172-31-83-133 ec2-user]# cd /var/www/html
[root@ip-172-31-83-133 html]# ls
[root@ip-172-31-83-133 html]#
Mount EFS to /var/www/html for both ec2 instances. Do this in the www folder.
[root@ip-172-31-88-216 html]# cd ..
[root@ip-172-31-88-216 www]# mount -t efs -o tls fs-9c5a377e:/ /var/www/html

[root@ip-172-31-83-133 html]# cd ..
[root@ip-172-31-83-133 www]# mount -t efs -o tls fs-9c5a377e:/ /var/www/html
In the first terminal, create index.html in ‘html’ folder.
[root@ip-172-31-88-216 www]# cd html
[root@ip-172-31-88-216 html]# echo '<html><h1>hello,file system</h1></html>' > index.html
[root@ip-172-31-88-216 html]# ls
index.html
In the second terminal, we will see the same file.
[root@ip-172-31-83-133 www]# cd html/
[root@ip-172-31-83-133 html]# ls
index.html
[root@ip-172-31-83-133 html]# cat index.html
<html><h1>hello,file system</h1></html>
[root@ip-172-31-83-133 html]#