8531. Setting up .Net Development Environment on MacVisual Studio and NuGet
Install Visual Studio Community on Mac.
1. Introduction
- .NET Framework
- C#
- Visual Studio
2. What Can .Net Platform Do?
- Web Applications
- Desktop Applications
- Mobile Applications
3. Installing Visual Studio on Mac
Generally, we setup dotnet development environment on Windows. Now we can also setup it on Mac, and run .net applications on Mac.
3.1 Downloading Visual Studio Community Installer
Go to https://www.visualstudio.com/vs/, switch macOS, select ‘Community for Mac’ to download.
3.2 Installing
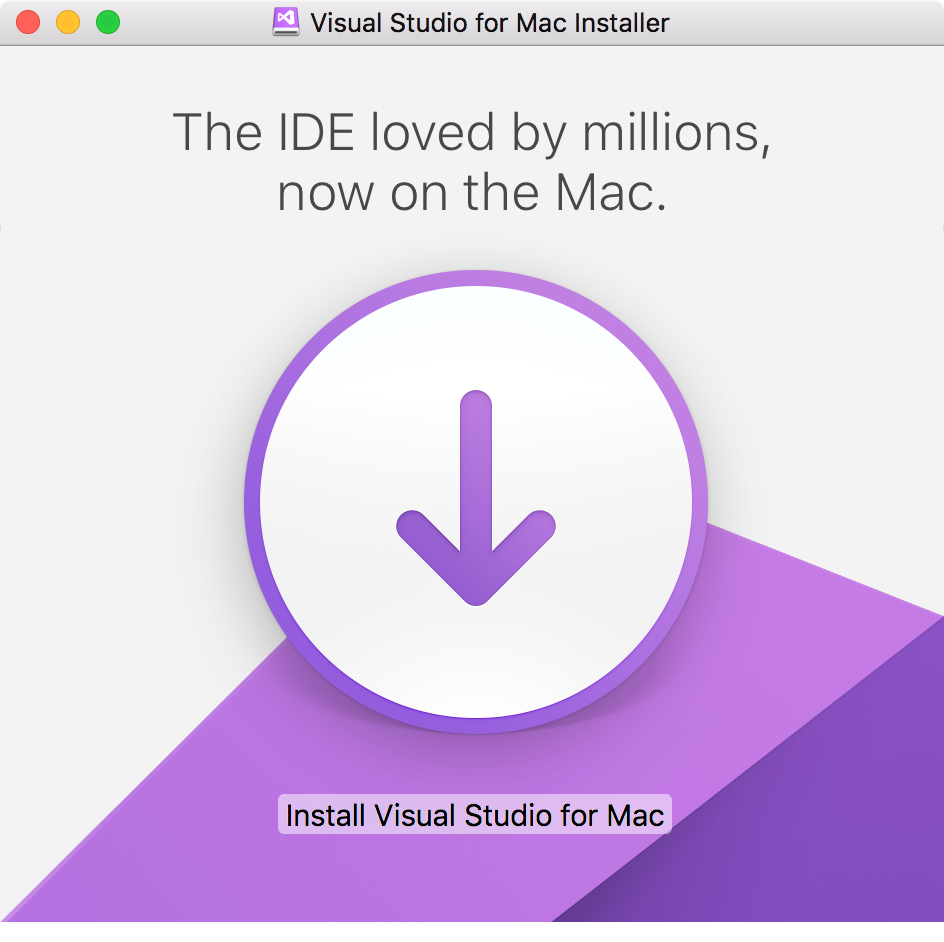
After downloading, click the ‘VisualStudioforMacInstaller.dmg’ file. In the installer window, double click the install logo.
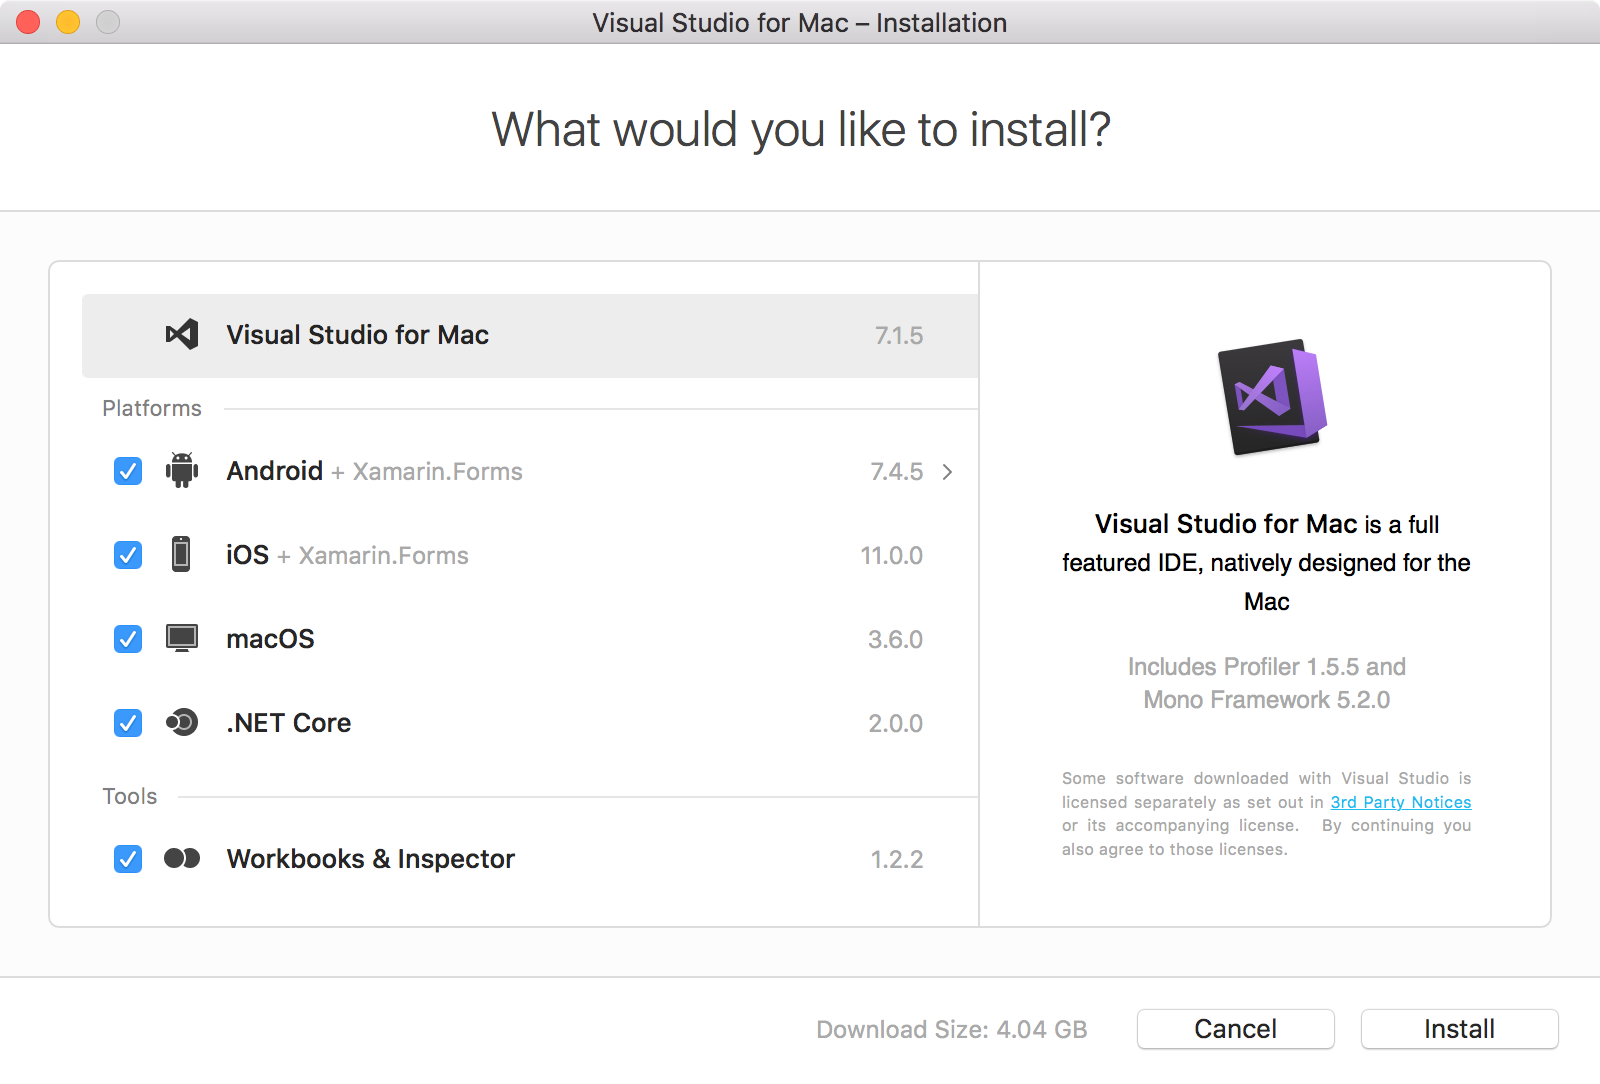
Accept the license, select the items, Install.
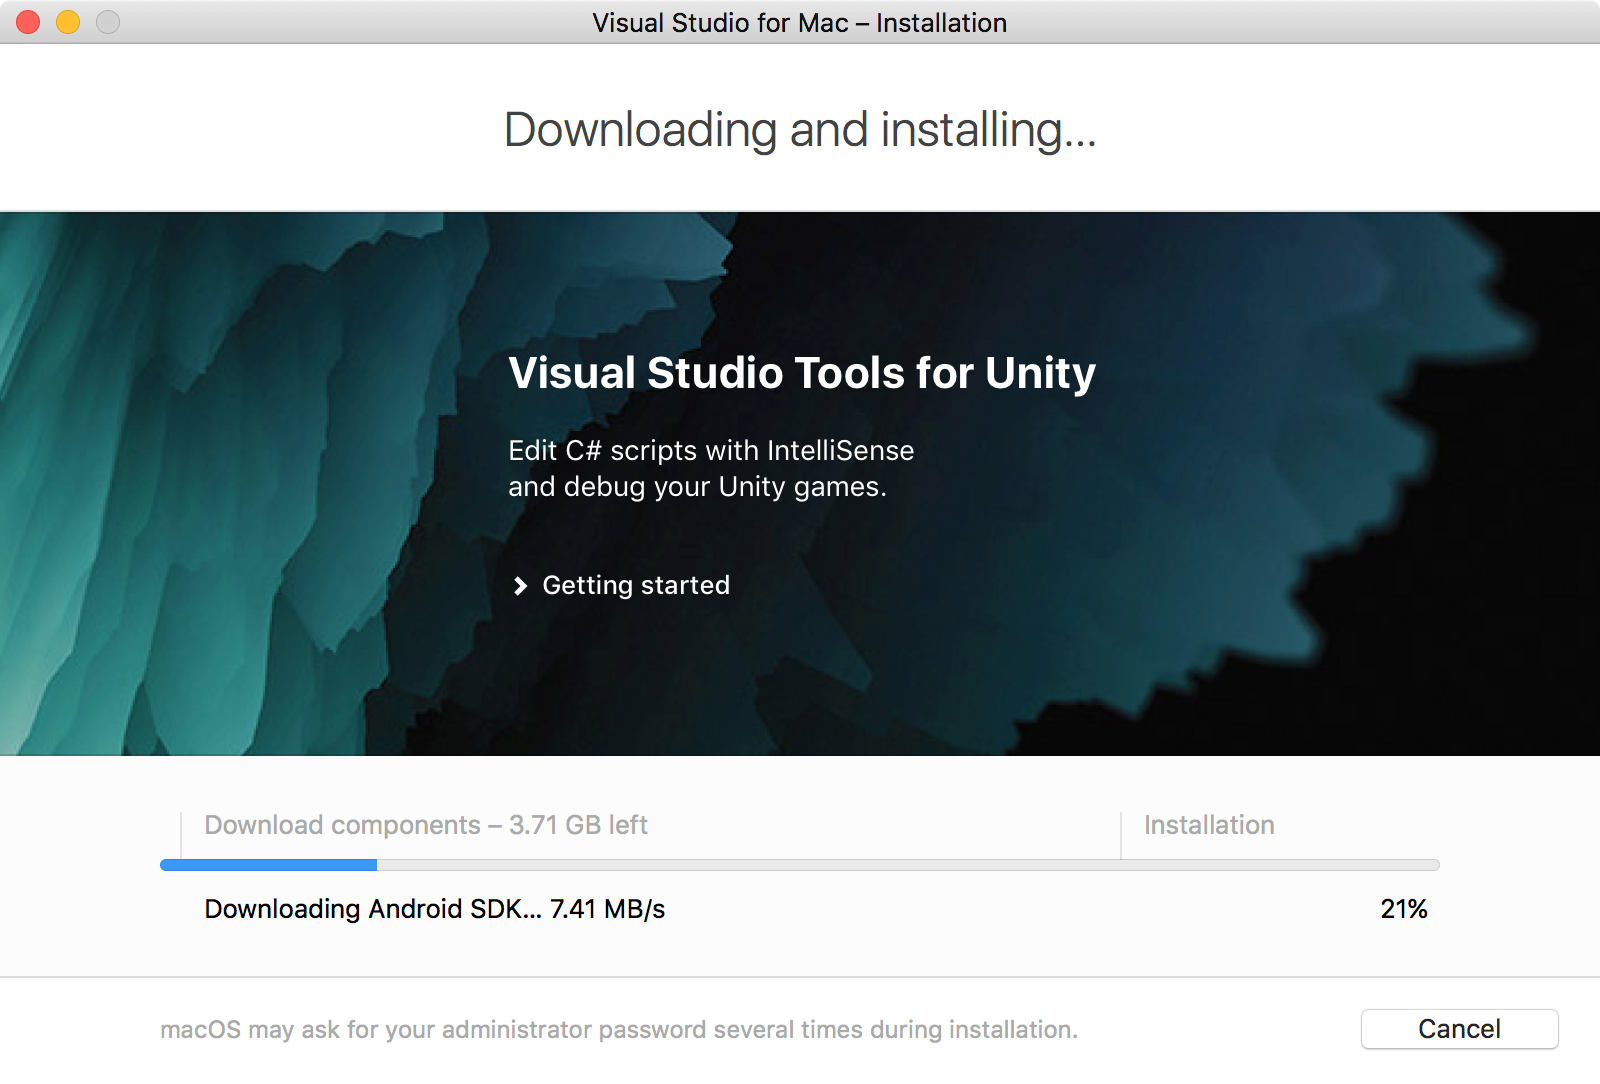
The installer starts the download and install process of the selected items.
Once the installation is finished, there will be a new logo named ‘Visual Studio’ in your desktop. Click on it to launch Visual Studio.
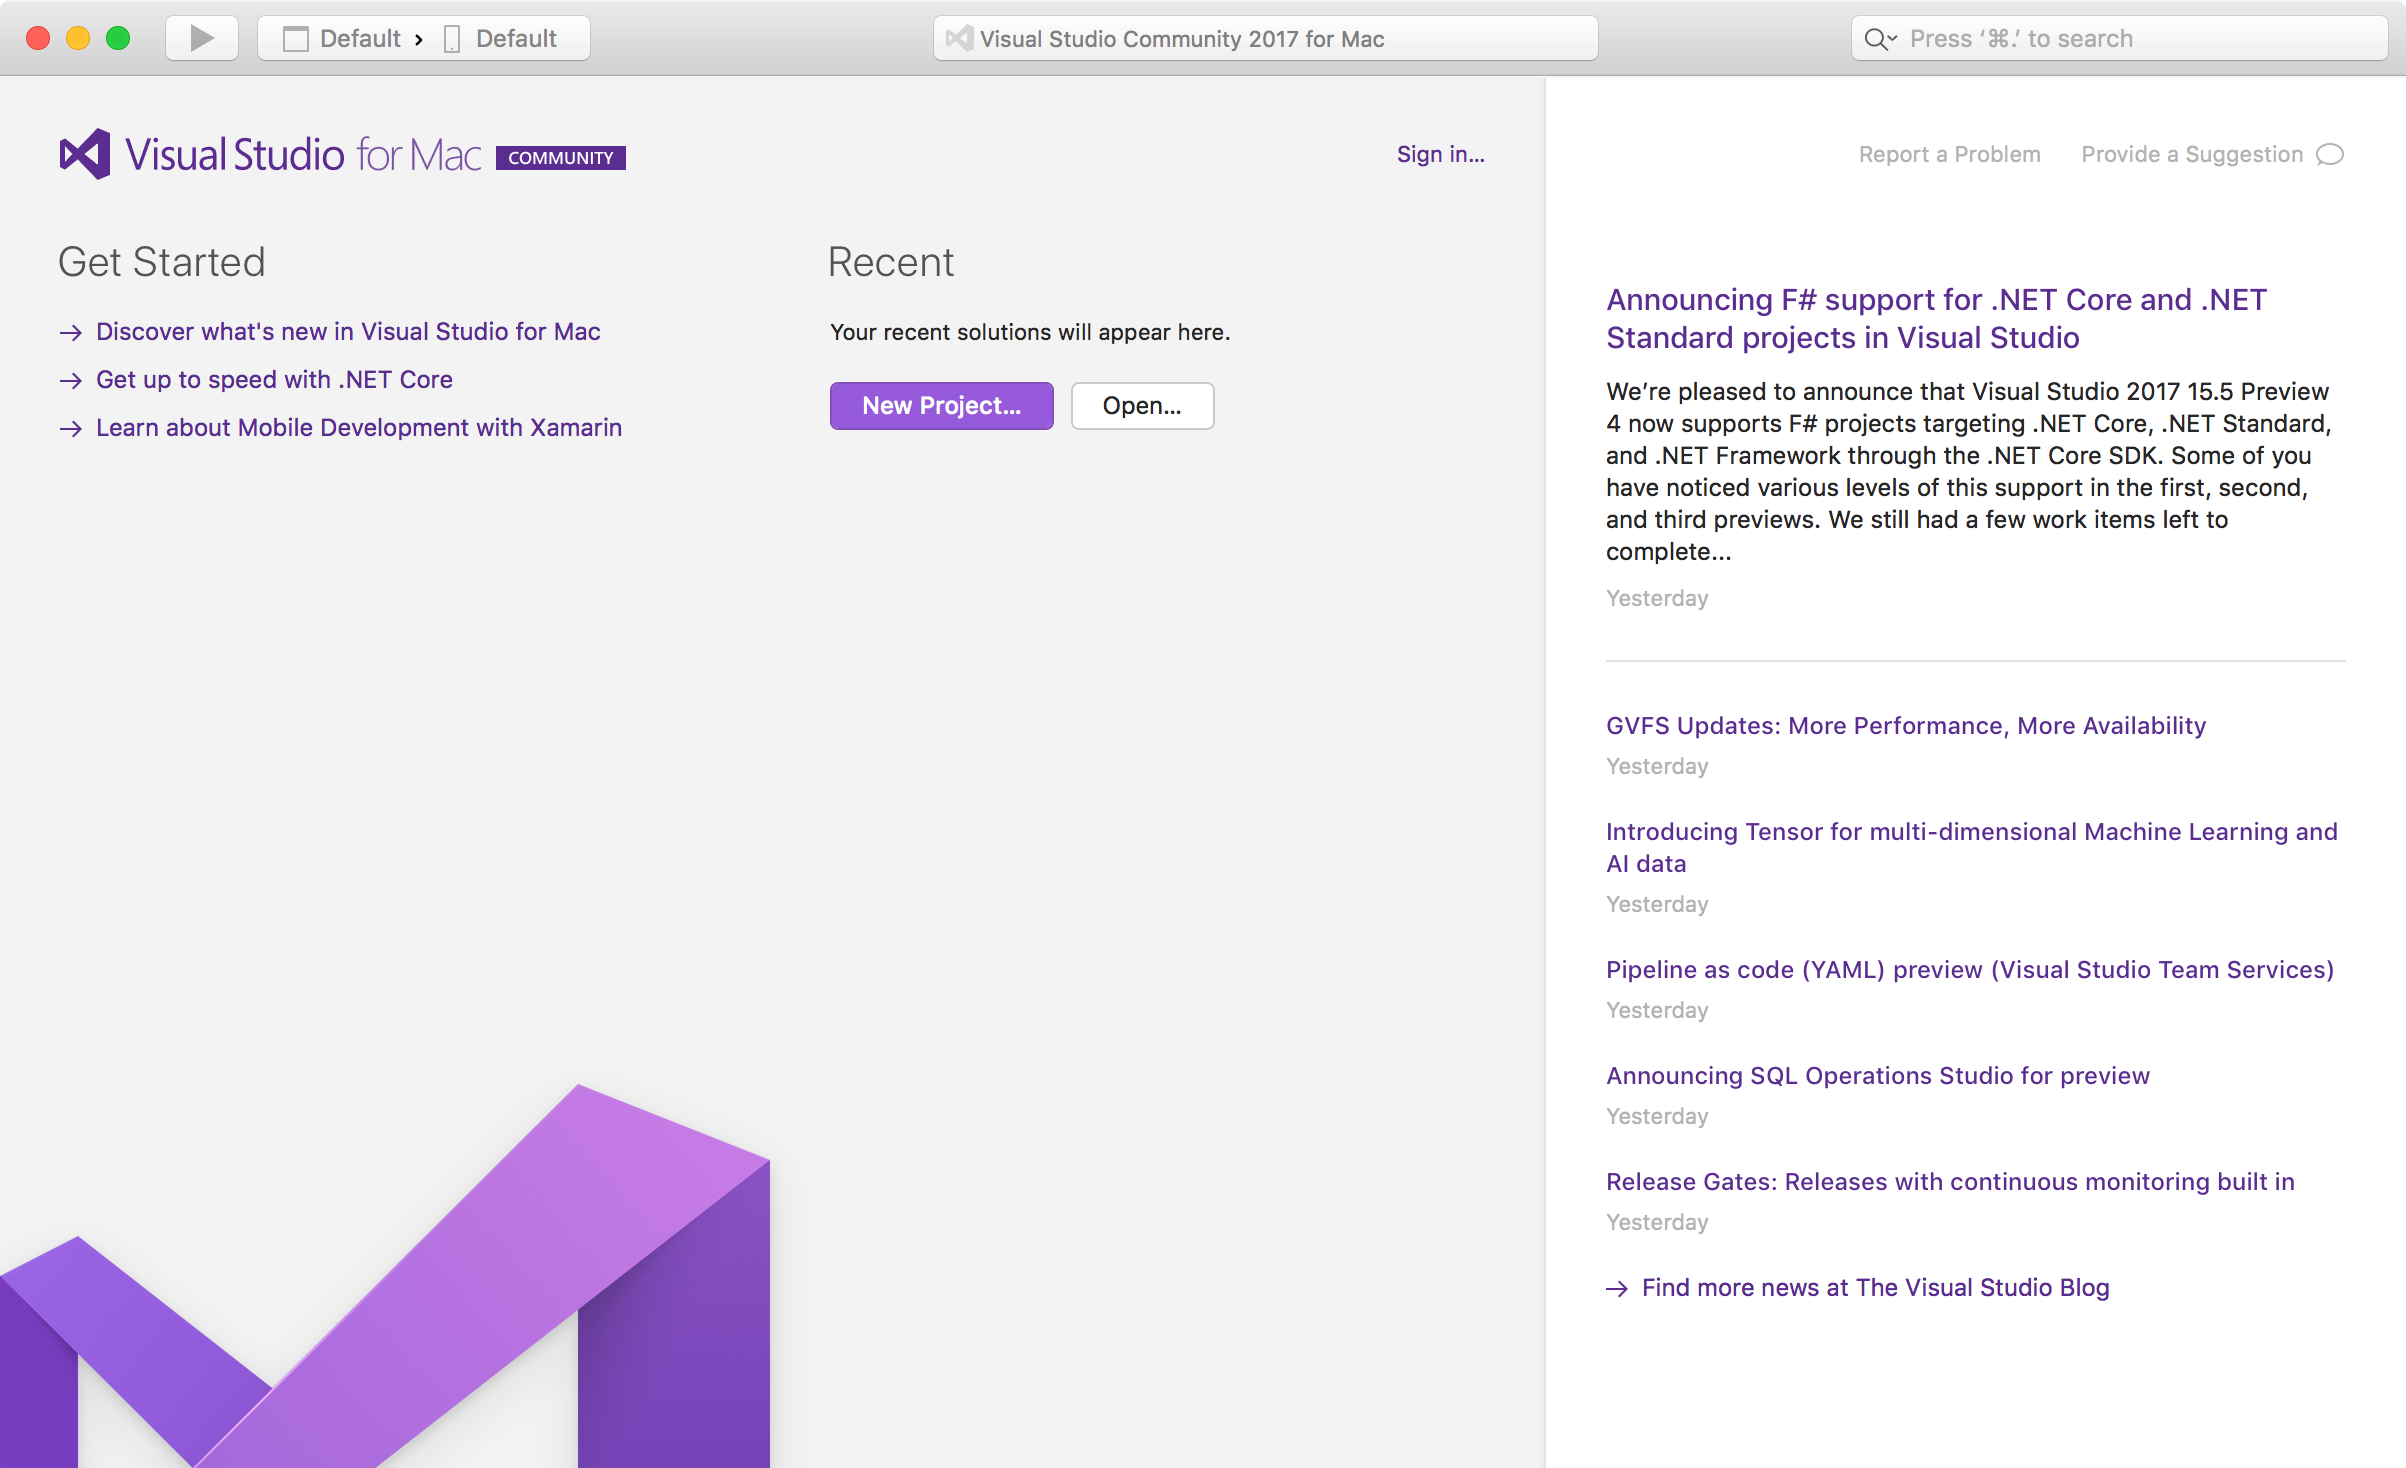
4. Using Visual Studio
4.1 Project Template
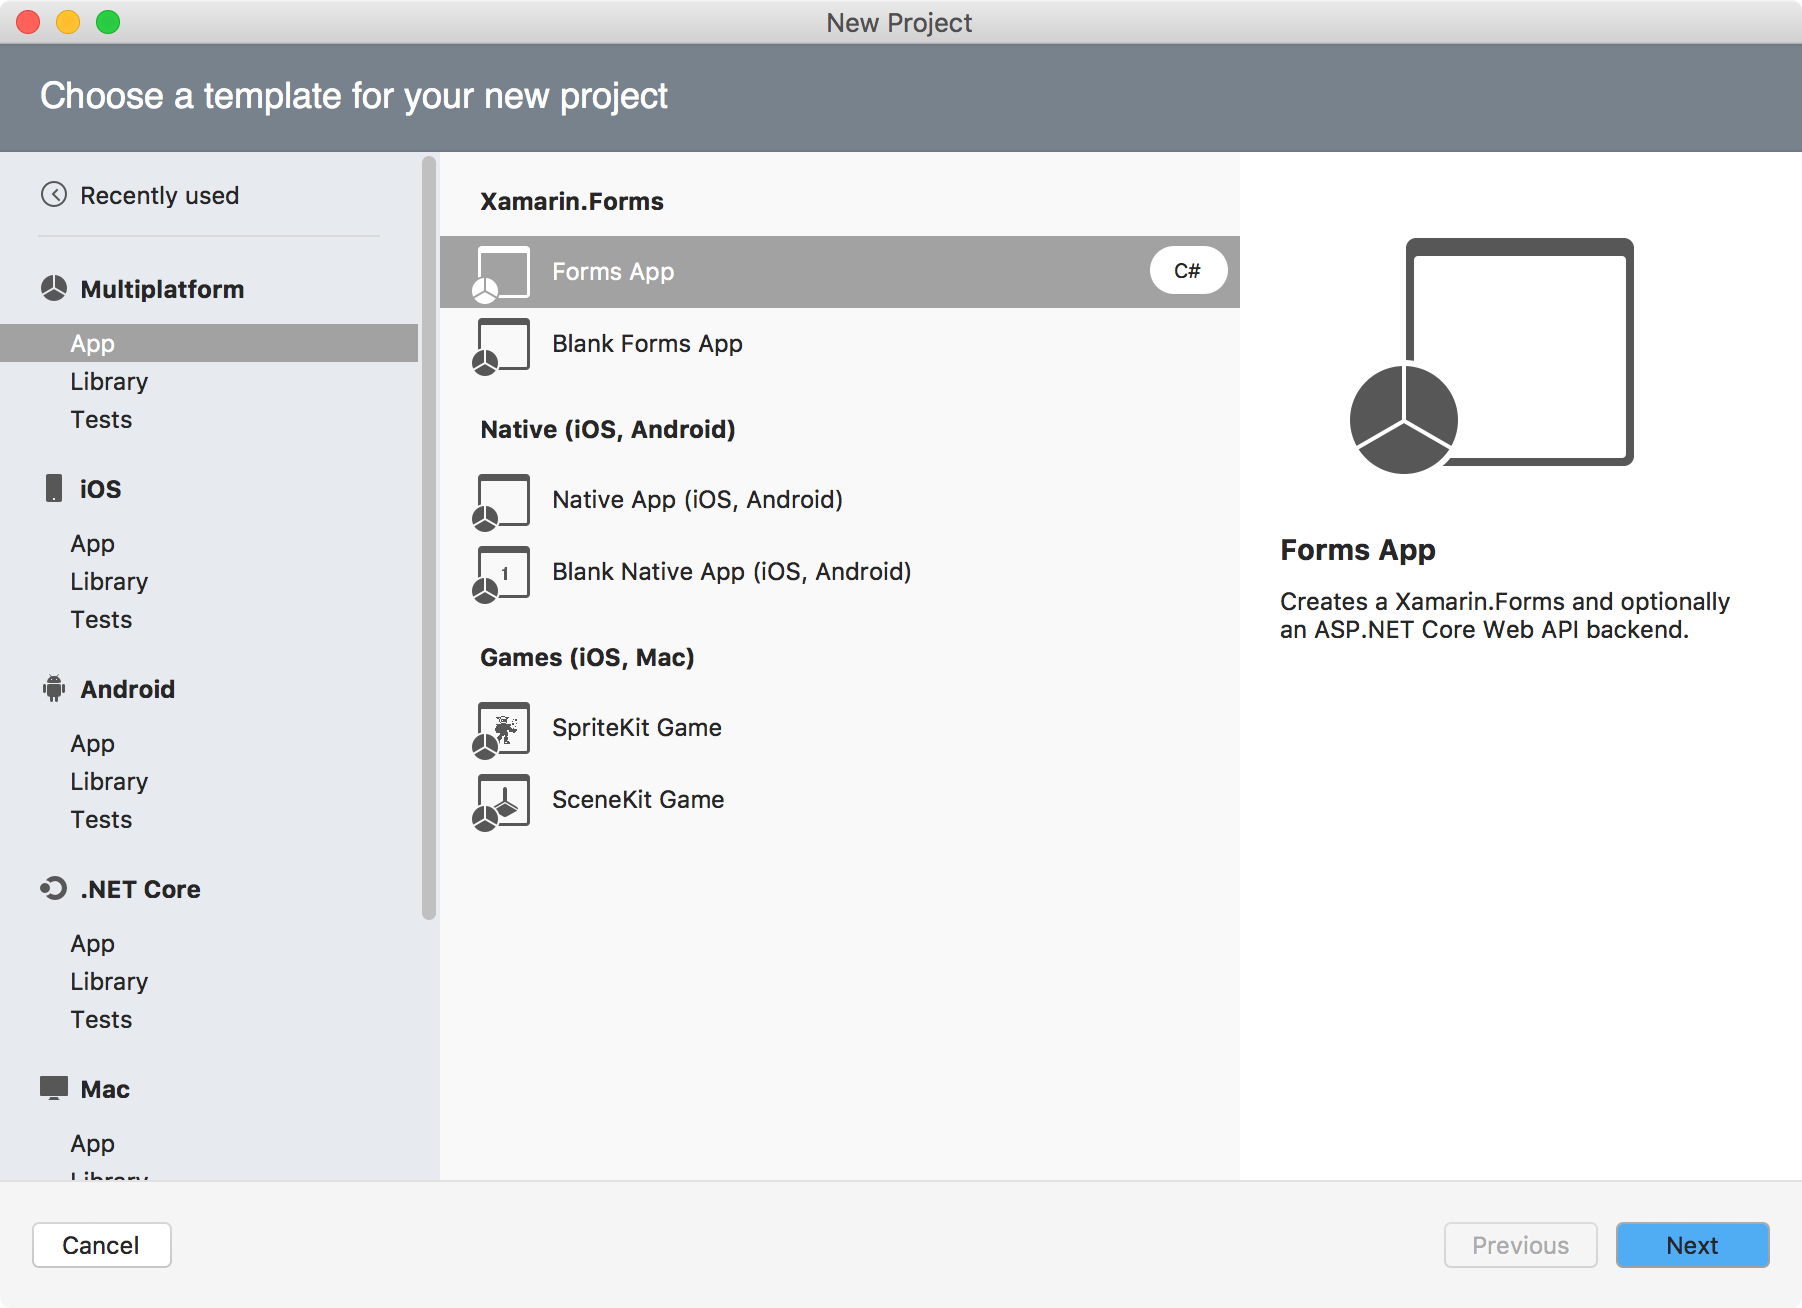
There are several project templates are supported in Visual Studio for Mac.
You can create Multiplatform mobile projects for iOS and Android which are based on Xamarin.
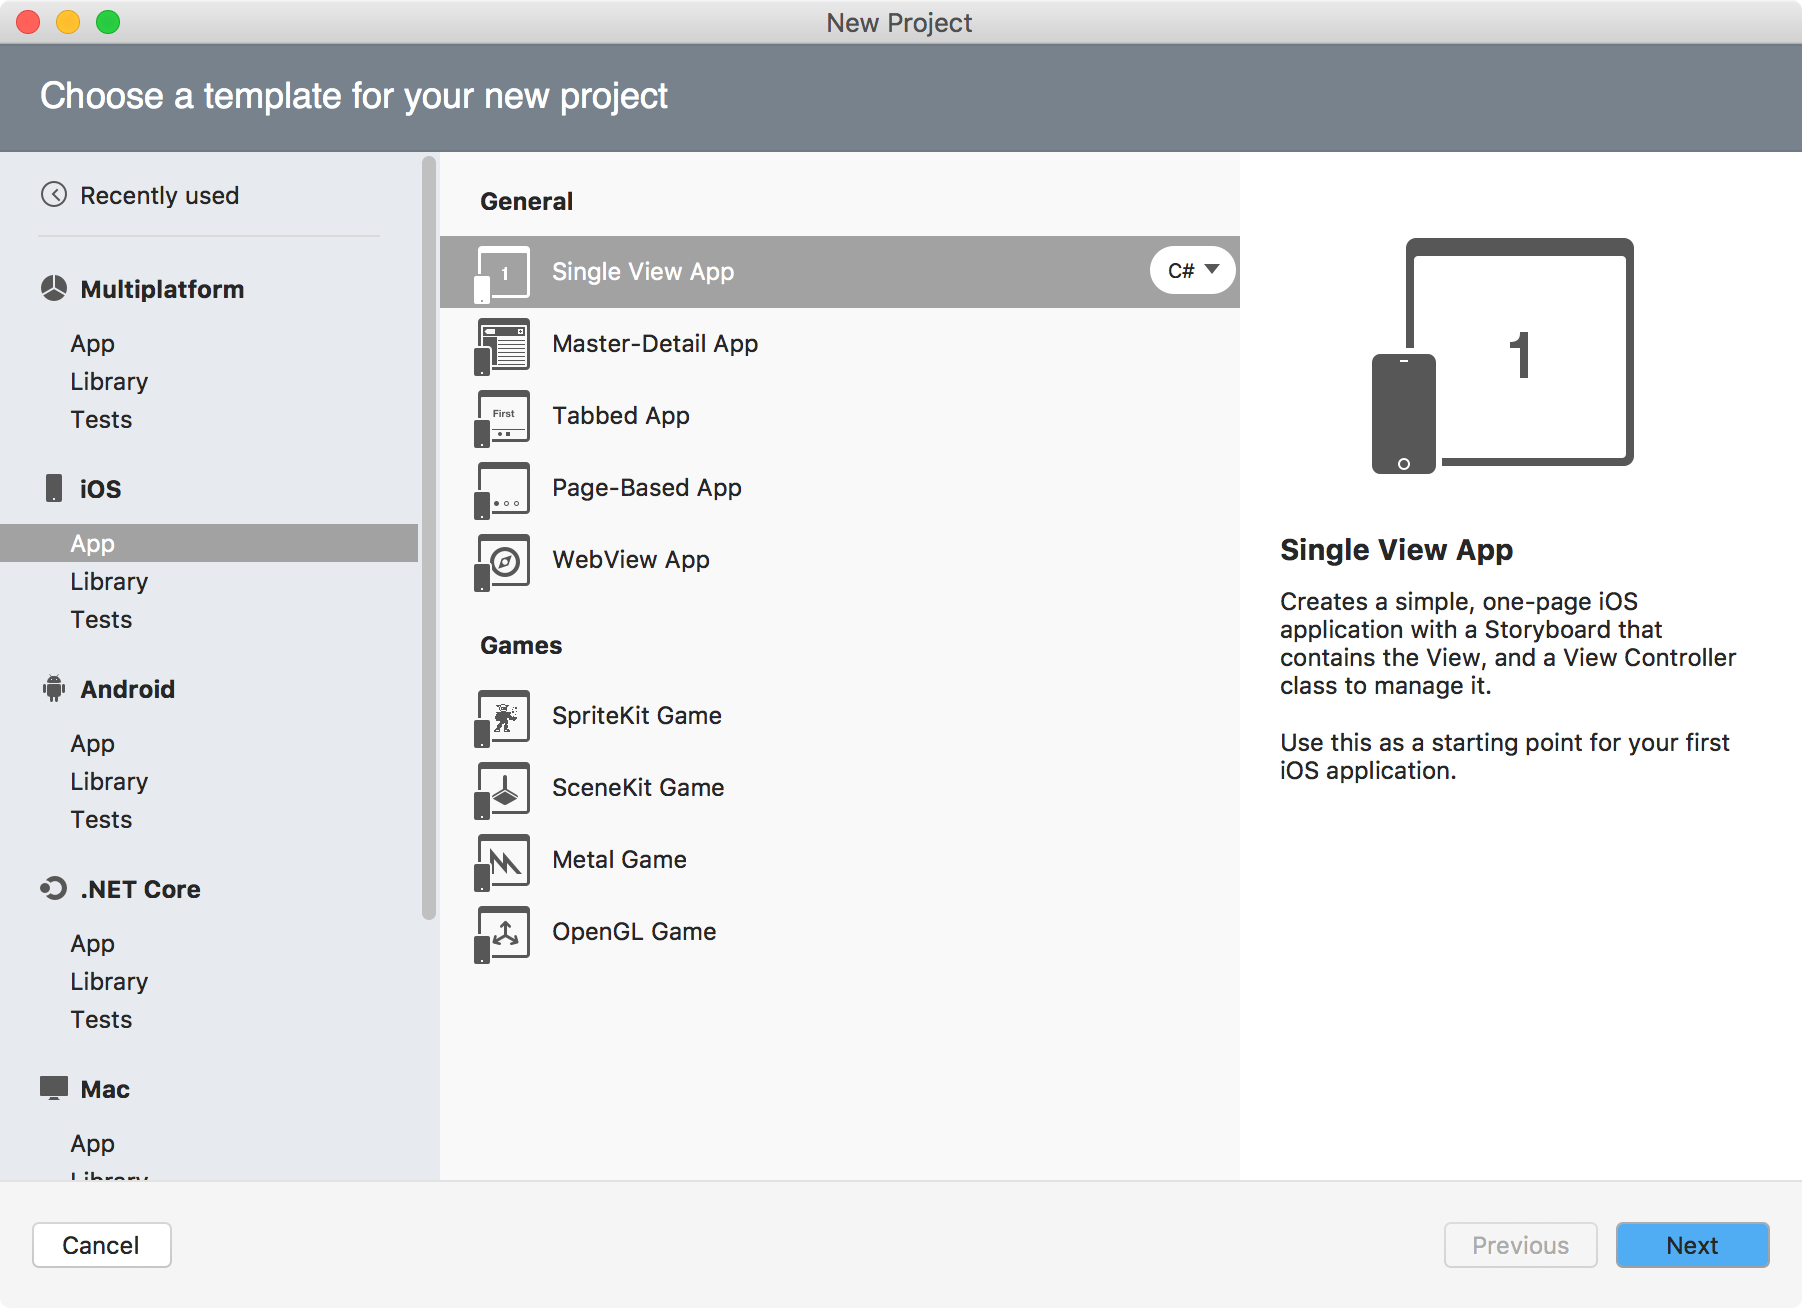
You can also create native iOS project with C#.
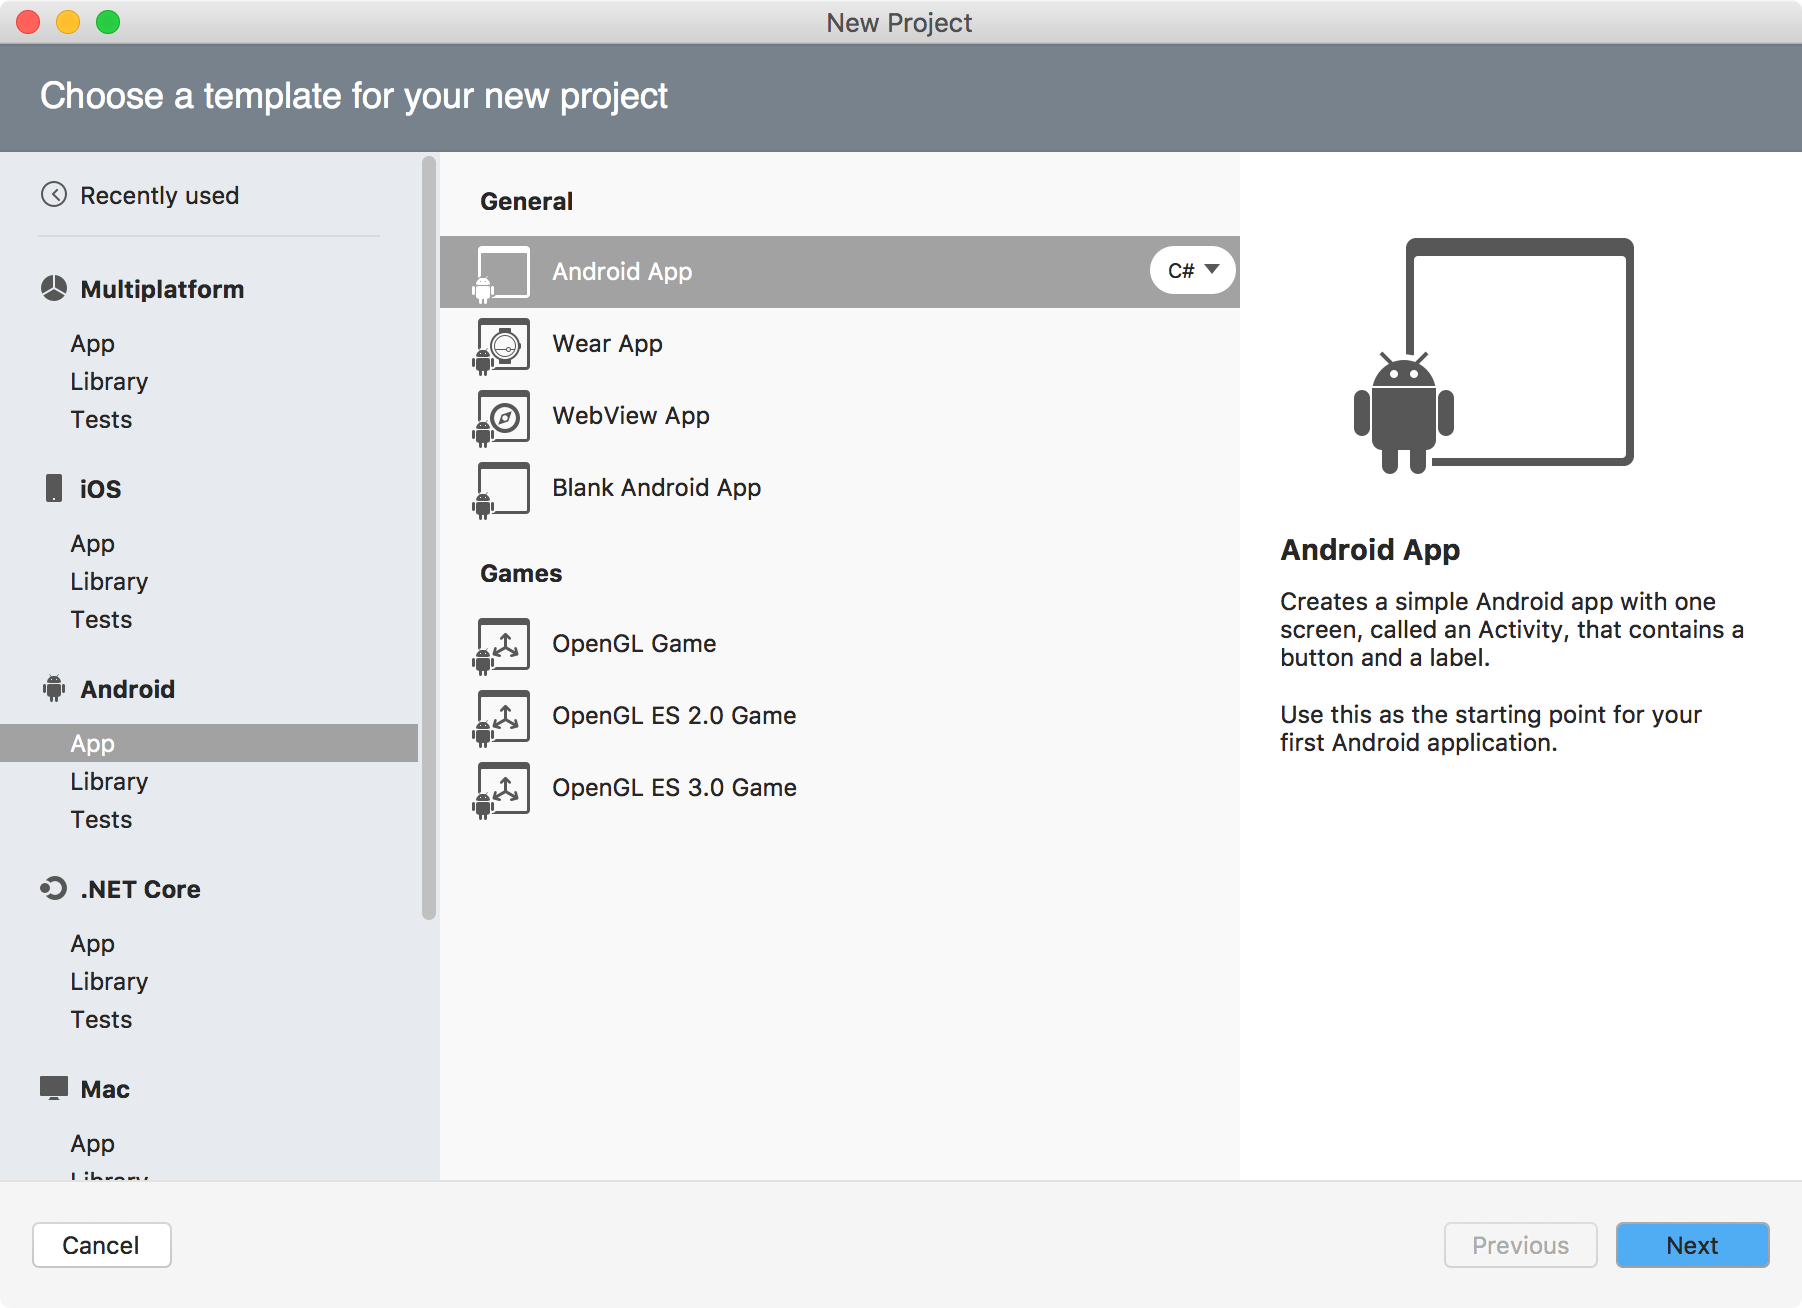
You can also create native Android project with C#.
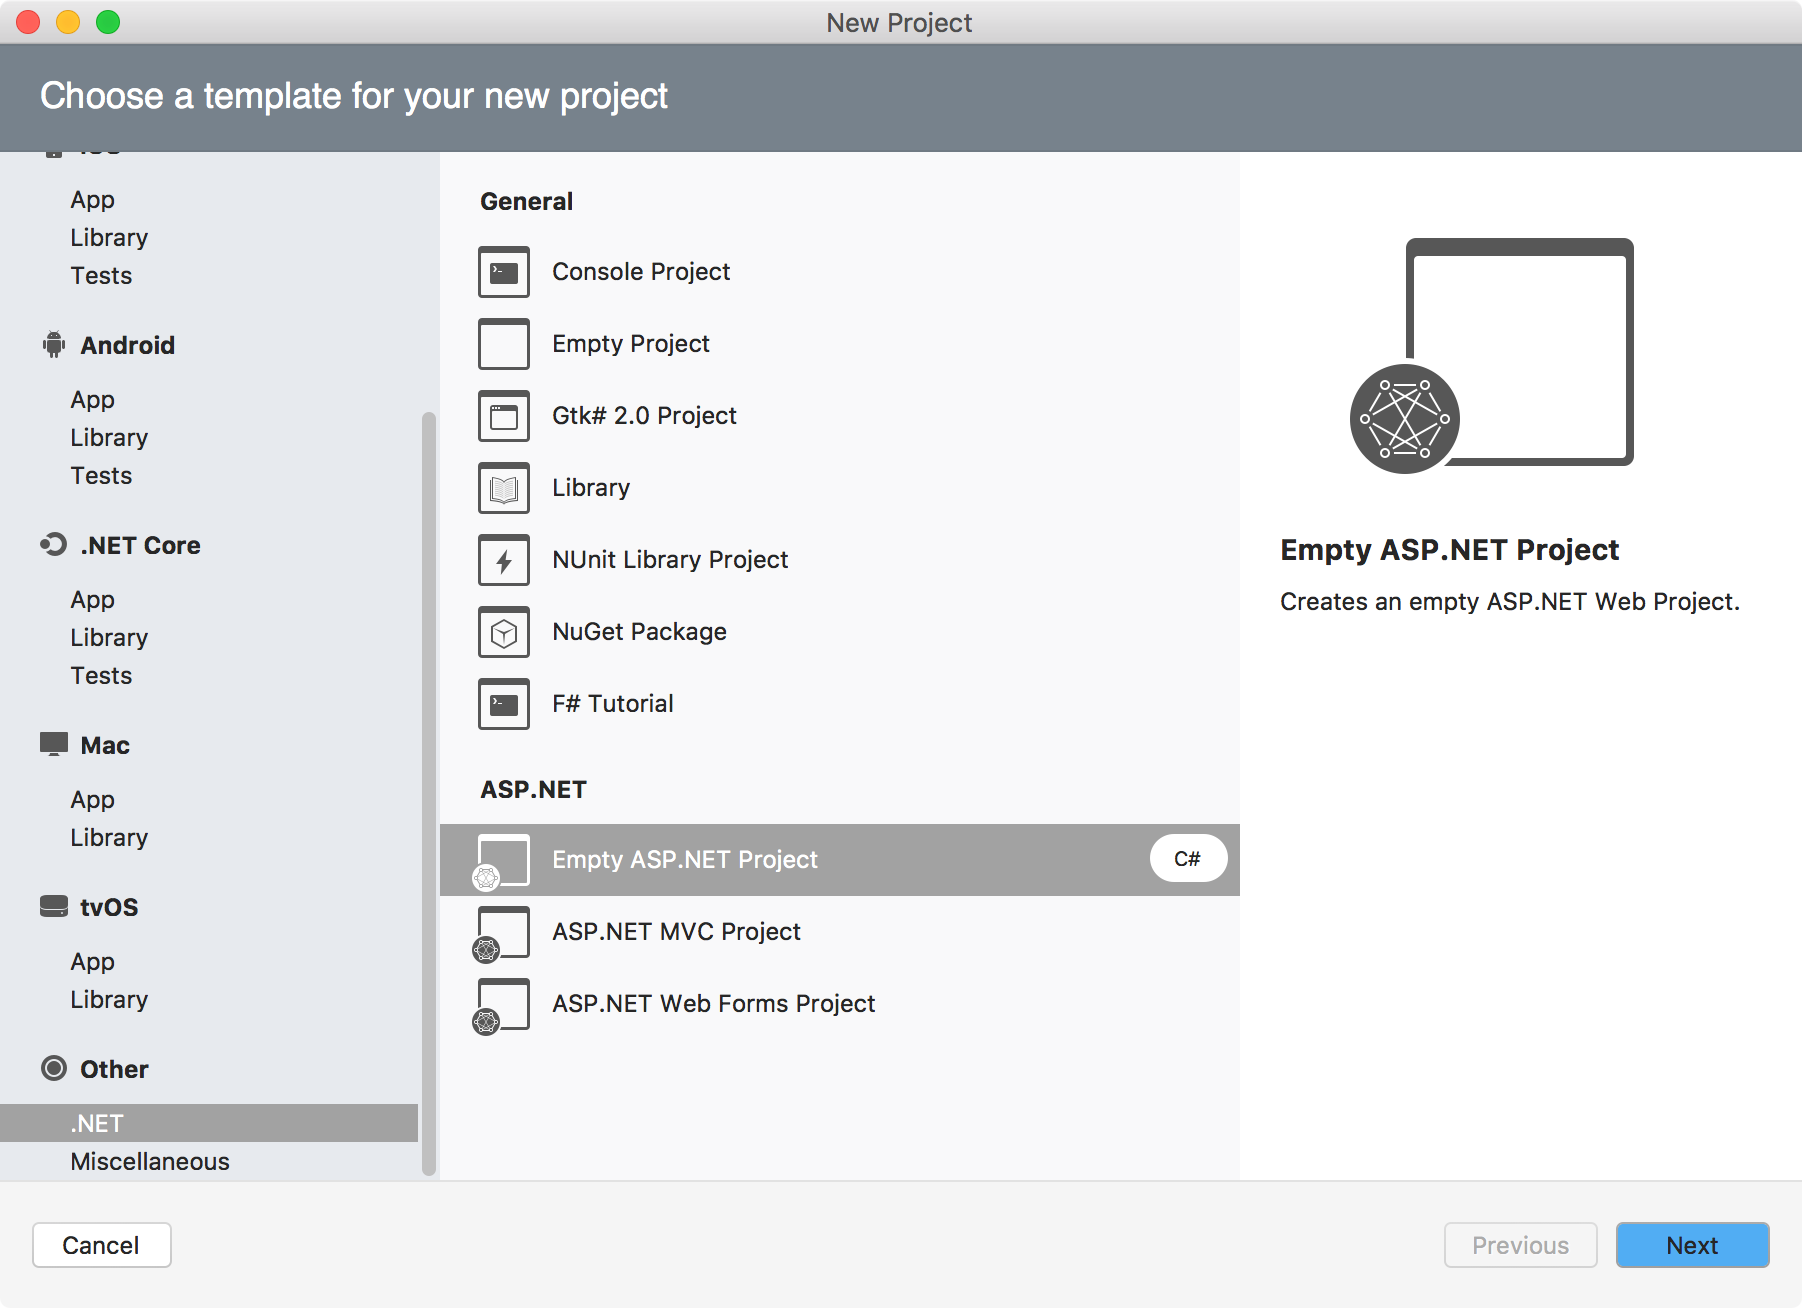
Further more, you are also able to create ASP.NET applications.
4.2 Creating Multiplatform Project
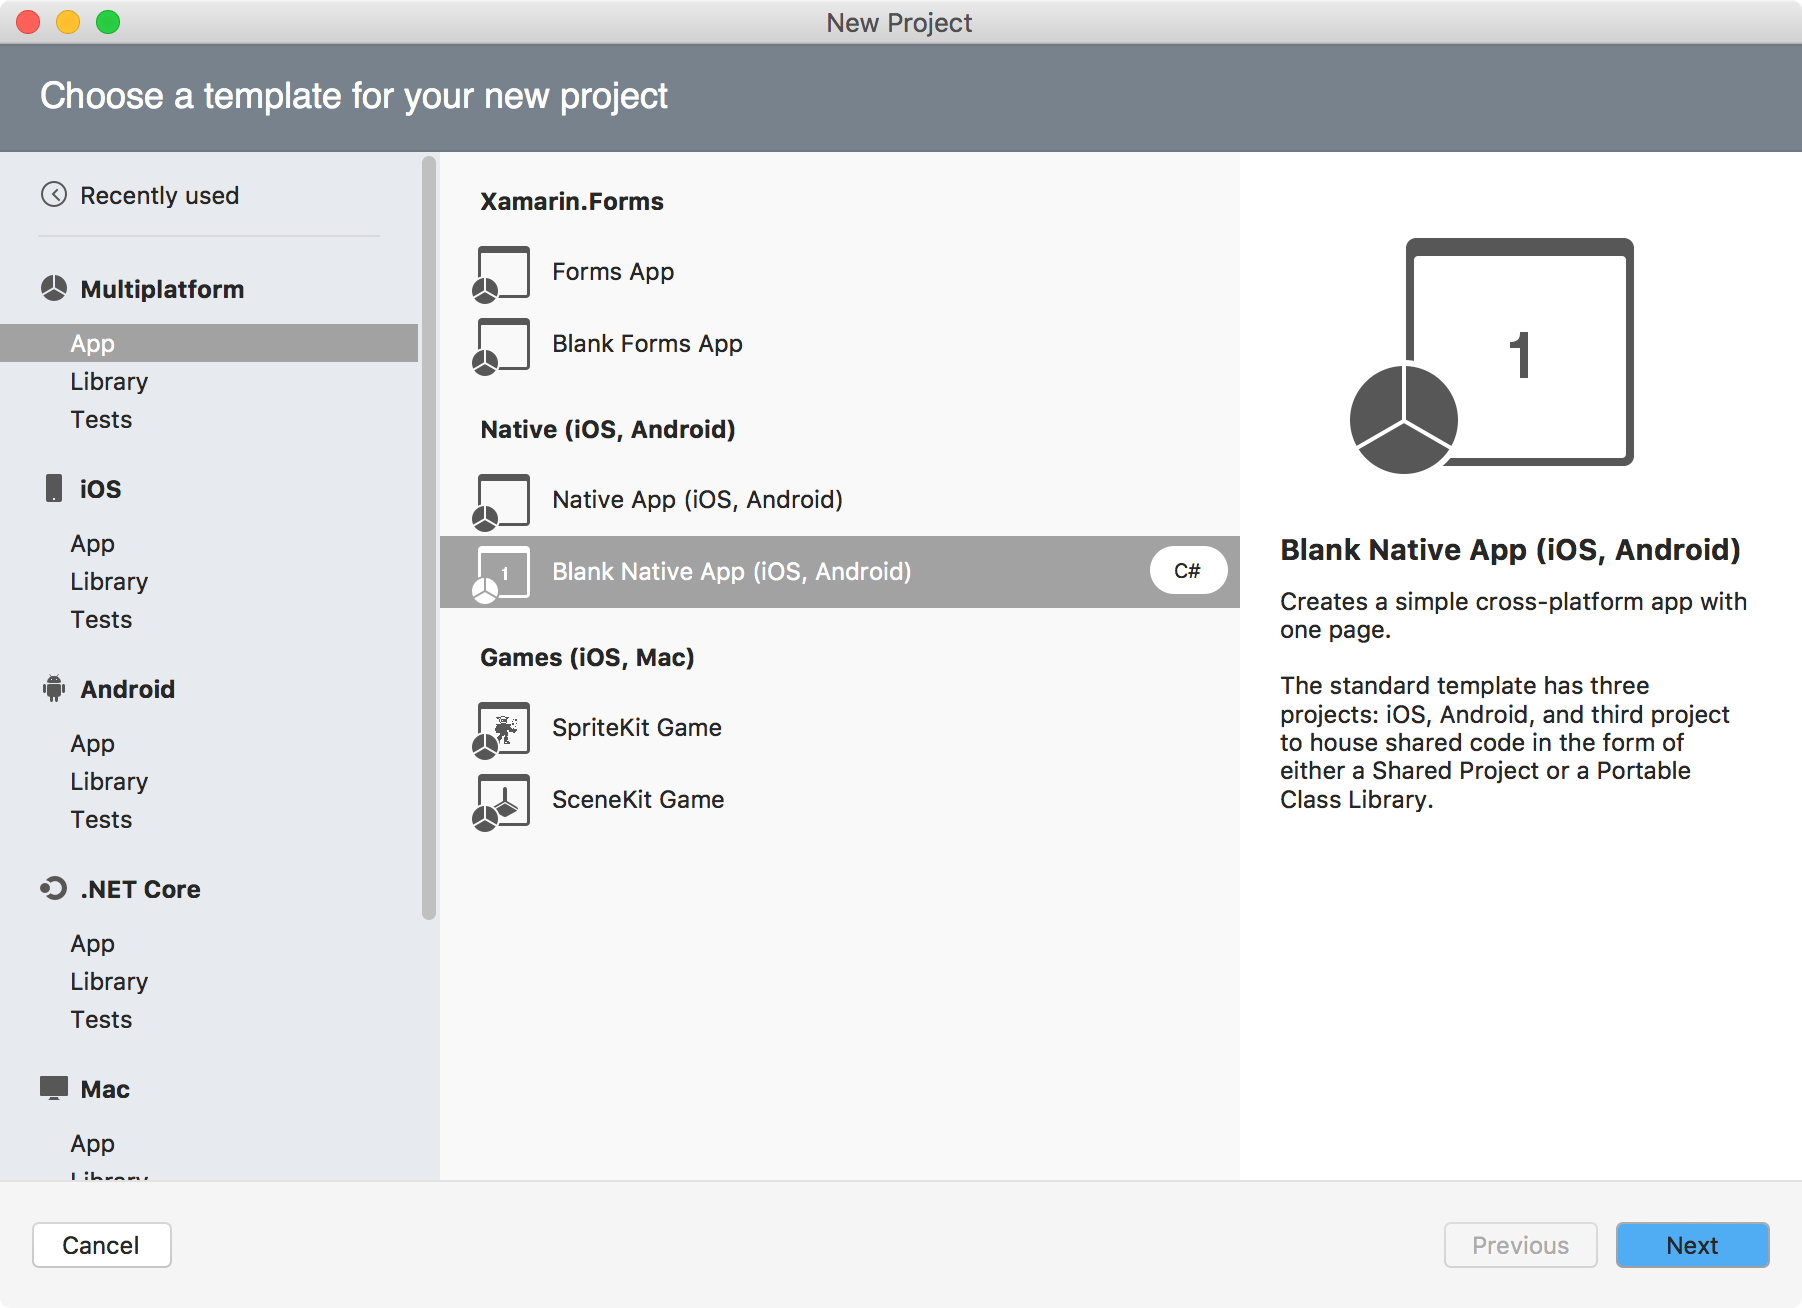
Click ‘New Project’ button in the welcome page or go to File->New Solution, select Multiplatform->App->Blank Native App(iOS, Android), Next.
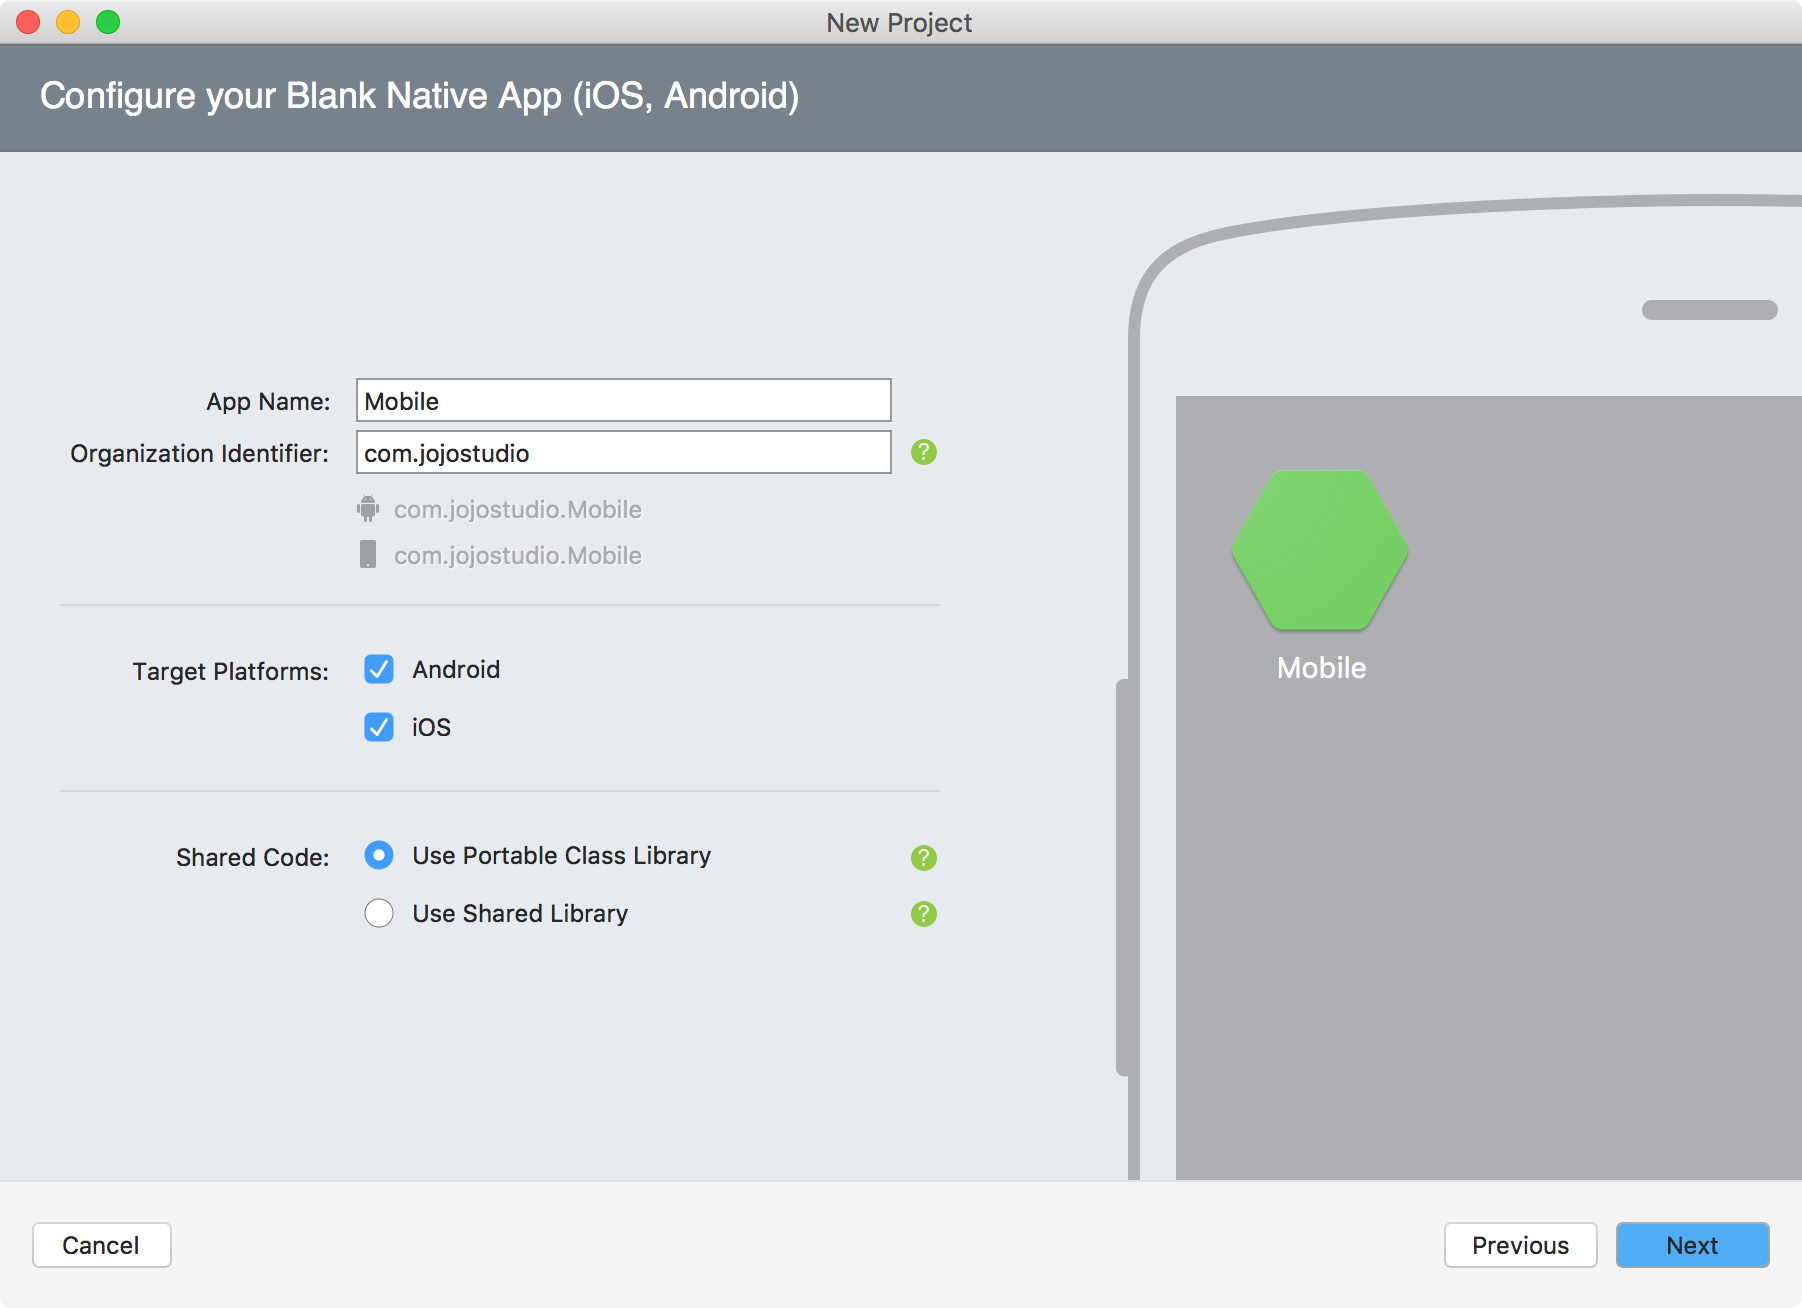
Give a name to your app and specify Organization Identifier, Next.
Specify the location where the source files will locate, Create.
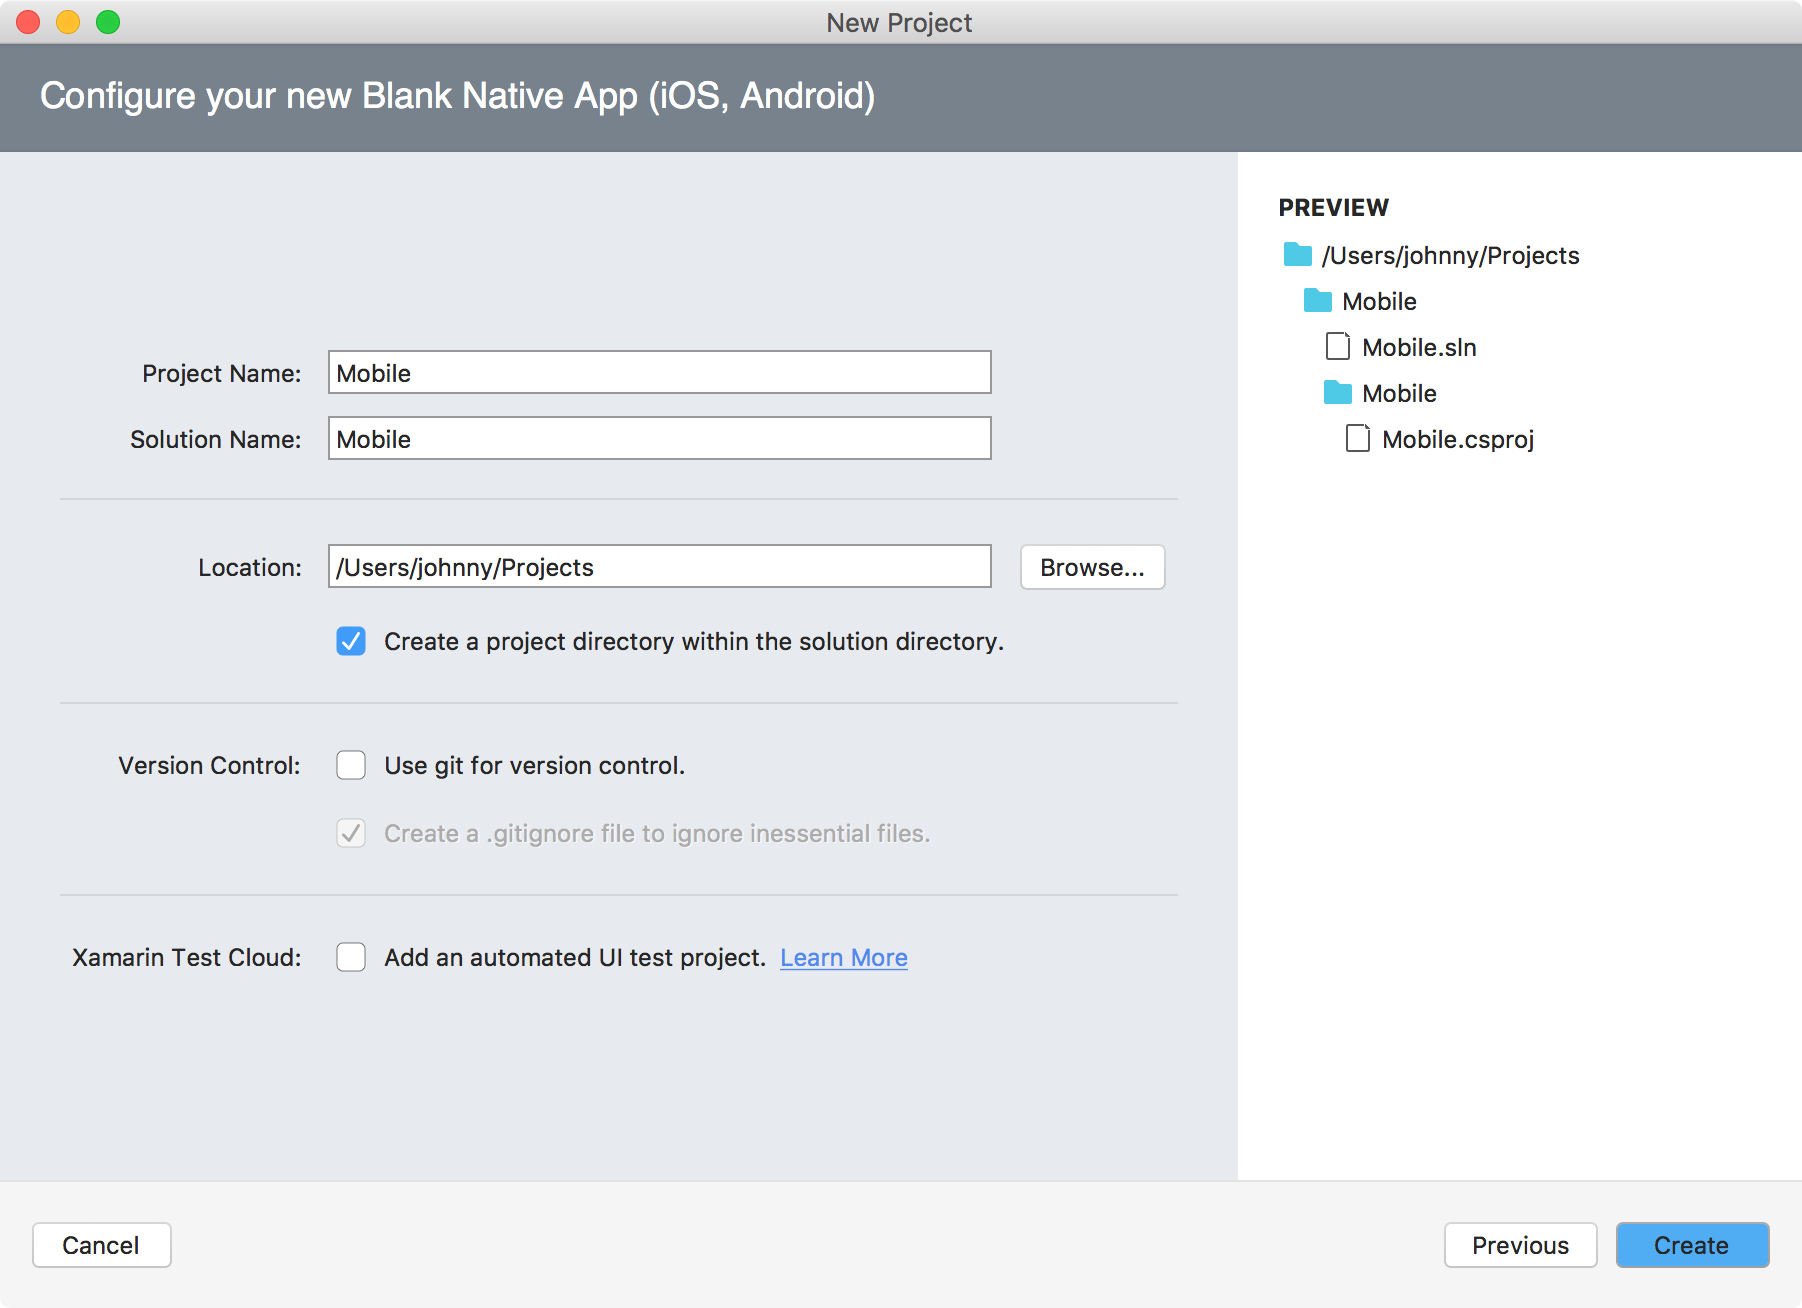
Three projects are created. ‘Mobile’ is a Portable .NET project. It can be shared to the Android project and the iOS project. You should put the common functions/classes in this project. ‘Mobile.Droid’ and ‘Mobile.iOS’ focus on UI, which are specific for Android and iOS.
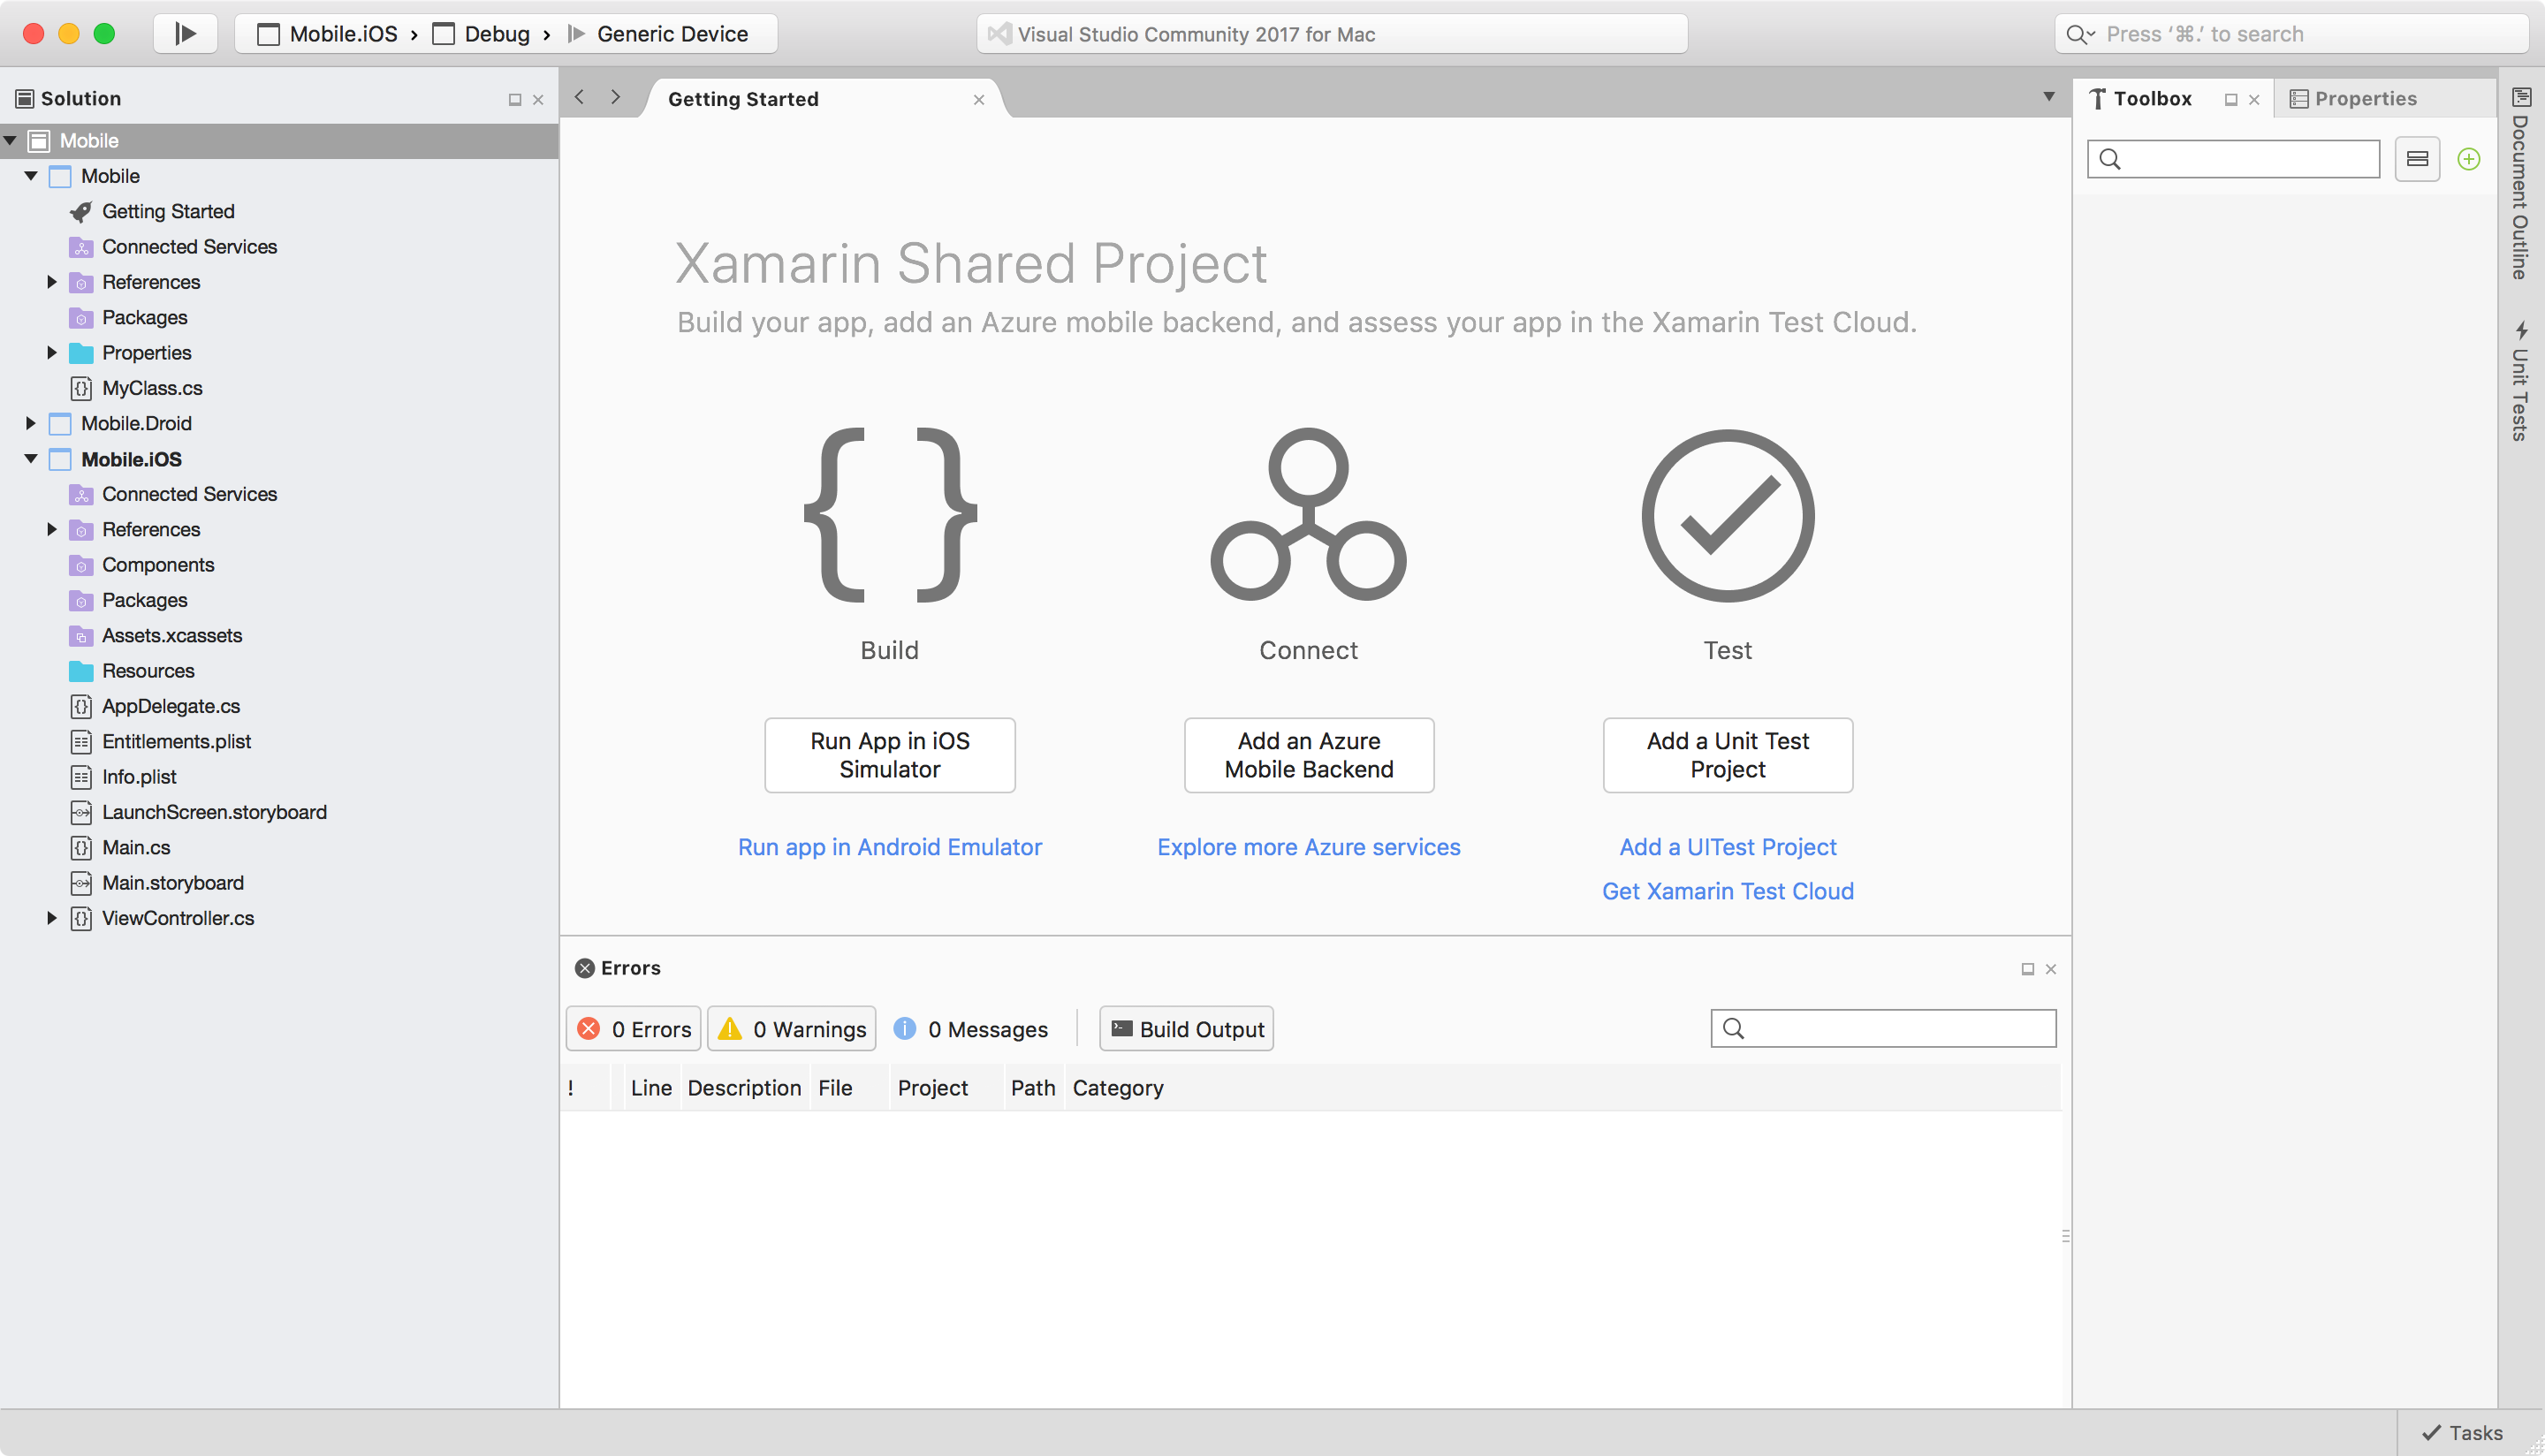
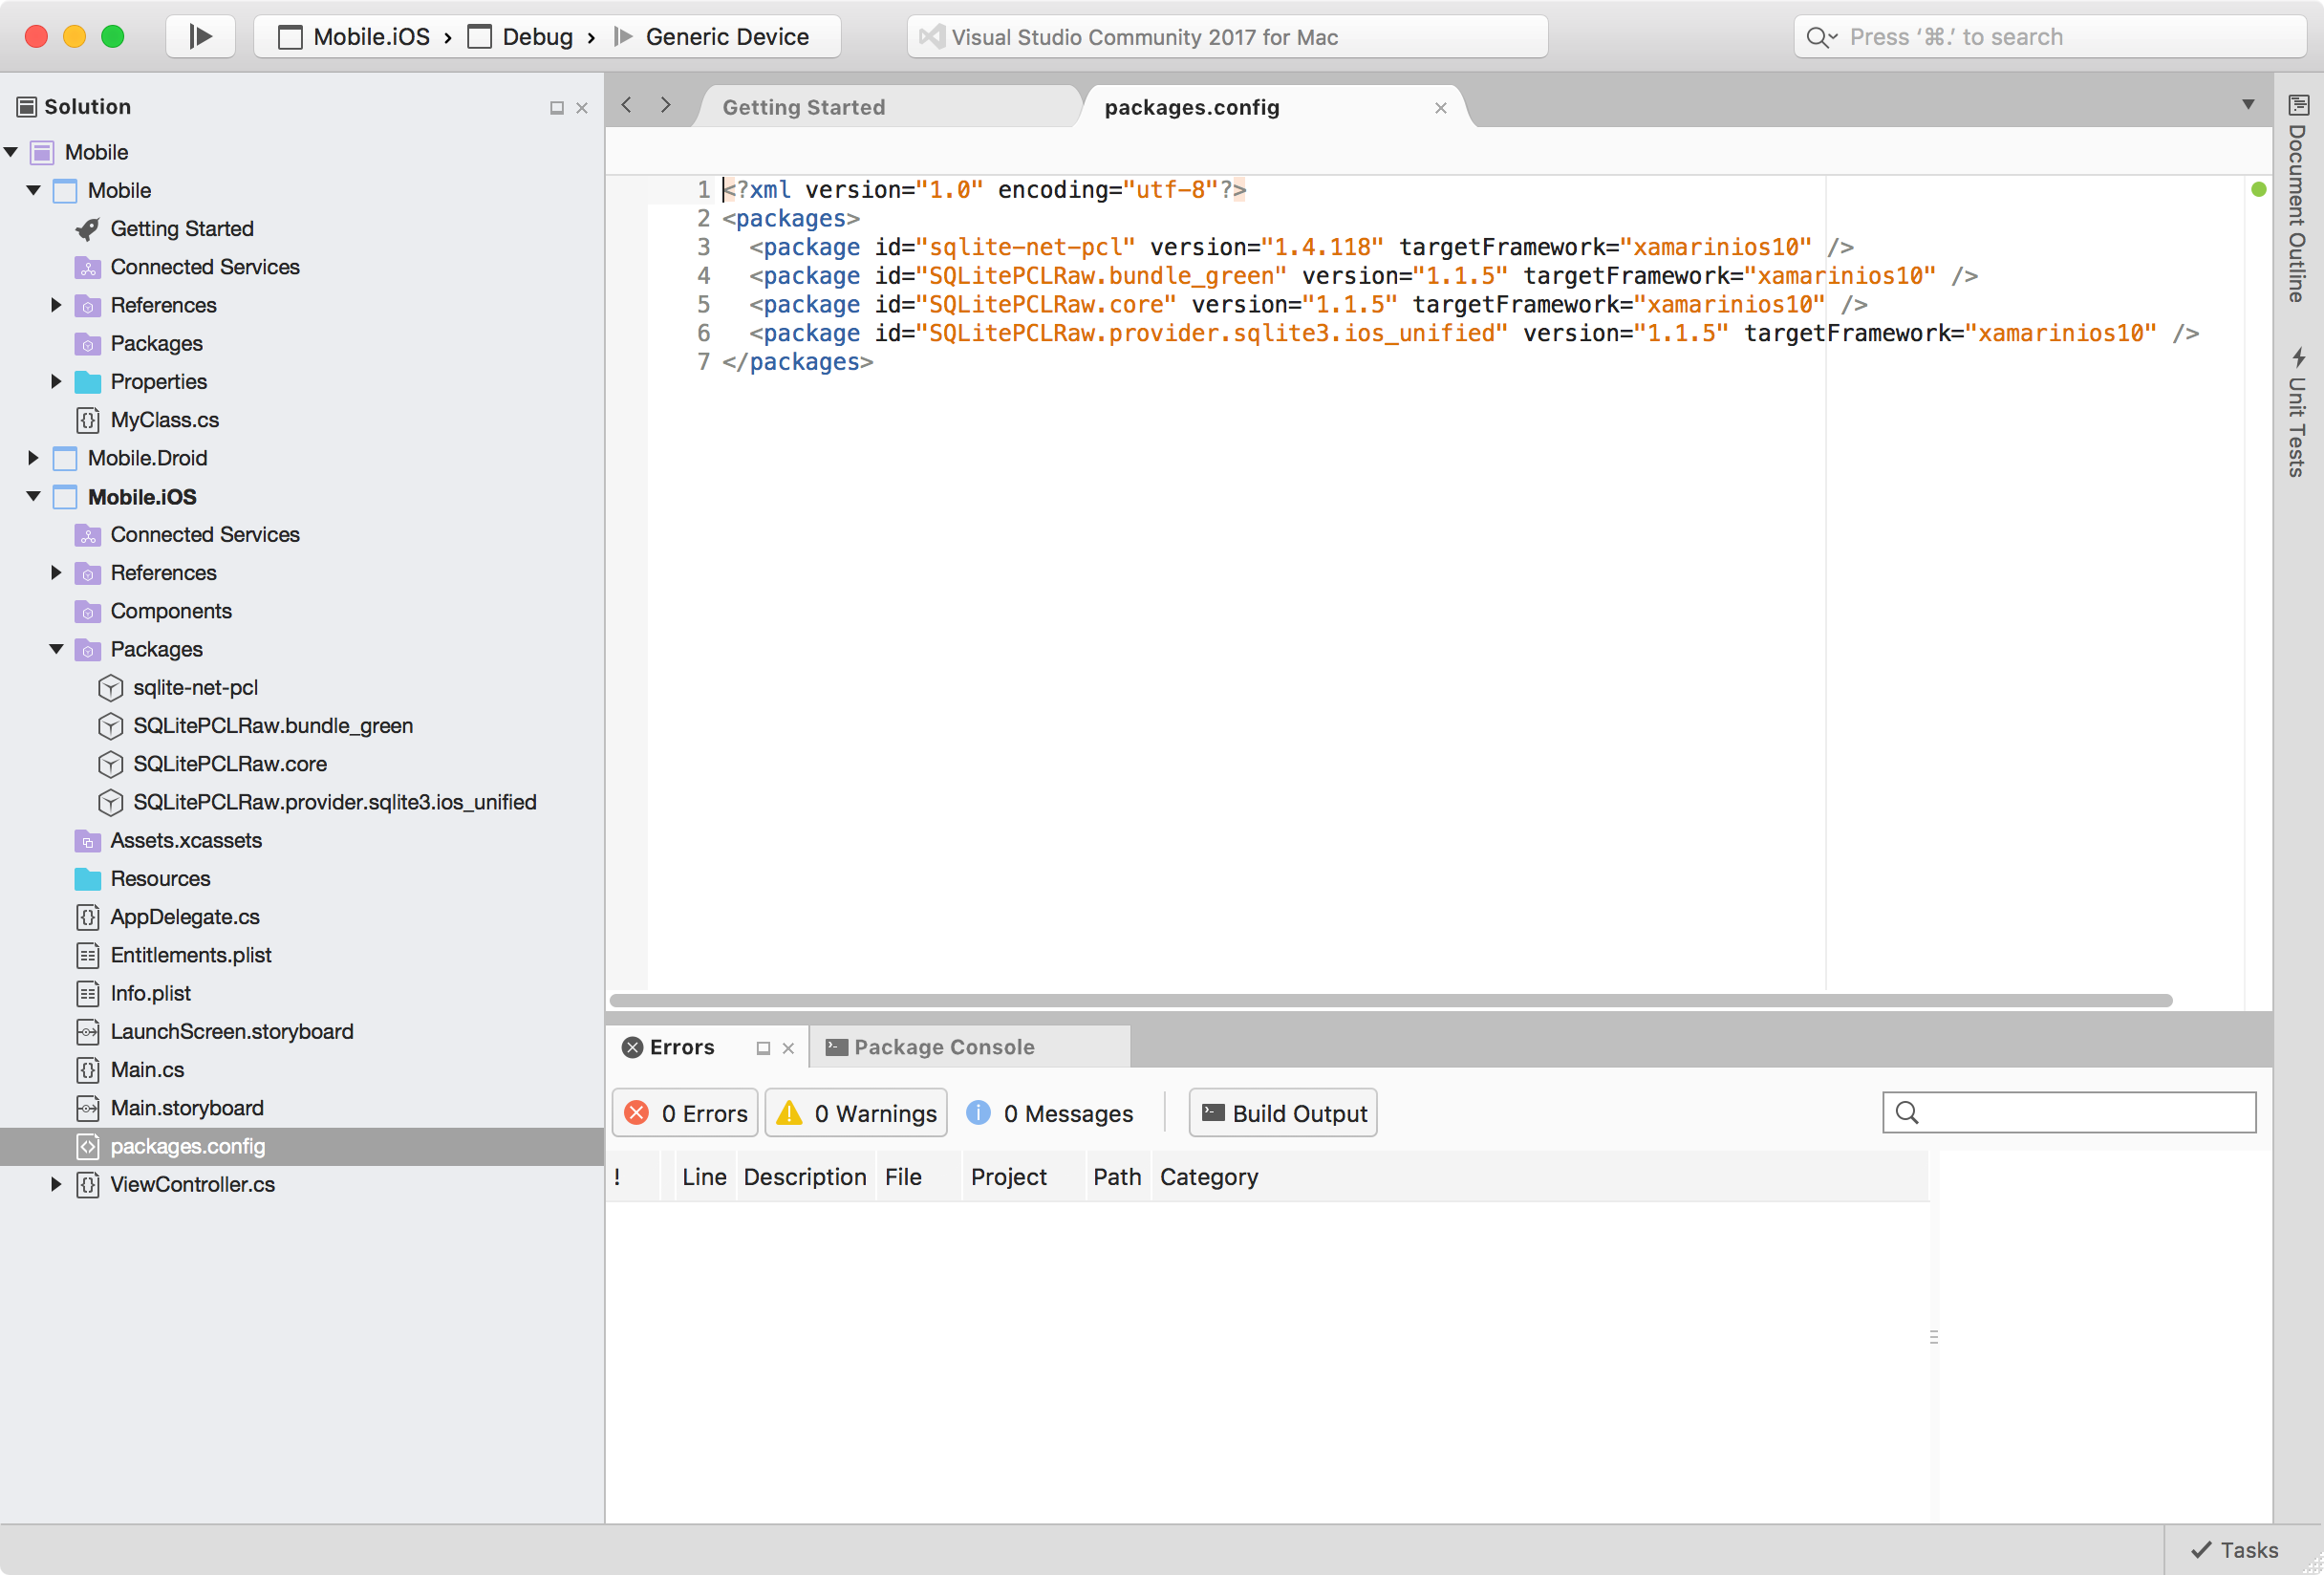
4.3 Managing Packages with NuGet Package Manager
Select the ‘Mobile.iOS’ project. Then open NuGet Package Manager by choosing Project->Add NuGet Package.
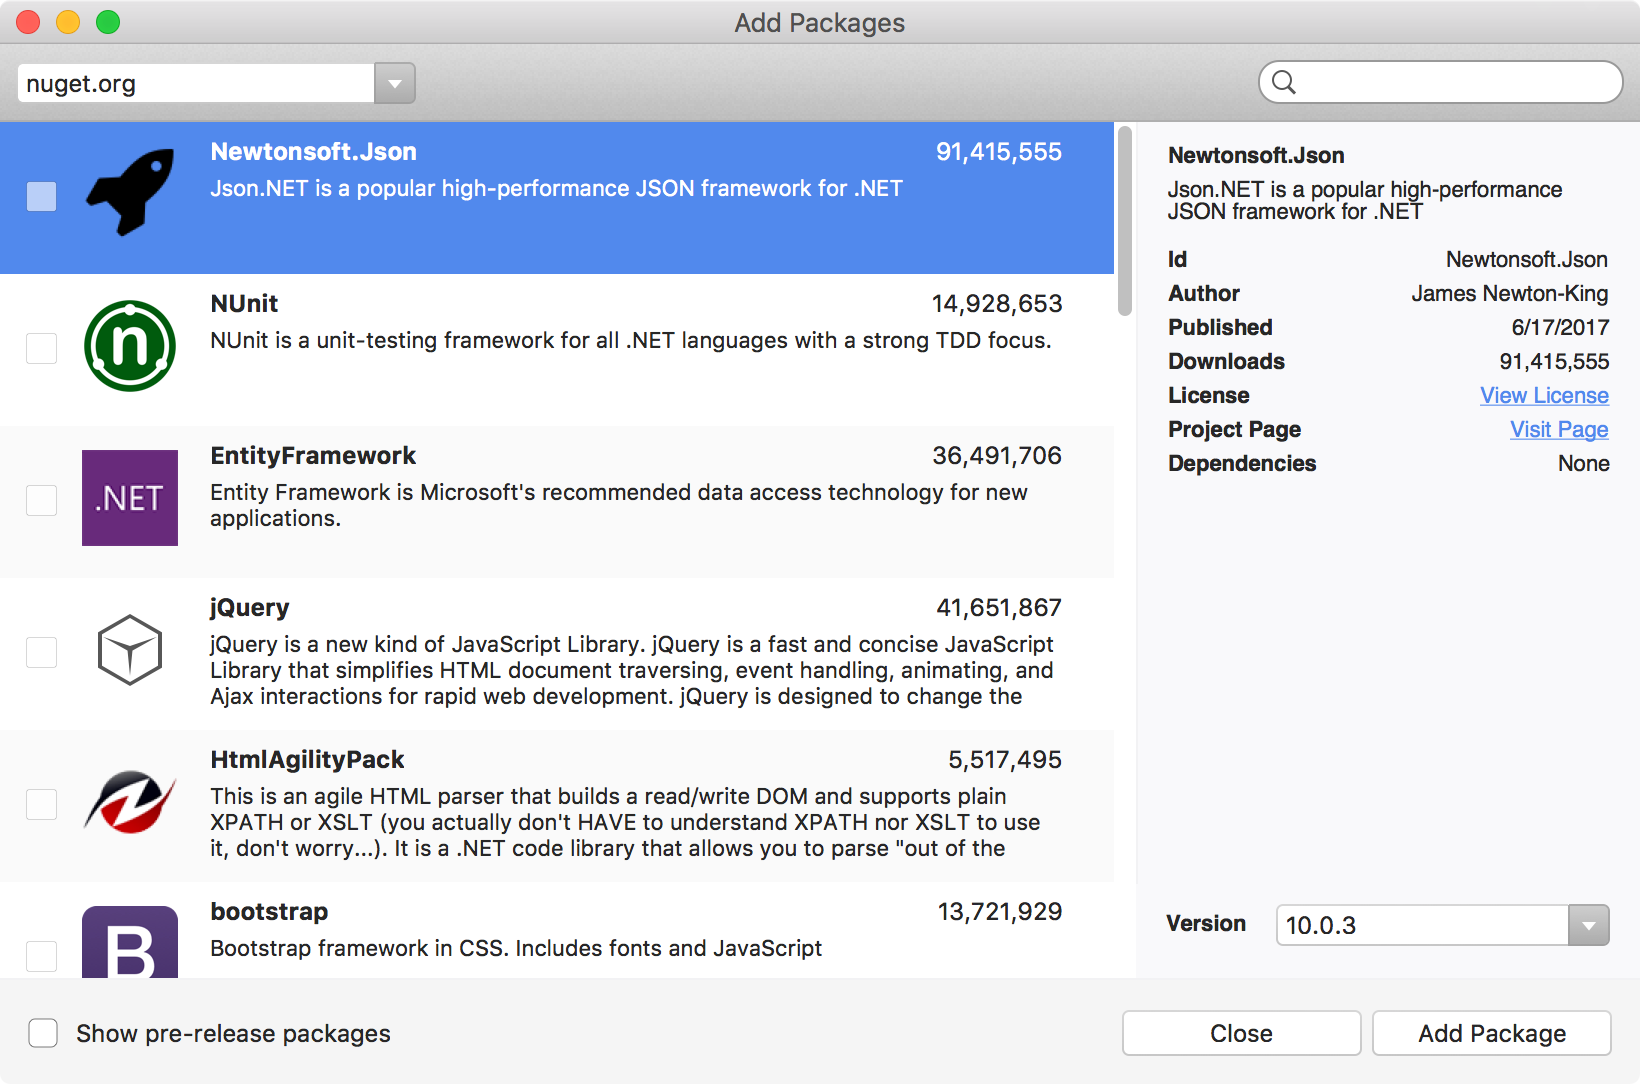
Search ‘sqlite’, select the package named ‘sqlite-net-pcl’, specify the version of this component if necessary and click ‘Add Package’.
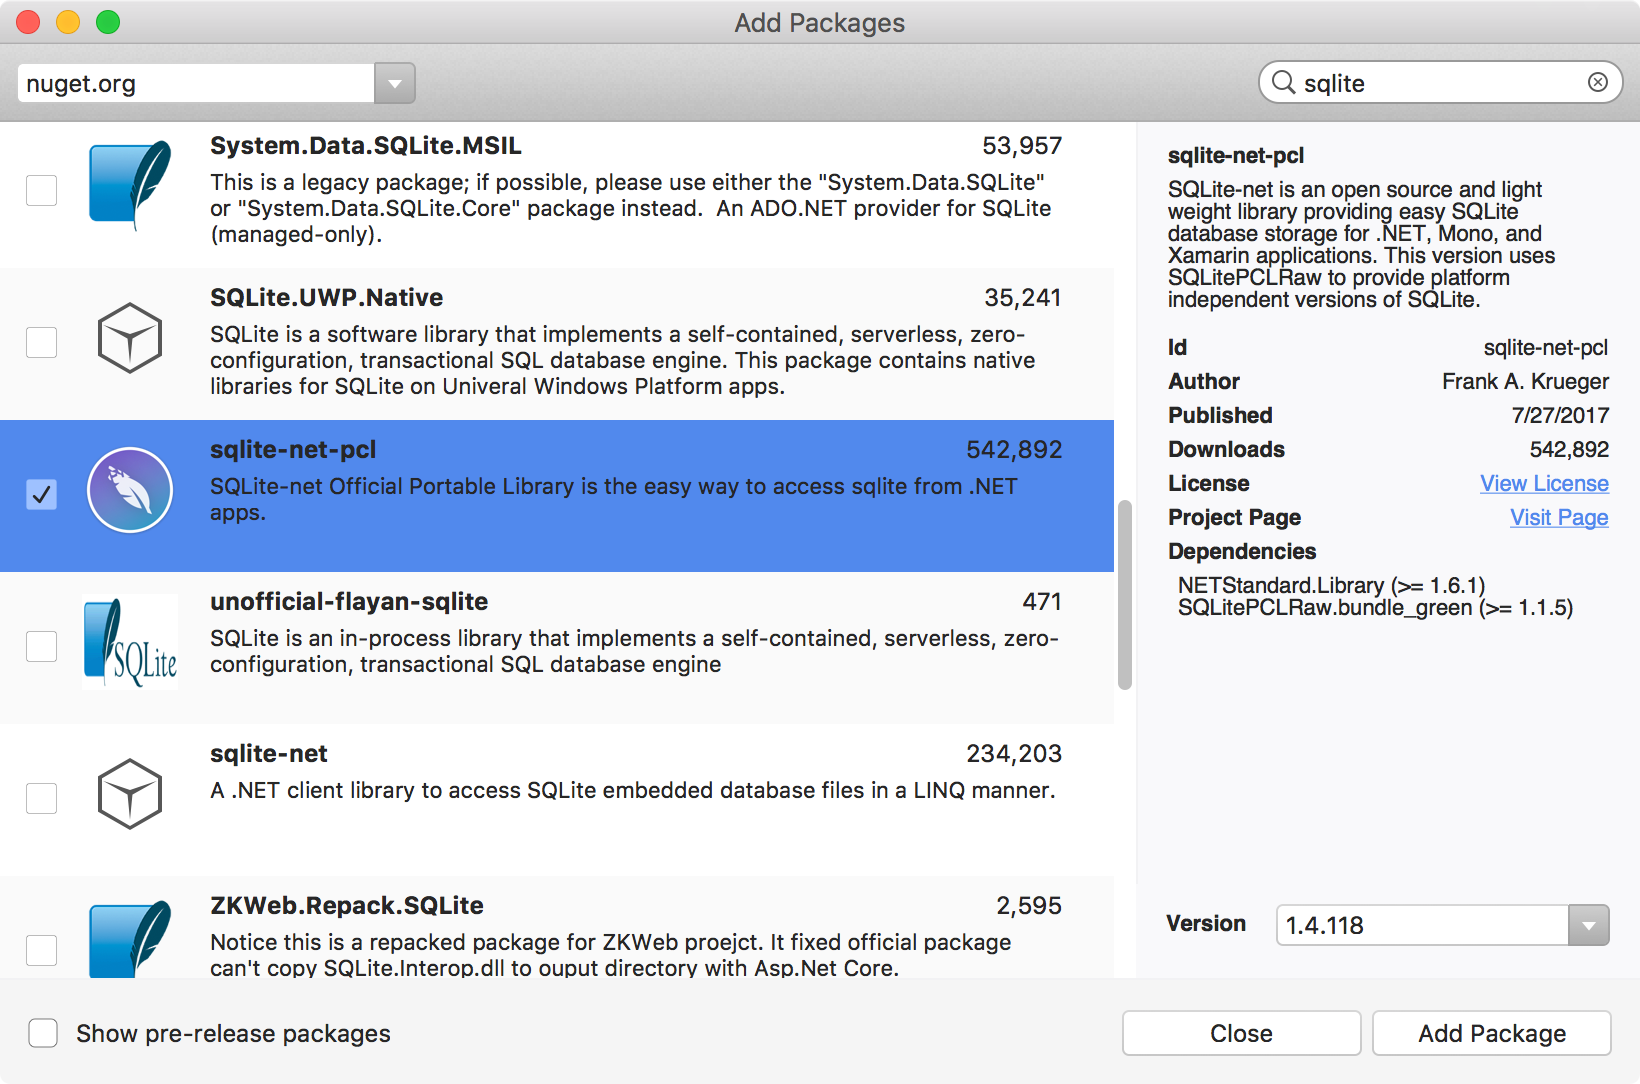
There will be a new file named ‘package.config’ added to the project. The packages and their dependencies are listed in this file. Notice that, new packages are installed into the Packages folder. Now you can use them in your project.