8455. Deploying Game Store React App to Azure with FTPAzure, FTP, and FileZilla
Introduce how to use FileZilla to deploy React application as a static site on Azure.
1. React App
1.1 Source Code
Get the source code of Game Store app from GitHub.
$ git clone https://github.com/jojozhuang/game-store-react.git
$ cd game-store-react
Compile the app.
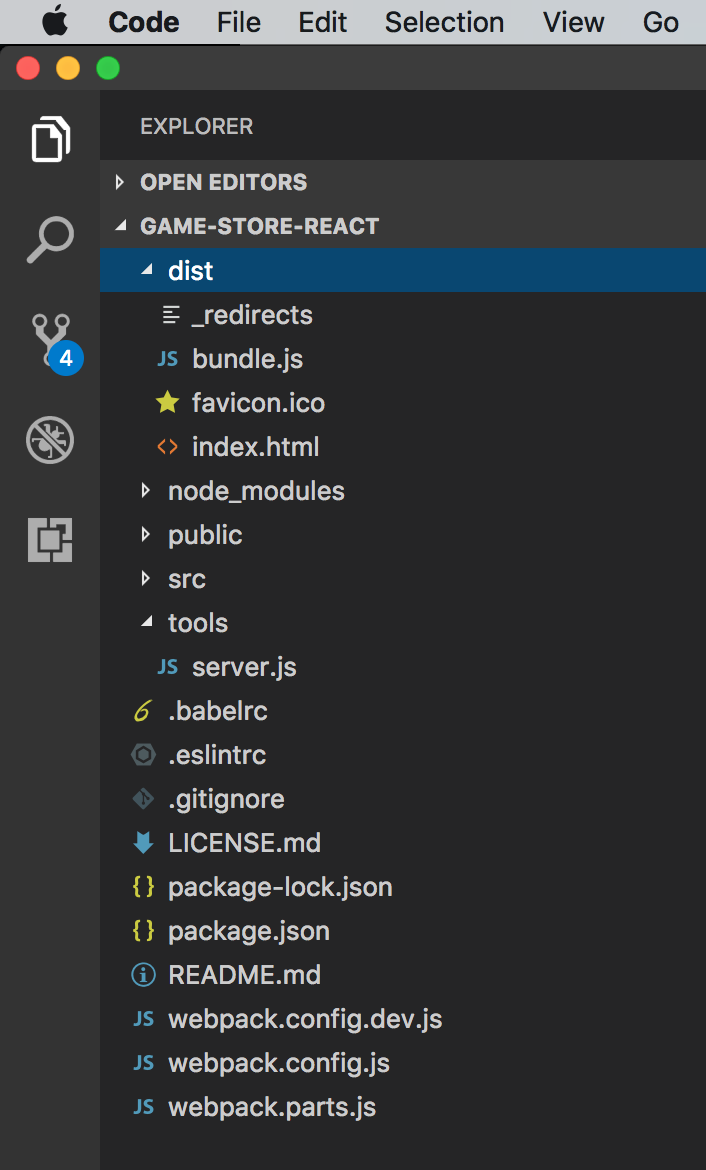
$ npm run build
The compiled files are put into ‘dist’ folder. Please ignore file ‘_redirects’, it’s used to solve the client routing issue when deploying this app to Netlify. We will encounter the similar issue on Azure, see below.
2. Web App on Azure
2.1 Creating New App
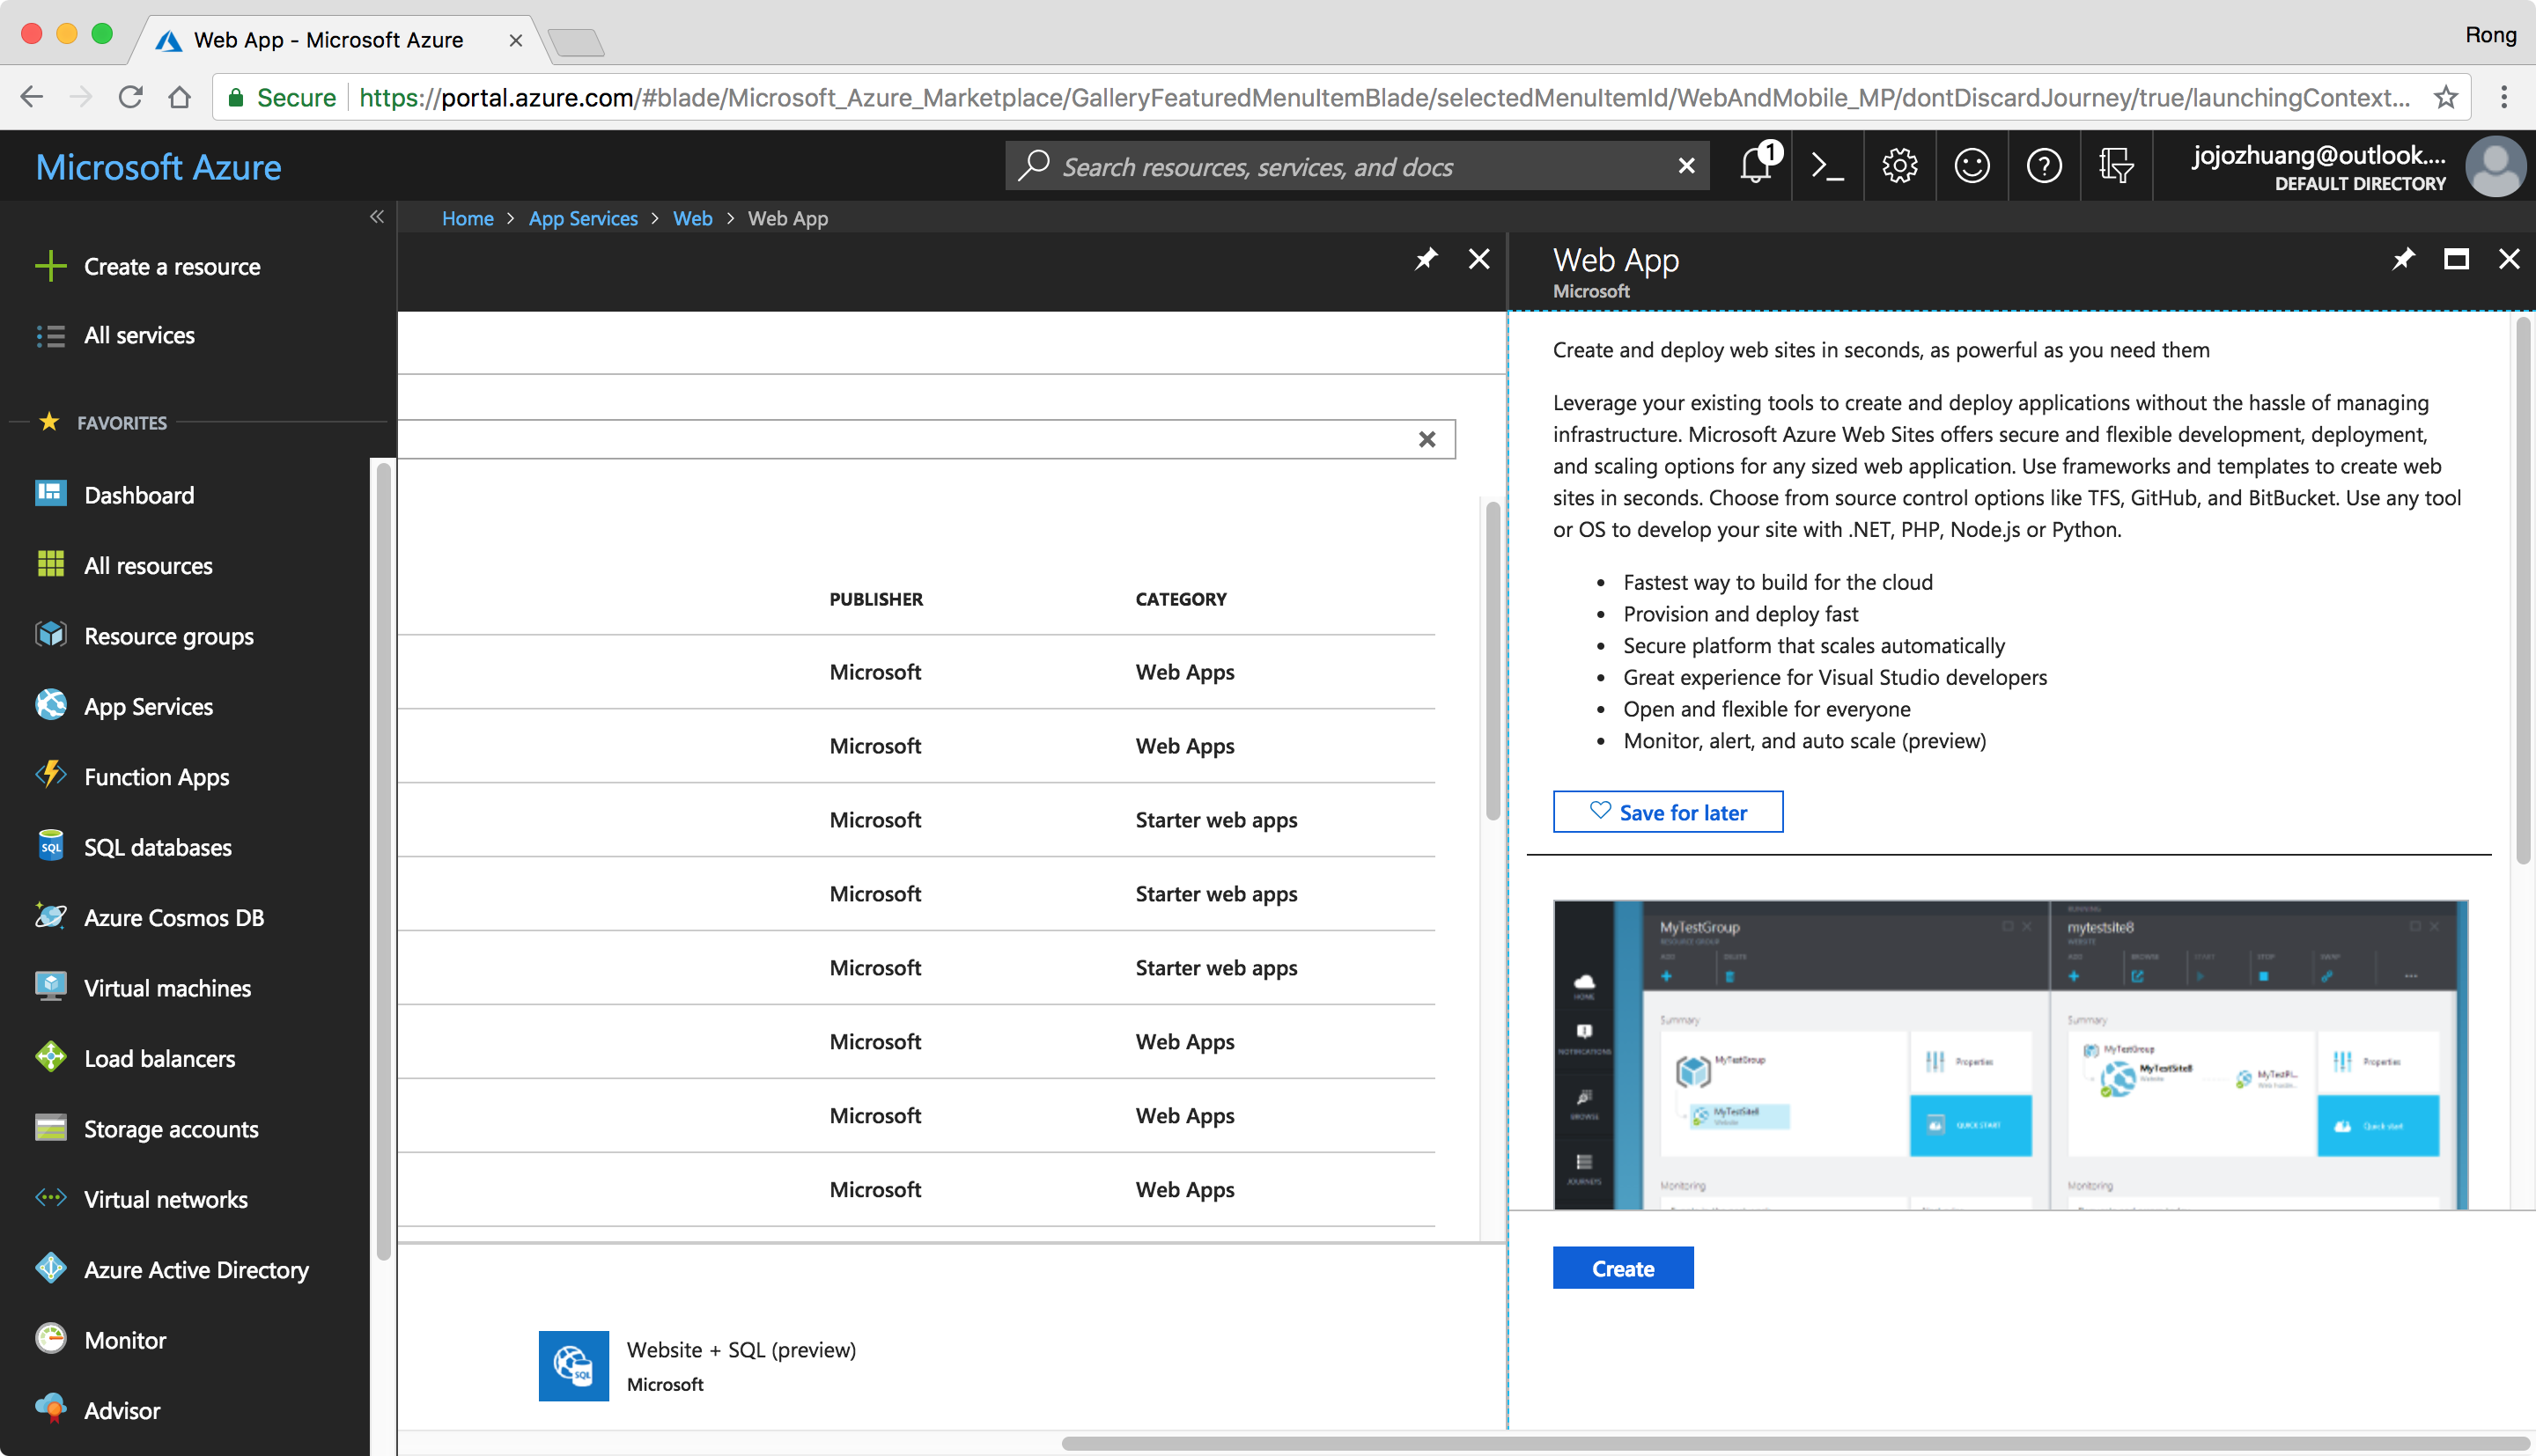
Login Azure Portal: https://portal.azure.com/. Go to ‘App Services’, create a new app. Input ‘web app’ in the search box, and select ‘Web App’, Create.
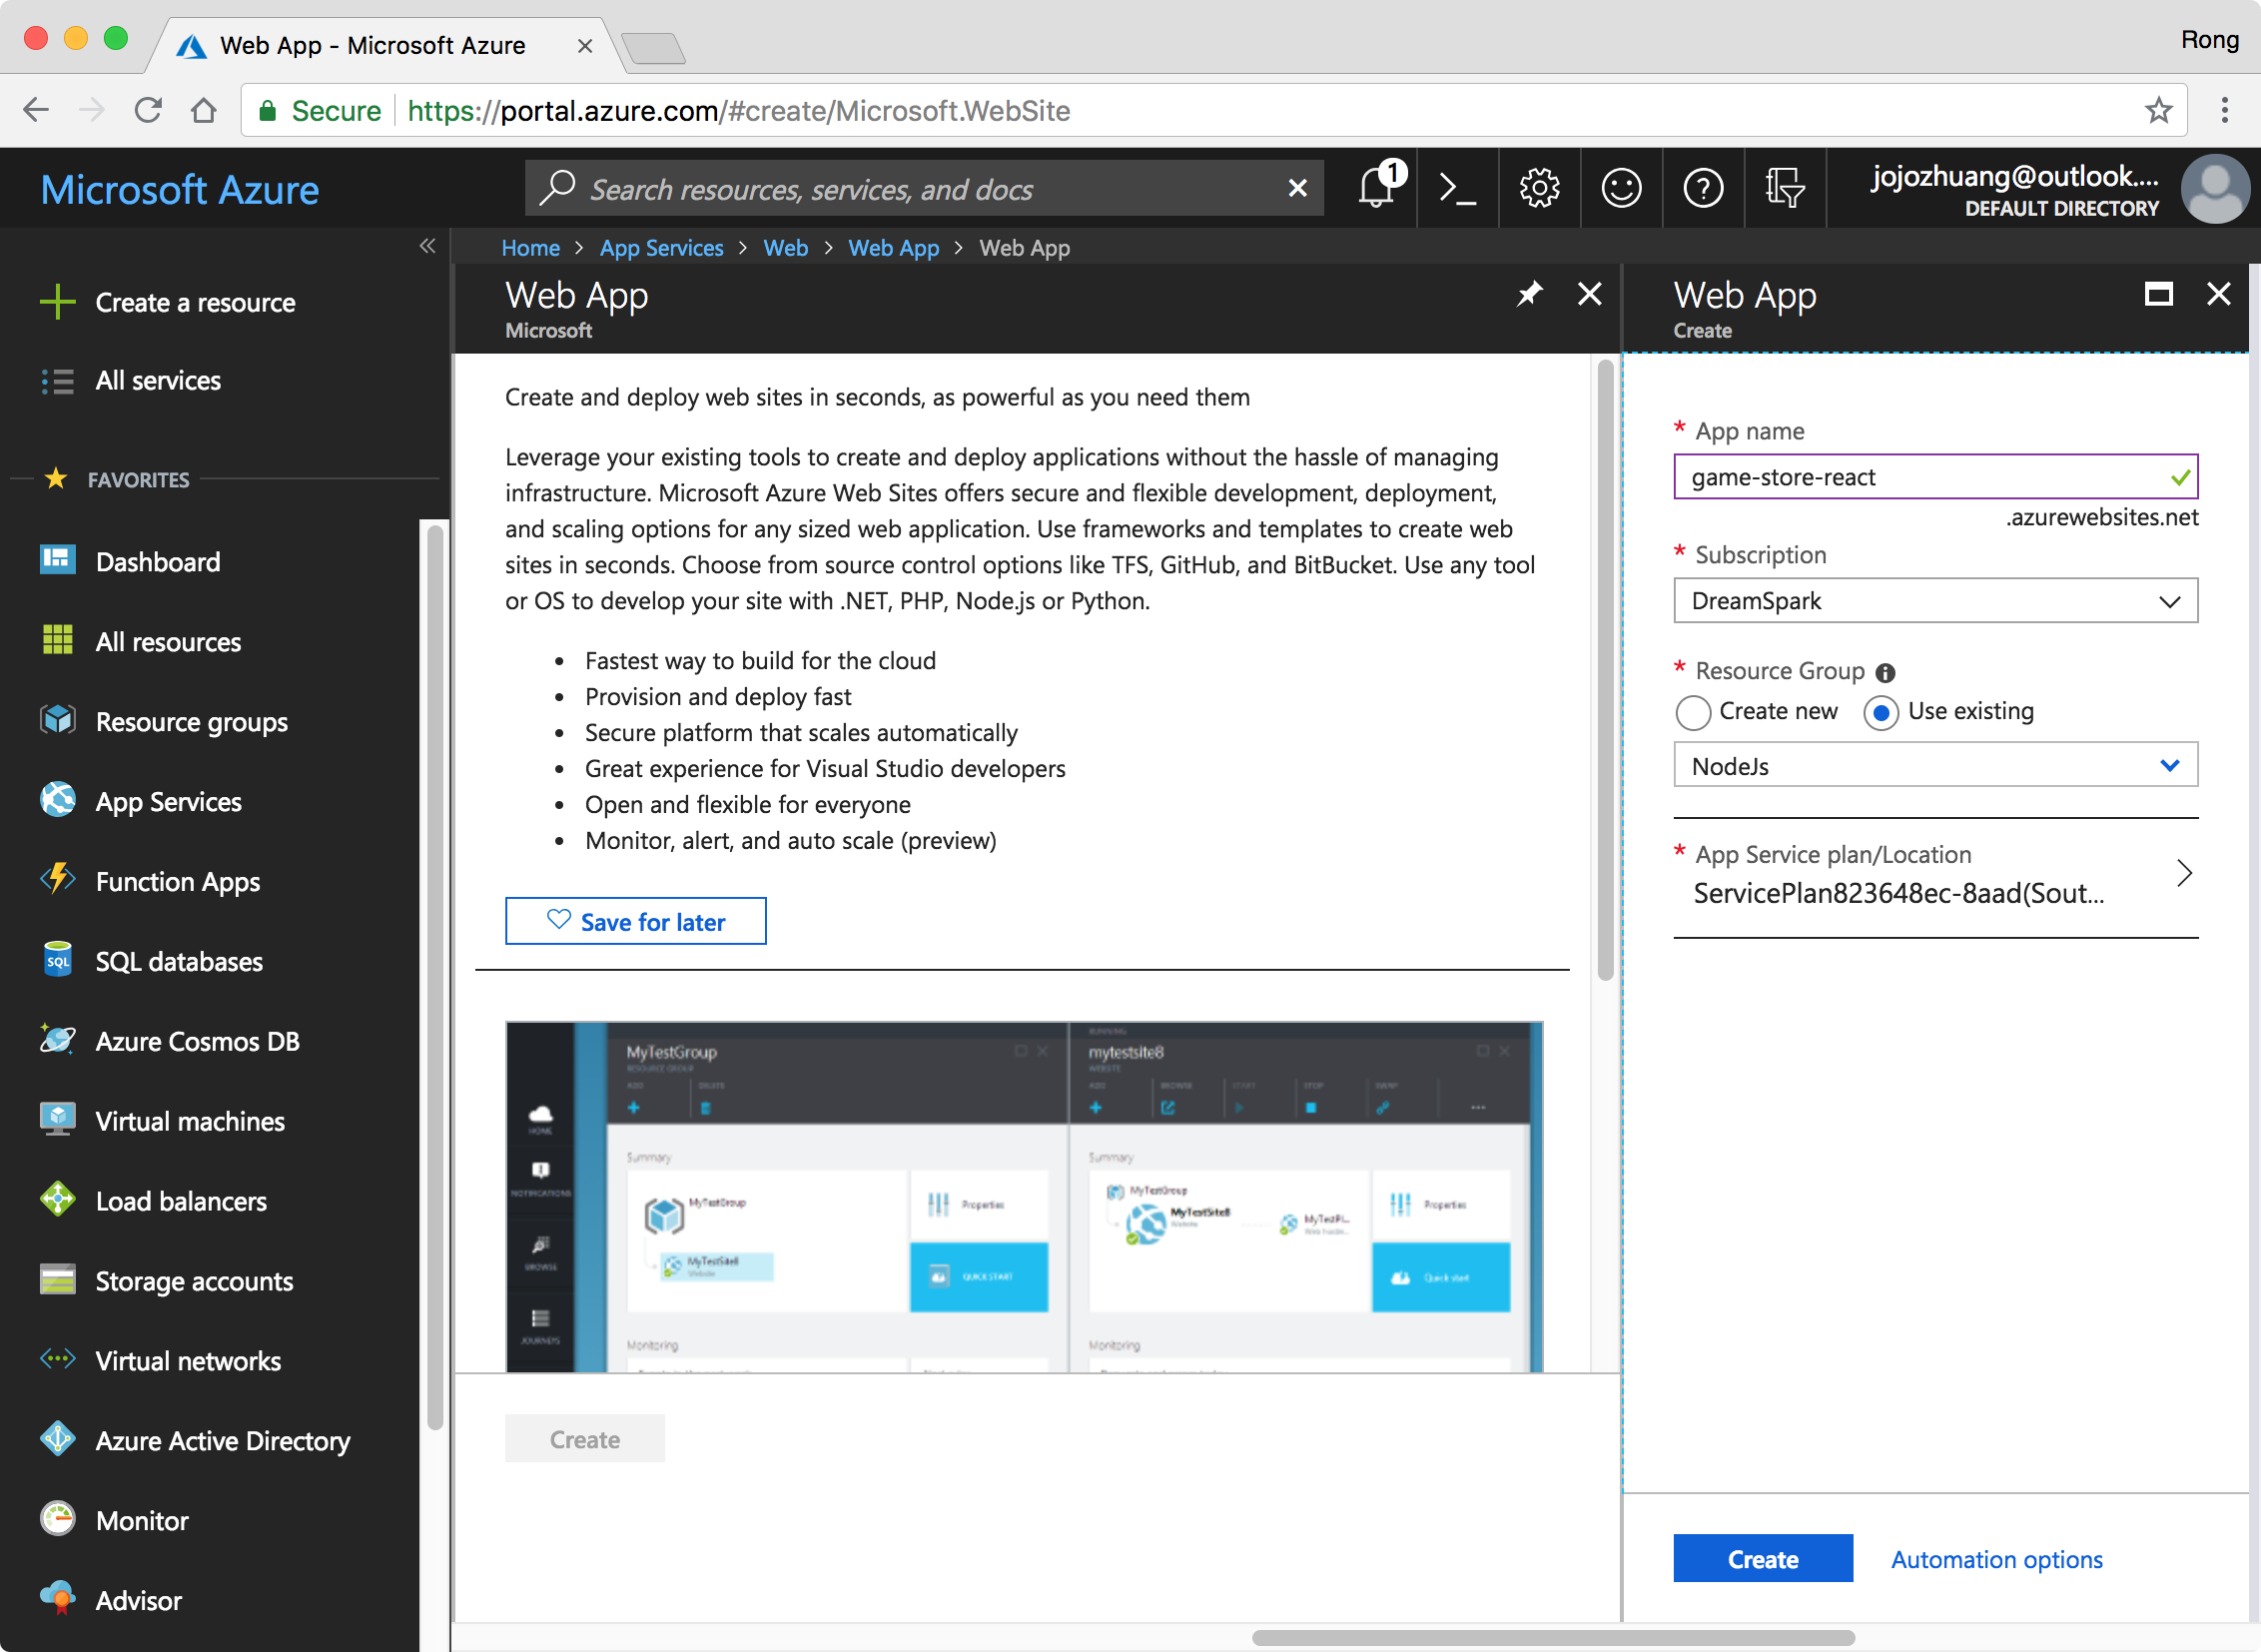
 Set app name, subscription and resource group, click ‘Create’ button.
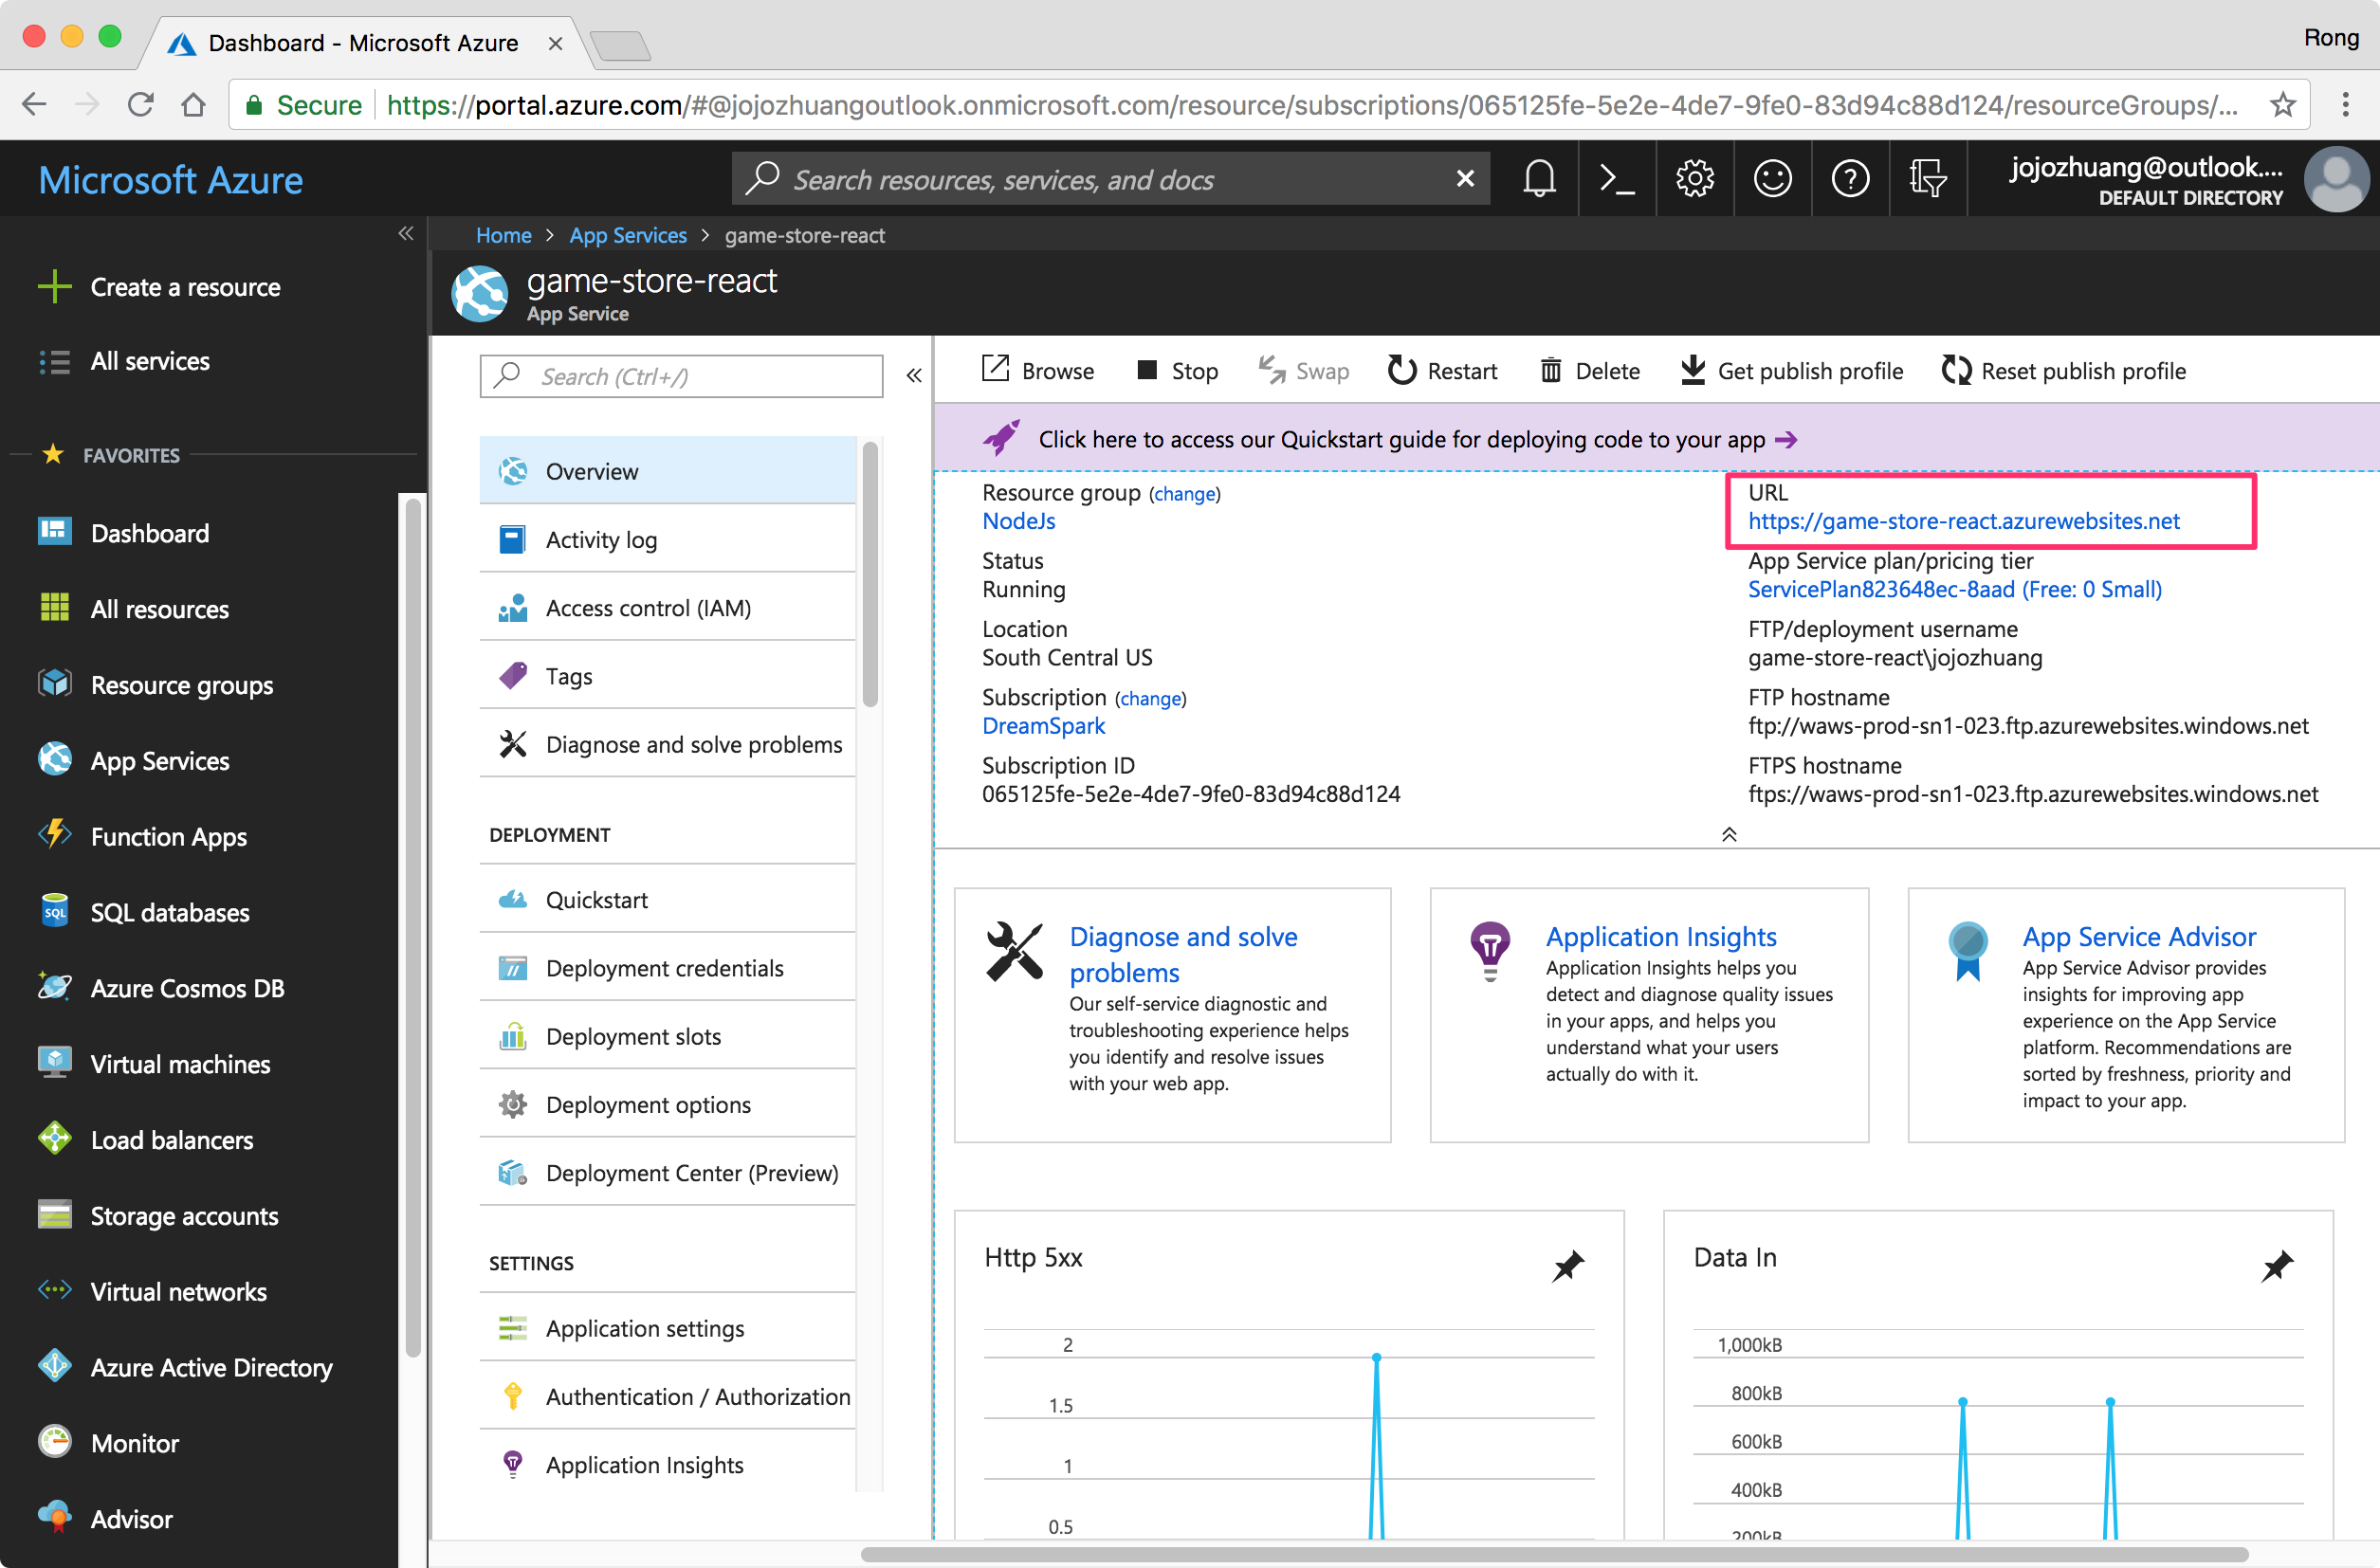
 The web app will be deployed in few minutes. Find the new app in ‘App Services’, go to ‘Overview’. Click on the URL for this app.
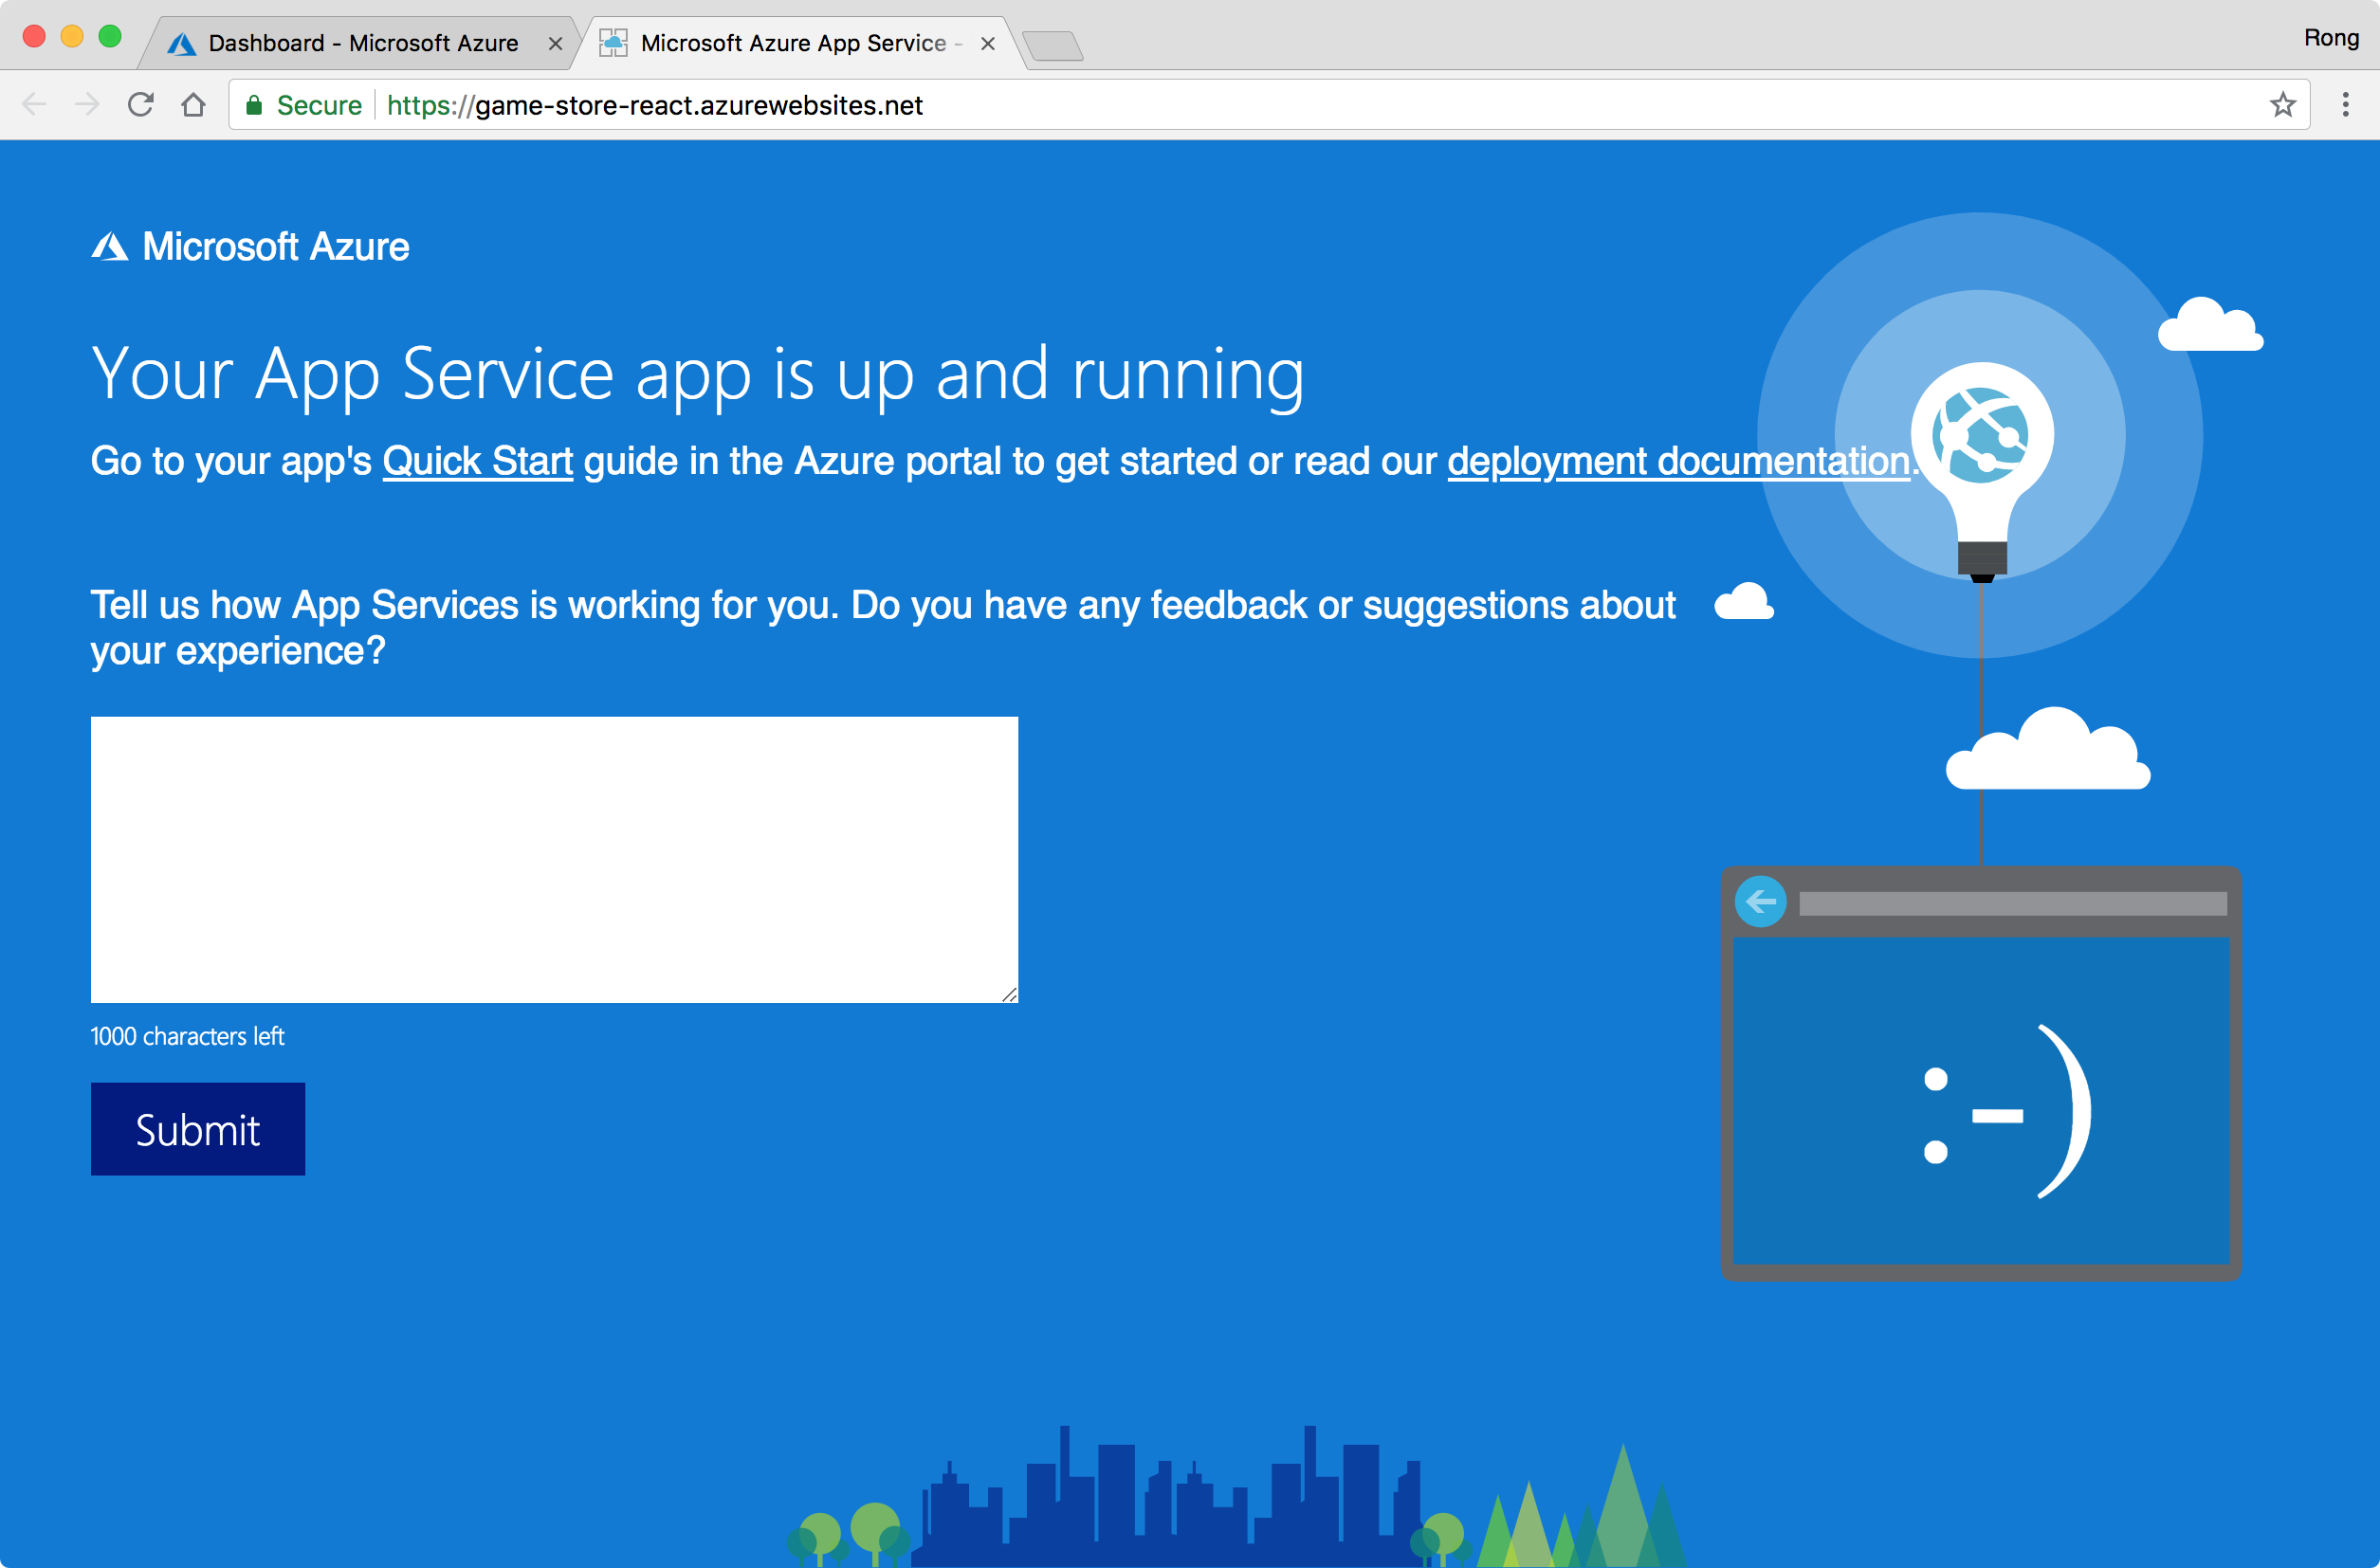
 We see the sample app in browser, it’s alive on Azure.
2.2 FTP Connection Profile
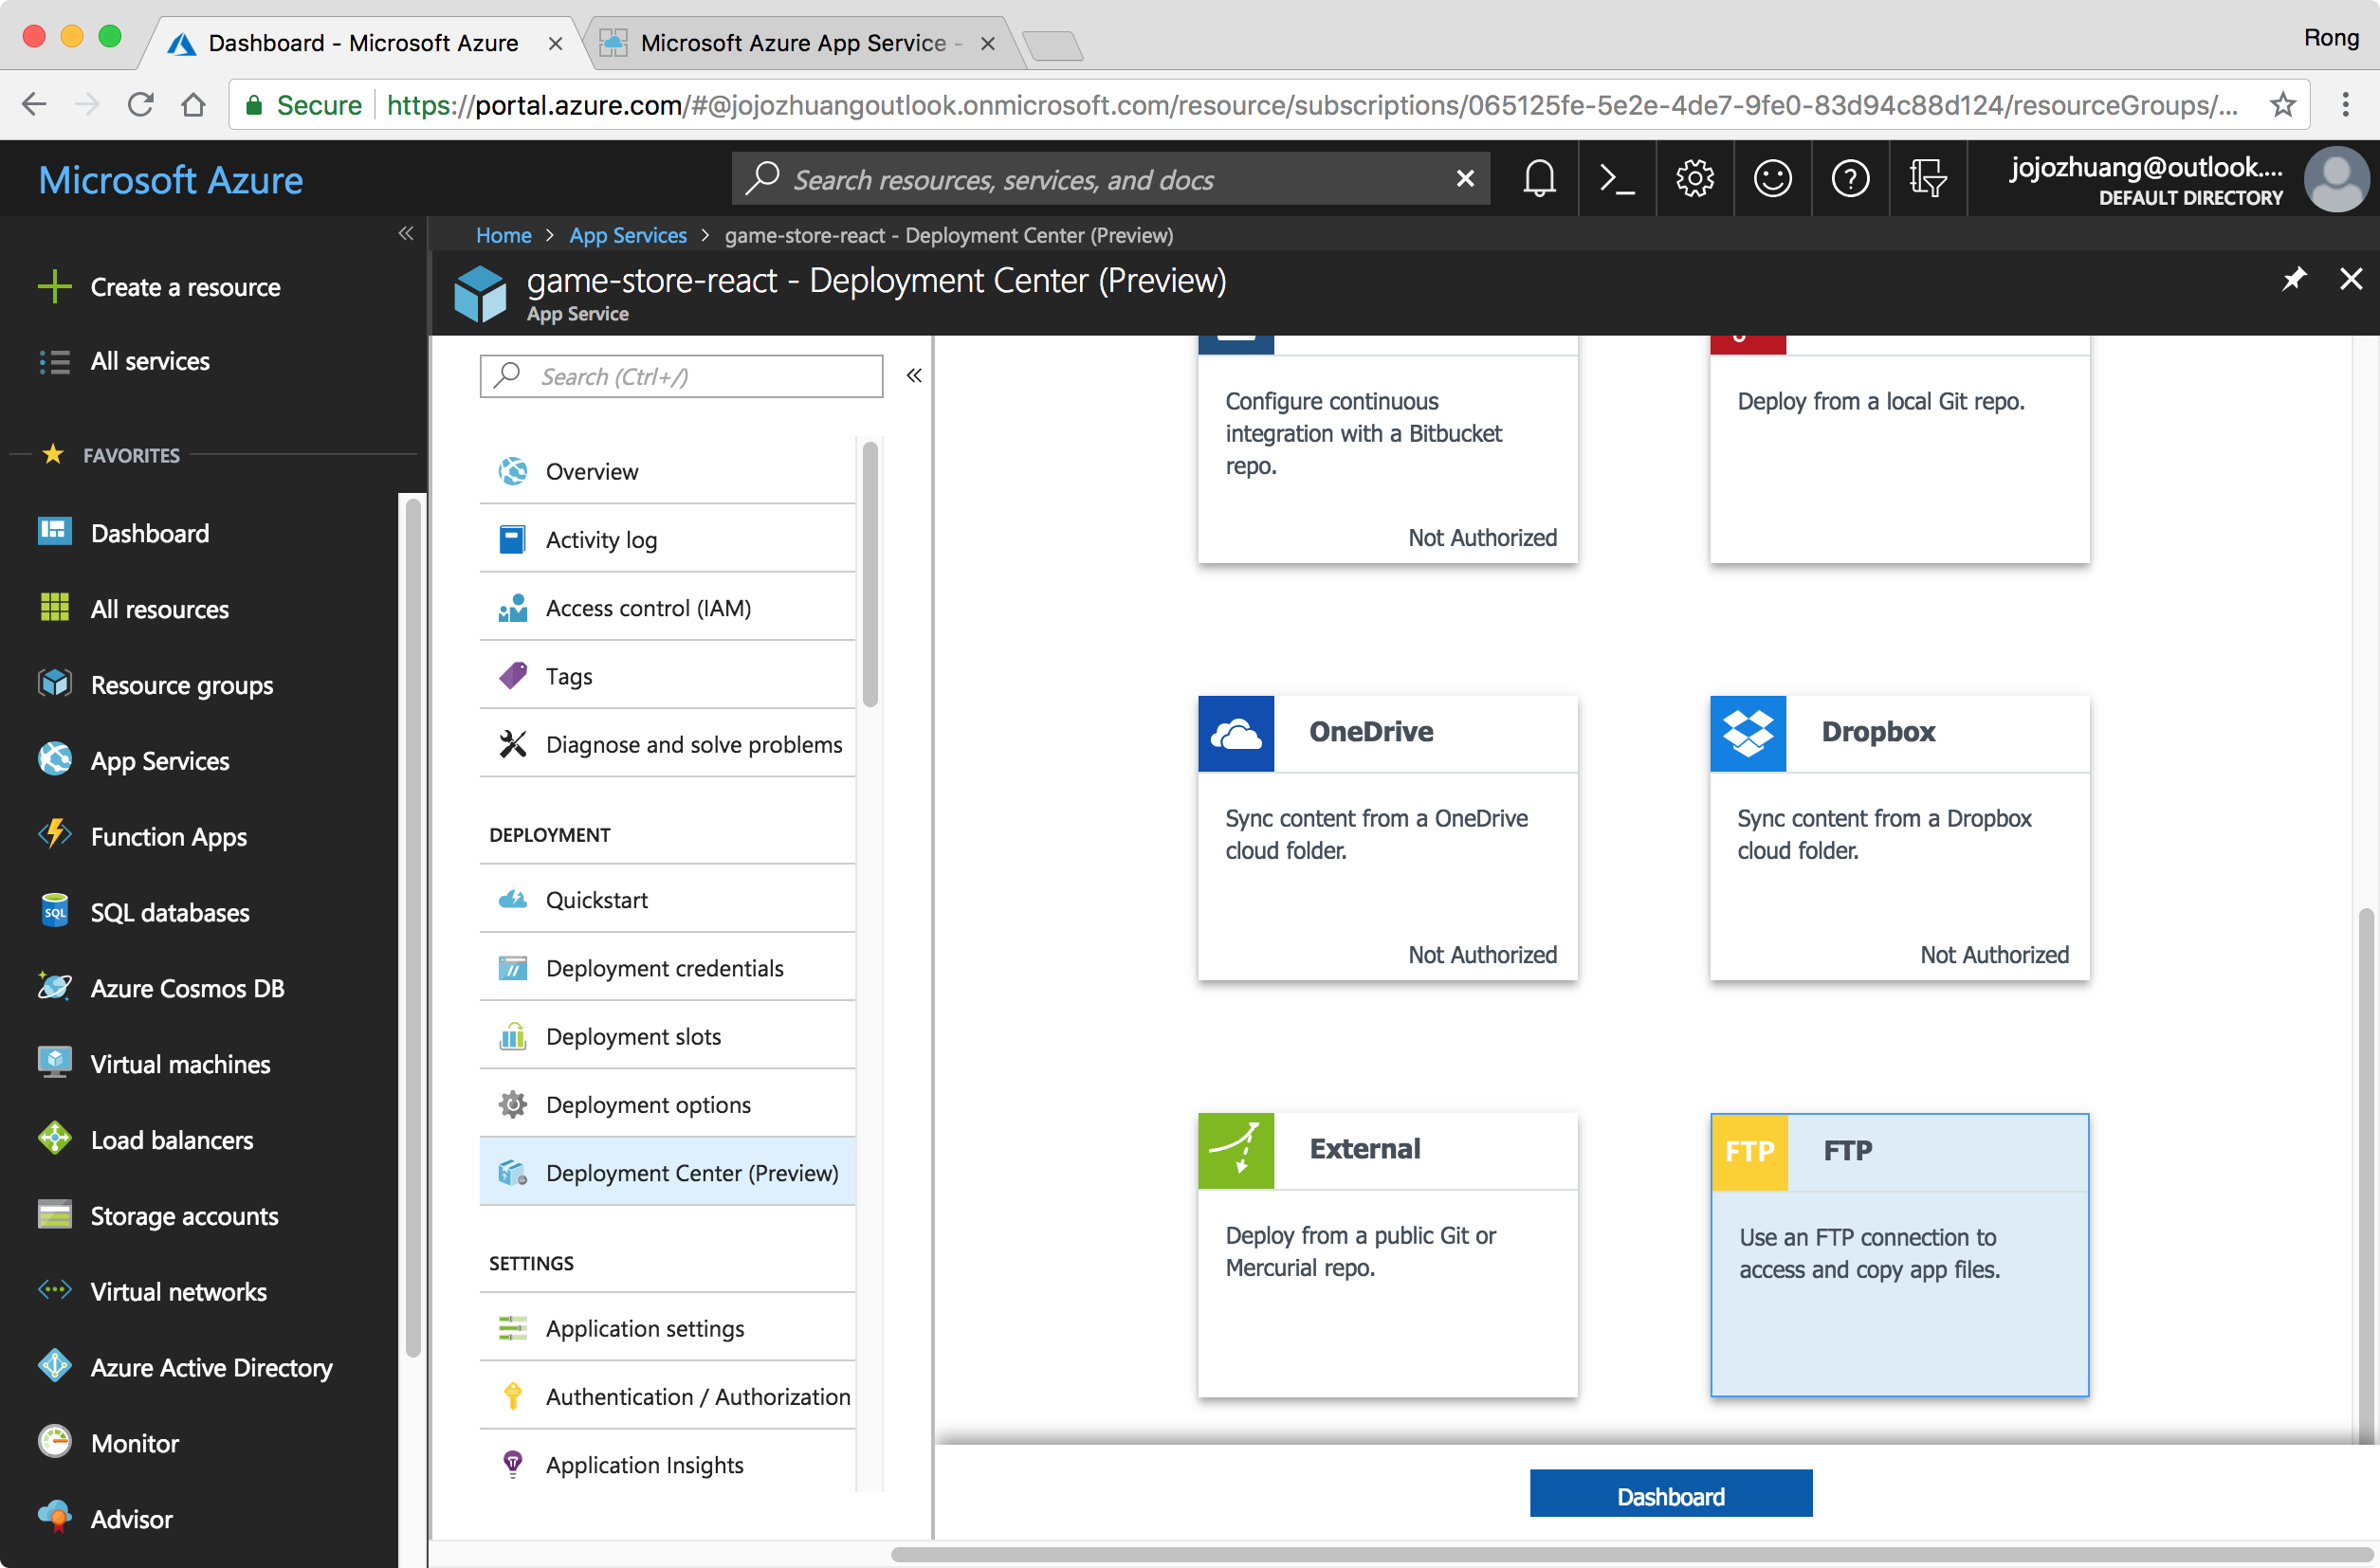
Go to ‘Deployment Center(Preview)’, scroll down the page and select ‘FTP’, click ‘Dashboard’ button.
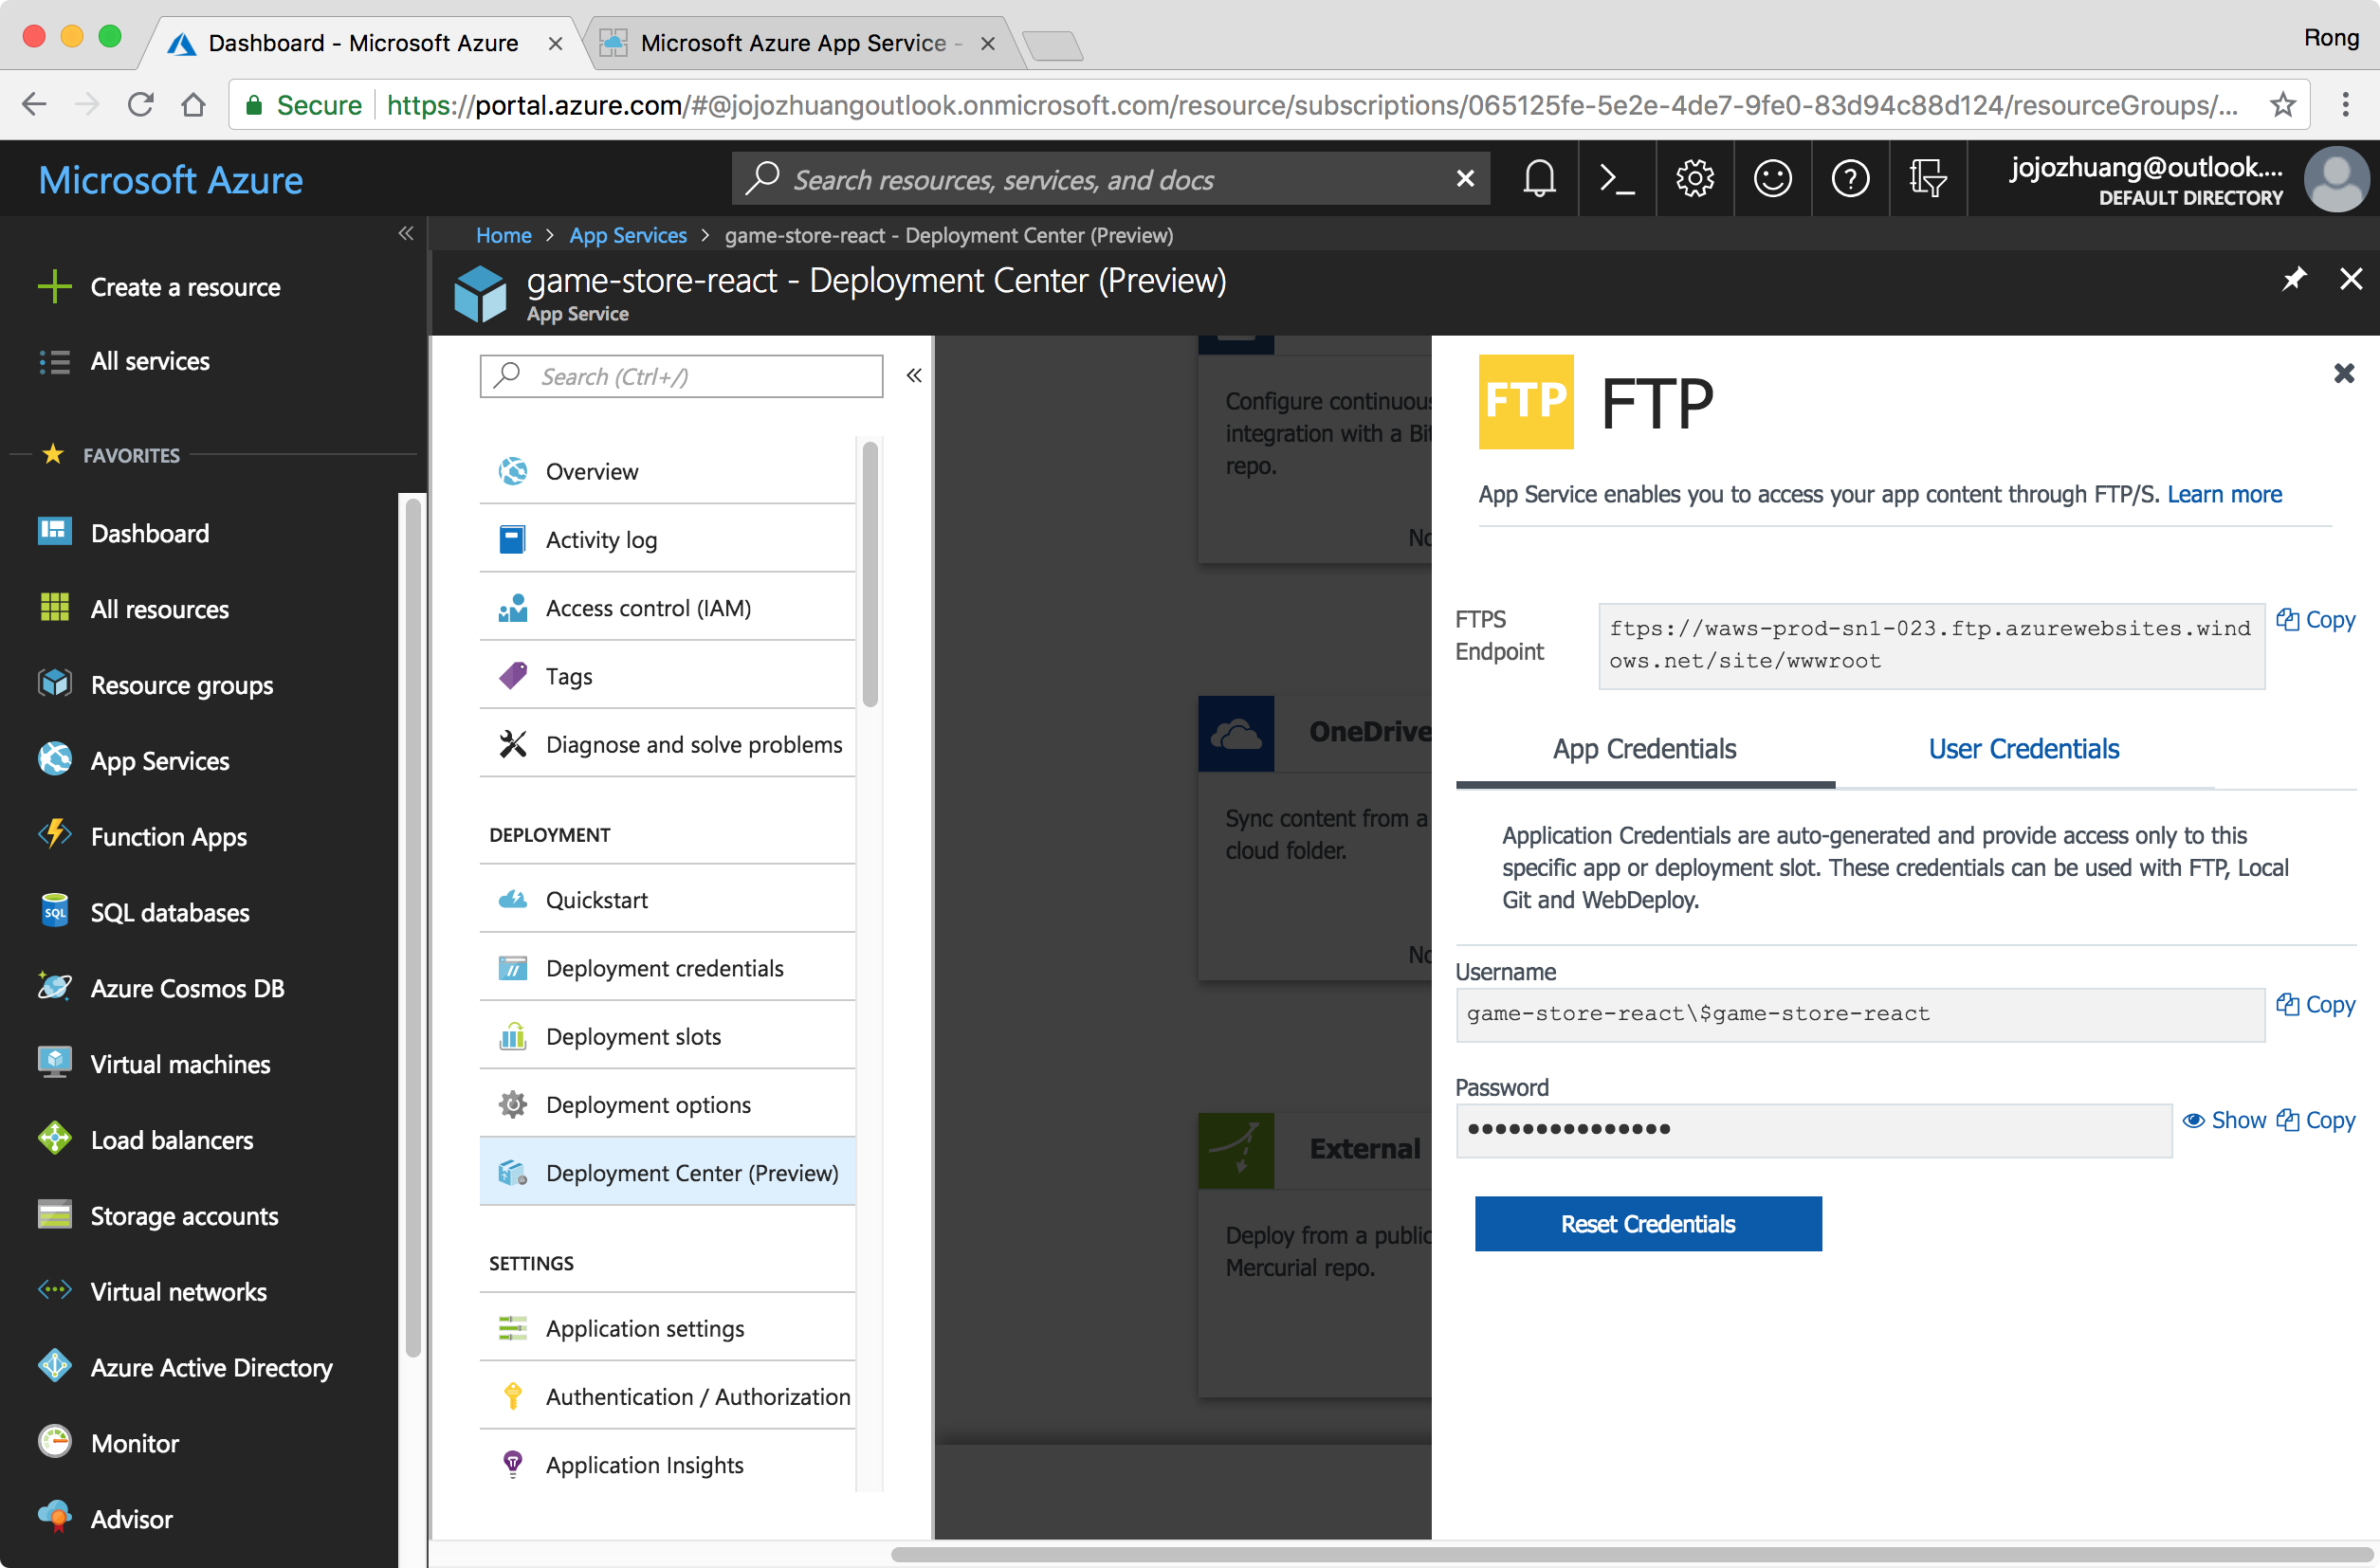
 In the FTP dashboard, click Copy to copy the FTPS endpoint and app credentials. We will use them later.
3. Deployment
We need a FTP client tool to upload the app files from local machine to Azure. For this tutorial, I’m using FileZilla.
3.1 Downloading FileZilla
If you haven’t installed it yet, go to https://filezilla-project.org/download.php?type=client, download the free version of FileZilla and install it.
3.2 Connection Setup
Open FileZilla, File->Site Manager, create a new connection. Use the FTPS endpoint and app credentials from Azure app to set Host, User and Password here, click ‘Connect’.

- Notice, prefix ‘ftps://’ is not required for Host in FileZilla.
3.3 Uploading Local Files to Azure
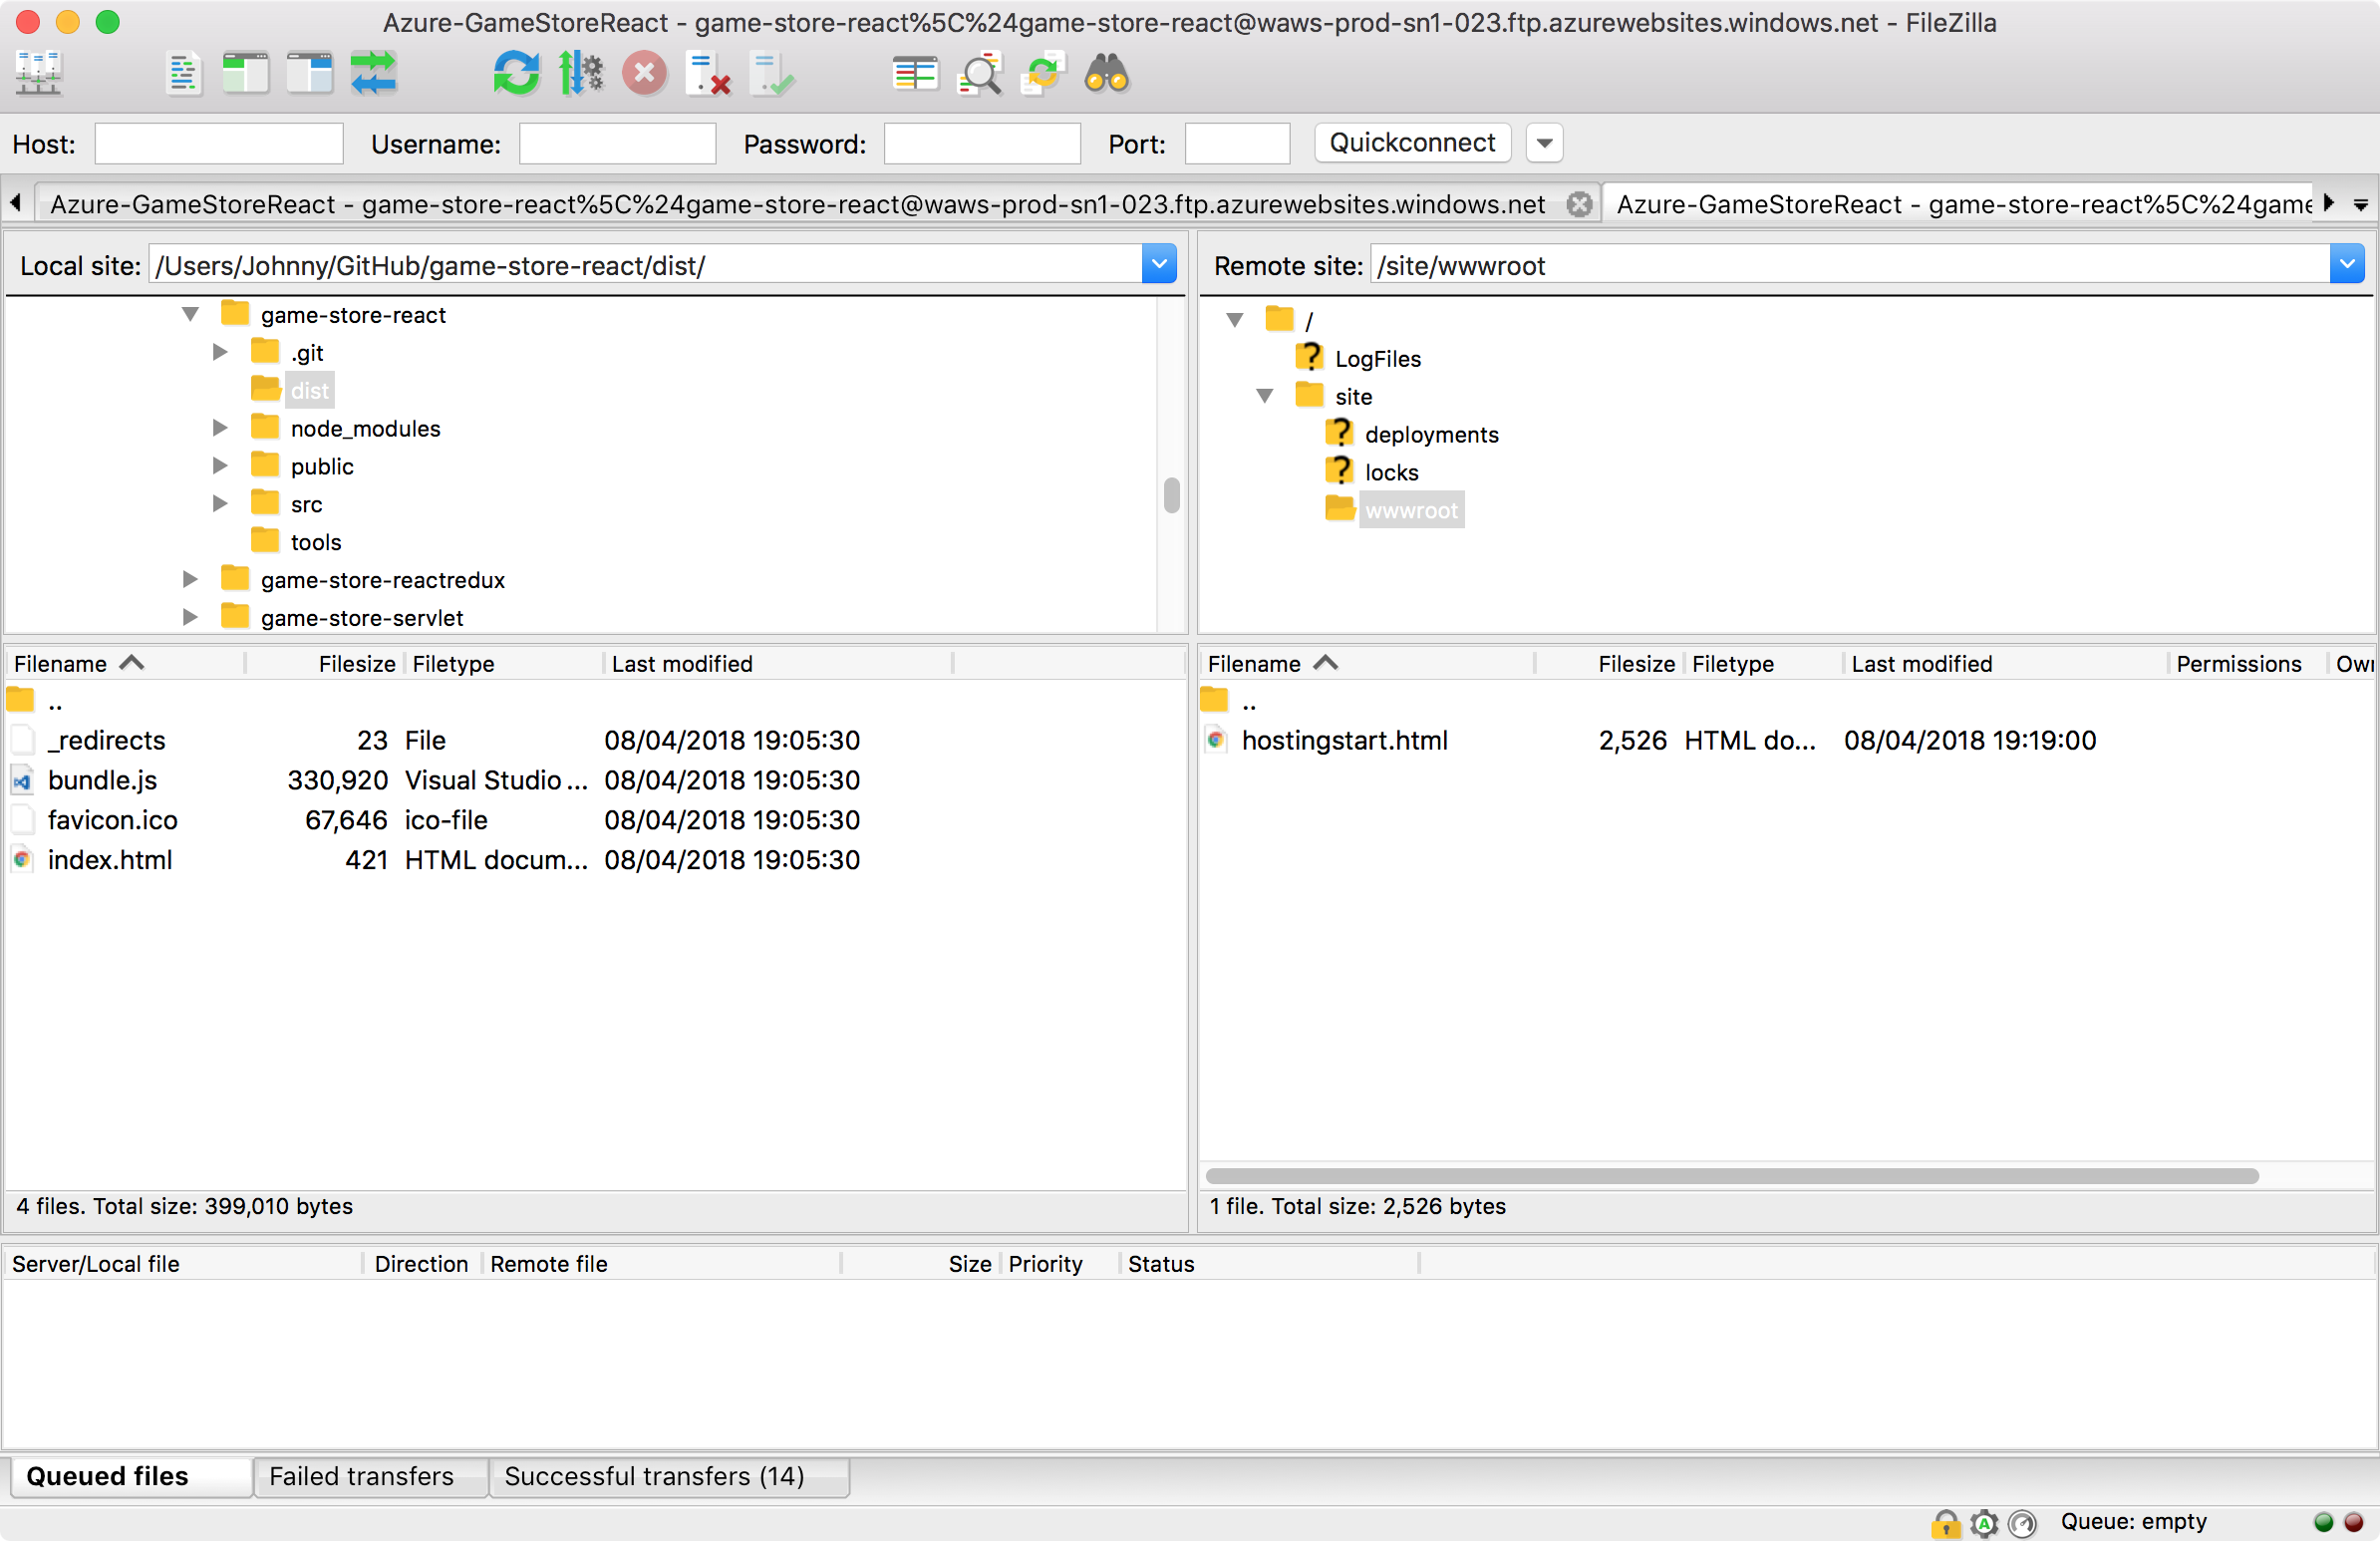
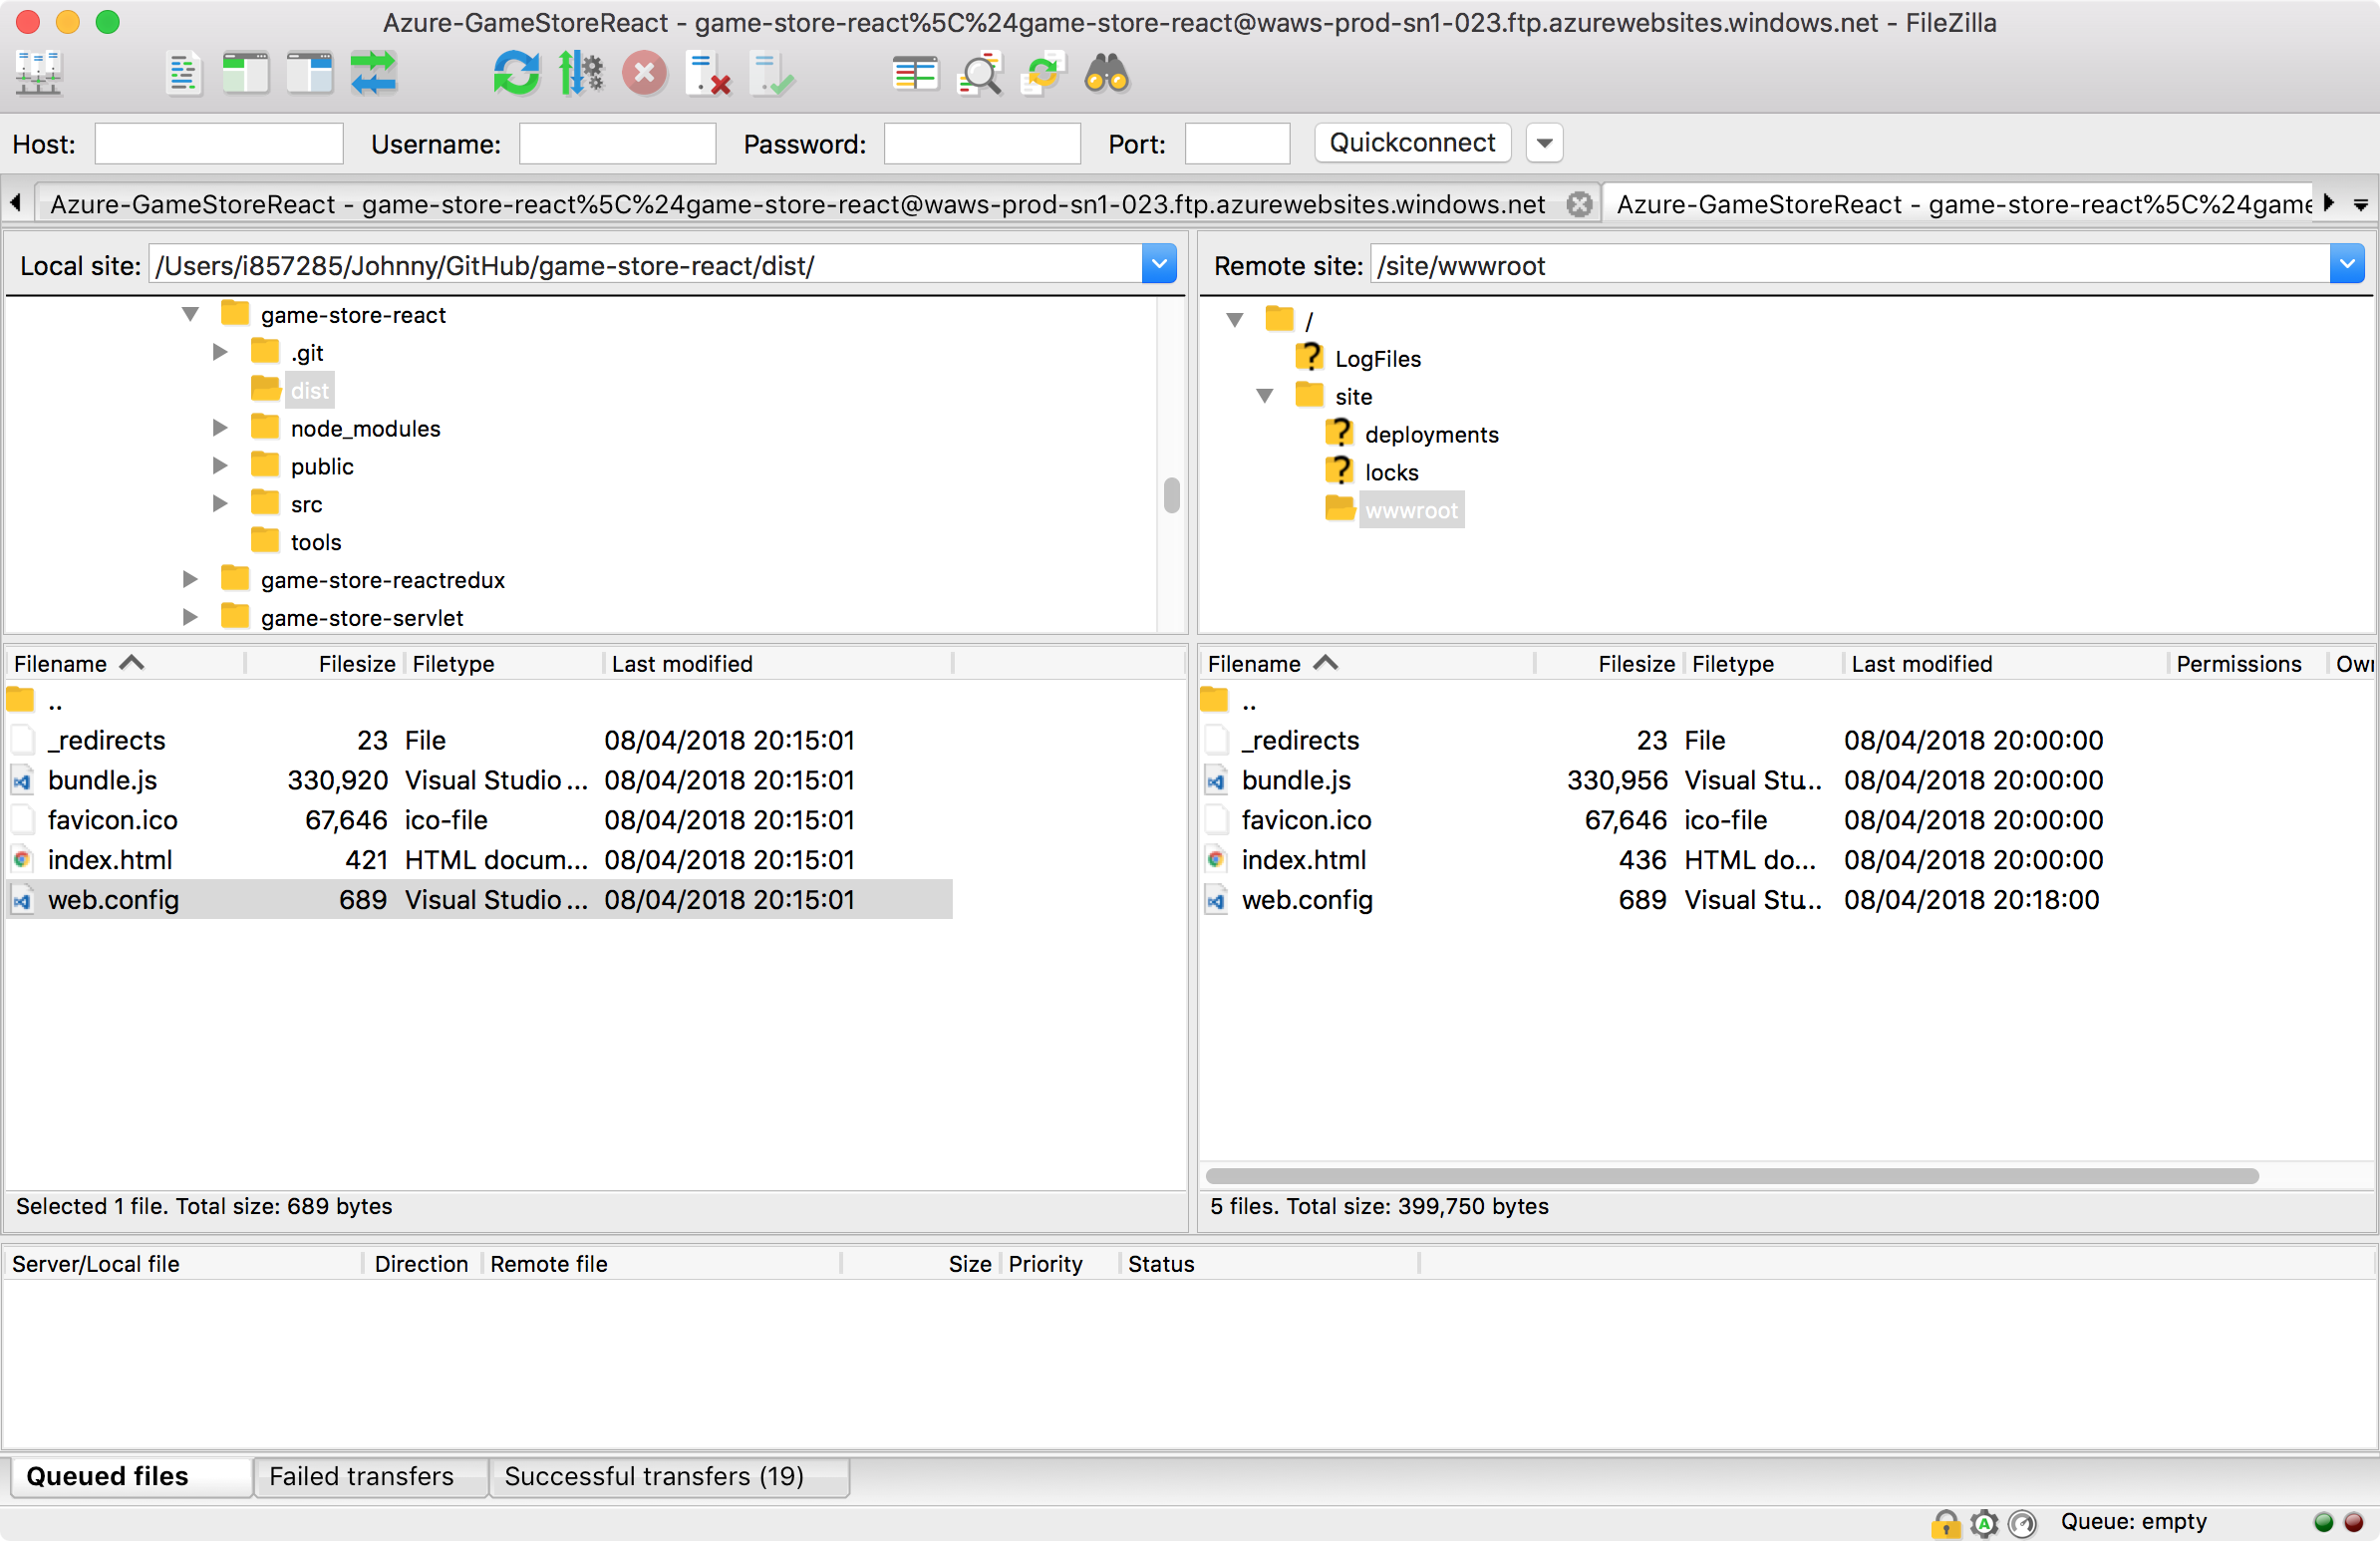
Now, FileZilla should be connected to Azure, see the screen below. The remote site at the right size is from Azure. Navigate the folder to ‘/site/wwwroot/’. It’s the root folder of the app on Azure. Currently, there is only one file, which we saw in the web browser. The local site at the left side is from our local machine. Navigate to the ‘dist’ folder of the React app.
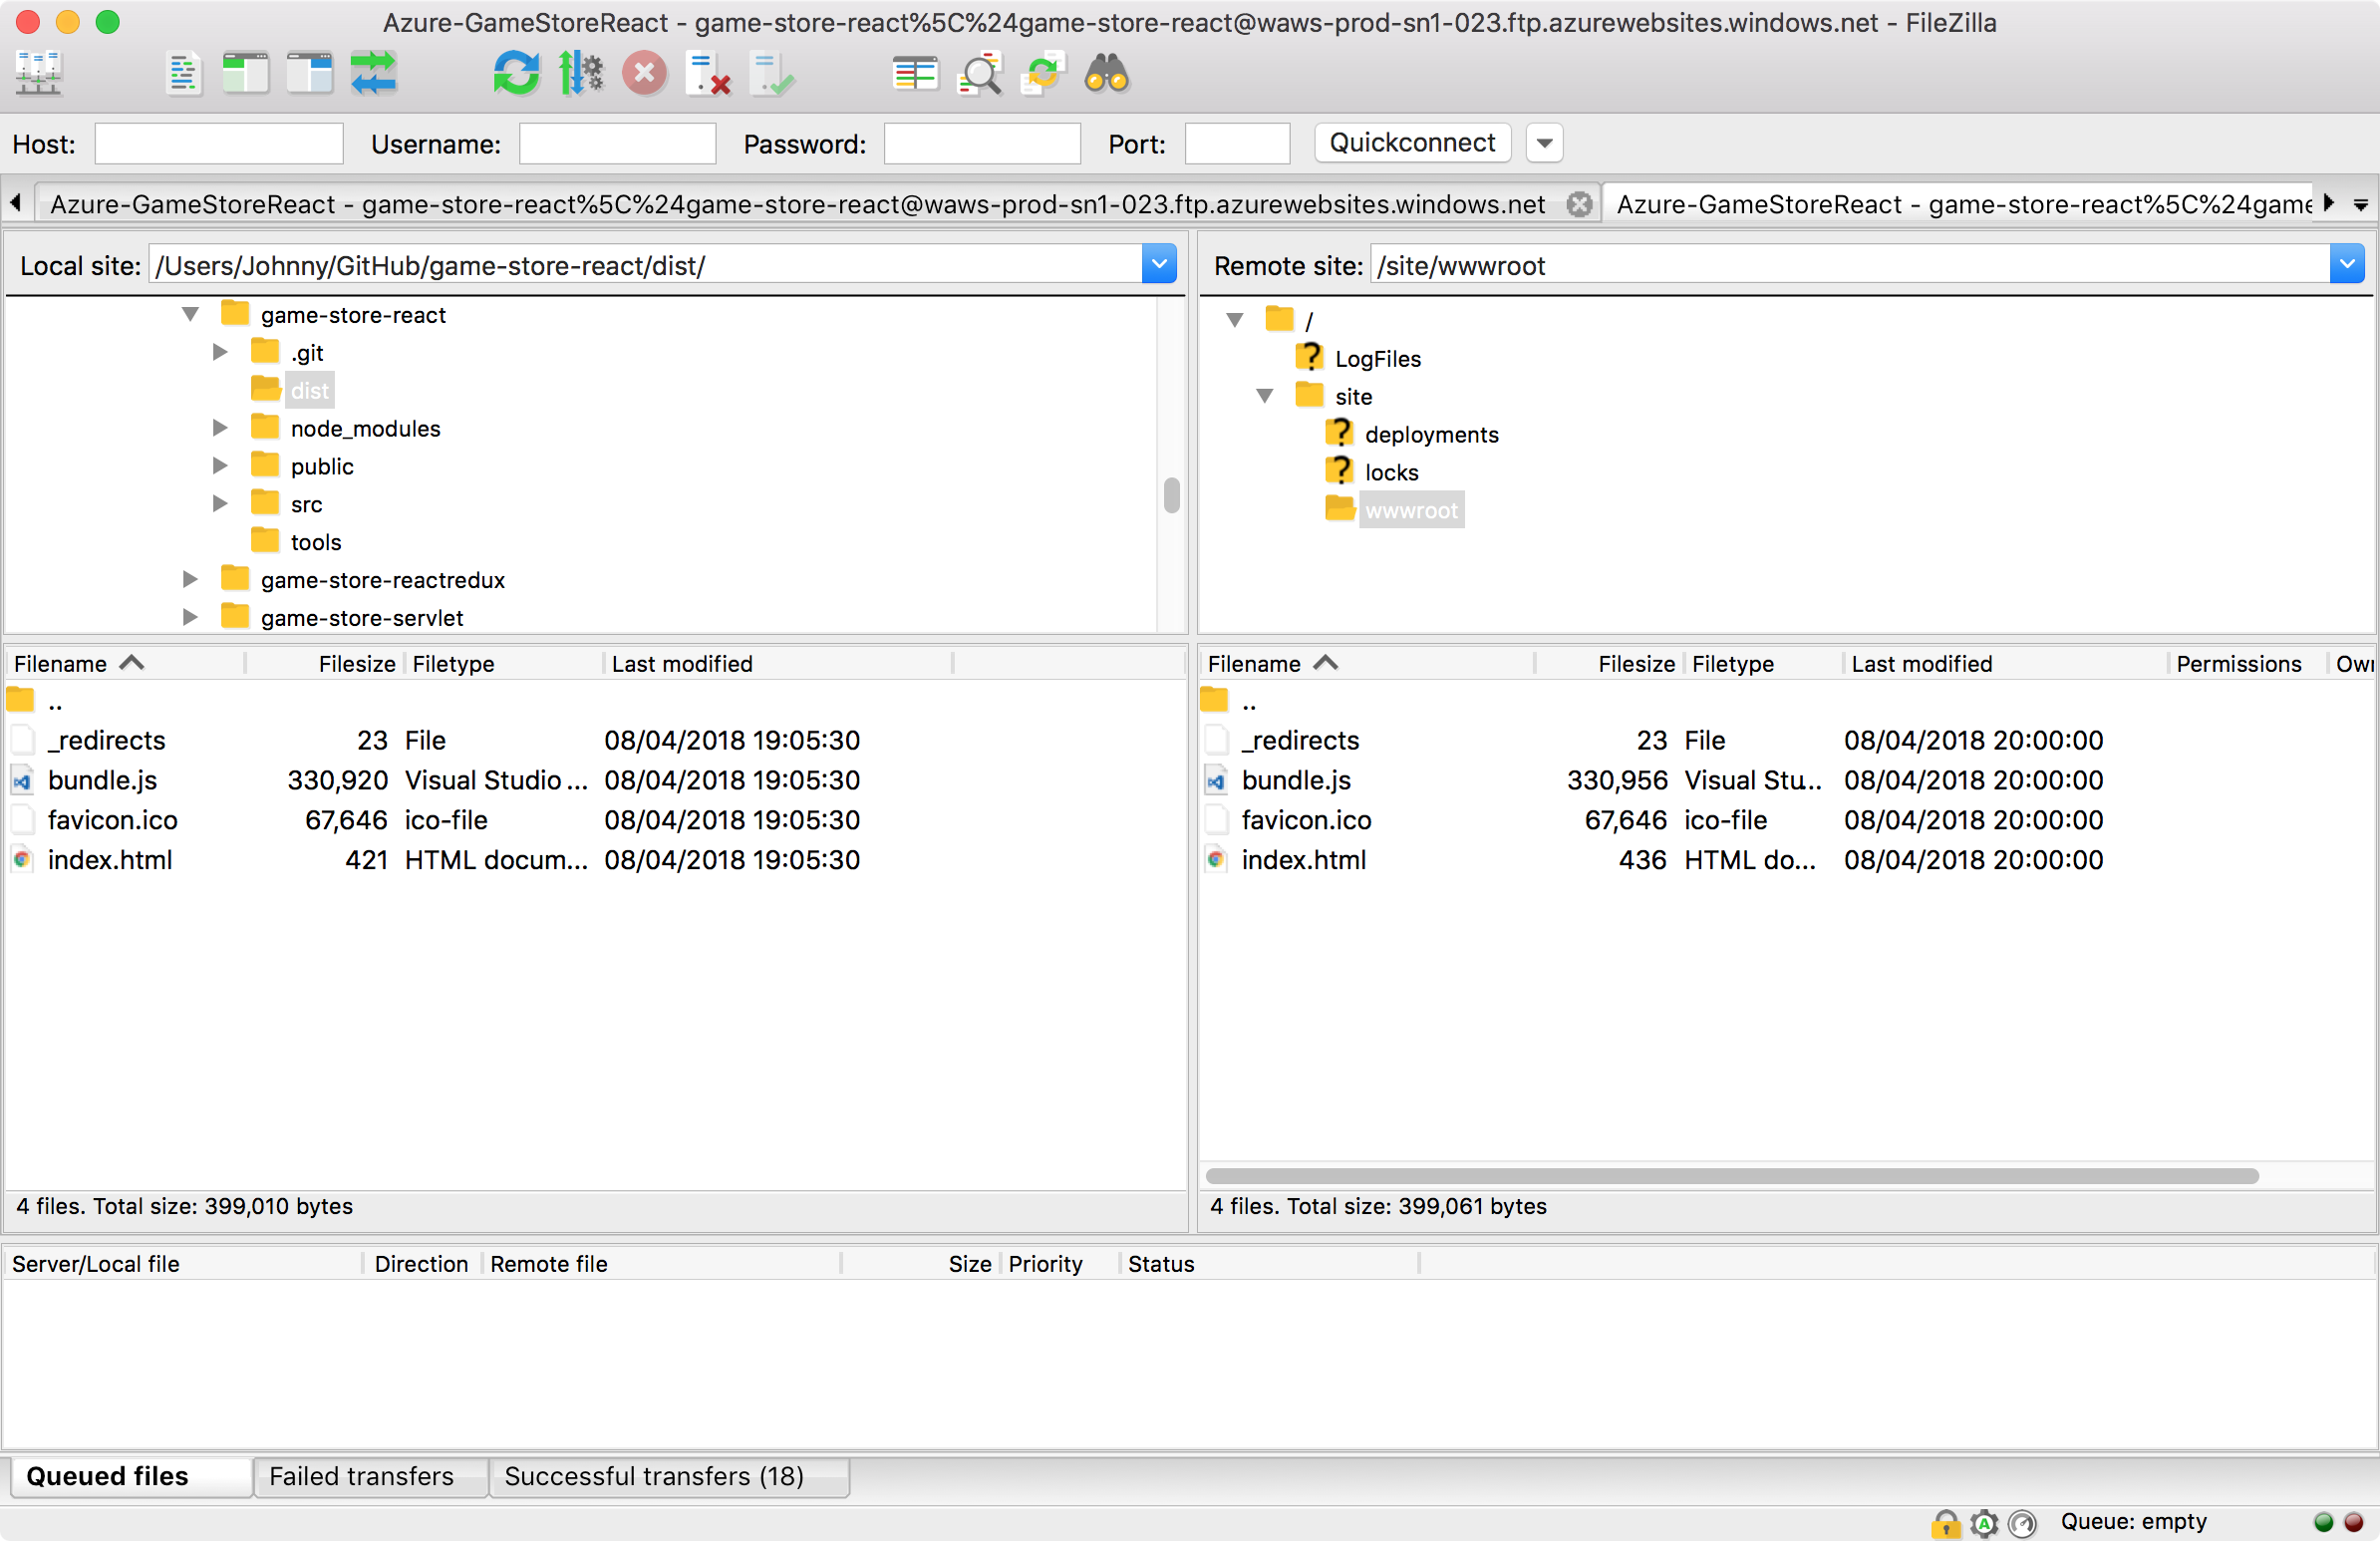
 Delete all files in remote ‘/site/wwwroot’ and upload all the files in ‘dist’ to remote ‘/site/wwwroot’.
4. Testing
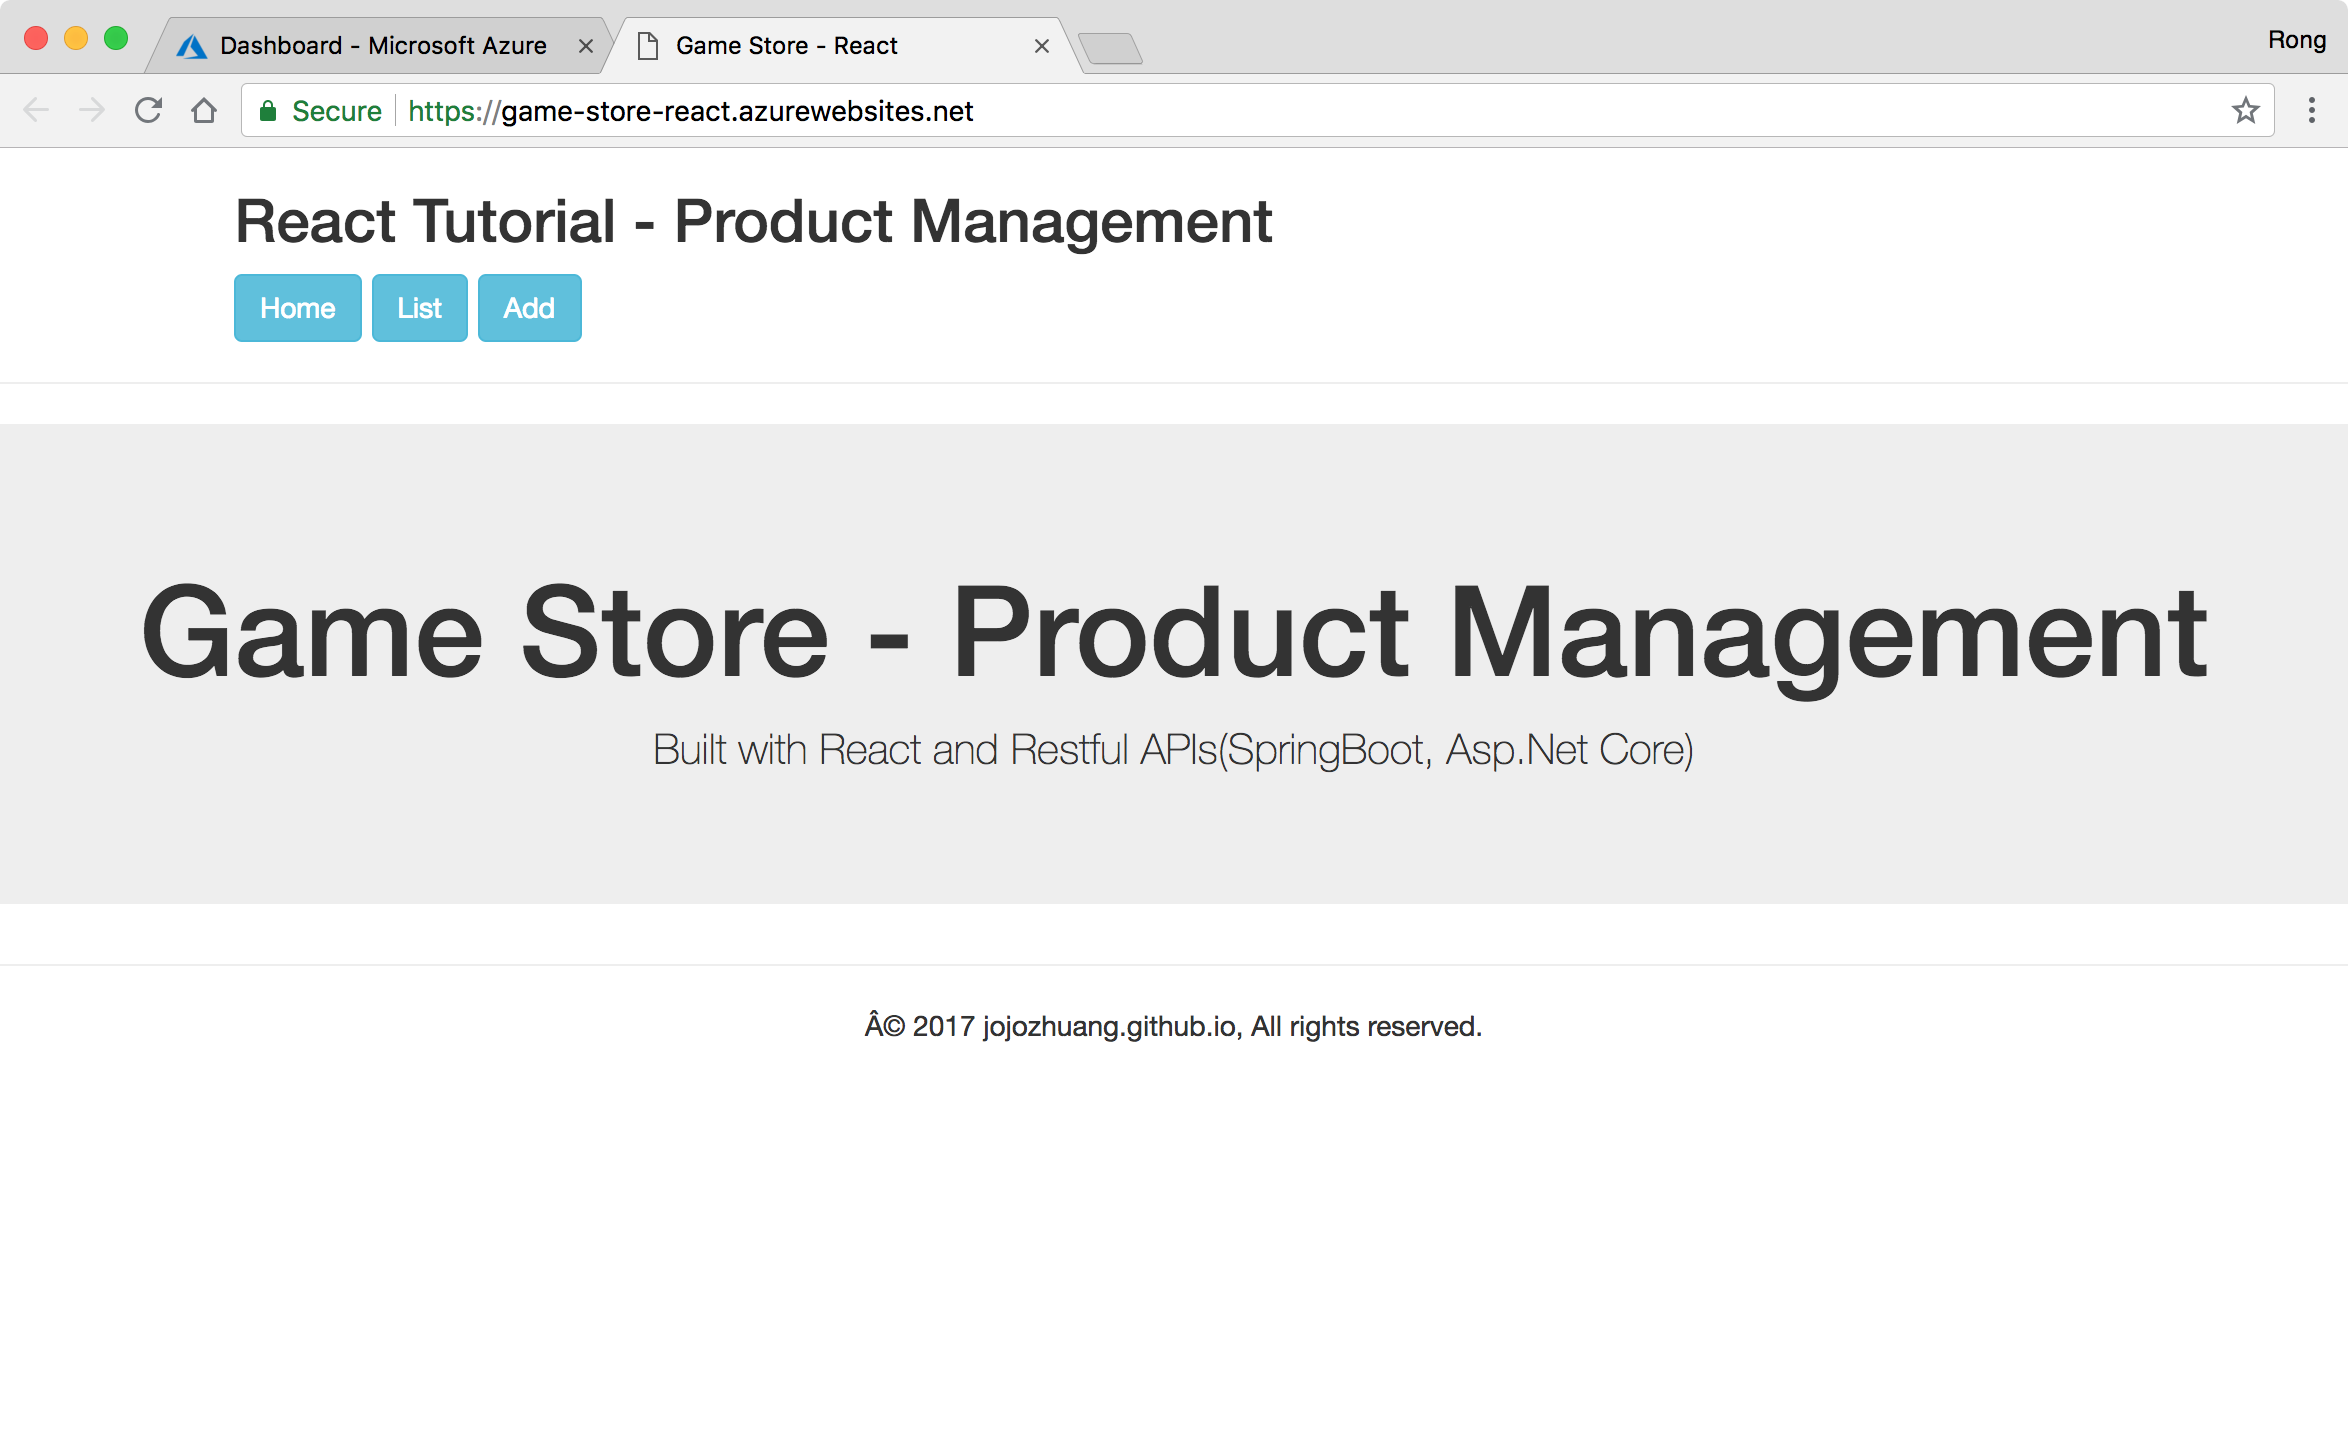
Refresh the browser, the React app should show up.
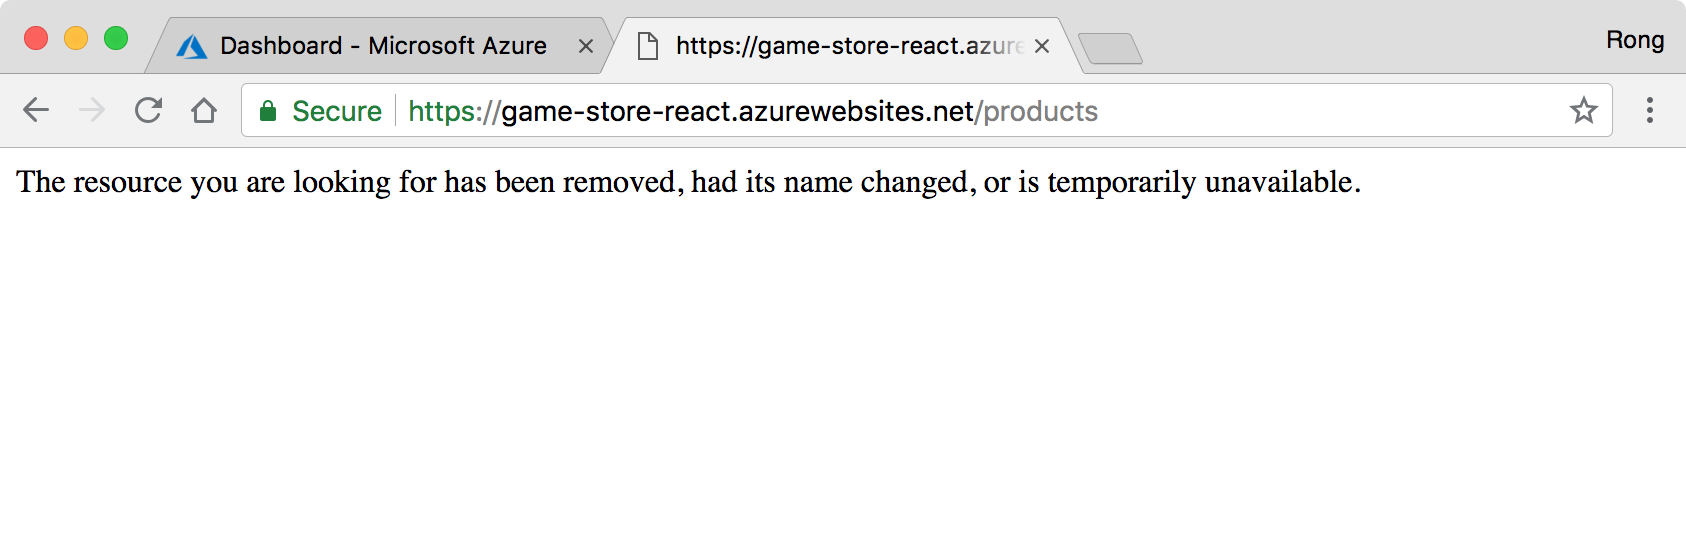
 However, when click on ‘List’ or ‘Add’ button, we get the following error. This is because client side routing is used in React.
5. Fixing the Issue
In the React project, create a file named ‘web.config’ in ‘public’ folder with the following content.
<?xml version="1.0" encoding="UTF-8"?>
<configuration>
   <system.webServer>
      <rewrite>
         <rules>
            <rule name="React Routes" stopProcessing="true">
               <match url=".*" />
               <conditions logicalGrouping="MatchAll">
                  <add input="{REQUEST_FILENAME}" matchType="IsFile" negate="true" />
                  <add input="{REQUEST_FILENAME}" matchType="IsDirectory" negate="true" />
                  <add input="{REQUEST_URI}" pattern="^/(api)" negate="true" />
               </conditions>
               <action type="Rewrite" url="/" />
            </rule>
         </rules>
      </rewrite>
   </system.webServer>
</configuration>
- The ‘Rewrite’ configuration will notify the Azure server to always redirect page to root url ‘/’ if the current url is not found. So React routing module could be able to handle the request and navigate to the proper page.
Edit ‘webpack.parts.js’, define a new CopyWebpackPlugin to copy ‘web.config’ file to ‘dist’ folder during build.
exports.loadStatic = () => ({
  plugins: [

    ...

    new CopyWebpackPlugin([
      {
        from: "./public/web.config",
        to: "./web.config",
        toType: "file"
      }
    ])
  ]
});
Run ‘npm run build’ again. In the dist, we have file ‘web.config’.
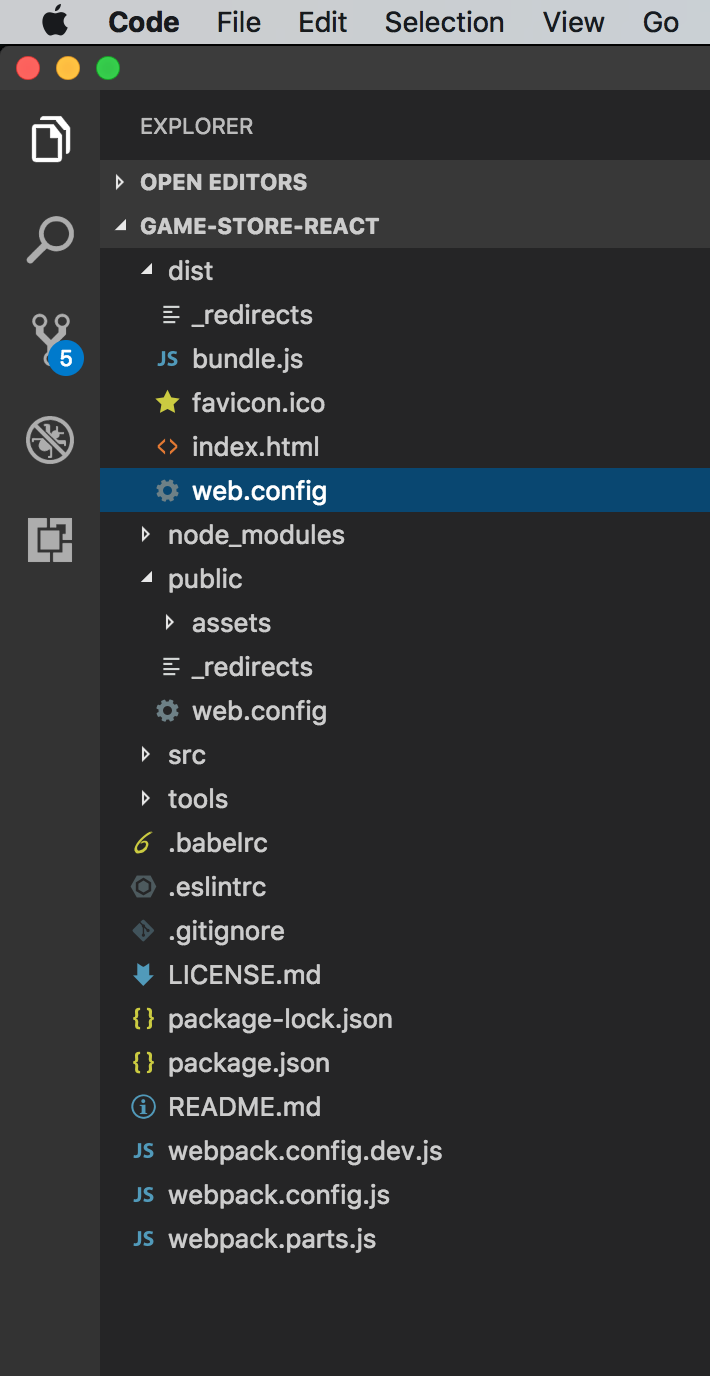 Upload this file to remote ‘/site/wwwroot’.
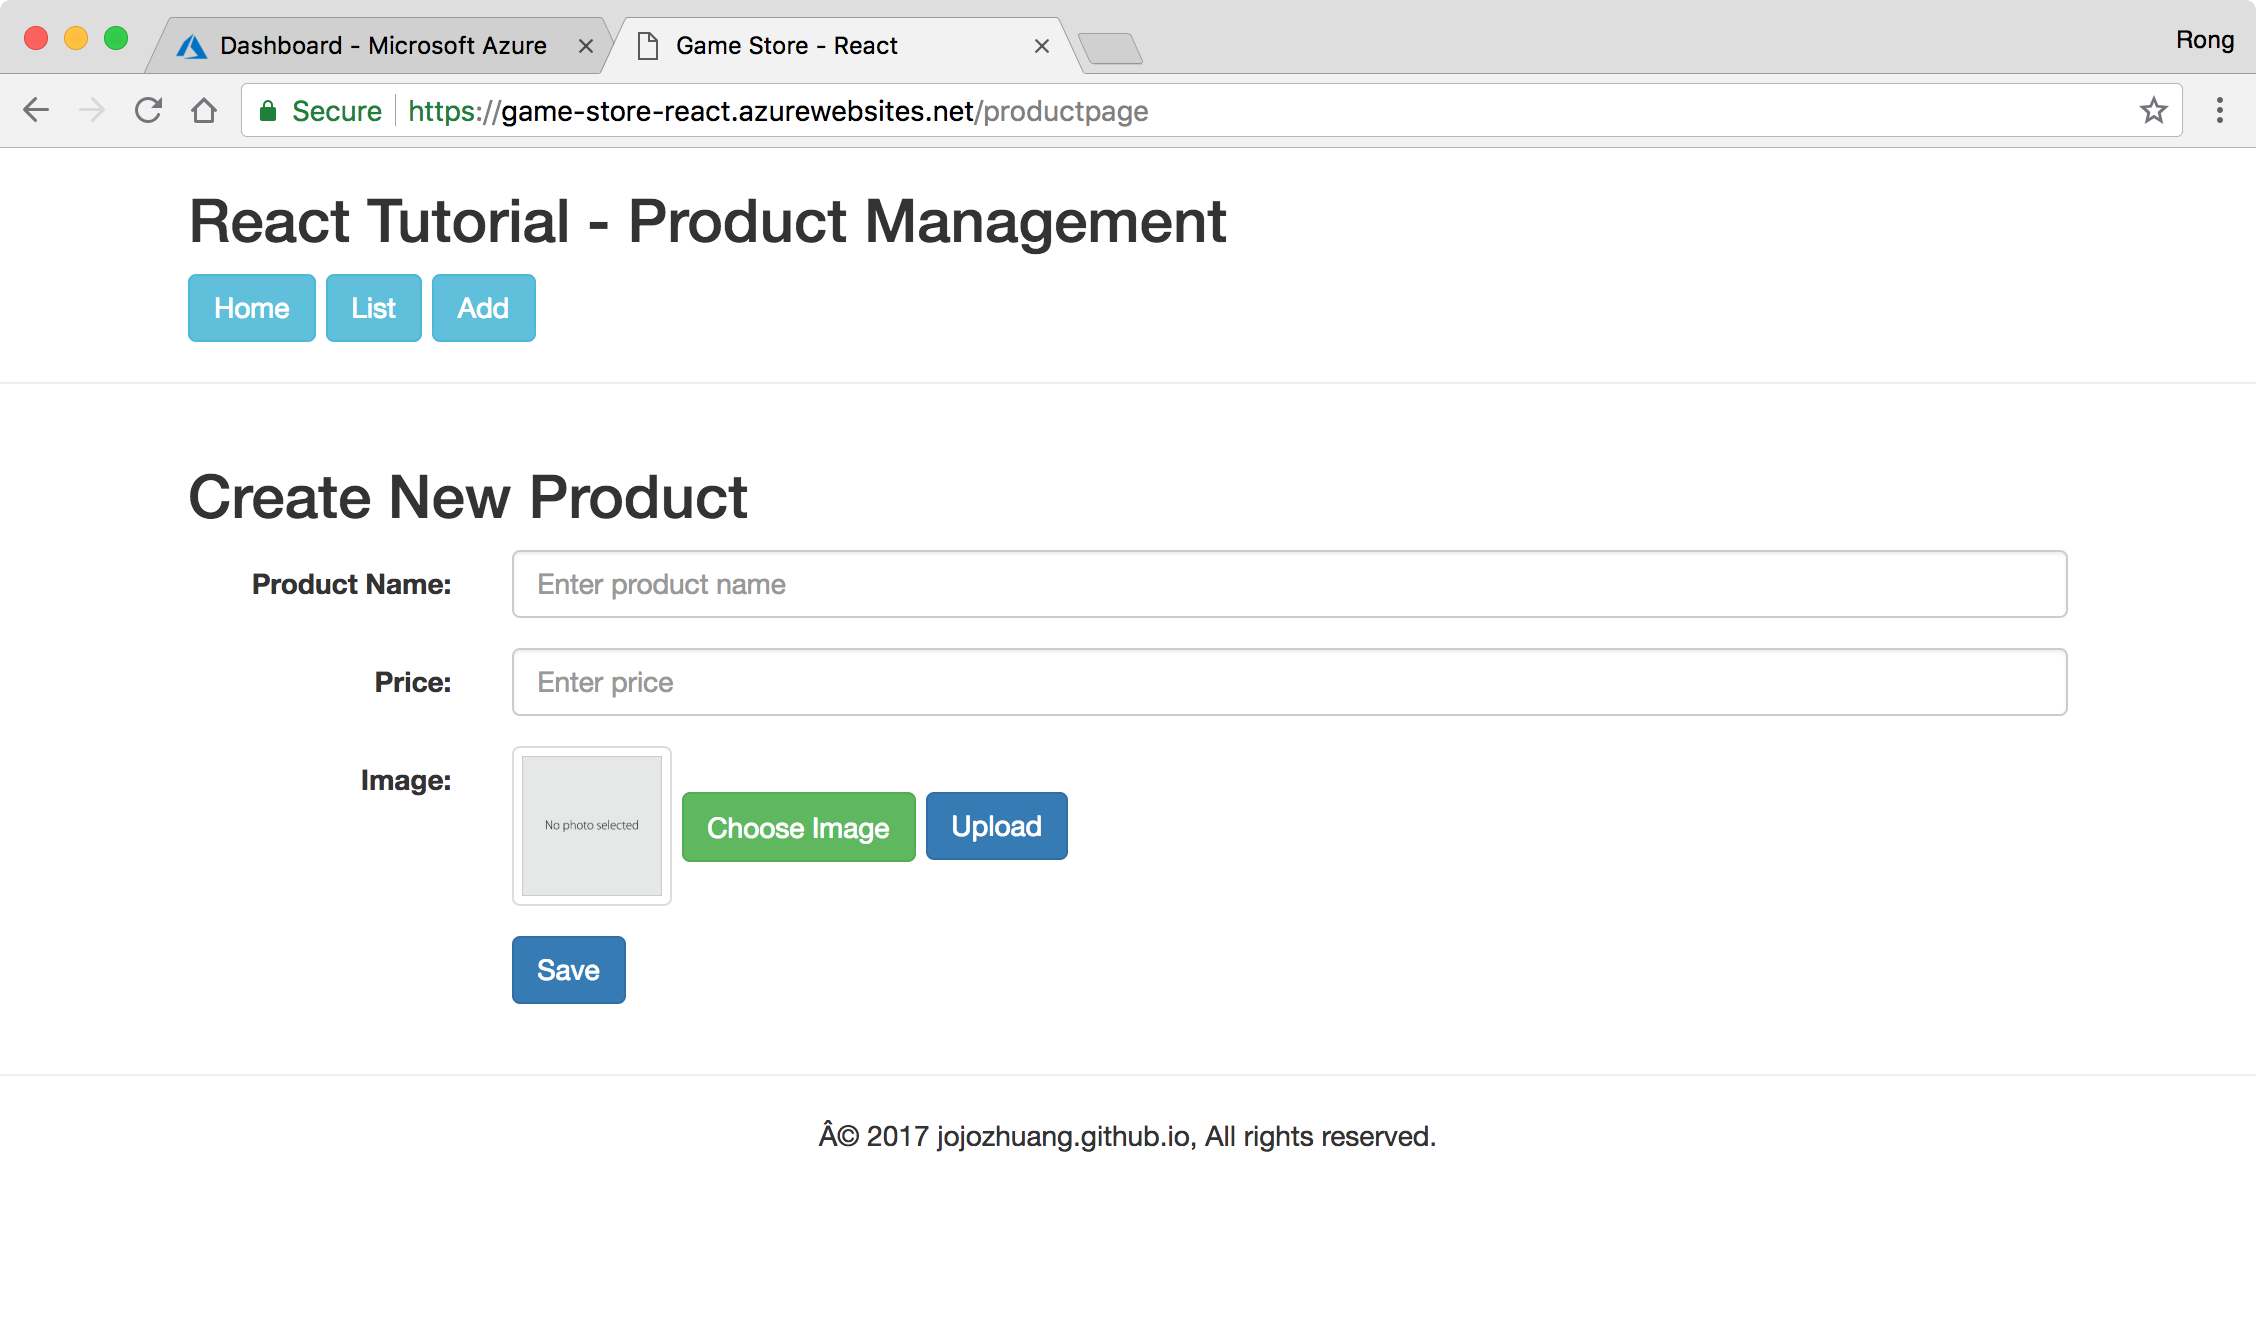
 Refresh the browser, both ‘products’ and ‘productpage’ pages should work.
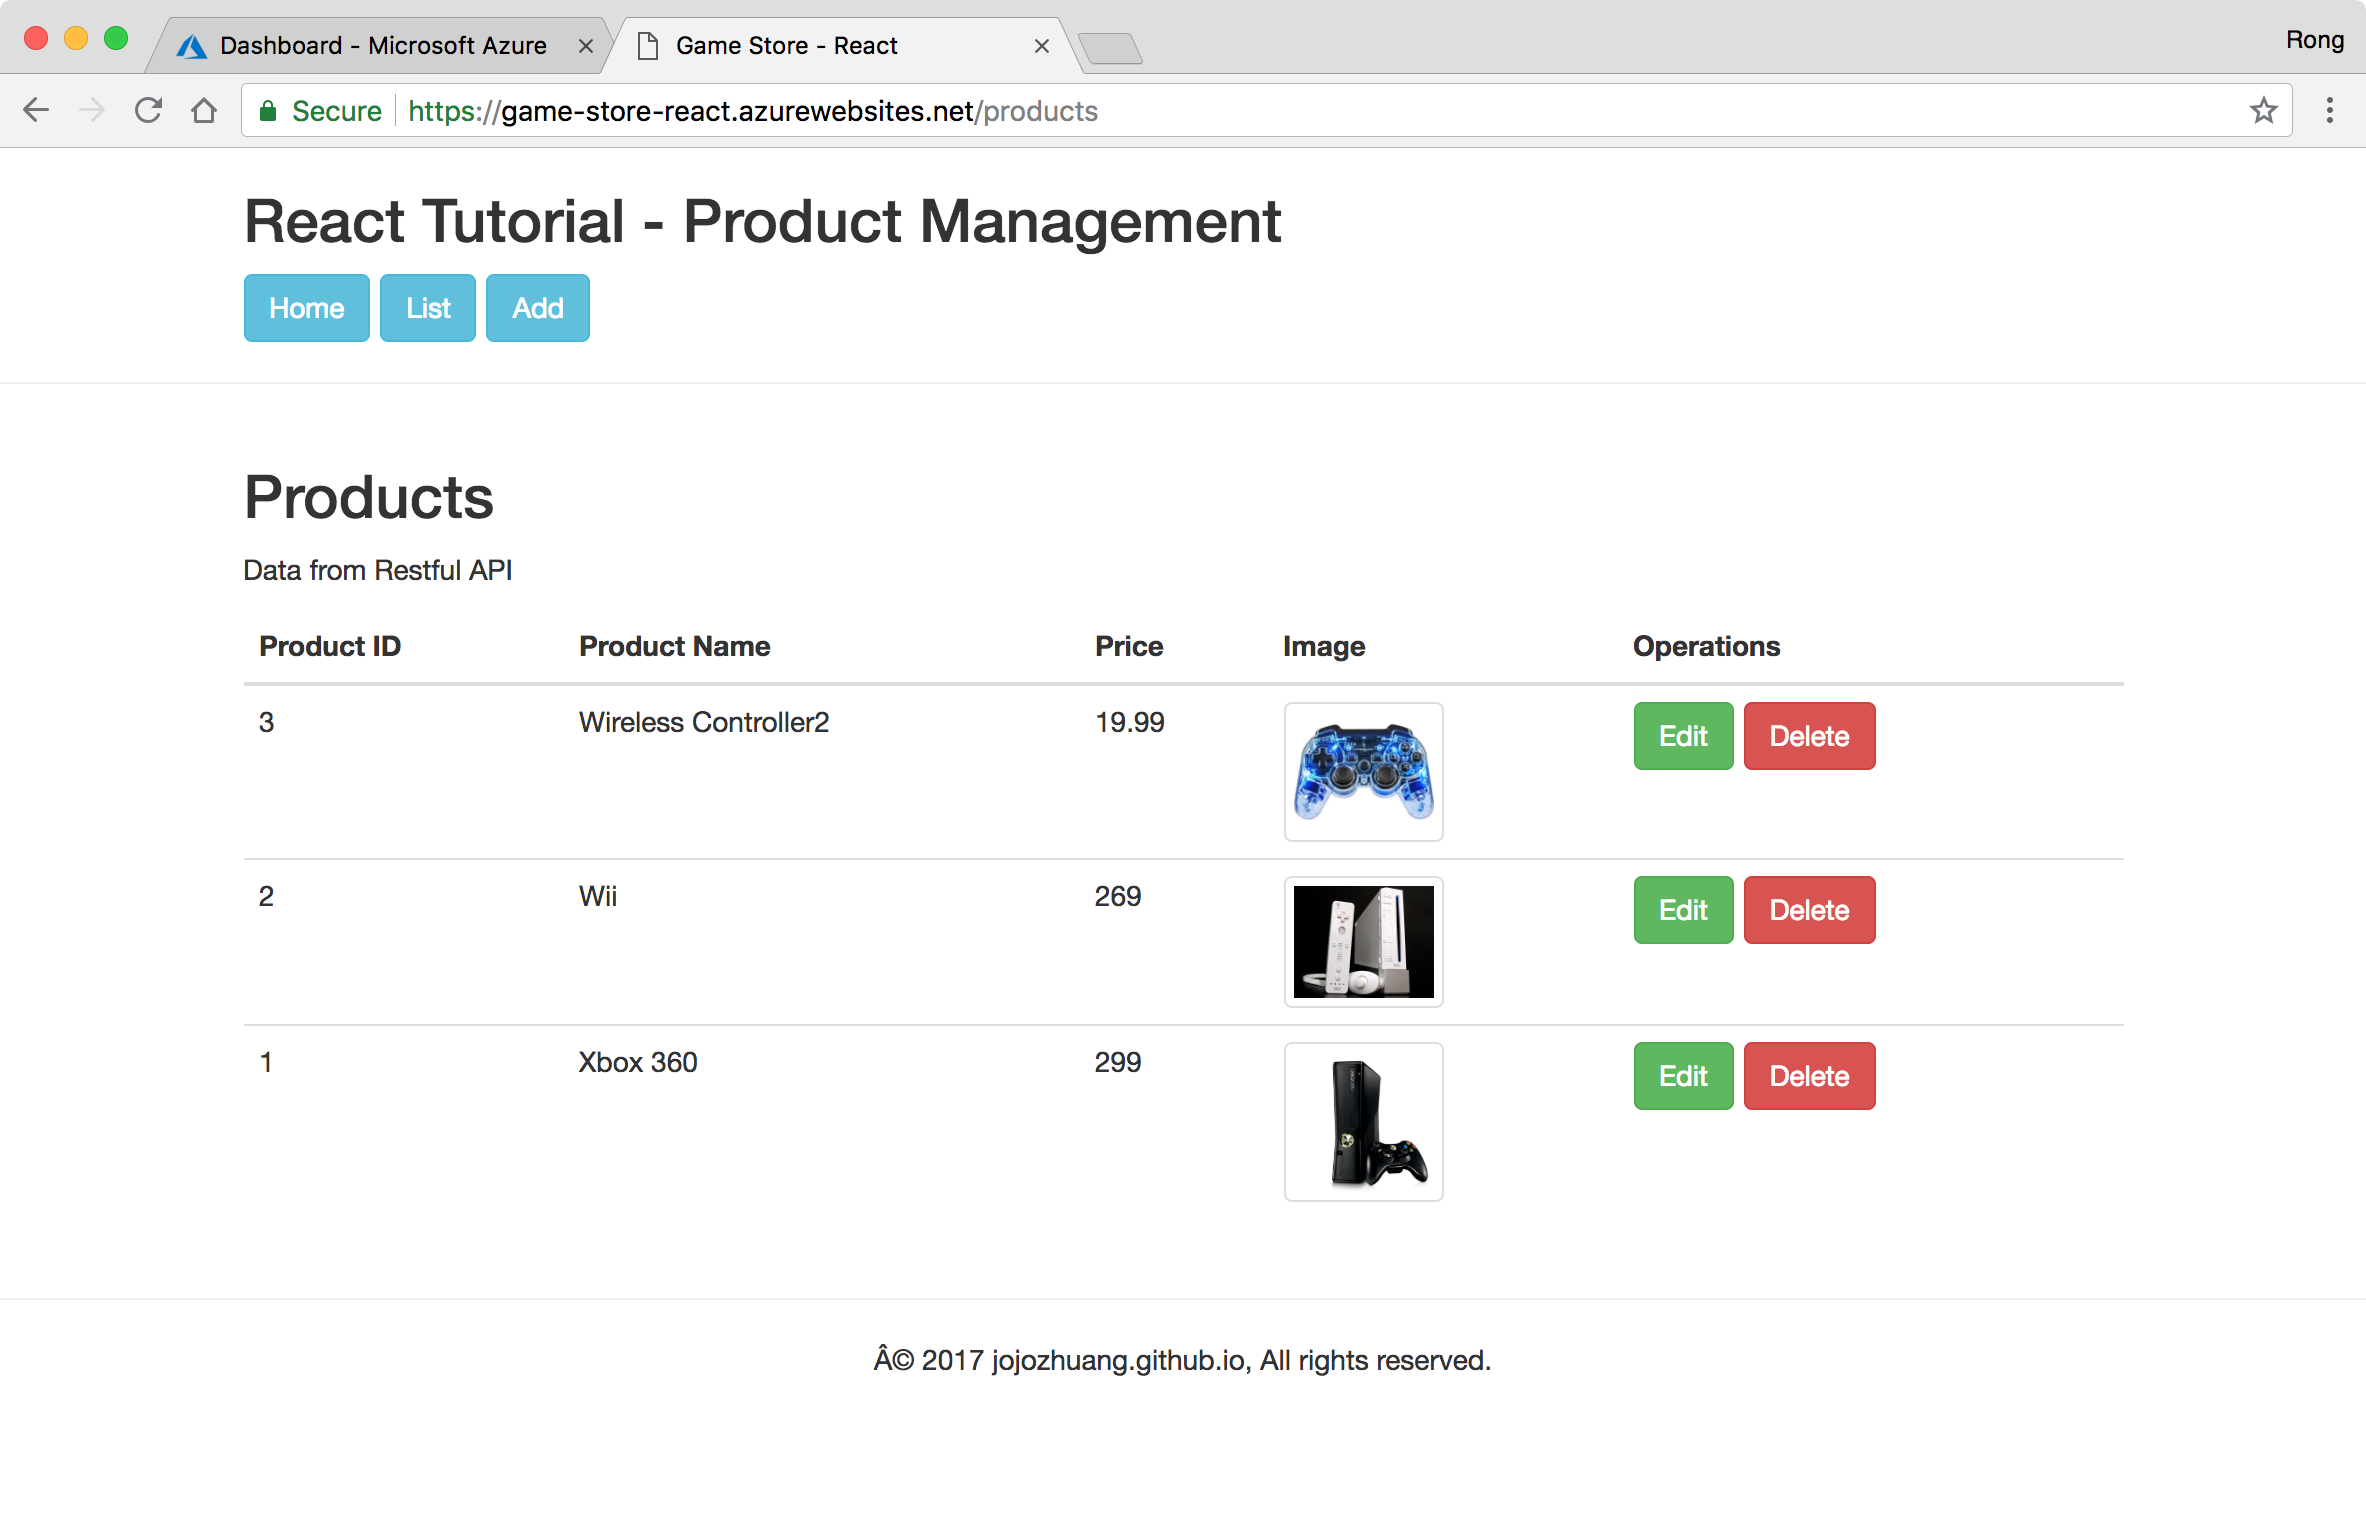 The ‘productpage’ page is also visible.