4163. AWS-VPC-Access Control ListsAWS, VPC, and ACL
Use ACL to control access.
1. Access Control Lists (ACL)
1.1 ACL Overview
Amazon S3 access control lists (ACLs) enable you to manage access to buckets and objects. Each bucket and object has an ACL attached to it as a subresource. It defines which AWS accounts or groups are granted access and the type of access. When a request is received against a resource, Amazon S3 checks the corresponding ACL to verify that the requester has the necessary access permissions.
1.2 ACL Features
- Your VPC automatically comes a default network ACL, and by default it allows all outbound and inbound traffic.
- You can create custom network ACLs. By default, each custom network ACL denies all inbound and outbound traffic until you add rules.
- Each subnet in your VPC must be associated with a network ACL. If you don’t explicitly associate a subnet with a network ACL, the subnet is automatically associated with the default network ACL.
- Block IP Addresses using network ACLs not Security Groups
- You can associate a network ACL with multiple subnets; however, a subnet can be associated with only one network ACL at a time. When you associate a network ACL with a subnet, the previous association is removed.
- Network ACLs contain a numbered list of rules that is evaluated in order, starting with the lowest numbered rule.
- Network ACLs have separate inbound and outbound rules, and each rule can either allow or deny traffic.
- Network ACLs are stateless; responses to allowed inbound traffic are subject to the rules for outbound traffic (and vice versa.)
2. Lab - ACL
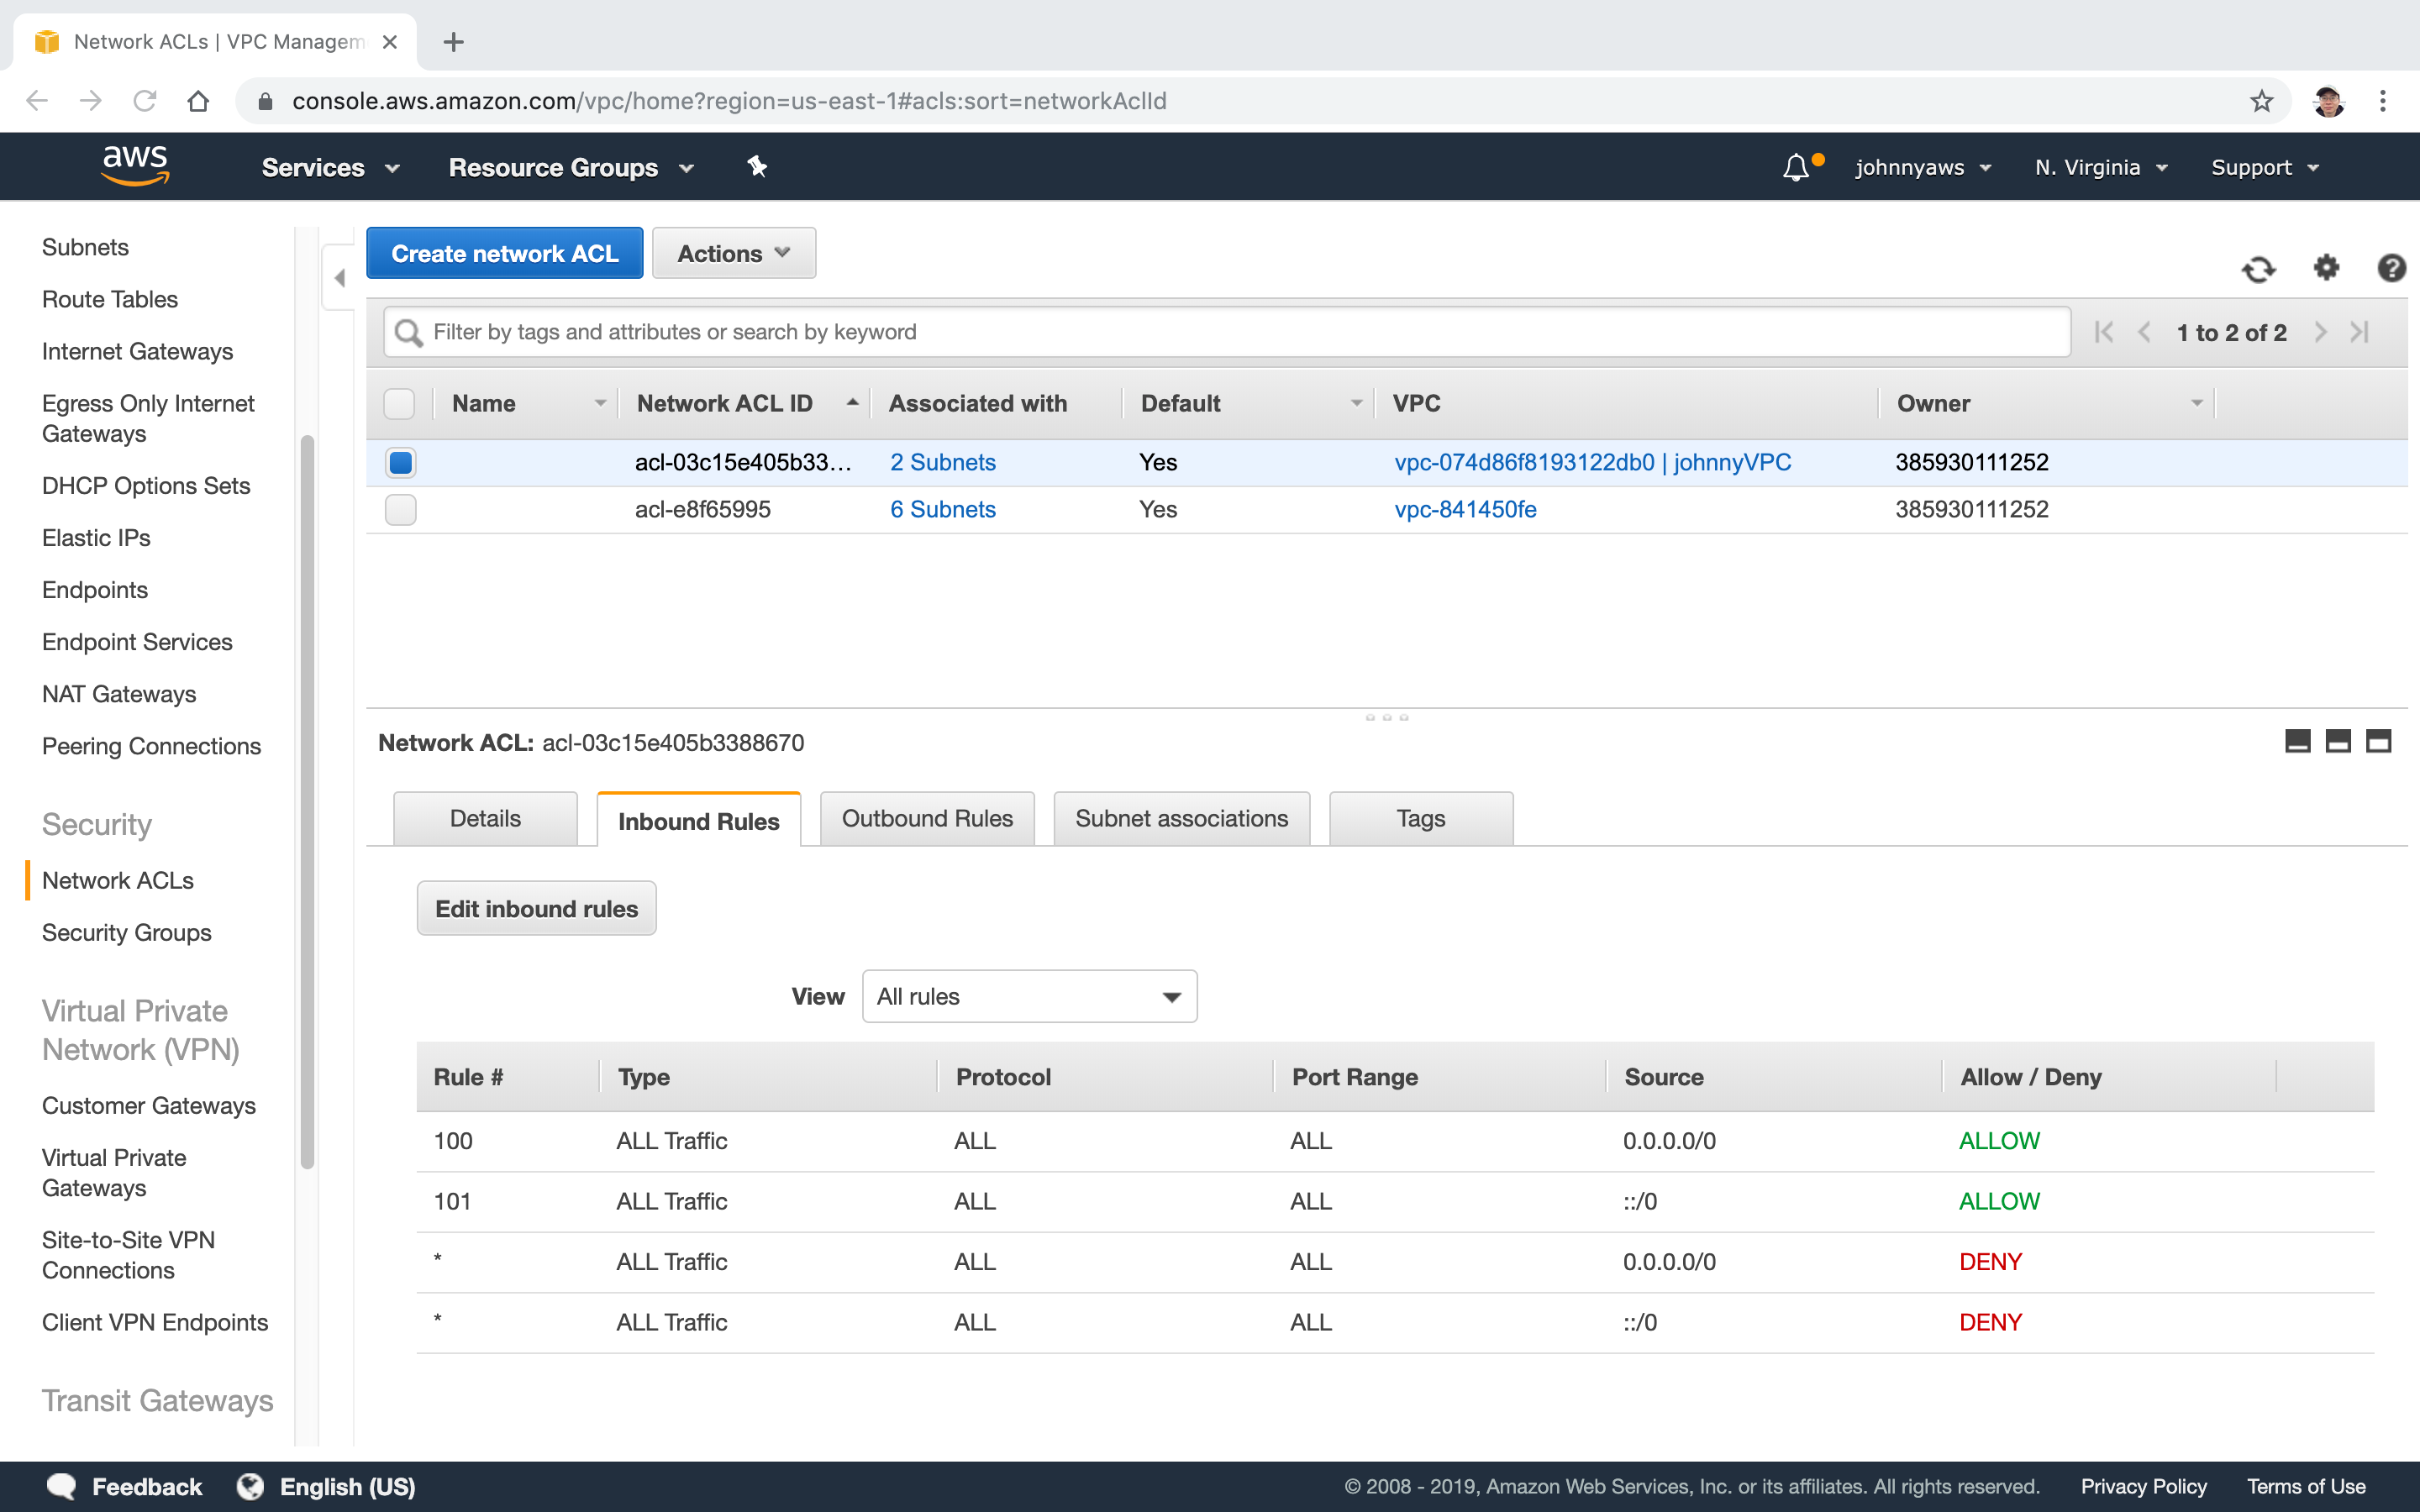
Currently, We have two ACLs. One is default ACL, another is custom ACL for the custom VPC. We will create a new ACL test the instance connection.
2.1 Creating Custom ACL
Go to Services->Networking & Content Delivery->VPC, select Network ACLs, Create network ACL.
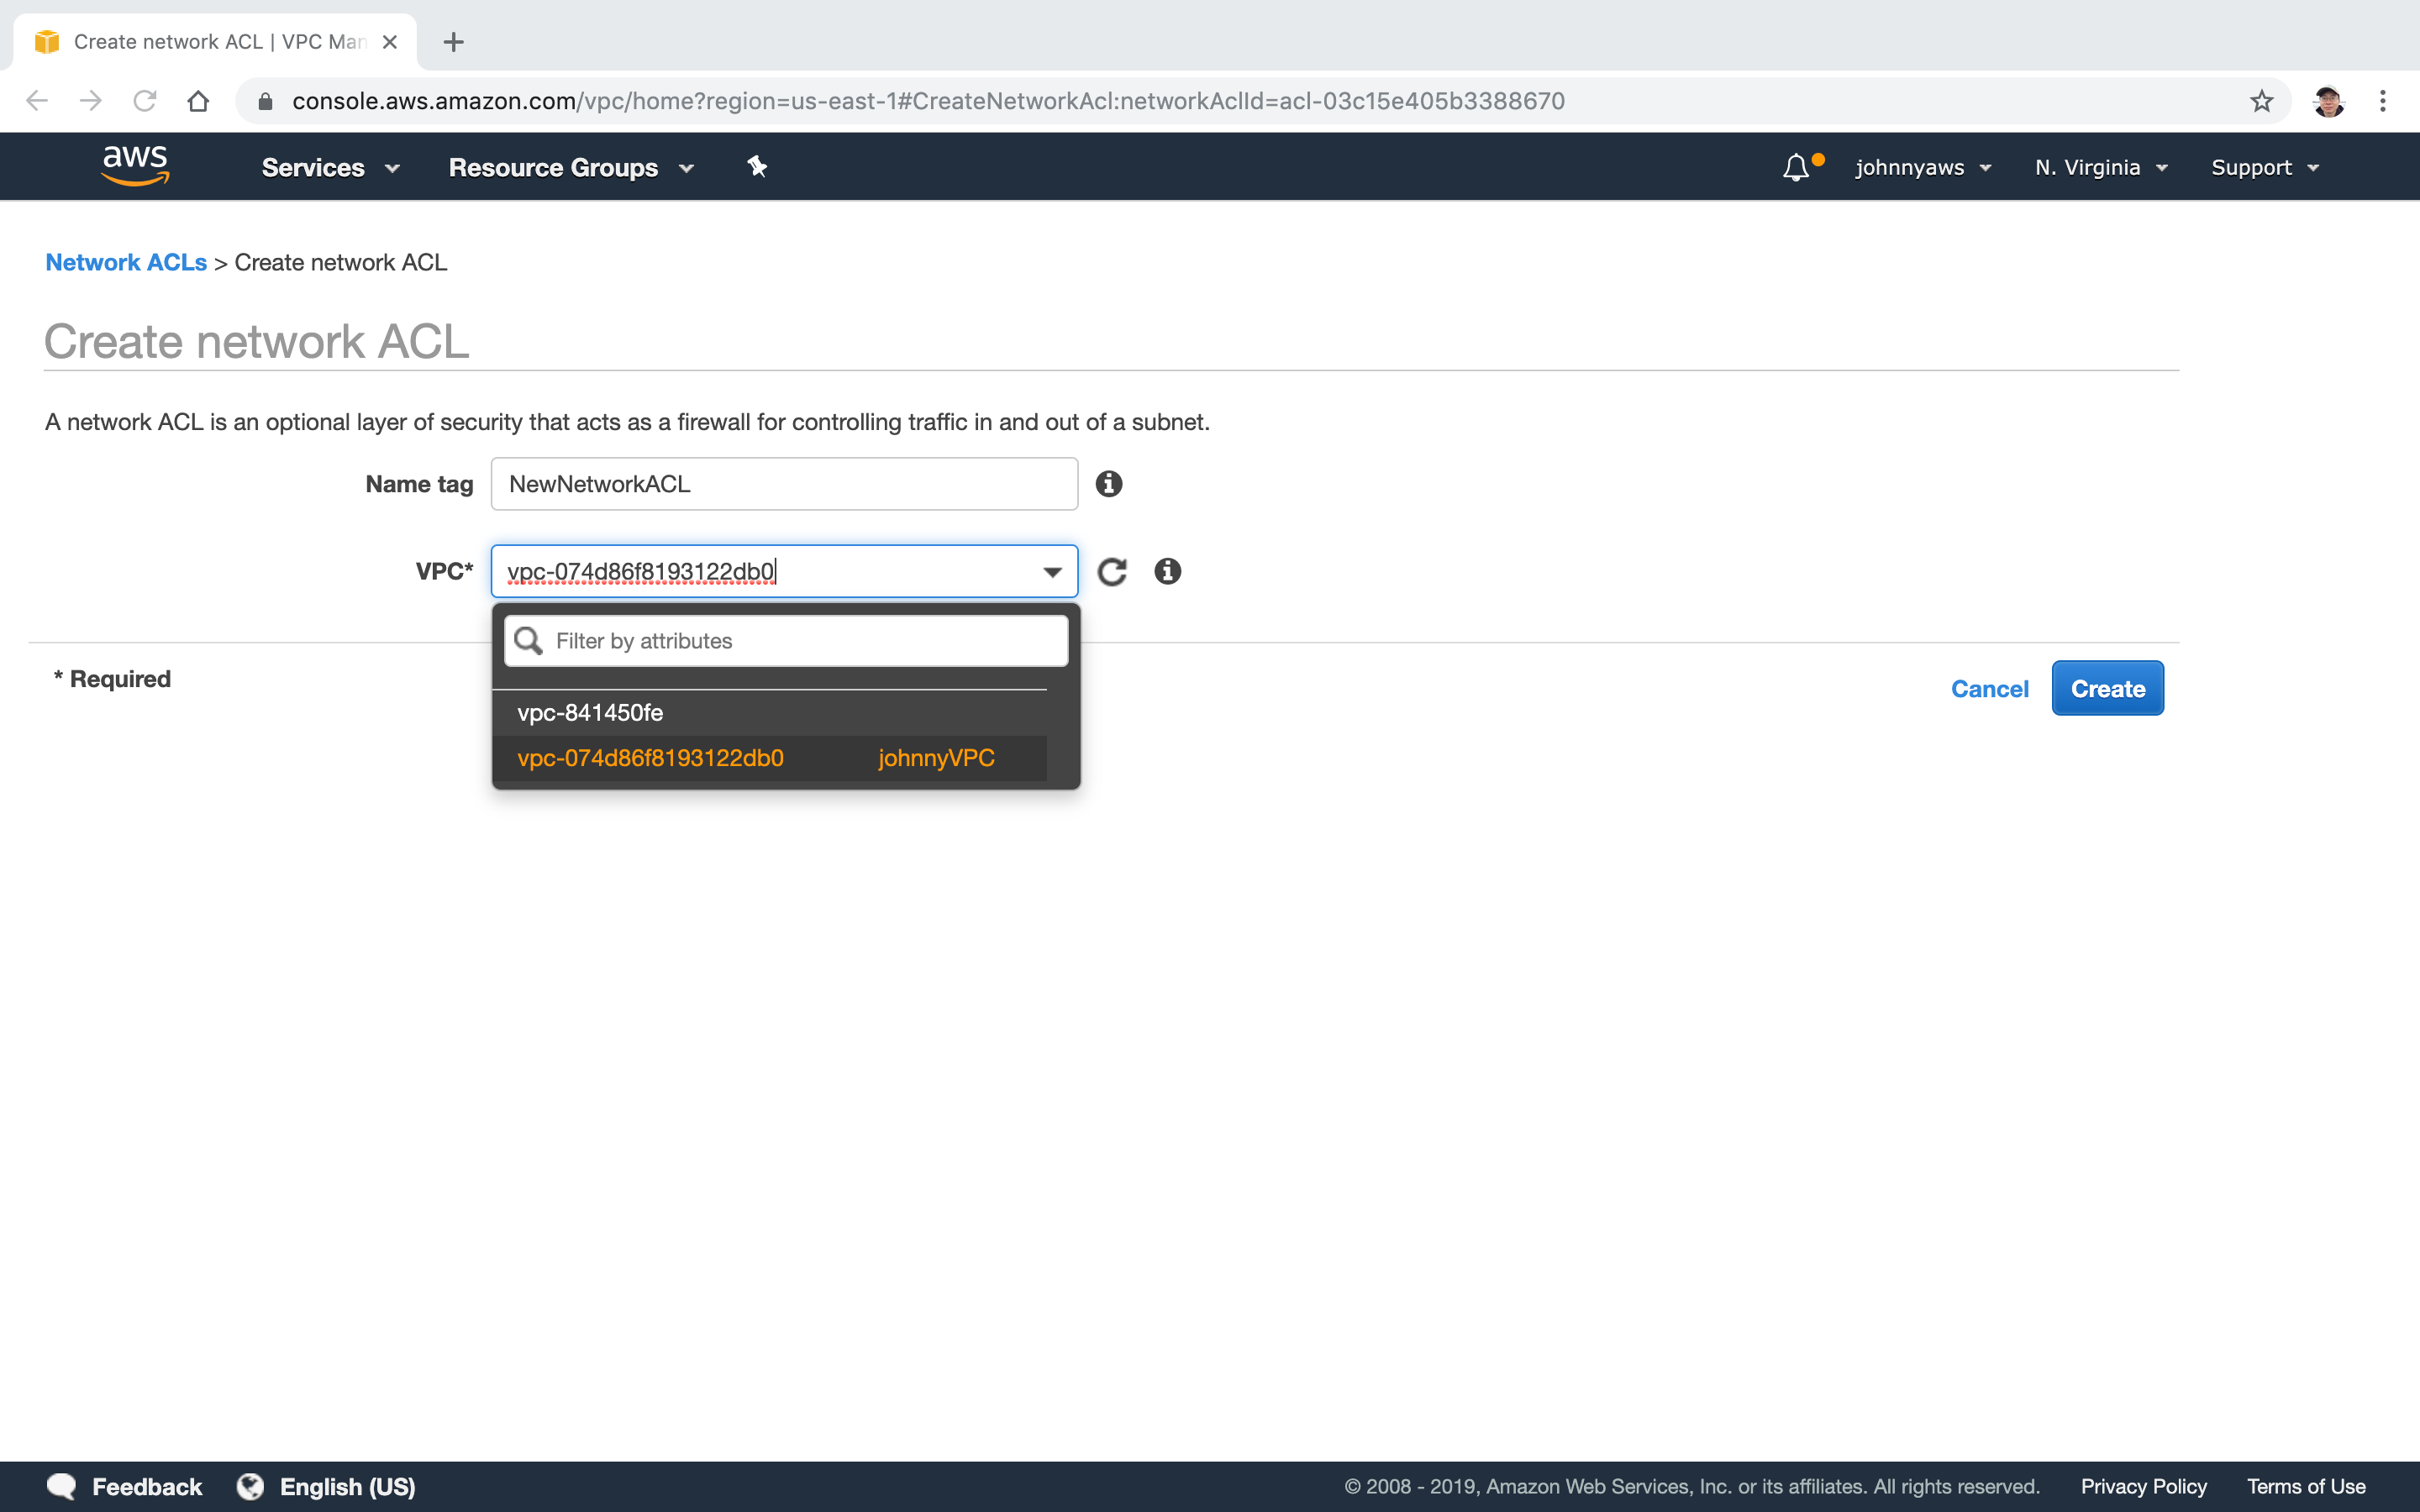
 Set name, select the custom VPC, Create.
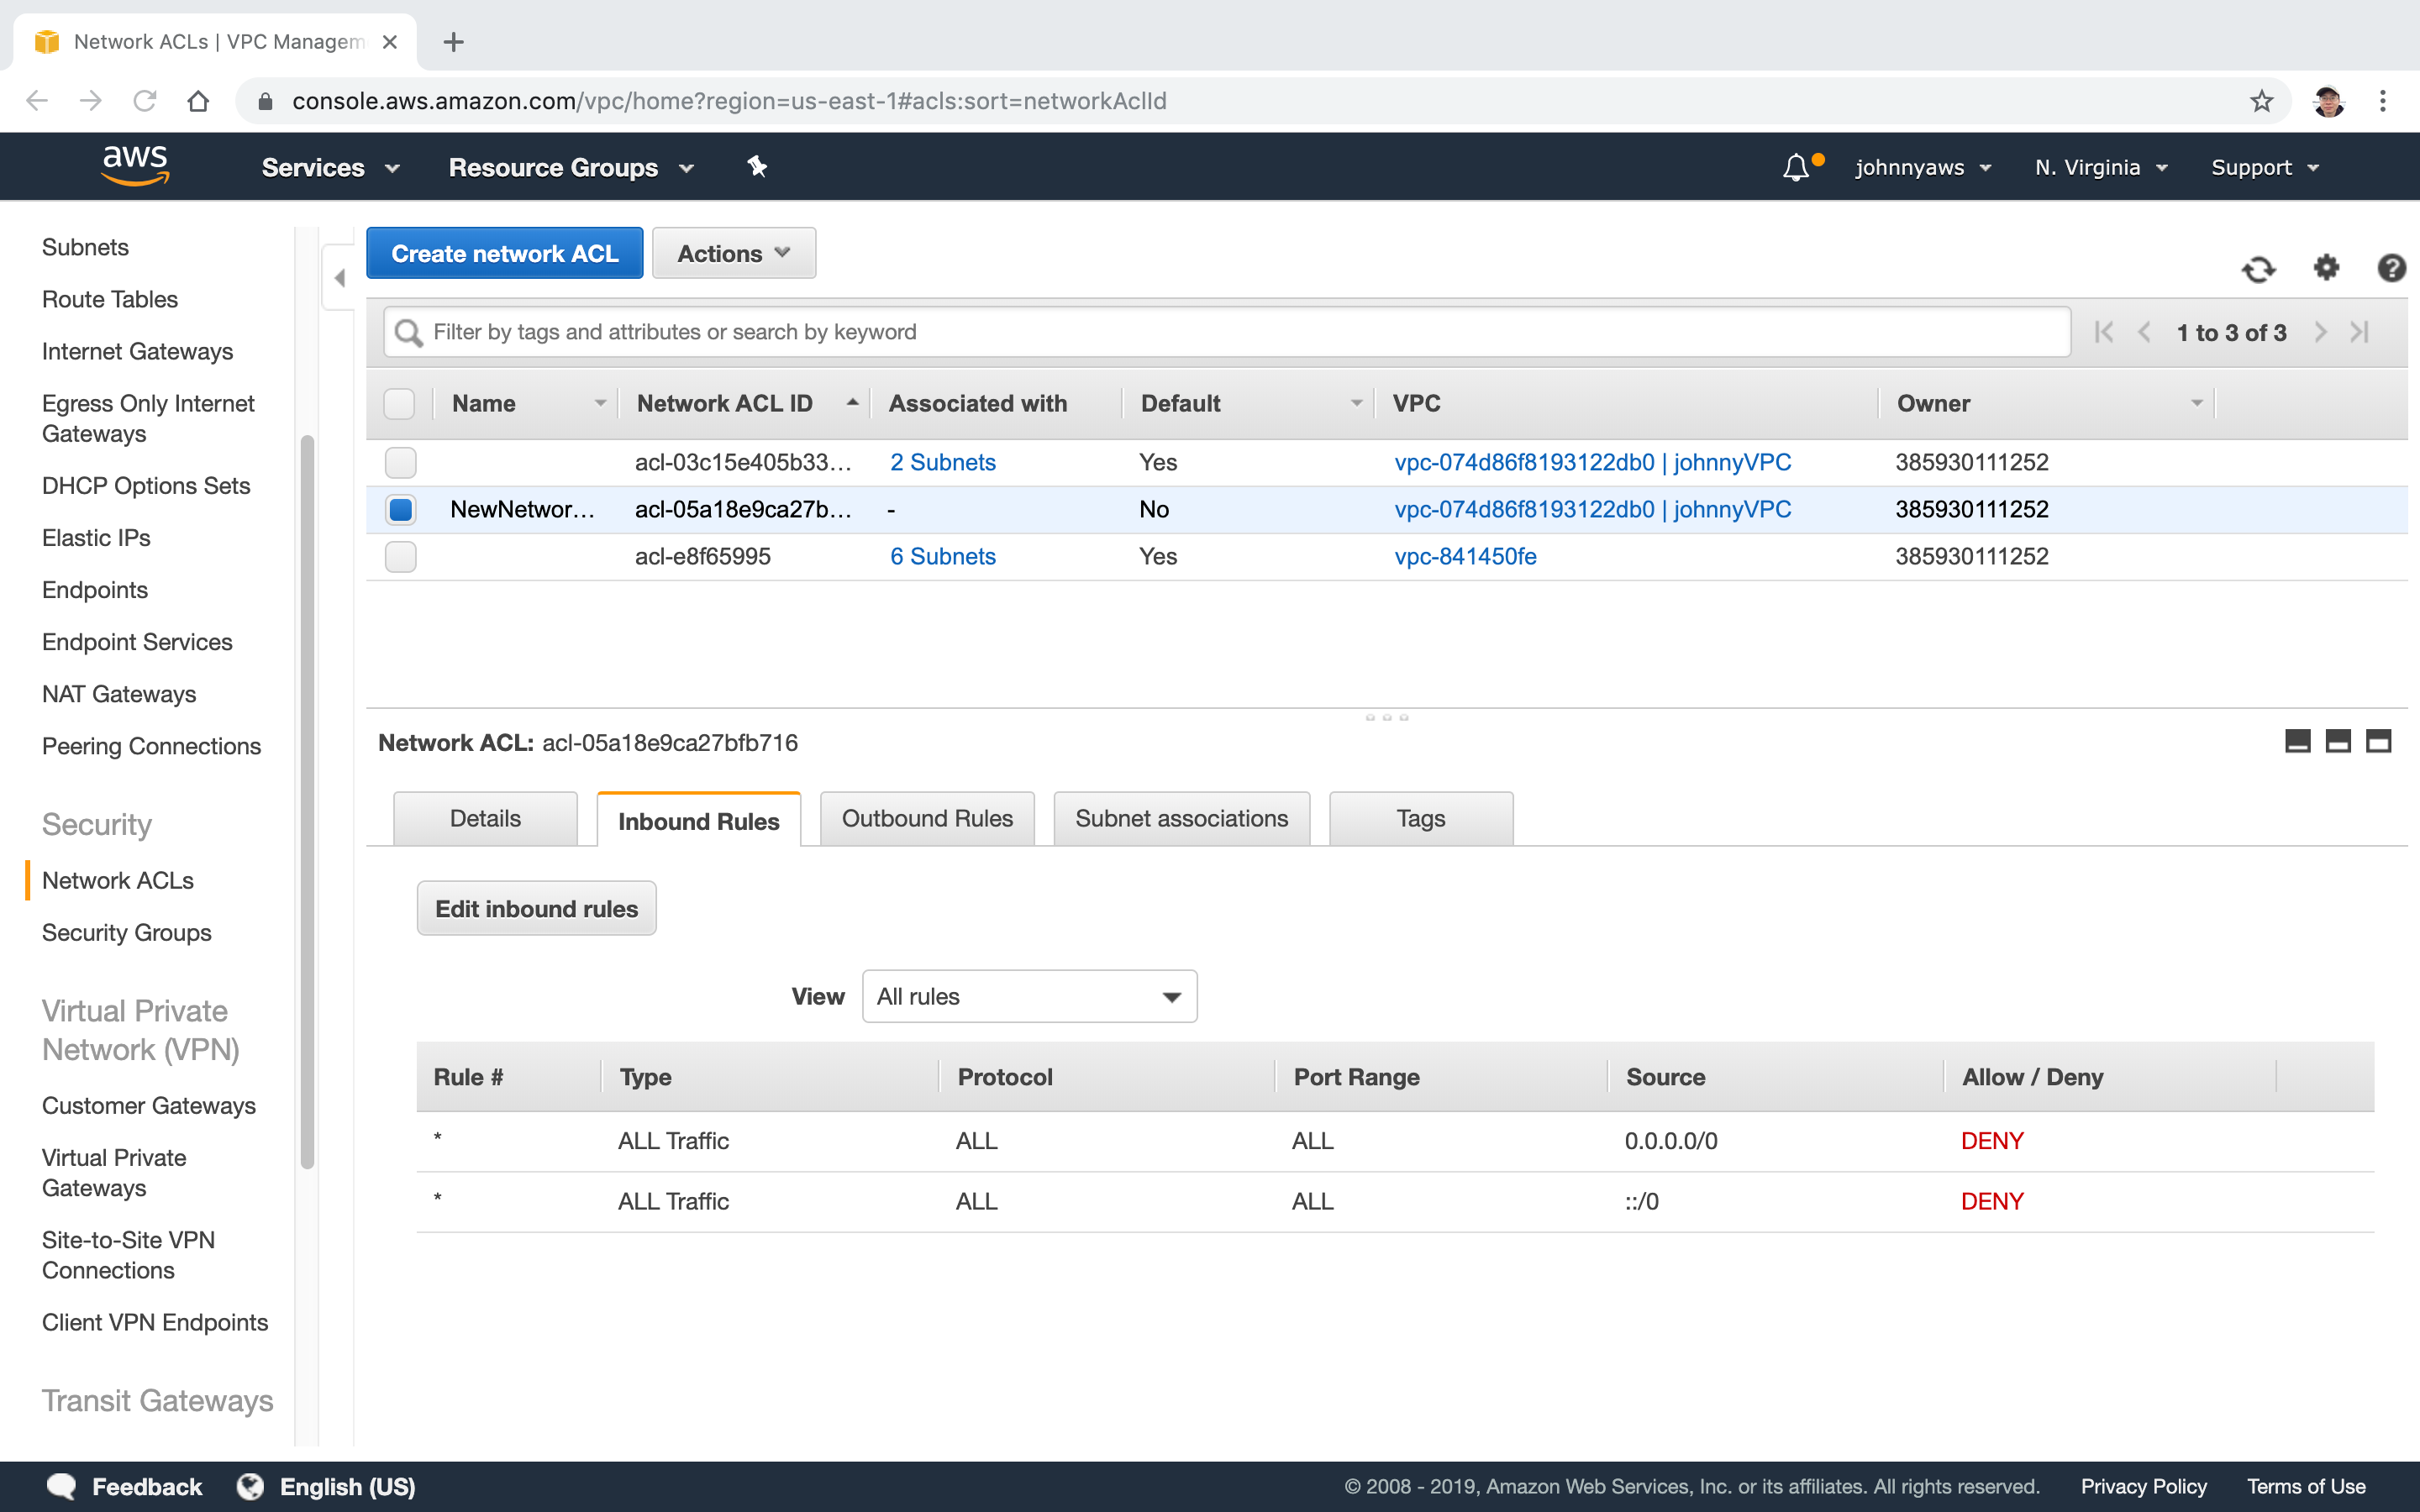
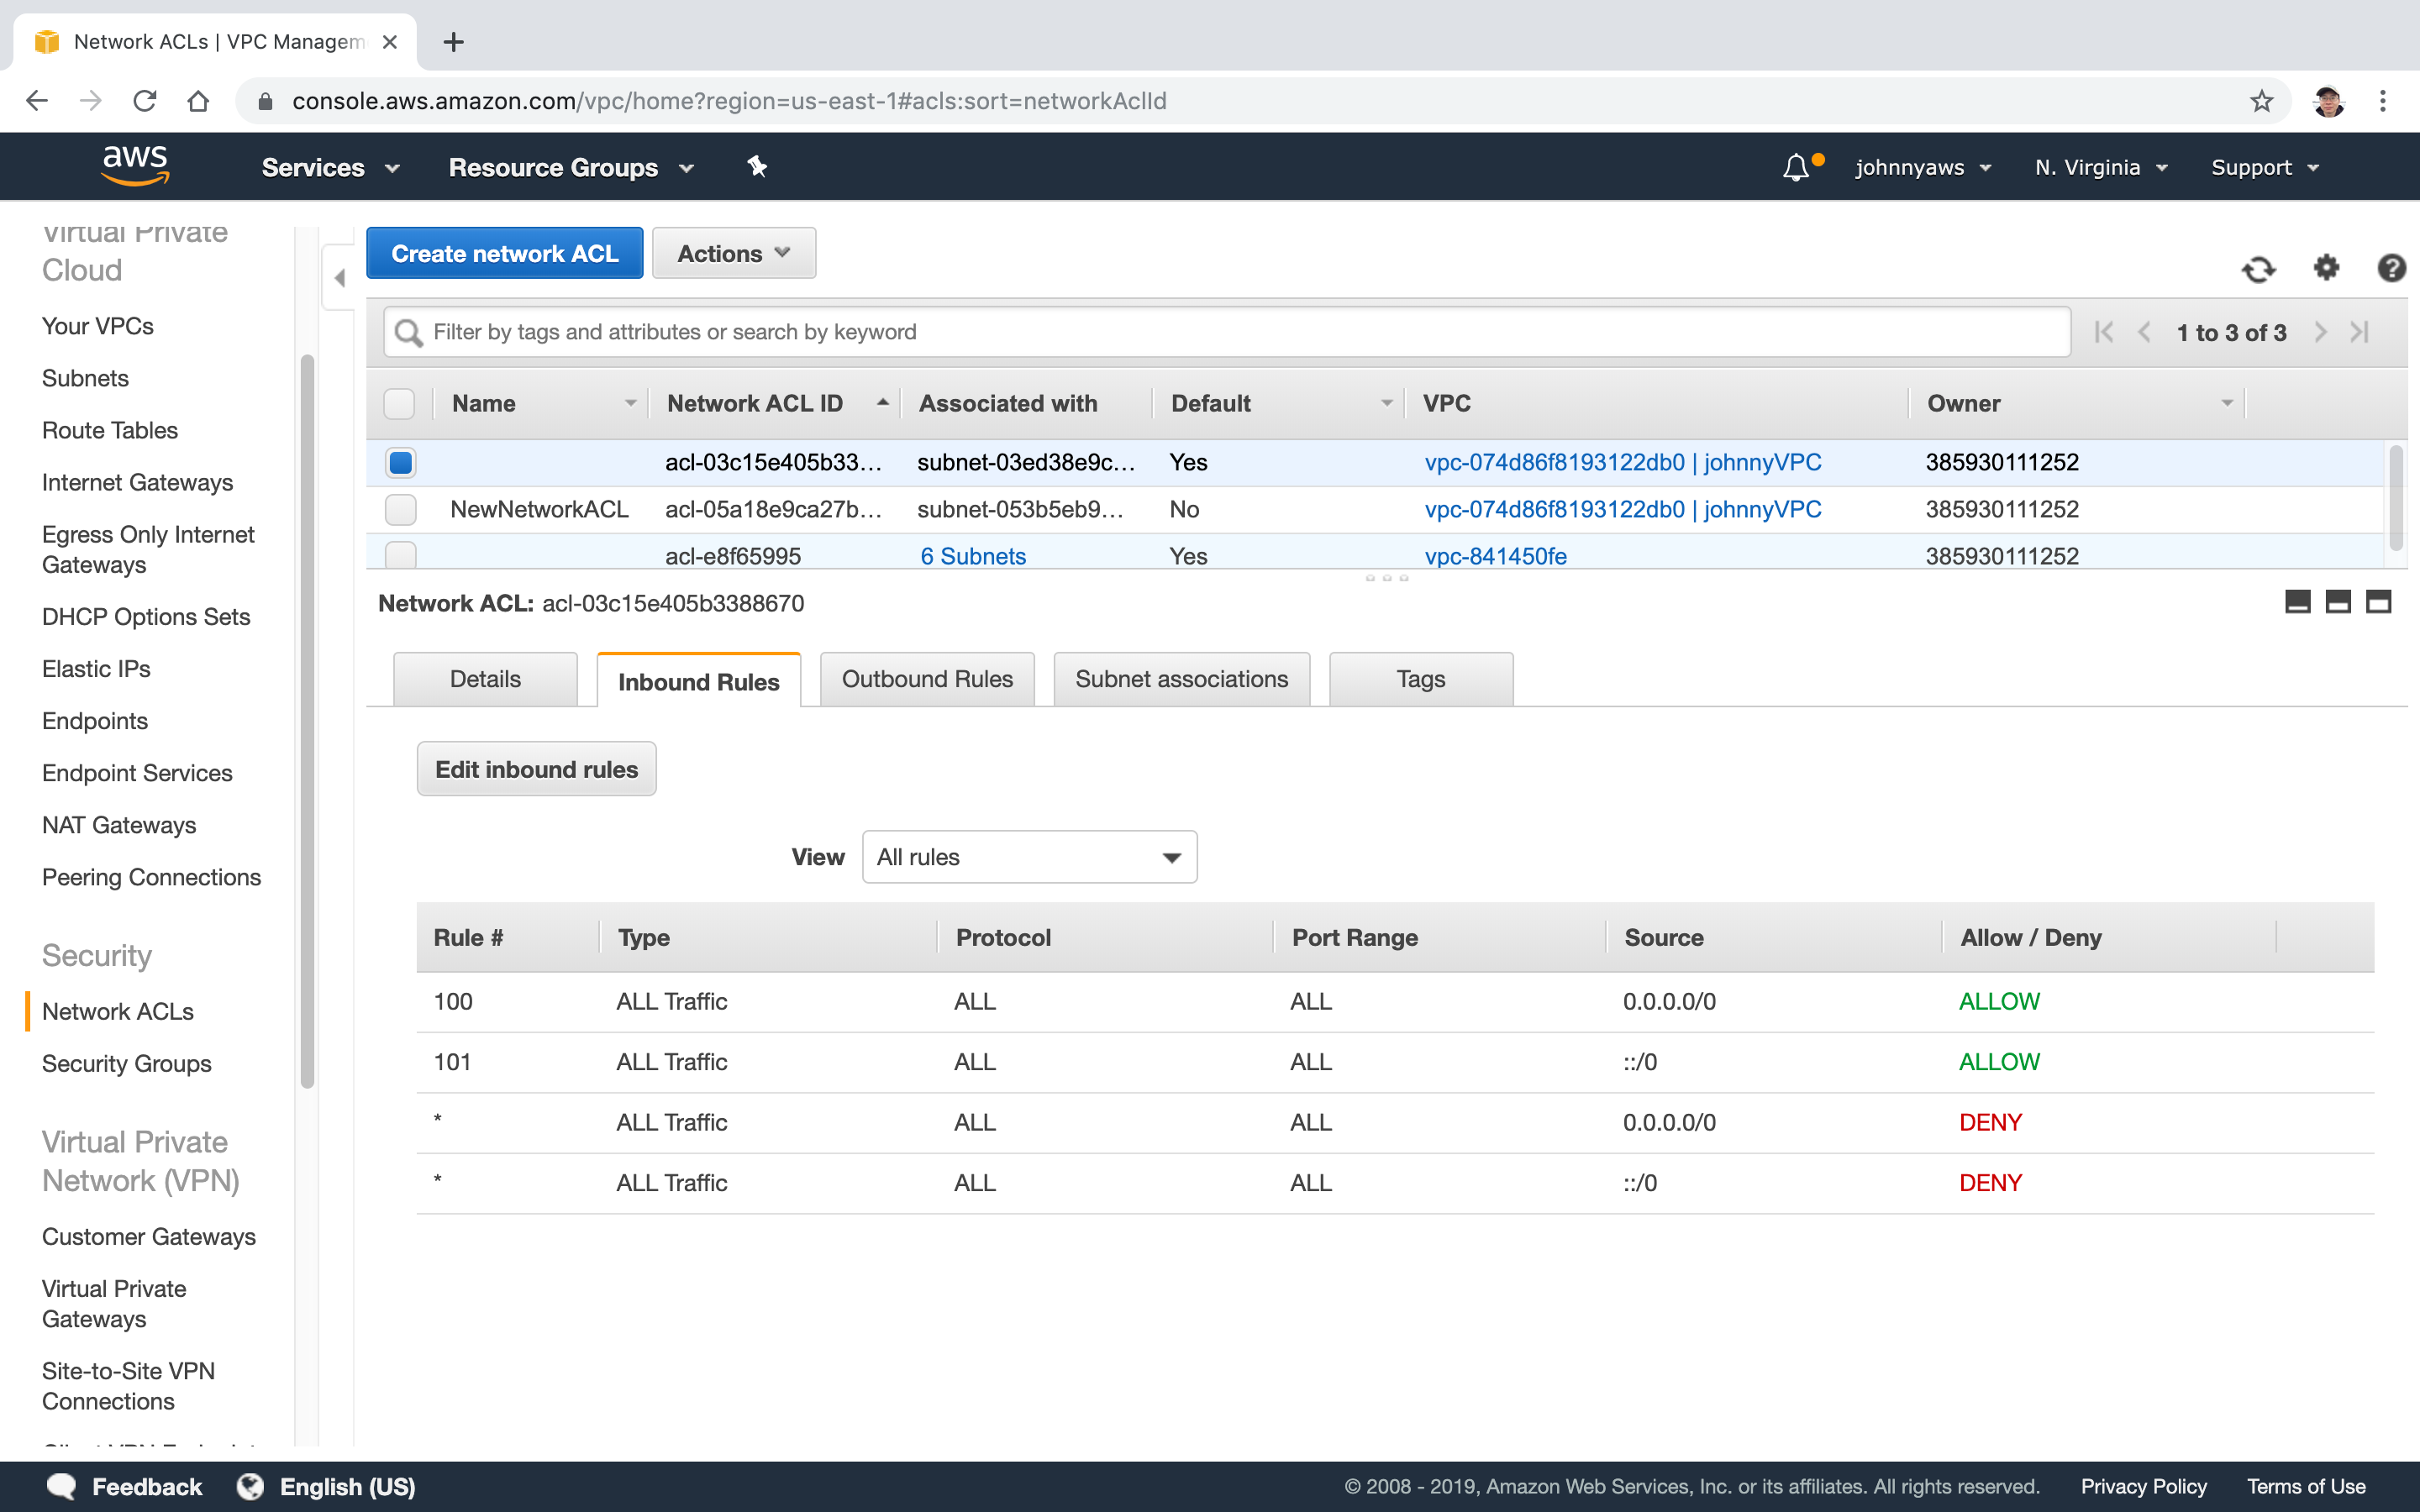
 New VPC is created. By default, all inbound and outbound requests are denied.
2.2 Testing ACL(Port 80)
Remote log into the instance(web server) through ssh. Run the following scripts to install and start Apache server, then use it to host a static web page.
[root@ip-10-0-1-251 ec2-user]# yum install httpd -y
[root@ip-10-0-1-251 ec2-user]# chkconfig httpd on
[root@ip-10-0-1-251 ec2-user]# service httpd start
Starting httpd:
[root@ip-10-0-1-251 ec2-user]# cd /var/www/html/
[root@ip-10-0-1-251 html]# ls
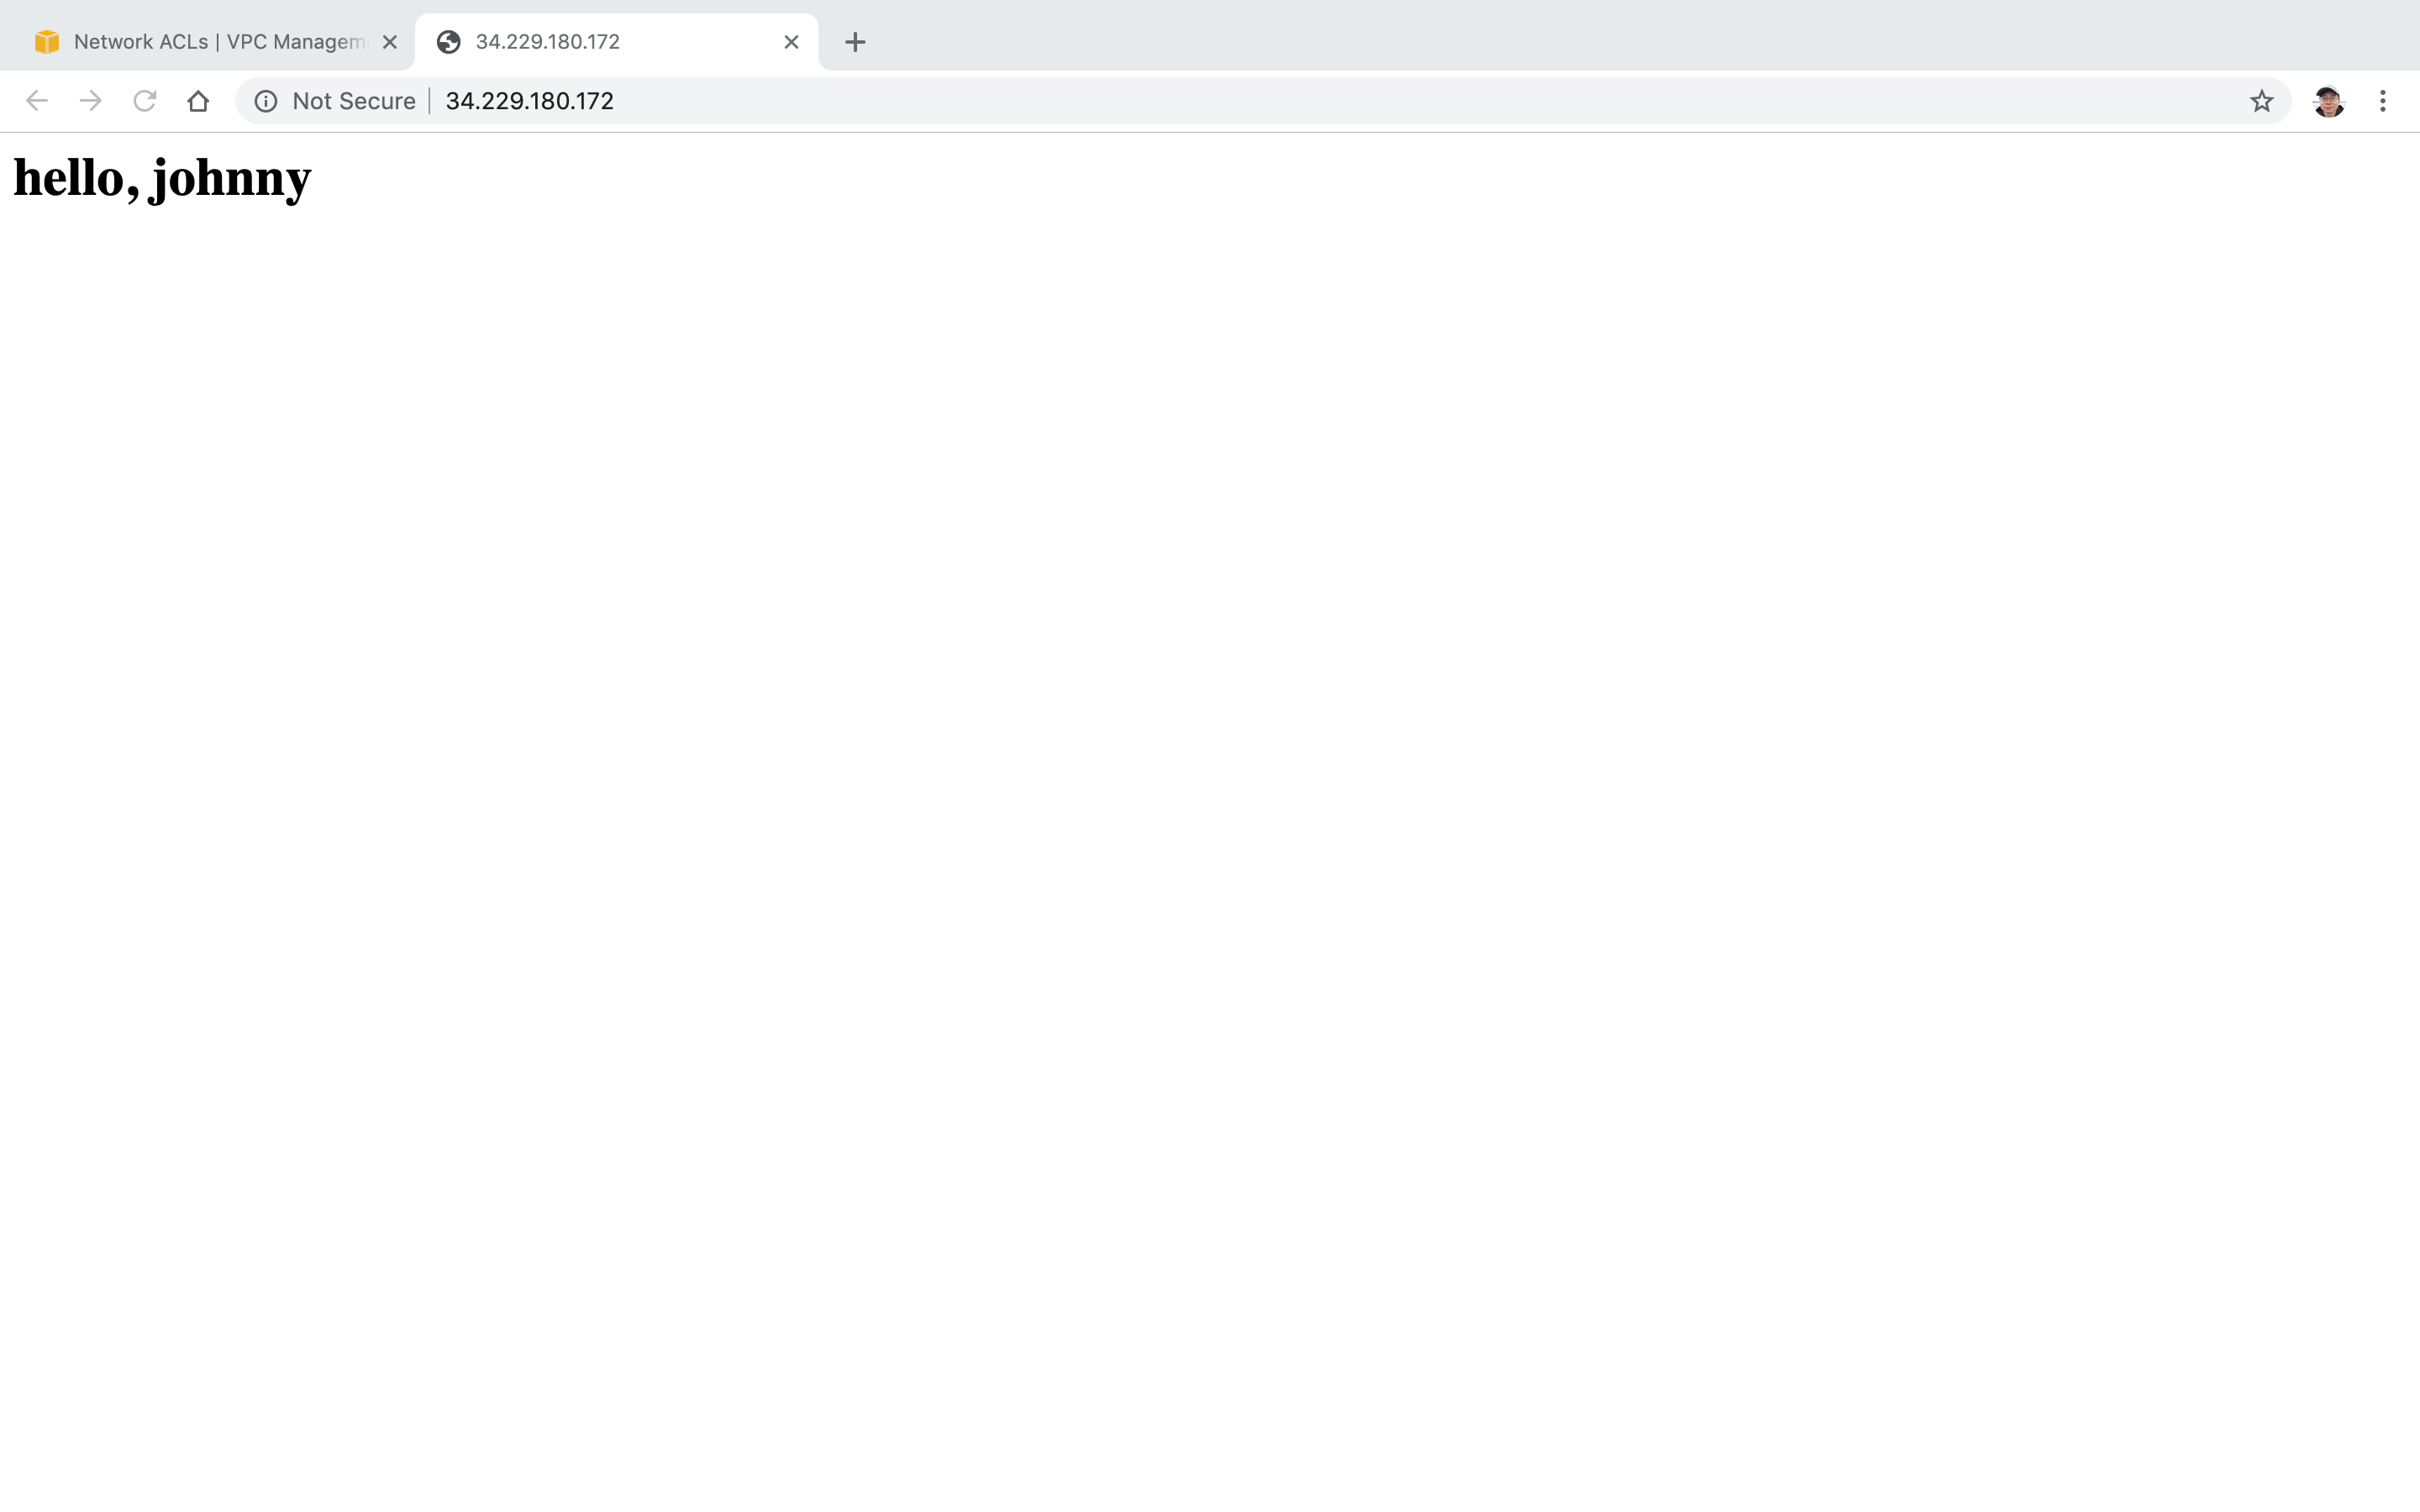
[root@ip-10-0-1-251 html]# echo '<html><h1>hello, johnny</h1></html>' > index.html
[root@ip-10-0-1-251 html]# ls
index.html
Access the instance’s public ip address, we should see the page.
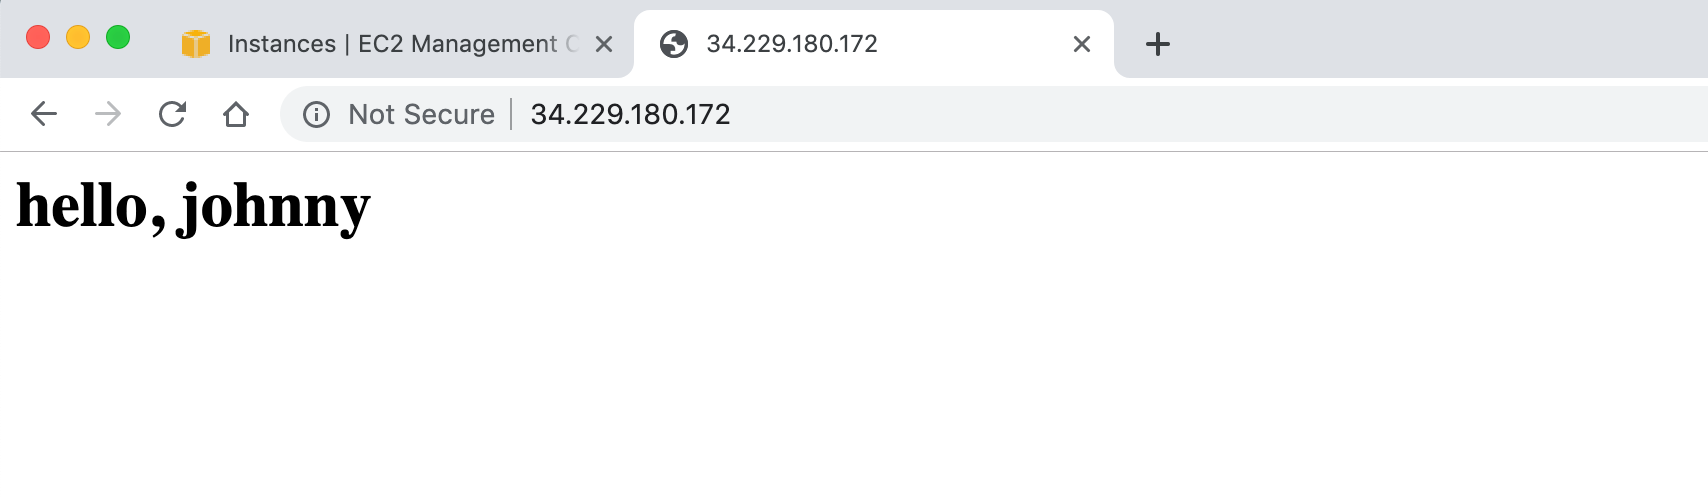 It’s currently working, because the default ACL has inbound rules for all public sources.
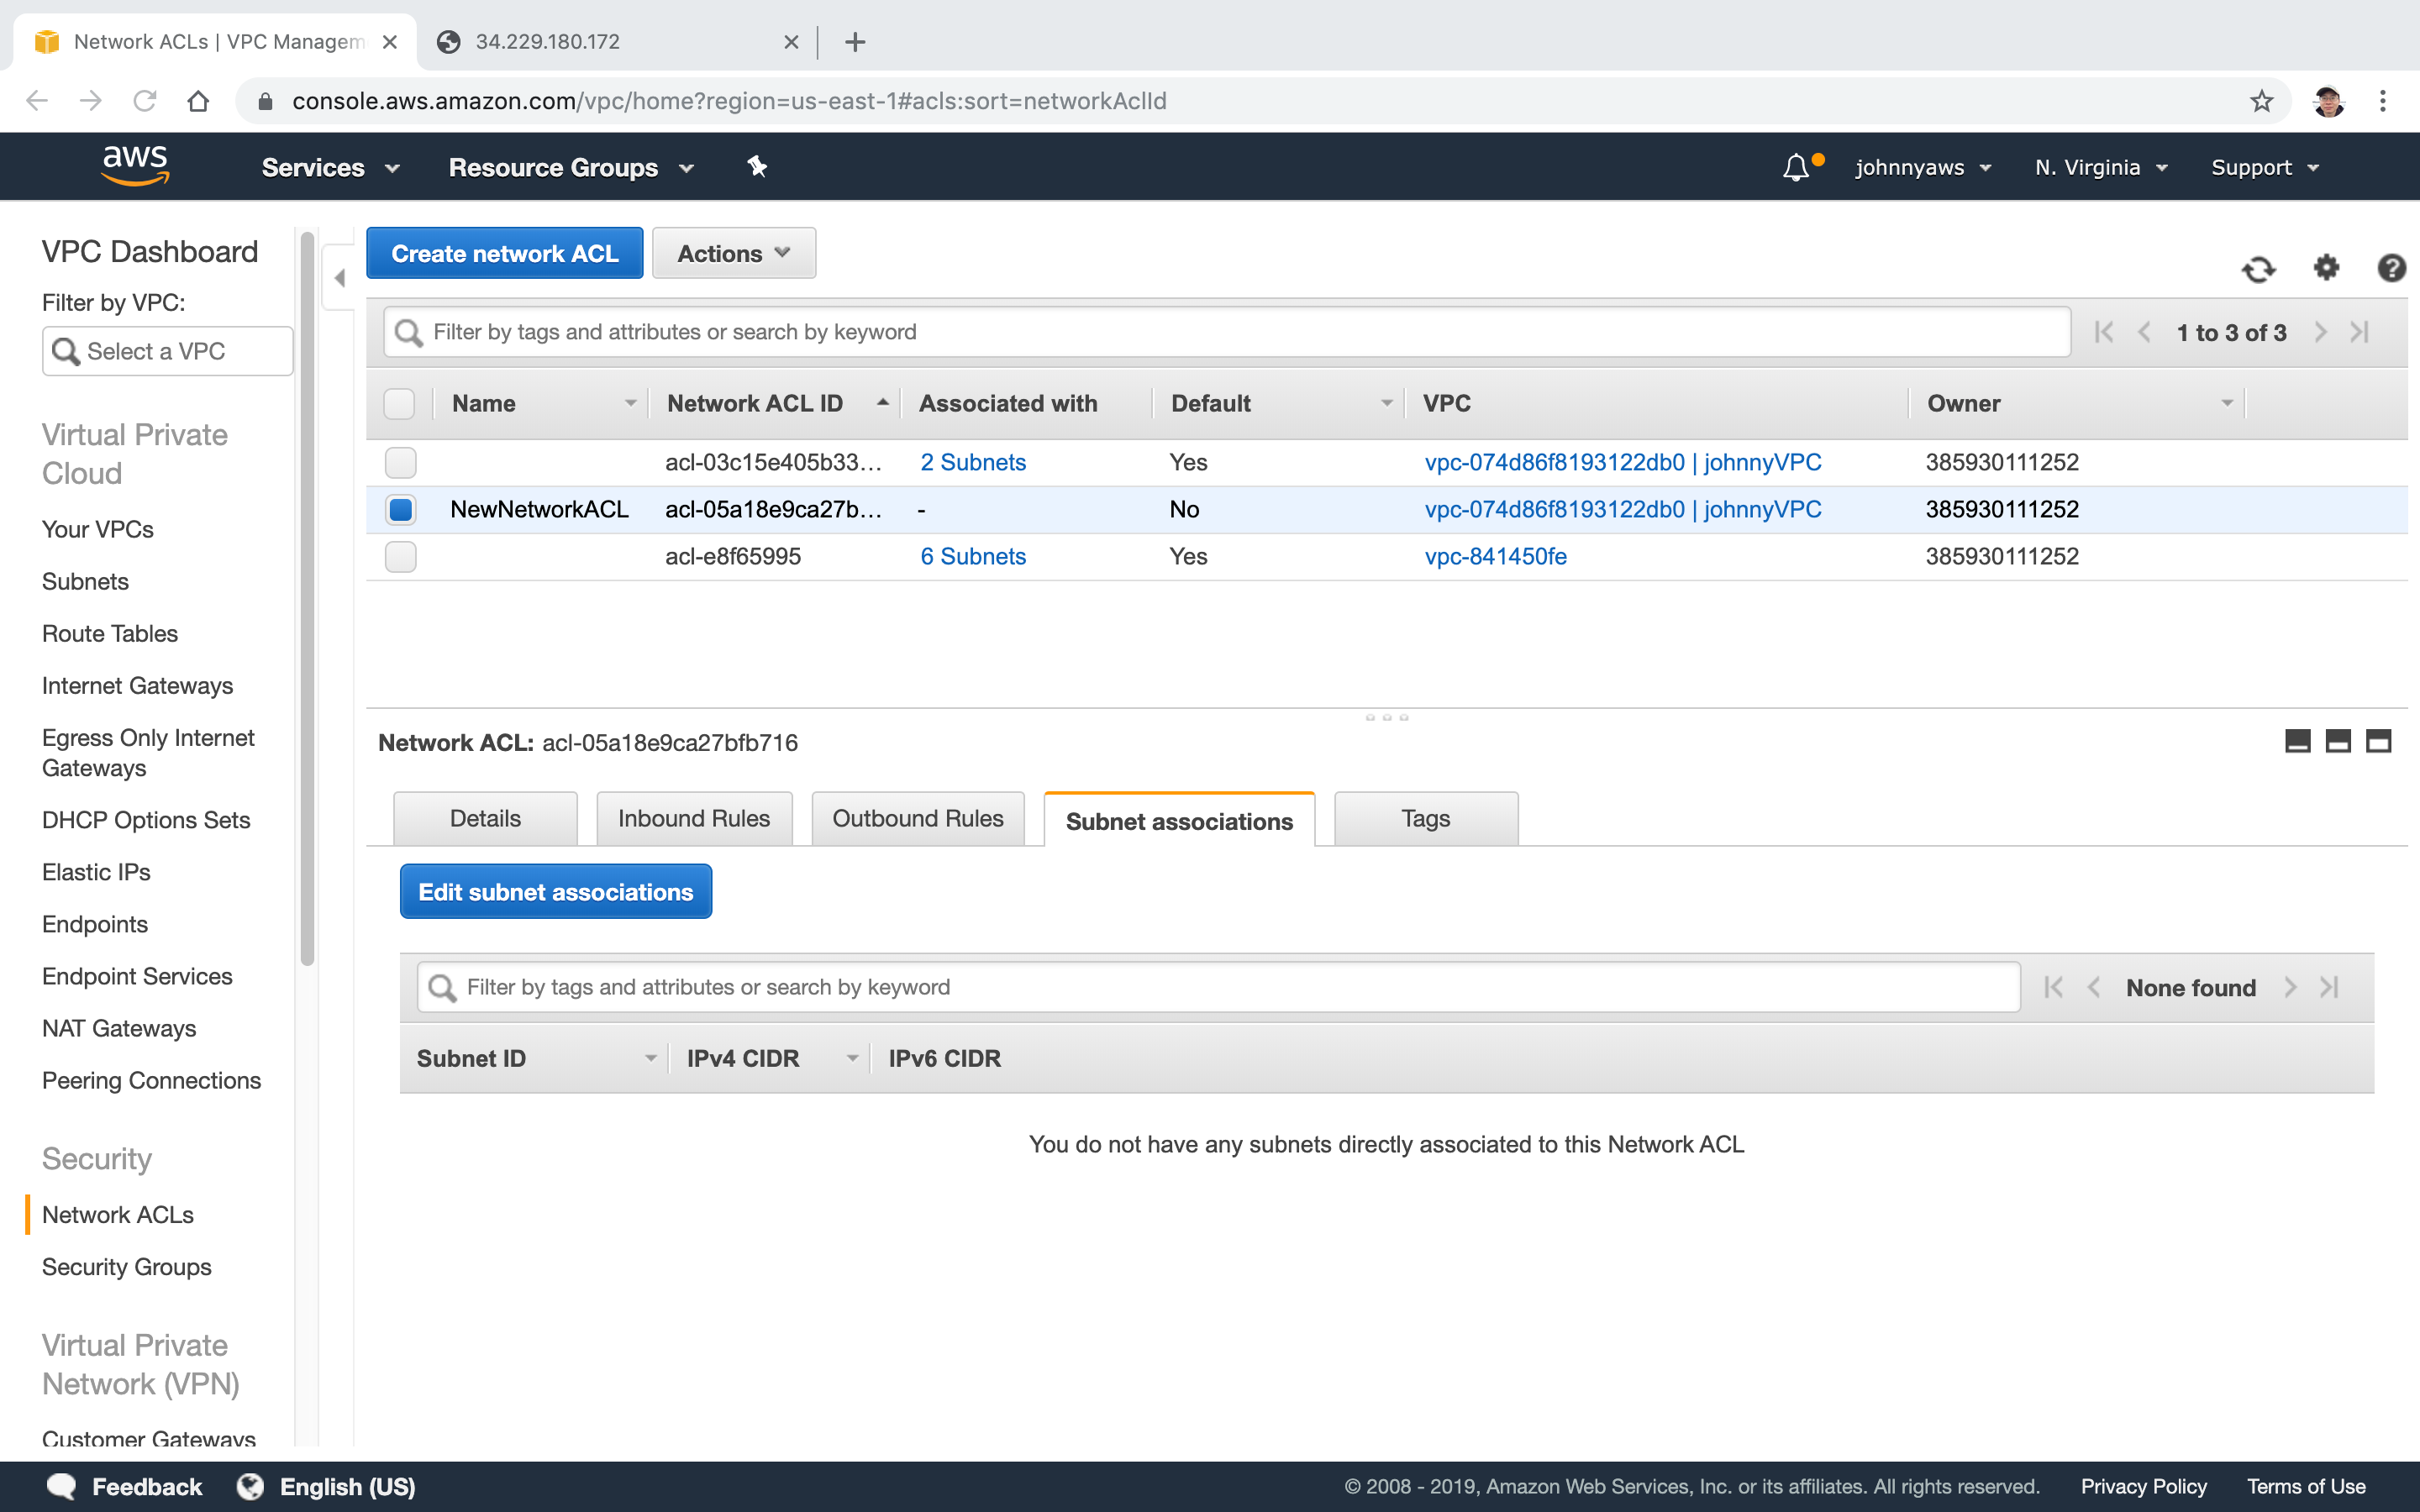
2.3 Switching ACL
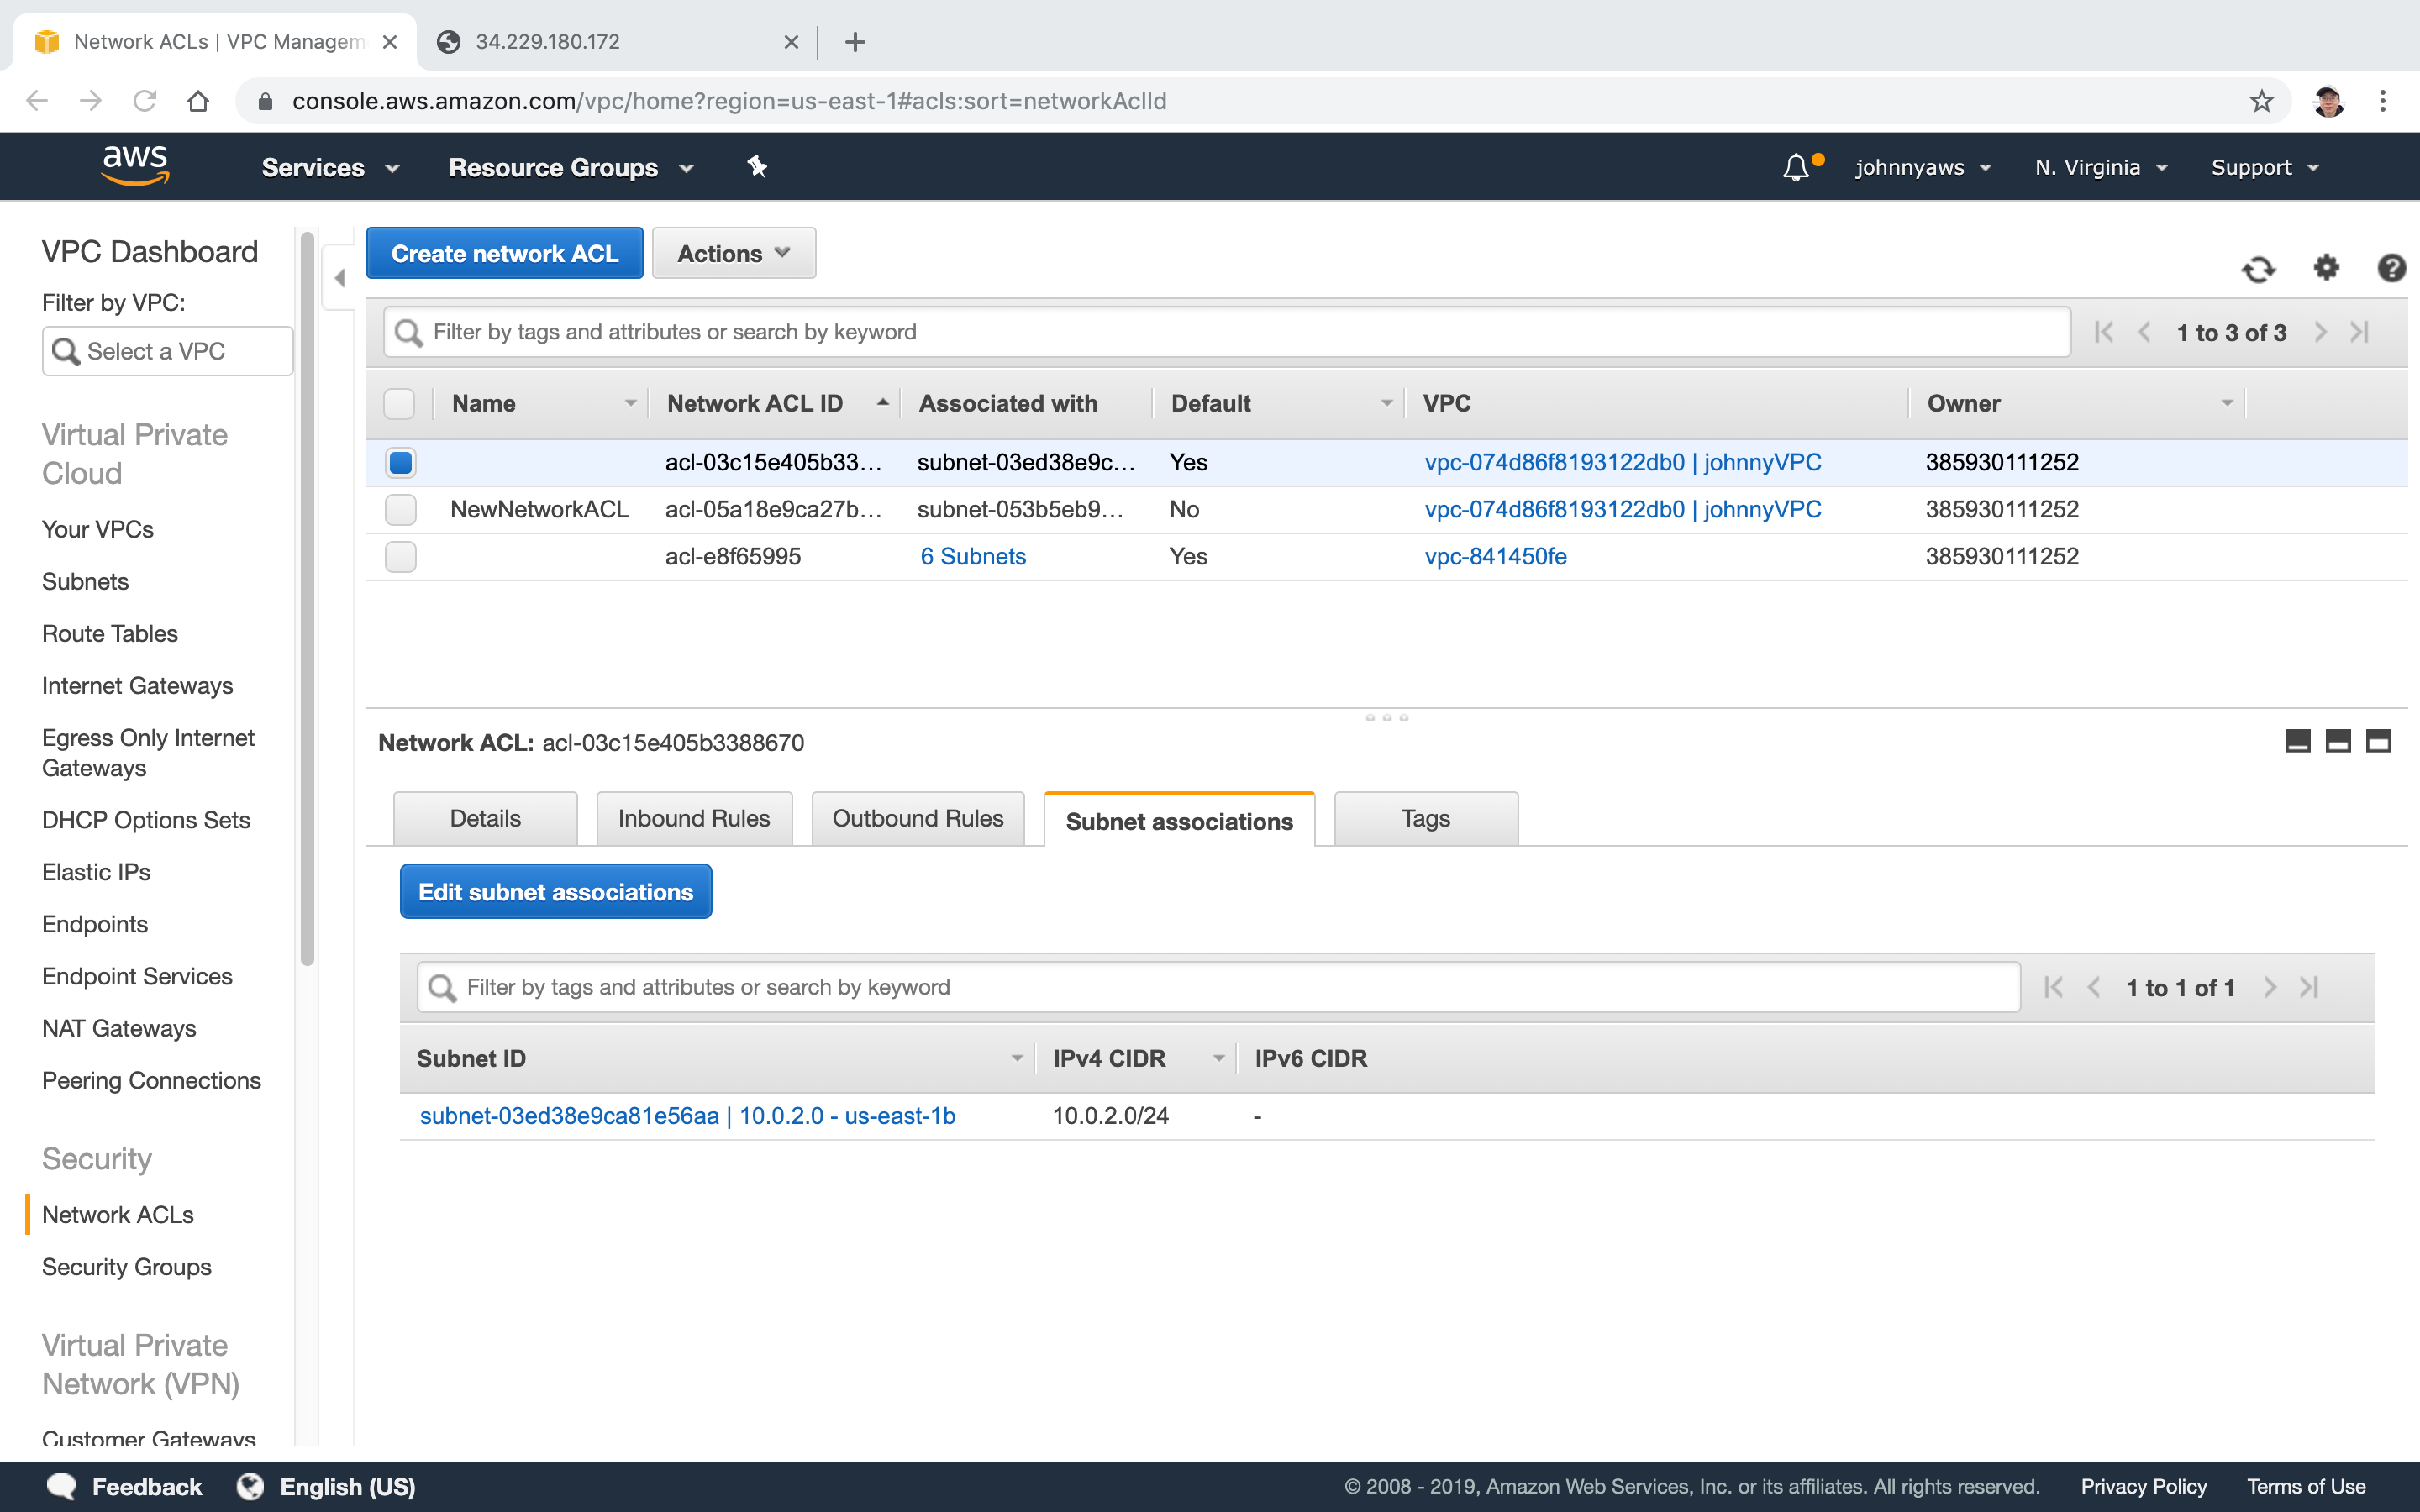
Associate the new ACL to current subnet. Select the new ACL and click “Edit subnet associations”.
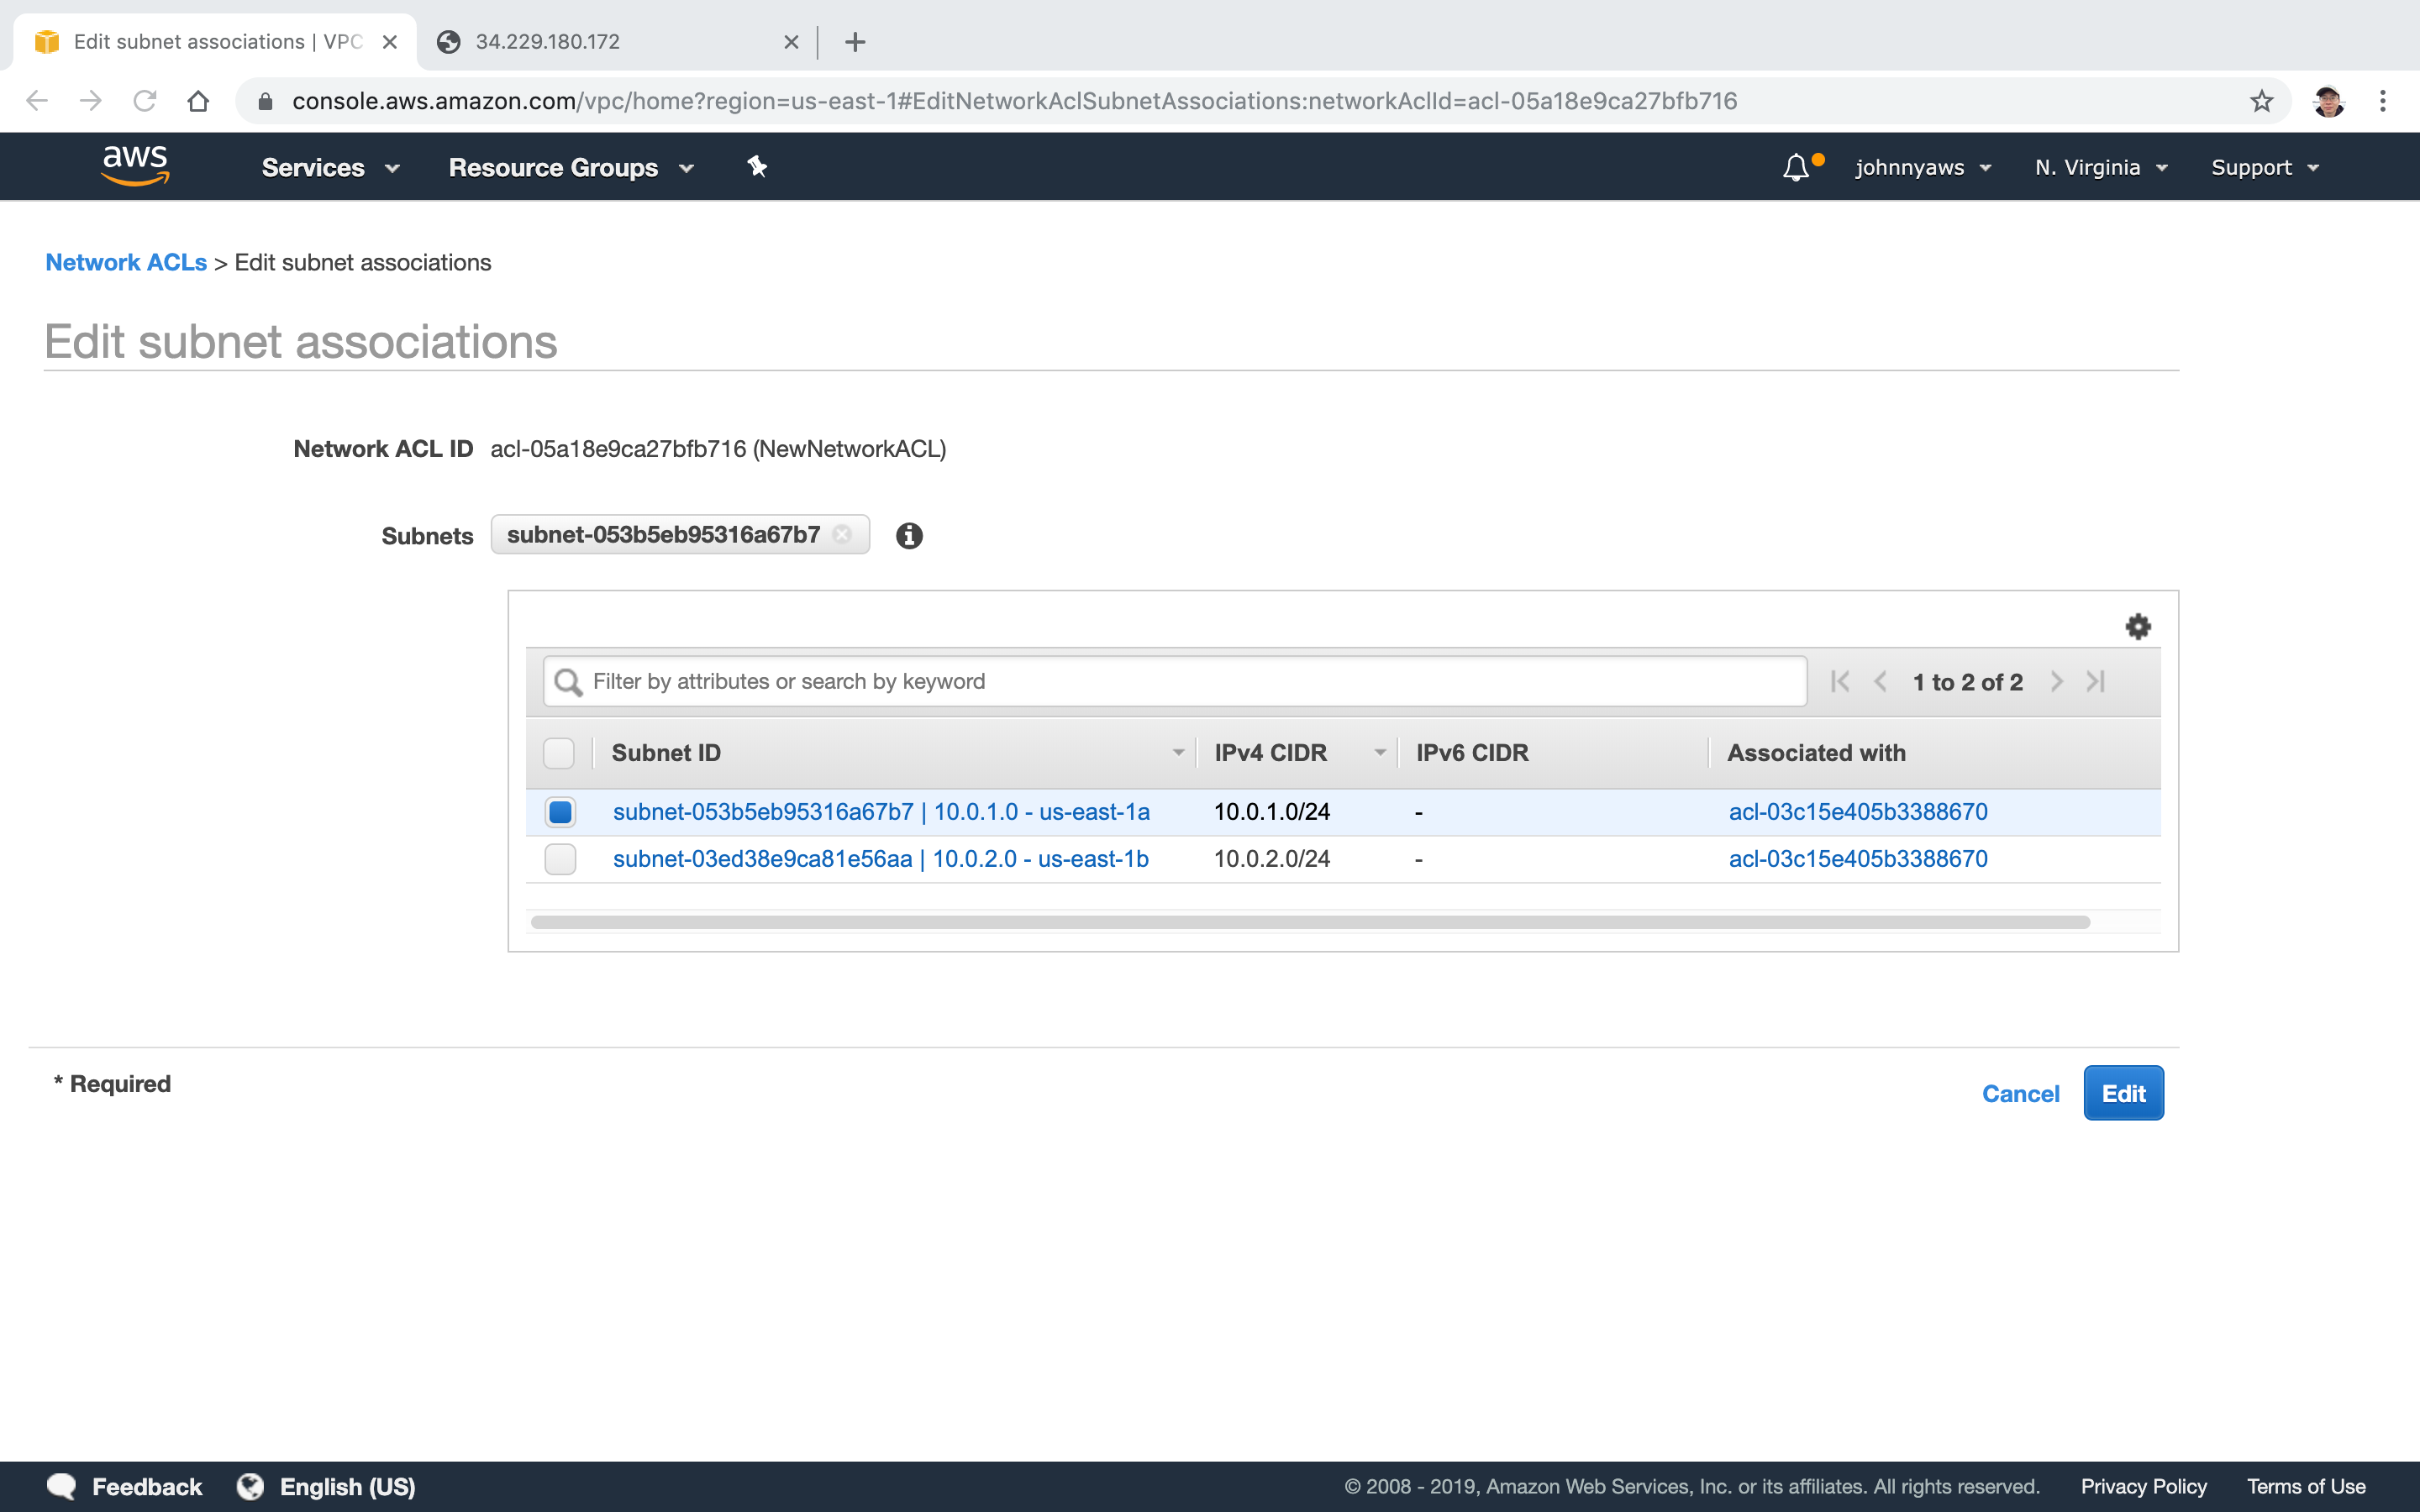
 Choose the subnet which is for web server.
 Notice, the old ACL doesn’t associate the same subnet(10.0.1.0) anymore.
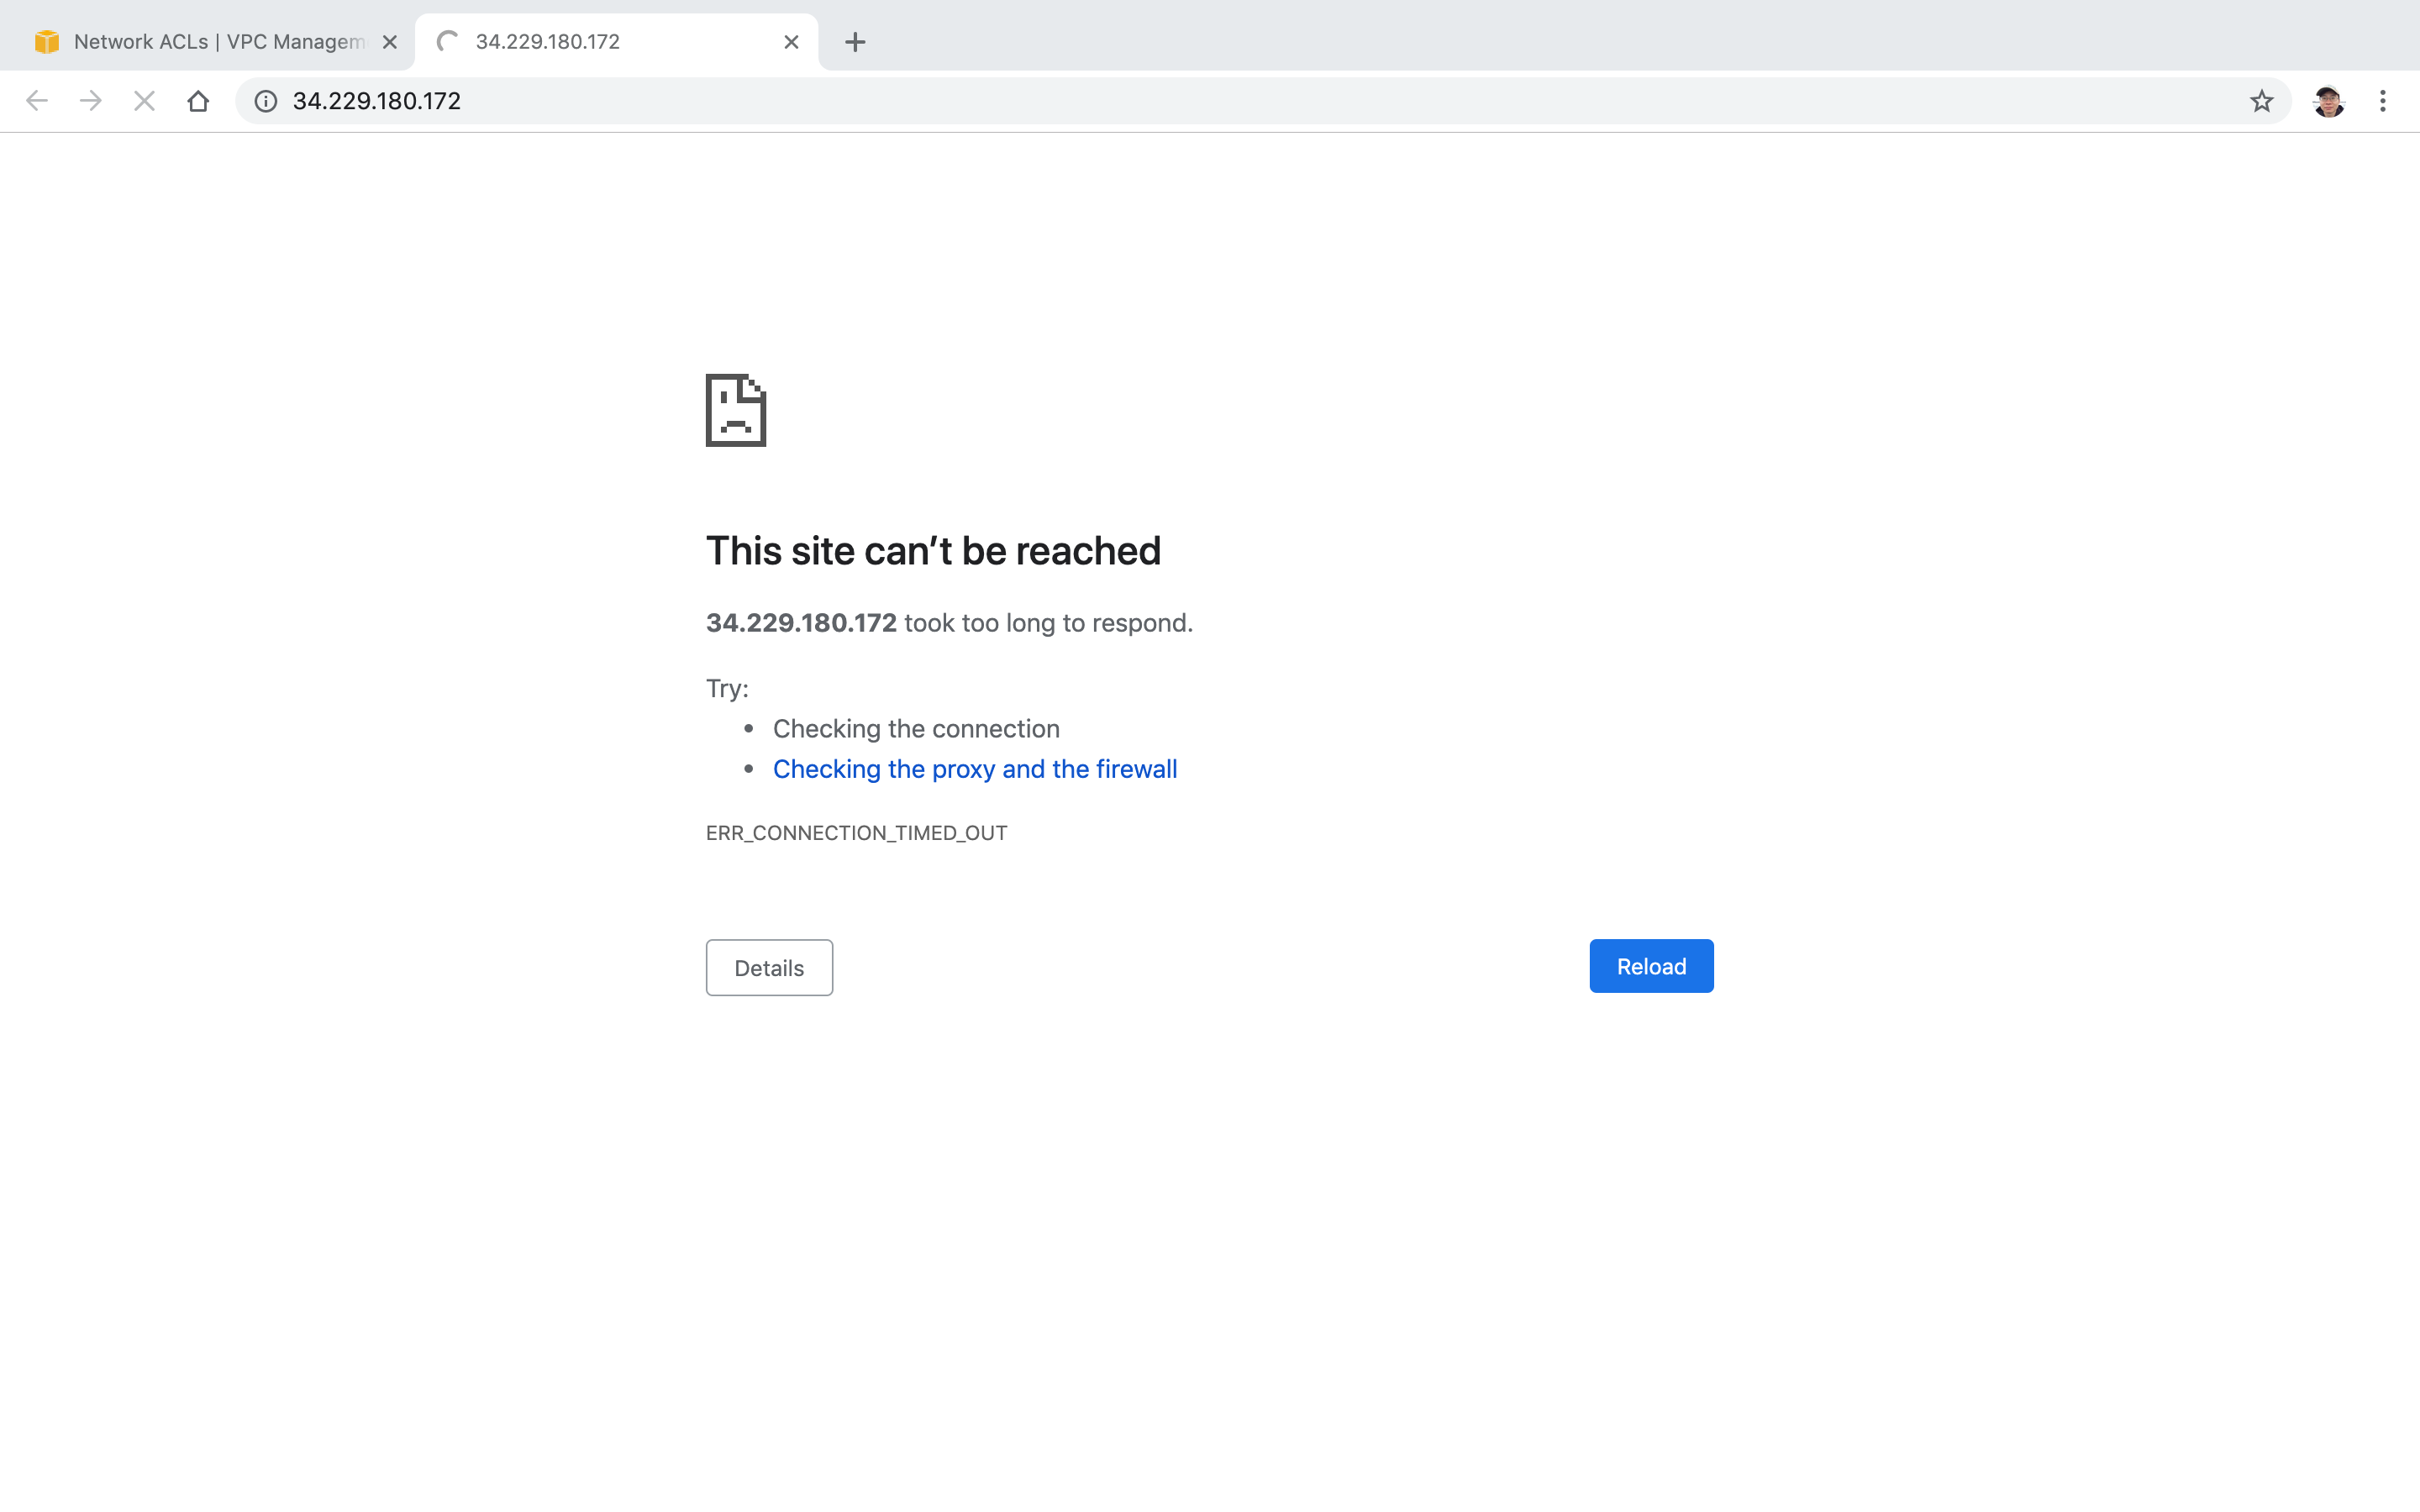
 Refresh the page, it will be timeout.
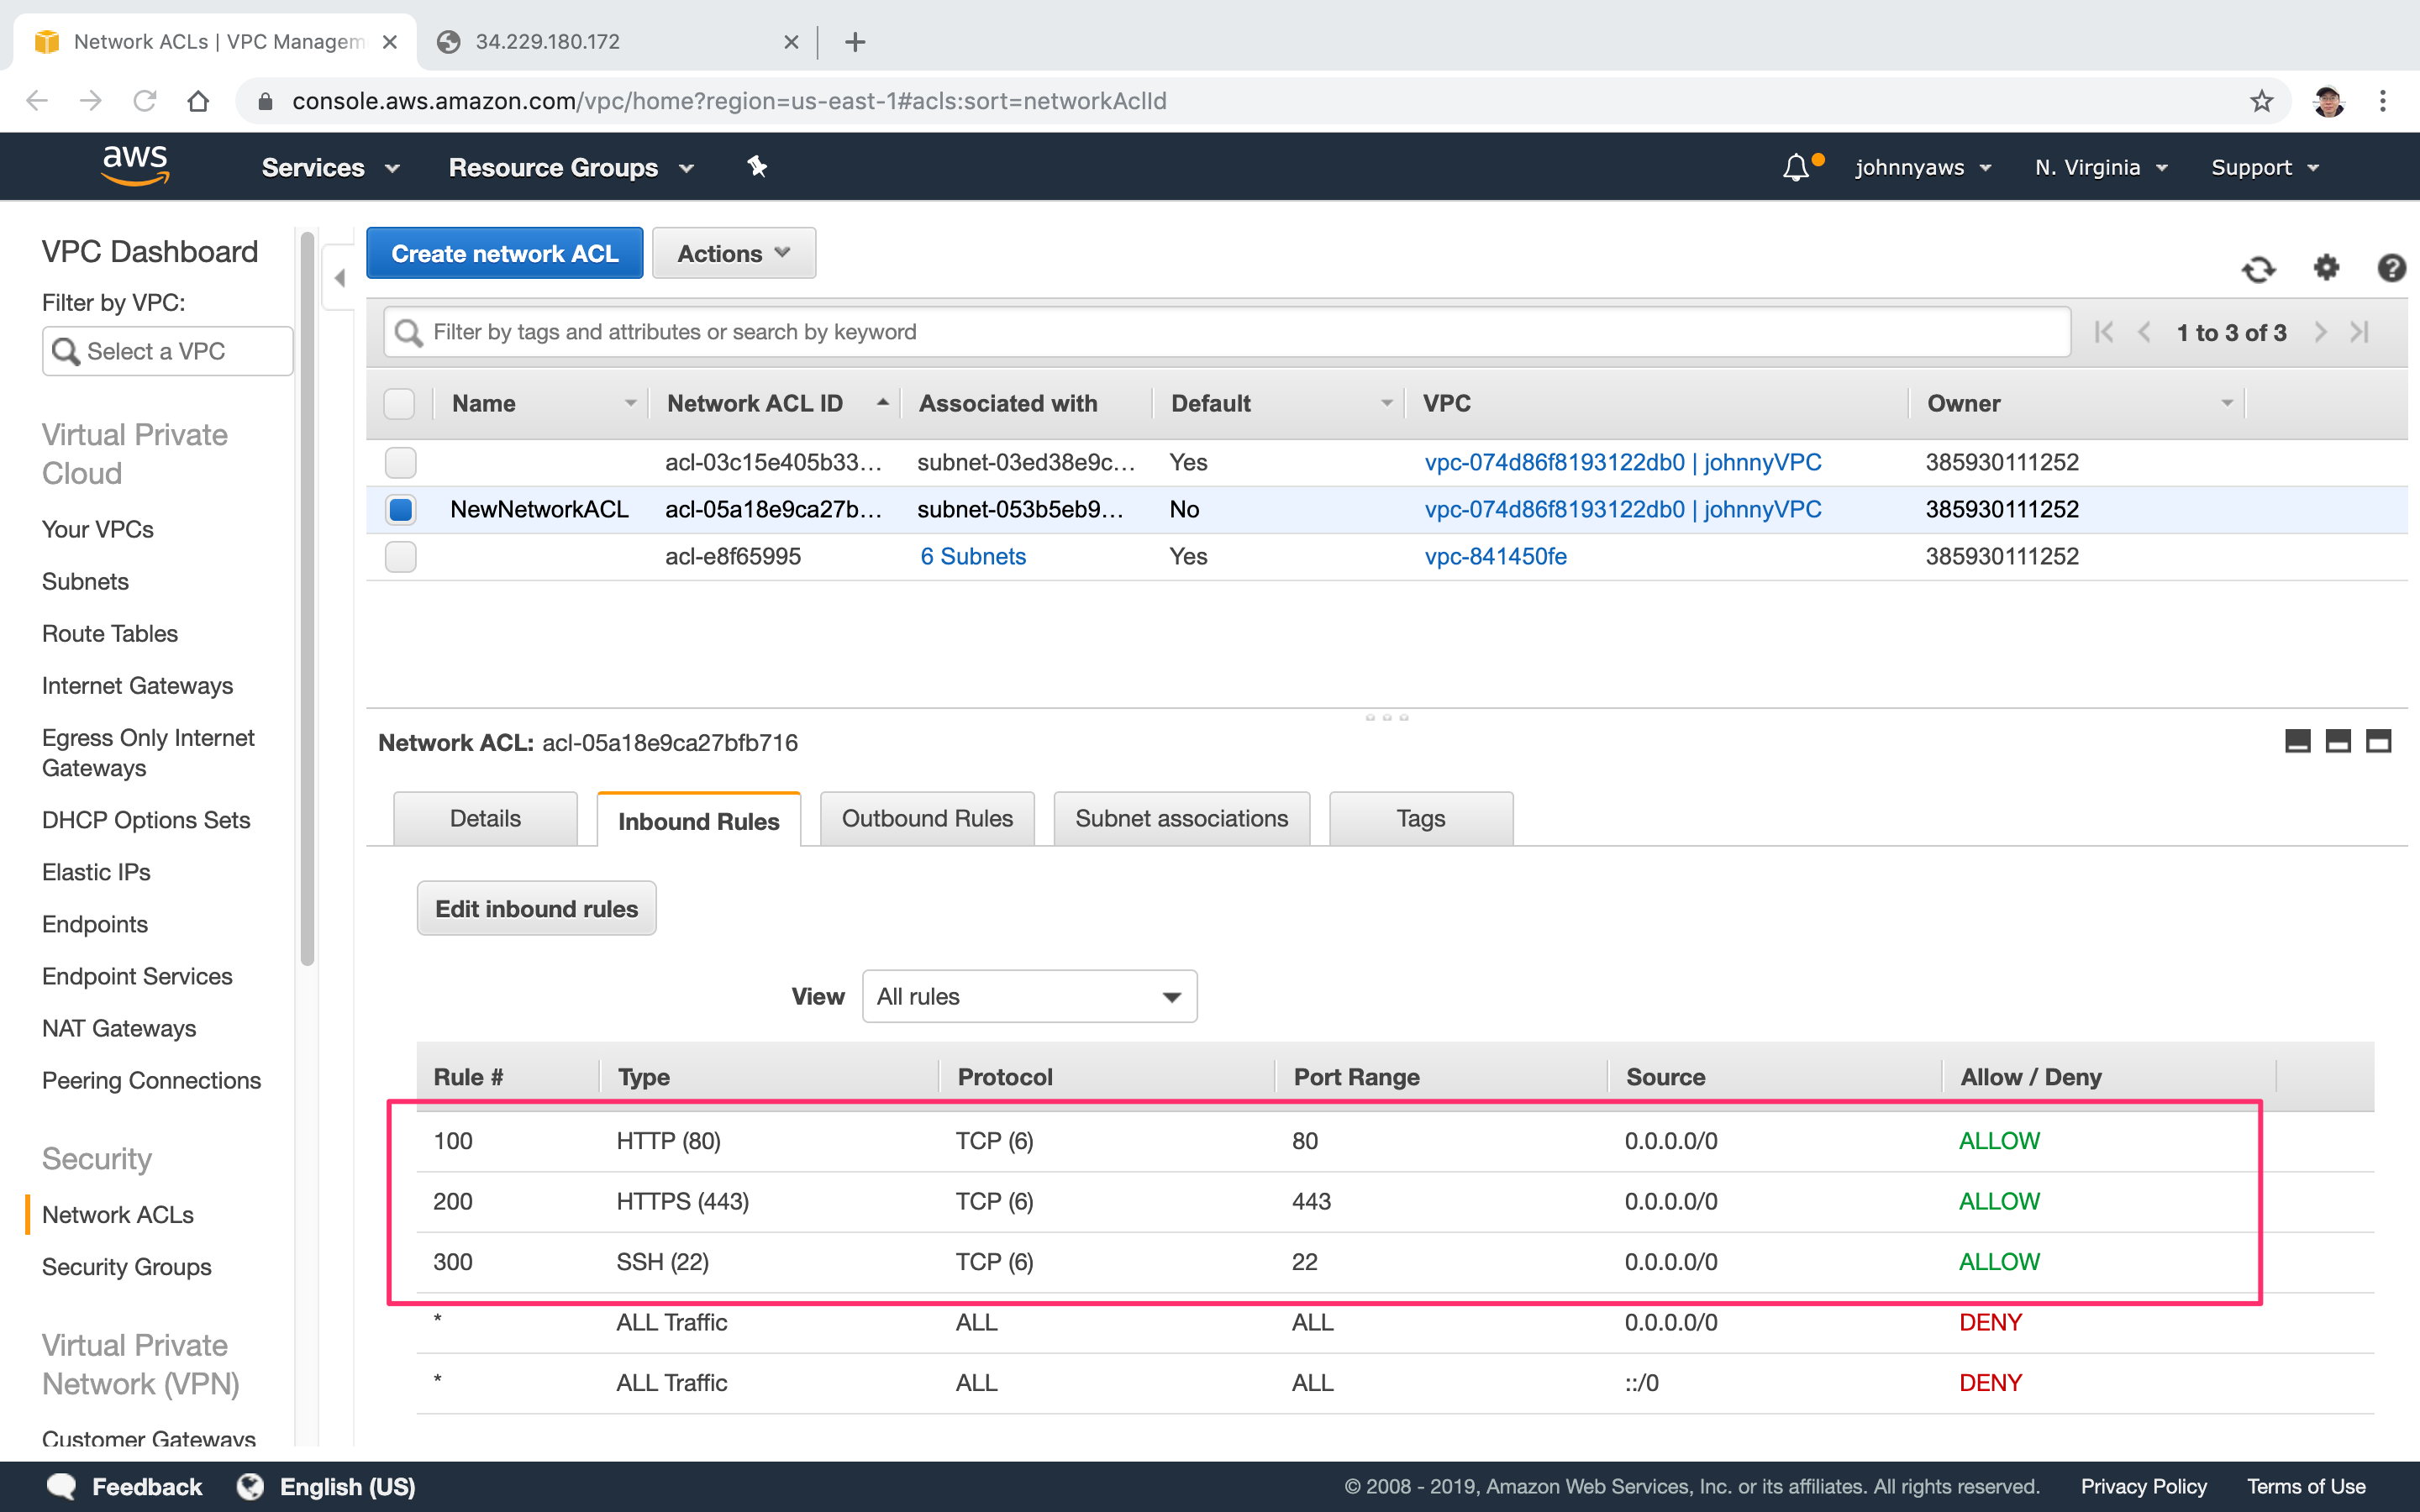
2.4 Enabling the new ACL
Add some new inbound rules(80,443,22) for the new ACL.
 Similarly, add new outbound rules for the new ACL. Check Ephemeral Ports to understand why we set the range 1024-65535.
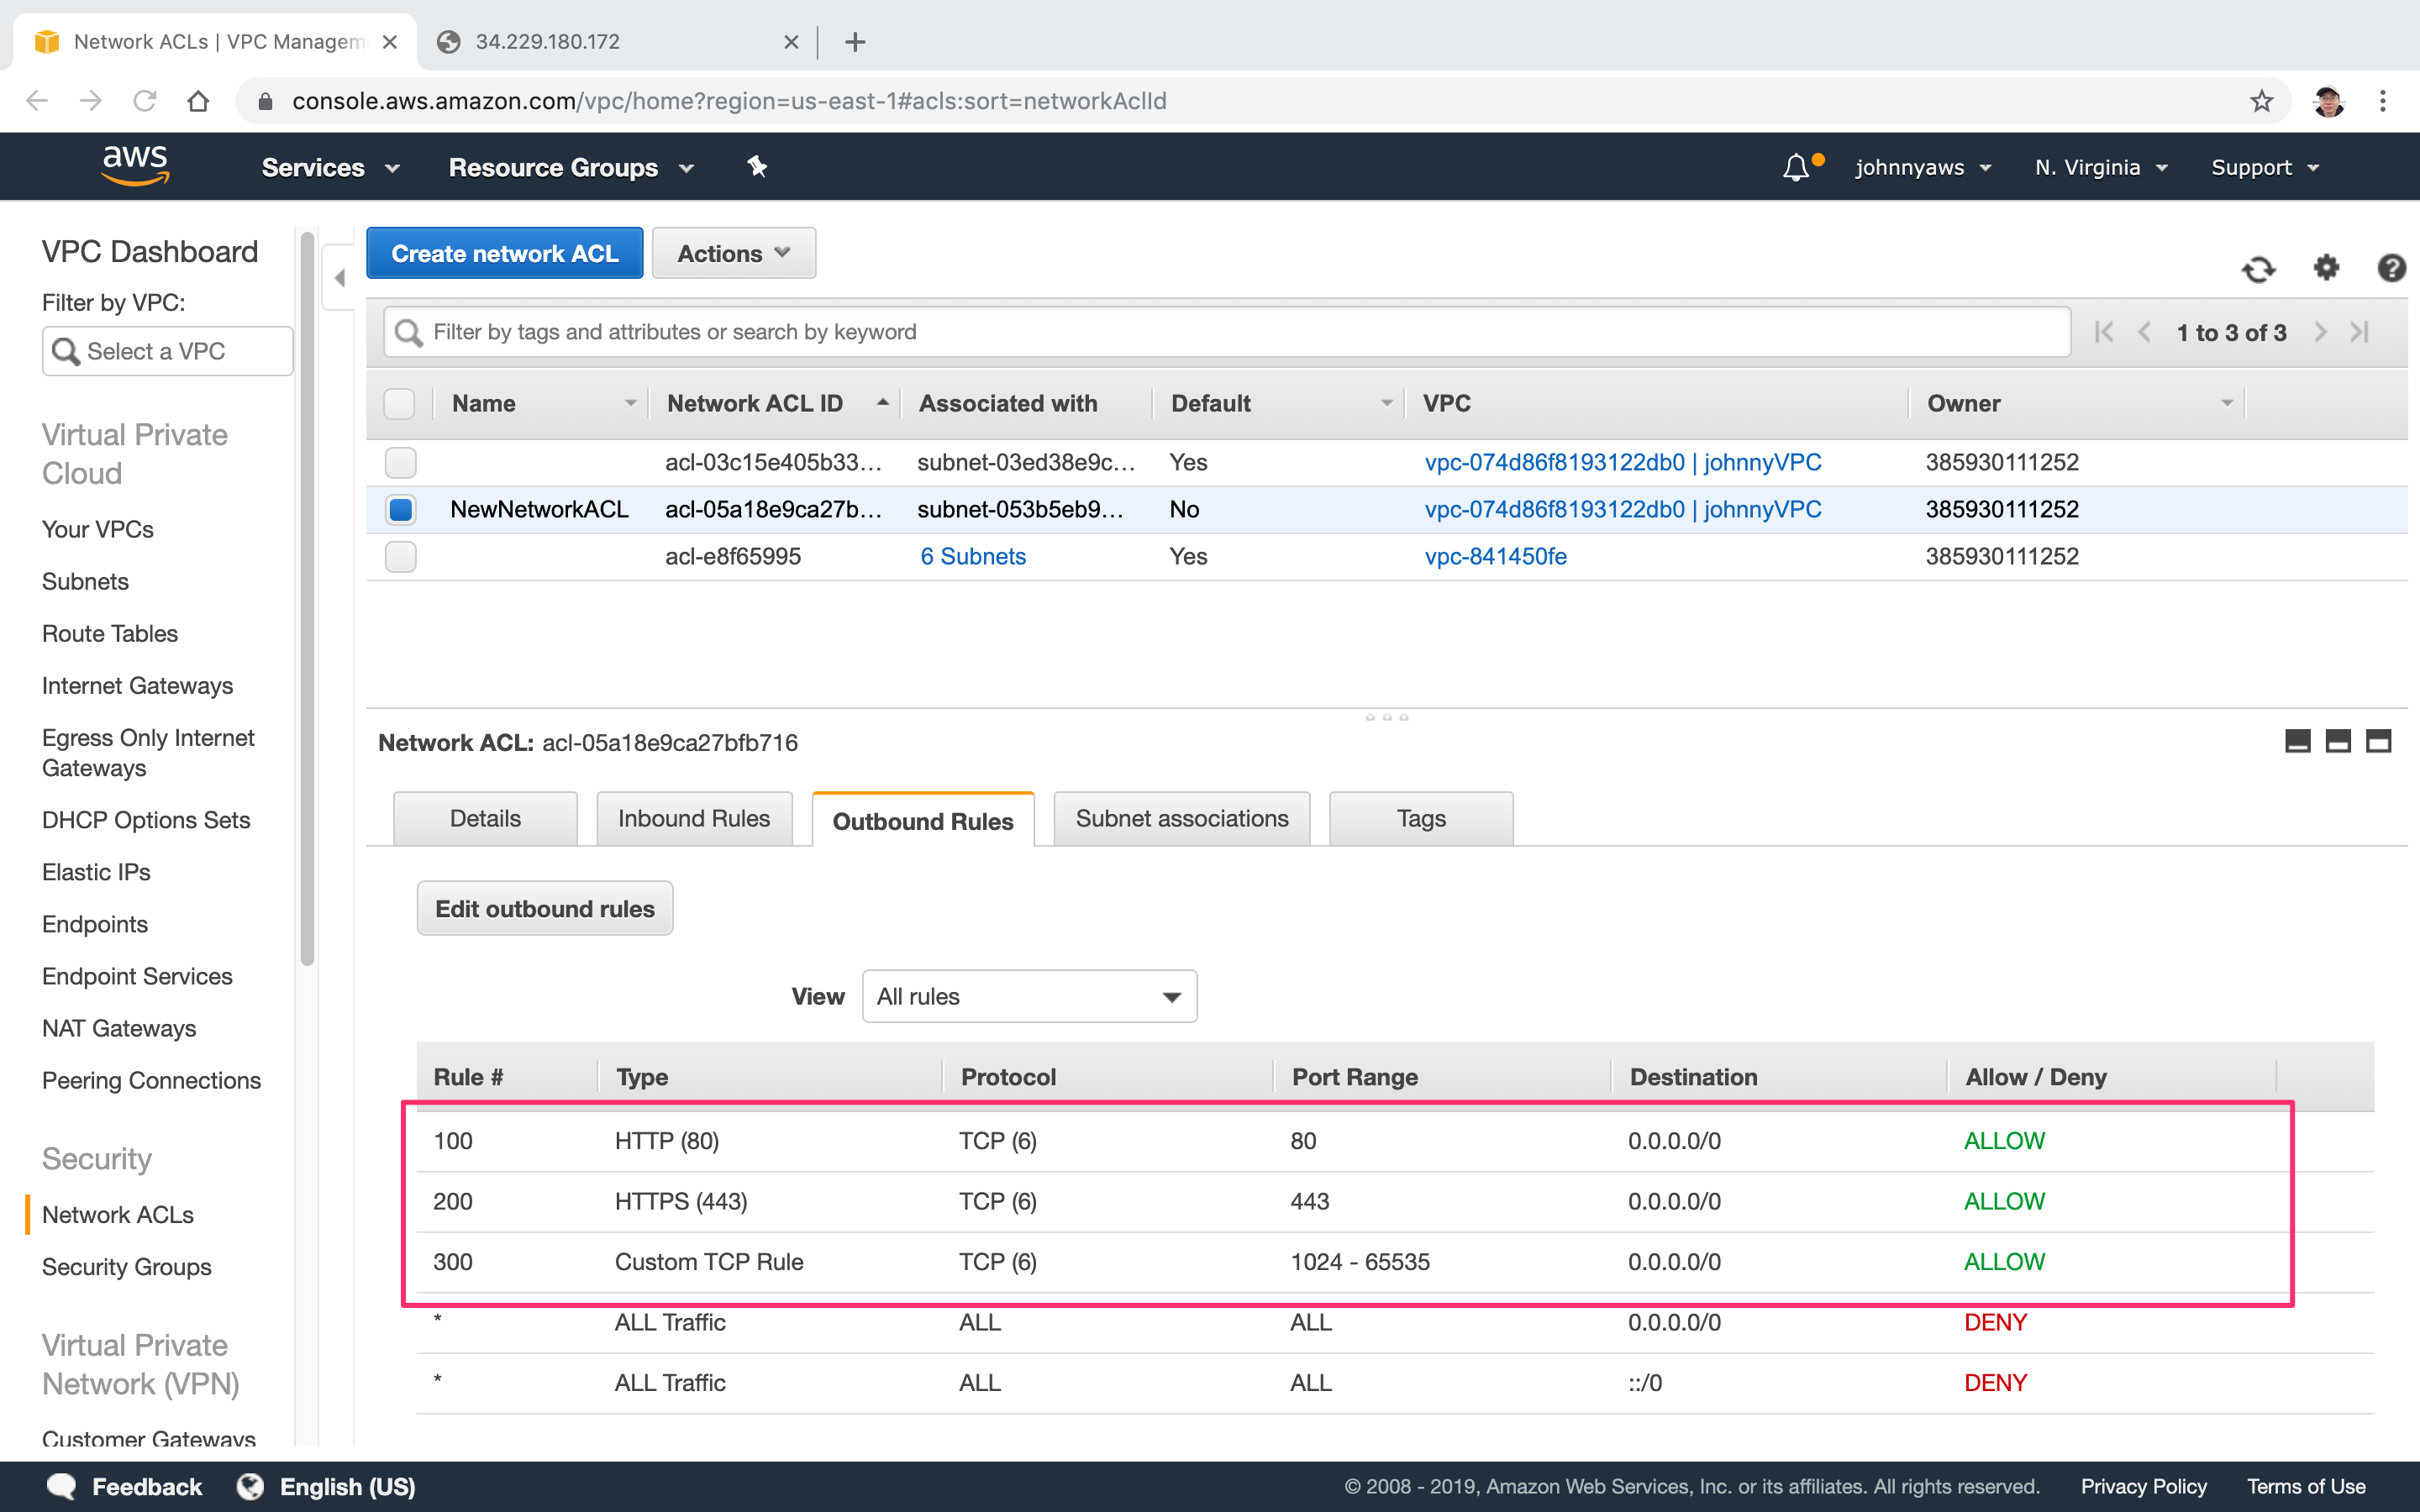 Refresh the page, we get the page back.