9602. Deploying ASP.NET MVC Application to AzureMicrosoft Azure and ASP.NET
Deploy ASP.NET application to Microsoft Azure with Azure SQL database.
There are totally 5 steps:
- Create Web App in Azure.
- Create SQL Database and DB Server in Azure.
- Connect Azure DB from Local Machine.
- Set DB Connection String of Azure Web App.
- Deploy Local Application to Azure.
1. Creating Web App in Azure
1.1 Logging in Azure Portal
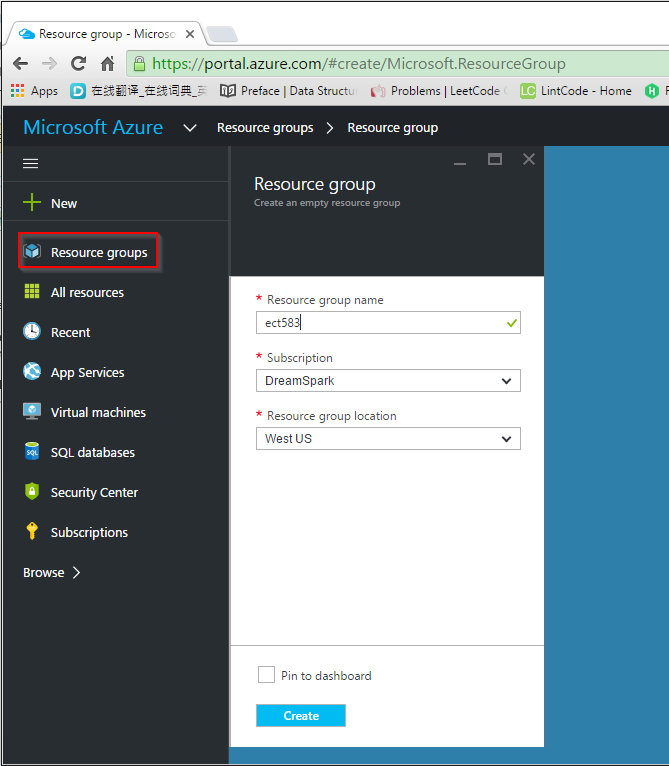
1.2 Creating Resource Group
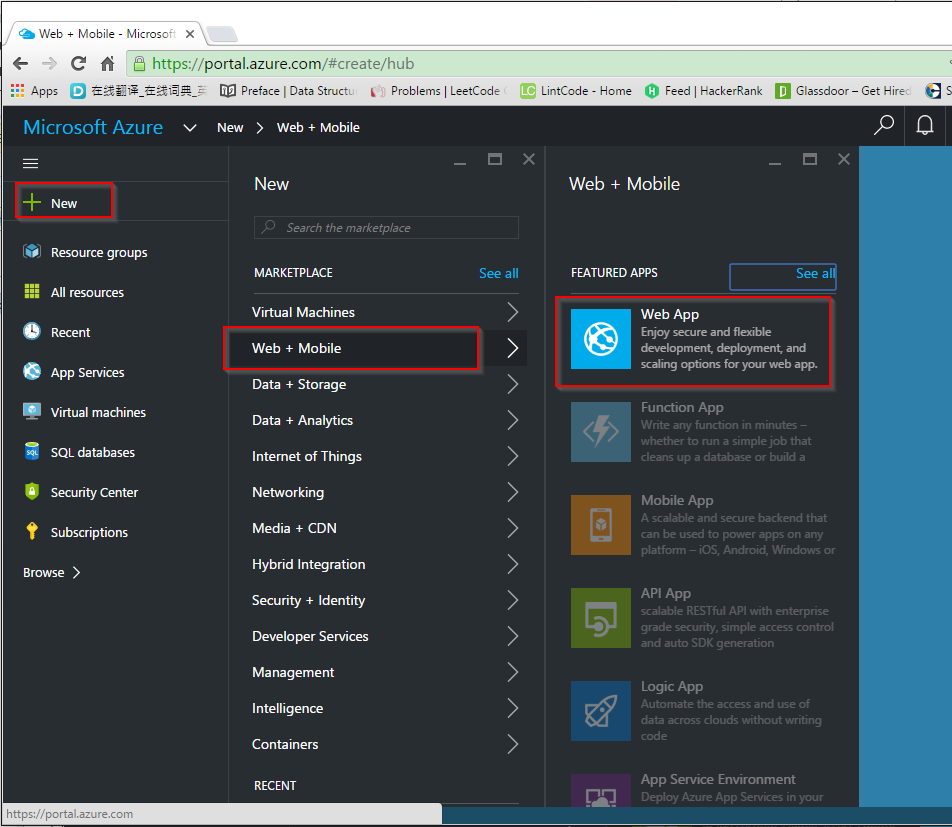
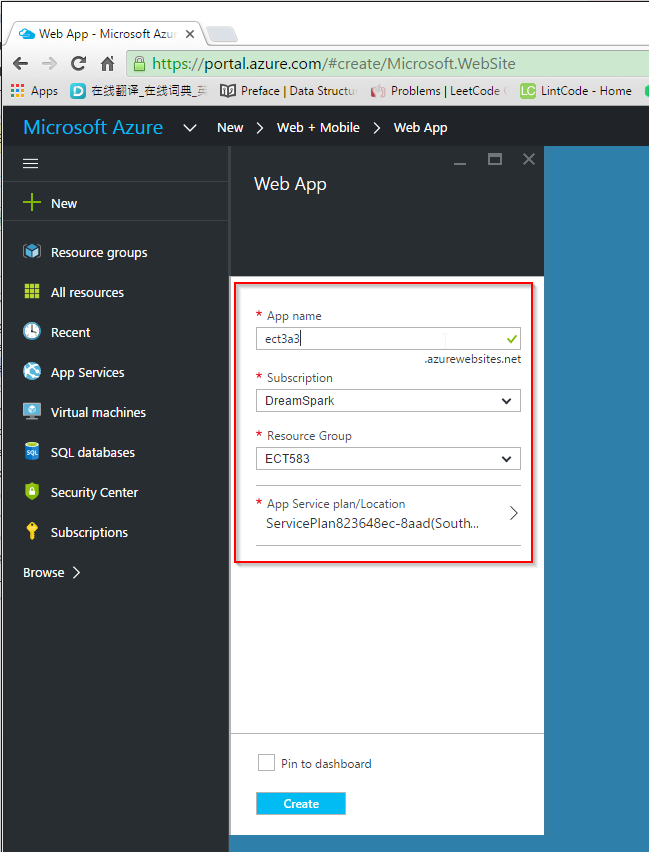
1.3 Creating new Web APP
2. Creating SQL Database in Azure
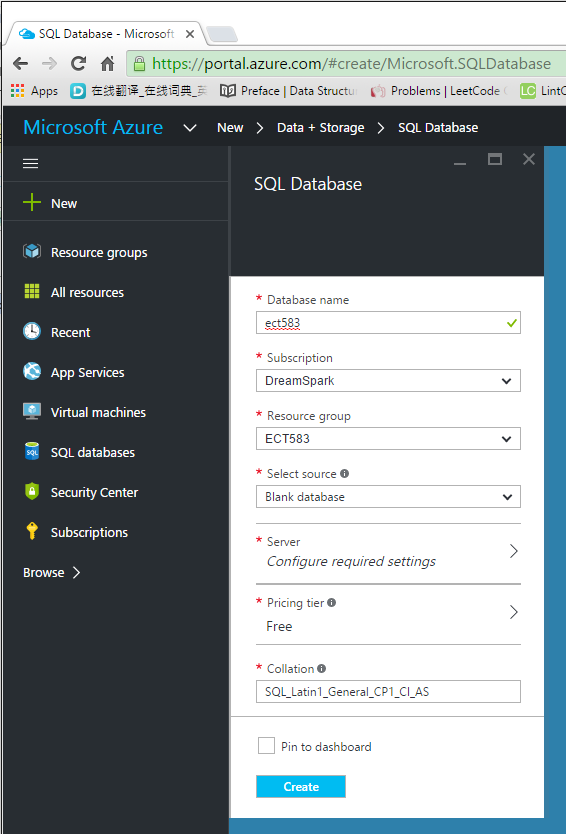
2.1 Creating Database
New->Data+Storage->SQL Database(new database)
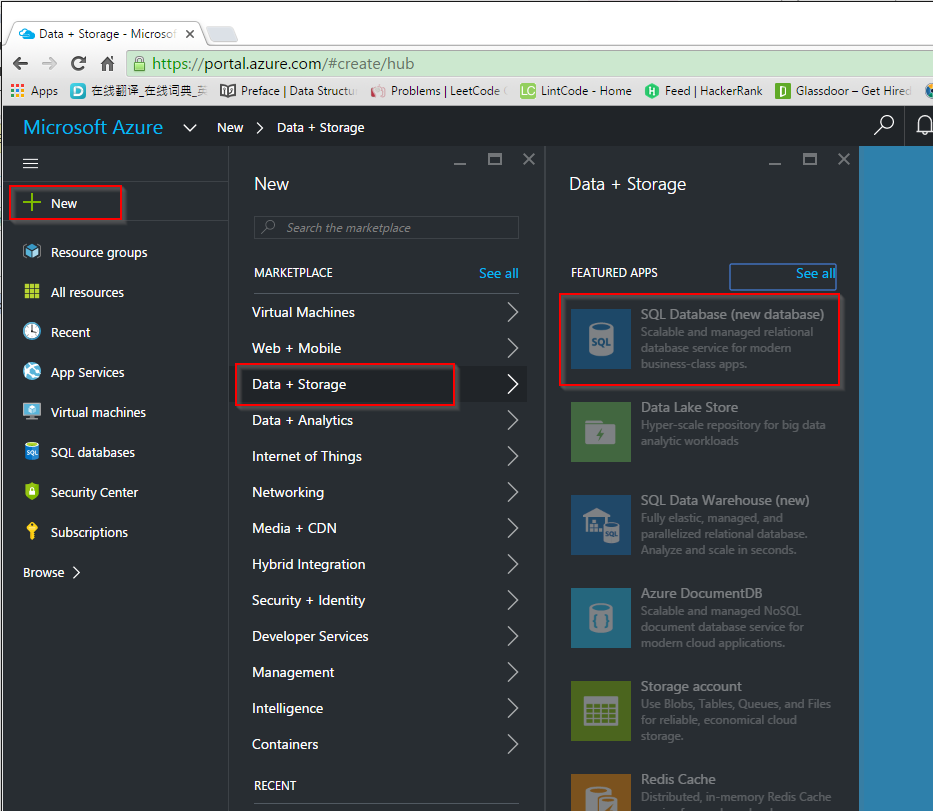
Provide DB Name, resource group, … to create a new SQL DB.
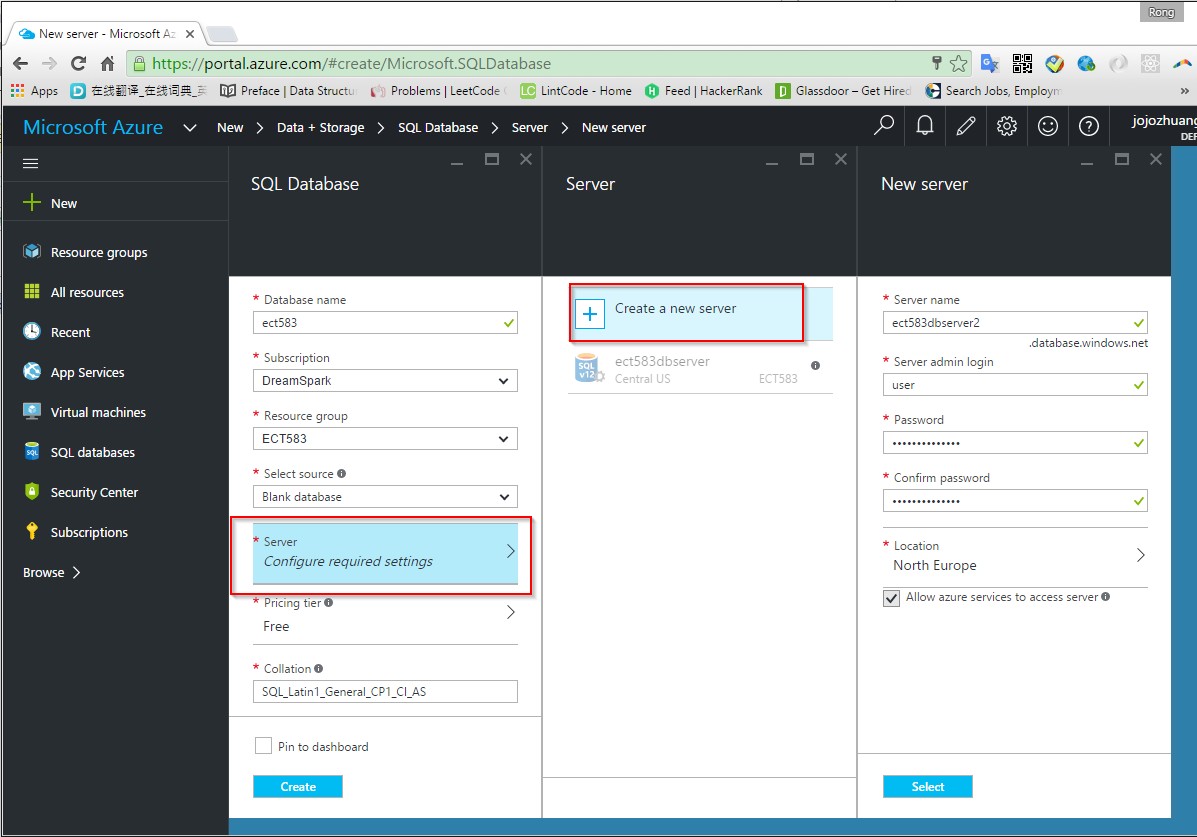
2.2 Creating a new Server
3. Connecting Azure DB Server from Local Machine
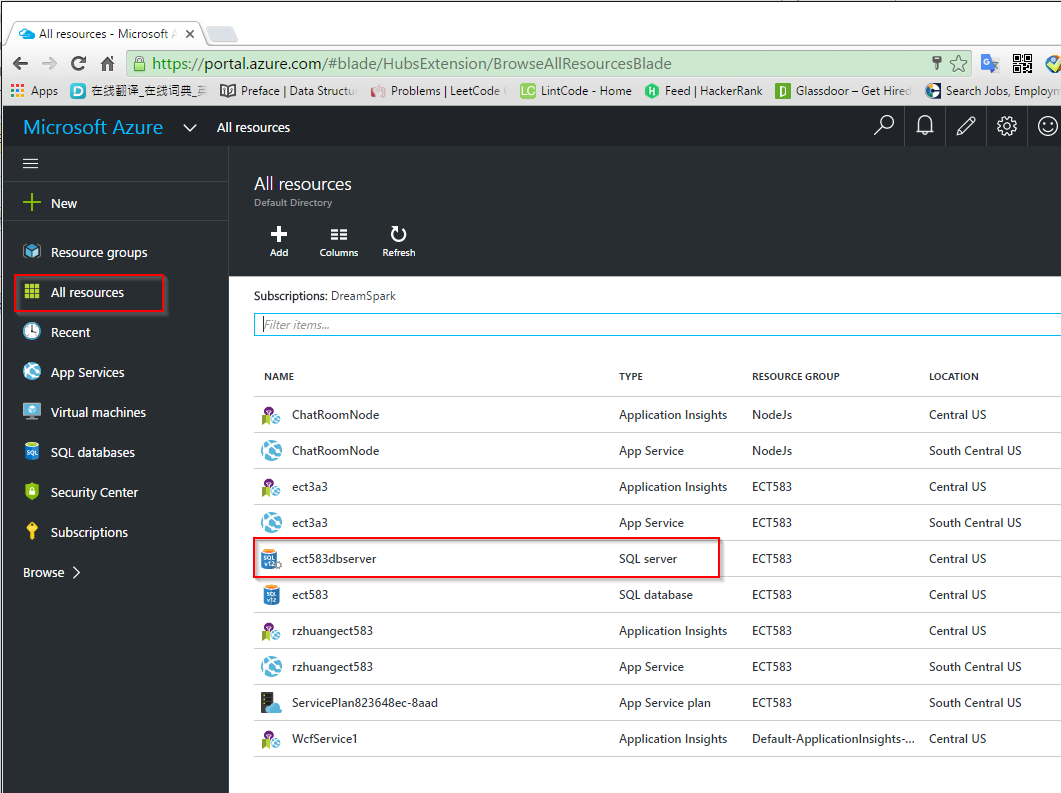
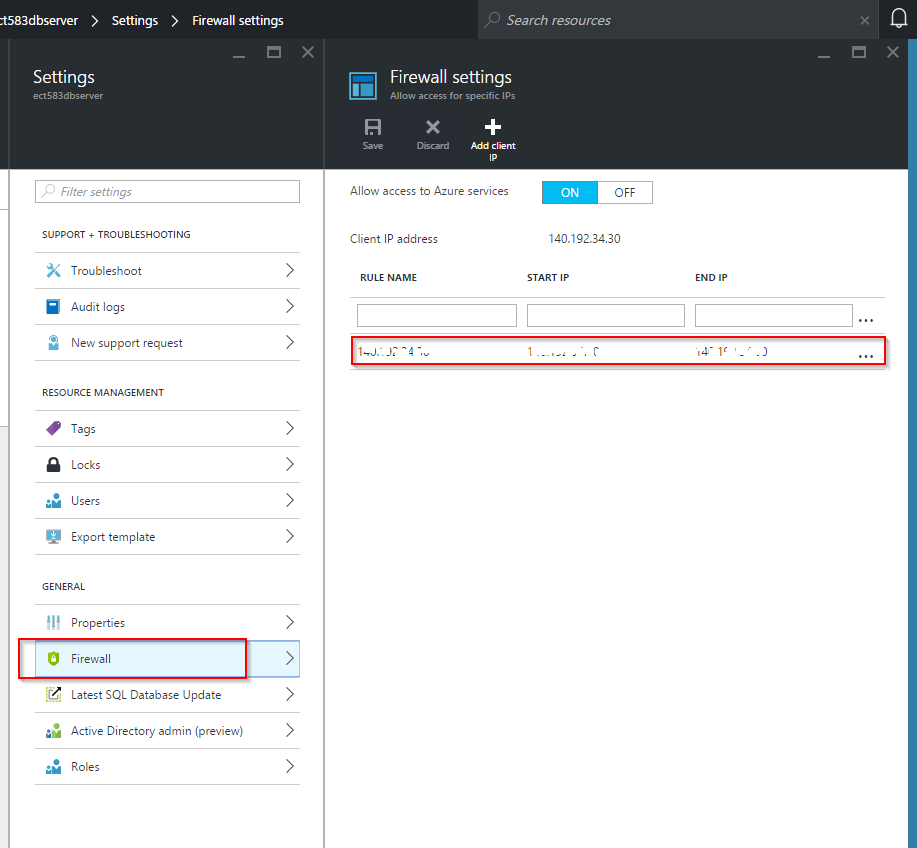
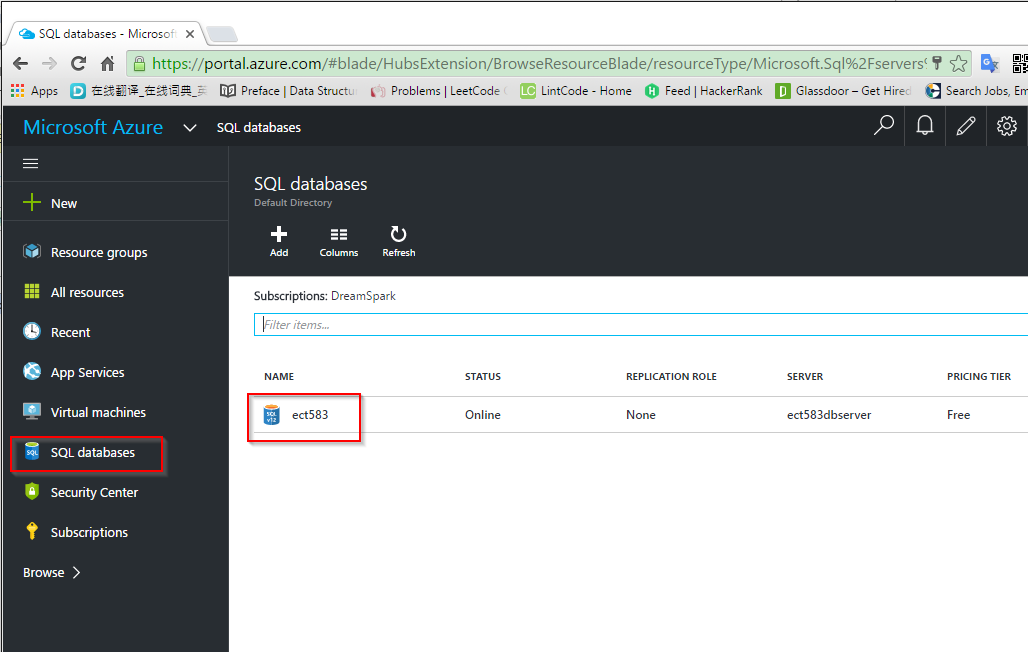
3.1 Finding the new created SQL server(not SQL database)
3.2 Adding client IP to Azure SQL Server
Add client IP address(your local machine) to firewall list of Azure SQL server.
3.3 Finding the connection string of the created database
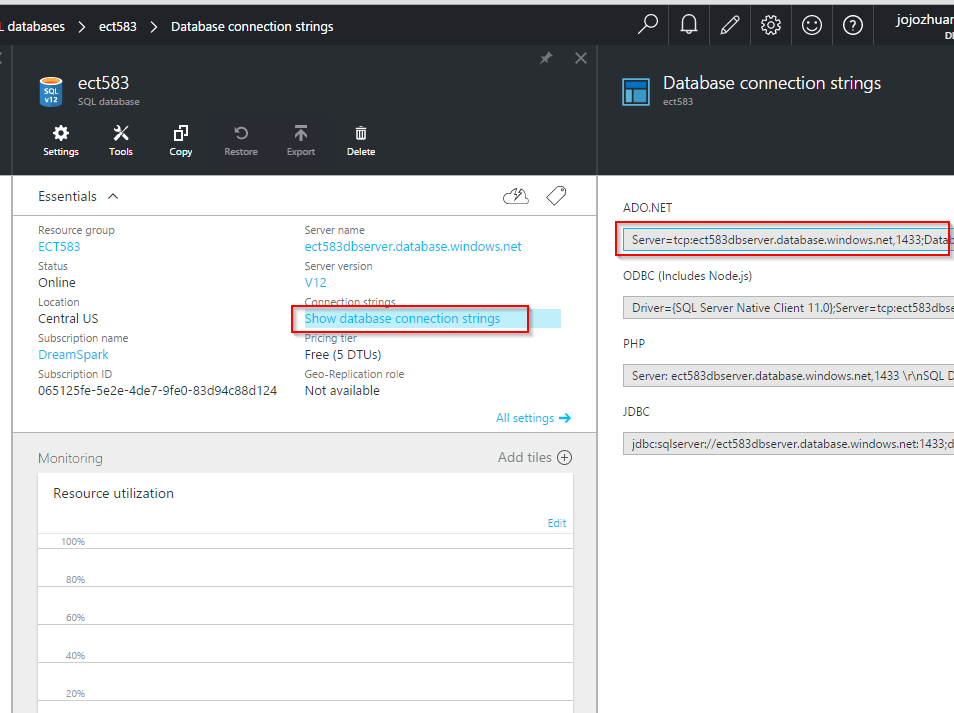
Note: The password is not provided in the connection string, you need to replace with your real password.
3.4 Replacing the connection string in the web.config.
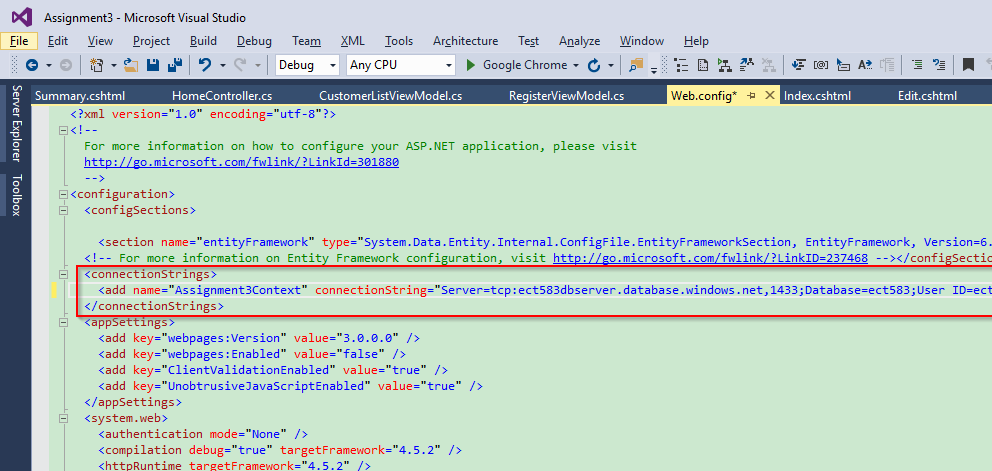
3.5 Launching application from visual studio, it should work.
4. Setting DB Connection String of Azure Web App
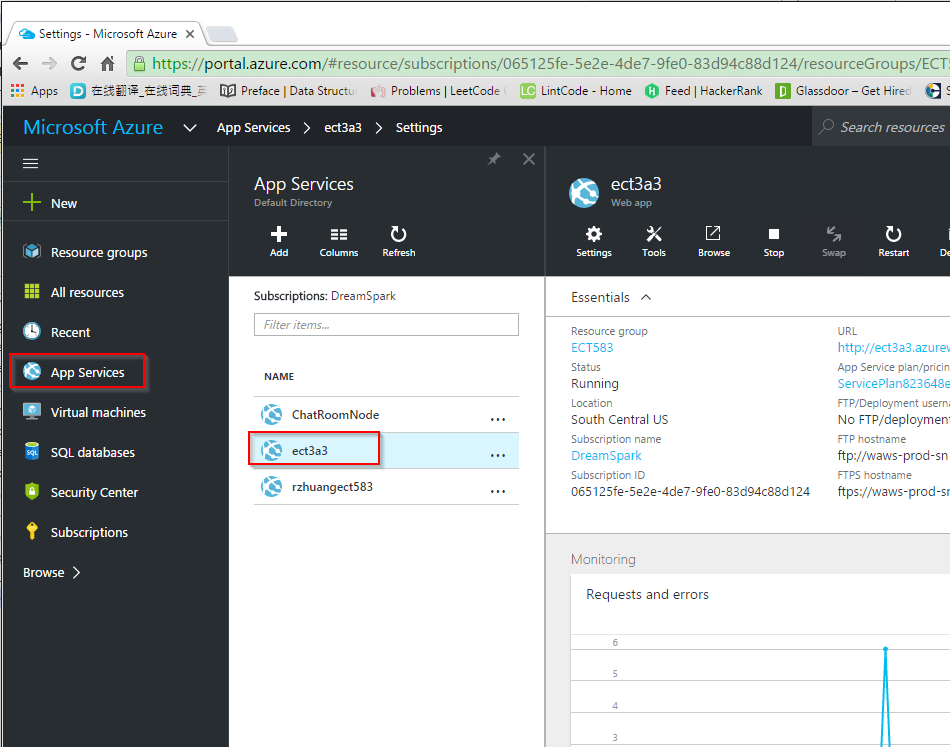
4.1 Finding the new created web app.
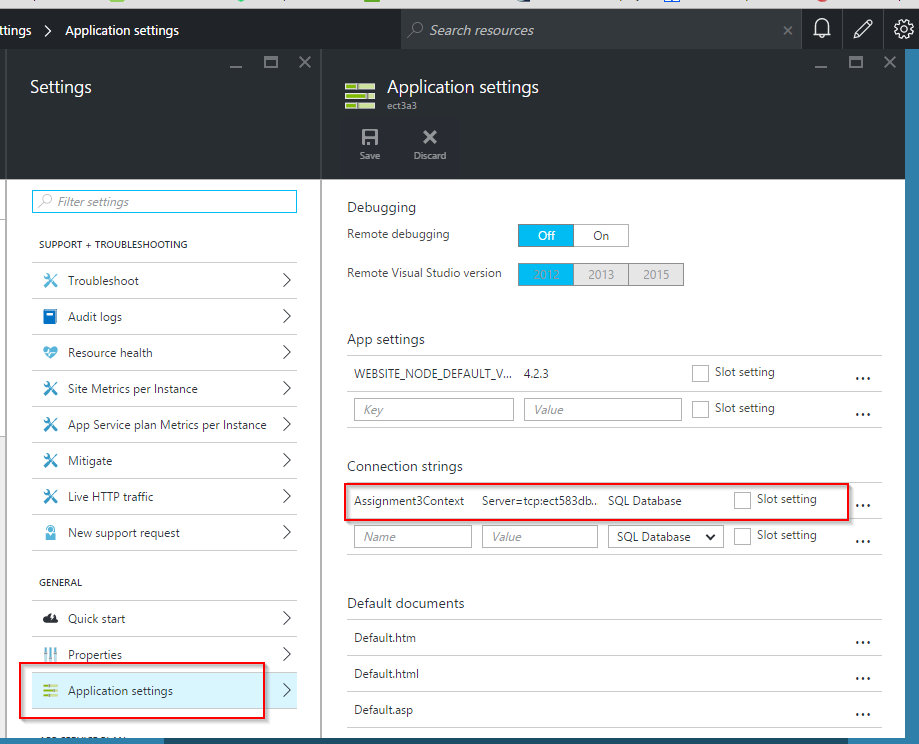
4.2 Application settings-> Connection strings.
Add new connection string with name and full connection string.
5. Deploying Local Application to Azure.
5.1 Starting to Publish
Visual Studio -> Web Project -> Publish…
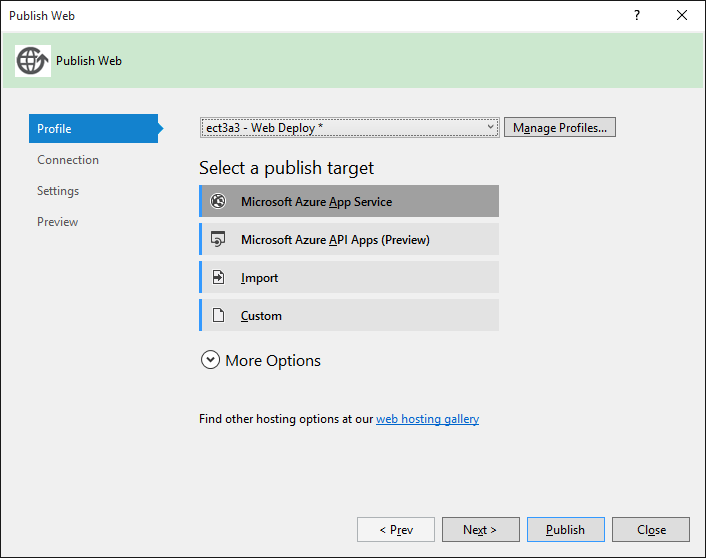
5.2 Profile
Choose Microsoft Azure App Service
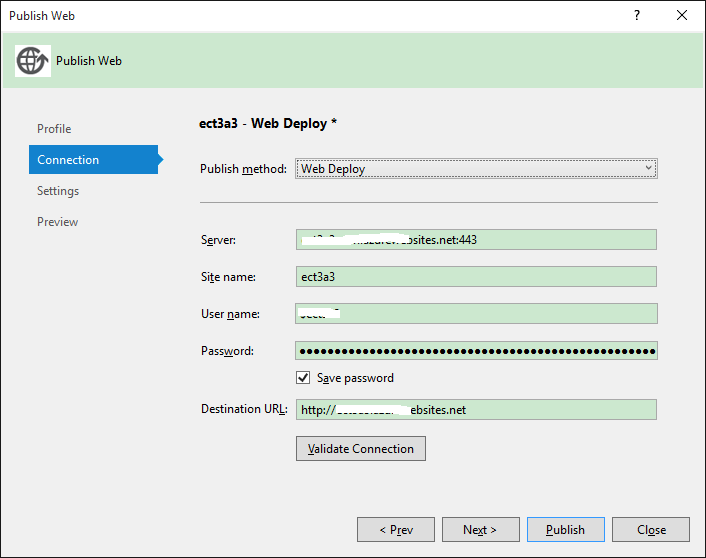
5.3 Connection
Provide the server address, site name, user and password.
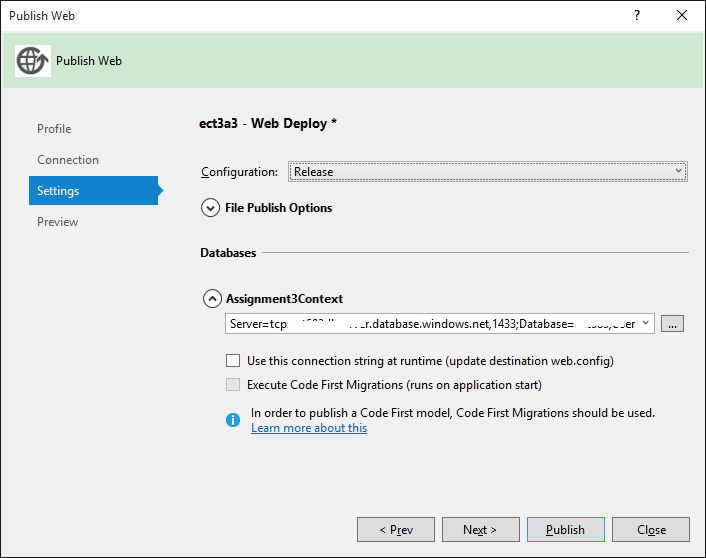
5.4 Settings
Provide the connection string of Azure Database.
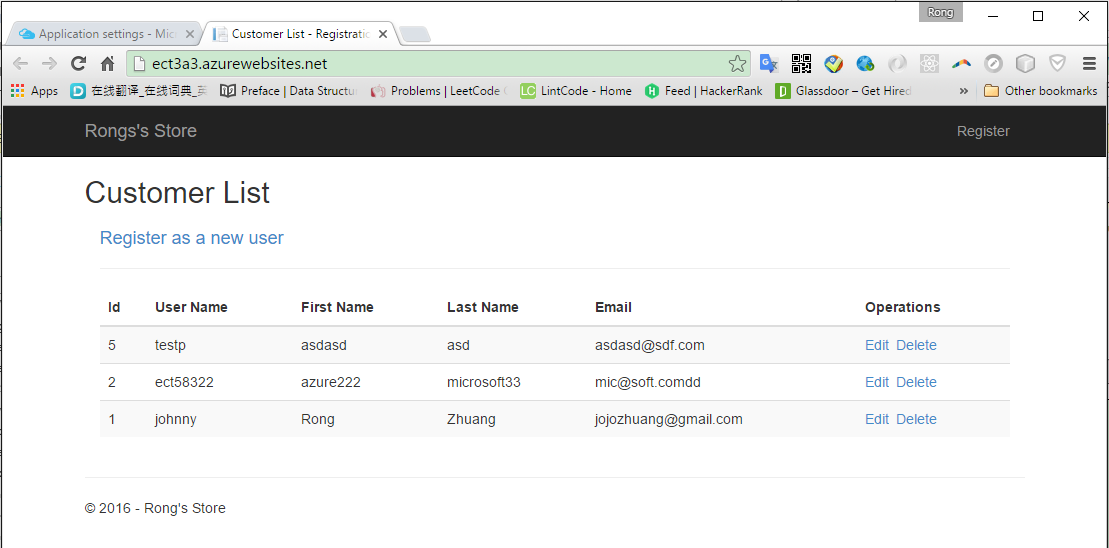
5.5 After publish, open your Azure website.