8484. Deploying Full Stack React App to HerokuNodejs and Heroku
Introduce how to deploy Code Editor app built with React and Express to Heroku.
1. Full Stack App
In the posting Building Online Code Editor with React and Express, I introduced how to build an online code editor with React and Node.js. In this posting, I will introduce how to deploy both the front end(Implemented with React) and the backend(Implemented with express) to Heroku. We will create two sites on Heroku. One is for the React app and another is for the express app.
1.1 Deployment Preparation for API Server
Nothing needs to be done for the express, as there is no database connection required, no need to set db url.
1.2 Deployment Preparation for React
Edit ‘webpack.parts.js’, use DefinePlugin to set api url to environment variable ‘API_URL’.
...

const webpack = require('webpack');

exports.loadEnv = url => ({
  plugins: [
    new webpack.DefinePlugin({
      'process.env': {
        API_URL: JSON.stringify(url)
      },
    }),
  ],
});
Edit ‘webpack.config.js’, call ‘loadEnv()’ method to set URL for production and development.
const productionConfig = merge([
  parts.loadEnv('https://code-editor-api.herokuapp.com'),

  ...

]);
const developmentConfig = merge([
  parts.loadEnv('http://localhost:8080'),

  ...

]);
Edit ‘package.json’, add ‘build’ command to compile React app and output to ‘dist’.
"scripts": {
  "start": "node src/server/index.js",
  "build": "webpack --env production ",
  "client":
    "PORT=3000 webpack-dev-server --env development --devtool inline-source-map --hot",
  "client-prod": "PORT=3001 webpack-dev-server",
  "server": "nodemon src/server/index.js",
  "dev": "concurrently \"npm run server\" \"npm run client\"",
  "prod": "concurrently \"npm run server\" \"npm run client-prod\""
},
- Notice, command ‘prod’ is used to test React app in production mode. The dropdown list should only contains two options: javascript and python in this mode.
2. Heroku
Heroku is a platform as a service (PaaS) that enables developers to build, run, and operate applications entirely in the cloud.
2.1 Sign Up
Go to https://signup.heroku.com/ create a free Heroku account.
2.2 Installing Heroku CLI
Go to https://devcenter.heroku.com/articles/heroku-cli#download-and-install to download proper installer.
2.3 Getting Started
First, read the official tutorial Getting Started on Heroku with Node.js to get familiar with the basic functions of Heroku. Below are some of the highlights from the tutorial.
1) Log into Heroku
$ heroku login
Enter your Heroku credentials.
Email: csgeek@mail.com
Password: **********
2) Create Heroku App
$ heroku create                   // no name, a random name will be assigned to the app
$ heroku create code-editor-api   // create app with the given name
3) View logs
$ heroku logs --tail
4) Scale the app
$ heroku ps //check how many dynos are running
$ heroku ps:scale web=0 // scale down
$ heroku ps:scale web=1 // scale up
5) Run the app locally
$ heroku local web // same as 'npm start'
6) Heroku Console
$ heroku run bash
Running bash on ⬢ damp-springs-52045... up, run.3598 (Free)
~ $ ls
Procfile  README.md  app.json  index.js  node_modules  package-lock.json  package.json	public	test.js  views
- Type ‘exit’ to quit the console.
3. Deployment
3.1 Server
1) Clone Source Code
$ git clone https://github.com/jojozhuang/code-editor-react
$ cd code-editor-react
2) Create App on Heroku
$ heroku create code-editor-api
- When creating an app, a git remote (called heroku) is also created and associated with the local git repository.
3) Push files to Heroku
$ git push heroku master
Counting objects: 7, done.
Delta compression using up to 8 threads.
Compressing objects: 100% (7/7), done.
Writing objects: 100% (7/7), 68.86 KiB | 6.89 MiB/s, done.
Total 7 (delta 2), reused 0 (delta 0)
remote: Compressing source files... done.
remote: Building source:
remote:
remote: -----> Node.js app detected
remote:
remote: -----> Build failed
remote:  !     Two different lockfiles found: package-lock.json and yarn.lock
remote:
remote:        Both npm and yarn have created lockfiles for this application,
remote:        but only one can be used to install dependencies. Installing
remote:        dependencies using the wrong package manager can result in missing
remote:        packages or subtle bugs in production.
remote:
remote:        - To use npm to install your application's dependencies please delete
remote:          the yarn.lock file.
remote:
remote:          $ git rm yarn.lock
remote:
remote:        - To use yarn to install your application's dependences please delete
remote:          the package-lock.json file.
remote:
remote:          $ git rm package-lock.json
remote:
remote:        https://kb.heroku.com/why-is-my-node-js-build-failing-because-of-conflicting-lock-files
remote:
remote:  !     Push rejected, failed to compile Node.js app.
remote:
remote:  !     Push failed
remote: Verifying deploy....
remote:
remote: !	Push rejected to code-editor-api.
remote:
To https://git.heroku.com/code-editor-api.git
 ! [remote rejected] master -> master (pre-receive hook declined)
error: failed to push some refs to 'https://git.heroku.com/code-editor-api.git'
Error occurs, we need to decide whether to use npm or yarn to manage dependencies. Notice that when the React App was created, both yarn lock file yarn.lock and npm lock file package-lock.json were generated. I decide to use npm, so remove yarn.lock from git staging and try to push again.
$ git rm yarn.lock
rm 'yarn.lock'
$ git commit -m "remove yarn.lock"
[master 7944b7d] remove yarn.lock
 1 file changed, 7423 deletions(-)
 delete mode 100644 yarn.lock
$ git push heroku master
If you changed the app name or you are deploying new changes. You need to re-connect your git repository to Heroku app.
$ git remote rm heroku
$ heroku git:remote -a code-editor-api
4) Testing Server
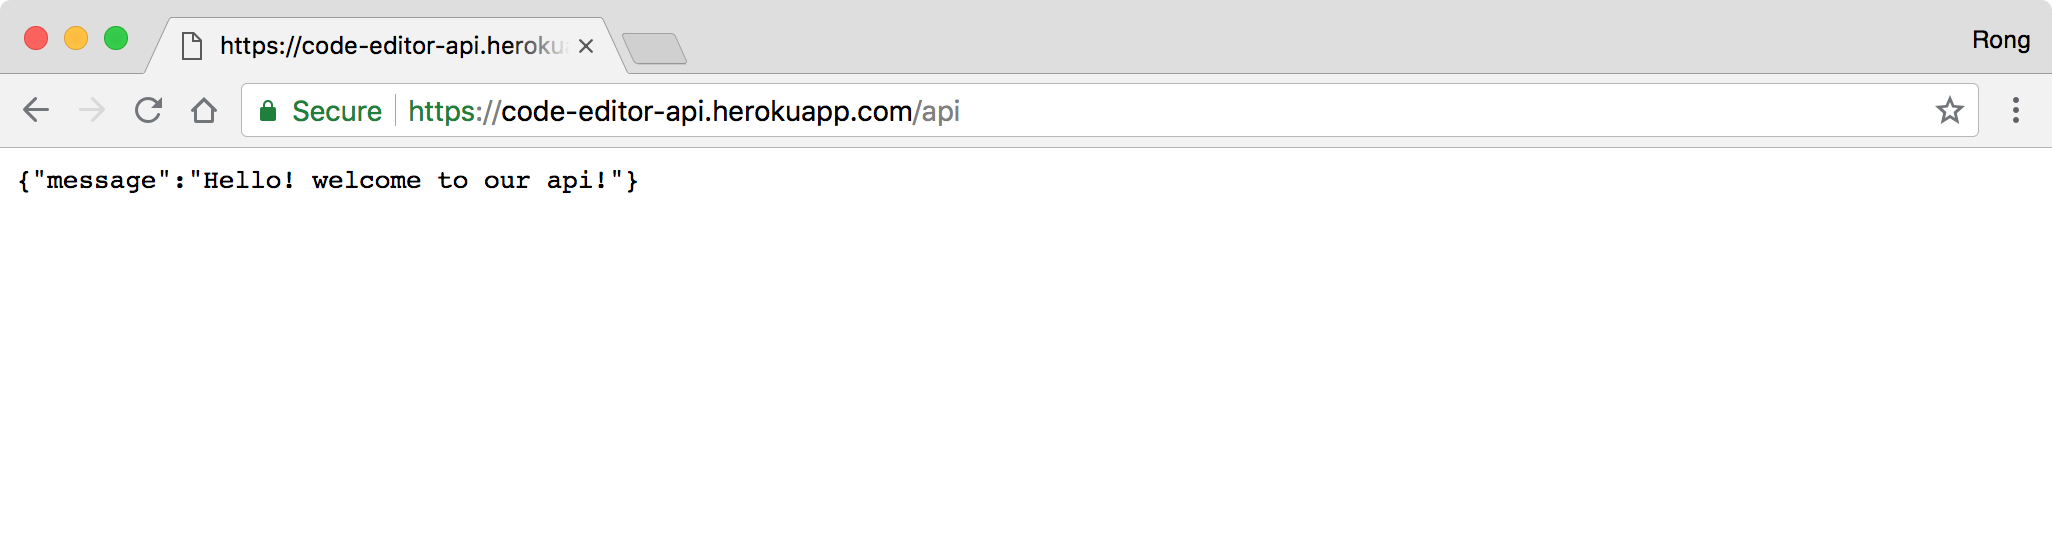
Open web browser, access ‘https://code-editor-api.herokuapp.com/api’. The API is working now.
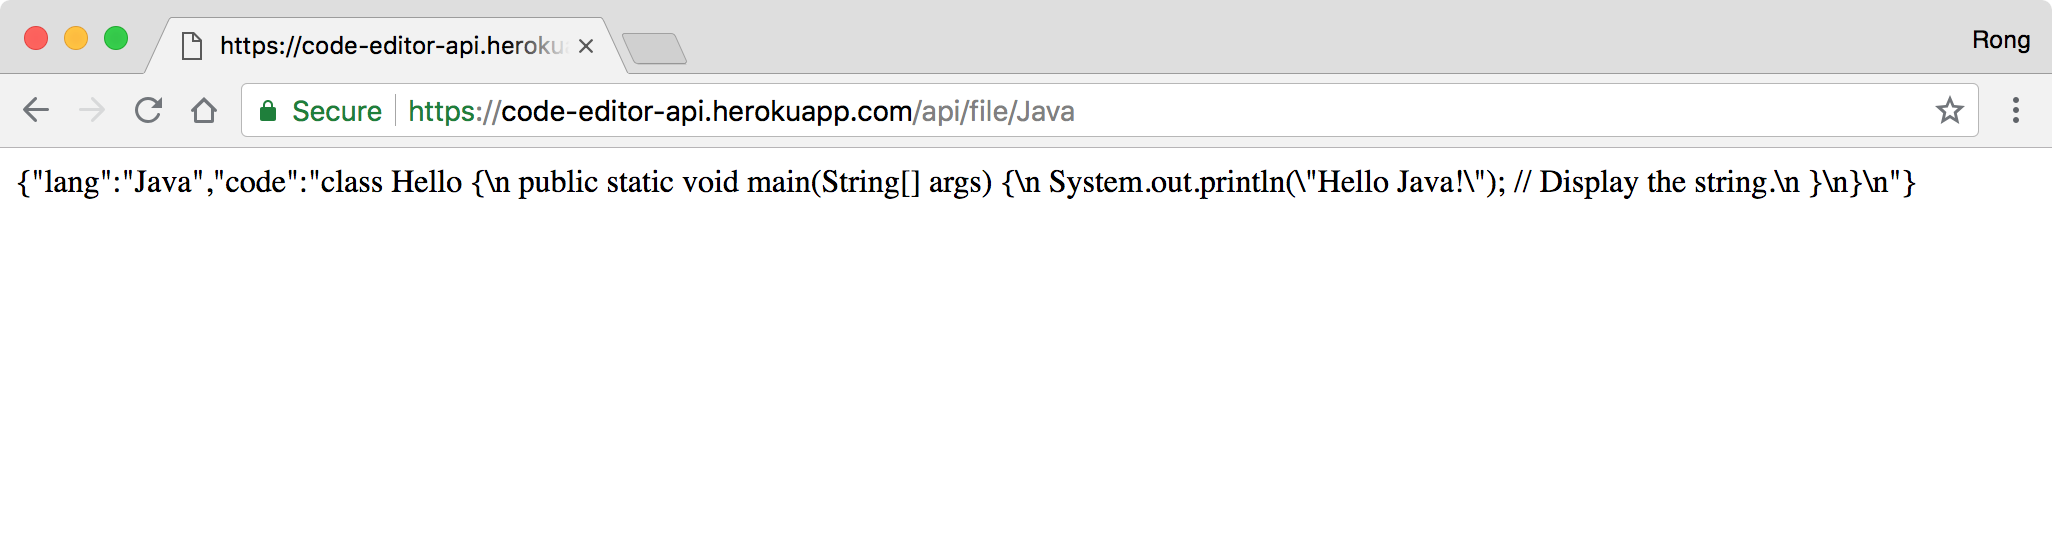
 If we access https://code-editor-api.herokuapp.com/api/file/Java, it returns some java source codes.
3.2 Client
1) Build react app.
$ npm run build
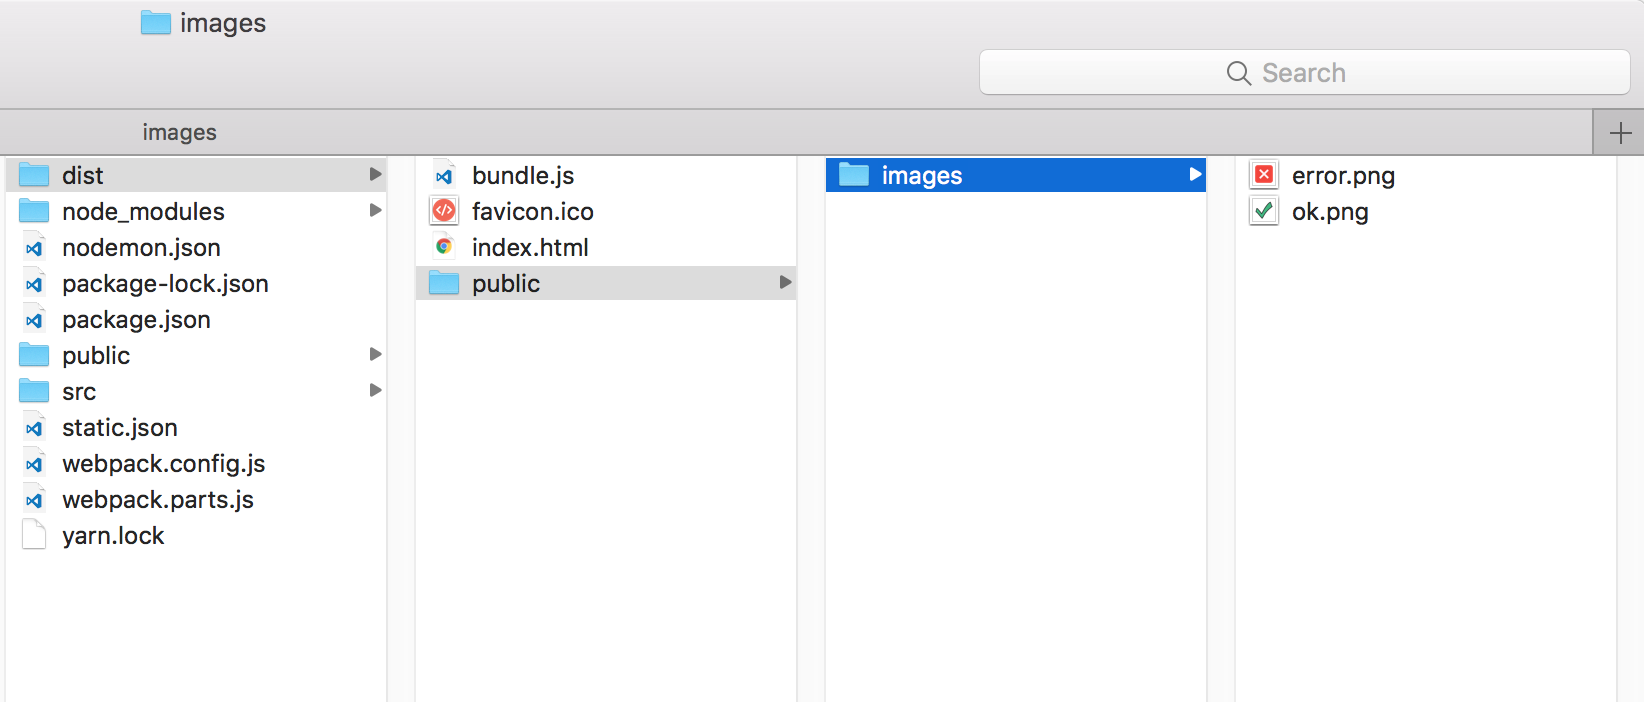
The React app is built and exported to dist folder. All are static files(html, js and images).
2) Create App on Heroku
$ heroku create code-editor
3) Create git repository.
$ cd dist
$ git init
$ git add .
$ git commit -m "initial"
$ git push heroku master
If you changed the app name or you are deploying new changes. You need to re-connect your git repository to Heroku app.
$ git remote rm heroku
$ heroku git:remote -a code-editor
4) Testing Server
Open web browser, access ‘https://code-editor.herokuapp.com/’. The React app is working now.
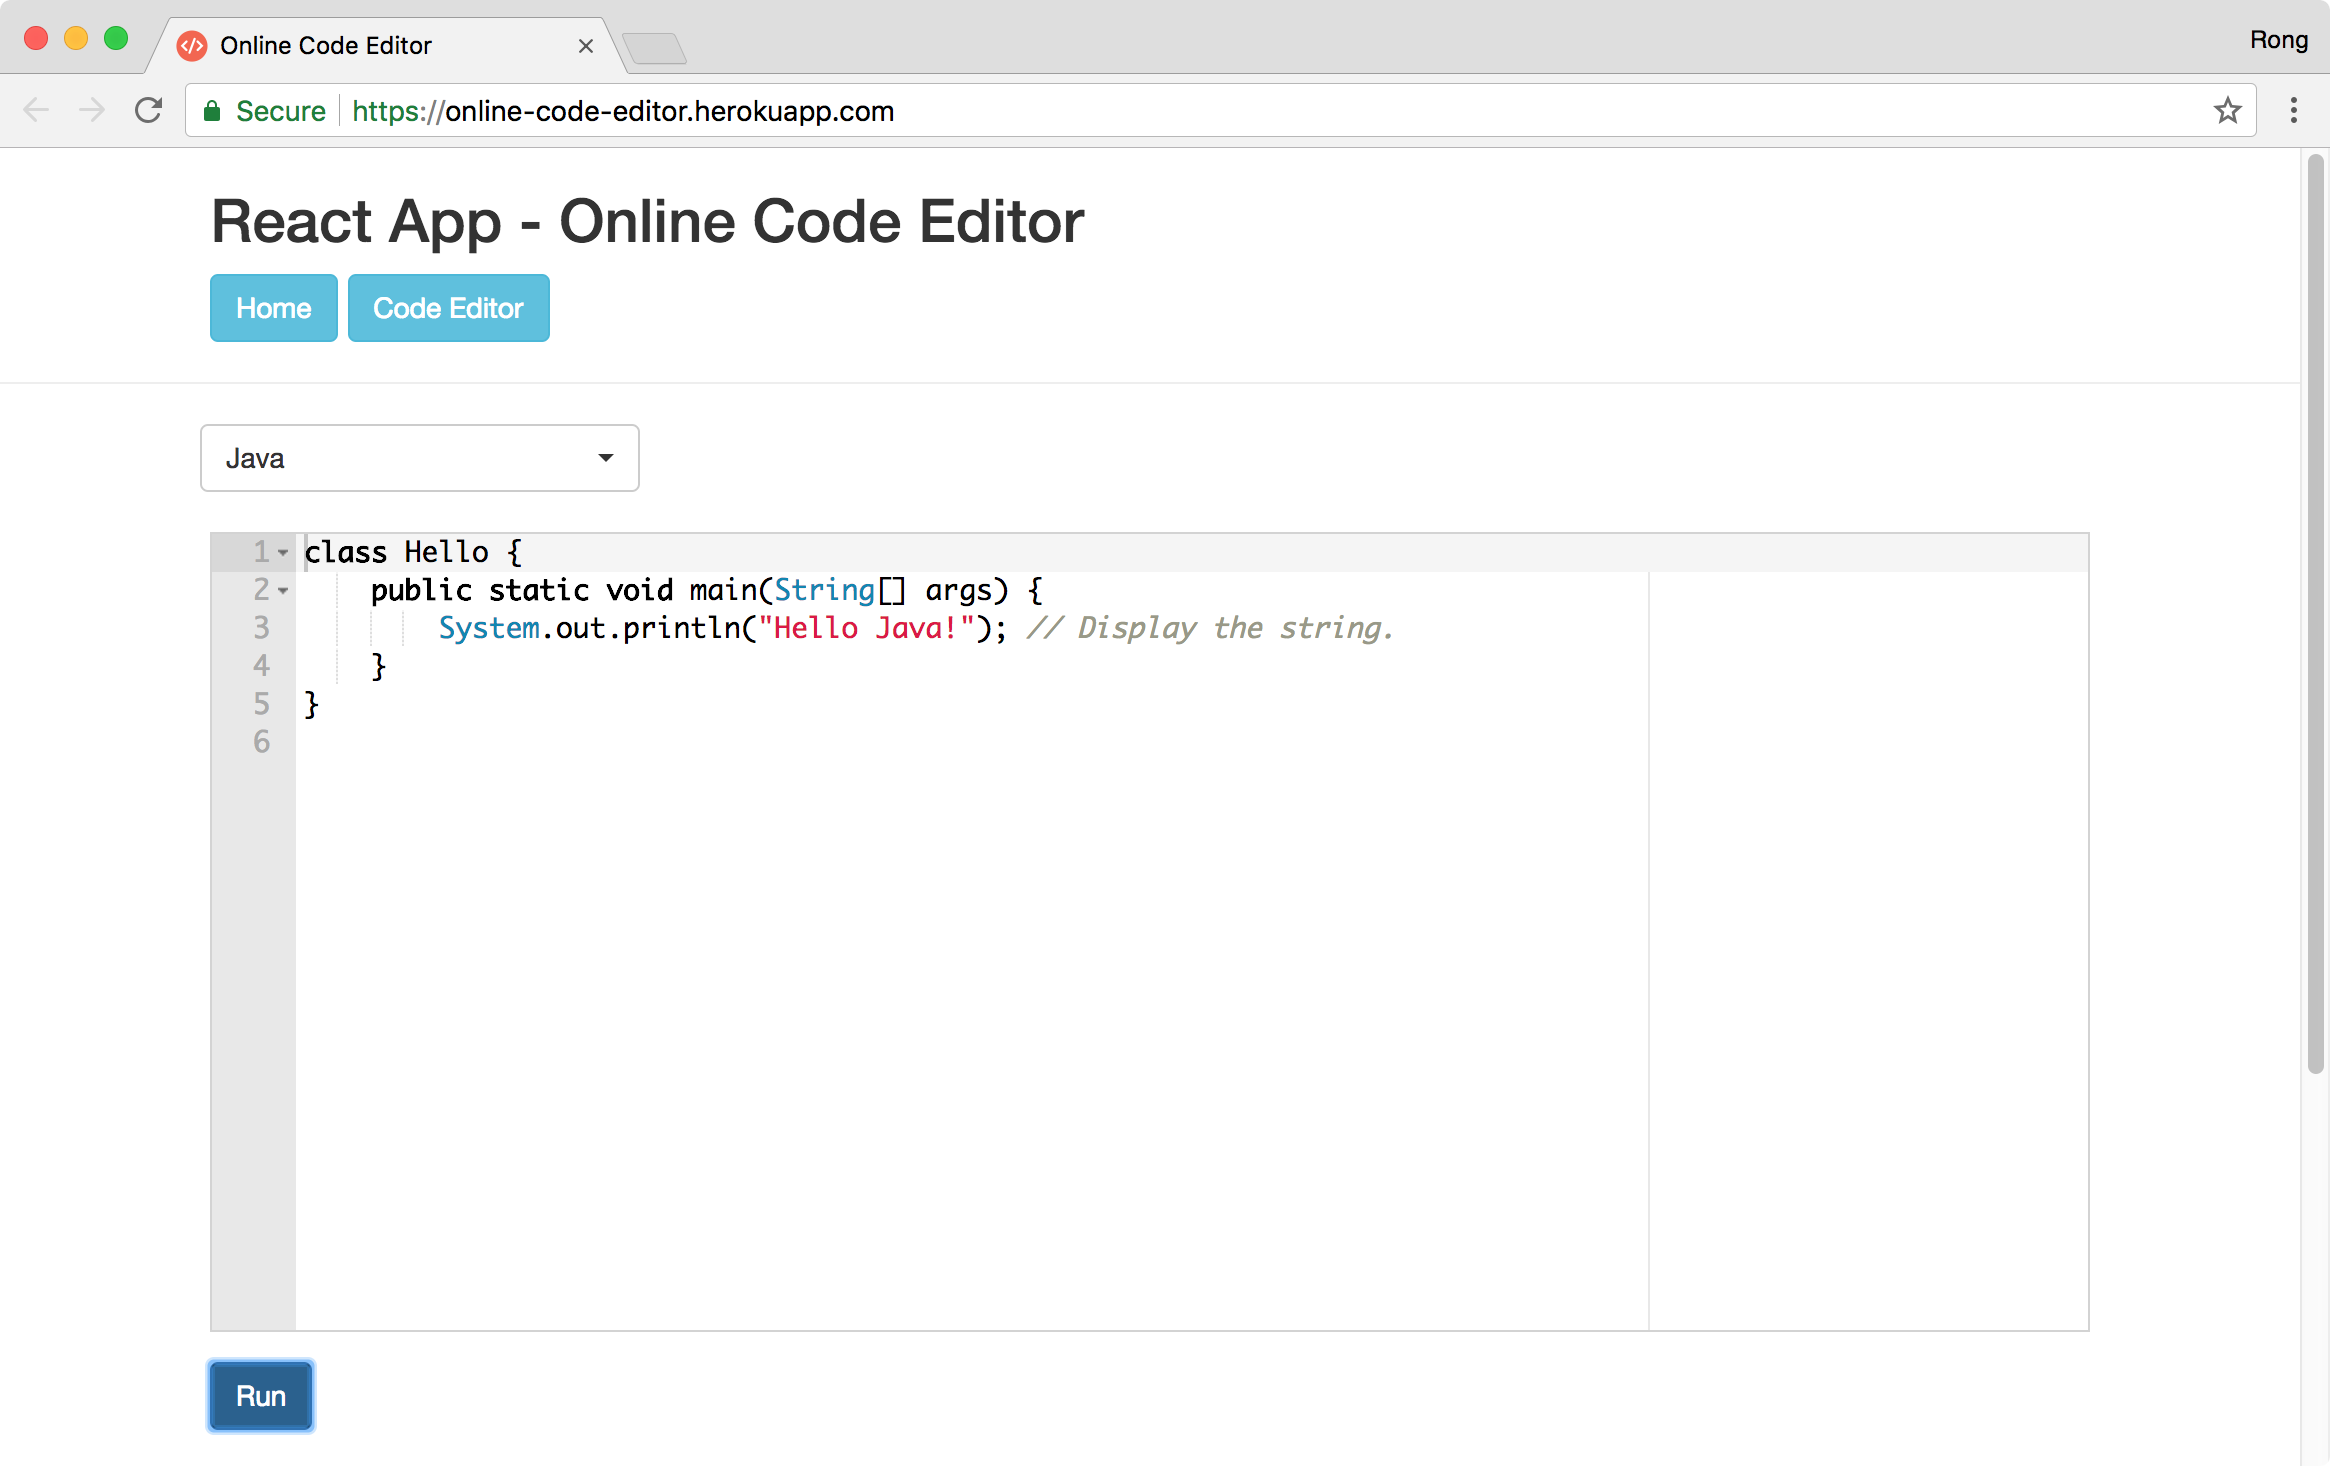
- Notice, because the Client Side Routing doesn’t work properly, I changed to the router rules to show editor in the root path /.
In addition, notice that c, c++ and java are not supported in Heroku or Netlify. I got the CORS error when trying to execute java program.
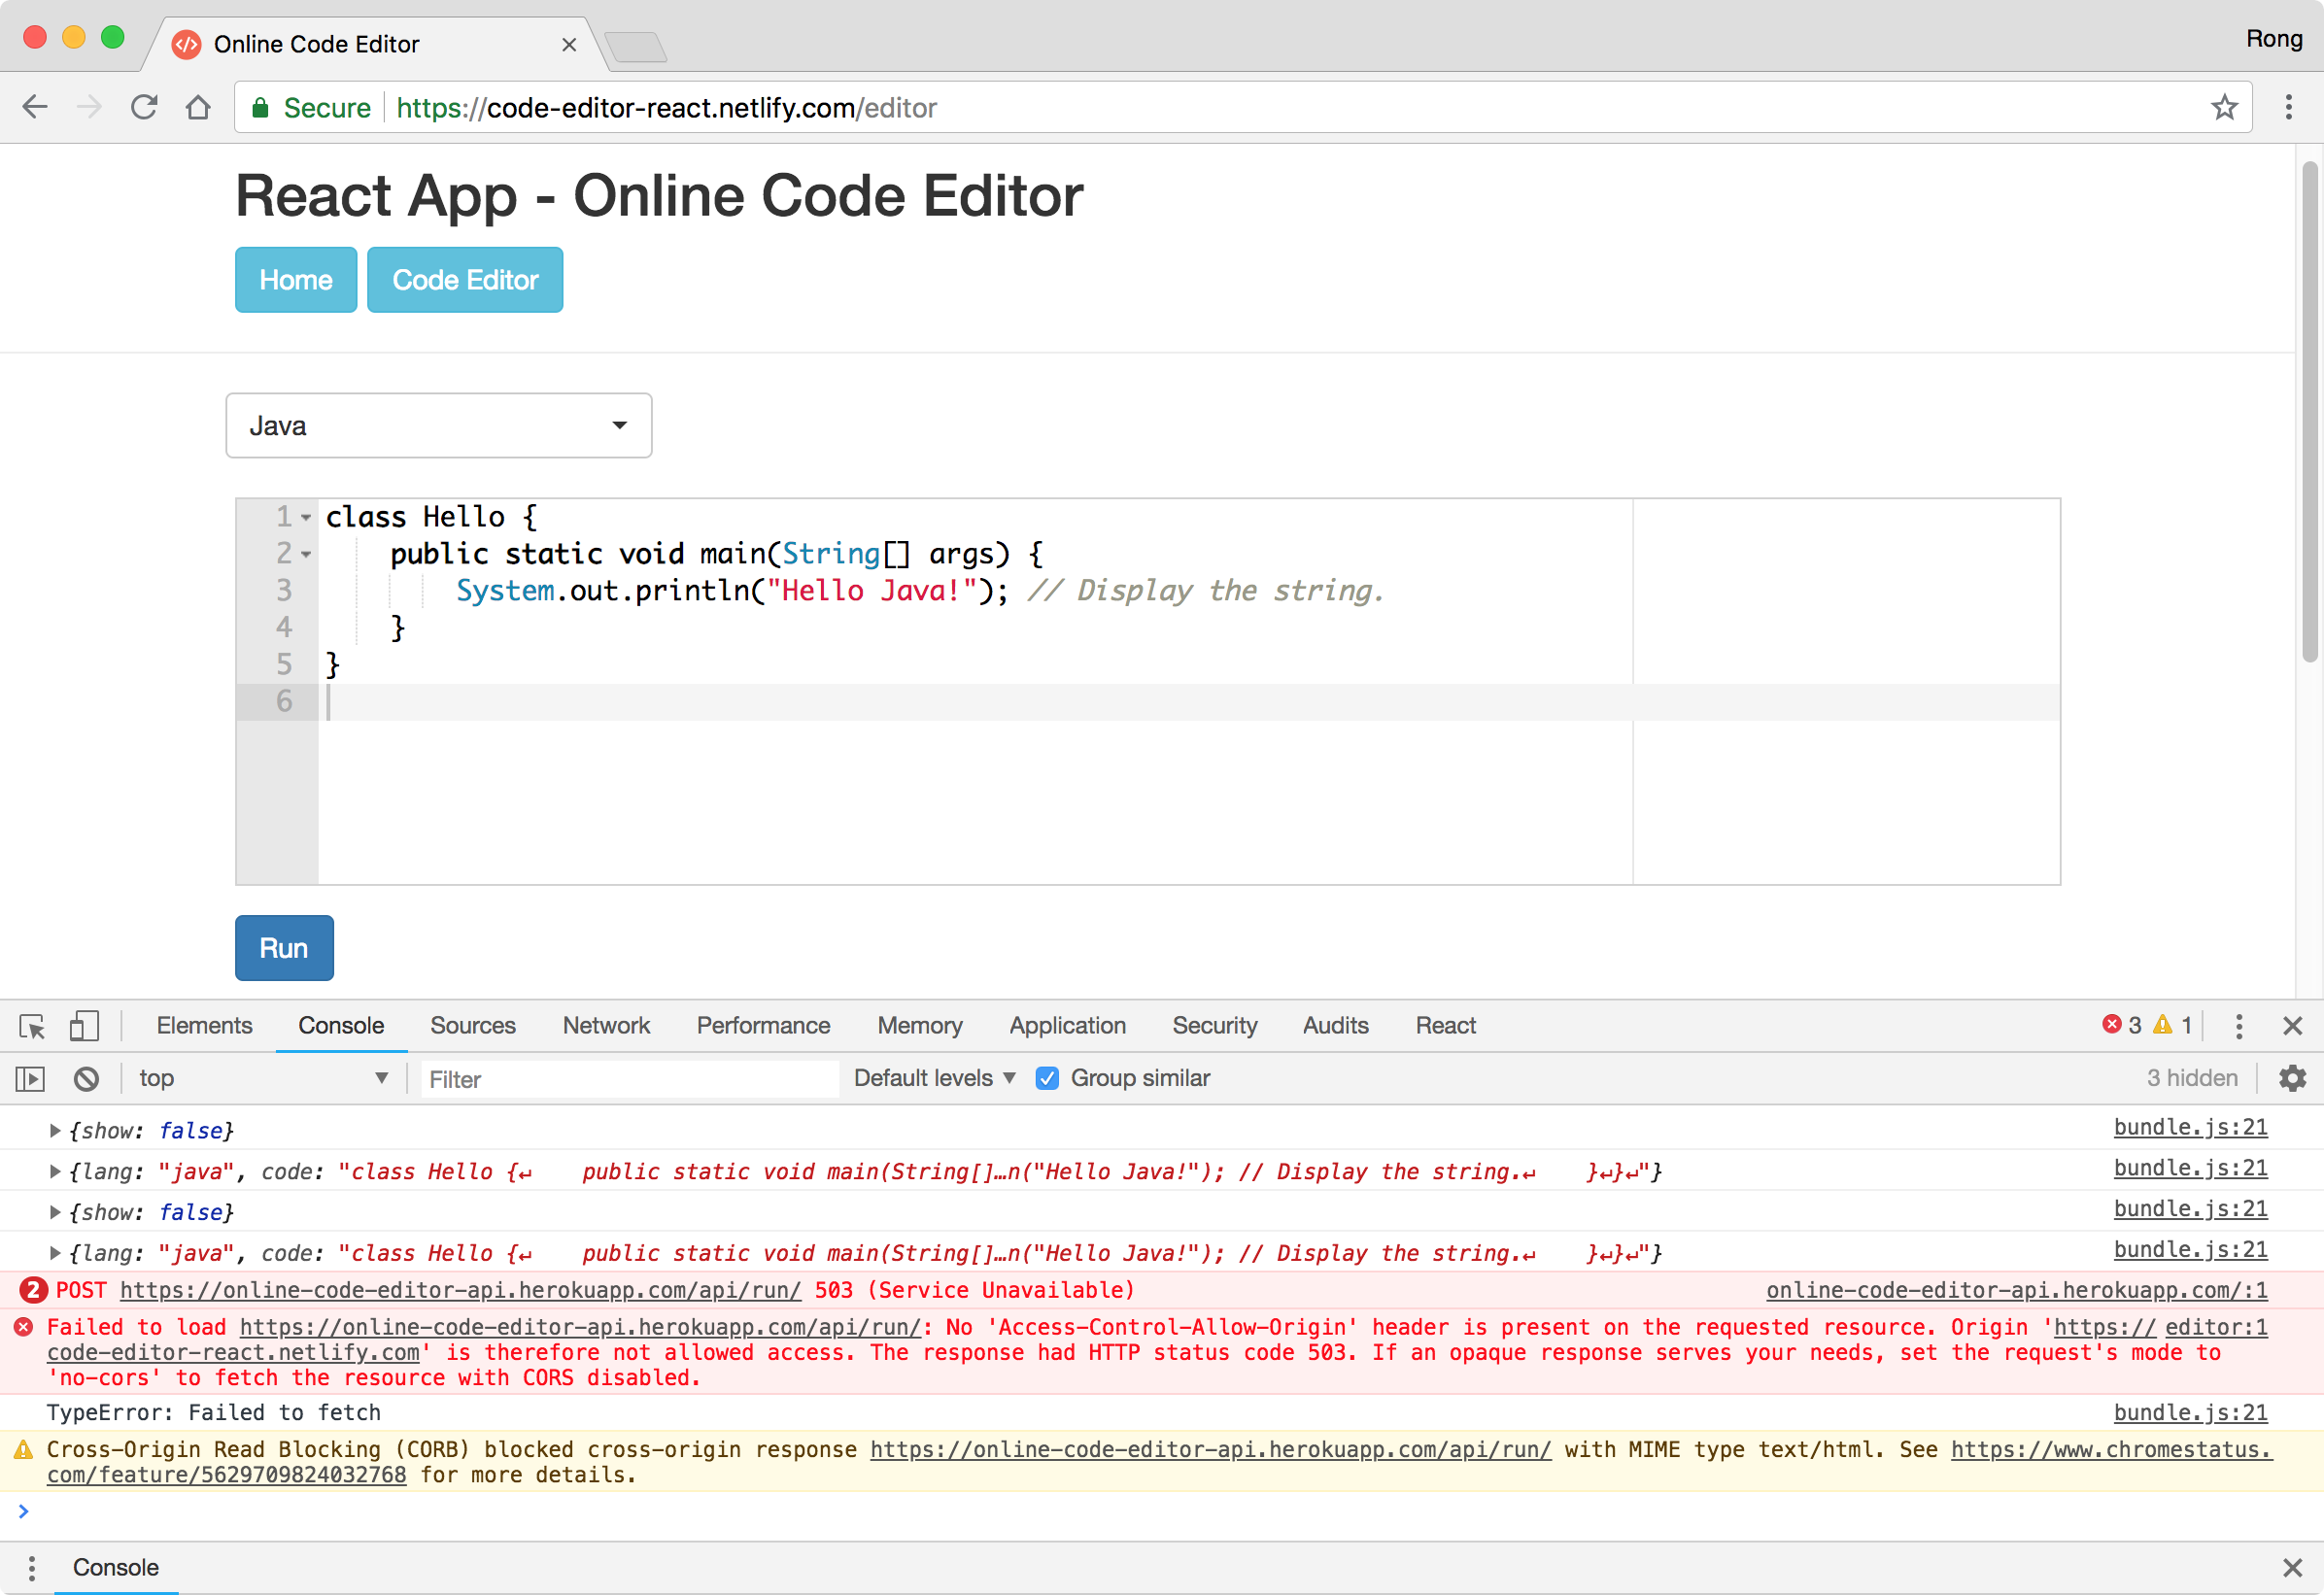 So these three languages are removed from the dropdown list in production mode. They are only available in dev mode, locally.
4. Heroku UI
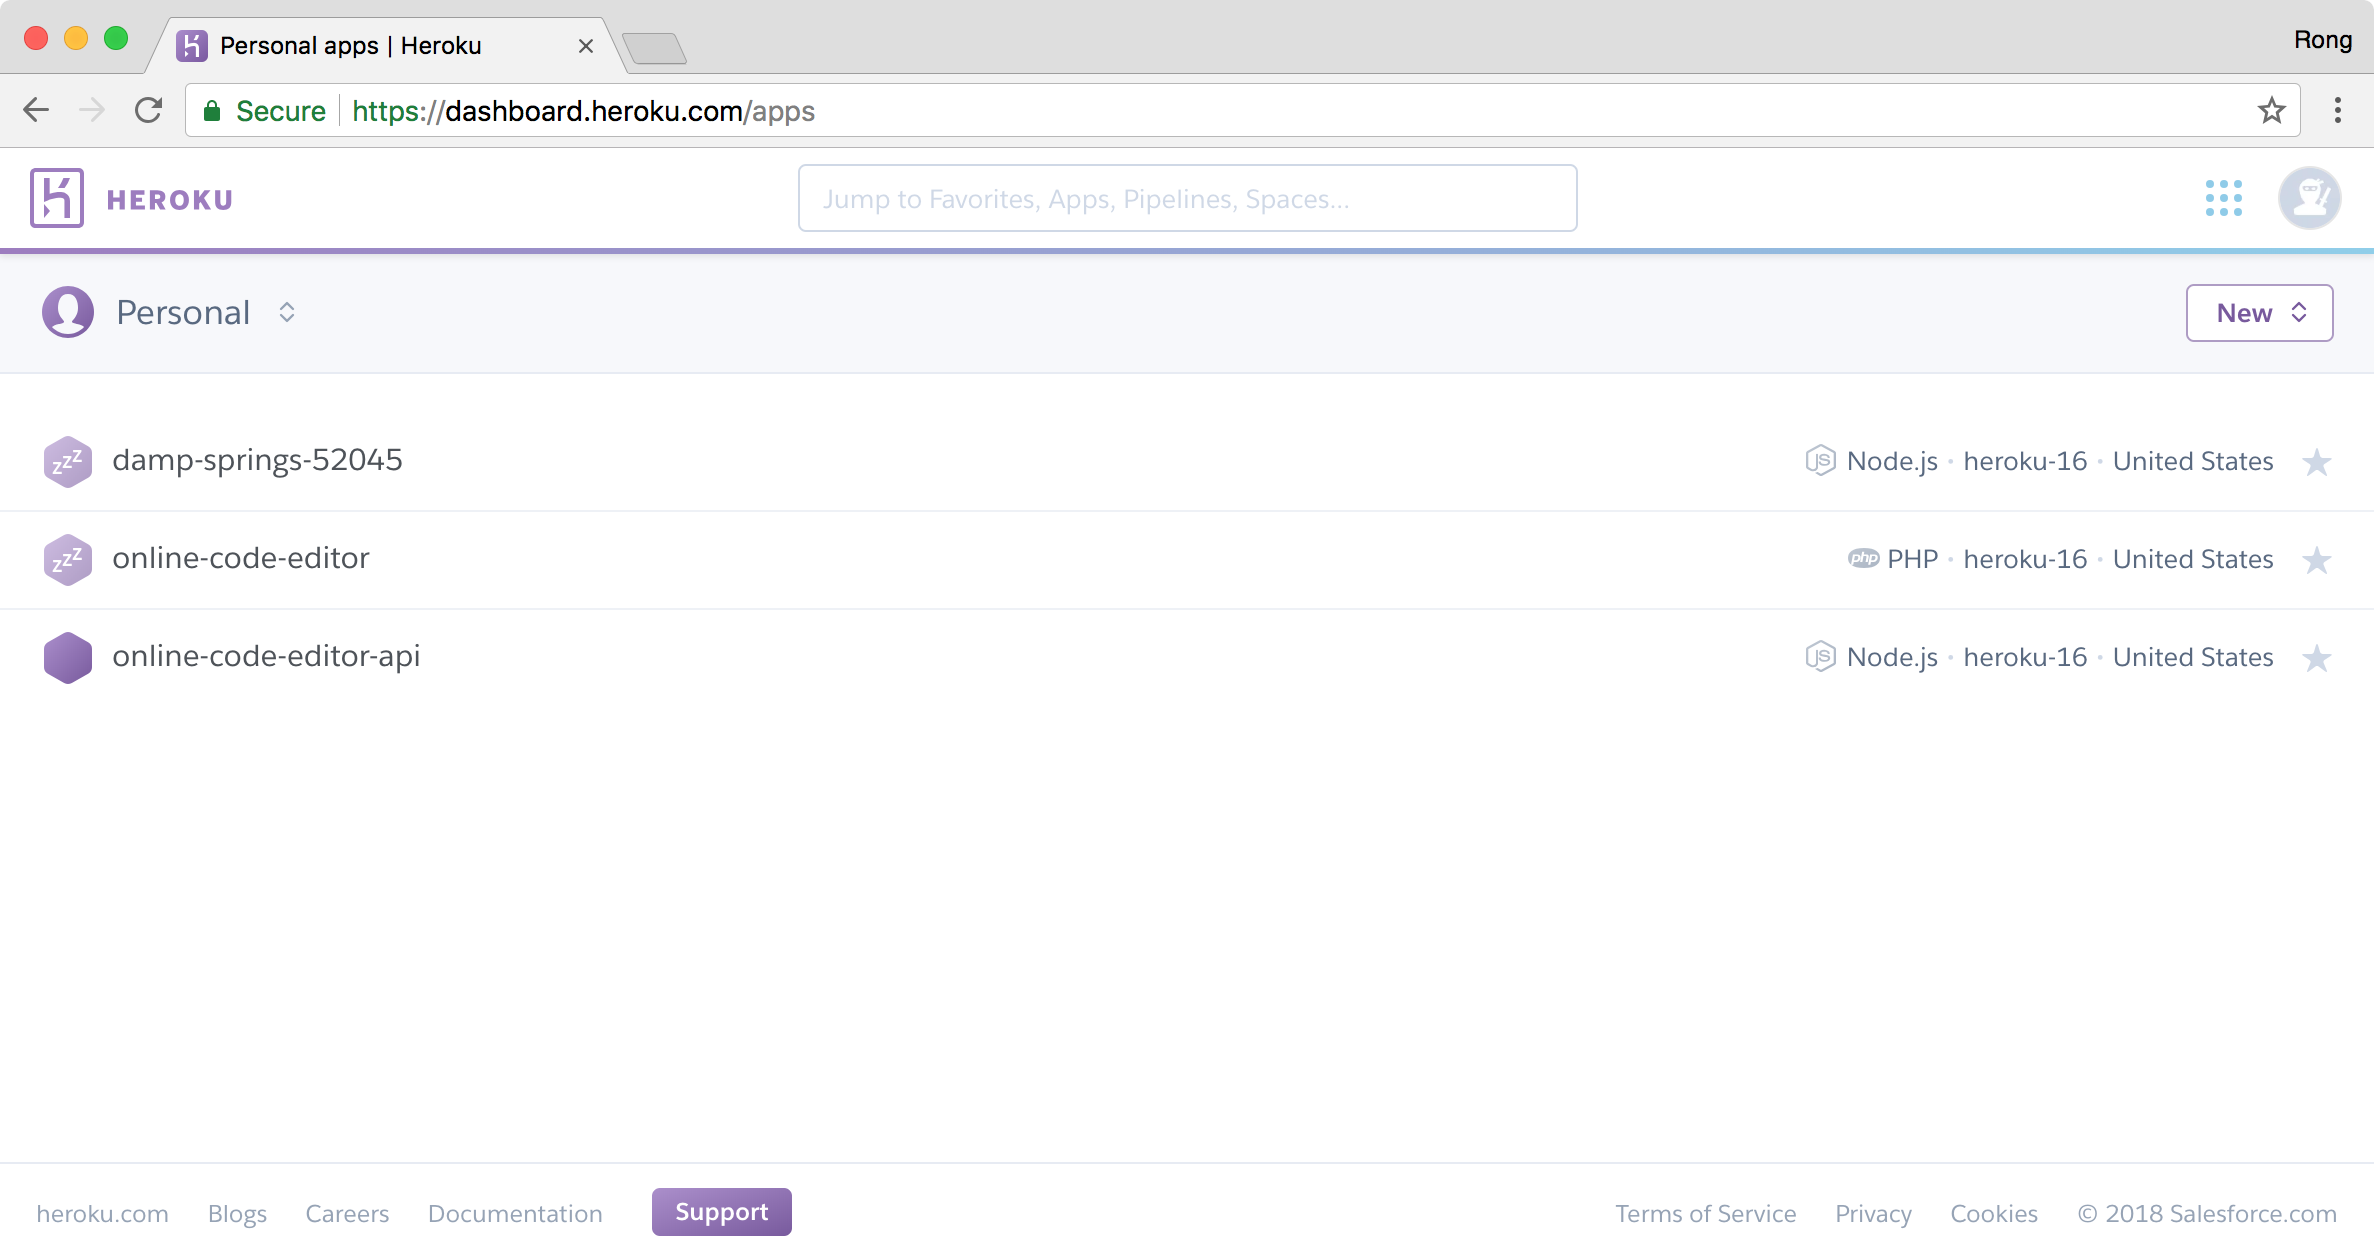
4.1 Dashboard
Log into Heroku and go to https://dashboard.heroku.com/. The dashboard shows all the app we have created.
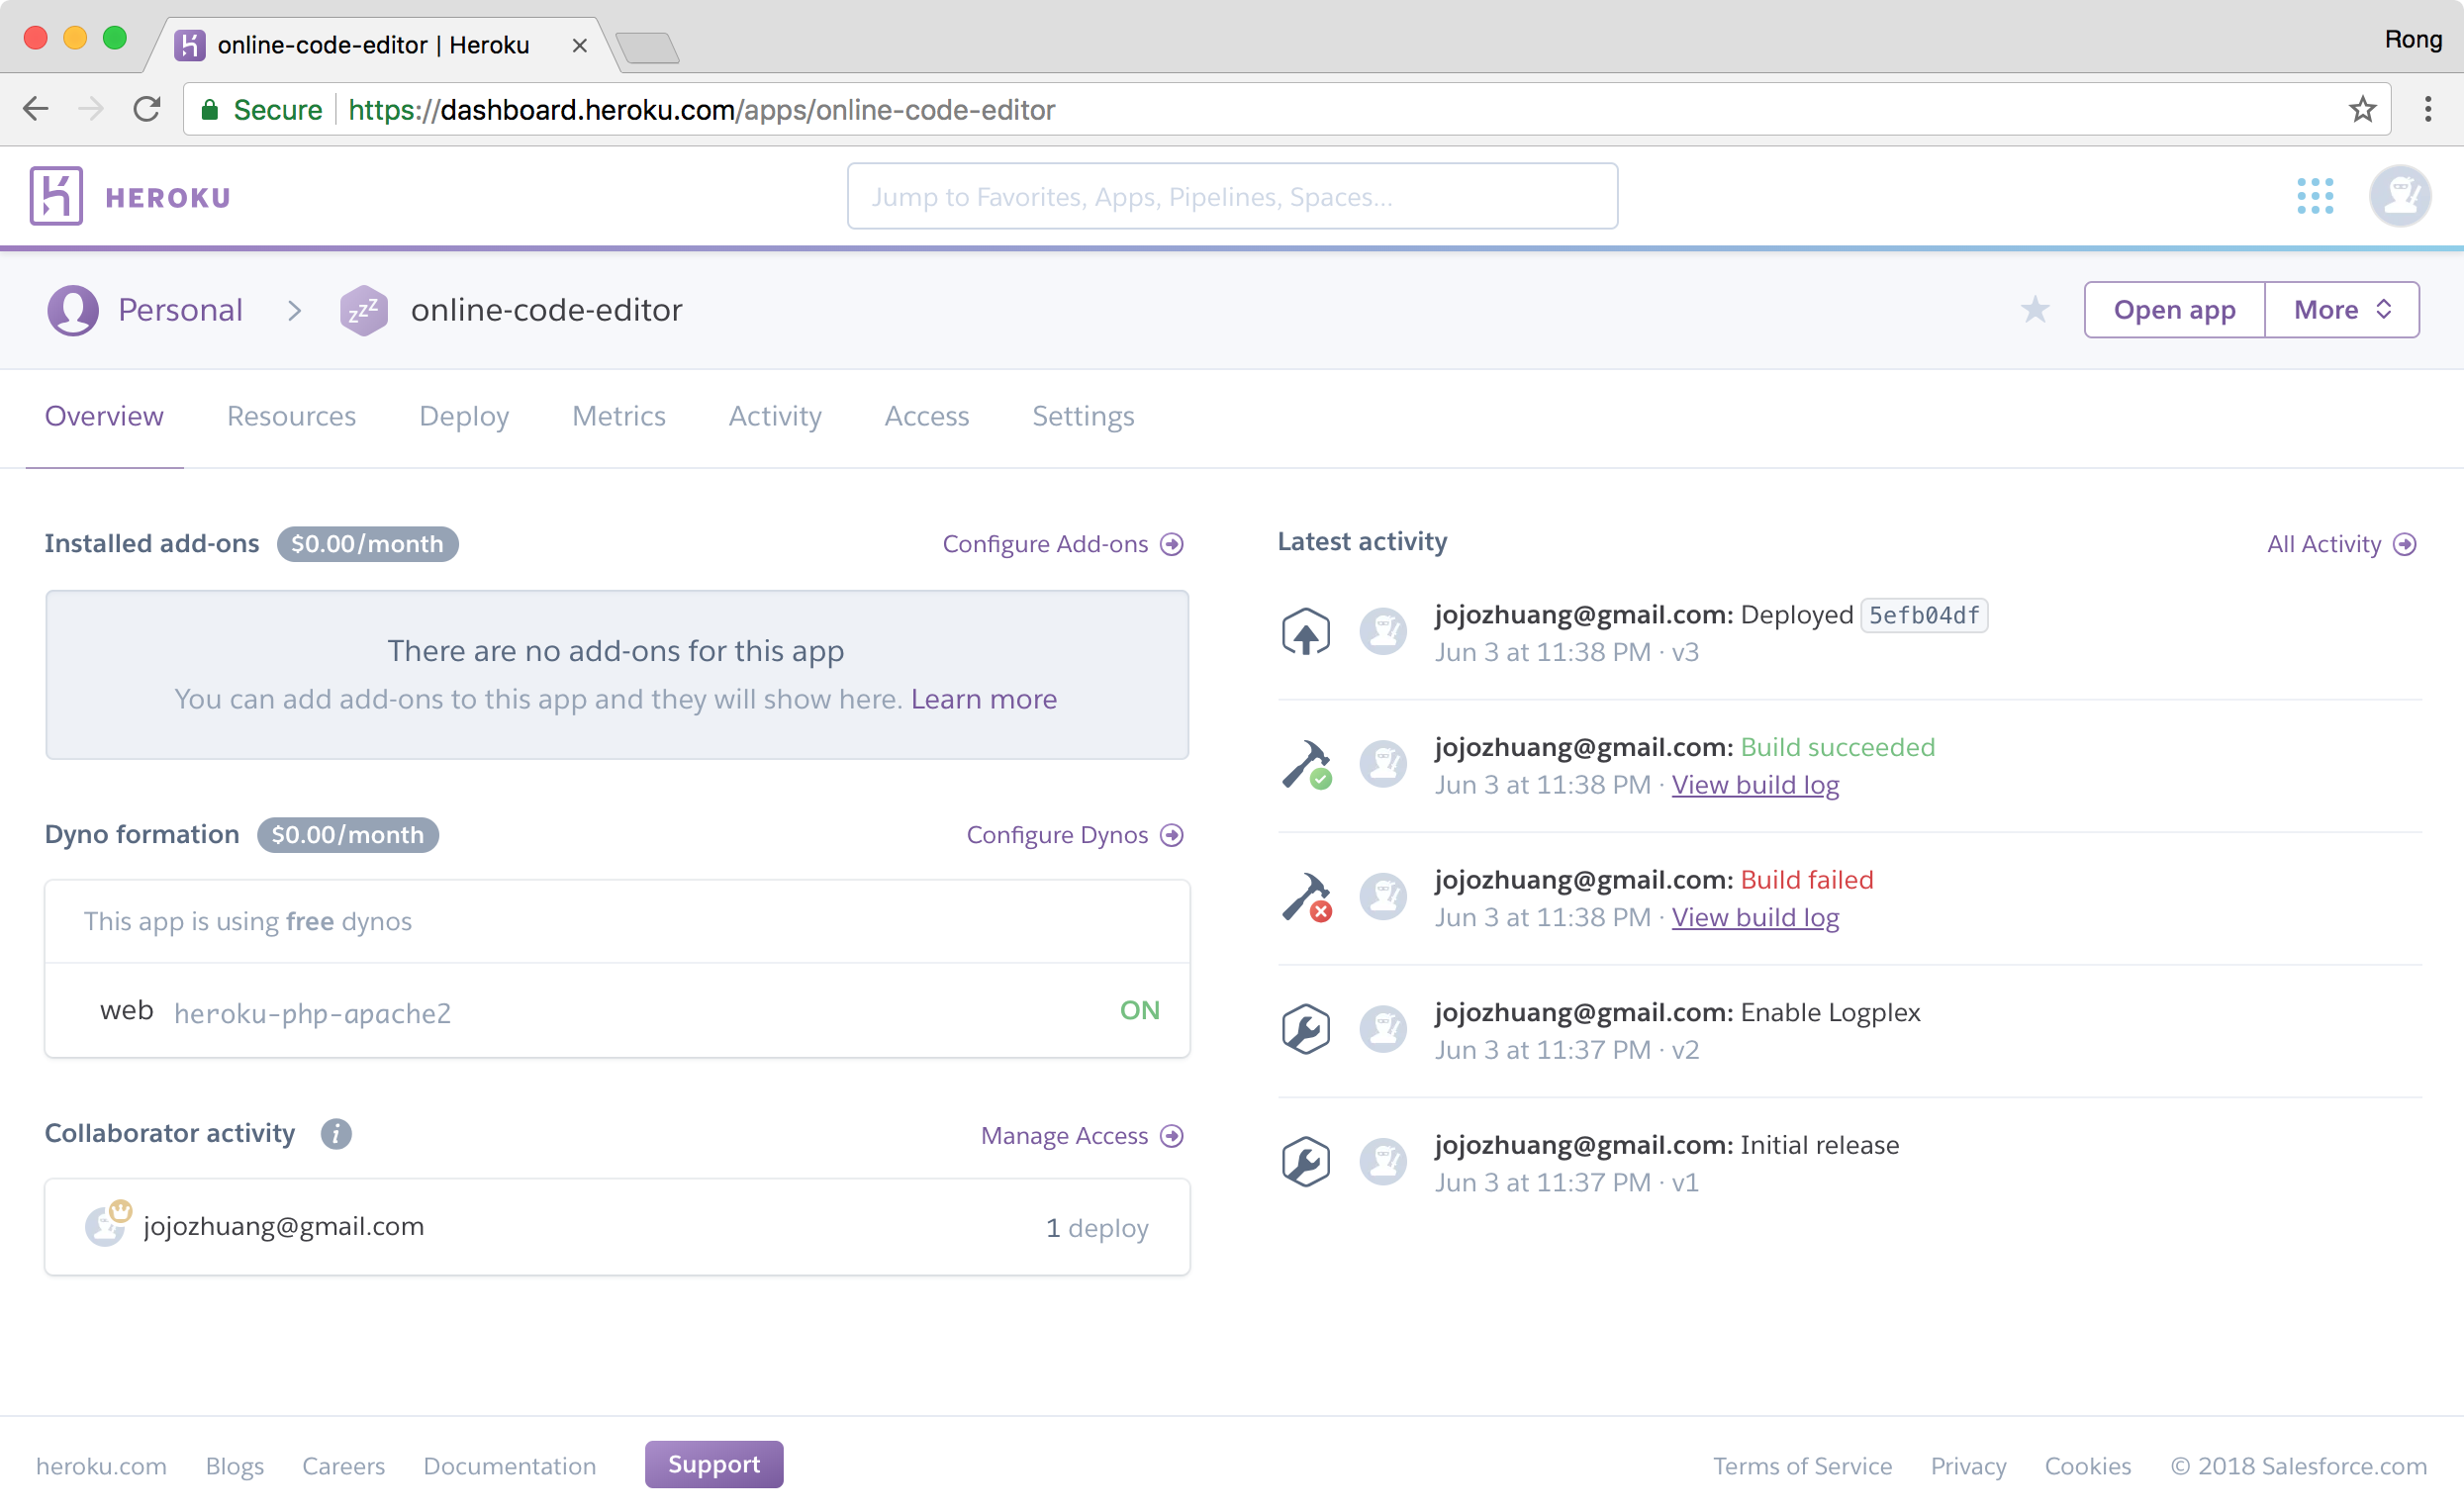
4.2 Overview
Click one of the app and check the overview.
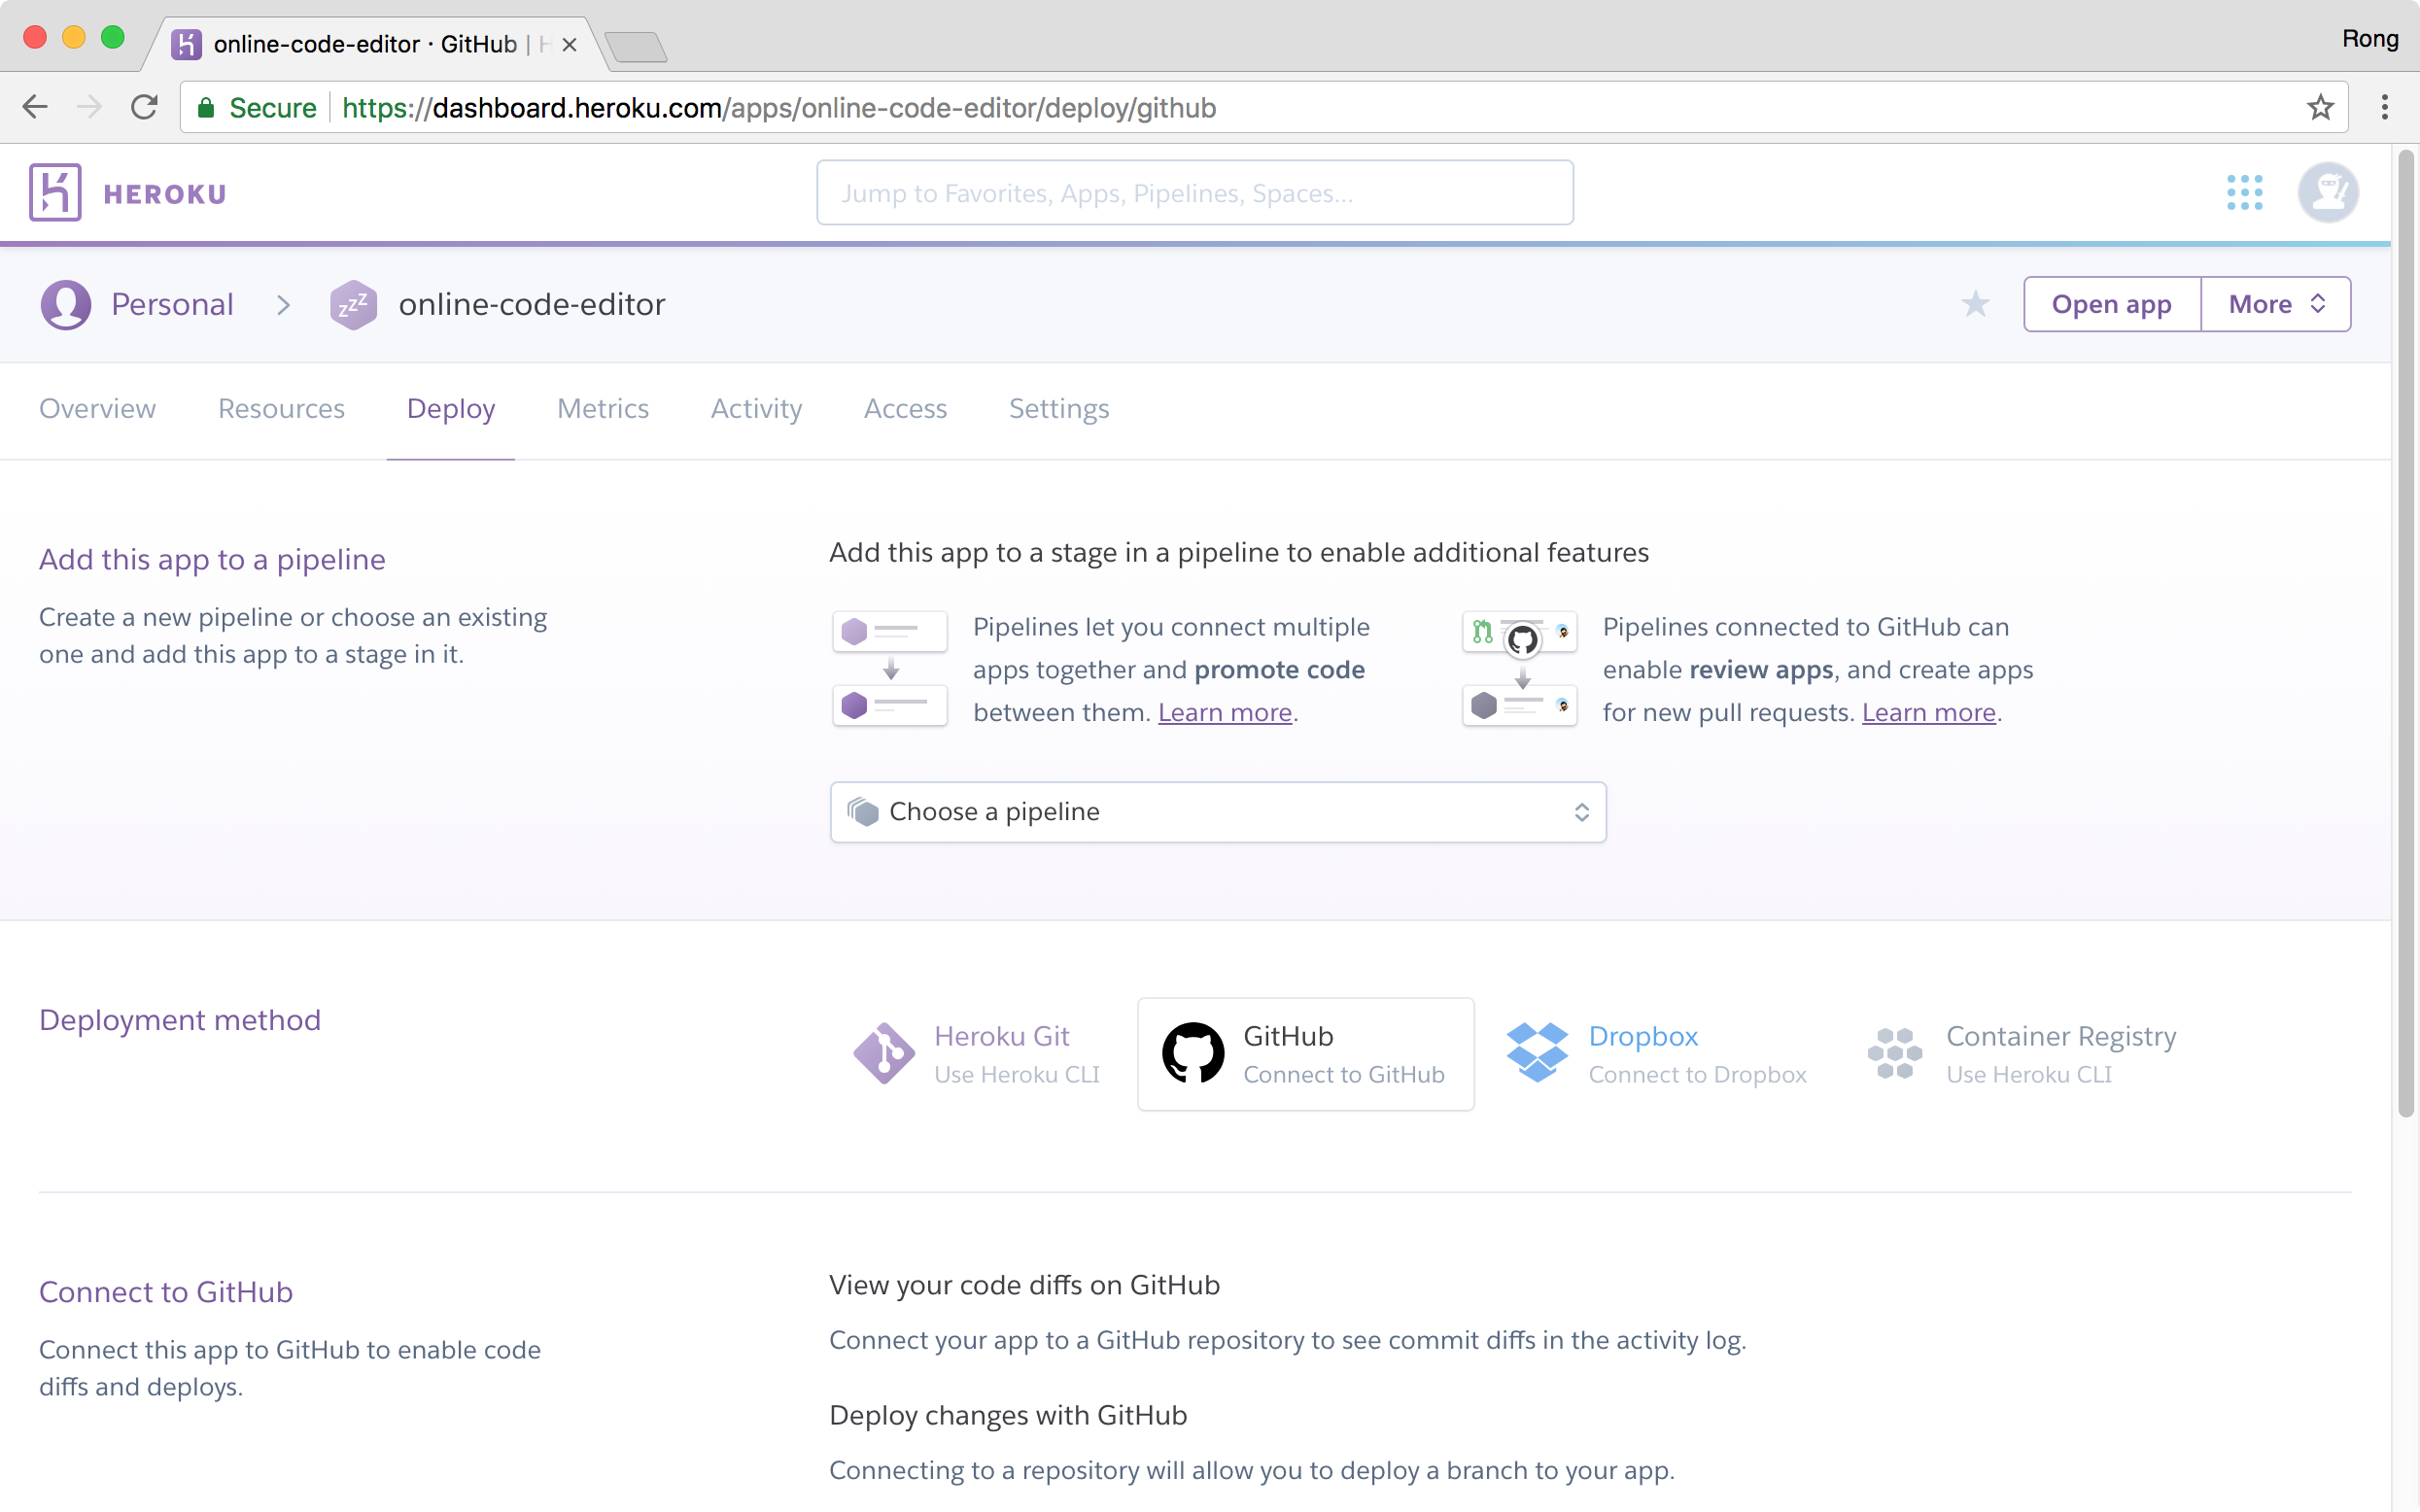
4.3 Deploy
In the deploy tab, notice that we can connect GitHub and deploy projects.
5. Reference
- Getting Started on Heroku with Node.js
- Deploy Static Site Heroku
- How to Deploy a Static Site to Heroku
- Deploy React and Express to Heroku
- Lessons learned from deploying my first full-stack web application
- Using config and environment variables for client and back-end use with Javascript
- Working with Environment Variables in Node.js
- Express Tutorial Part 7: Deploying to production
- Deployment @ create-react-app
- Updating Git remotes