3522. Serving JSP Application With Tomcat In DockerDocker and Tomcat
Guide how to serve Java Servlet/JSP website in Tomcat container.
1. Introduction
In posting Creating MySQL Image with Docker File, we created a MySQL container with Dockerfile. But we are still using local Tomcat to serve our website. In this tutorial, I will introduce how to serve our JSP Tutorial application in Docker Container.
2. Setting up Tomcat Container
2.1 Creating Tomcat Container
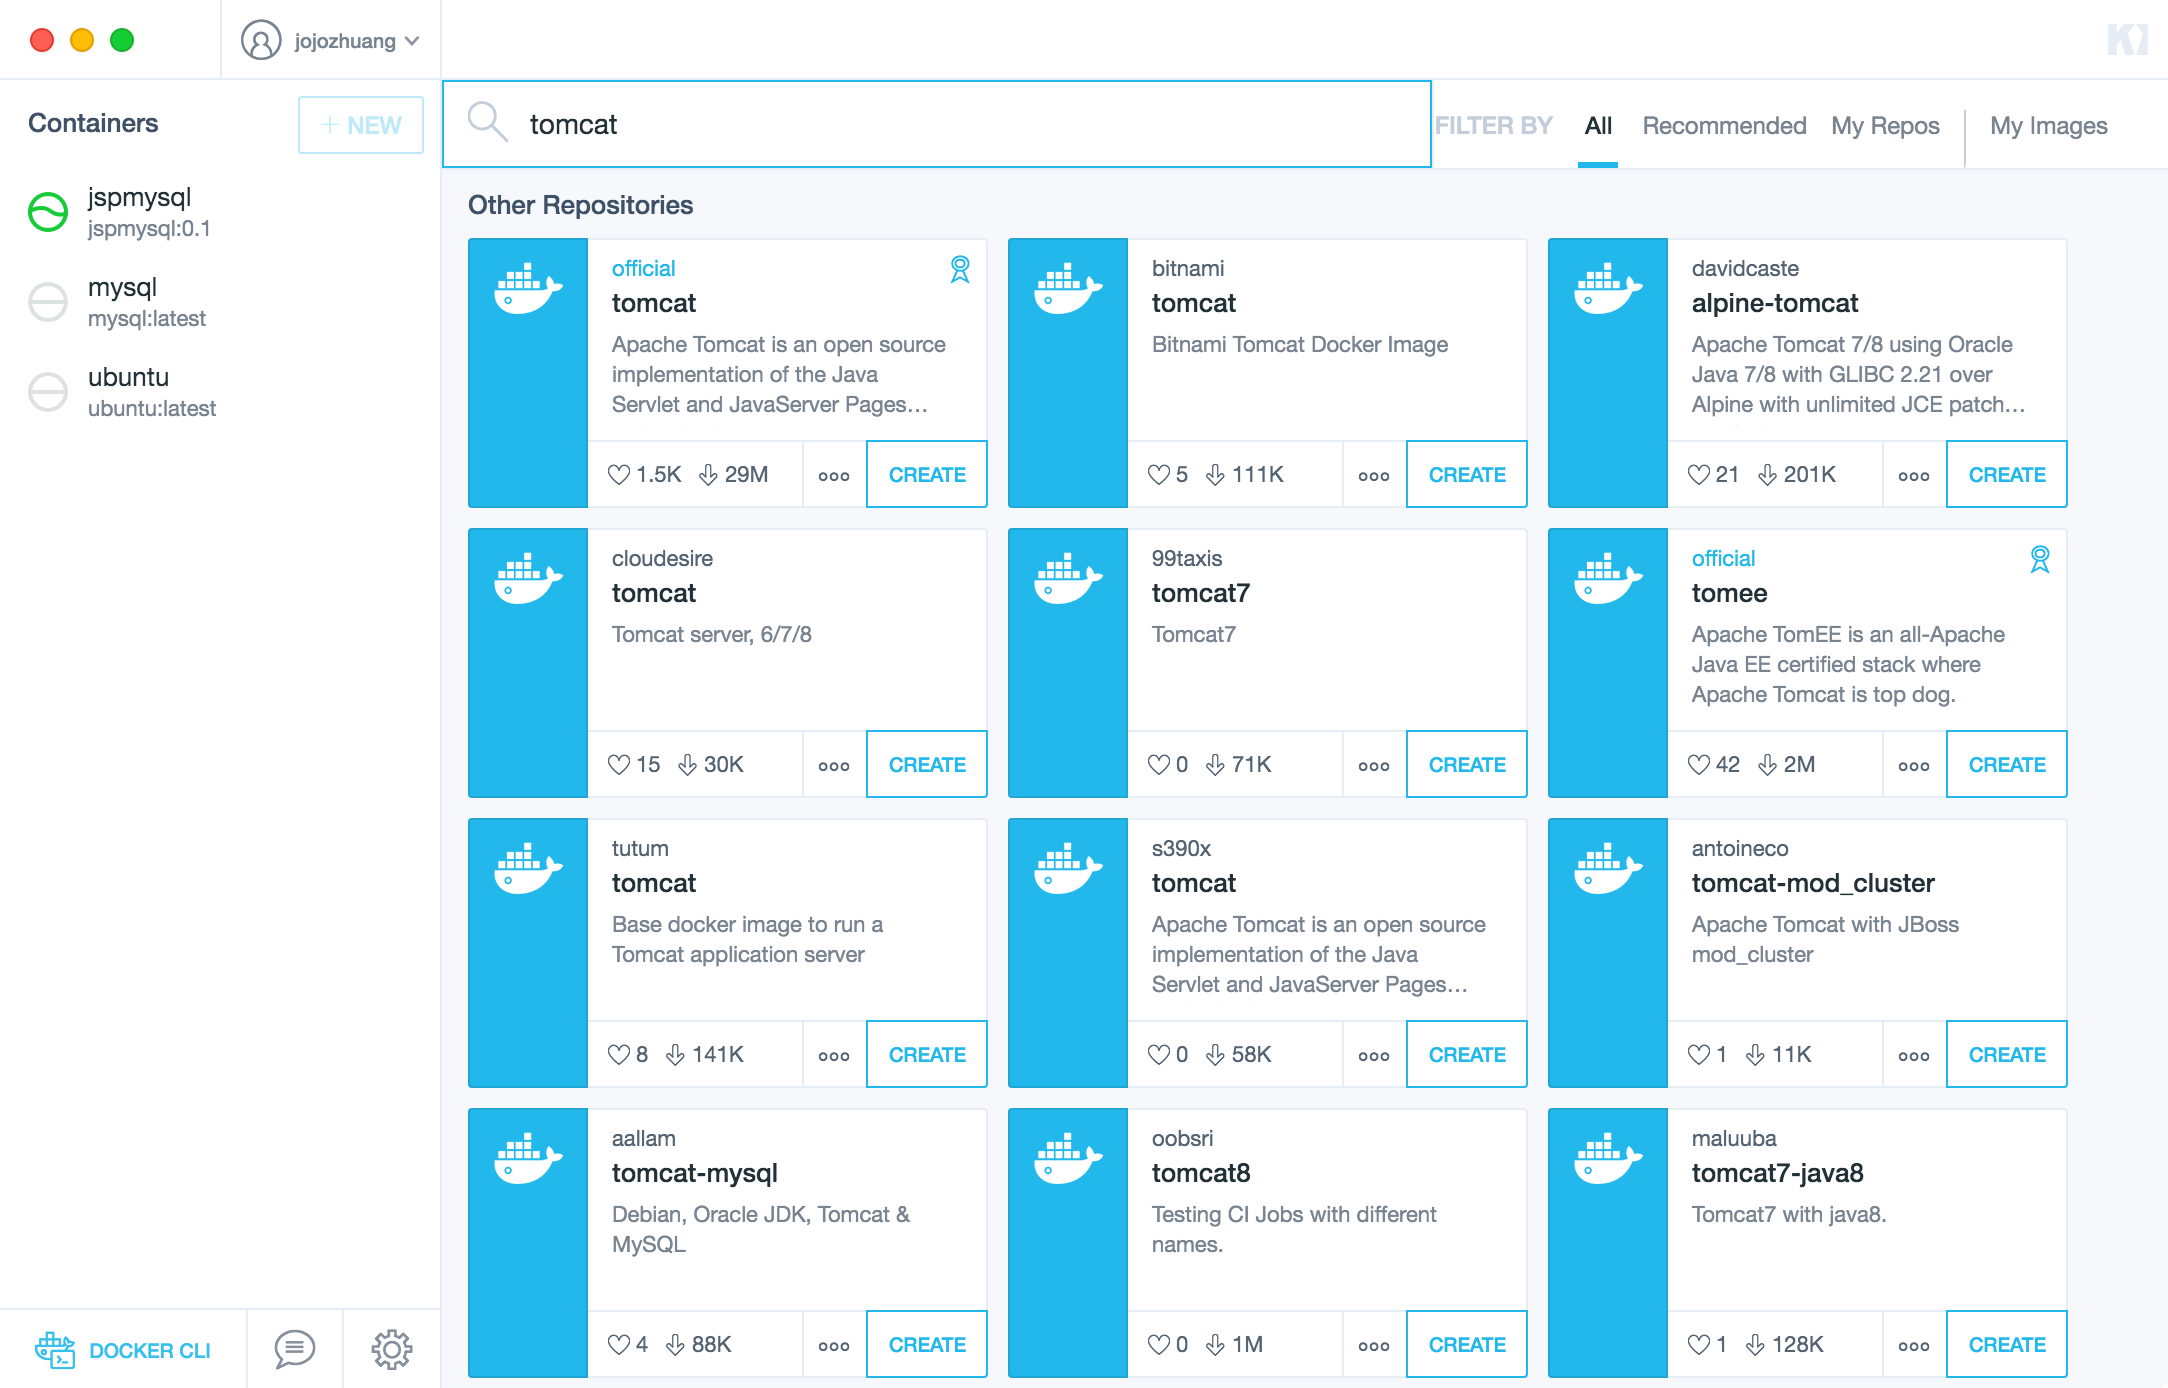
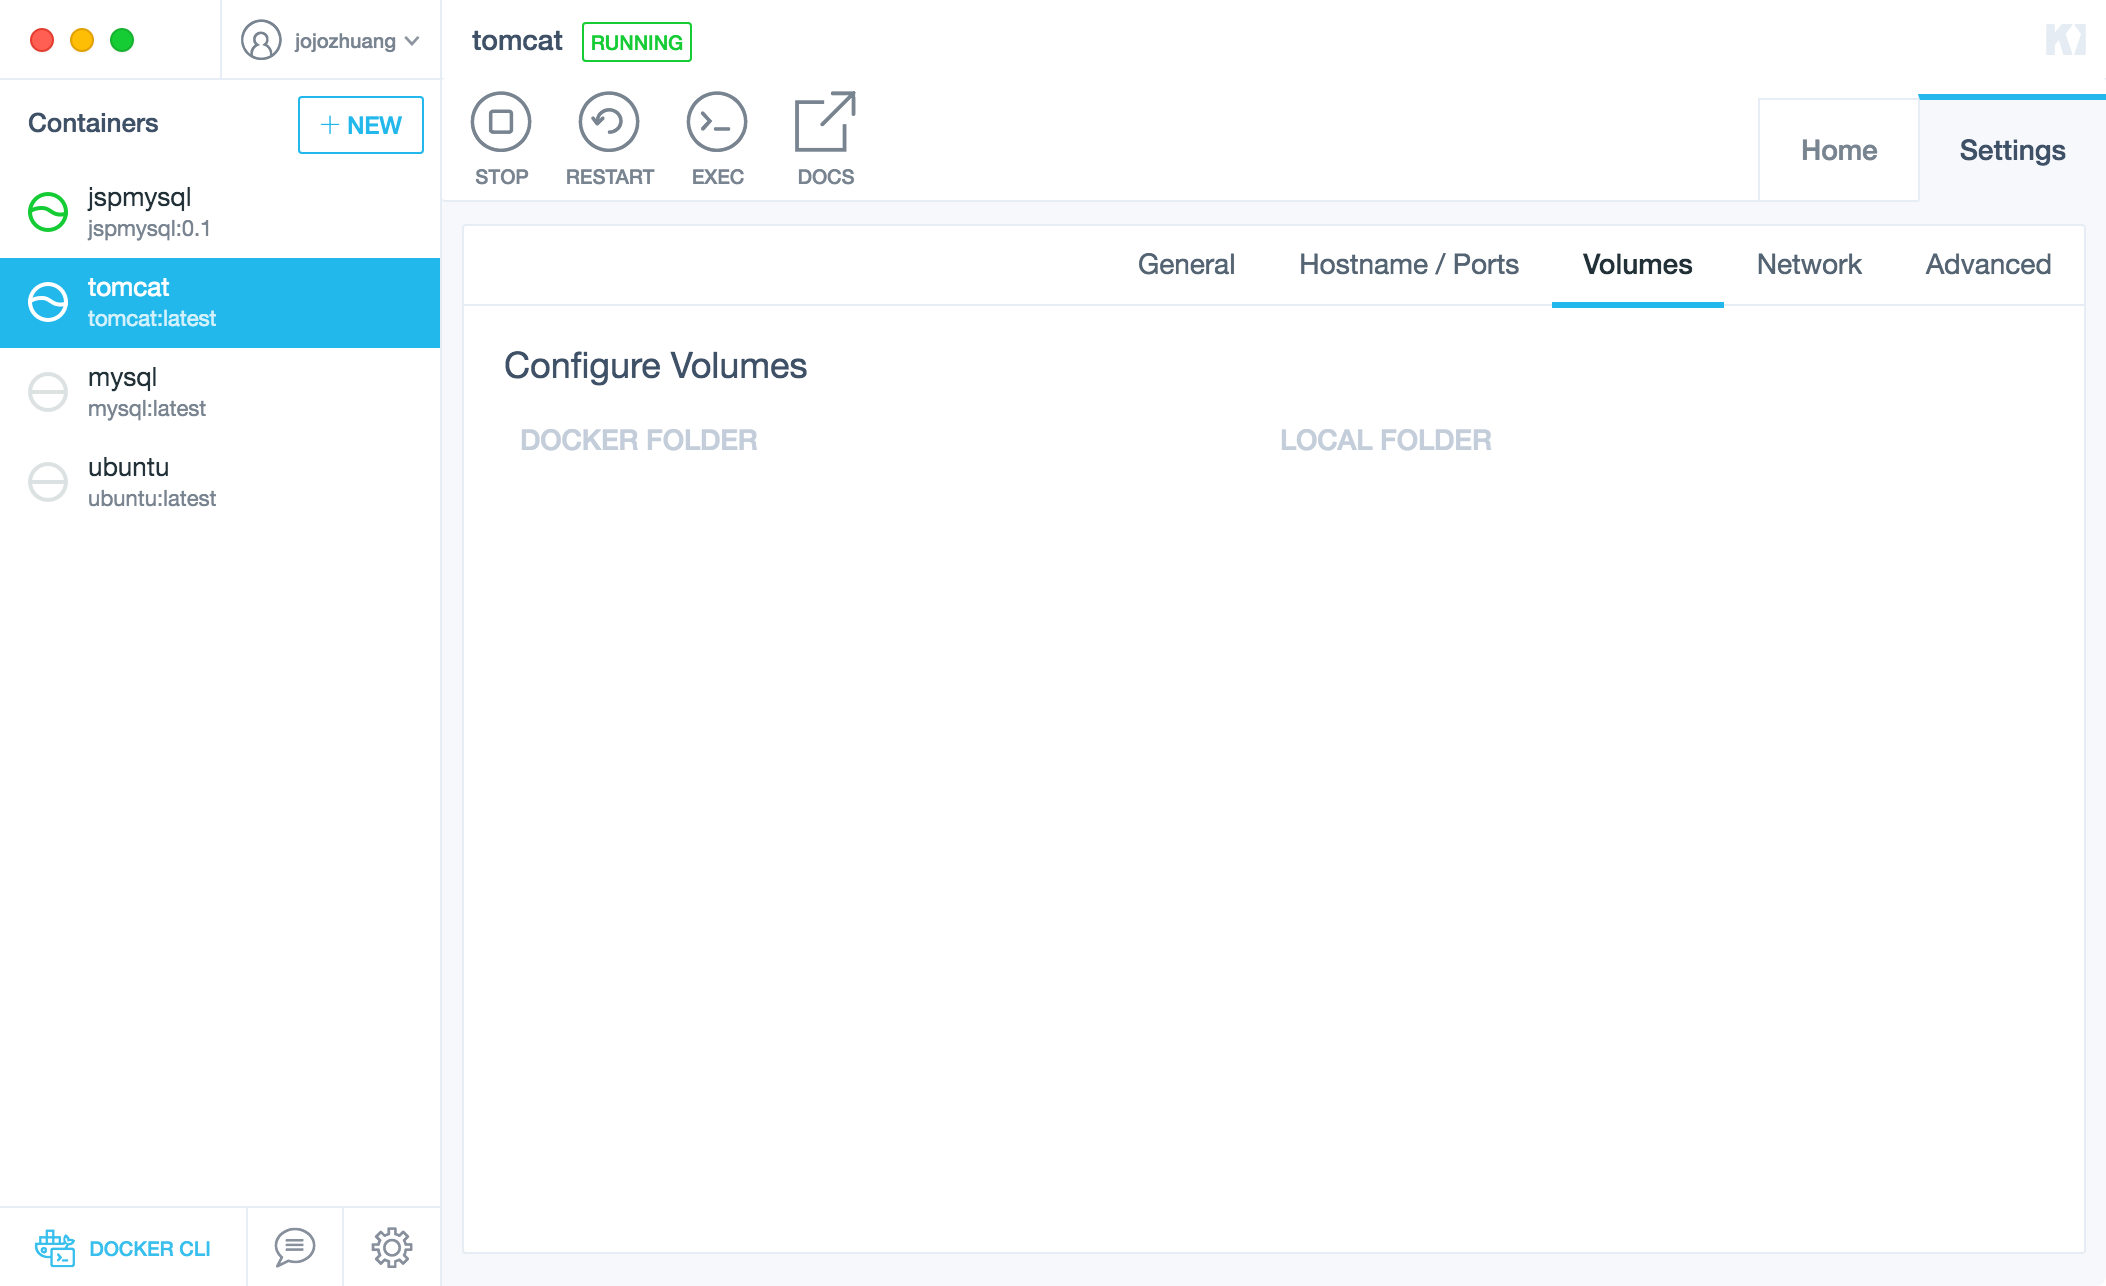
In Kitematic, Search ‘tomcat’, Click on the ‘CREATE’ button of the official Tomcat image.
Kitematic will download (also known as pull the image) the tomcat image from the Docker Hub immediately.
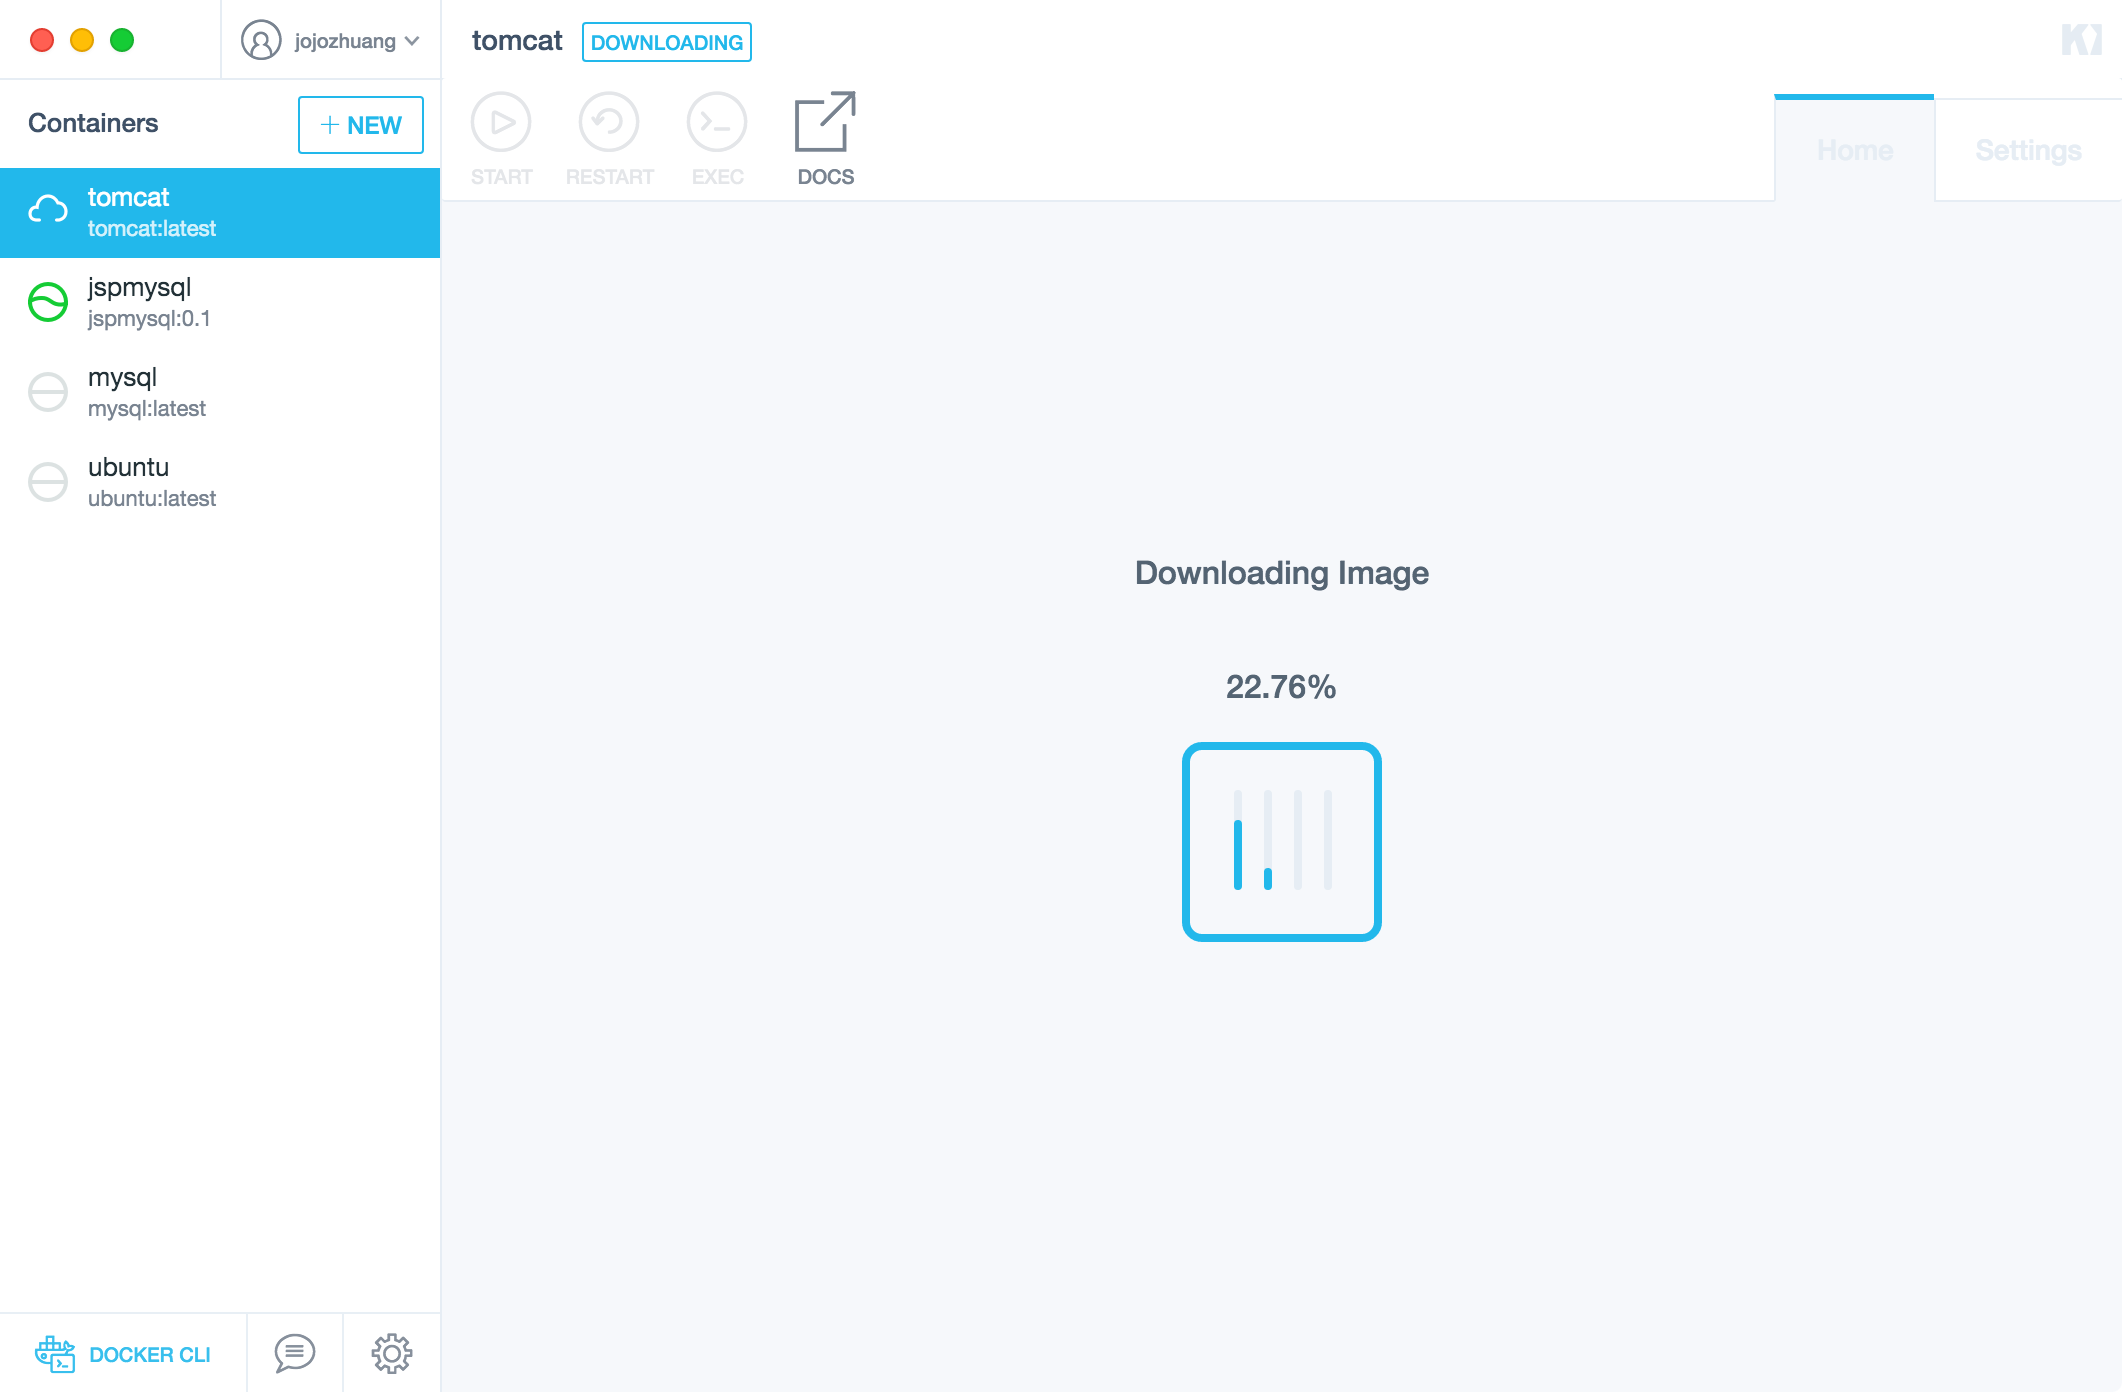
Once it’s done, Kitematic will run a Docker Tomcat container with this image. A Tomcat web server starts up, it is ready to serve website data to your Mac.

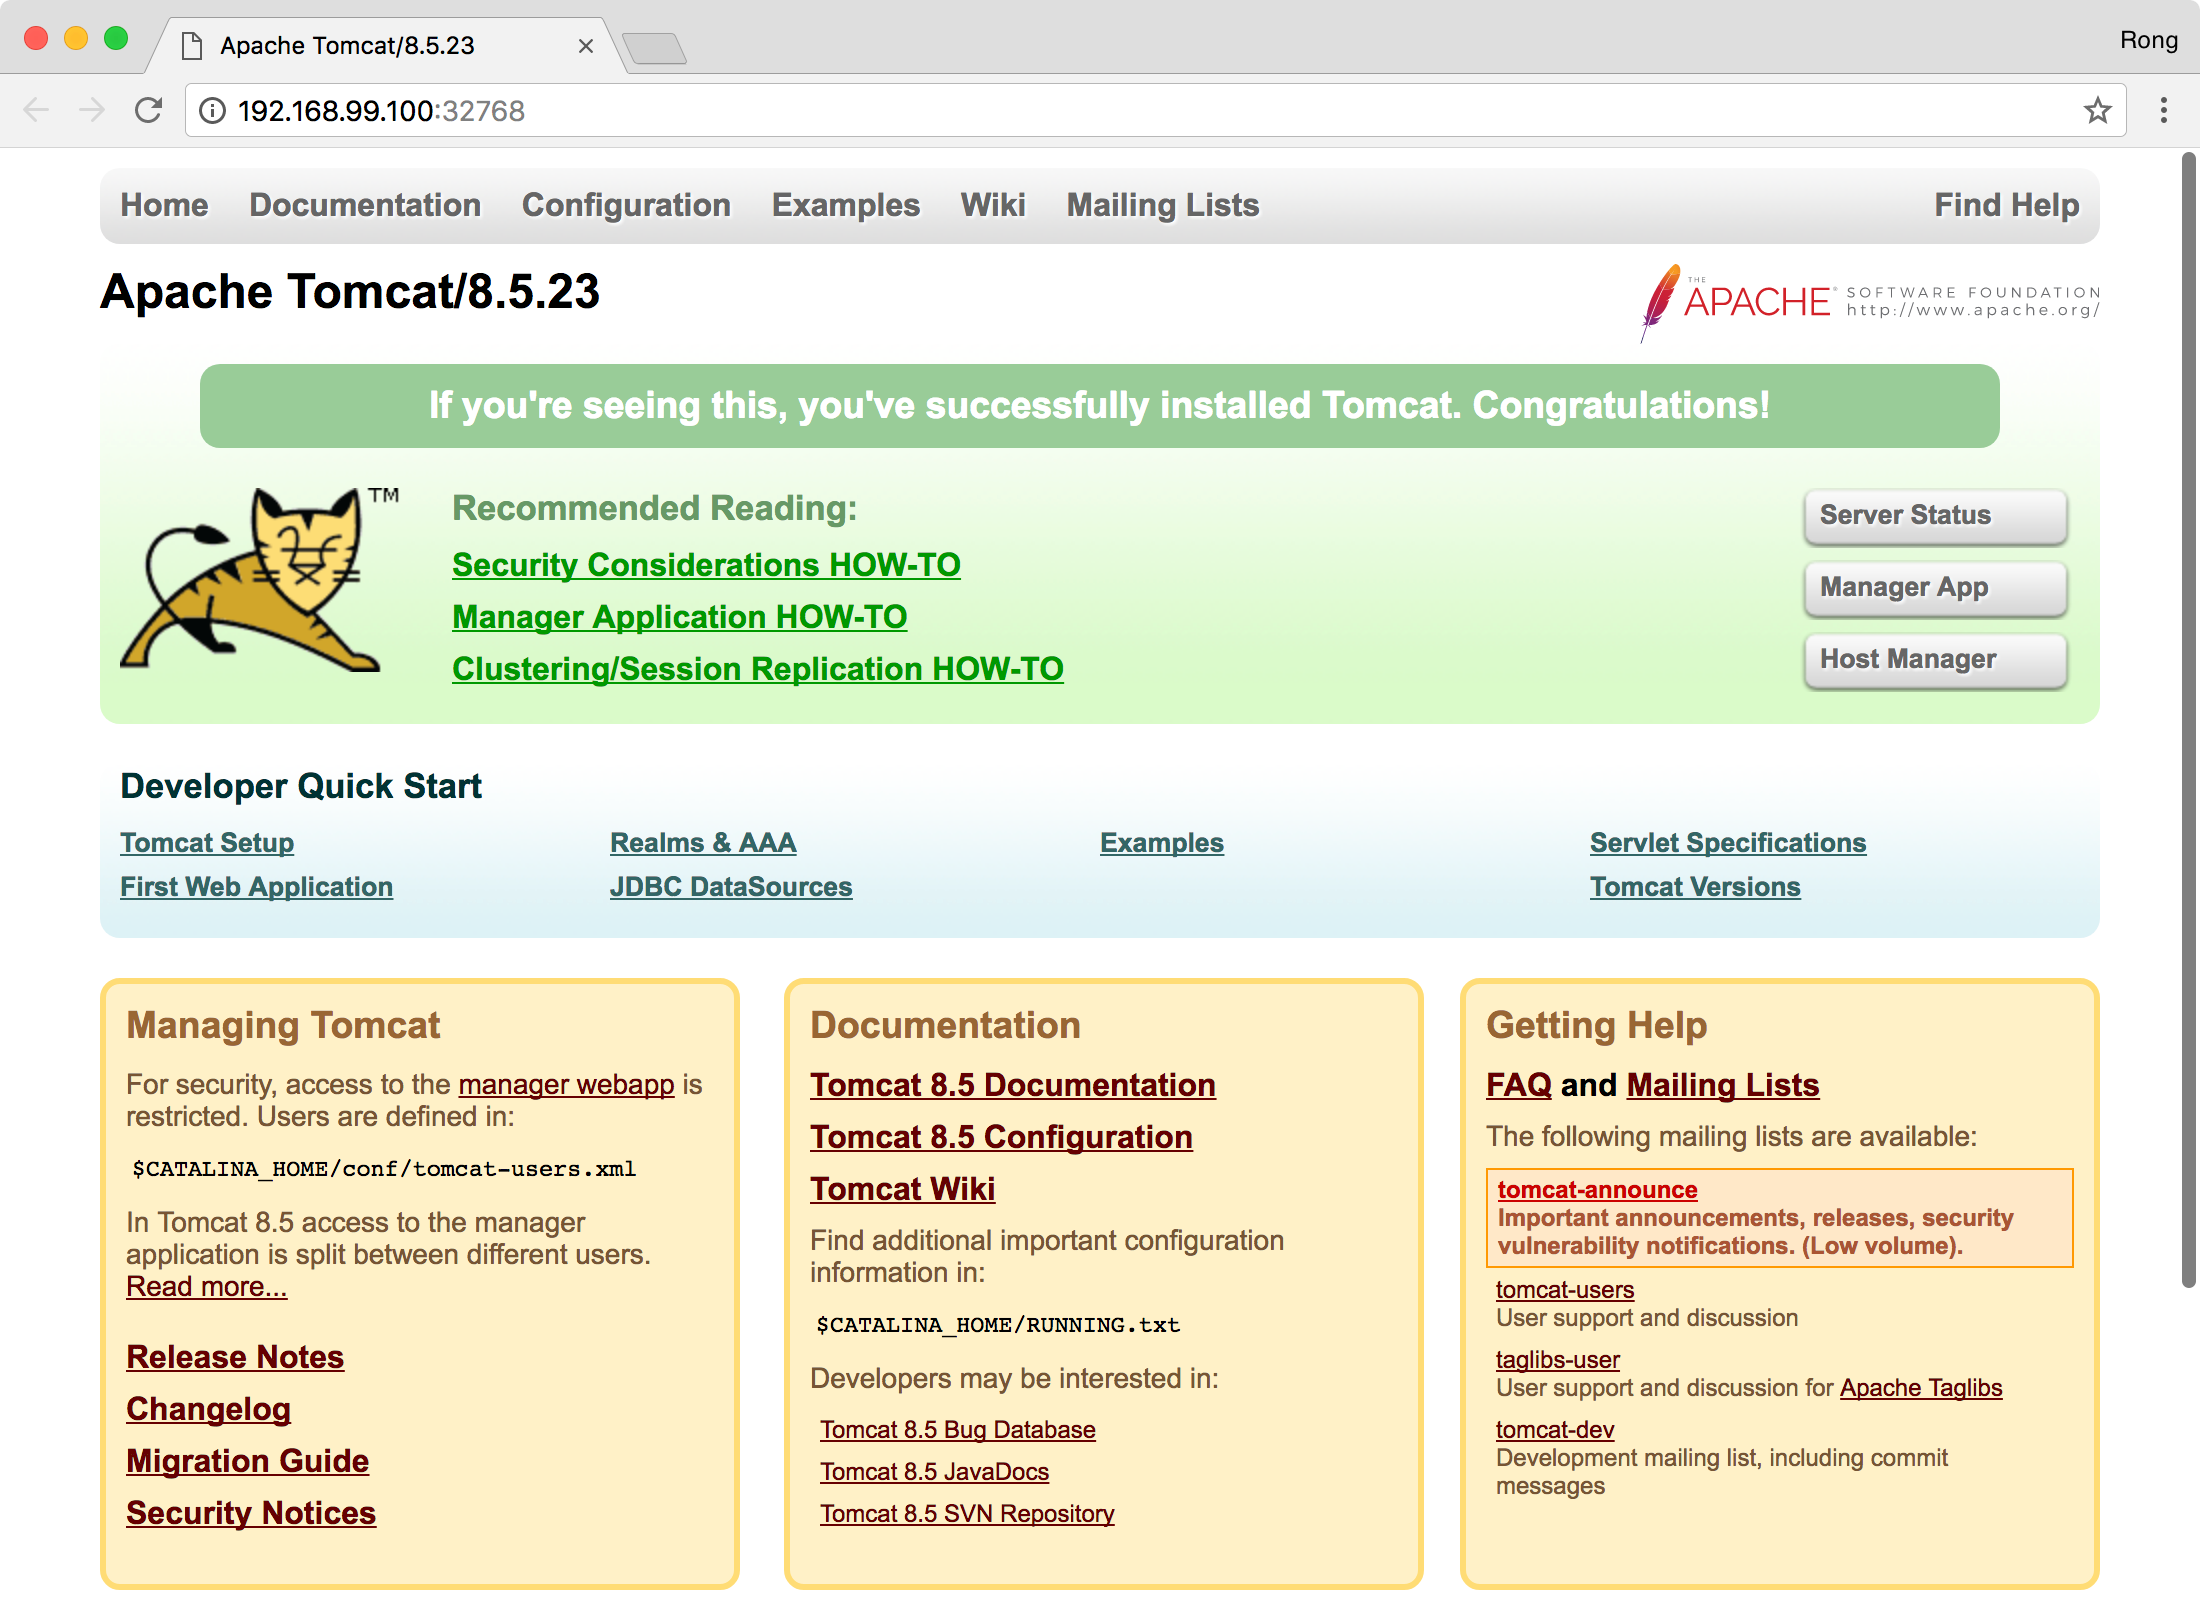
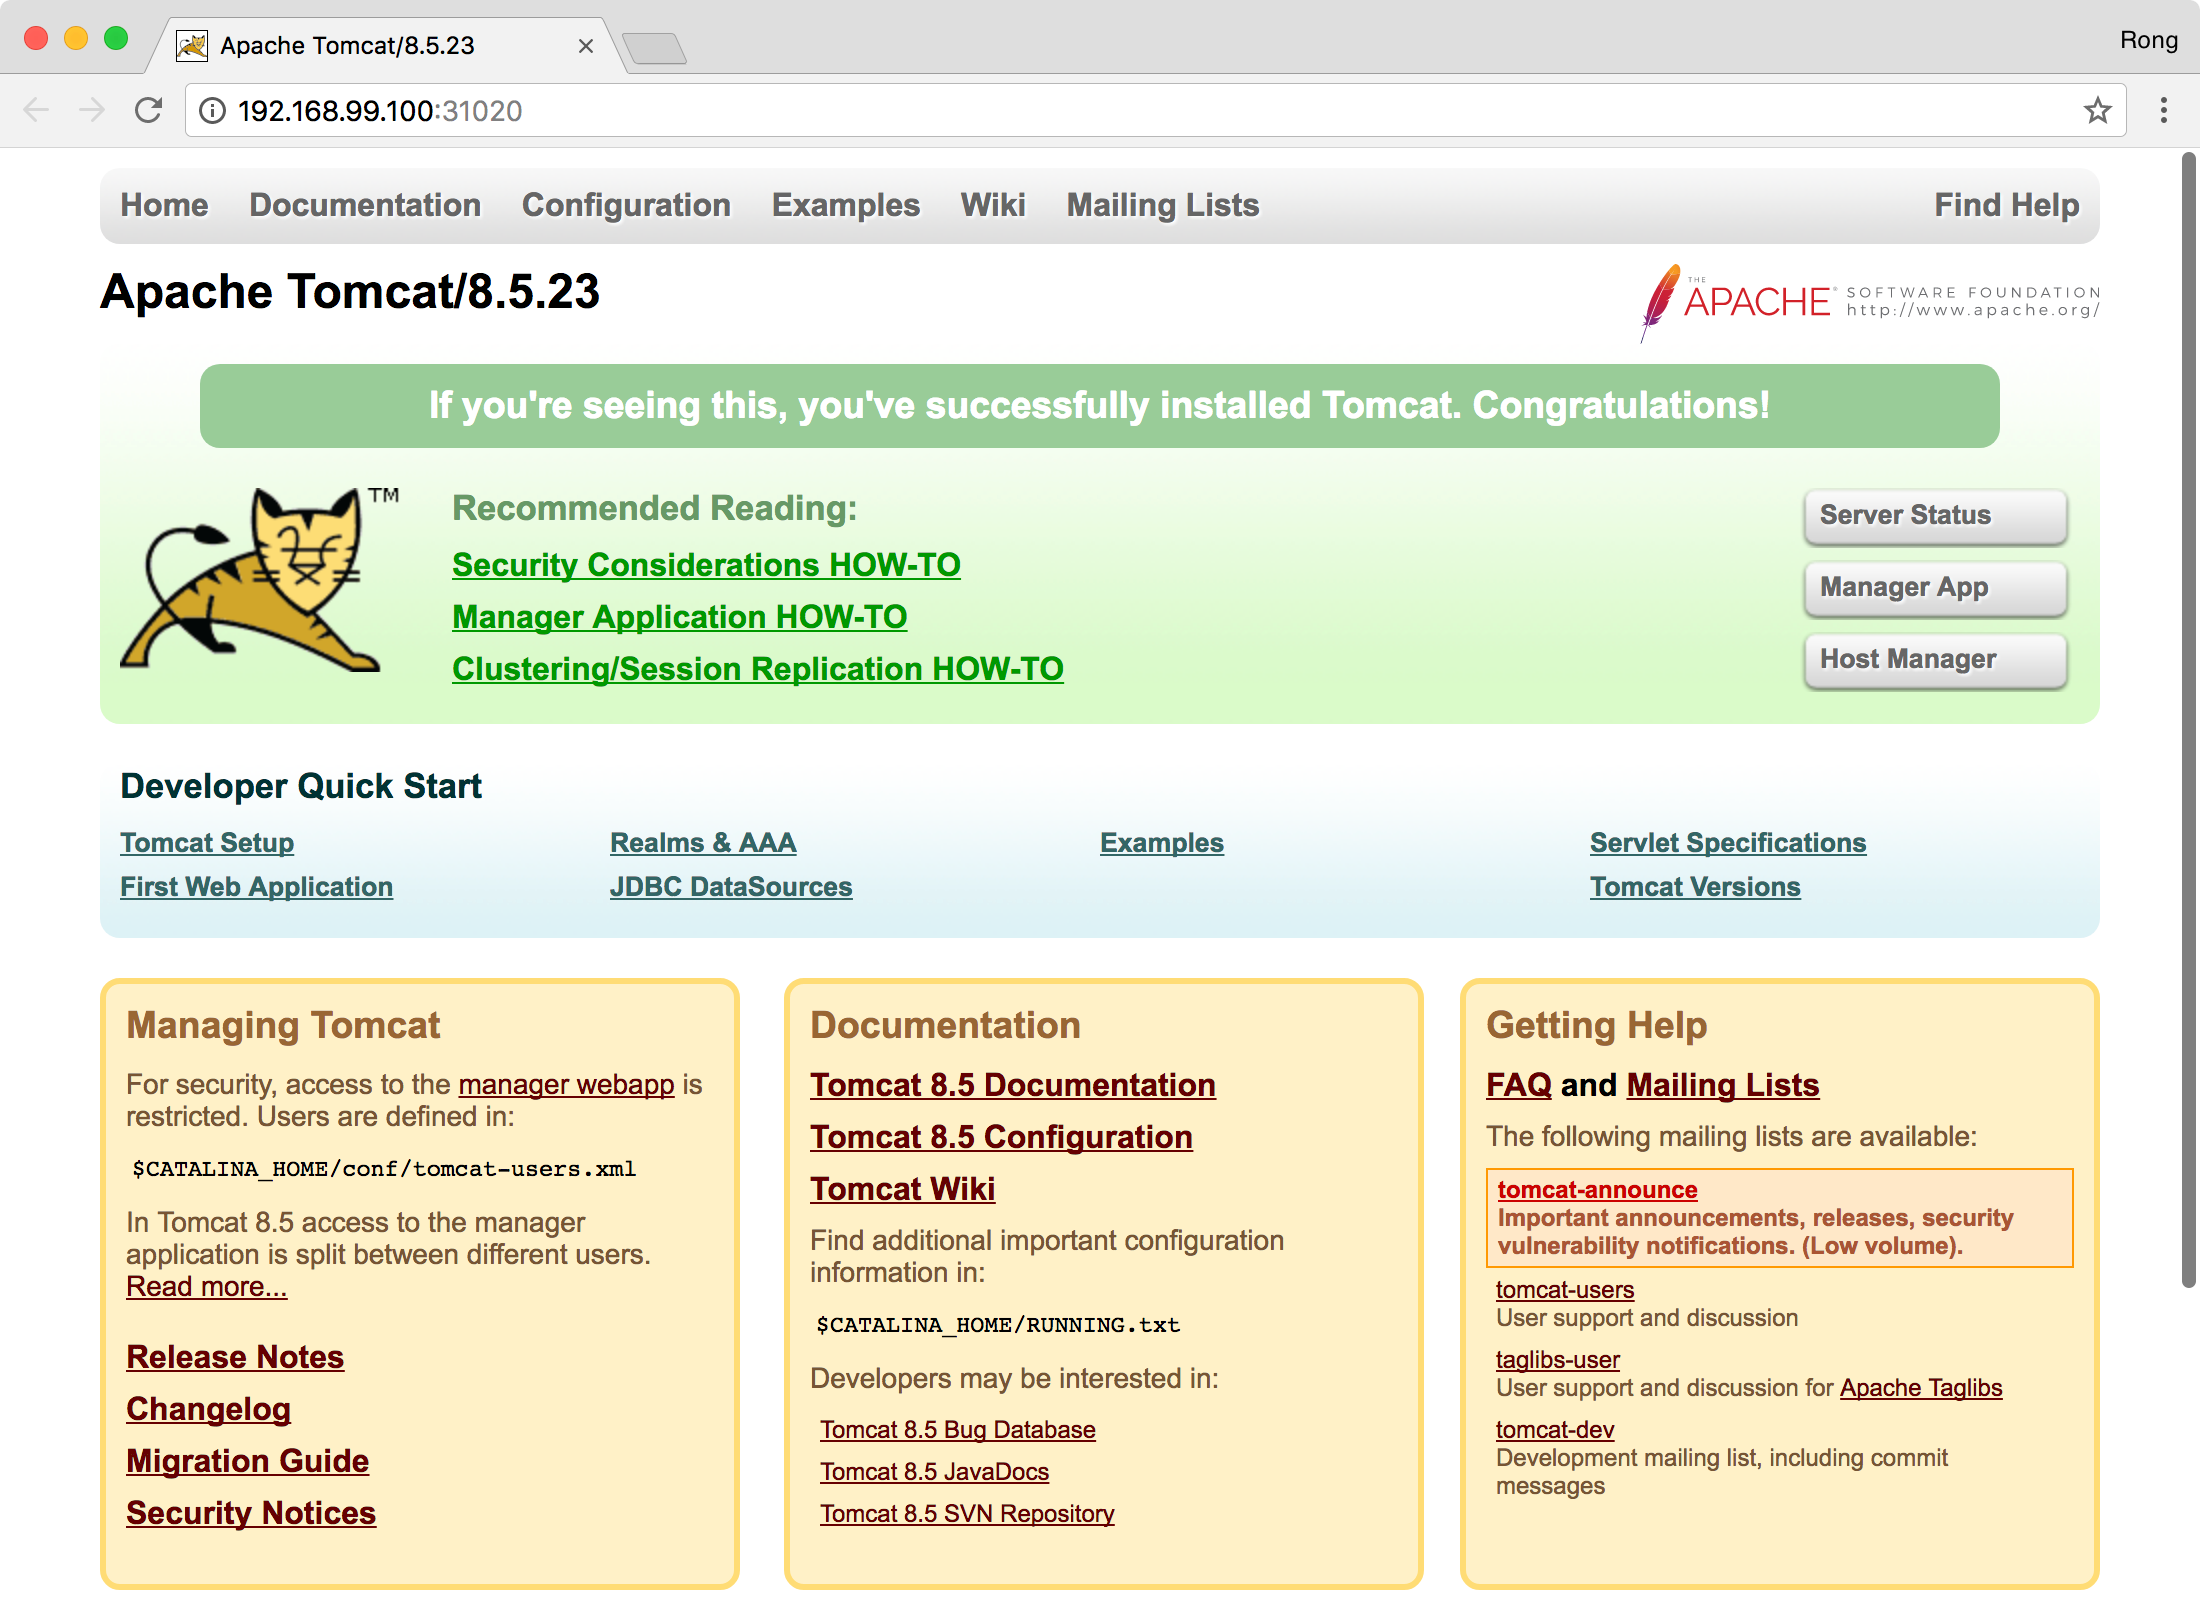
Click on the preview button to see the result in web browser. If you see the following web page, it means tomcat is working properly.
There is one issue with this Tomcat container, volume is not configured.
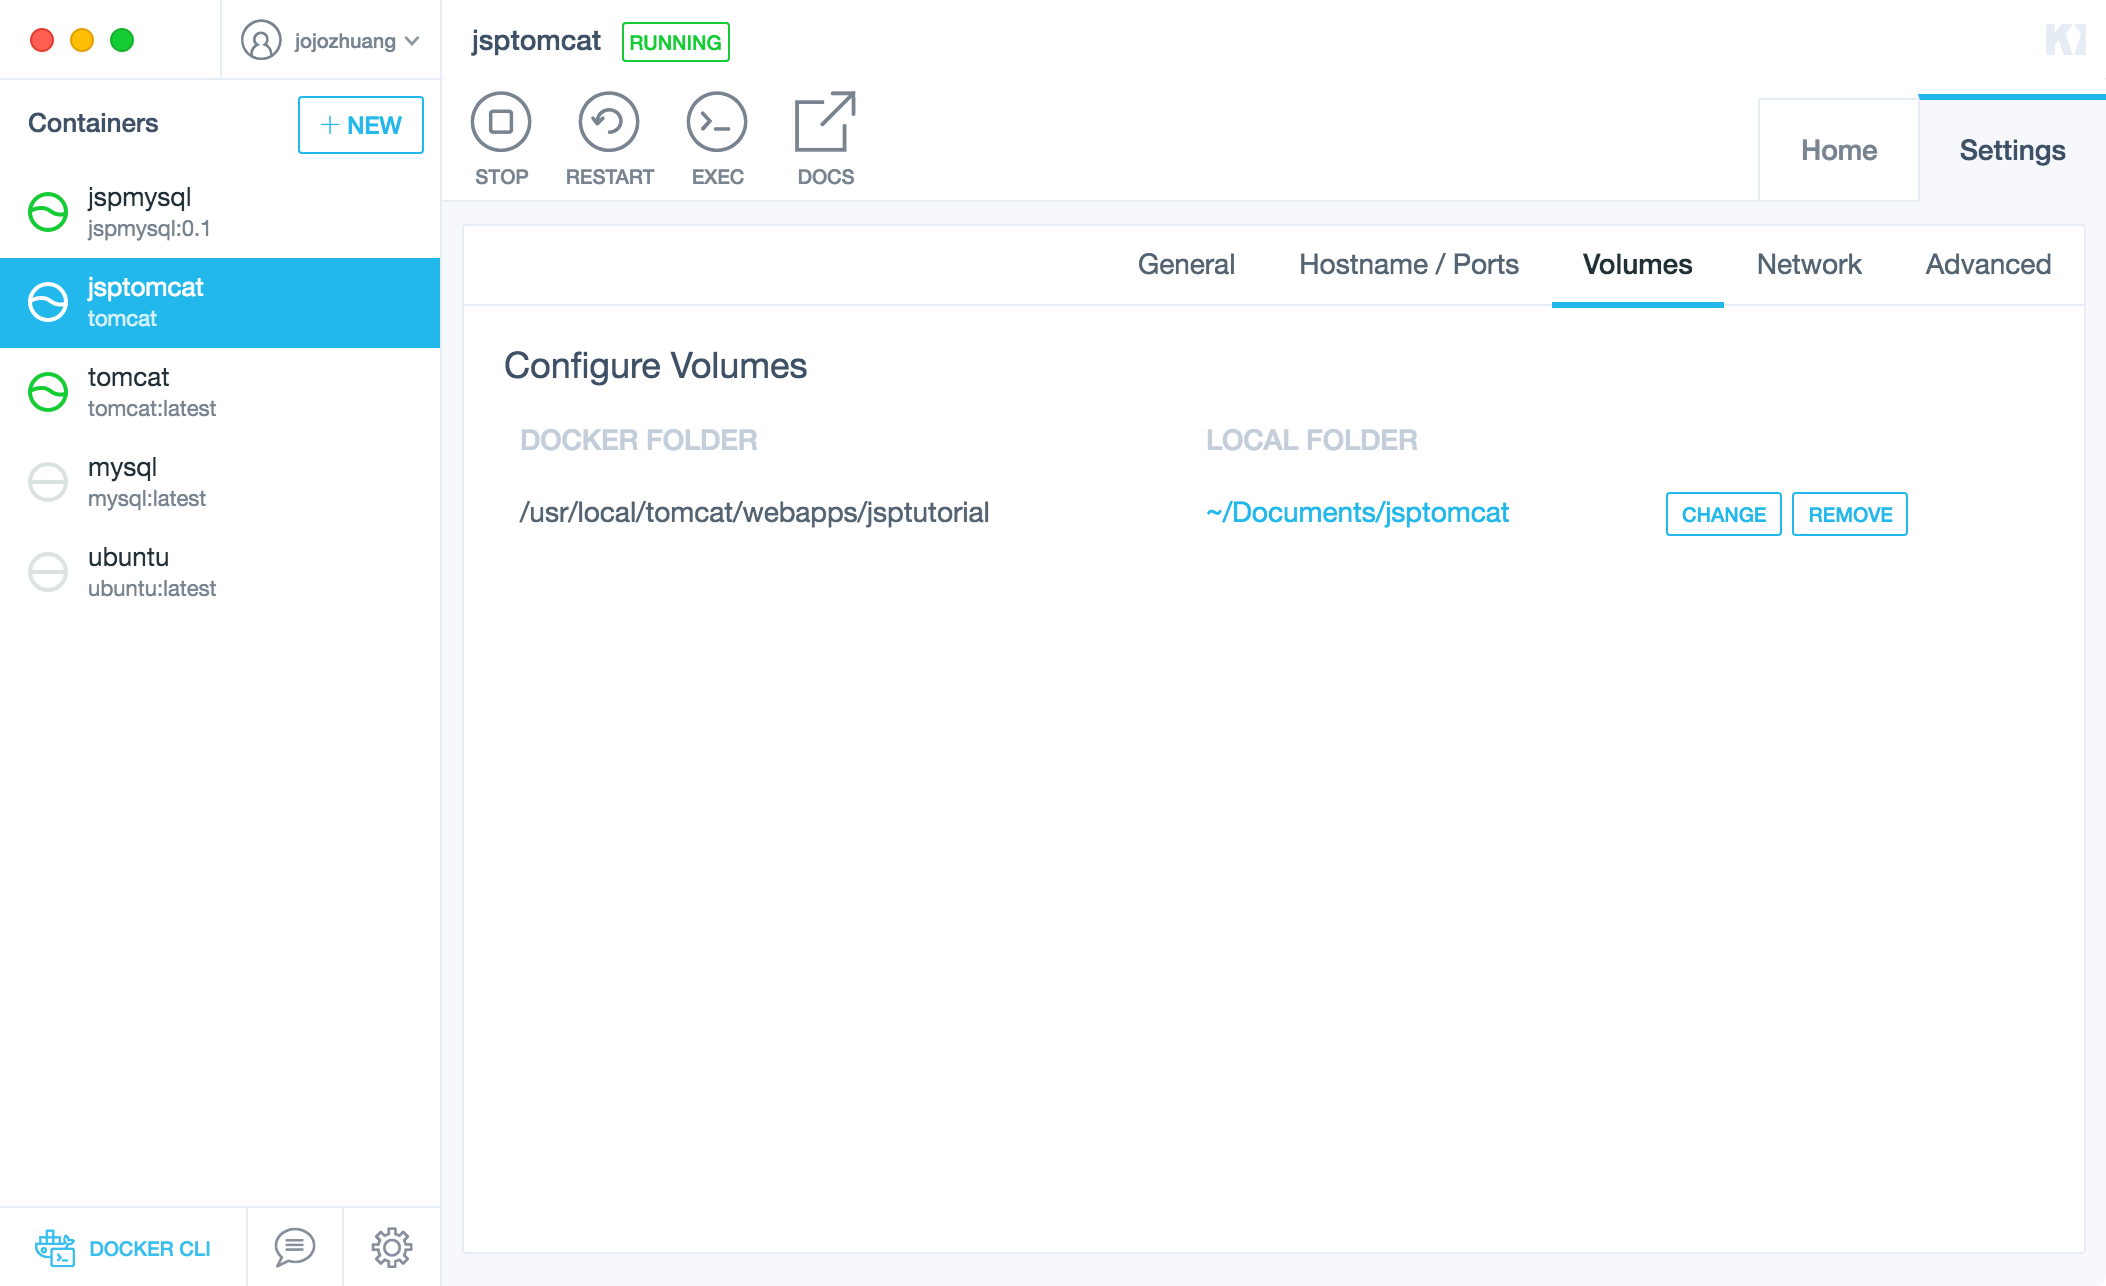
2.2 Creating Tomcat Container with Bindmounting a Volume
Let’s manually create another Tomcat container for the same tomcat image. In docker terminal, run the following command.
$ docker run --name=jsptomcat -d -v ~/Documents/jsptomcat:/usr/local/tomcat/webapps/jsptutorial -p 31020:8080 tomcat
Let’s take a moment to examine this command in detail:
- –name=
jsptomcatnames the container so we can refer to it more easily. - -d detaches the process and runs in the background. Otherwise, we would just be watching an empty Tomcat prompt and wouldn’t be able to use this terminal until we killed Tomcat.
- -v ~/Documents/jsptomcat:/usr/local/tomcat/webapps/jsptutorial Sets up a bindmount volume that links the
/usr/local/tomcat/webapps/jsptutorialdirectory from inside the Tomcat container to the~/Documents/jsptomcatdirectory on the host machine. Docker uses a:to split the host’s path from the container path, and the host path always comes first. - -p 31020:8080 sets up a port forward. The Tomcat container is listening on port
8080by default. This flag maps the container’s port 8080 to port31020on the host system. - tomcat specifies that the container should be built from the tomcat image.
Switch to Kitematic, the new container is running with Volume configured.
Click on the preview button of the new container. You will see a same Tomcat welcome page. Notice, the port is different with the previous one. They are running in different tomcat containers.
3. Preparing JSP Application
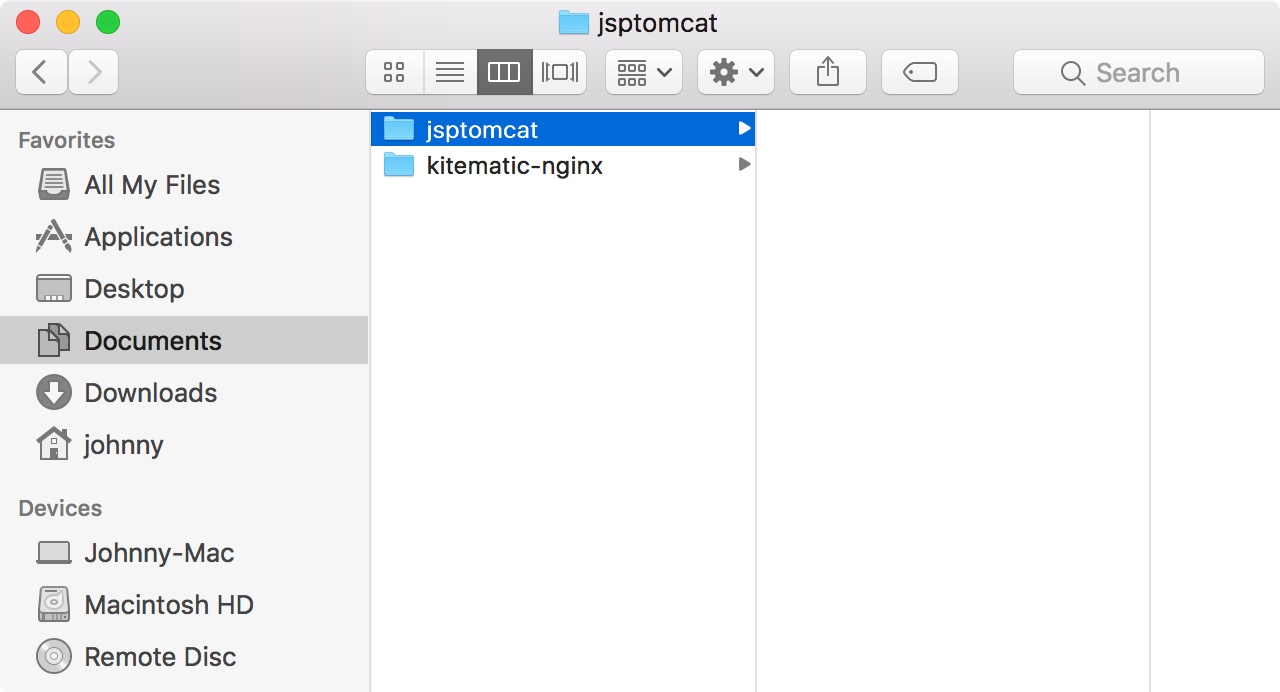
3.1 Creating Folder for Volume in Host
Open directory ~/Documents/ in your host machine, you will find jsptomcat is created automatically.
3.2 Publishing JSP Application
We will use the same JSP application for Creating MySQL Image with Docker File. Download the source files from My Github, and build the project.
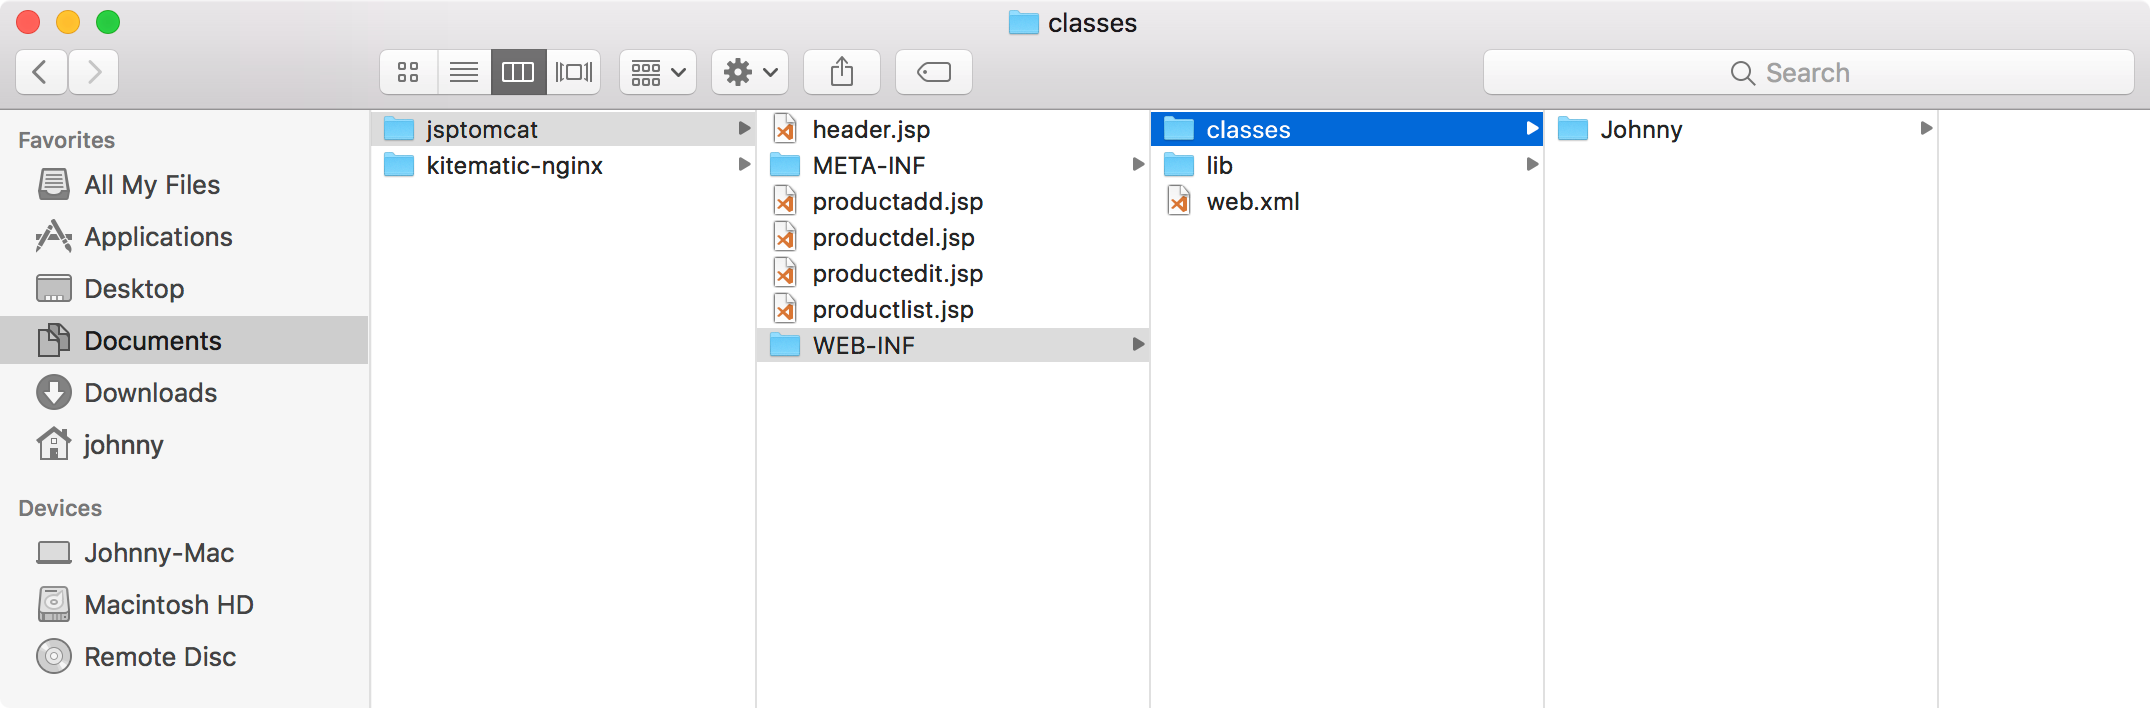
1) Copy all of the files from /JSPTutorialDockerfile/WebContent/ to ~/Documents/jsptomcat/.
2) Copy the entire ‘classes’ folder from /JSPTutorialDockerfile/build/ to ~/Documents/jsptomcat/WEB-INF/.
3) The final structure of the volume folder looks like below. All the files for this JSP Tutorial application are deployed.
3.3 Checking webapps Directory in Tomcat Container
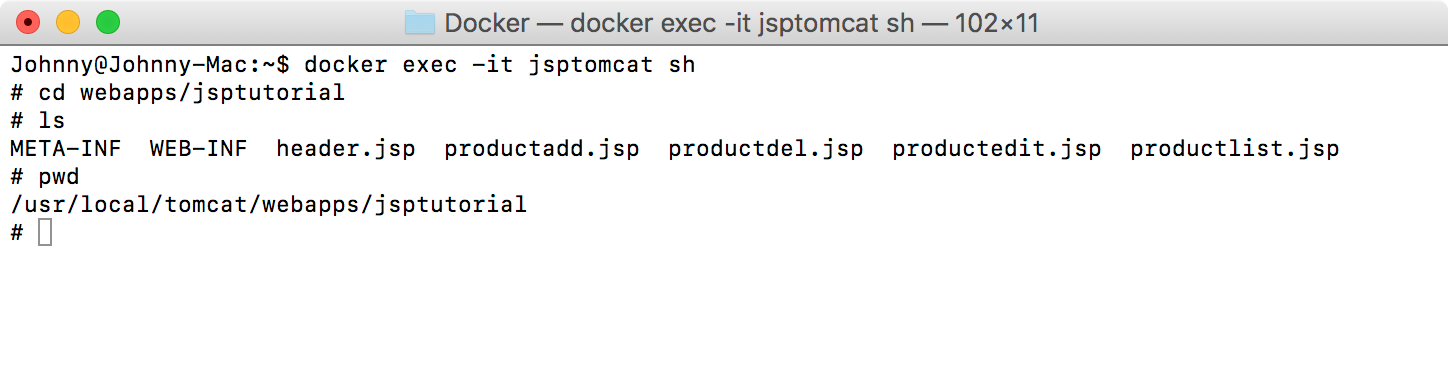
Inspect to tomcat container, and navigate to the default web folder of tomcat.
$ docker exec -it jsptomcat sh
$ cd webapps/jsptutorial
$ ls
META-INF  WEB-INF  header.jsp  productadd.jsp  productdel.jsp  productedit.jsp	productlist.jsp
$ pwd
/usr/local/tomcat/webapps/jsptutorial
All files are under webapps/jsptutorial directory now.
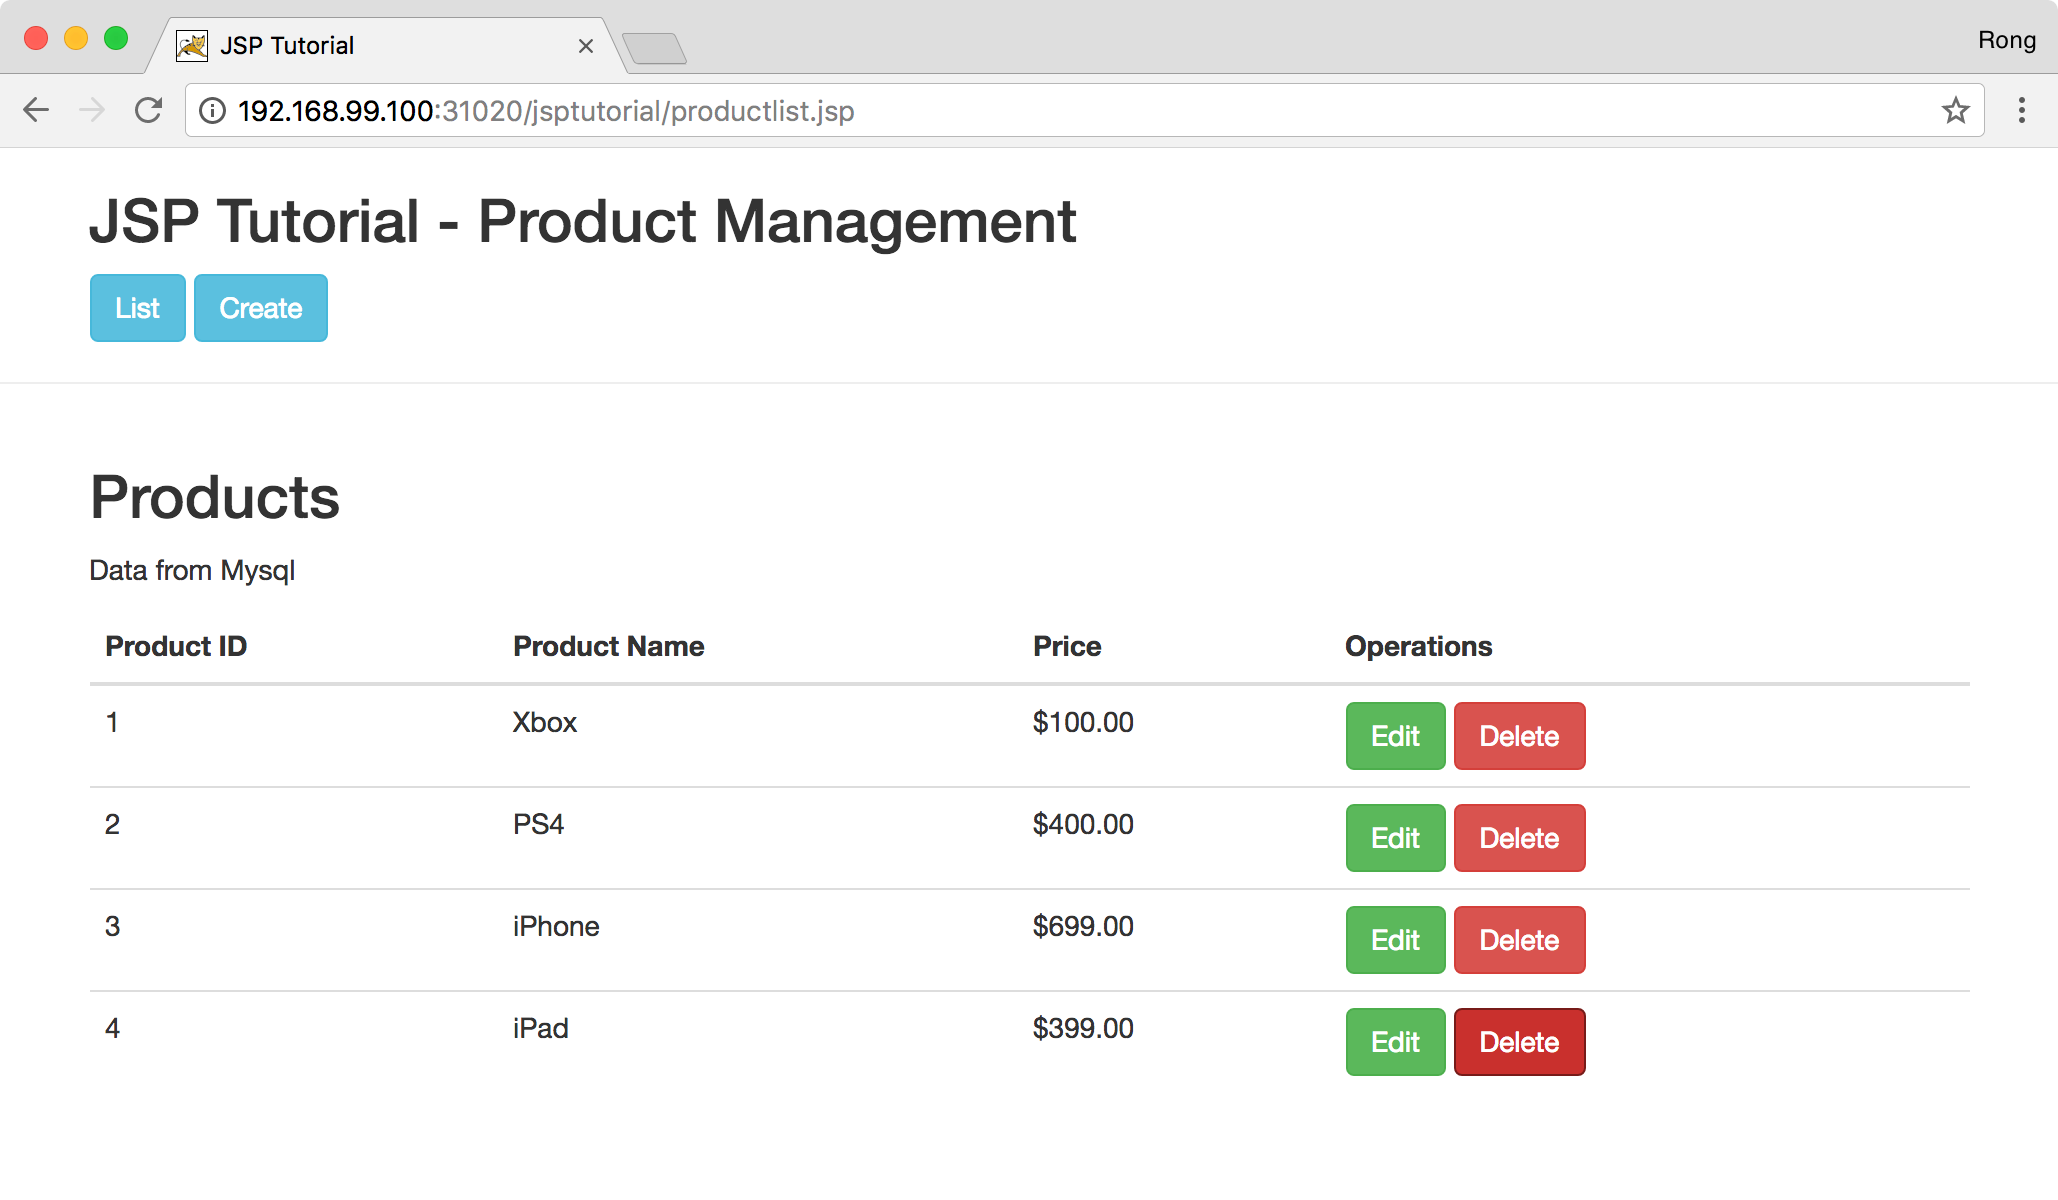
3.4 Accessing JSP Application
Access http://192.168.99.100:31020/jsptutorial/productlist.jsp in web browser. JSP Tutorial application is launched successfully!