3511. Using MySQL Container for JSP ApplicationJSP, MySQL, and Docker
Introduce how to use MySQL docker container as database for JSP Application.
1. Introduction
In the posting Building Website with JSP and MySQL, we created a JSPTutorial application to manage products. This application is hosted on Tomcat web server, and it uses MySQL for storing data. This MySQL database is running on the same machine with Tomcat. Now, I want to setup a Docker container for this MySQL database. So, it can be easily deployed to other machine/server. Some configuration of my JSP application needs to be updated to connect to new address of the MySQL container.
1.1 Database
The instance of MySQL for this JSP application looks like the below structure.
MySQL/
├── jsptutorial
├───── Product
└── root/jsppassword
There is one database named jsptutorial. This database contains one table Product. To access this database, we use root user with password jsppassword.
1.2 Setting Up JSP Project
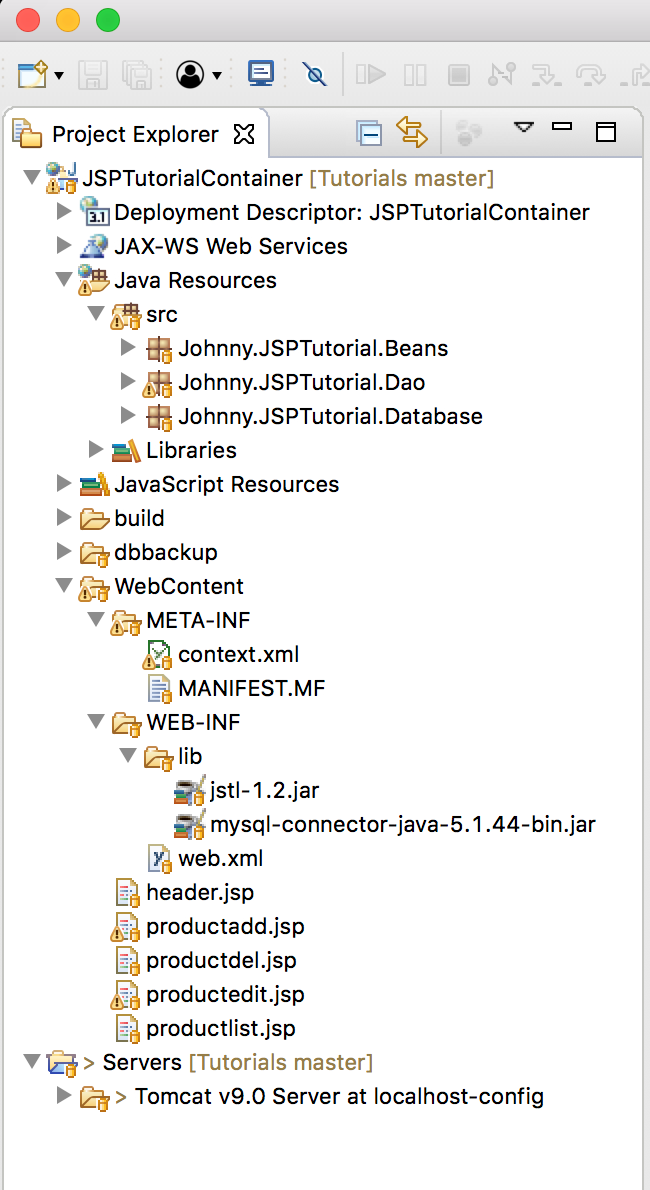
Get the source files of JSPTutorial from GitHub, rename it to JSPTutorialContainer.
The project in Eclipse looks like this.
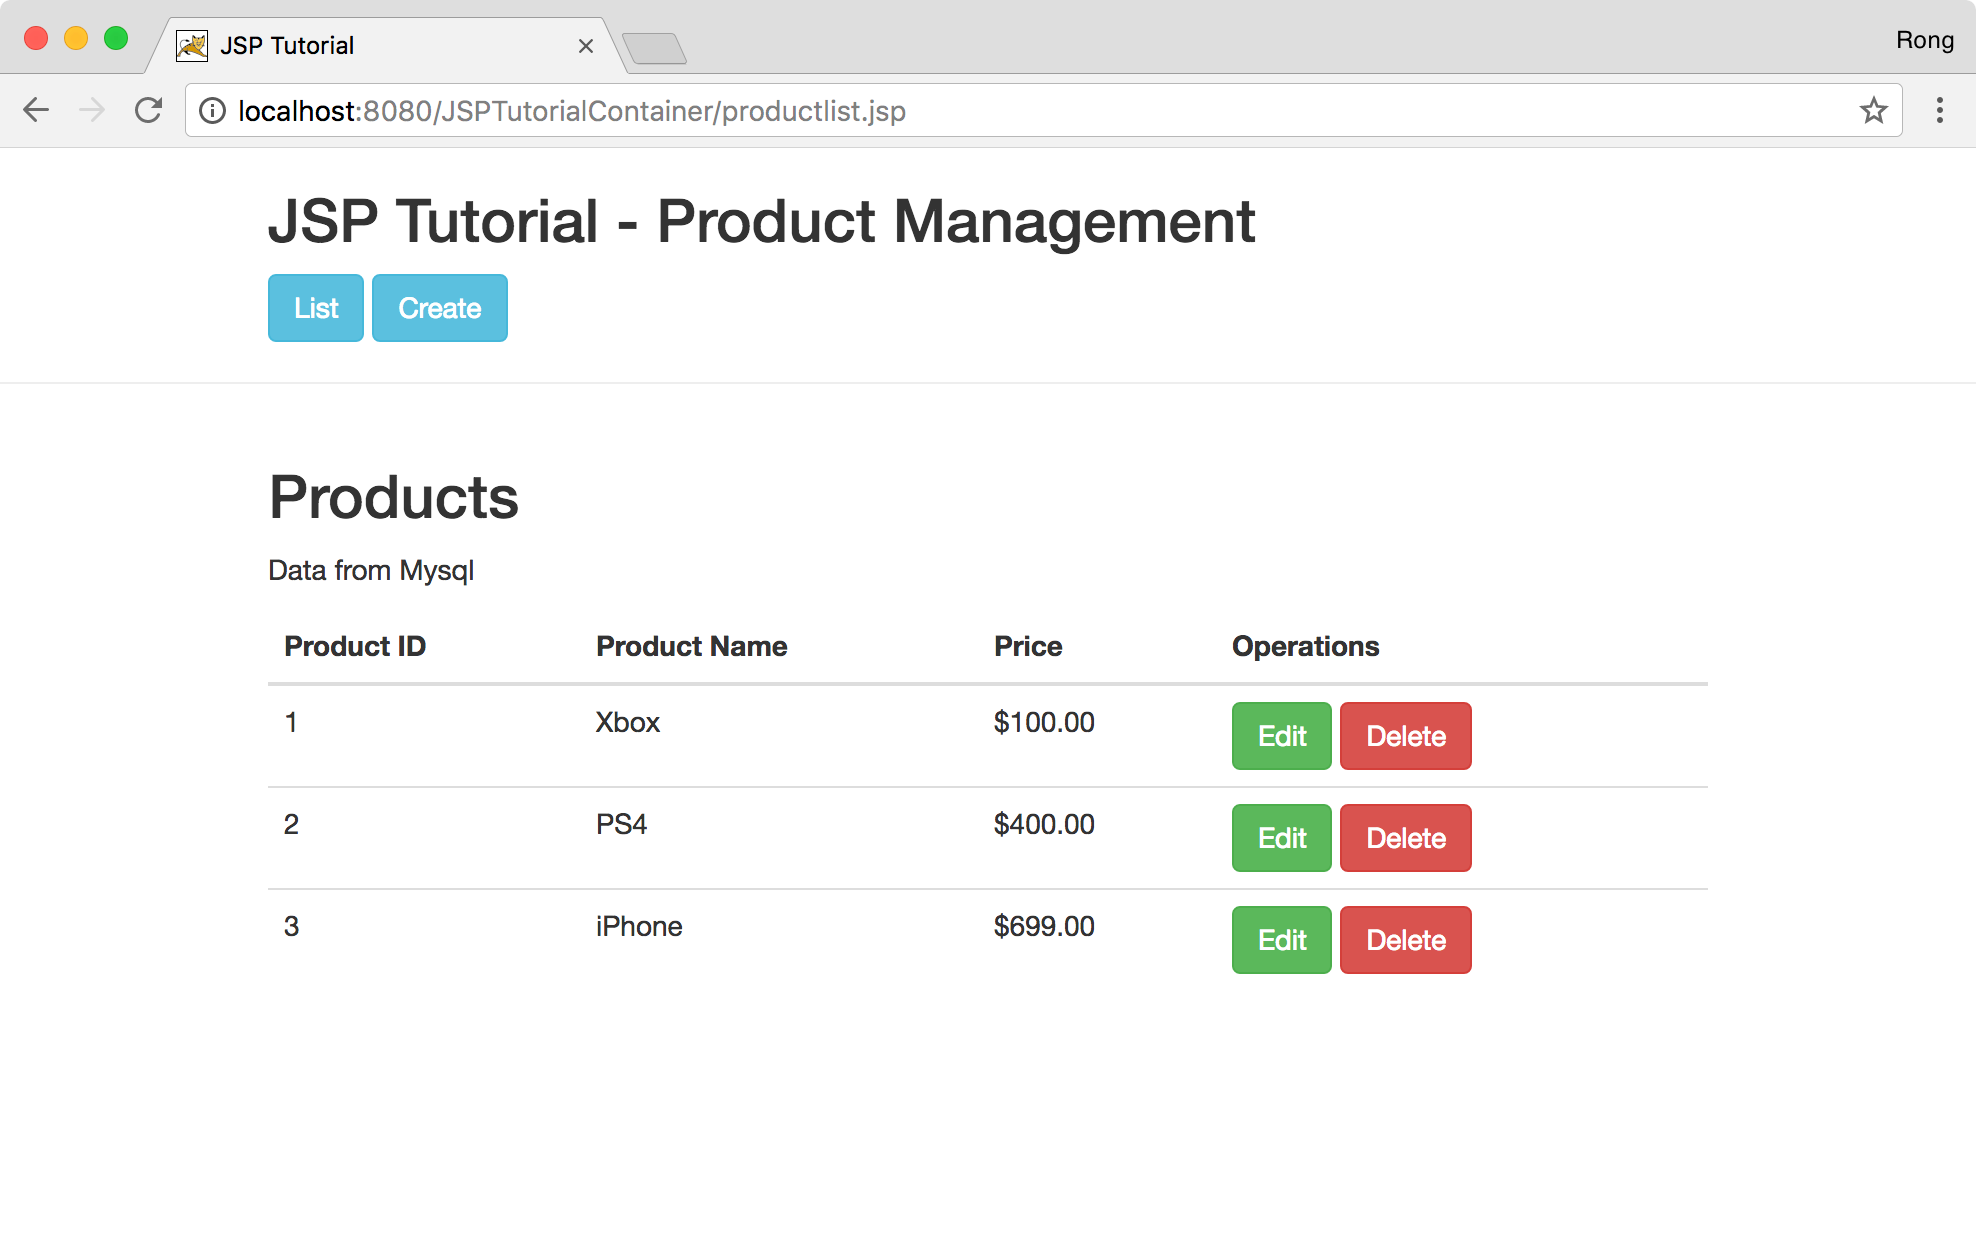
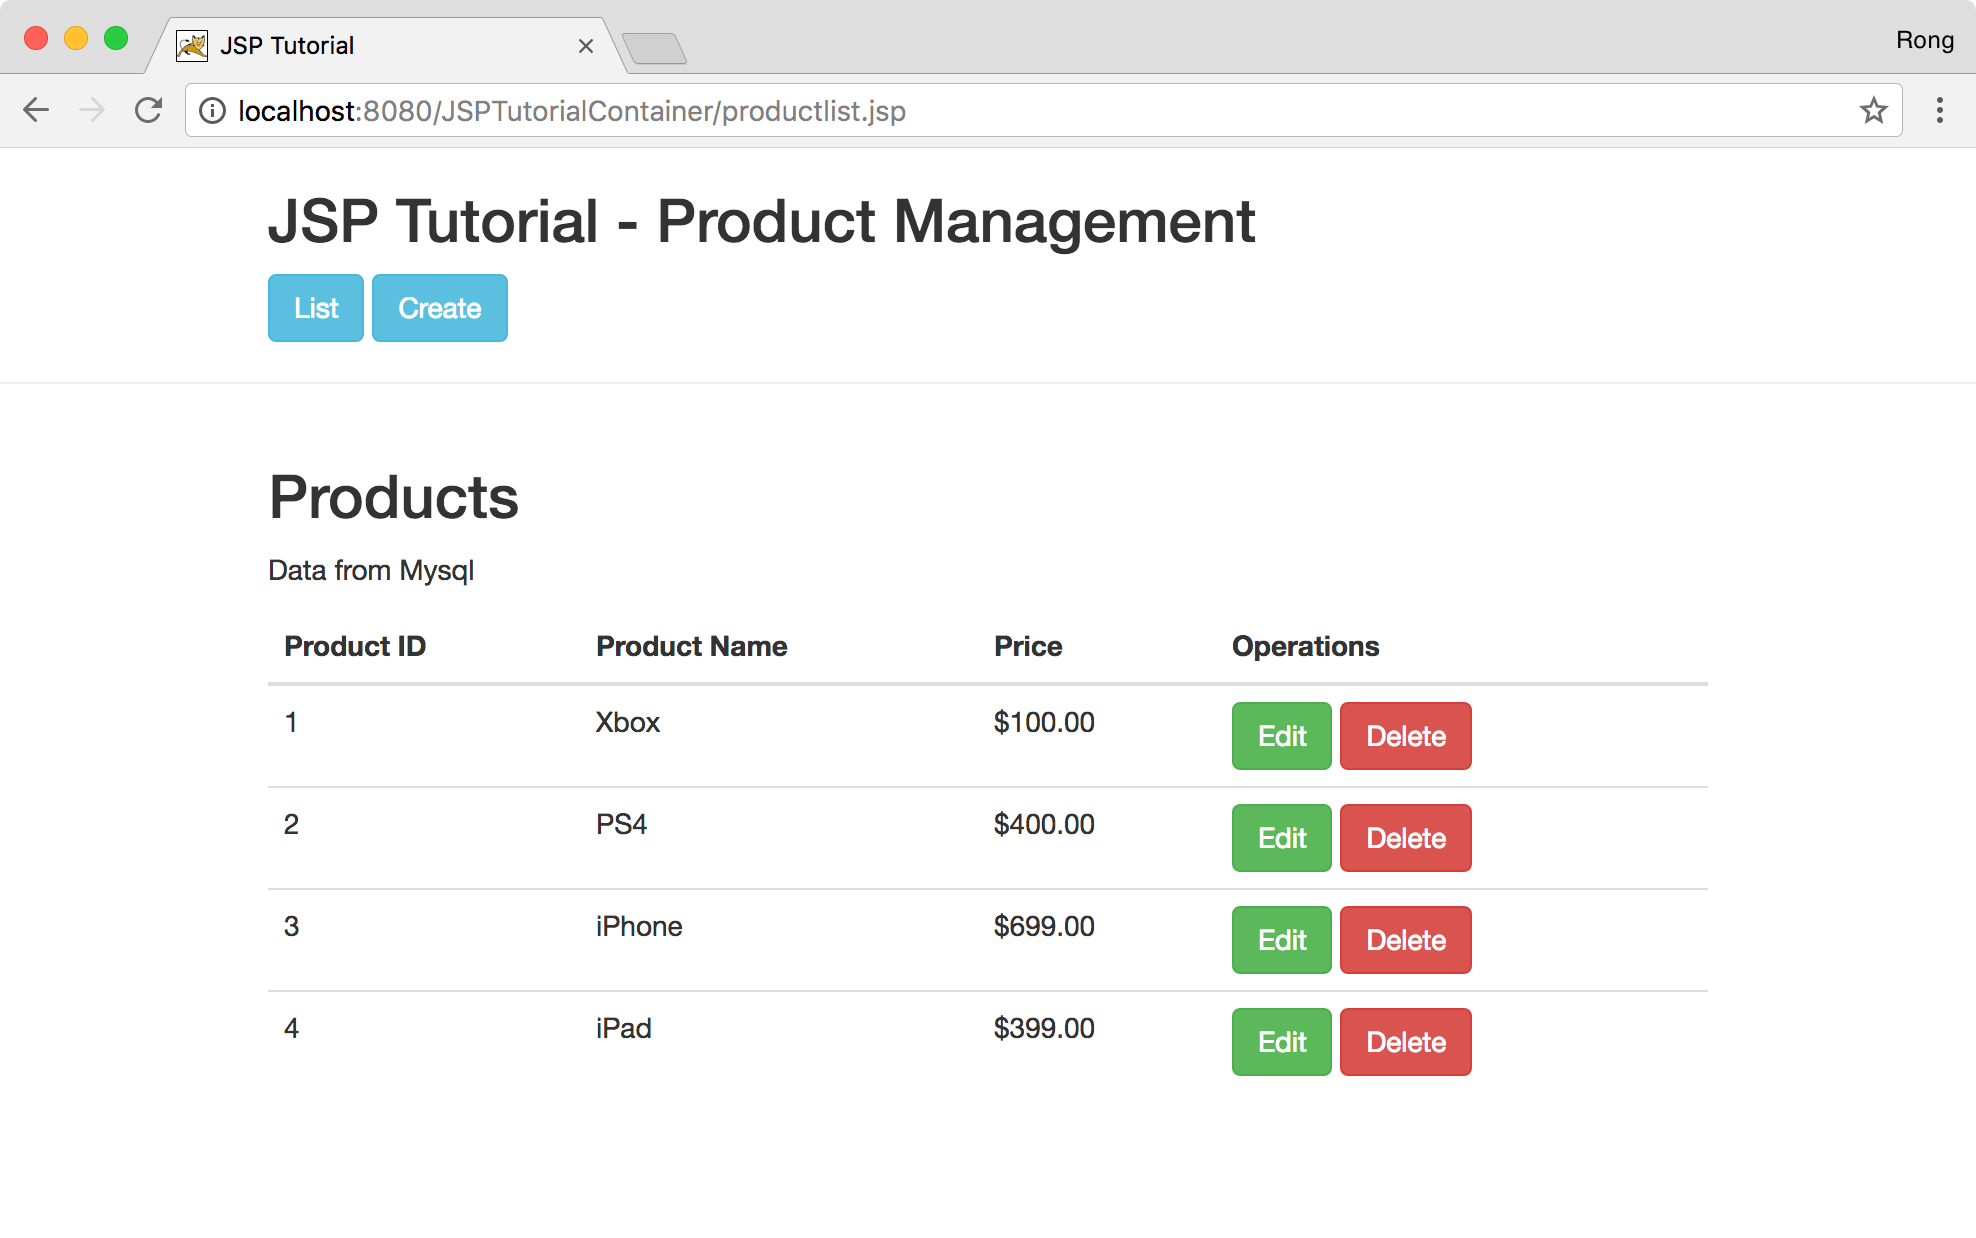
 Run it in Tomcat. Access http://localhost:8080/JSPTutorialContainer/productlist.jsp in web browser.
2. Setting up MySQL Container
2.1 Creating MySQL Container
Get official MySQL image.
$ docker pull mysql
Run a MySQL container.
$ docker run --name=jspmysql mysql
error: database is uninitialized and password option is not specified
  You need to specify one of MYSQL_ROOT_PASSWORD, MYSQL_ALLOW_EMPTY_PASSWORD and MYSQL_RANDOM_ROOT_PASSWORD
Failed, try again by providing the MySQL_ROOT_PASSWORD environment variable.
$ docker run --name=jspmysql --env="MYSQL_ROOT_PASSWORD=jsppassword" mysql
docker: Error response from daemon: Conflict. The container name "/jspmysql" is already in use by container "2b6115f2d2f4865362366d7859a2023d5a1e0f604387d95d737e00baa2066212". You have to remove (or rename) that container to be able to reuse that name.
See 'docker run --help'.
Another error occurred. We need to remove the exiting container we just created and try again.
$ docker rm jspmysql
jspmysql
$ docker run --name=jspmysql --env="MYSQL_ROOT_PASSWORD=jsppassword" mysql
Initializing database
...
Database initialized
Initializing certificates
Generating a 2048 bit RSA private key
...
Certificates initialized
MySQL init process in progress...
...
MySQL init process done. Ready for start up.
...
2016-09-12T02:16:07.965324Z 0 [Note] mysqld: ready for connections.
Version: '5.7.19'  socket: '/var/run/mysqld/mysqld.sock'  port: 3306  MySQL Community Server (GPL)
Now, it starts without error.
2.2 Running Container in Background
Our MySQL container is now running. However, you are now stuck in the terminal and can’t do anything because the container is running in attach mode (running in foreground). This is so inconvenient. We would expect MySQL to run as a service instead. Let’s consider this as a failed deployment and stop the current container. In another terminal, stop the running container and run it again in detach mode (running as background):
$ docker stop jspmysql
$ docker rm jspmysql
$ docker run --detach --name=jspmysql --env="MYSQL_ROOT_PASSWORD=jsppassword" mysql
77d6f463c31efc1a62235867e66f576af3f564ef1d03b064de274f813695d159
You will get an output of the container ID, indicating the container is successfully running in the background. Let’s verify the status of the container:
$ docker ps
CONTAINER ID    IMAGE     COMMAND                  CREATED          STATUS            PORTS        NAMES
77d6f463c31e    mysql     "docker-entrypoint..."   9 seconds ago    Up 6 seconds      3306/tcp     jspmysql
2.3 Exposing MySQL Container to Host
Expose the MySQL container to the outside world by mapping the container’s MySQL port to the host machine port using the publish flag. Now, we can connect to the MySQL container through port 6703. Notice, the IP address comes from docker machine. For my docker machine, it is 192.168.99.100.
$ docker rm -f jspmysql
$ docker run --detach --name=jspmysql --env="MYSQL_ROOT_PASSWORD=jsppassword" --publish 6703:3306 mysql
889aa7224b2544023069559de5bd1f214ddbda9cb327fc3a4771eddc25bb1b7b
3. Restoring MySQL Database in Container
3.1 Copying MySQL Backup File From Host To Container
I put the backup file jsp_backup.sql in ‘dbbackup’ folder for JSPTutorialContainer project. Run the following command to copy it to container’s root directory.
$ docker cp ~/JSPTutorialContainer/dbbackup/jsp_backup.sql jspmysql:/jsp_backup.sql
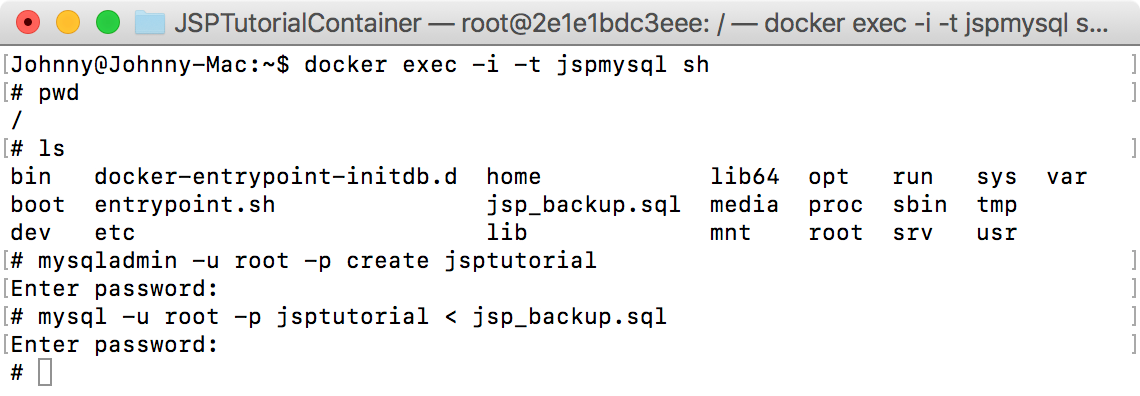
Start terminal in jspmysql container with the following command:
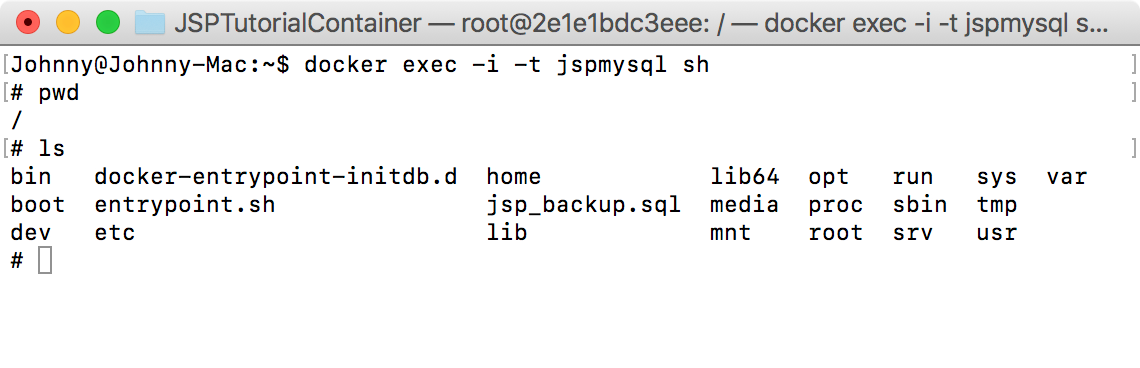
$ docker exec -i -t jspmysql sh
Use ‘ls’ to display all files. ‘jsp_backup.sql’ is there.
3.2 Restoring Database Schema and Data
Create Database, password ‘jsppassword’.
$ mysqladmin -u root -p create jsptutorial
Restore Tables and Data, password ‘jsppassword’.
$ mysql -u root -p jsptutorial < jsp_backup.sql
4. Connecting to the Container
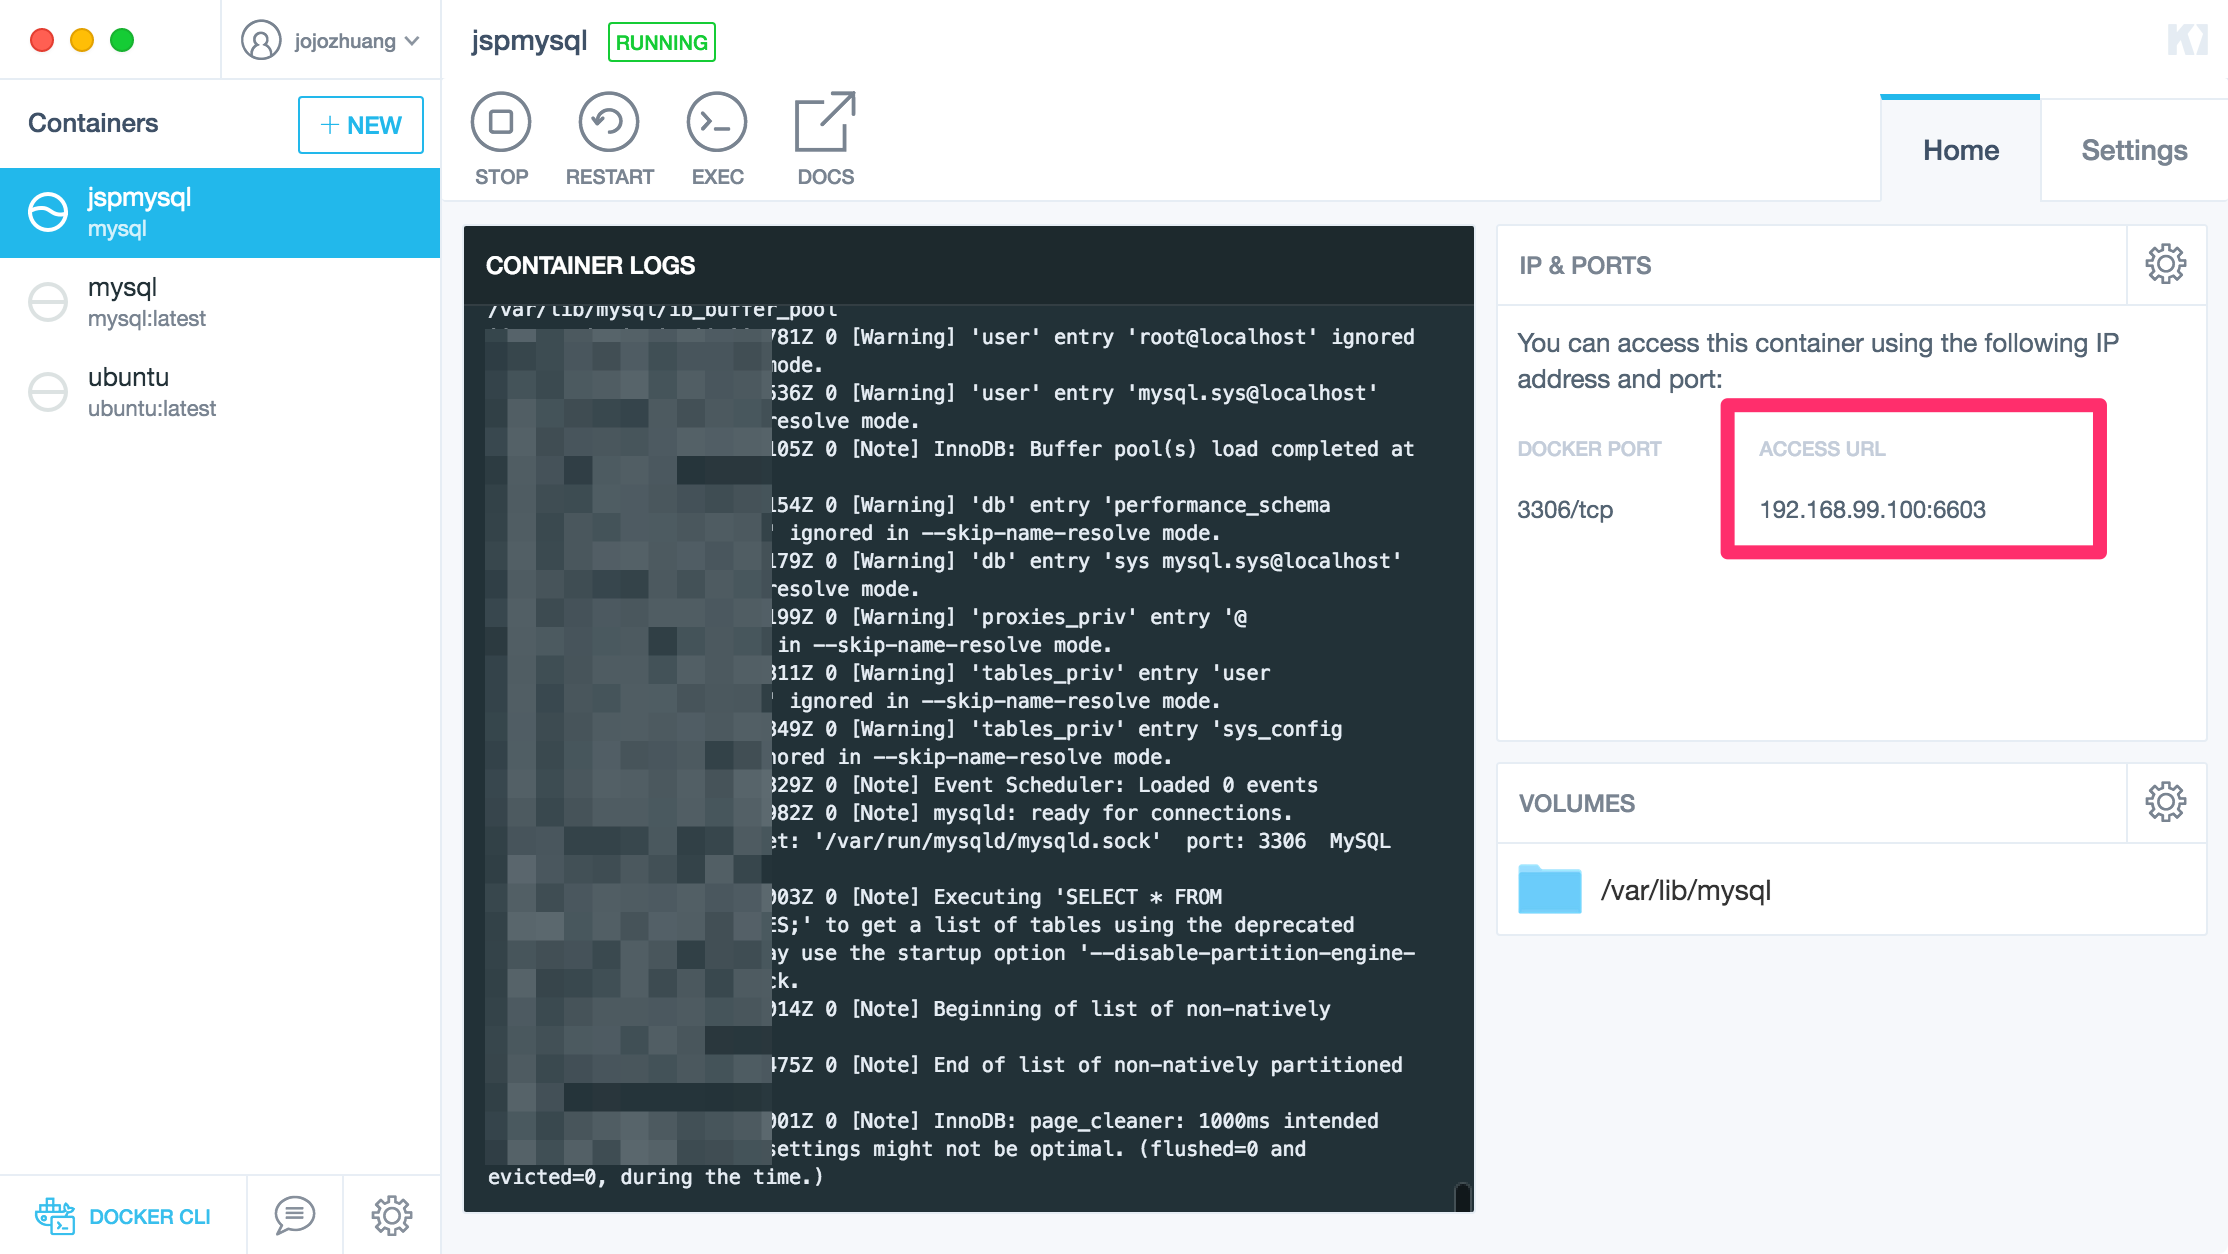
4.1 Getting the Connection URL
In Kitematic, select our MySQL container, check Access URL. It’s 192.168.99.100:6703.
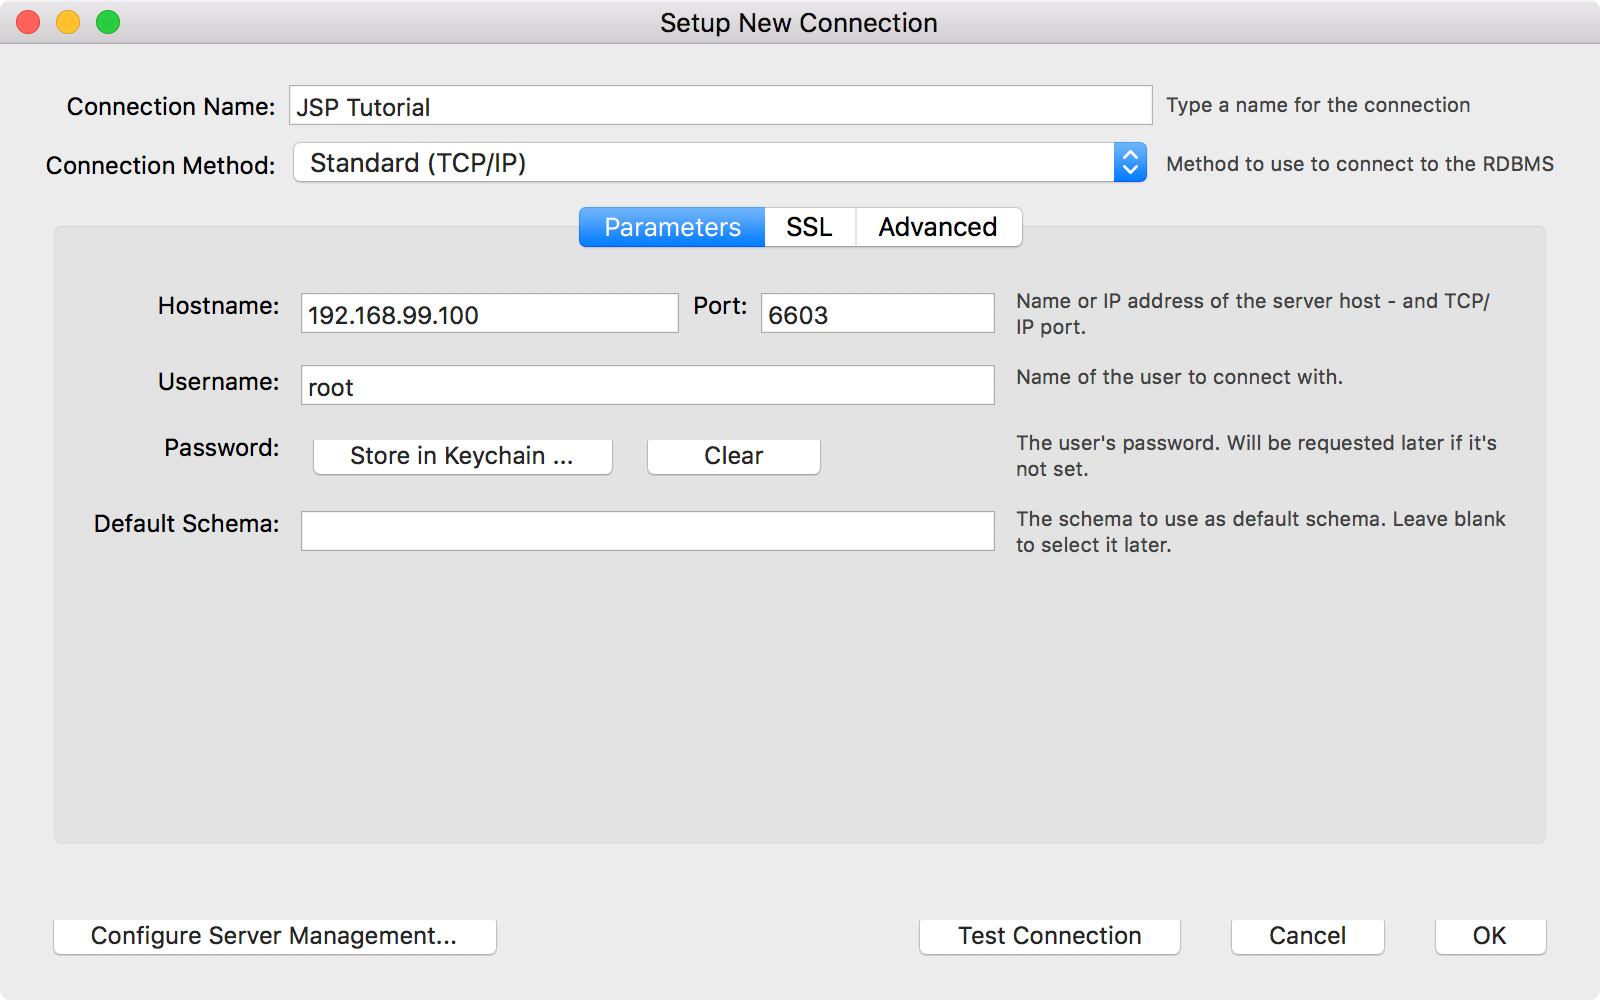
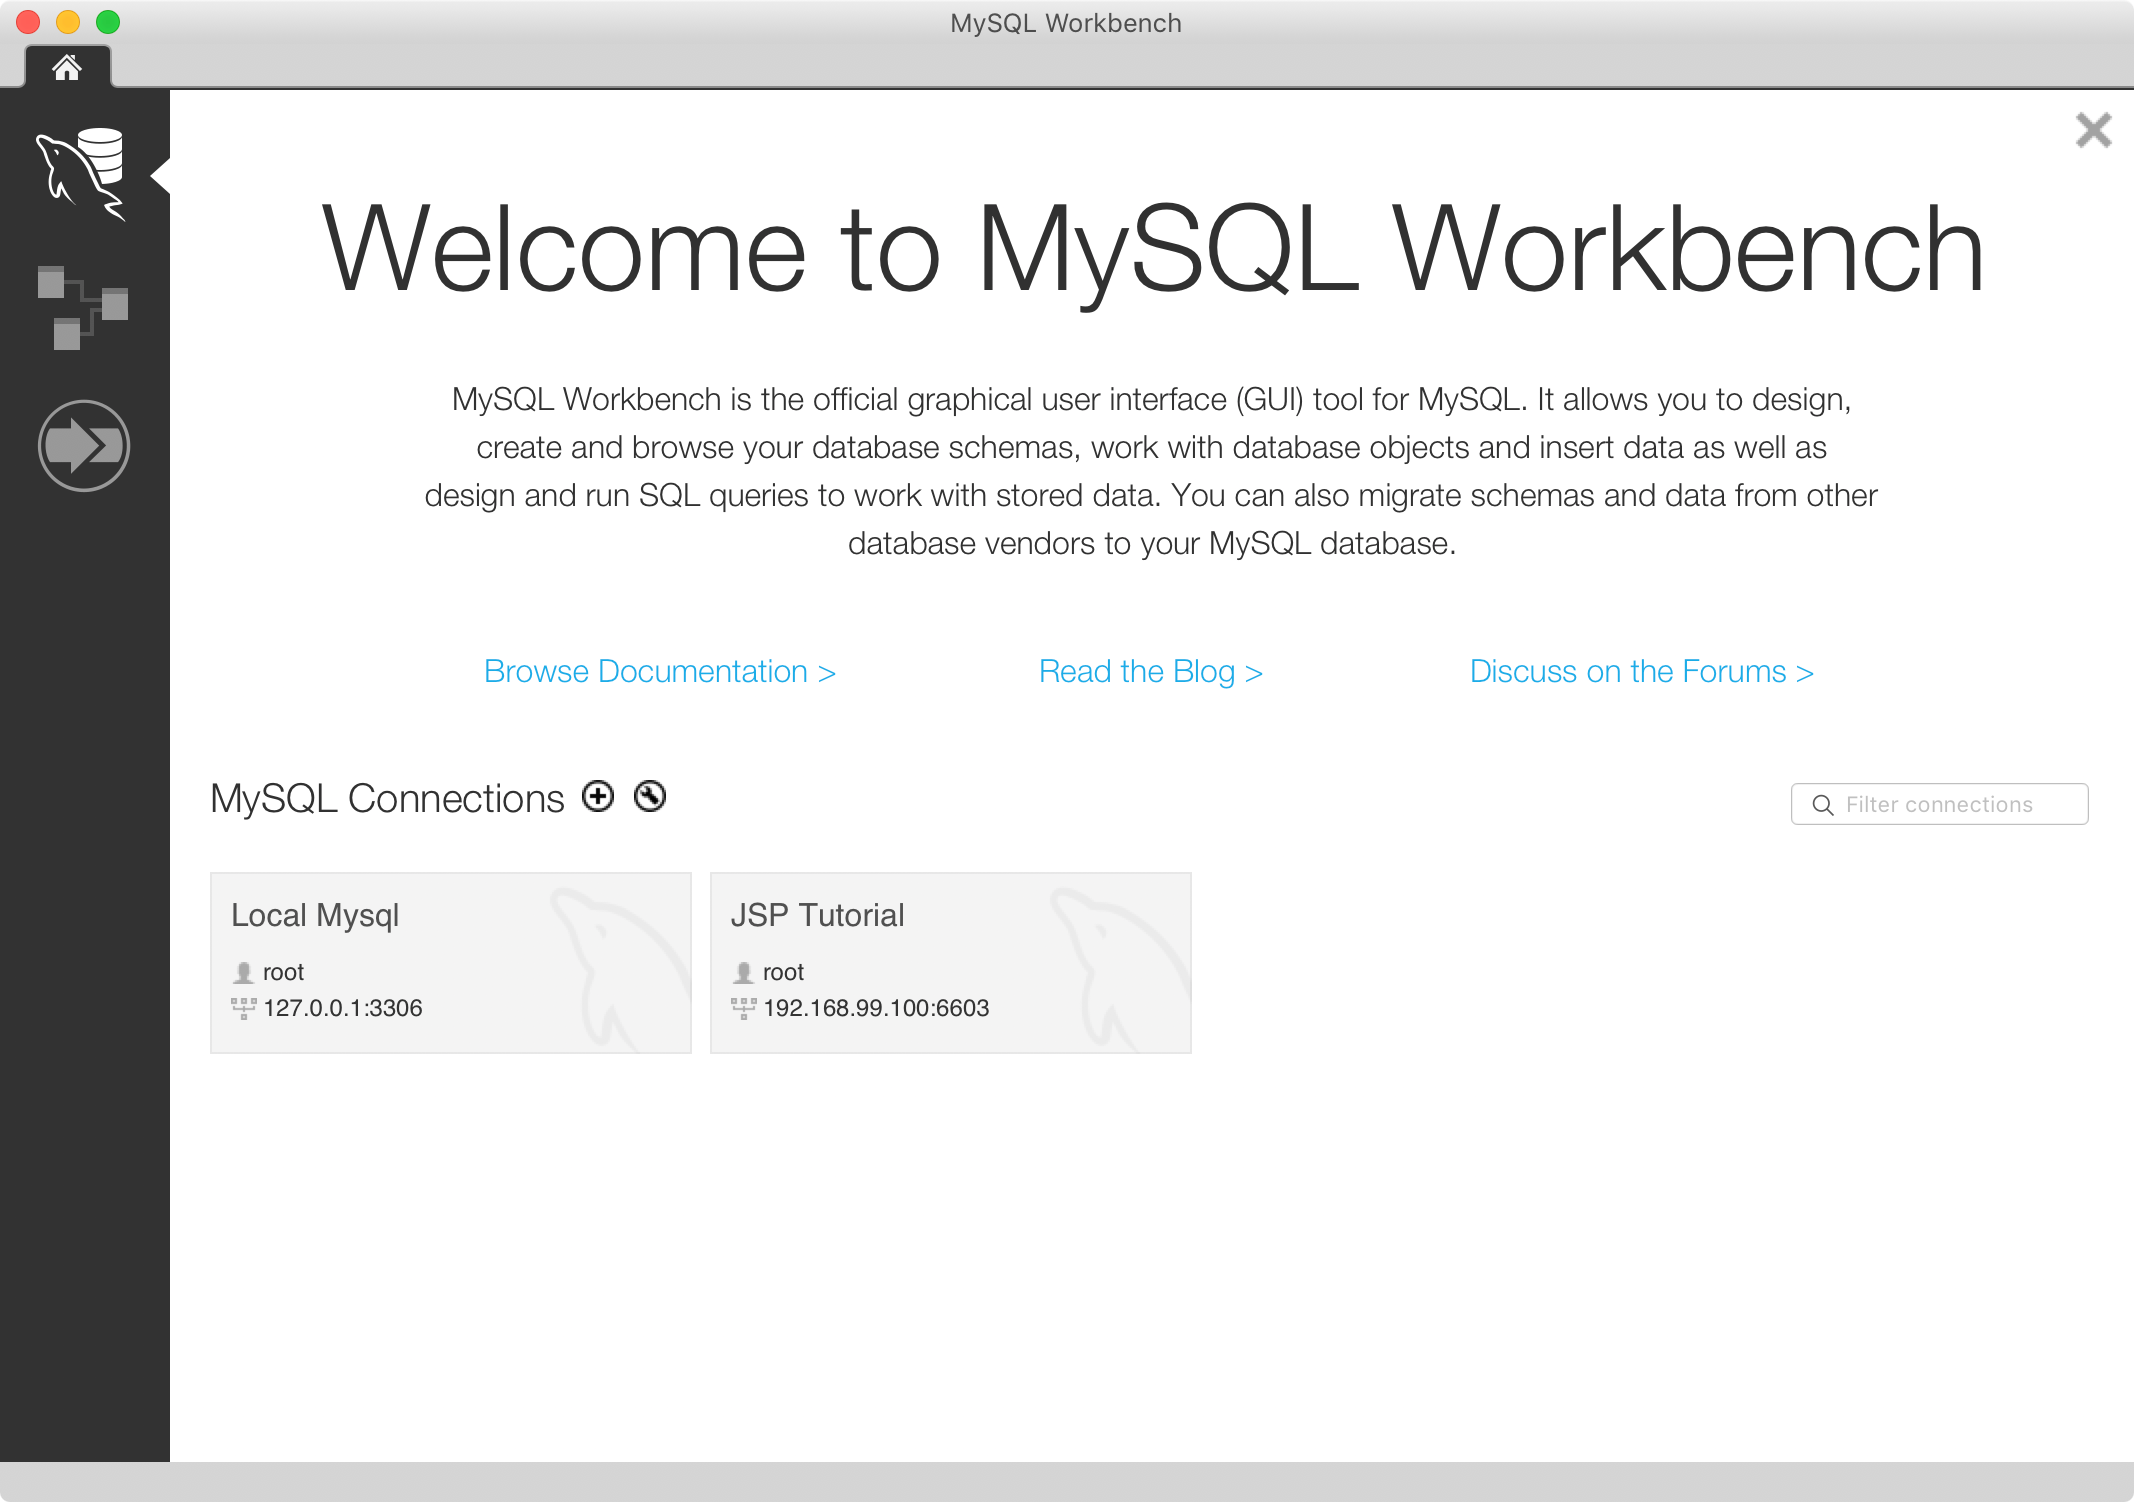
4.2 Connecting MySQL Container with MySQL Workbench
Launch MySQL Workbench and add Connection with the IP address(192.168.99.100) and port(6703).
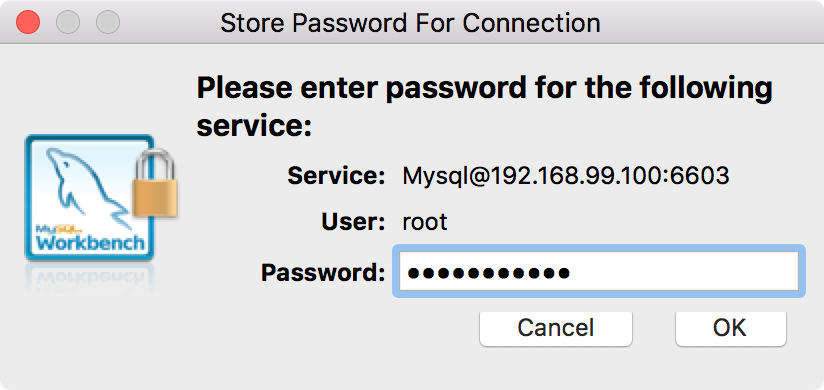
Store the password jsppassword for root to keychain.
Test Connection
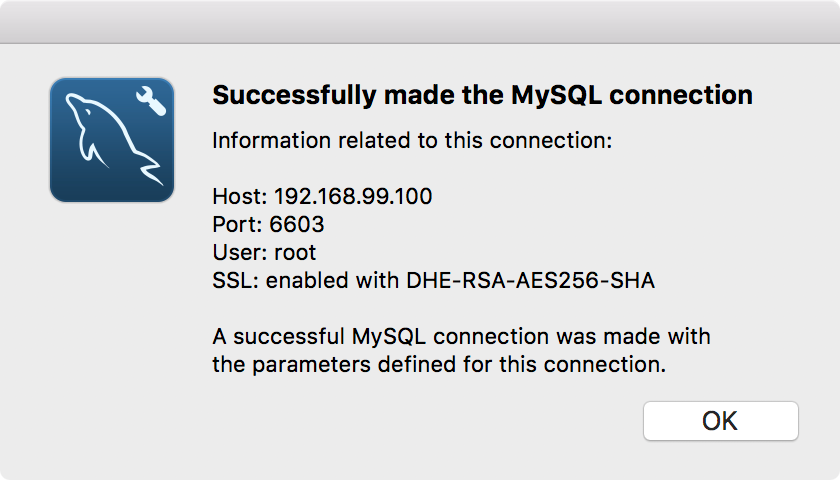
A new connection is added to the workbench.
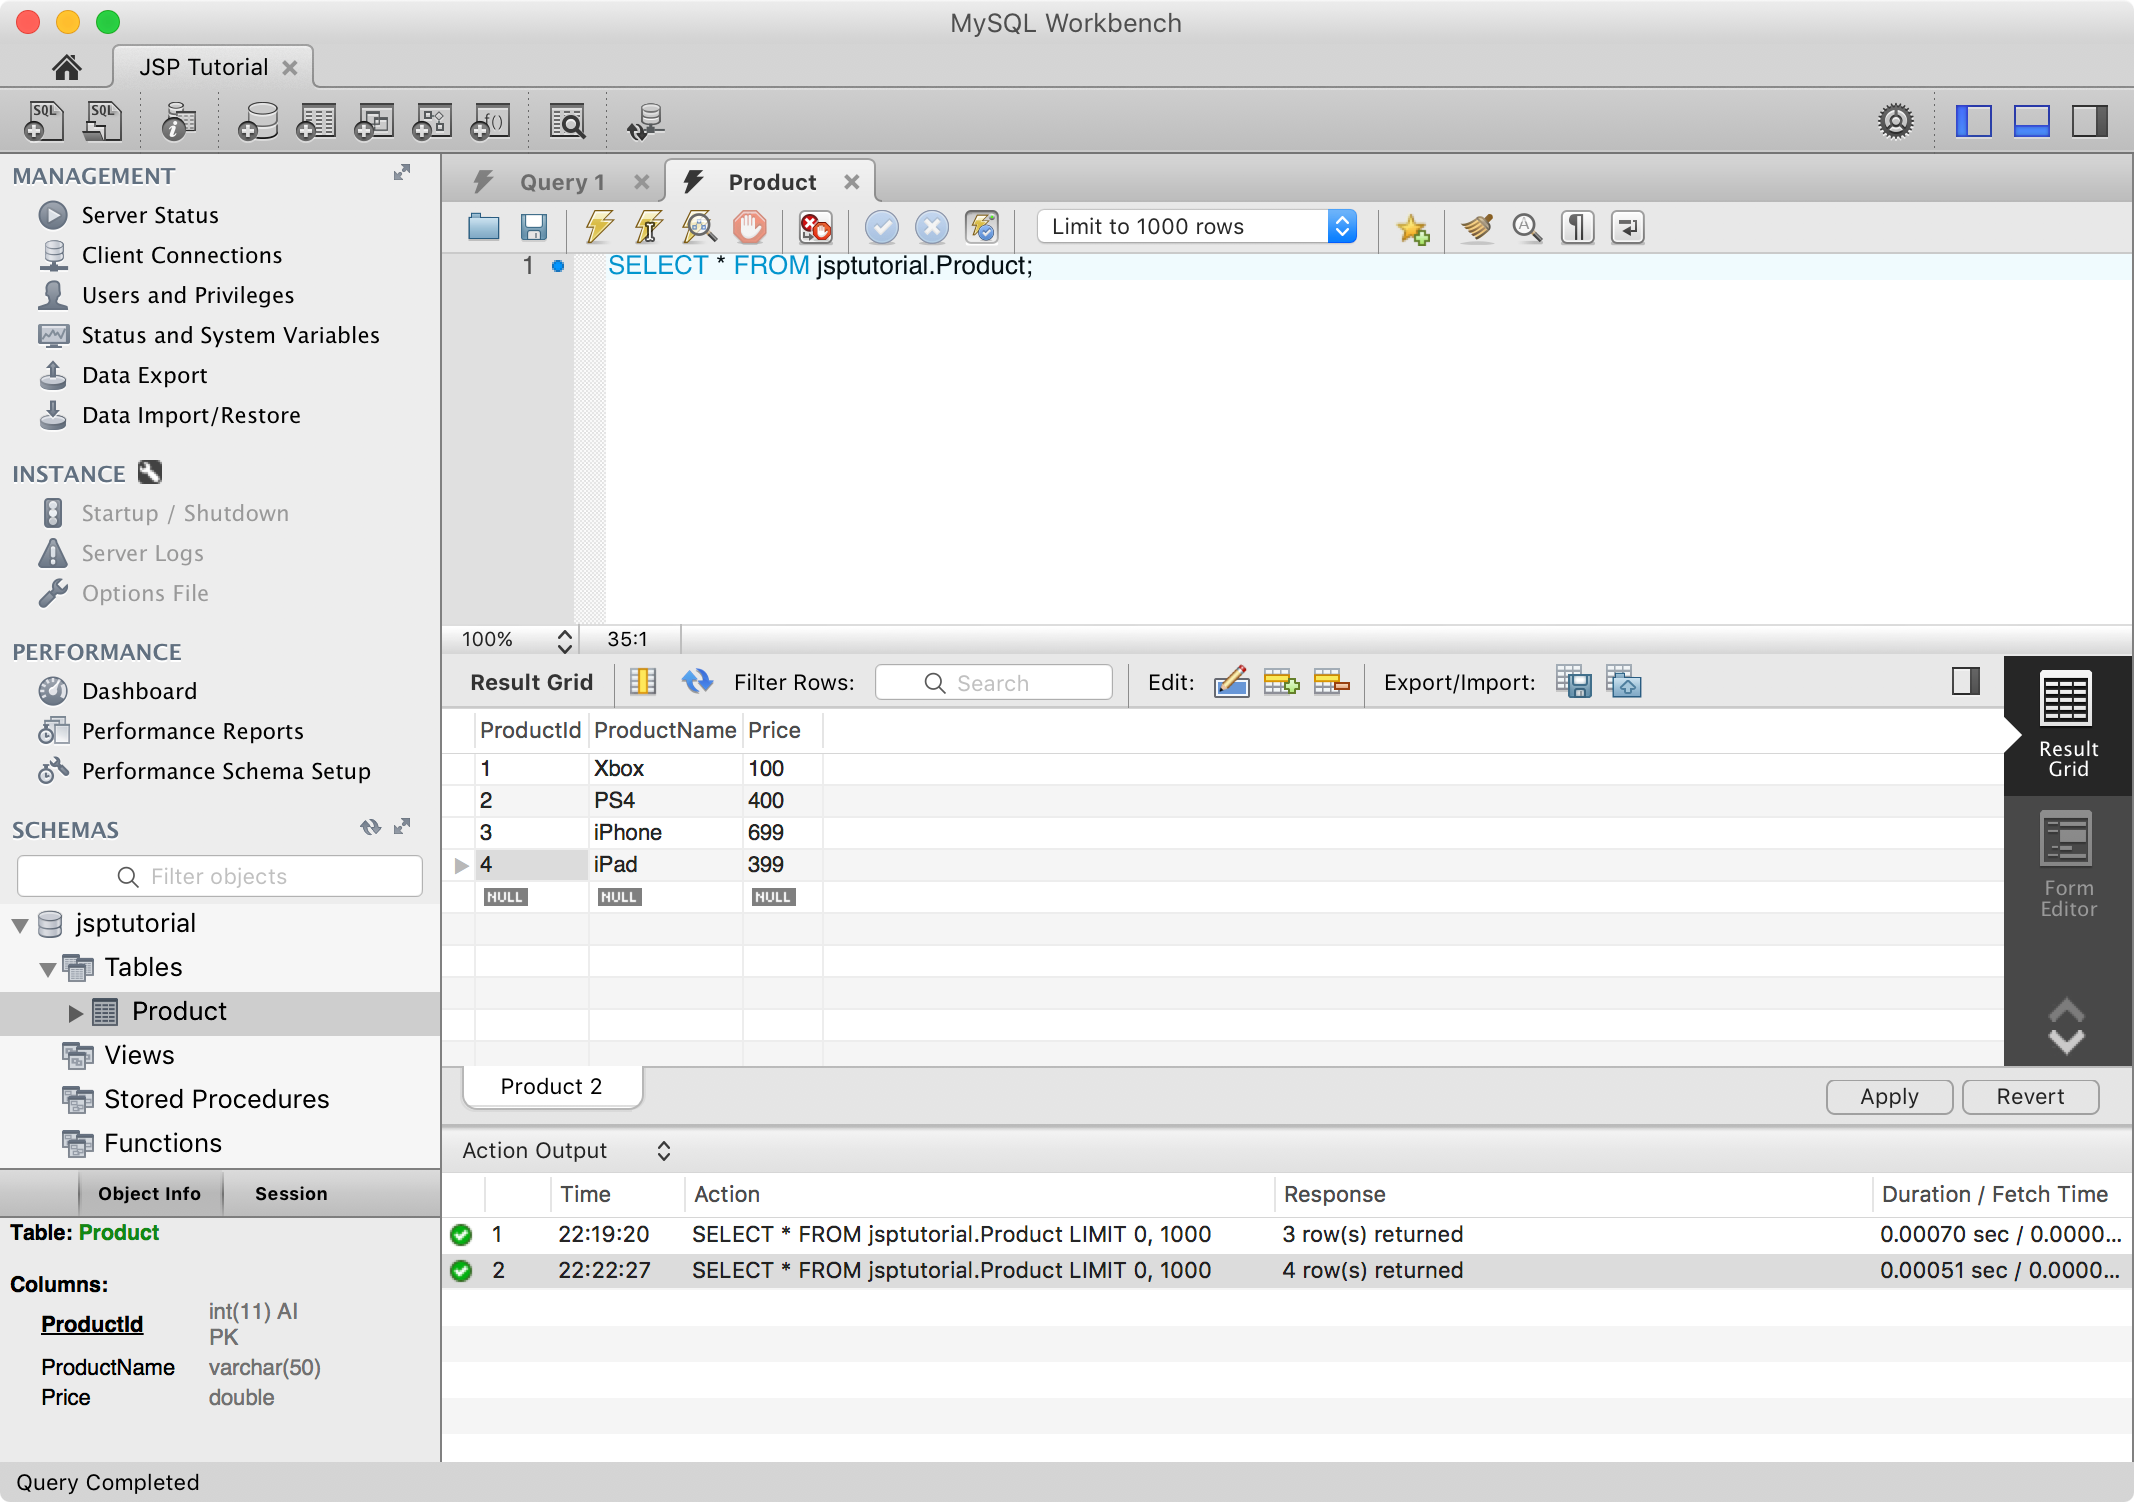
Check the original data. As you see, there are initially three rows in table Product.

4.3 Configuring the Connection
Edit file /JSPTutorialContainer/WebContent/META-INF/context.xml. Specify the usename, password and URL, including the ip address and port to connect MySQL in docker container.
<?xml version="1.0" encoding="UTF-8"?>
<Context path="/jsptutorial">
    <Resource name="jdbc/jsptutorial" auth="Container"
        driverClassName="com.mysql.jdbc.Driver"
        url="jdbc:mysql://192.168.99.100:6703/jsptutorial"
        username="root" password="jsppassword"
        maxActive="100" maxIdle="30" maxWait="10000"
        logAbandoned="true" removeAbandoned="true"
        removeAbandonedTimeout="60" type="javax.sql.DataSource" />
</Context>
5. Testing
5.1 Restarting the JSP Application
Access http://localhost:8080/JSPTutorialContainer/productlist.jsp in browser. Click ‘Create’ button to add a new product.
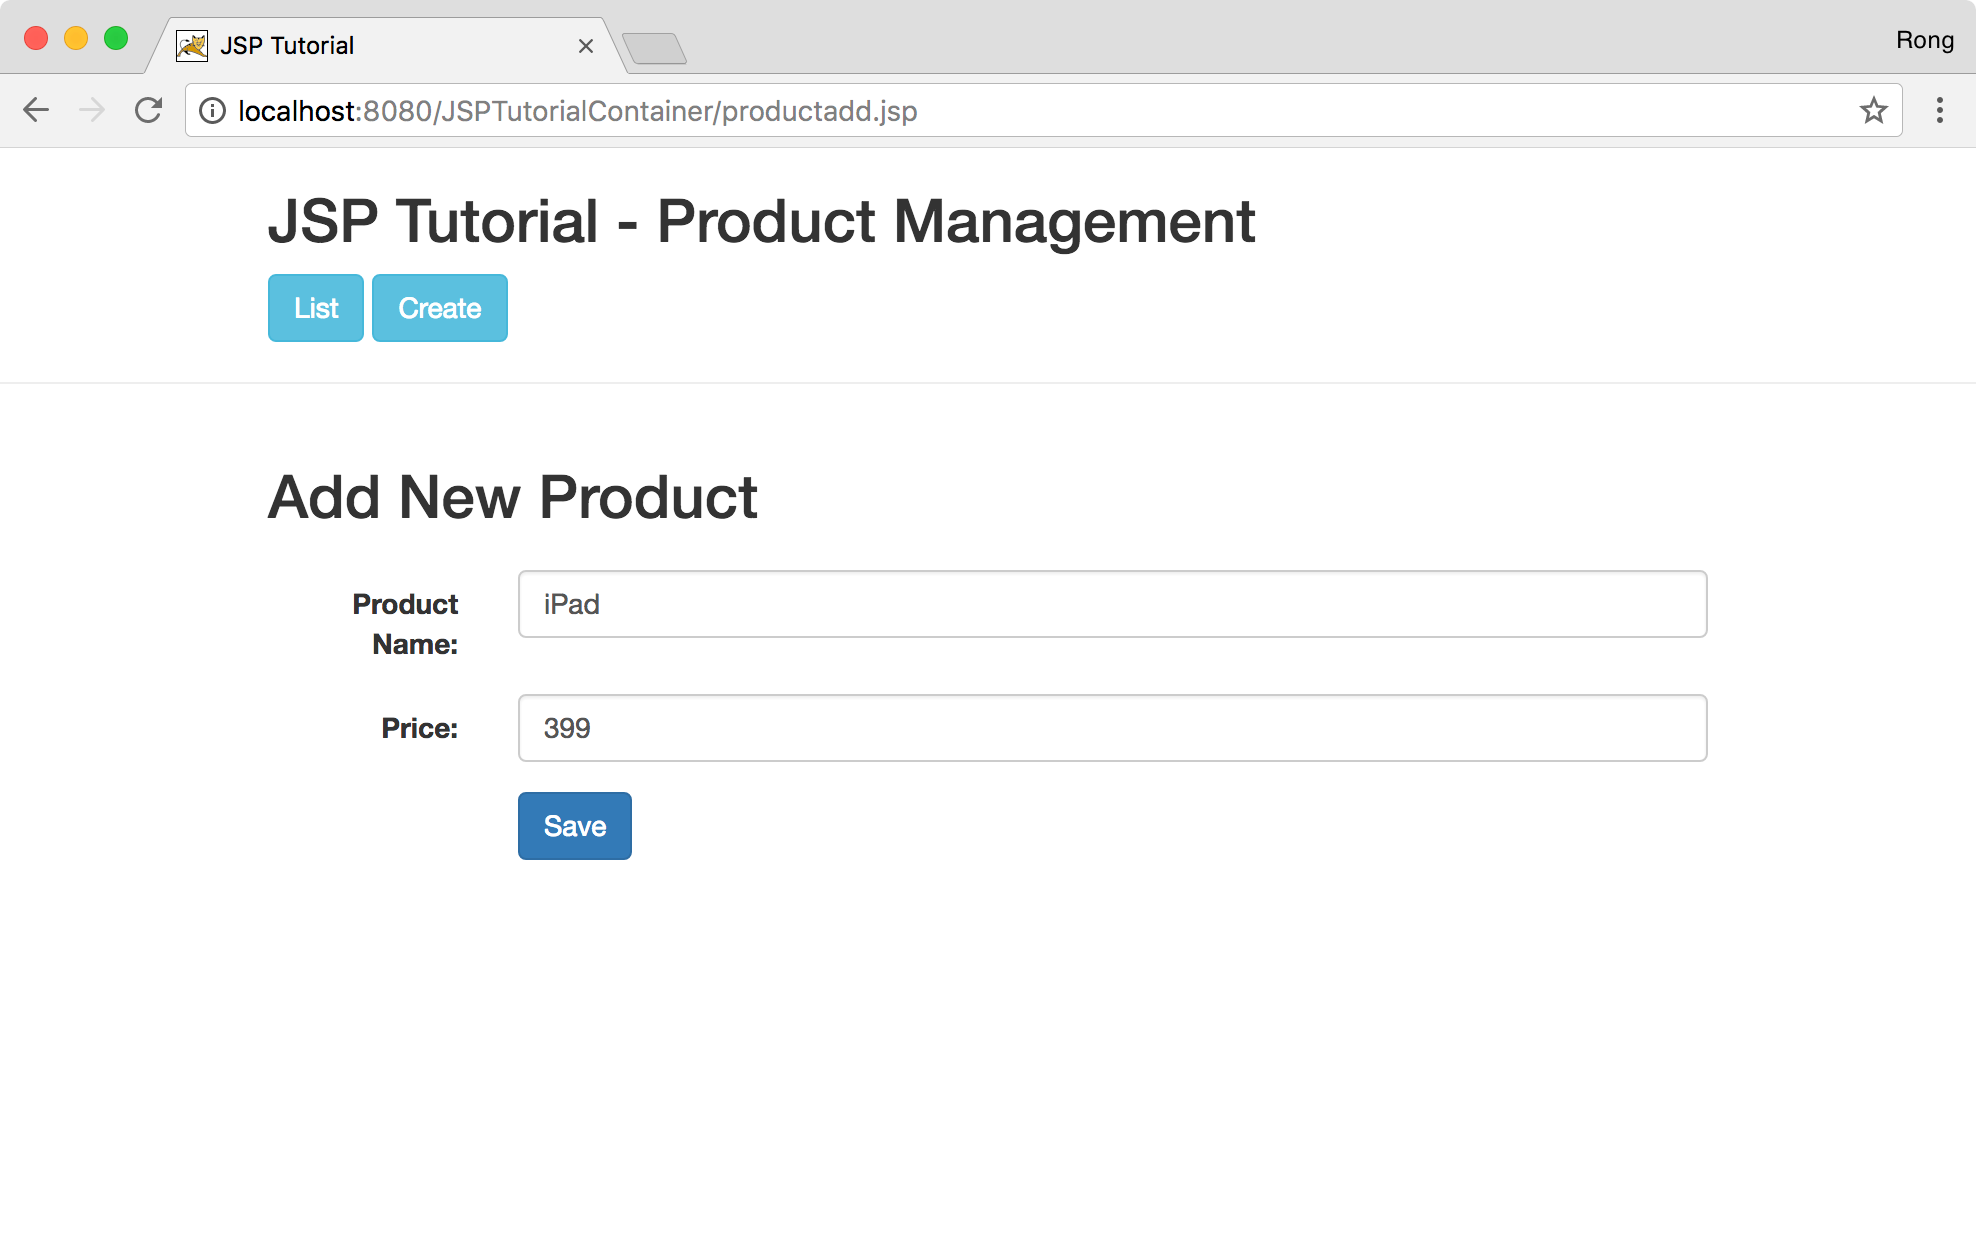
In product list page, the new product shows up.
5.2 Checking Data in MySQL Workbench
You see there is one new product in Product table.