4176. AWS-Auto Scaling GroupsAWS and Load Balancer
Build high availability applications with Auto Scaling Groups.
1. High Availability Architecture
Everything fails, you should always plan for failures.
- Always Design for failure.
- Use Multiple AZ’s and Multiple Regions where ever you can.
- Know the difference between Multi-AZ and Read Replicas for RDS.
- Know the difference between scaling out and scaling up.
2. Auto Scaling Groups
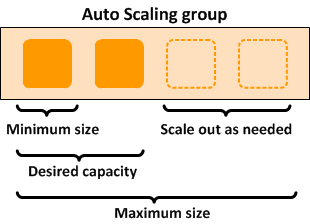
An Auto Scaling group contains a collection of Amazon EC2 instances that are treated as a logical grouping for the purposes of automatic scaling and management. An Auto Scaling group starts by launching enough instances to meet its desired capacity. It maintains this number of instances by performing periodic health checks on the instances in the group. The Auto Scaling group continues to maintain a fixed number of instances even if an instance becomes unhealthy. If an instance becomes unhealthy, the group terminates the unhealthy instance and launches another instance to replace it.
3. Lab - Auto Scaling Groups
Create autoscaling group with 3 instances. Test the auto scaling feature by terminating two instances. The auto scaling group should detect this scenario with health check, and new two instances will be launched automatically.
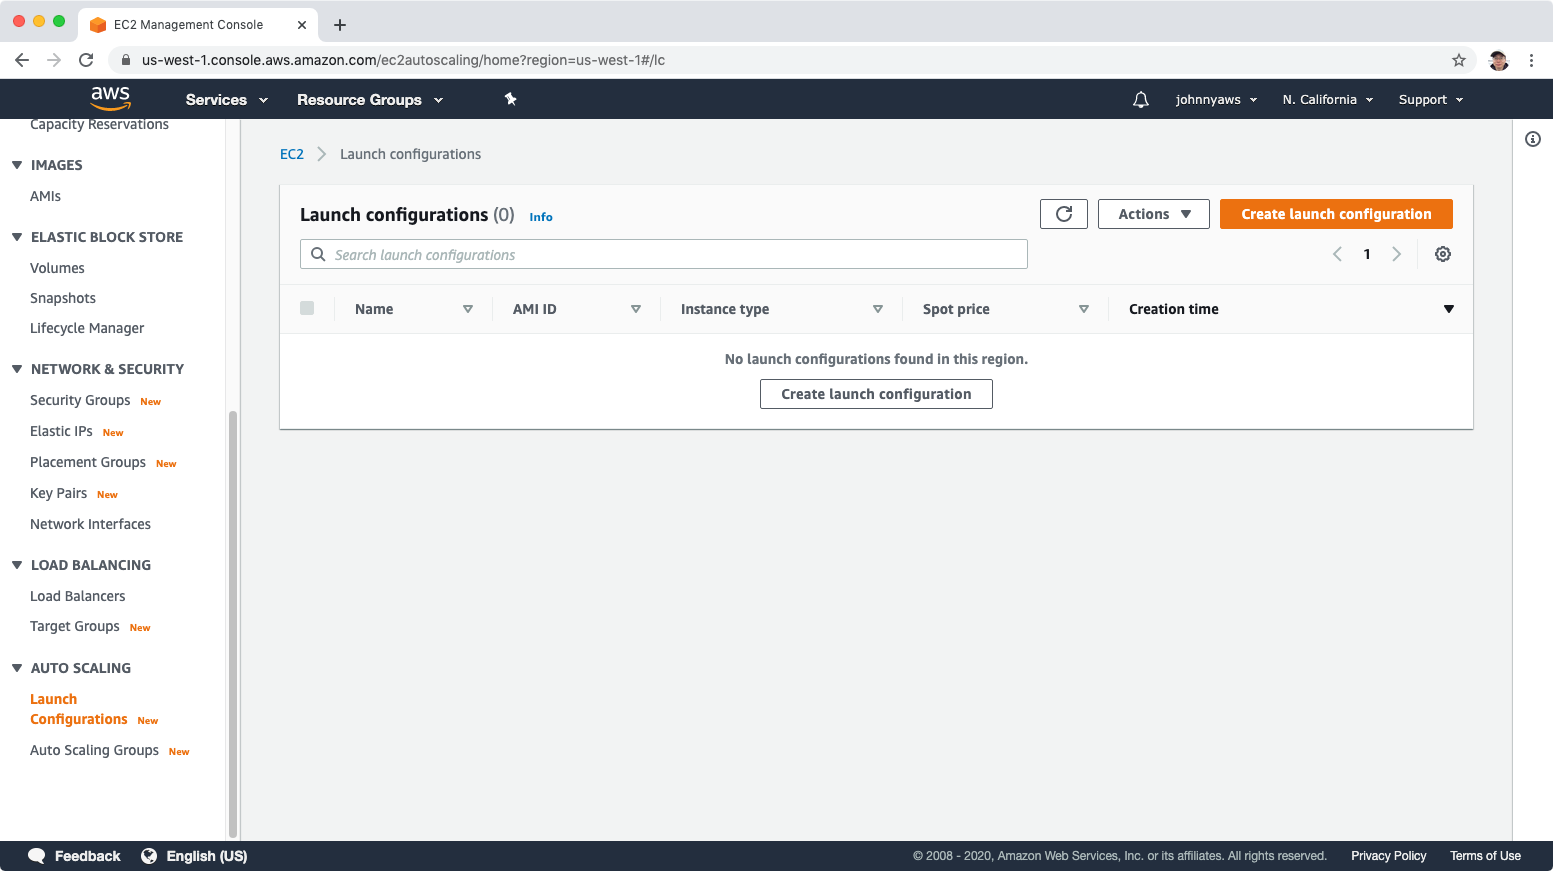
3.1 Create Launch Configuration
Go to Services->EC2->Auto Scaling->Launch Configurations, Create launch configuration.
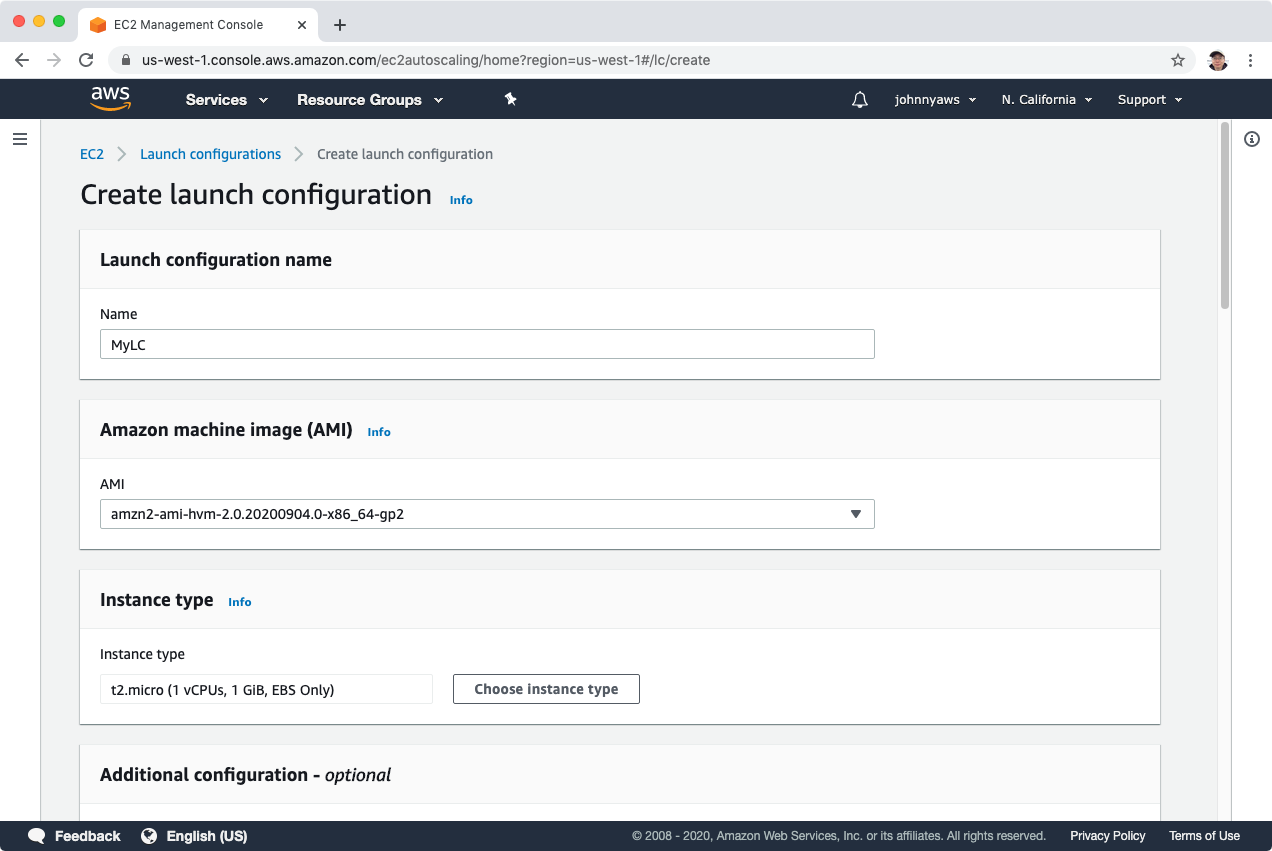
 Set name, search ‘amzn2-ami-hvm’ for AMI and choose ‘t2.micro’ as instance type, which should be free tier.
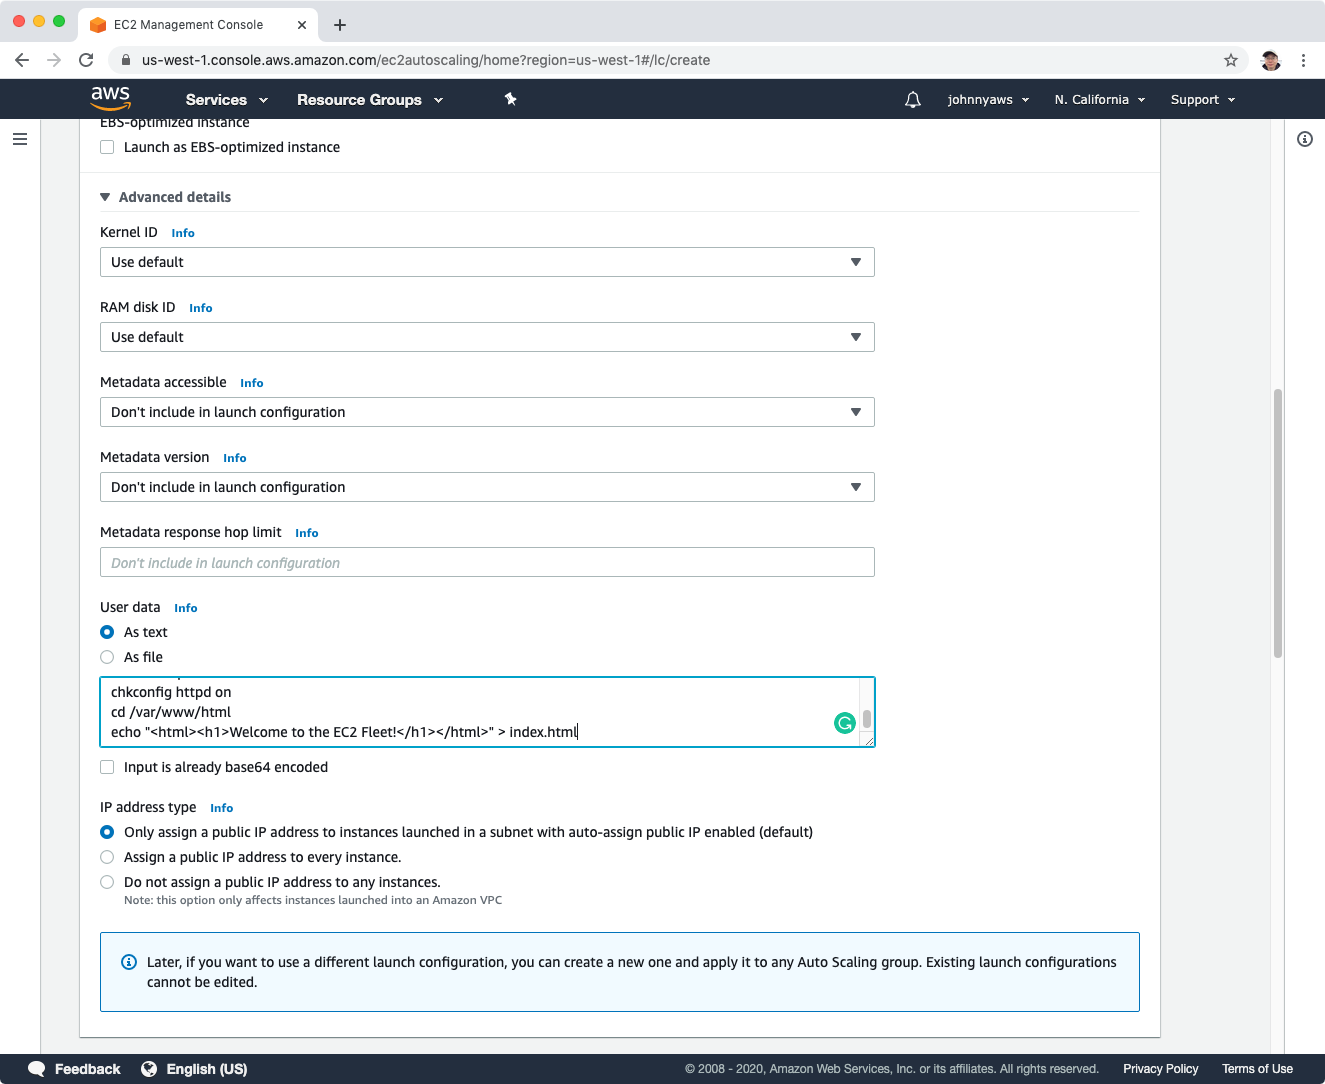
 Copy the following bootstrap scripts which will start a web server to host a static html file.
#!/bin/bash
yum update -y
yum install httpd -y
service httpd start
chkconfig httpd on
cd /var/www/html
echo "<html><h1>Welcome to the EC2 Fleet!</h1></html>" > index.html
Paste them into the user data box.
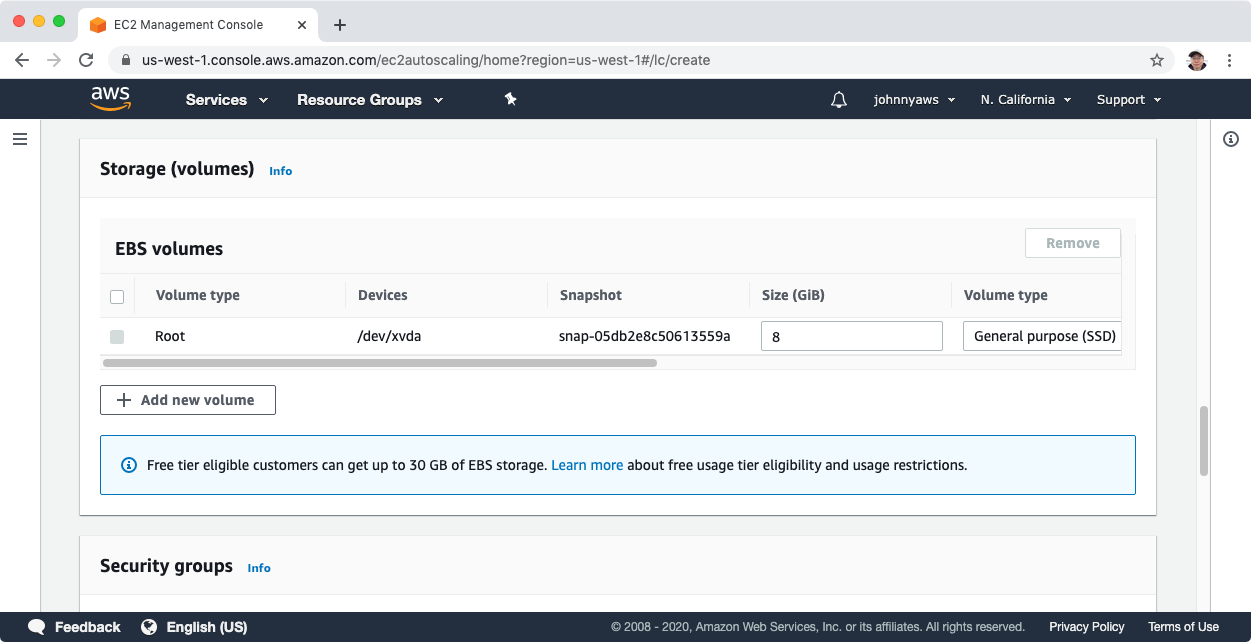
 Leave the storage settings unchanged.
 Select WebSG security group and the existing key pair, click “Create launch configuration”.
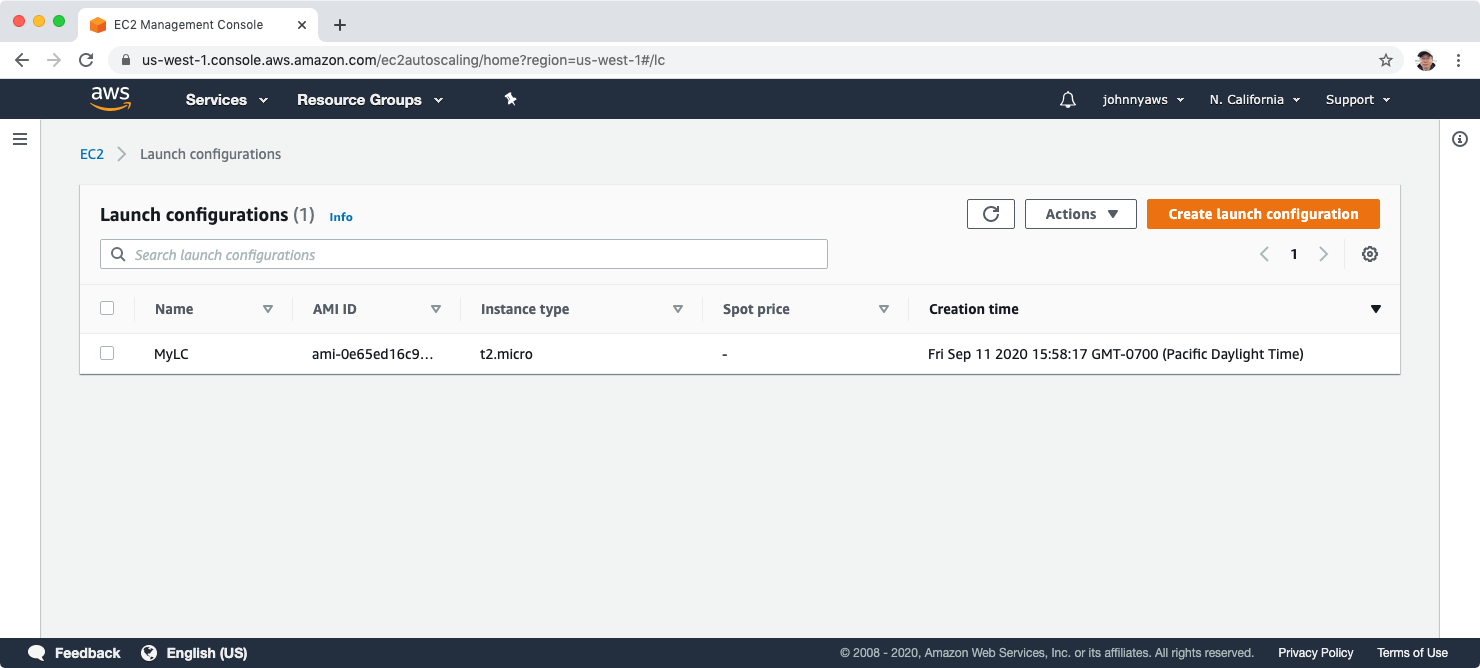
 Launch configuration is created.
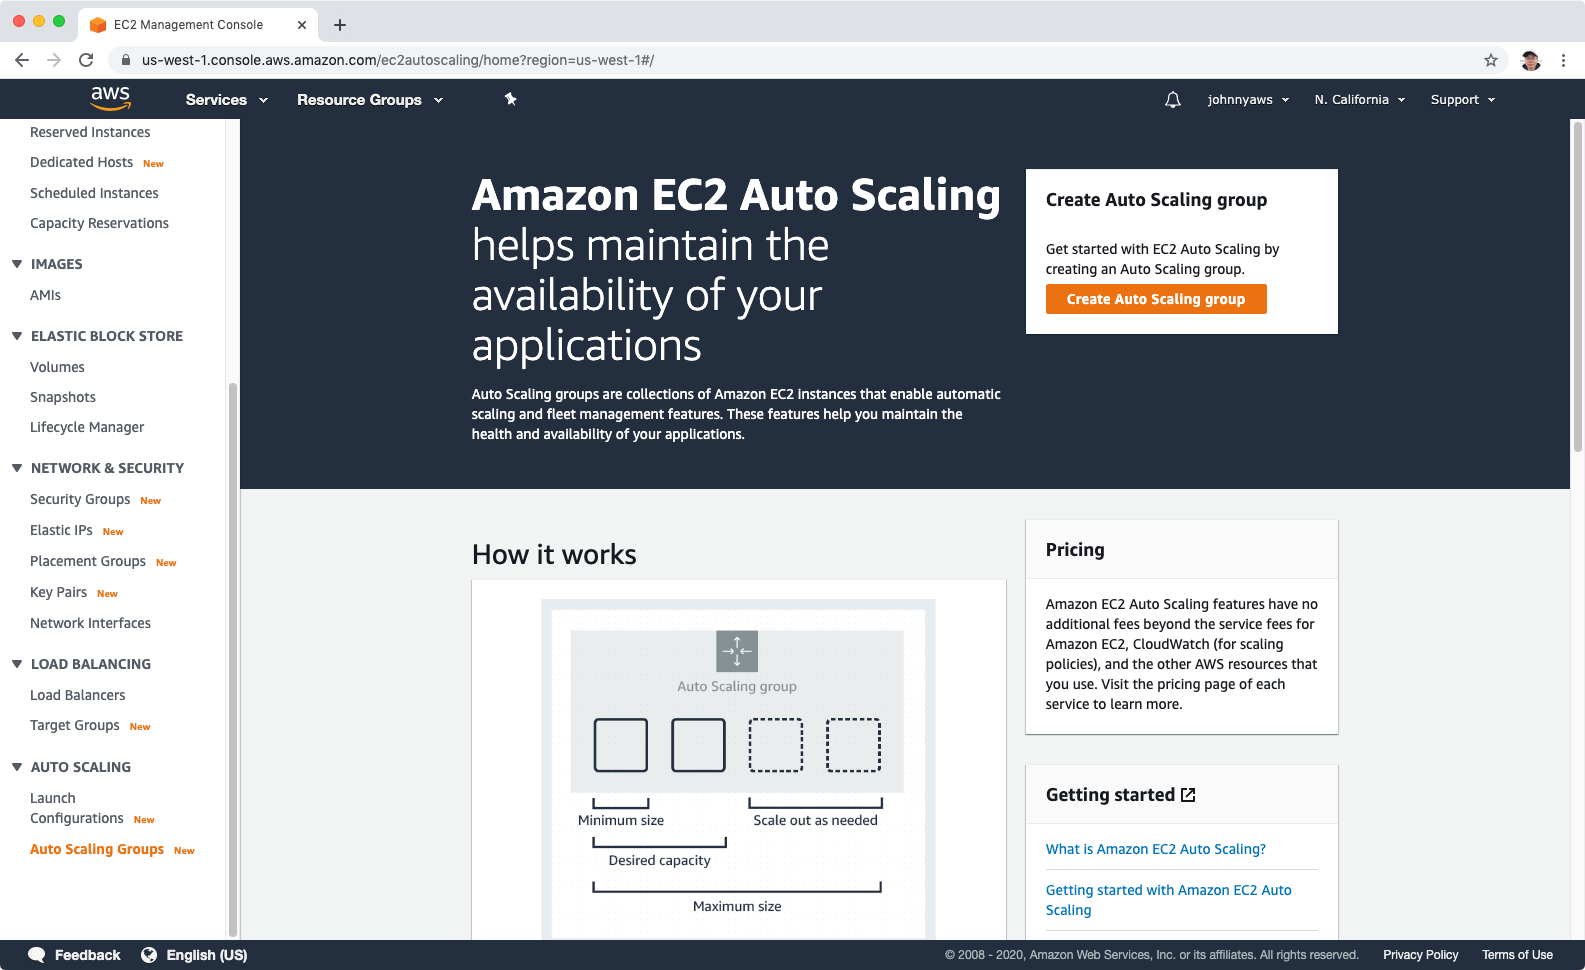
3.2 Create Auto Scaling Group
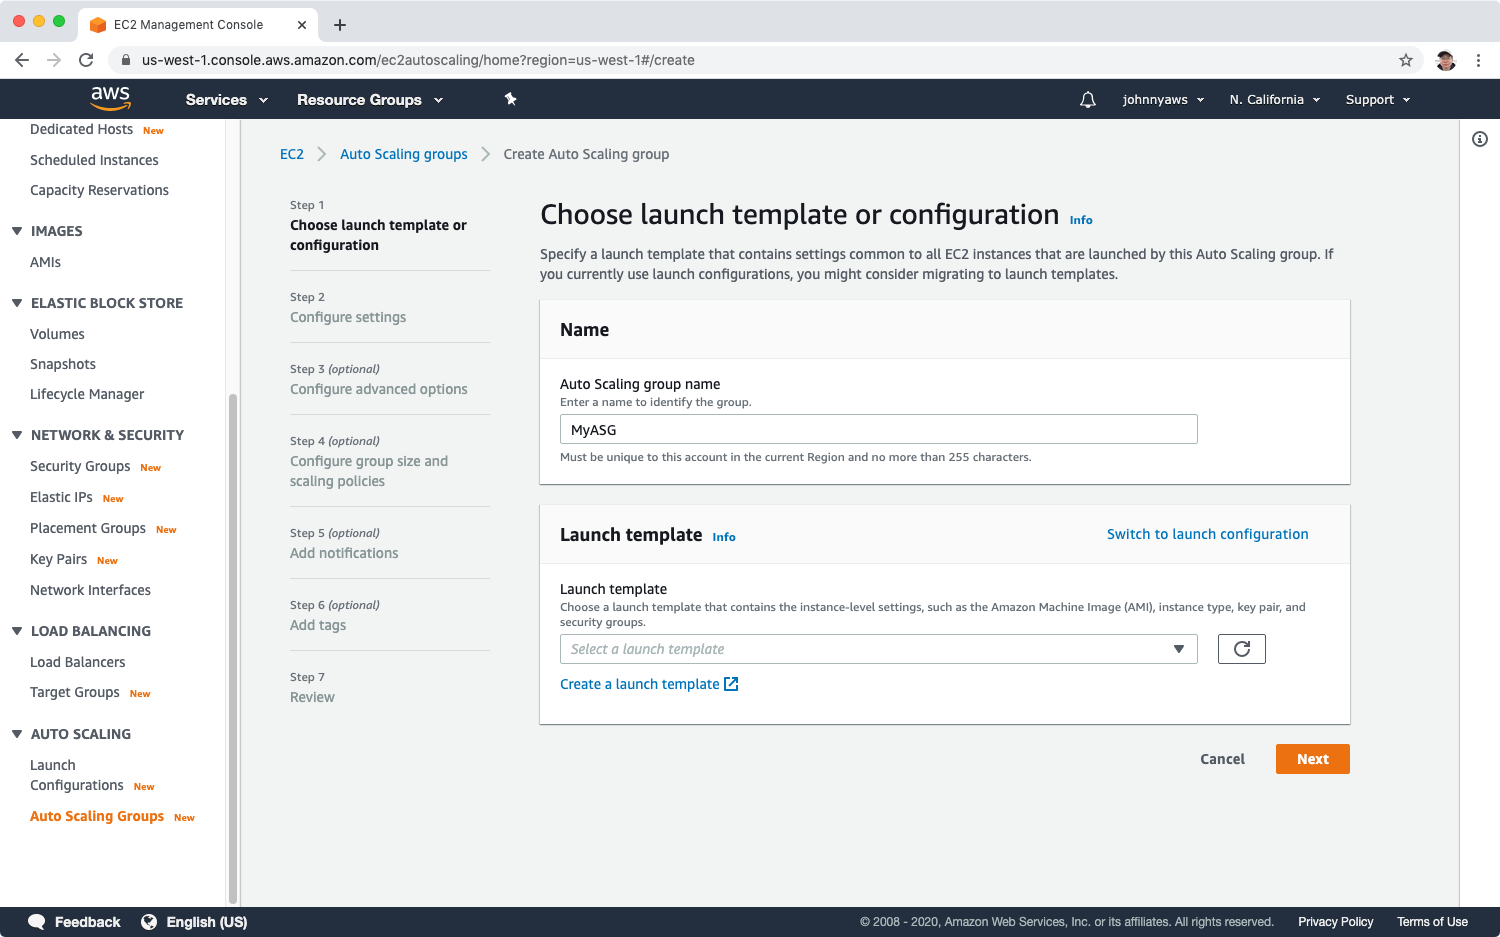
Go to Services->EC2->Auto Scaling->Auto Scaling Groups, click “Create Auto Scaling Group”.
 Set name and click “Switch to launch template”.
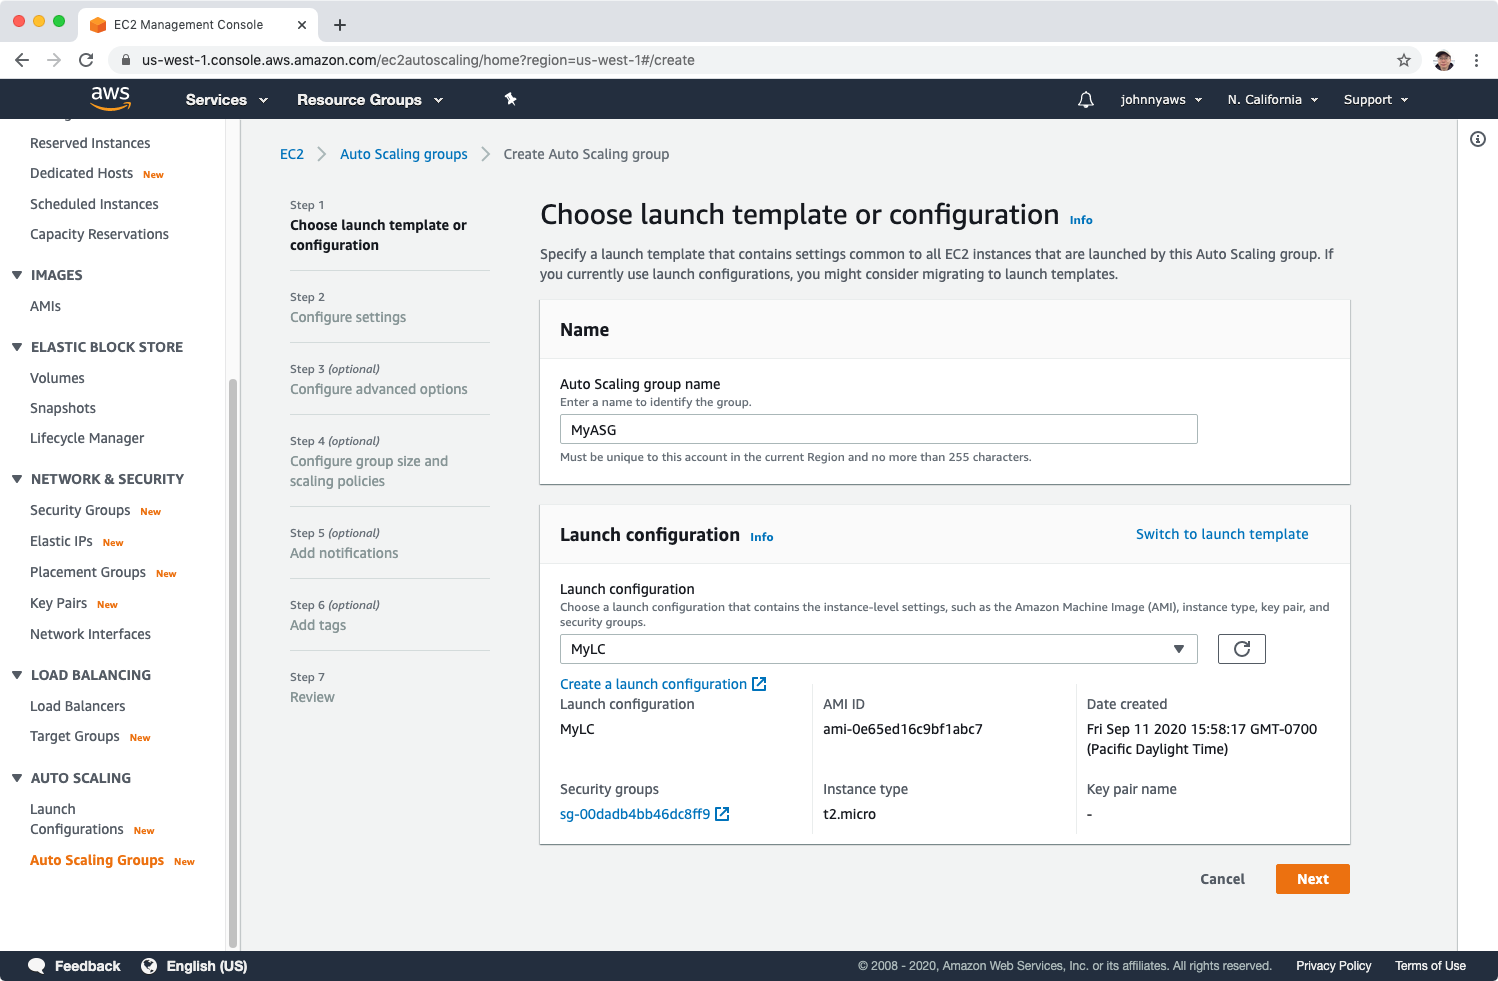
 Select the launch configuration we created in the previous section, next.
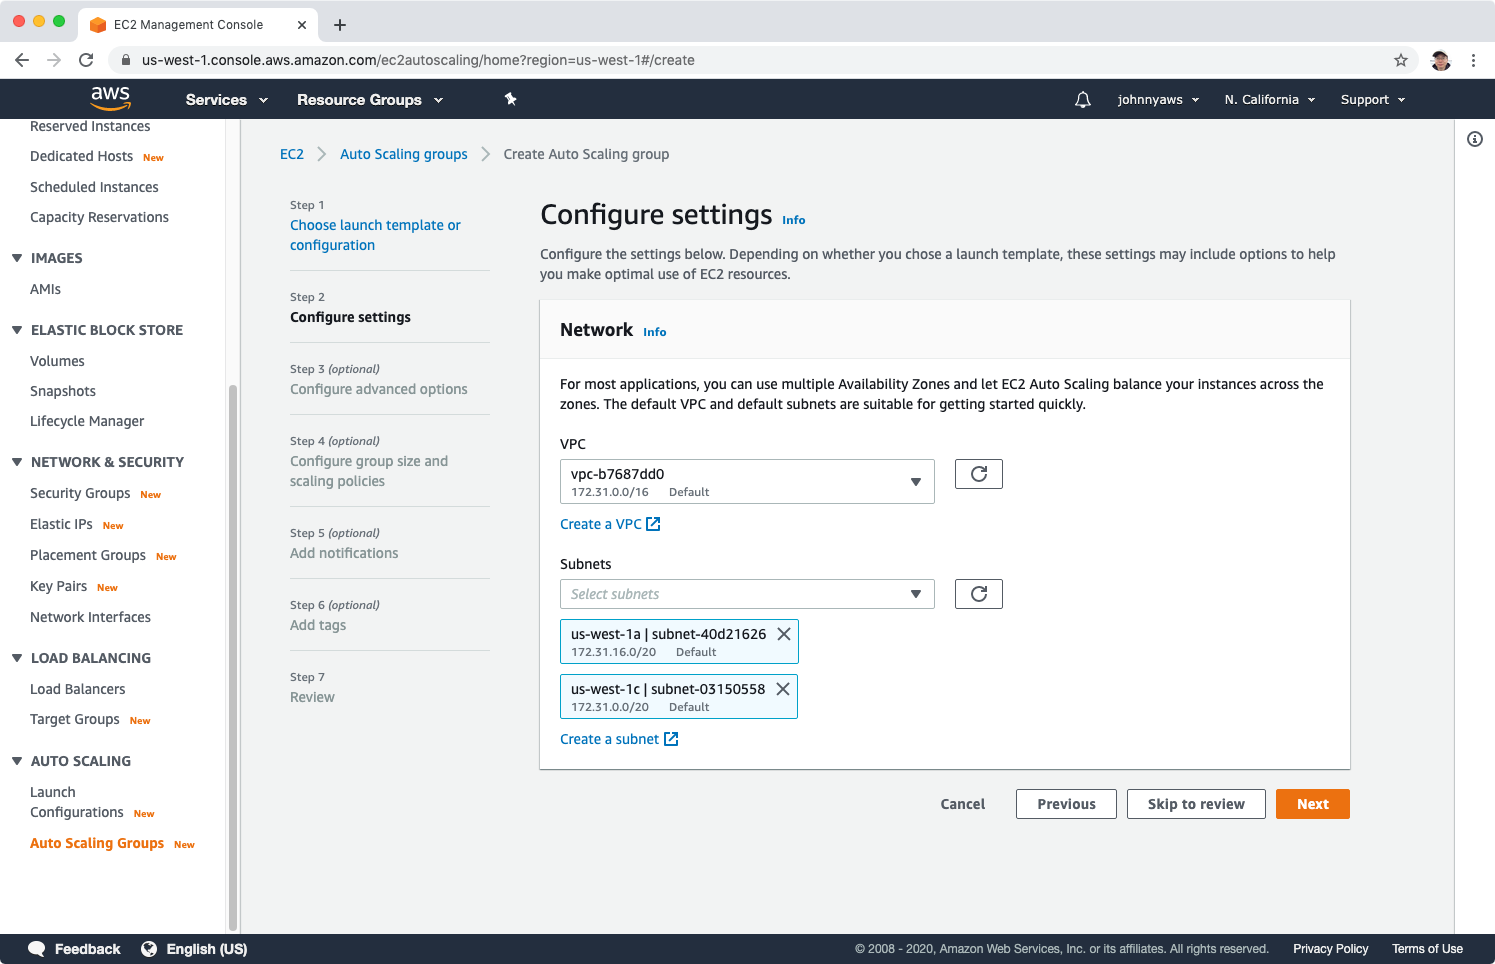
 Set VPC and select all available subnets, next.
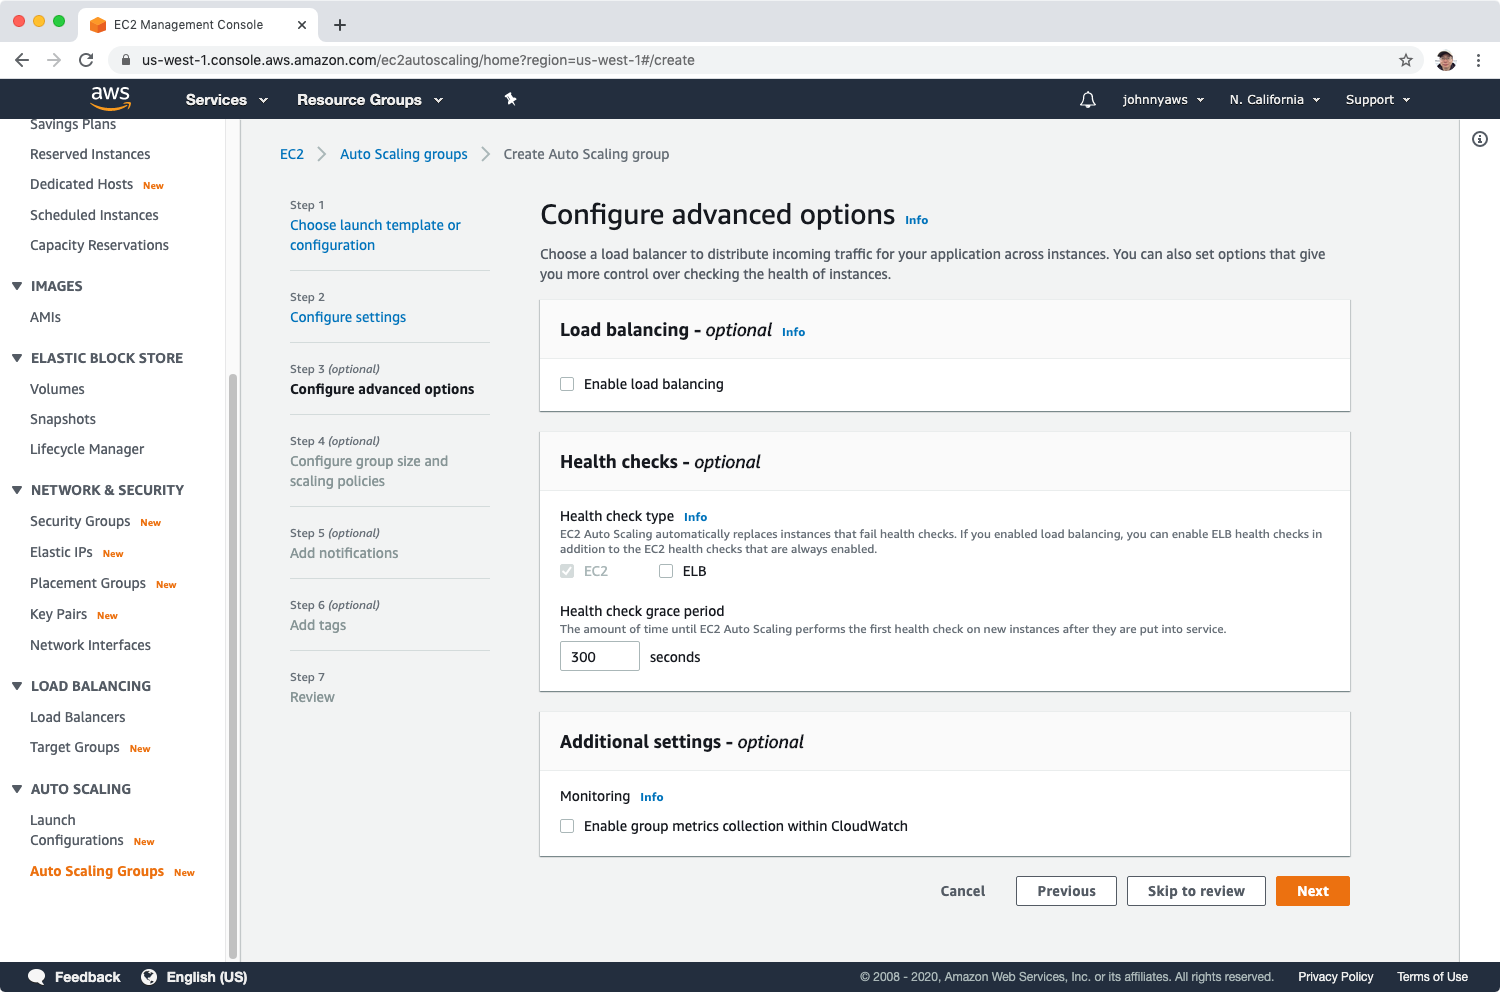
 Leave without any change, next.
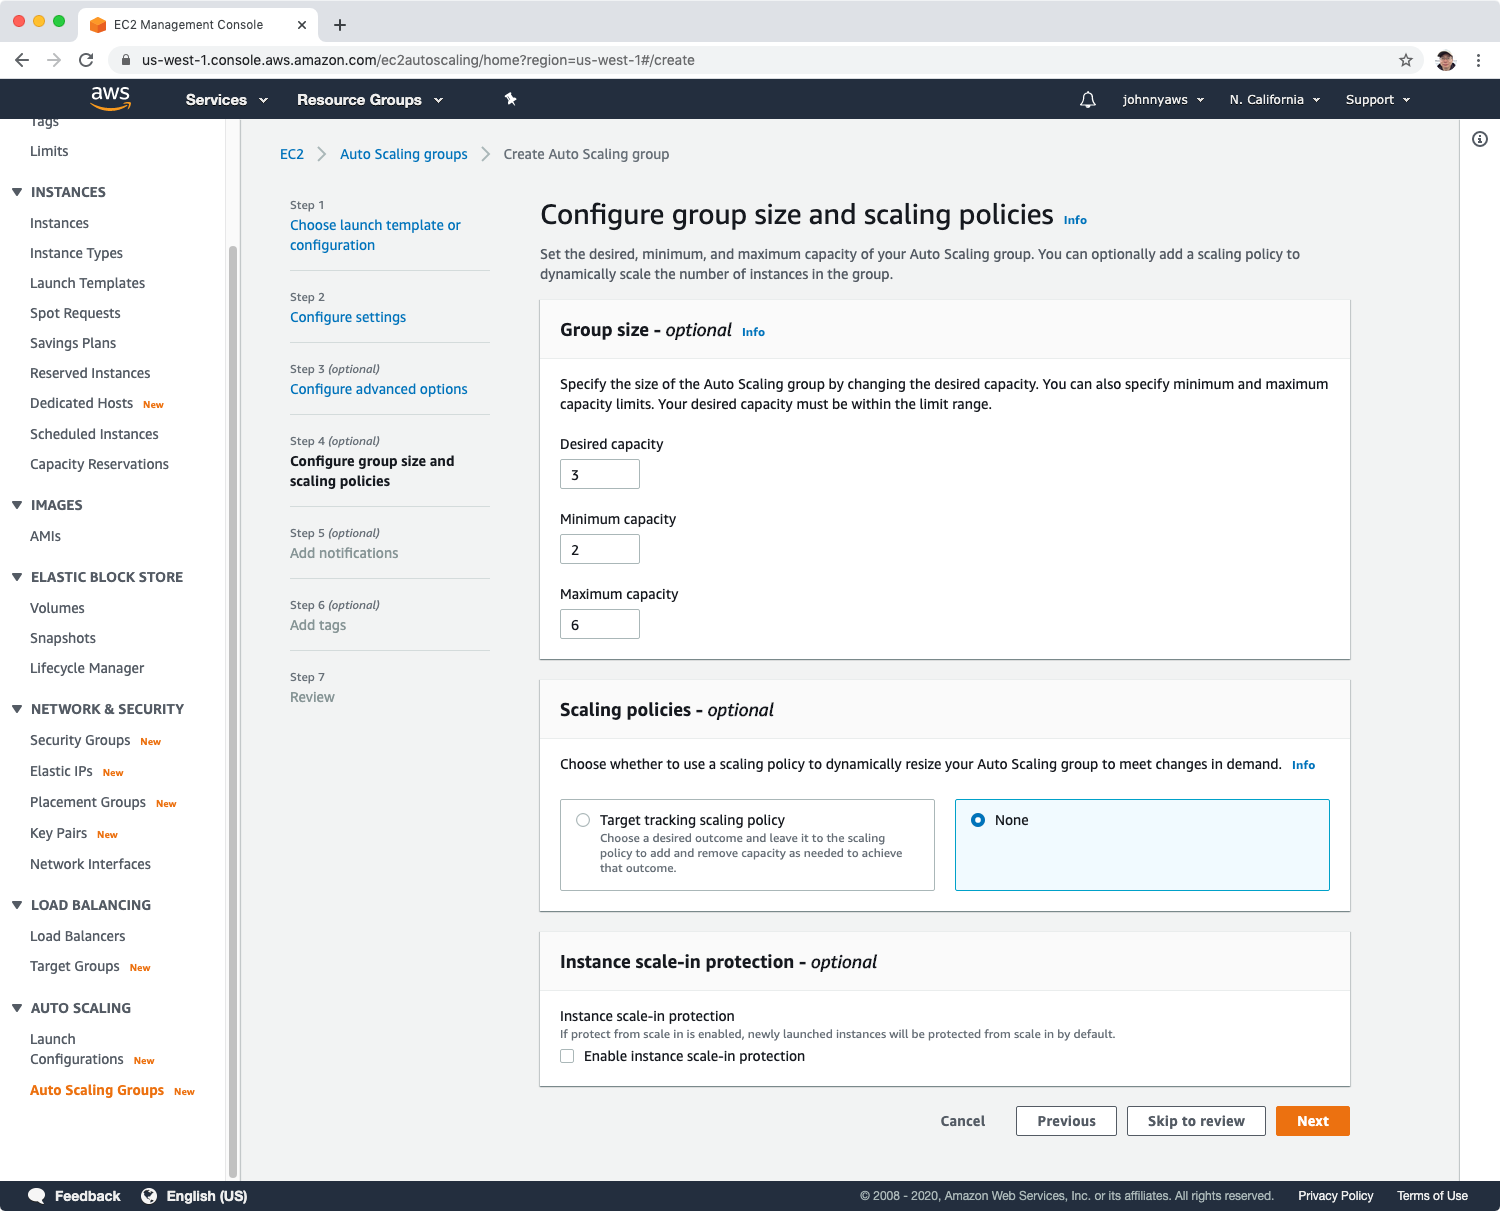
 Configure the scale group size, Desired Capacity = 3, Minimal Capacity = 2, Maximum Capacity = 6, next.
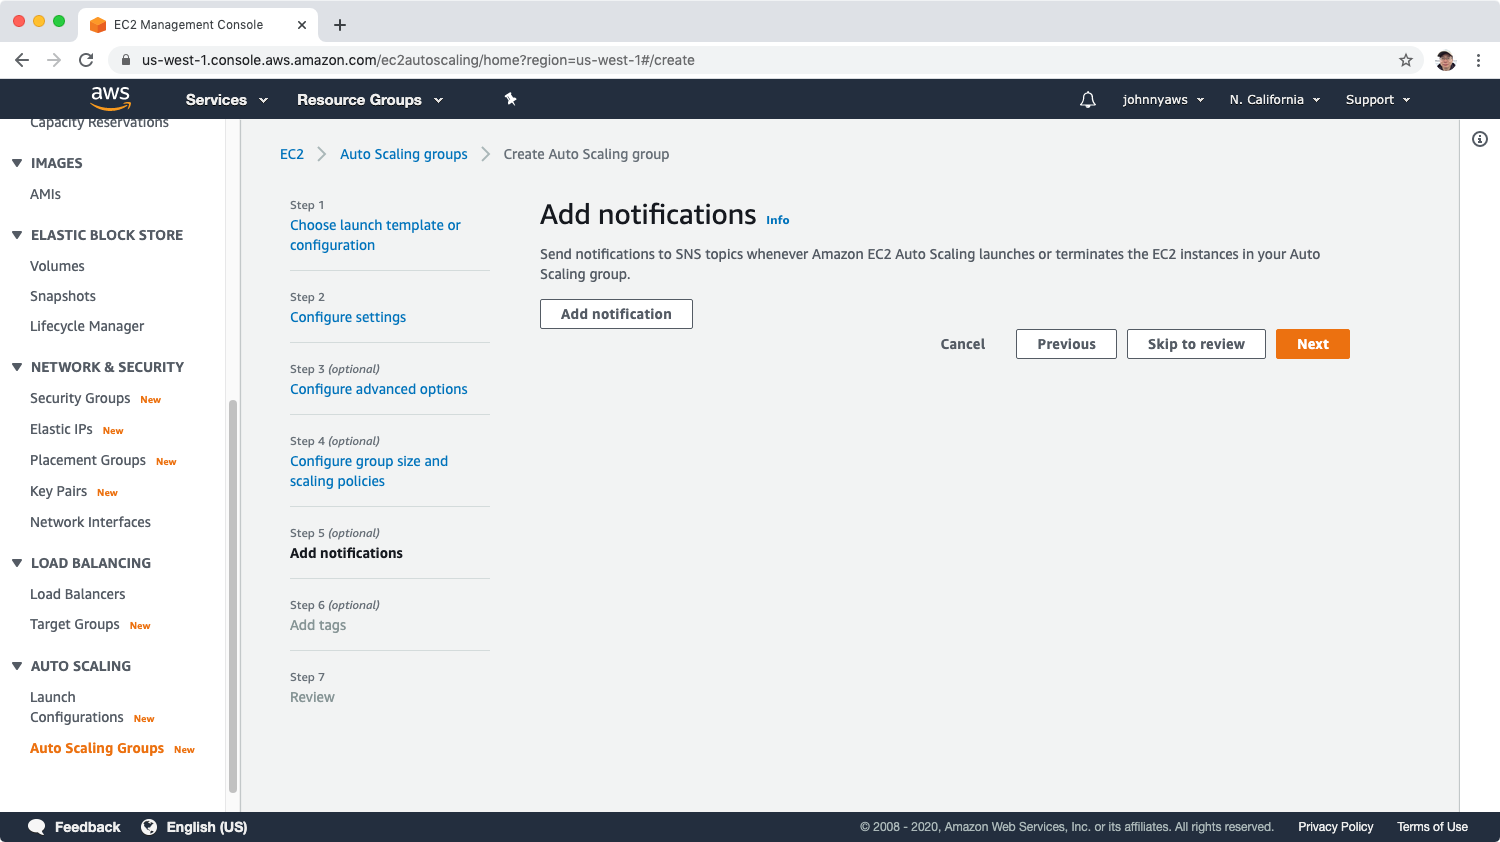
 Skip the notification, next.
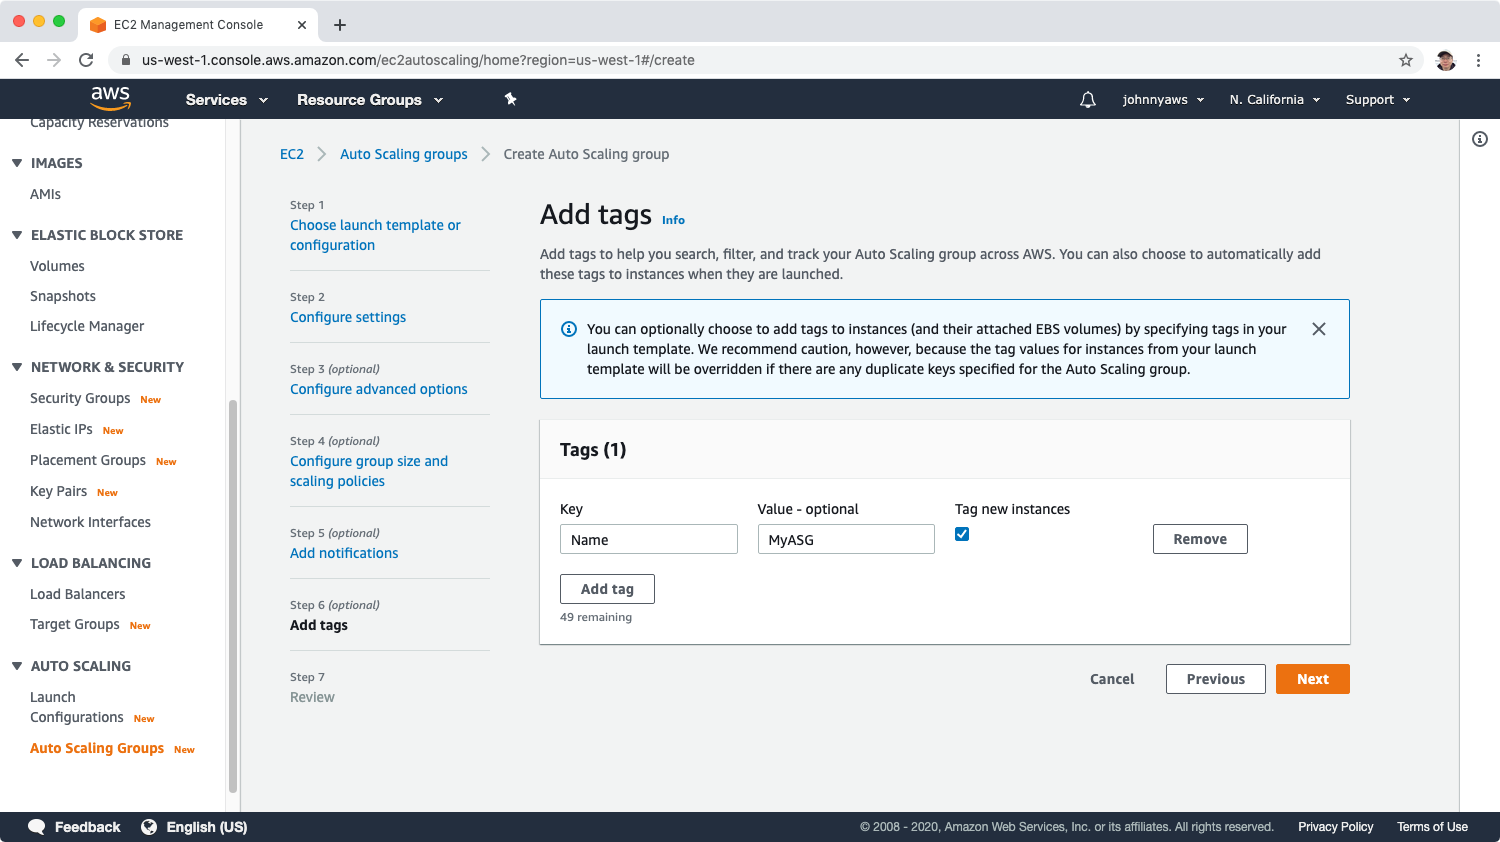
 Set instance tag, next.
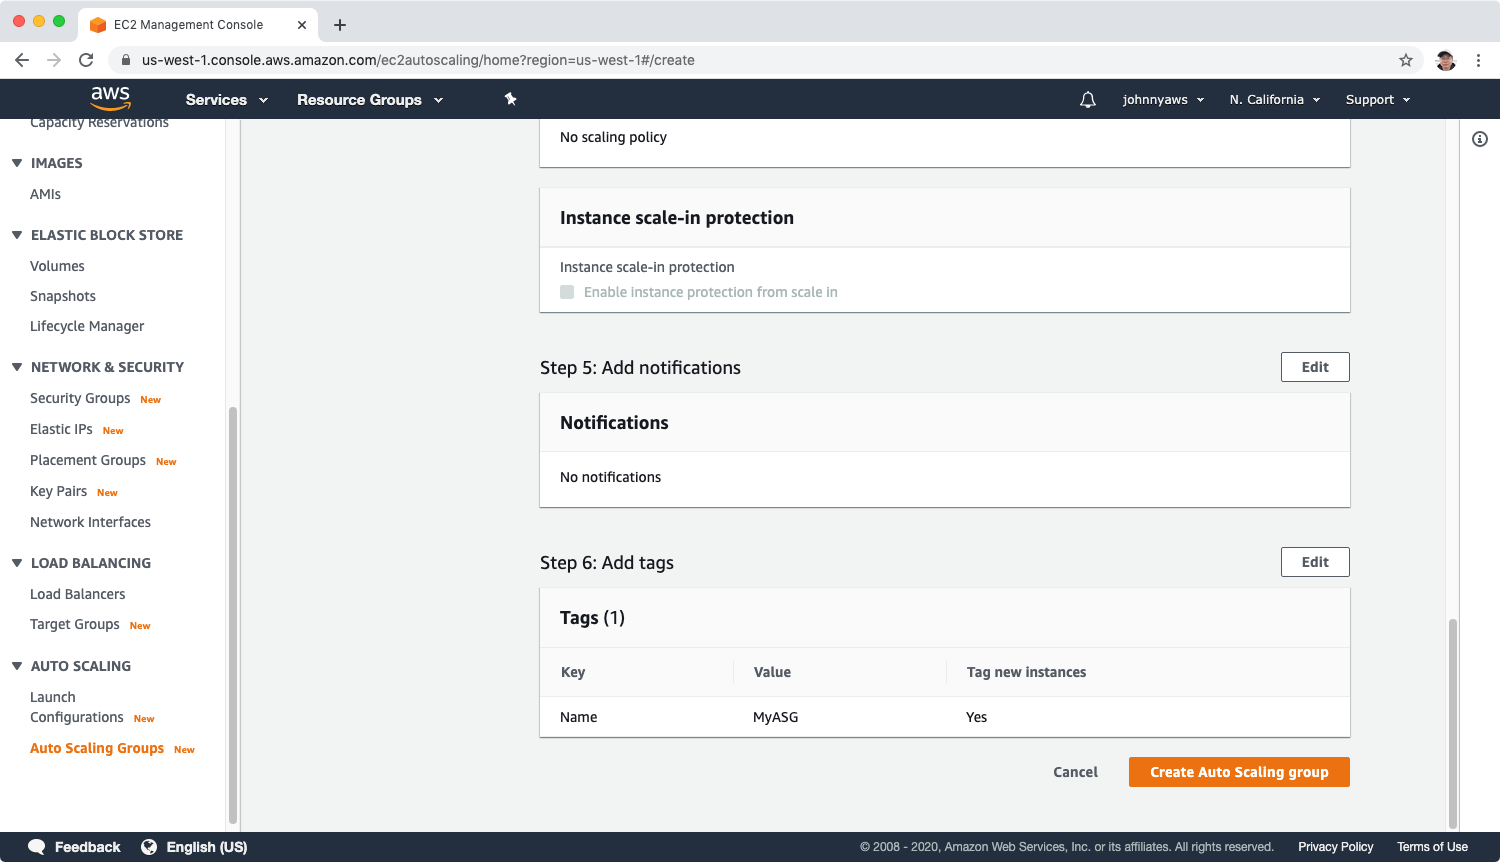
 Review and click “Create auto scaling group”.
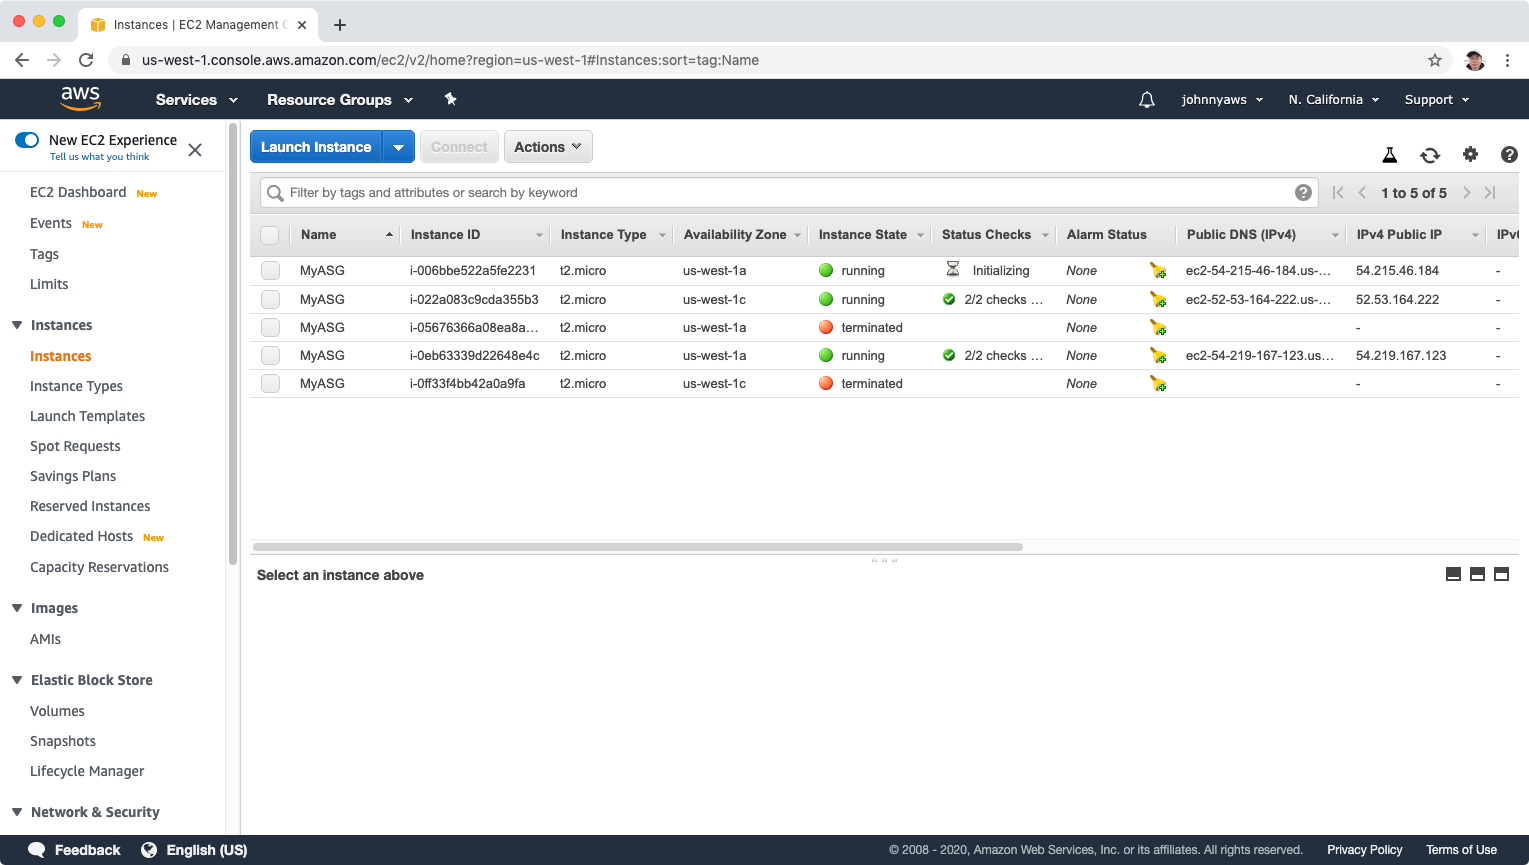
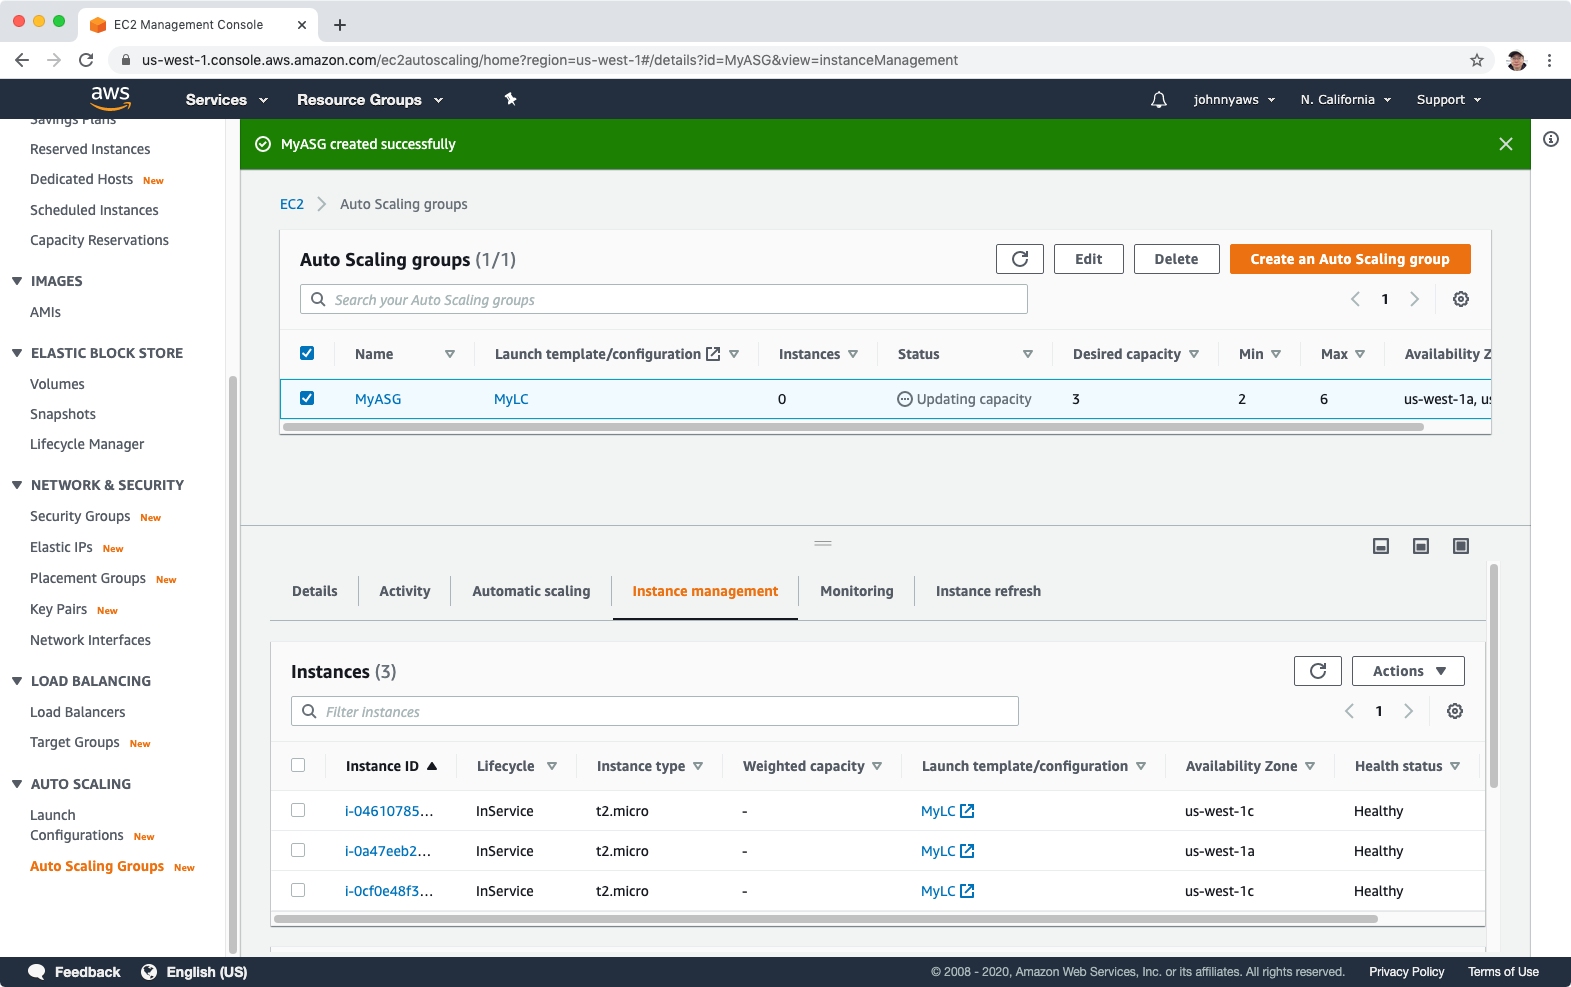
 The AutoScaling group is created. Three instances are under this group.
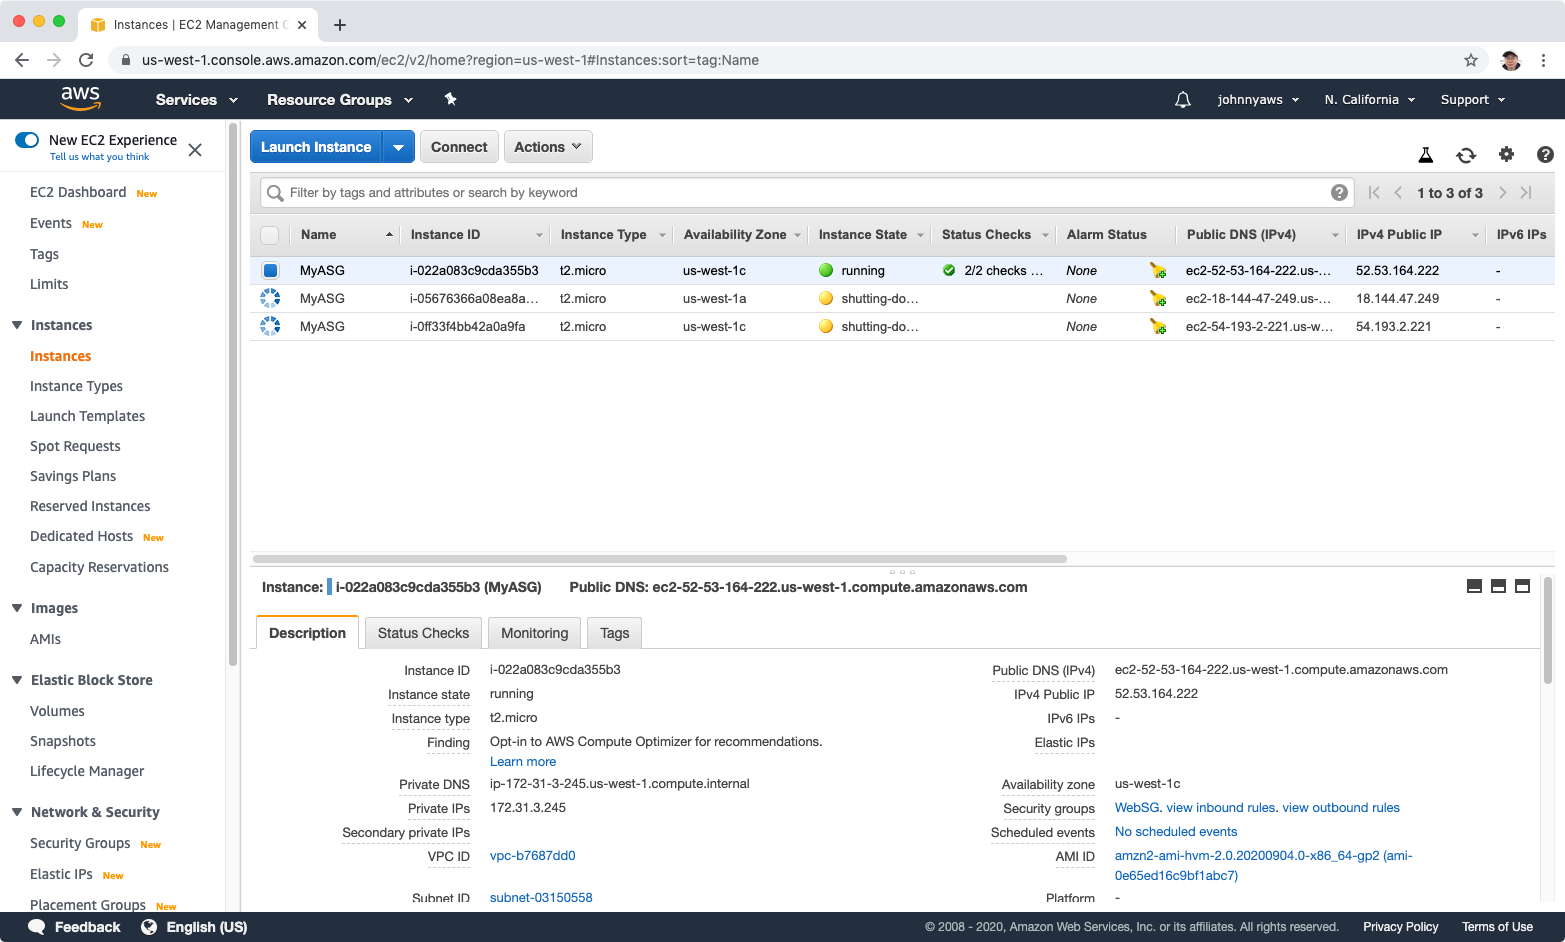
 Go to EC2 instance, we see all instances are up.
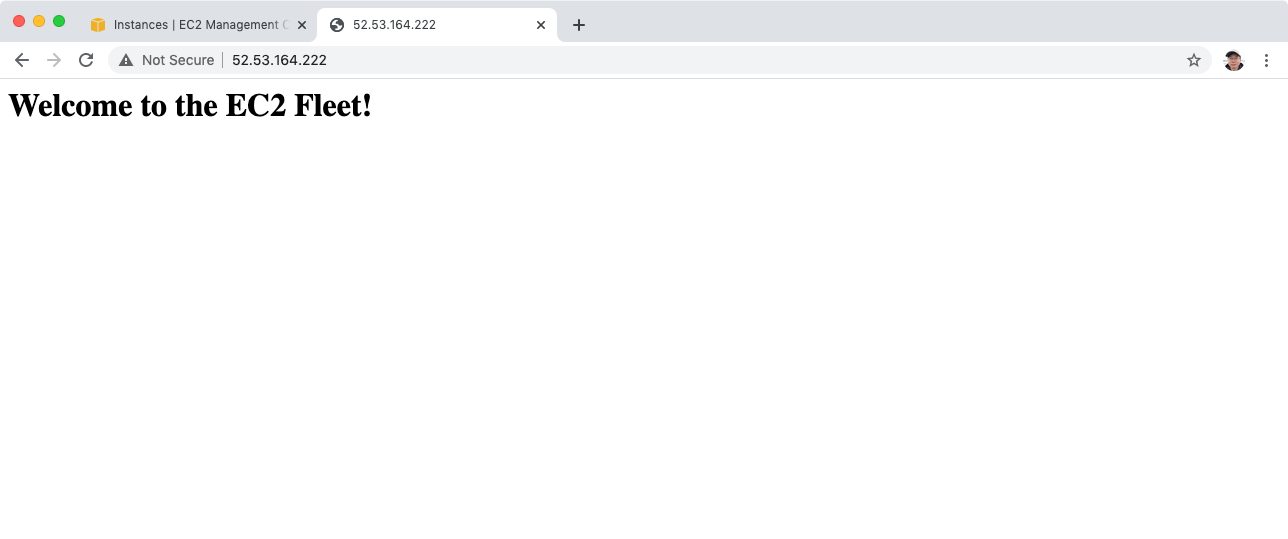
 If you visit the public ip of any instance in web browser, we will see the page.
 Now, select any two instances, terminate them.
 In the Activity history of the Auto Scaling group, we can see it detected the termination and launched new instances automatically.
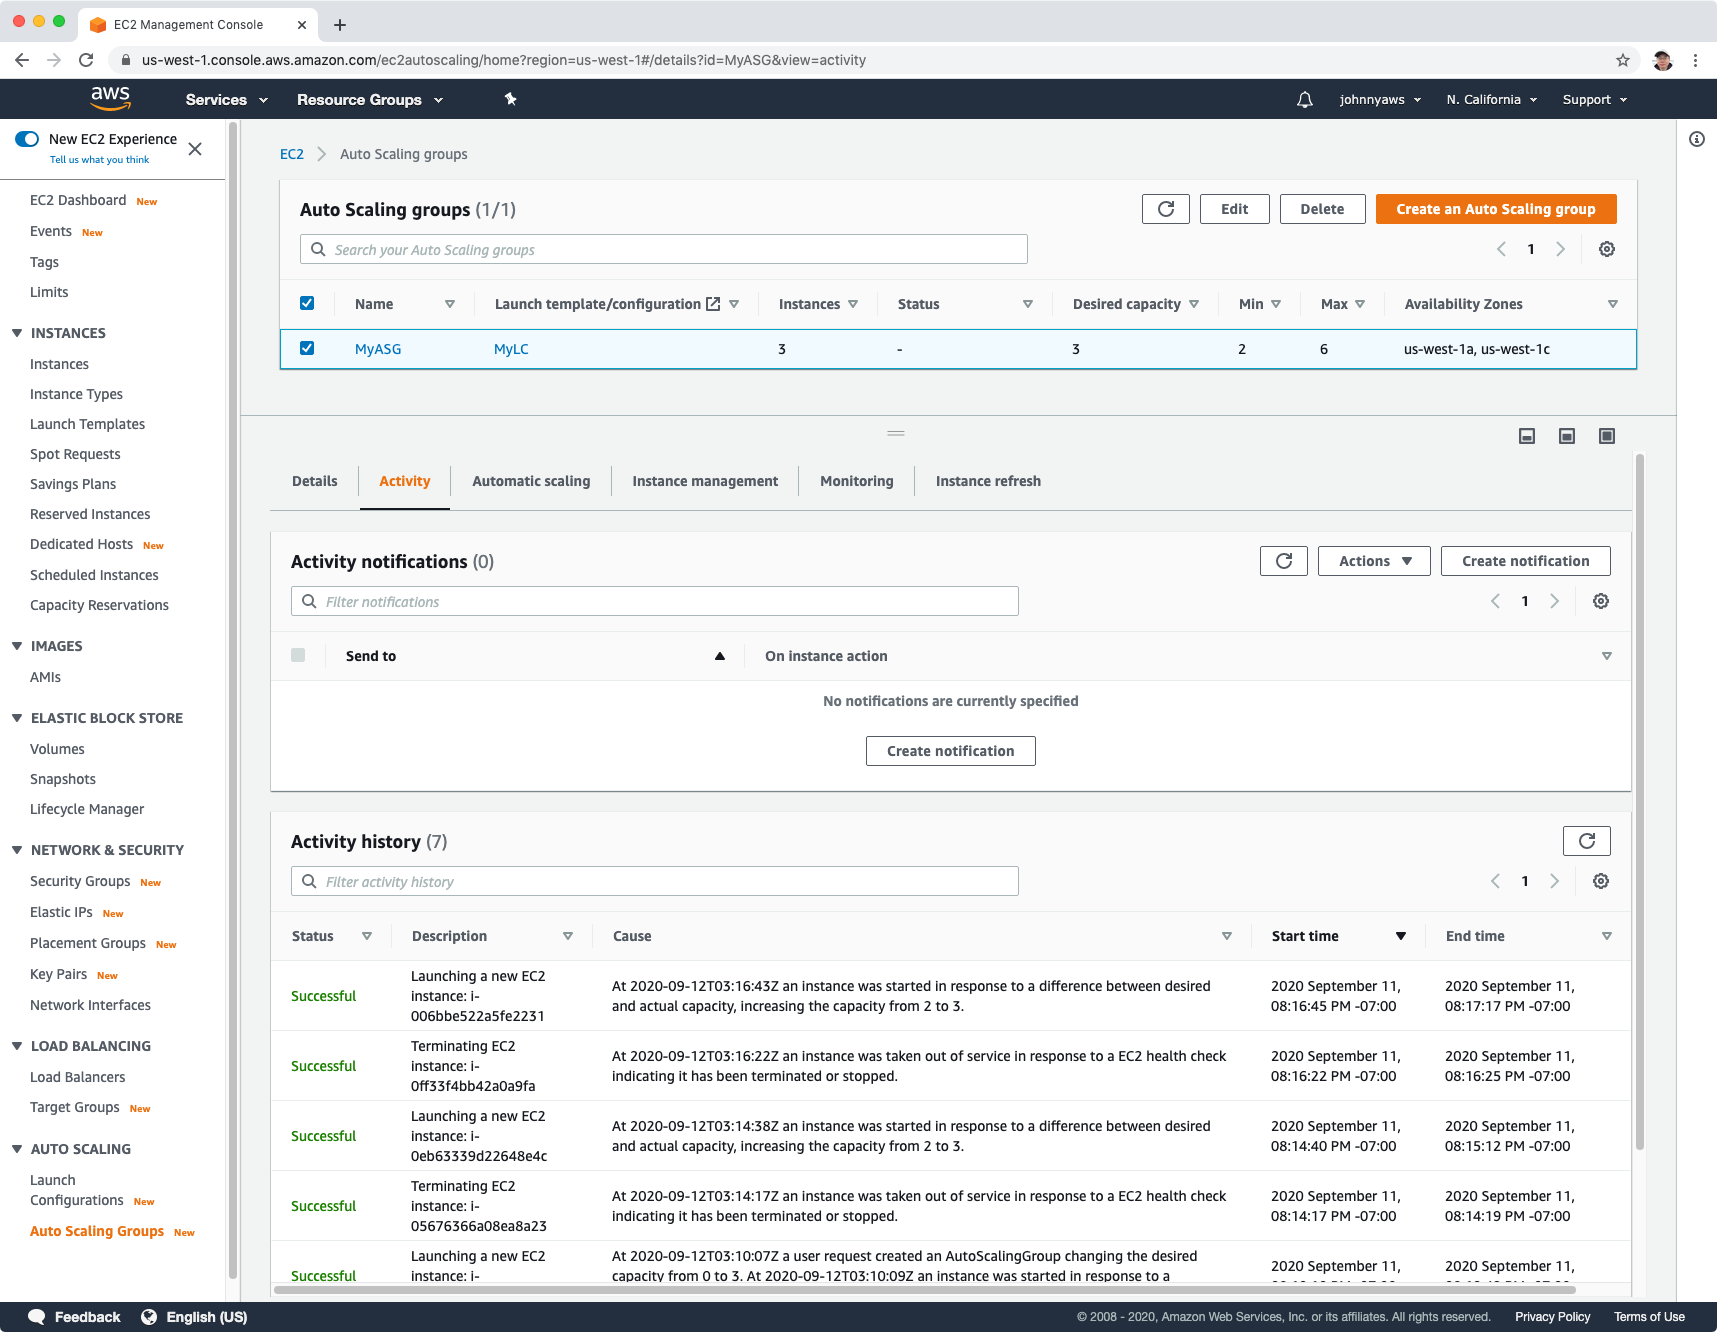 After a while, new instances are launched. The auto scaling group ensures that there are always three instances alive.