2534. Creating MongoDB Image with DockerfileMongoDB, Dockerfile, and Docker
Tutorial for creating MongoDB image with Dockerfile.
1. Creating MongoDB Image with Dockerfile
1.1 Creating Docker File
Create one file named Dockerfile in any directory on local machine.
$ cd ~/Johnny
$ mkdir Docker
$ cd Docker
$ vim Dockerfile
Edit Dockerfile, fill with following content.
#Create MongoDB Image for MongoDB Tutorial Application
FROM mongo
MAINTAINER csgeek@mail.com

EXPOSE 27017
The following points need to be noted about the above file.
- The first line is a comment. You can add comments to the Docker File with the help of the # command
- The FROM keyword tells which base image you want to use. In our example, we are creating an image from the mongo image.
- The next command is the person who is going to maintain this image.
- The EXPOSE command exposes port
27017of the image.
1.2 Creating Image with Dockerfile
Open Docker terminal, navigate to the folder where the Dockerfile locates. Run the following command.
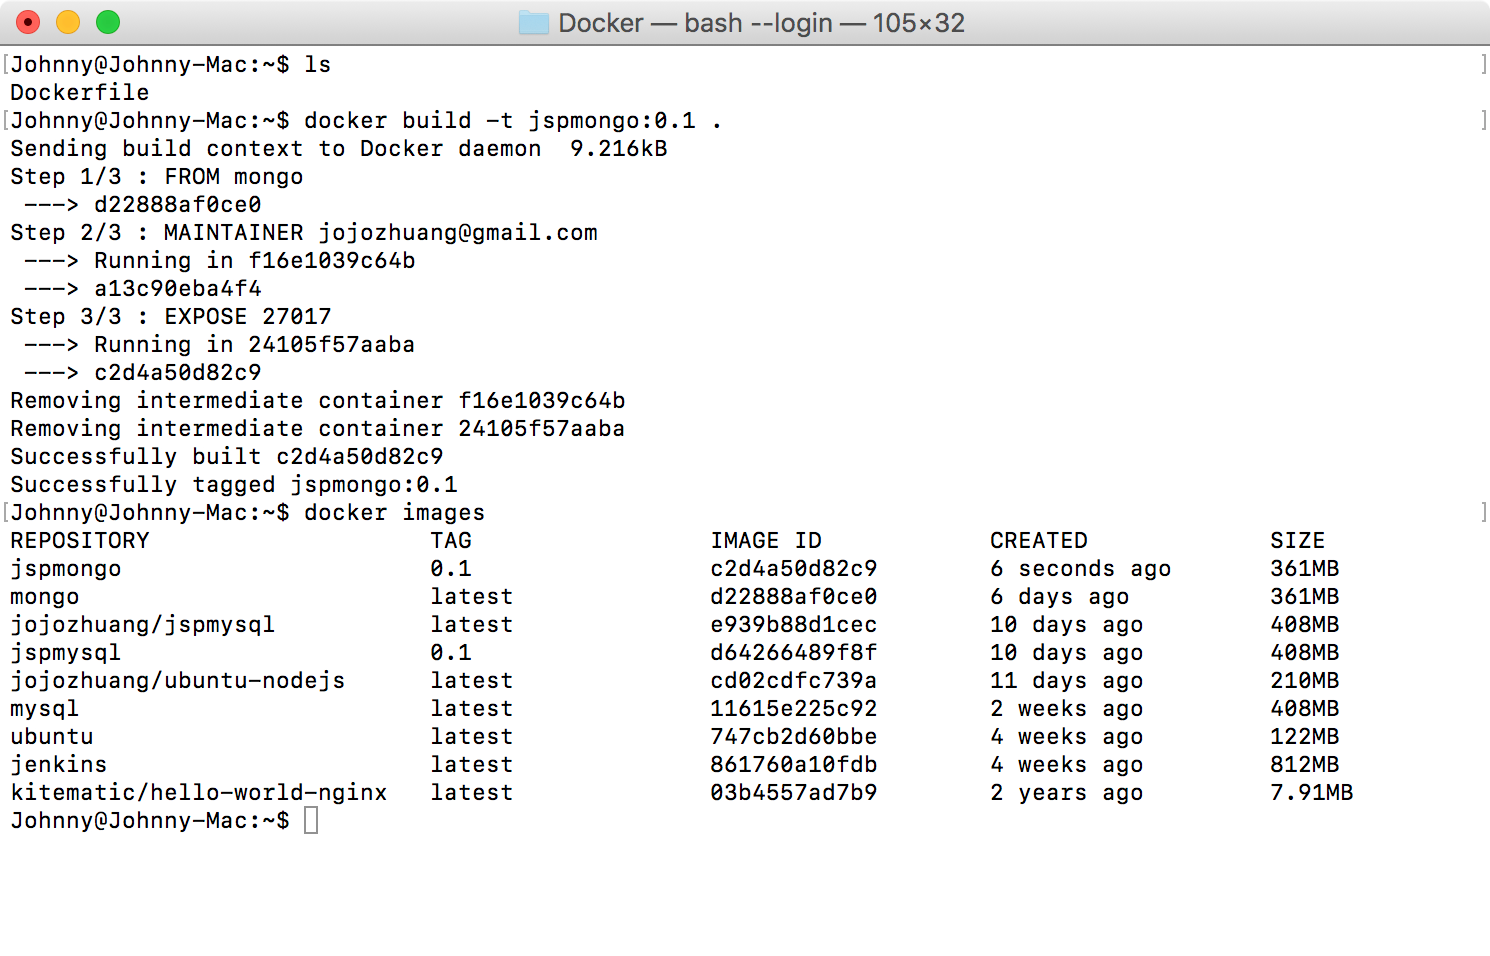
$ docker build -t jspmongo:0.1 .
Here, jspmongo is the name we are giving to the Image and 0.1 is the tag number. The last dot . indicates the current location. Check whether the image is created.
$ docker images
As you see, the new image is created with tag 0.1.
2. Testing The New Image
2.1 Running Container
In docker terminal, run the following command.
$ docker run --detach --name=jspmongo --publish 37017:27017 jspmongo:0.1
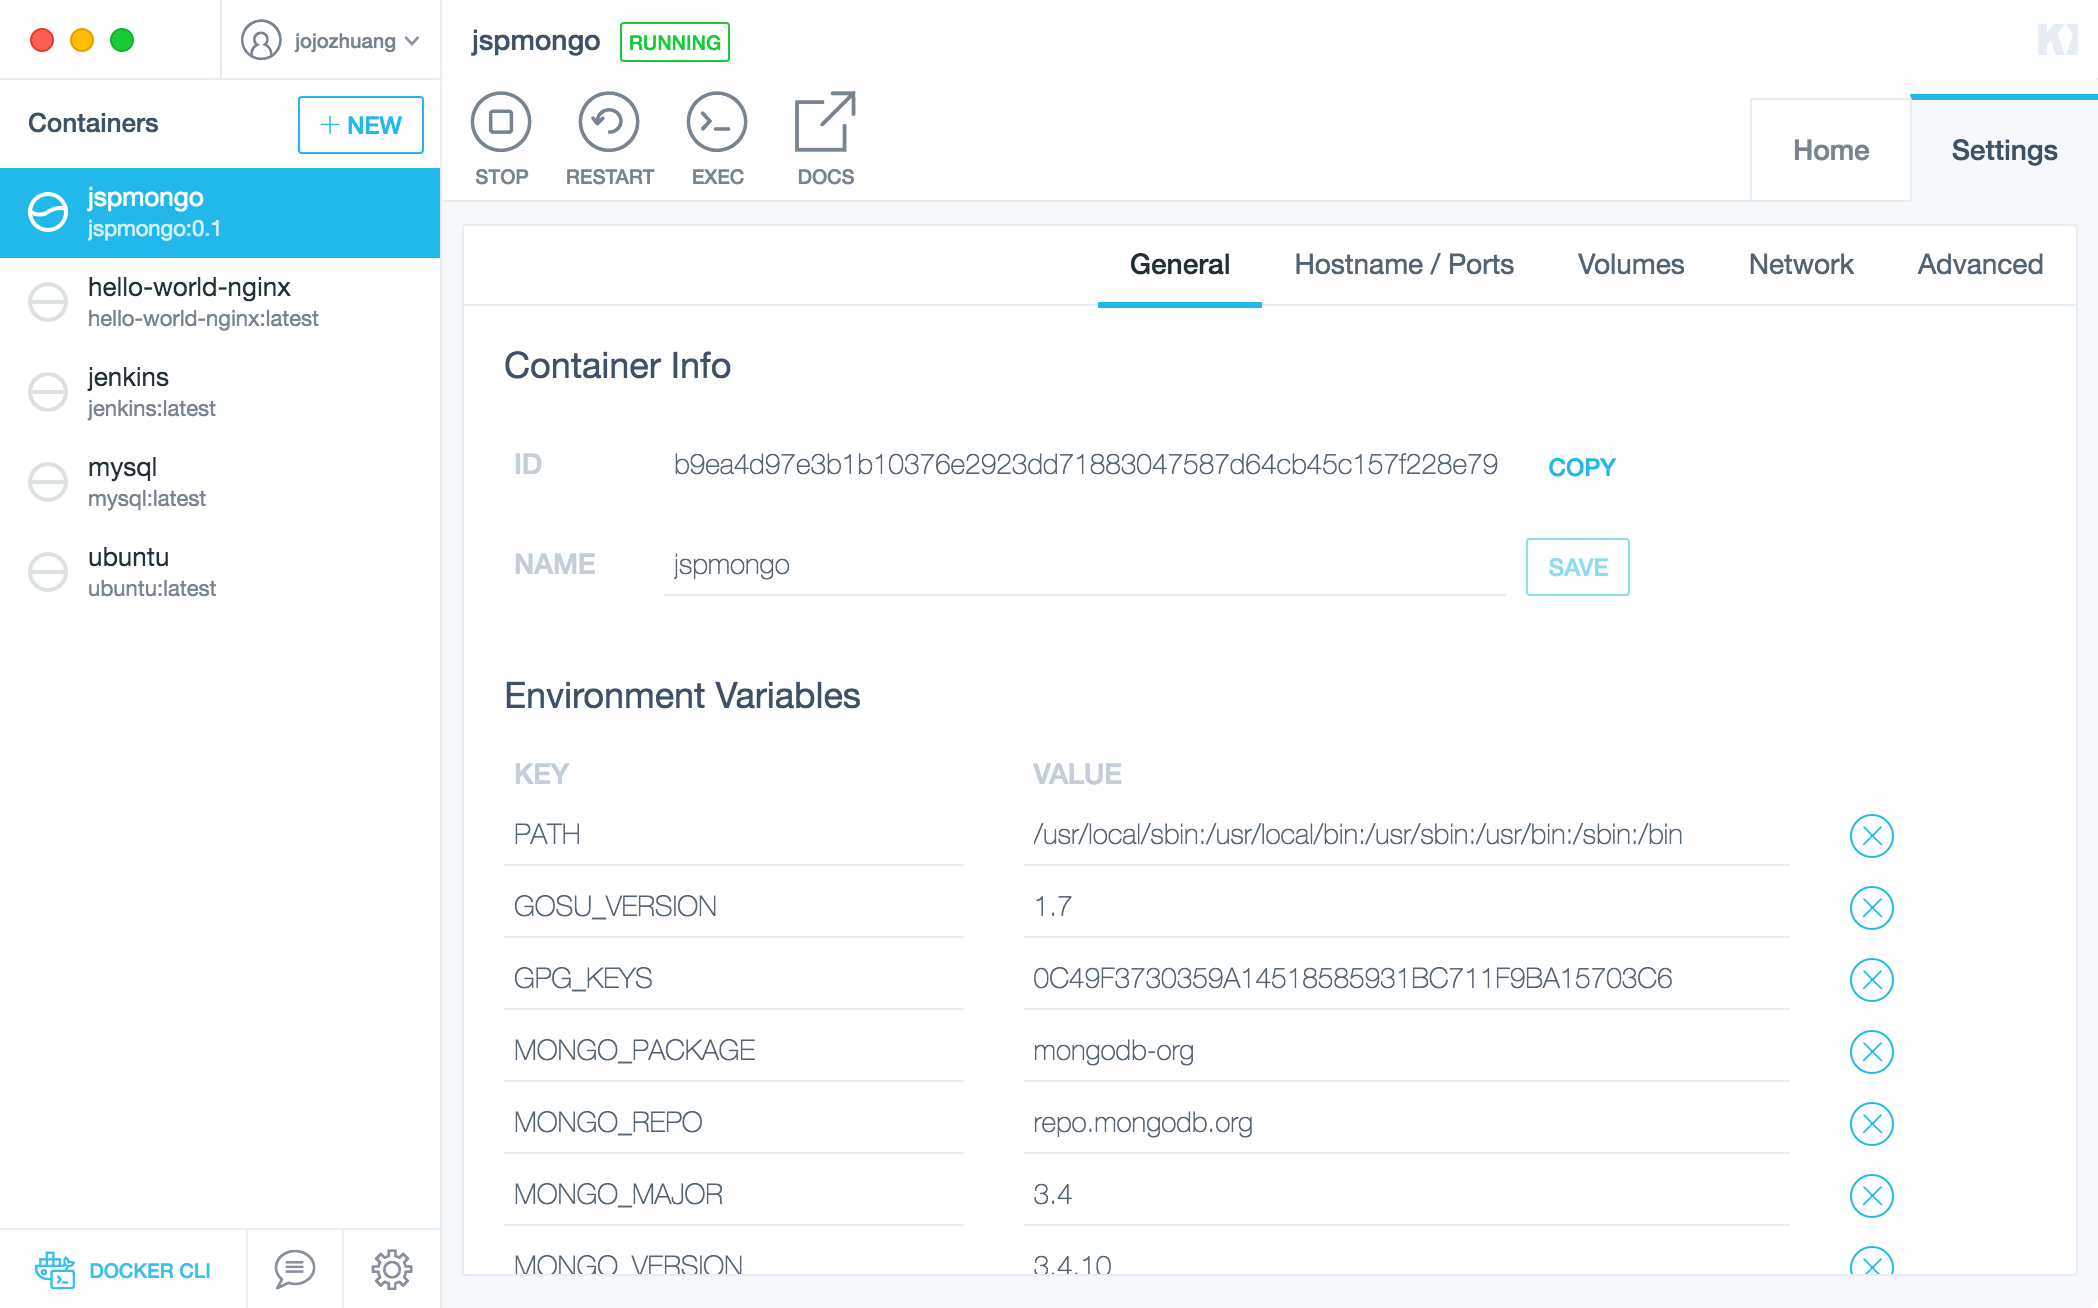
2.2 Verifying Container in Kitematic
A MongoDB container named jspmongo is running now. Notice, it’s source image is jspmongo:0.1.
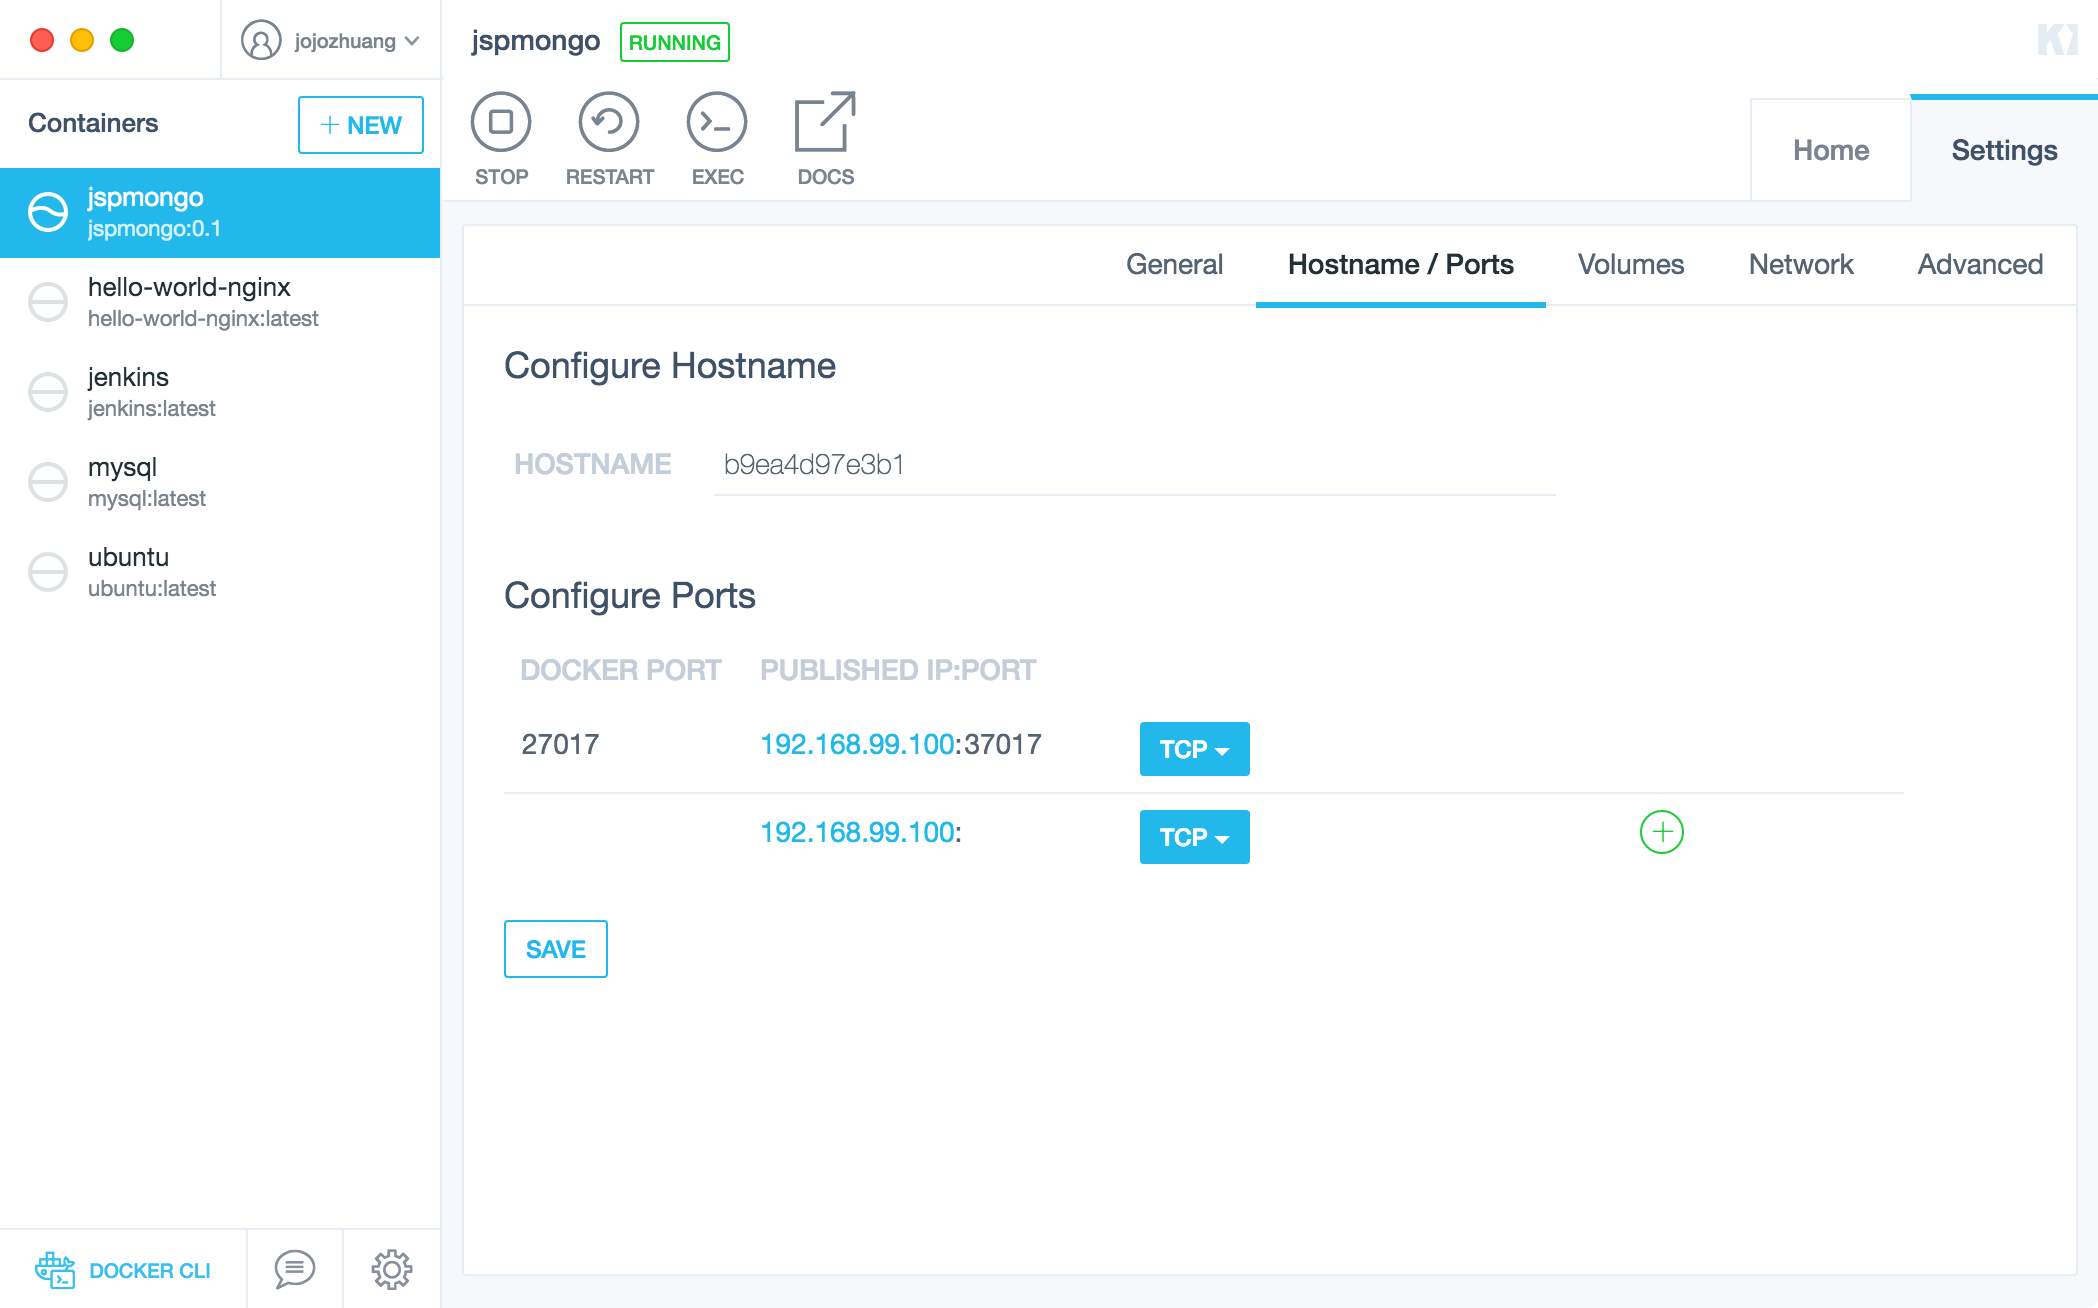
Port 27017 is also exposed and mapped to 37017.
2.3 Creating Sample Data
In container terminal, launch MongoDB Shell with mongo command.
# mongo
>
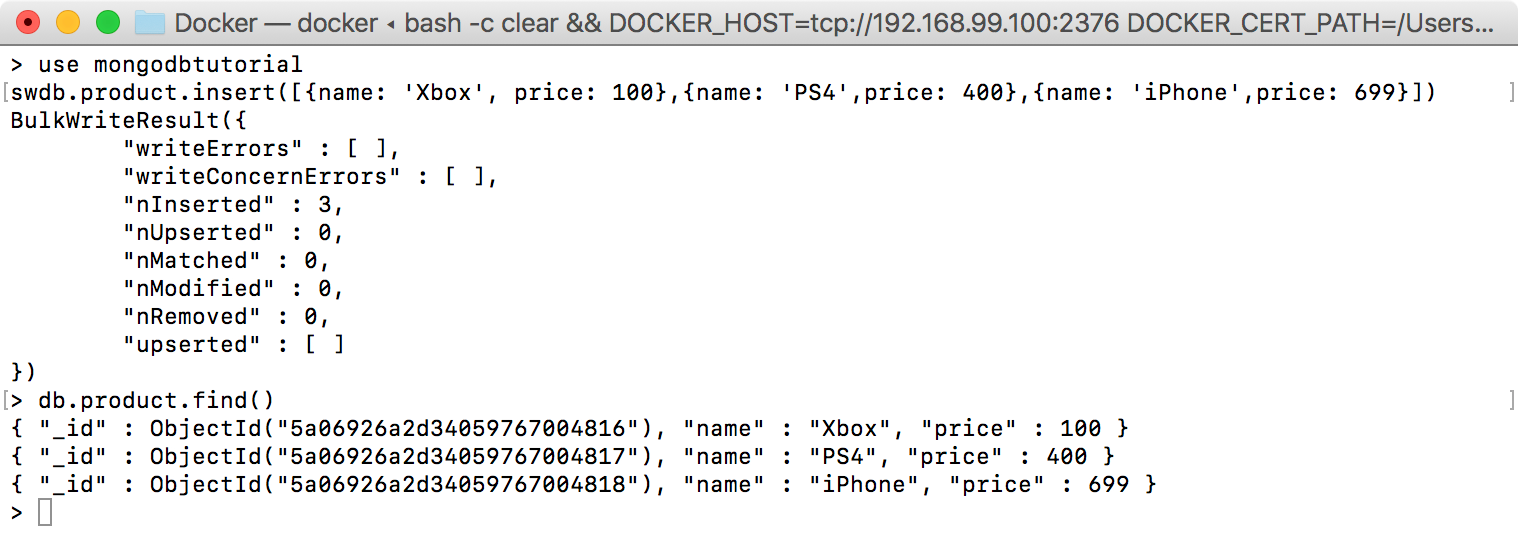
Create a database named mongodbtutorial and three documents for collection product.
> use mongodbtutorial
> db.product.insert([{name: 'Xbox', price: 100},{name: 'PS4',price: 400},{name: 'iPhone',price: 699}])
3. Testing
3.1 Getting MongoDB Tutorial Application
In Eclipse, open the MongoDB Tutorial project which we created for Building Website with JSP and MongoDB. Rename it to MongoDBDockerfile.
3.2 Updating Connection Host and Port
Edit web.xml, change the host to 192.168.99.100, and port to 37017.
<?xml version="1.0" encoding="UTF-8"?>
<web-app version="3.1" xmlns="http://xmlns.jcp.org/xml/ns/javaee" xmlns:xsi="http://www.w3.org/2001/XMLSchema-instance" xsi:schemaLocation="http://xmlns.jcp.org/xml/ns/javaee http://xmlns.jcp.org/xml/ns/javaee/web-app_3_1.xsd">
    <display-name>MongoDB Tutorial</display-name>
    <context-param>
        <param-name>MONGODB_HOST</param-name>
        <param-value>192.168.99.100</param-value>
    </context-param>
    <context-param>
        <param-name>MONGODB_PORT</param-name>
        <param-value>37017</param-value>
    </context-param>
    <welcome-file-list>
        <welcome-file>productlist.jsp</welcome-file>
    </welcome-file-list>
    <session-config>
        <session-timeout>
            30
        </session-timeout>
    </session-config>
</web-app>
3.3 Verifying MongoDB Connection
Run the project and access
http://localhost:8080/MongoDBDockerfile/productlist.jsp. Products are displayed properly.
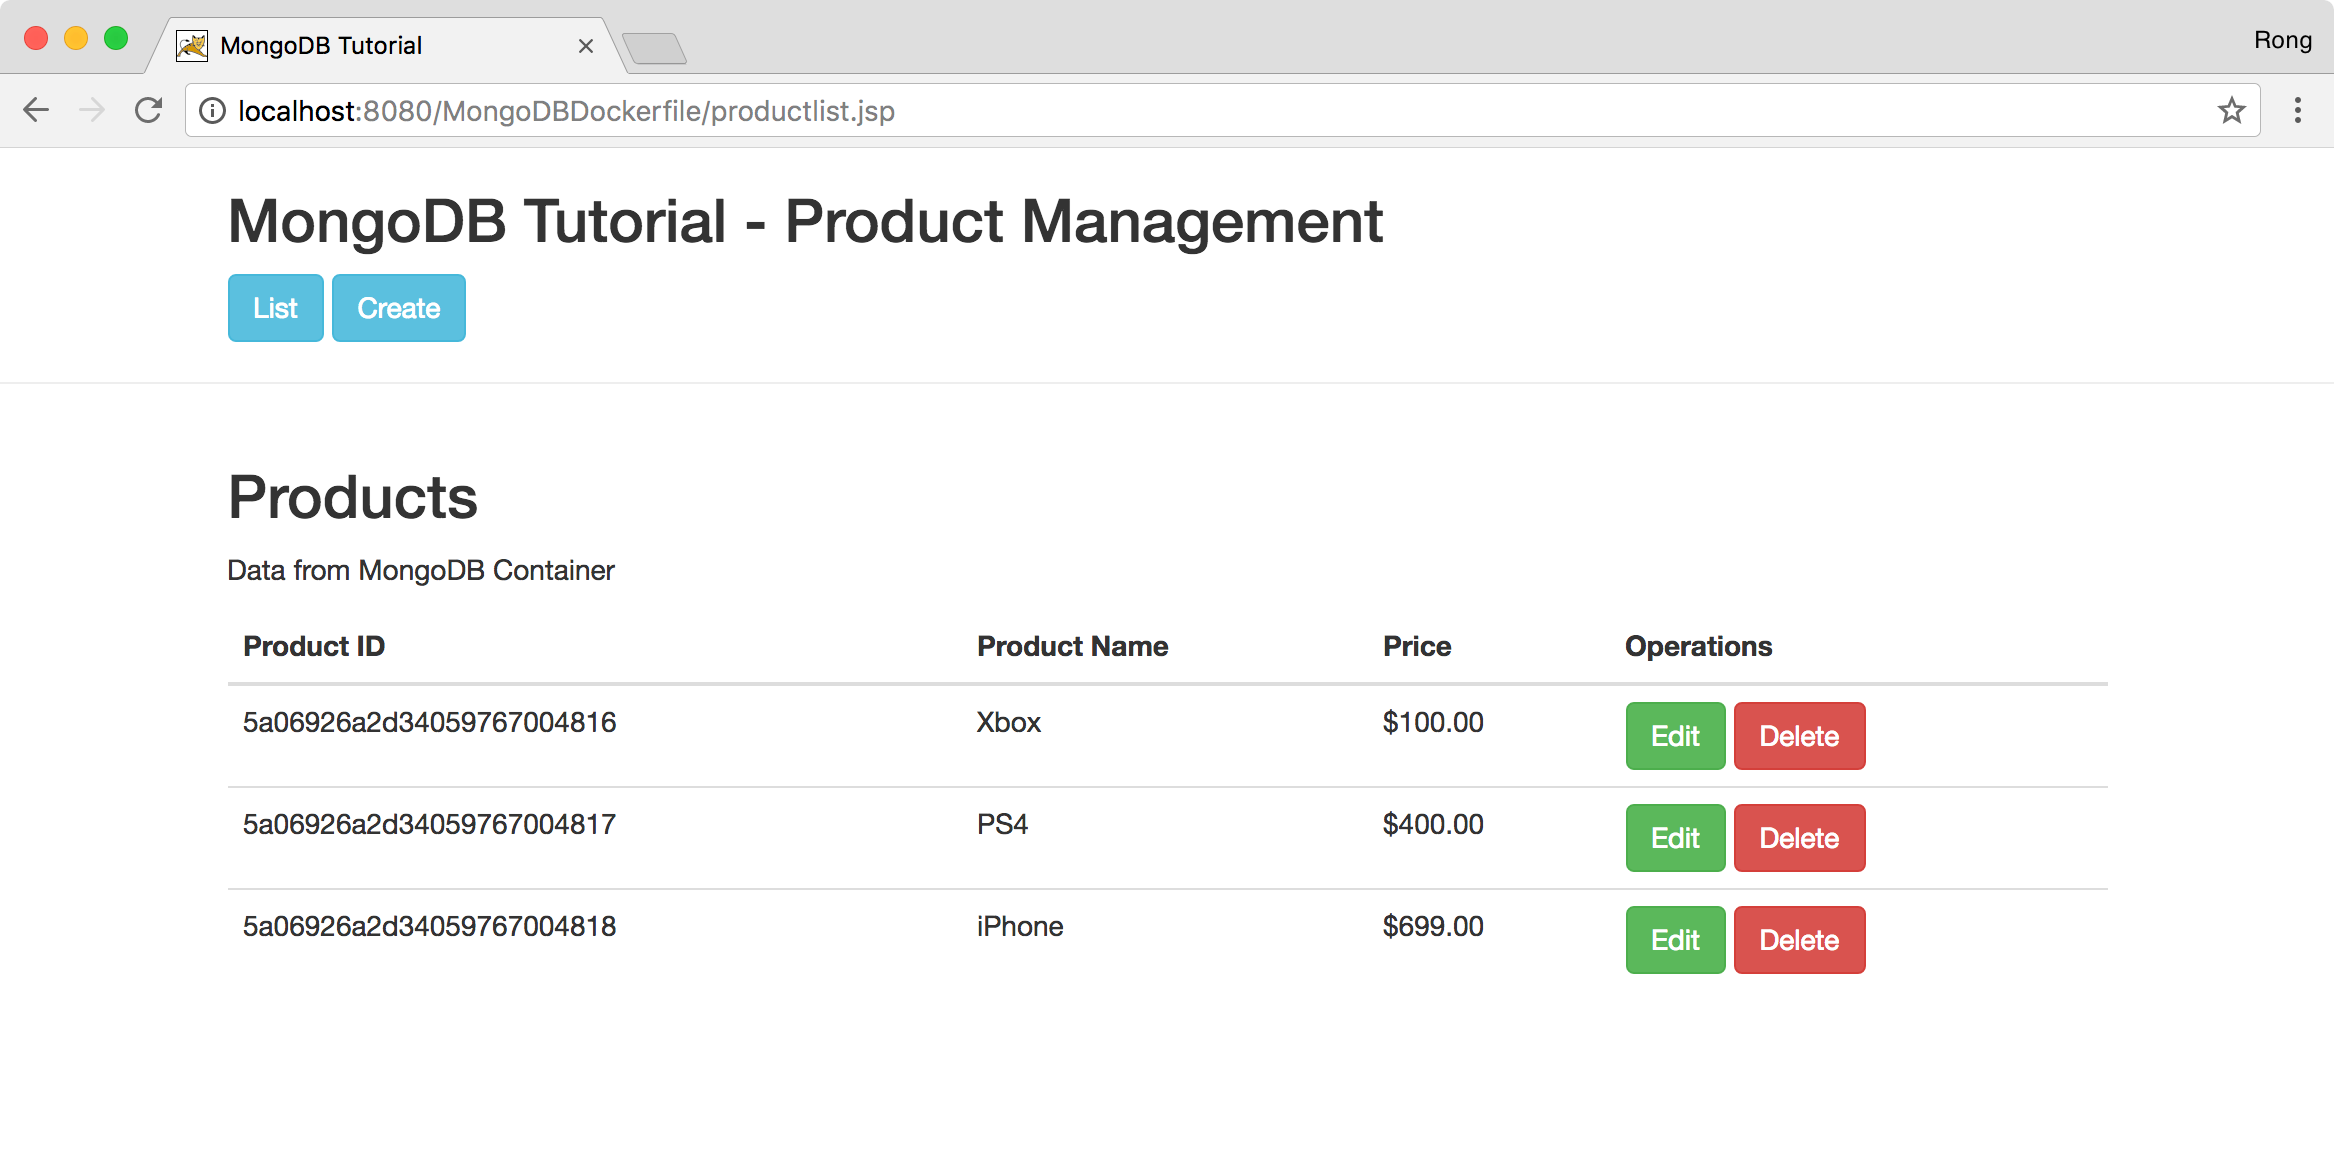
Try to add, edit or delete product. Then, verify the data in MongoDB Shell, you will see the changes.