2529. Creating MySQL Container with Docker File for Game Store AppJSP, MySQL, and Docker
Introduce how to user Docker Container to host MySQL database for JSP Application.
1. Project Introduction
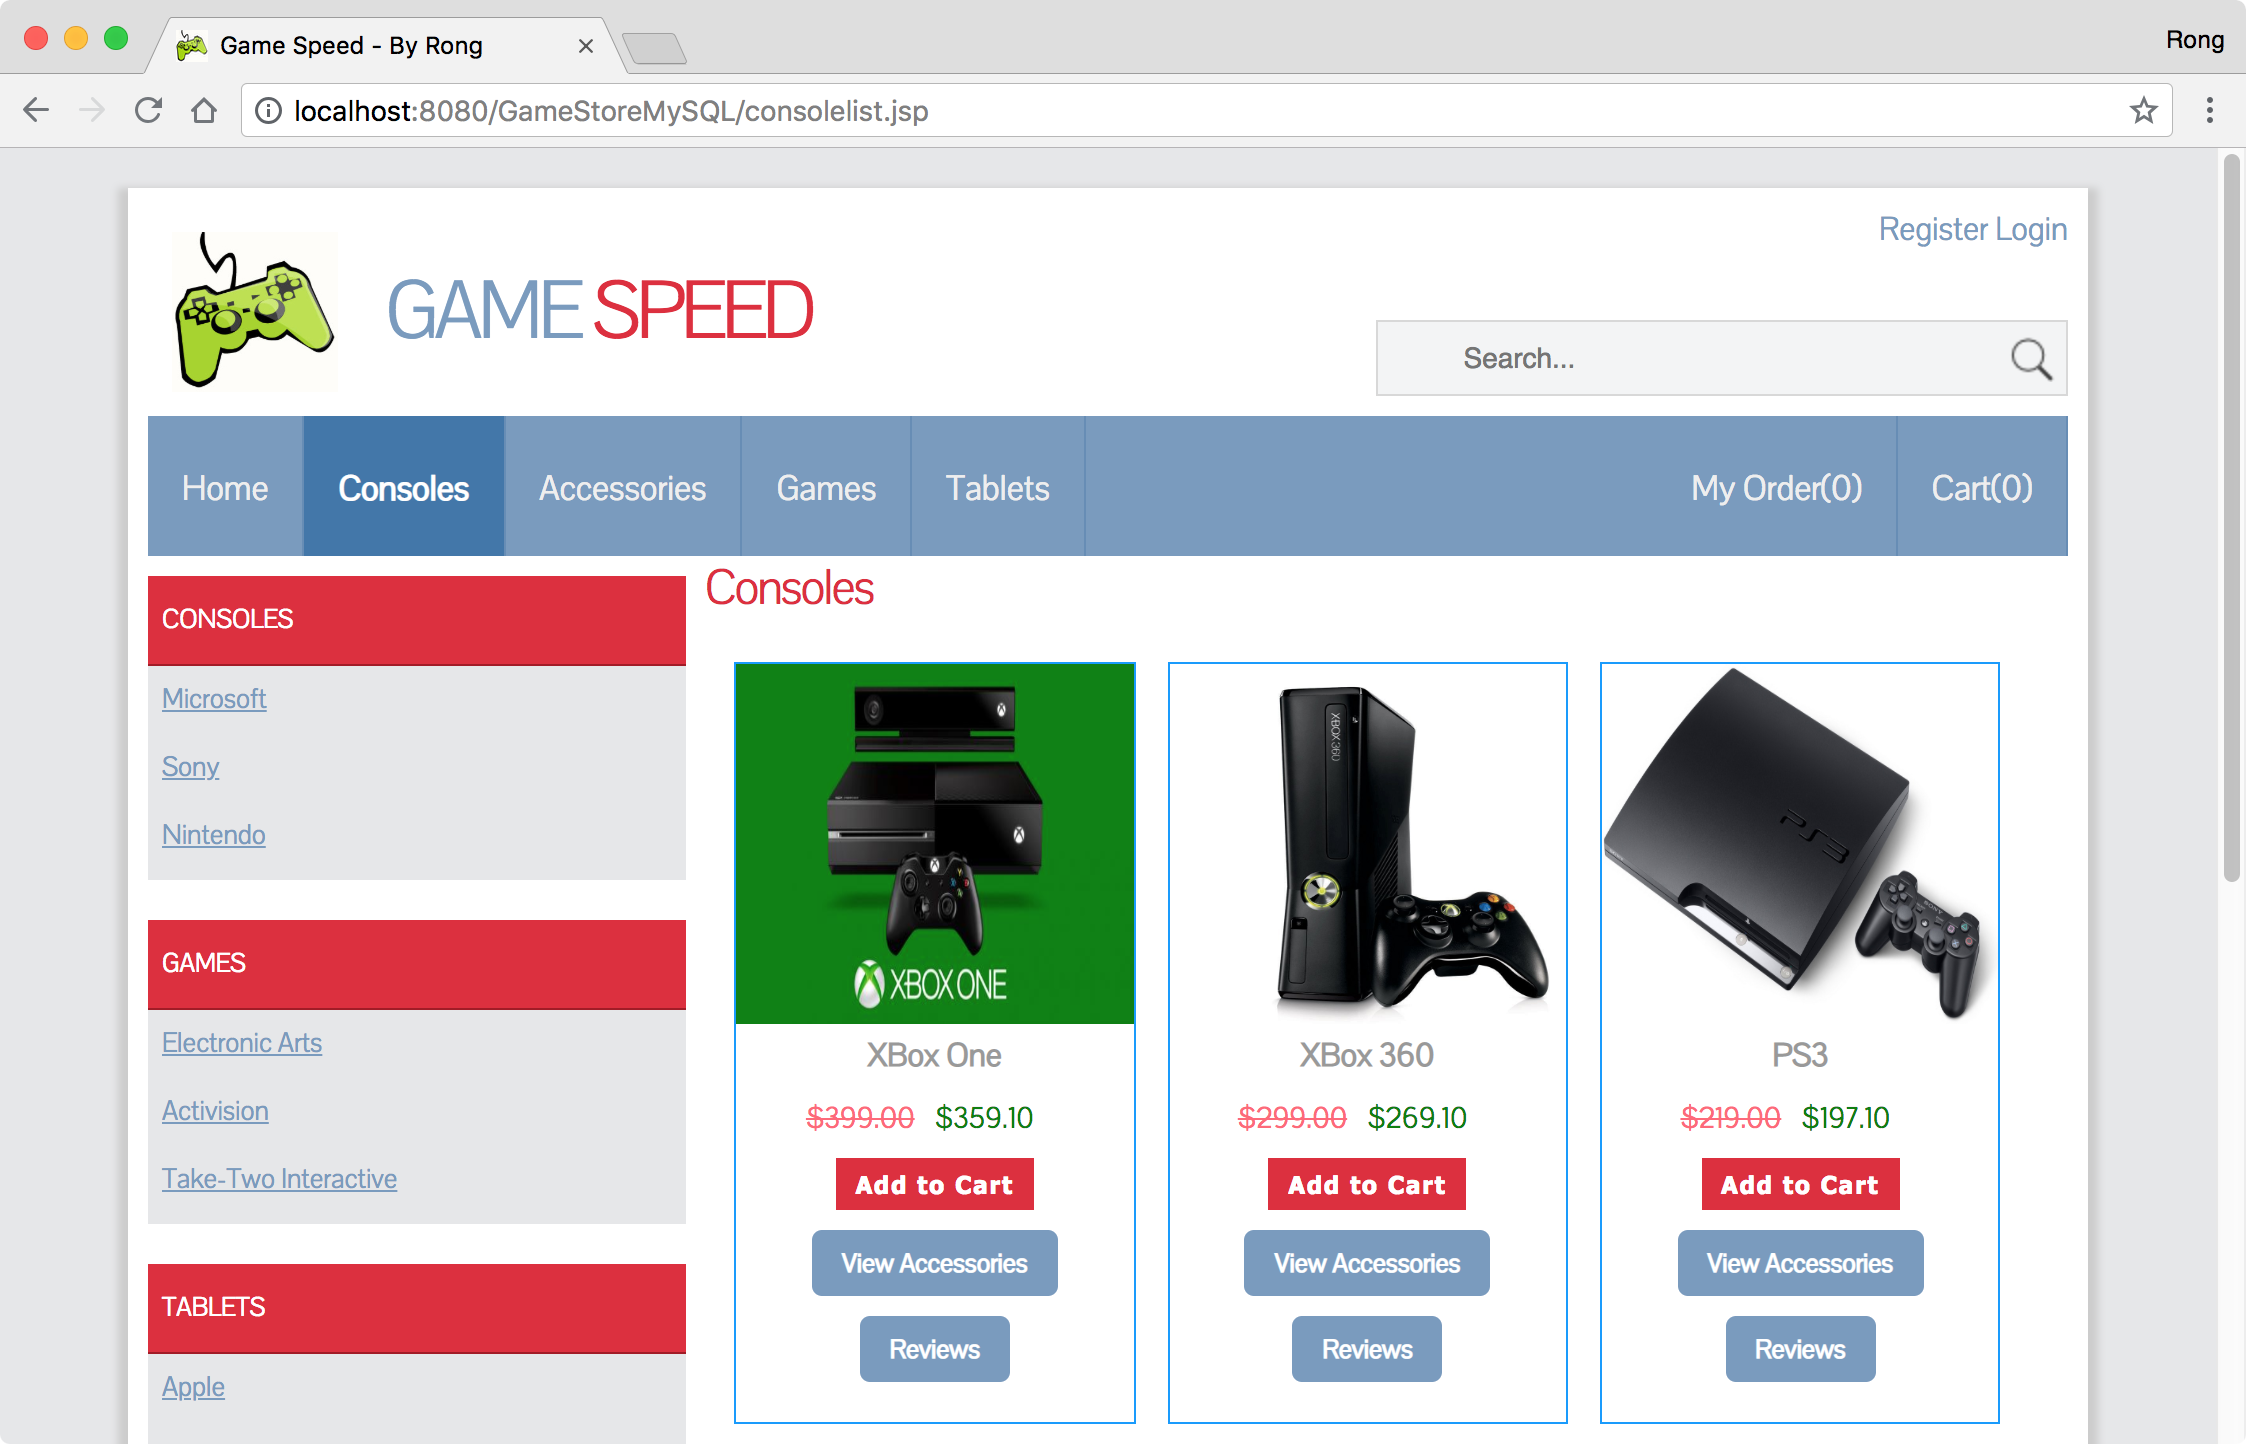
I have one portfolio named Online Game Store, which is built with JSP and MySQL. In this tutorial, I will introduce how to host this MySQL database in Docker container.
1.1 Database
The instance of MySQL for this JSP application has the following structure.
mysql/
├── gamestore
├───── SalesOrder
├───── OrderItem
└── root/gspassword
- There is one database named ‘gamestore’ in MySQL. This database contains two tables, ‘SalesOrder’ and ‘OrderItem’. To access this database, we use user ‘root’ and password ‘gspassword’.
1.2 MySQL Connector
To let the JSP application access MySQL database, we need MySQL connector jar. It is a middleware between JSP application and MySQL database. Even though MySQL is not required to be installed on the host machine, this JSP application needs to connect to MySQL container with it.
Go to https://dev.mysql.com/downloads/connector/j/5.1.html, download MySQL Connector/J.
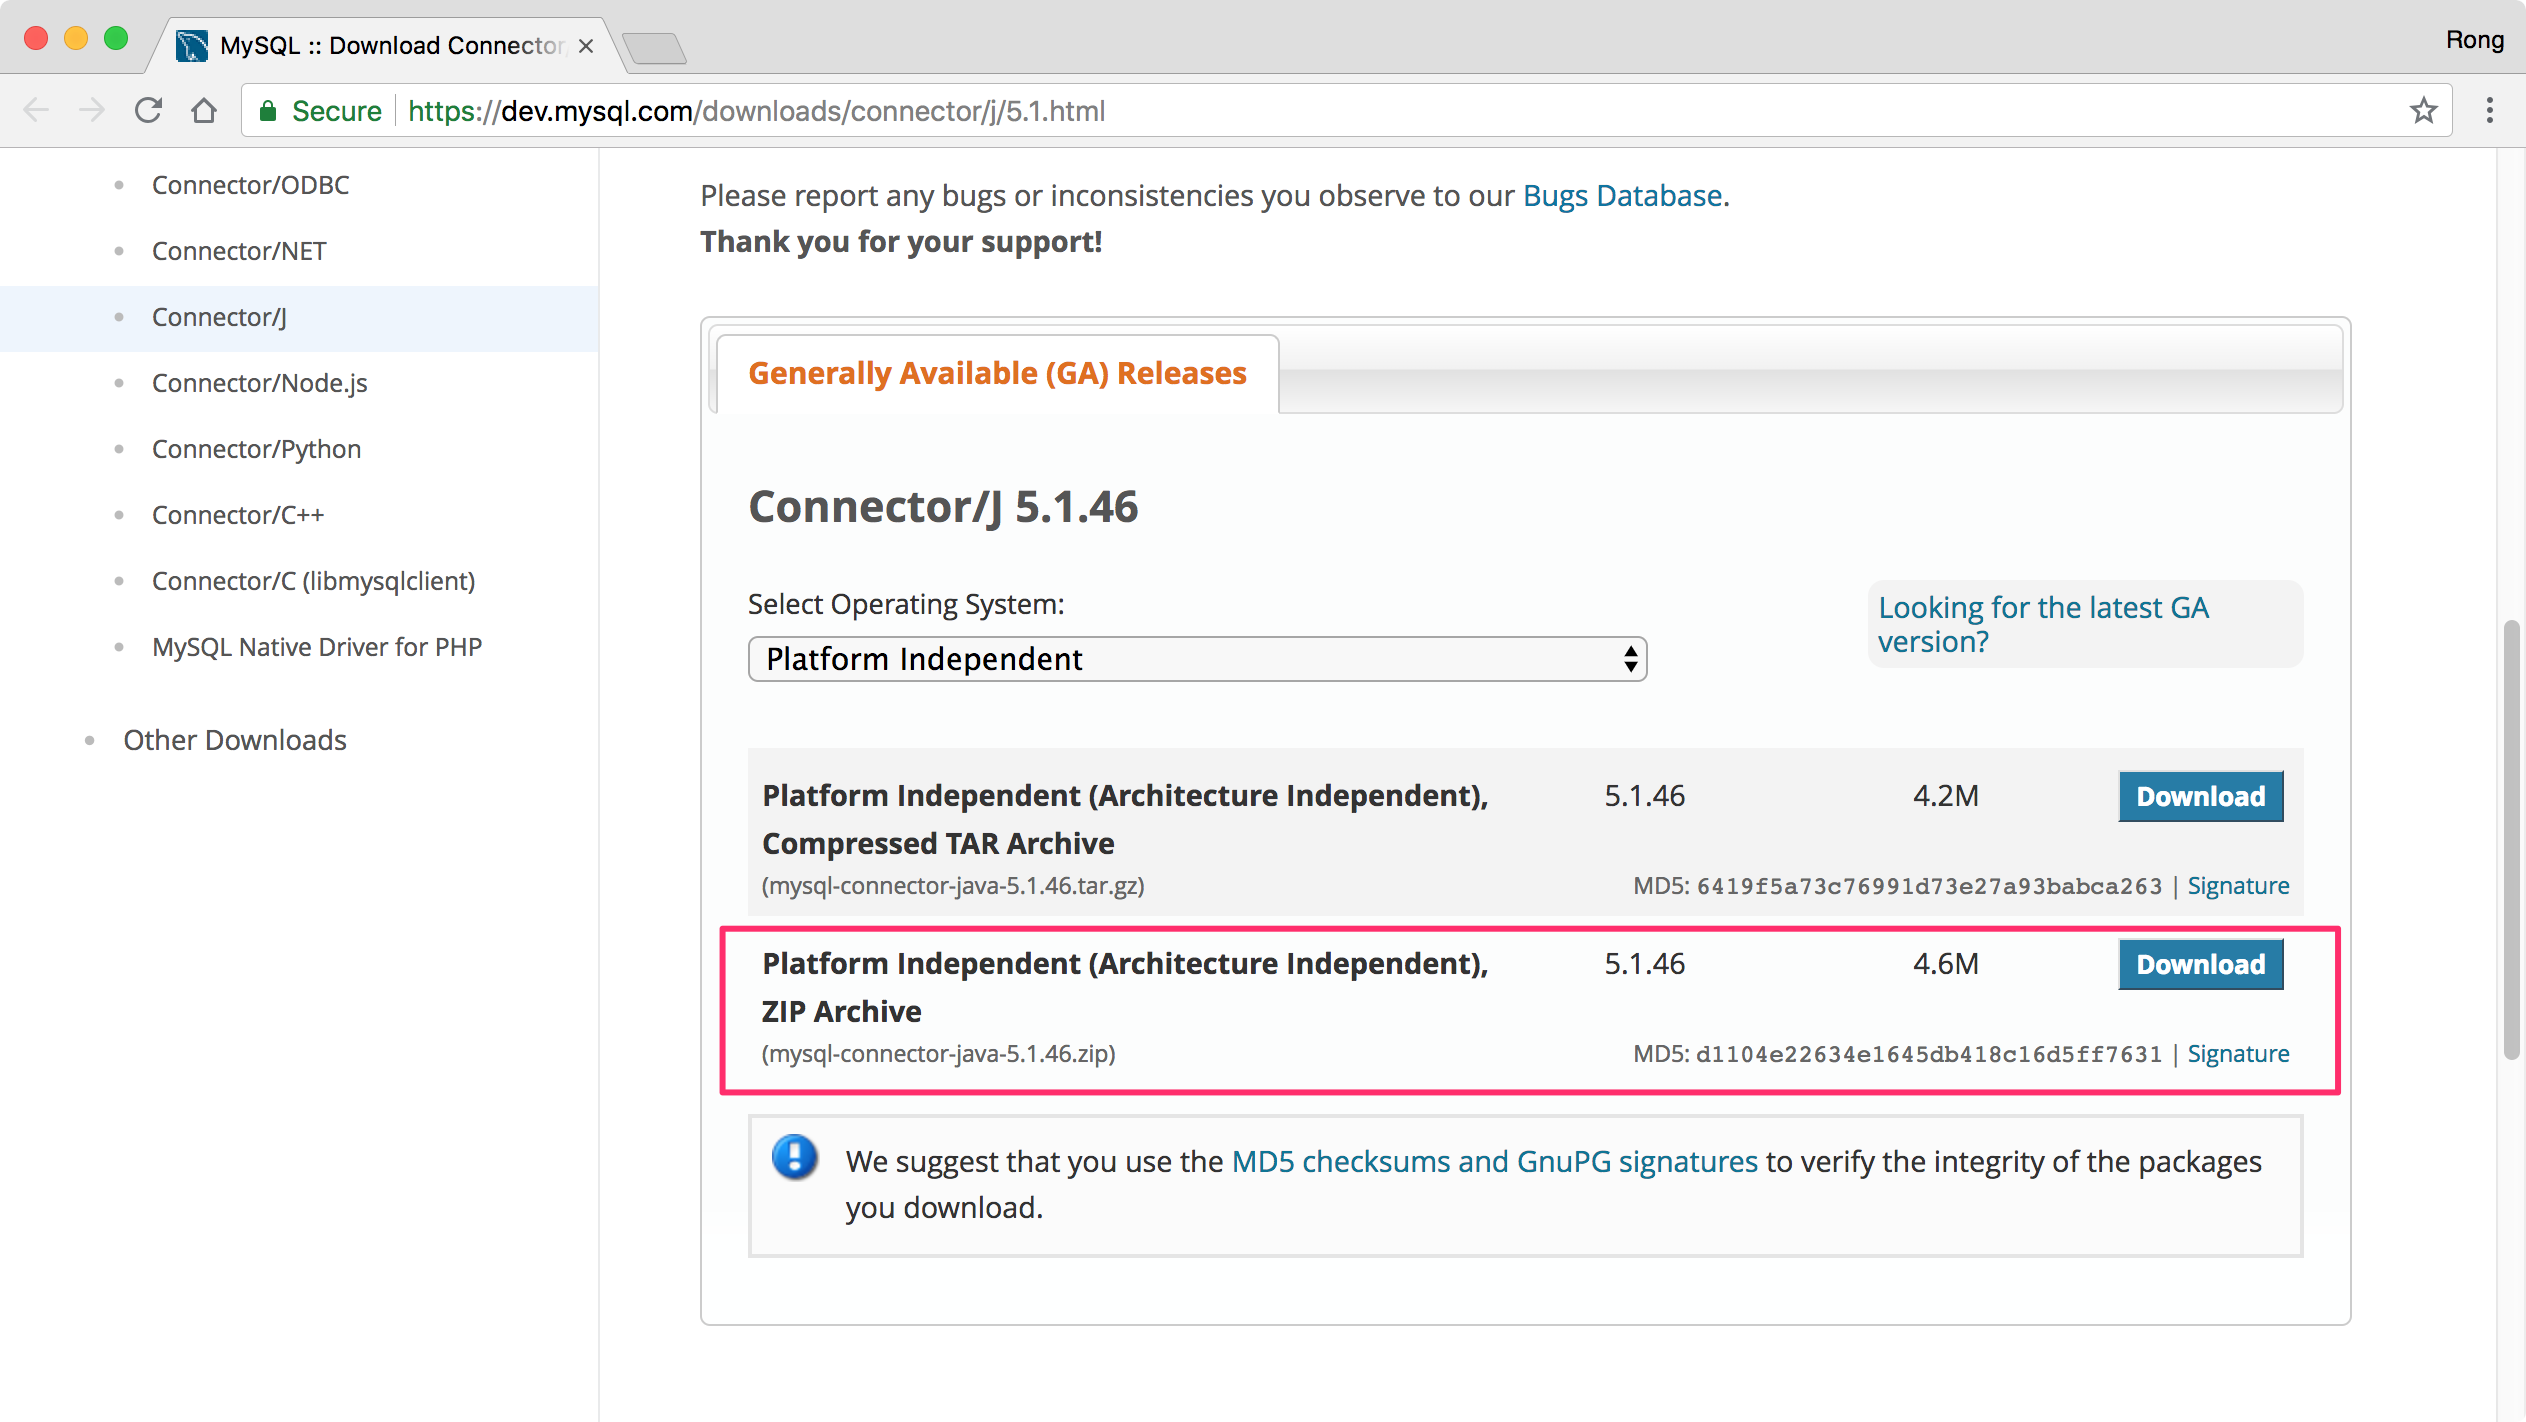
Unzip it, and copy mysql-connector-java-5.1.46-bin.jar to /GameStore/src/web/WEB-INF/lib/.
I have already put this jar file to WEB-INF. So, actually, you don’t need to do again after you download the source files from my GitHub. But, I think it’s better to understand how the application works with database. Depends on which platform the JSP application is deployed on, you needs to choose appropriate version of MySQL Connector.
1.2 JSP Application
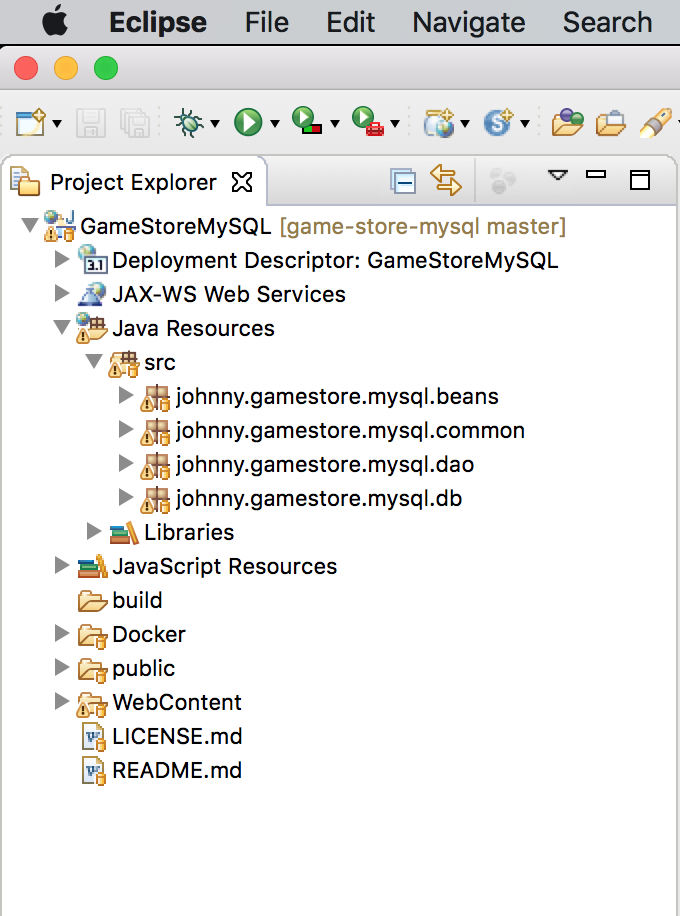
Pull the source files of this JSP application from my GitHub repository.
$ git clone https://github.com/jojozhuang/game-store-mysql.git
Launch Eclipse, File->’Open Projects from File System’ to import the JSP project.
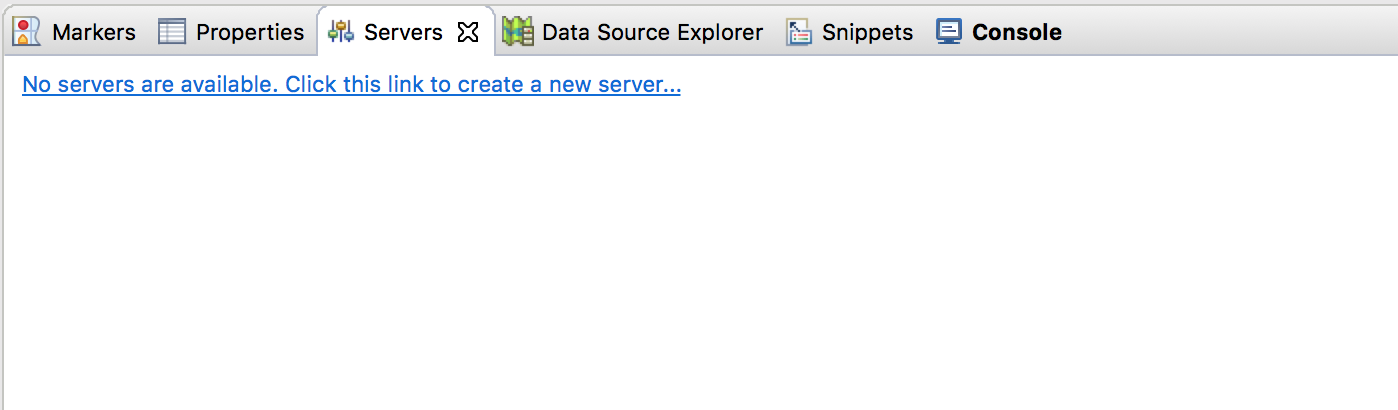
 Add Tomcat server to Eclipse. Go to Window->Show View->Server, click the link to add new server.
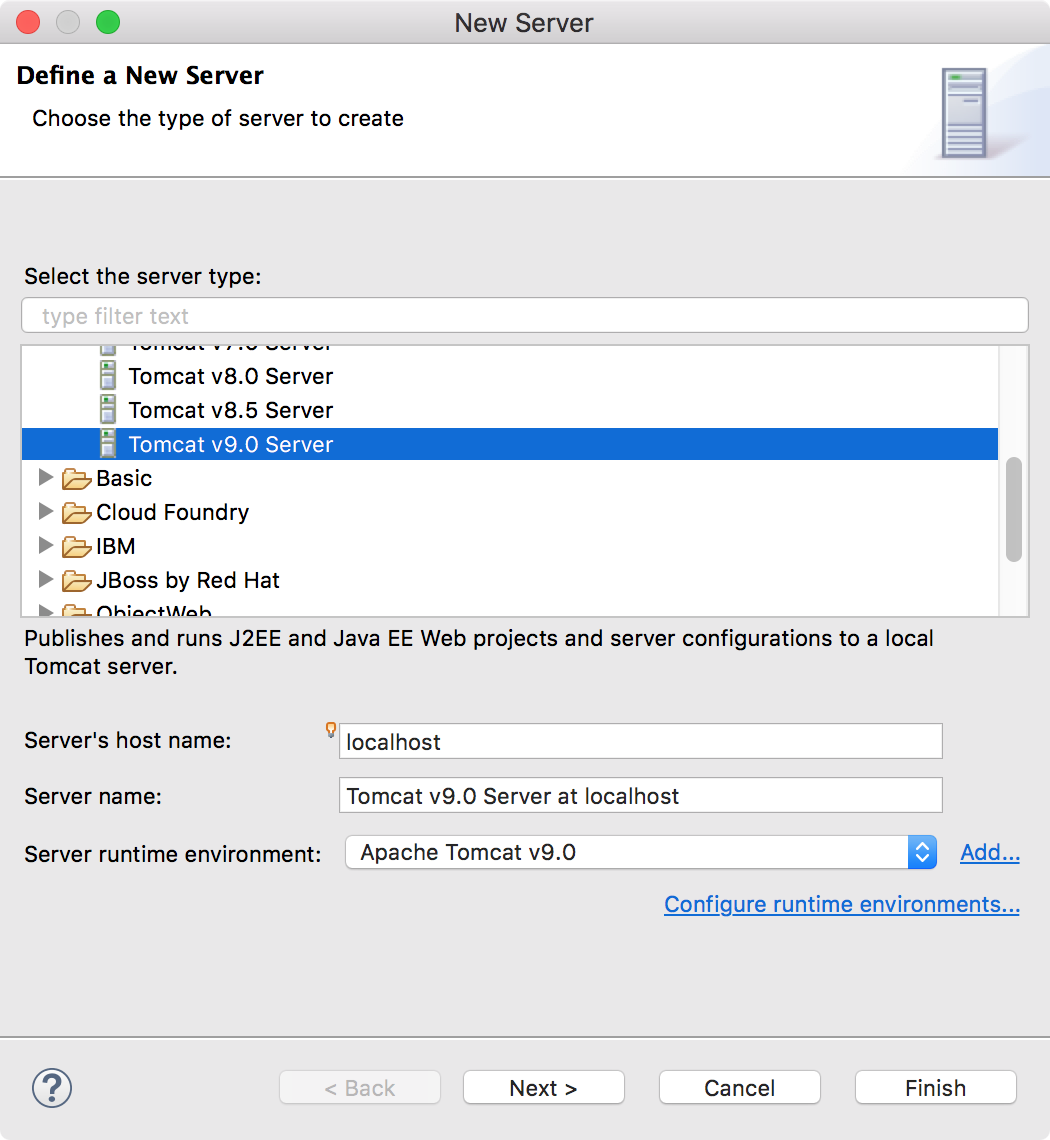
 Select Tomcat 9.0, next.
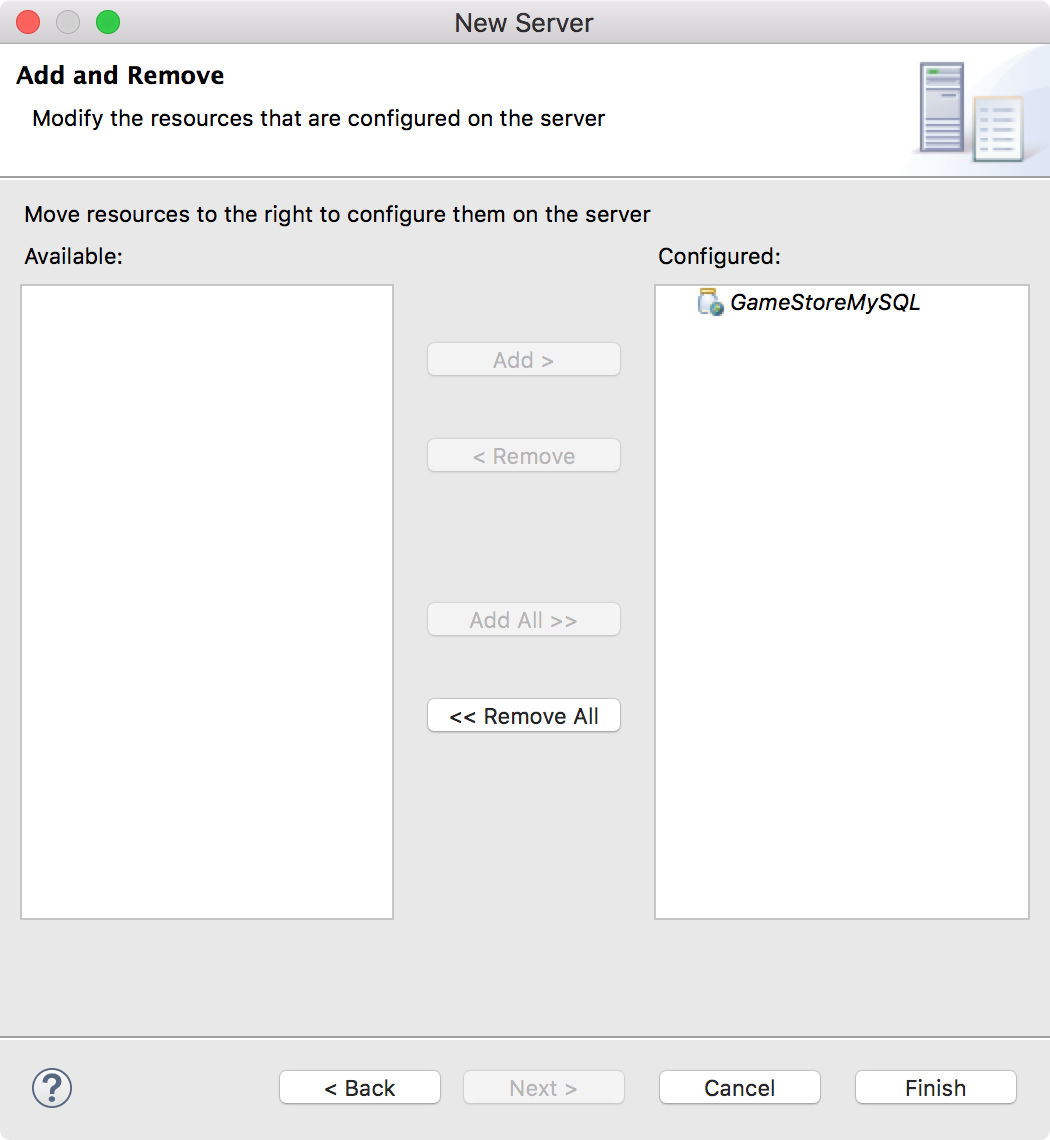
 Add our project to right side, finish.
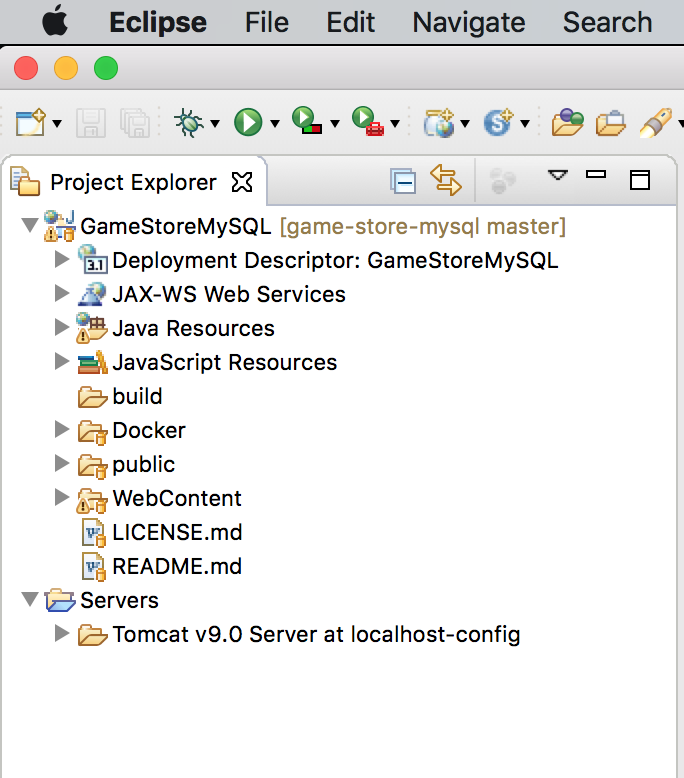
 In eclipse project, a new server folder for tomcat is added.
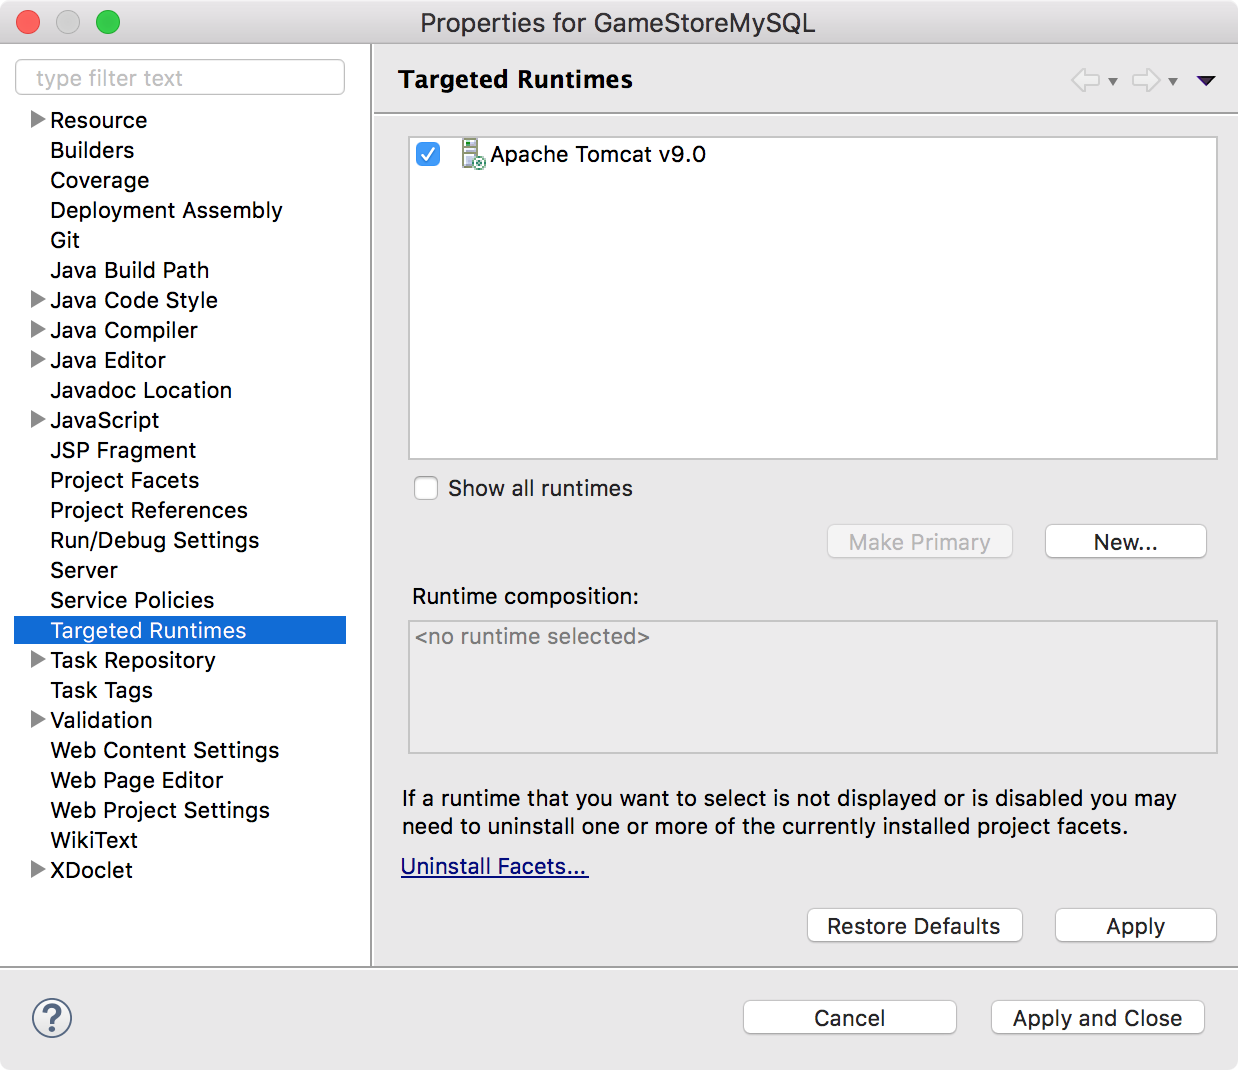
 Set Targeted Runtimes, go to Project->Properties->Targeted Runtimes, check Tomcat 9.0.
 Now, let’s start this JSP application. Right click on the project, select ‘Run As’ -> ‘Run on Server’. A browser will be opened in eclipse, which shows the Game Store website. Or you can directly access http://localhost:8080/GameStoreMysql/ in your favorite browser.
2. MySQL in Docker
2.1 Docker File
In ‘Docker’ directory, there is a file named Dockerfile which has the following content.
#Create MySQL Image for JSP Tutorial Application
FROM mysql:5.7
MAINTAINER csgeek@mail.com

ENV MYSQL_ROOT_PASSWORD gspassword
ADD gs_backup.sql /docker-entrypoint-initdb.d

EXPOSE 3306
The following points need to be noted about the above file.
- The first line is a comment. You can add comments to the Docker File with the help of the # command
- The FROM keyword tells which base image you want to use. In our example, we are creating an image from the mysql image with version 5.7.
- The next command is the person who is going to maintain this image.
- The ENV command is used to set environment variable. We set MYSQL_ROOT_PASSWORD to
gspasswordfor MySQL database. - The ADD command copy the database backup file to /docker-entrypoint-initdb.d directory in the Docker container. The docker-entrypoint.sh file will run any files in this directory ending with “.sql” against the MySQL database. In our example, we have only one sql script file
gs_backup.sql. - This backup file restores the table ‘SalesOrder’ and ‘OrderItem’.
- The EXPOSE command exposes port
3306of the image.
2.2 Creating Image with Dockerfile
Open Docker terminal, navigate to the folder where the Dockerfile and MySQL backup file locates. Run the following command.
$ docker build -t gsmysql:0.1 .
Here, gsmysql is the name we are giving to the Image and 0.1 is the tag number. The last dot . indicates the current location. See the output.
Johnny@Johnny-Mac:~$ docker build -t gsmysql:0.1 .
Sending build context to Docker daemon  8.192kB
Step 1/5 : FROM mysql
latest: Pulling from library/mysql
be8881be8156: Pull complete
c3995dabd1d7: Pull complete
9931fdda3586: Pull complete
bb1b6b6eff6a: Pull complete
a65f125fa718: Pull complete
2d9f8dd09be2: Pull complete
37b912cb2afe: Pull complete
54242fcd8eaa: Pull complete
0a9d4d211511: Pull complete
270ae5bd02c2: Pull complete
9b55b8e72e70: Pull complete
68083f7985cd: Pull complete
Digest: sha256:d39a8ab7679df309e7eff6ddba434ad5747cc2a2acee2d7c60d8221c9acedcad
Status: Downloaded newer image for mysql:latest
 ---> 29e0ae3b69b9
Step 2/5 : MAINTAINER csgeek@mail.com
 ---> Running in 8f3f9b16b854
 ---> f5a22f4f9a3e
Step 3/5 : ENV MYSQL_ROOT_PASSWORD gspassword
 ---> Running in 5b7275fcda21
 ---> d1639c70ead4
Step 4/5 : ADD gs_backup.sql /docker-entrypoint-initdb.d
 ---> 3784d7247e0d
Step 5/5 : EXPOSE 3306
 ---> Running in df542f6ac8f9
 ---> d163ef612b59
Removing intermediate container 8f3f9b16b854
Removing intermediate container 5b7275fcda21
Removing intermediate container df542f6ac8f9
Successfully built d163ef612b59
Successfully tagged gsmysql:0.1
Johnny@Johnny-Mac:~$ docker images
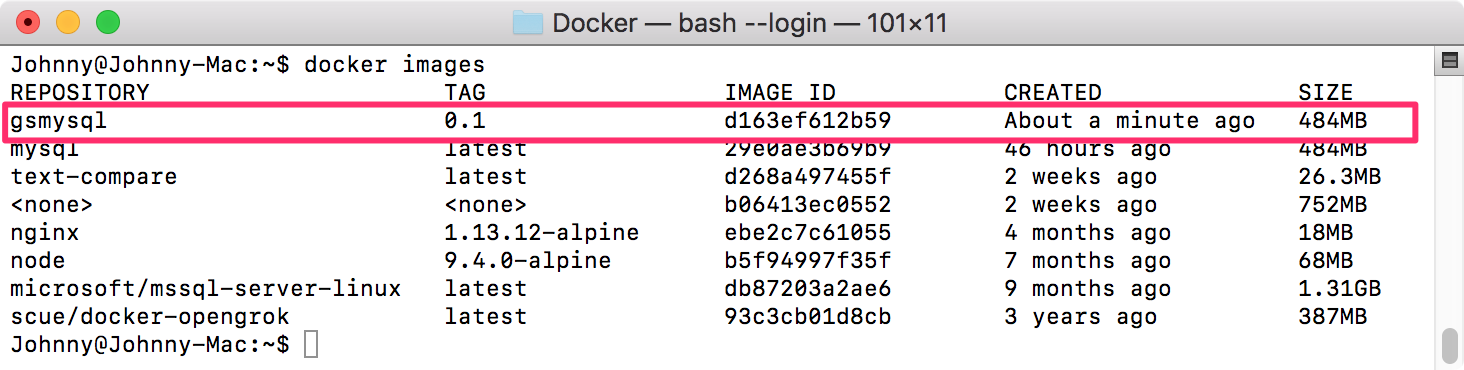
Now, check whether the image is created.
$ docker images
As you see, the new image is created with tag 0.1.
2.3 Running Container
In docker terminal, run the following command.
$ docker run --detach --name=gsmysql --publish 6605:3306 gsmysql:0.1
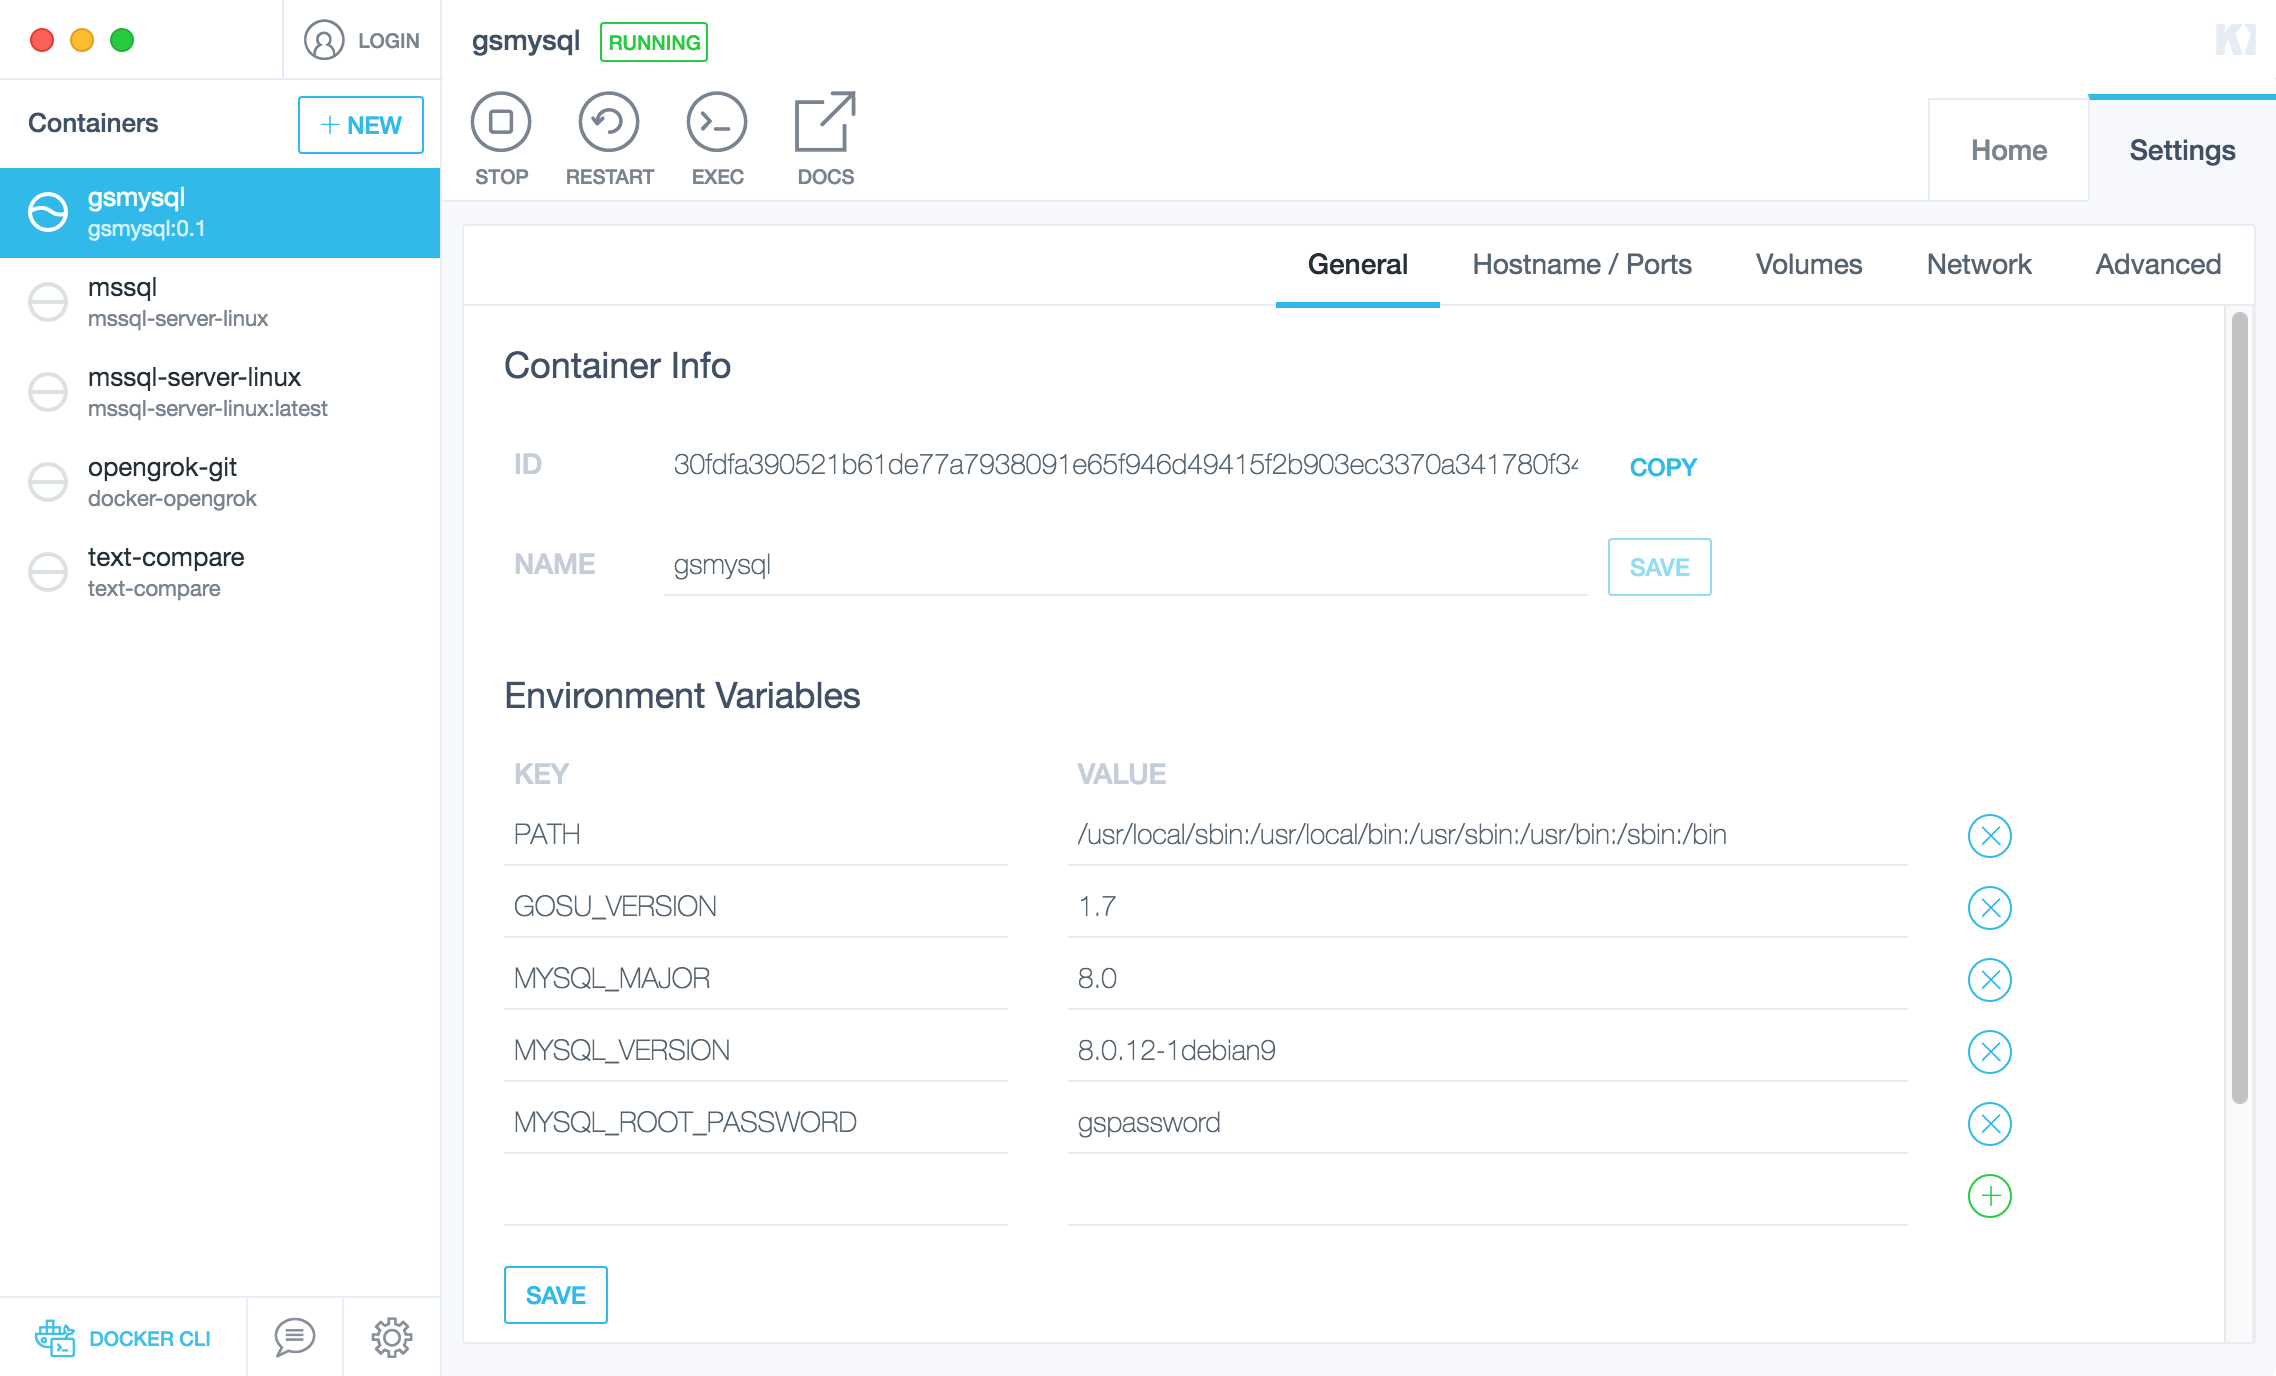
2.4 Container in Kitematic
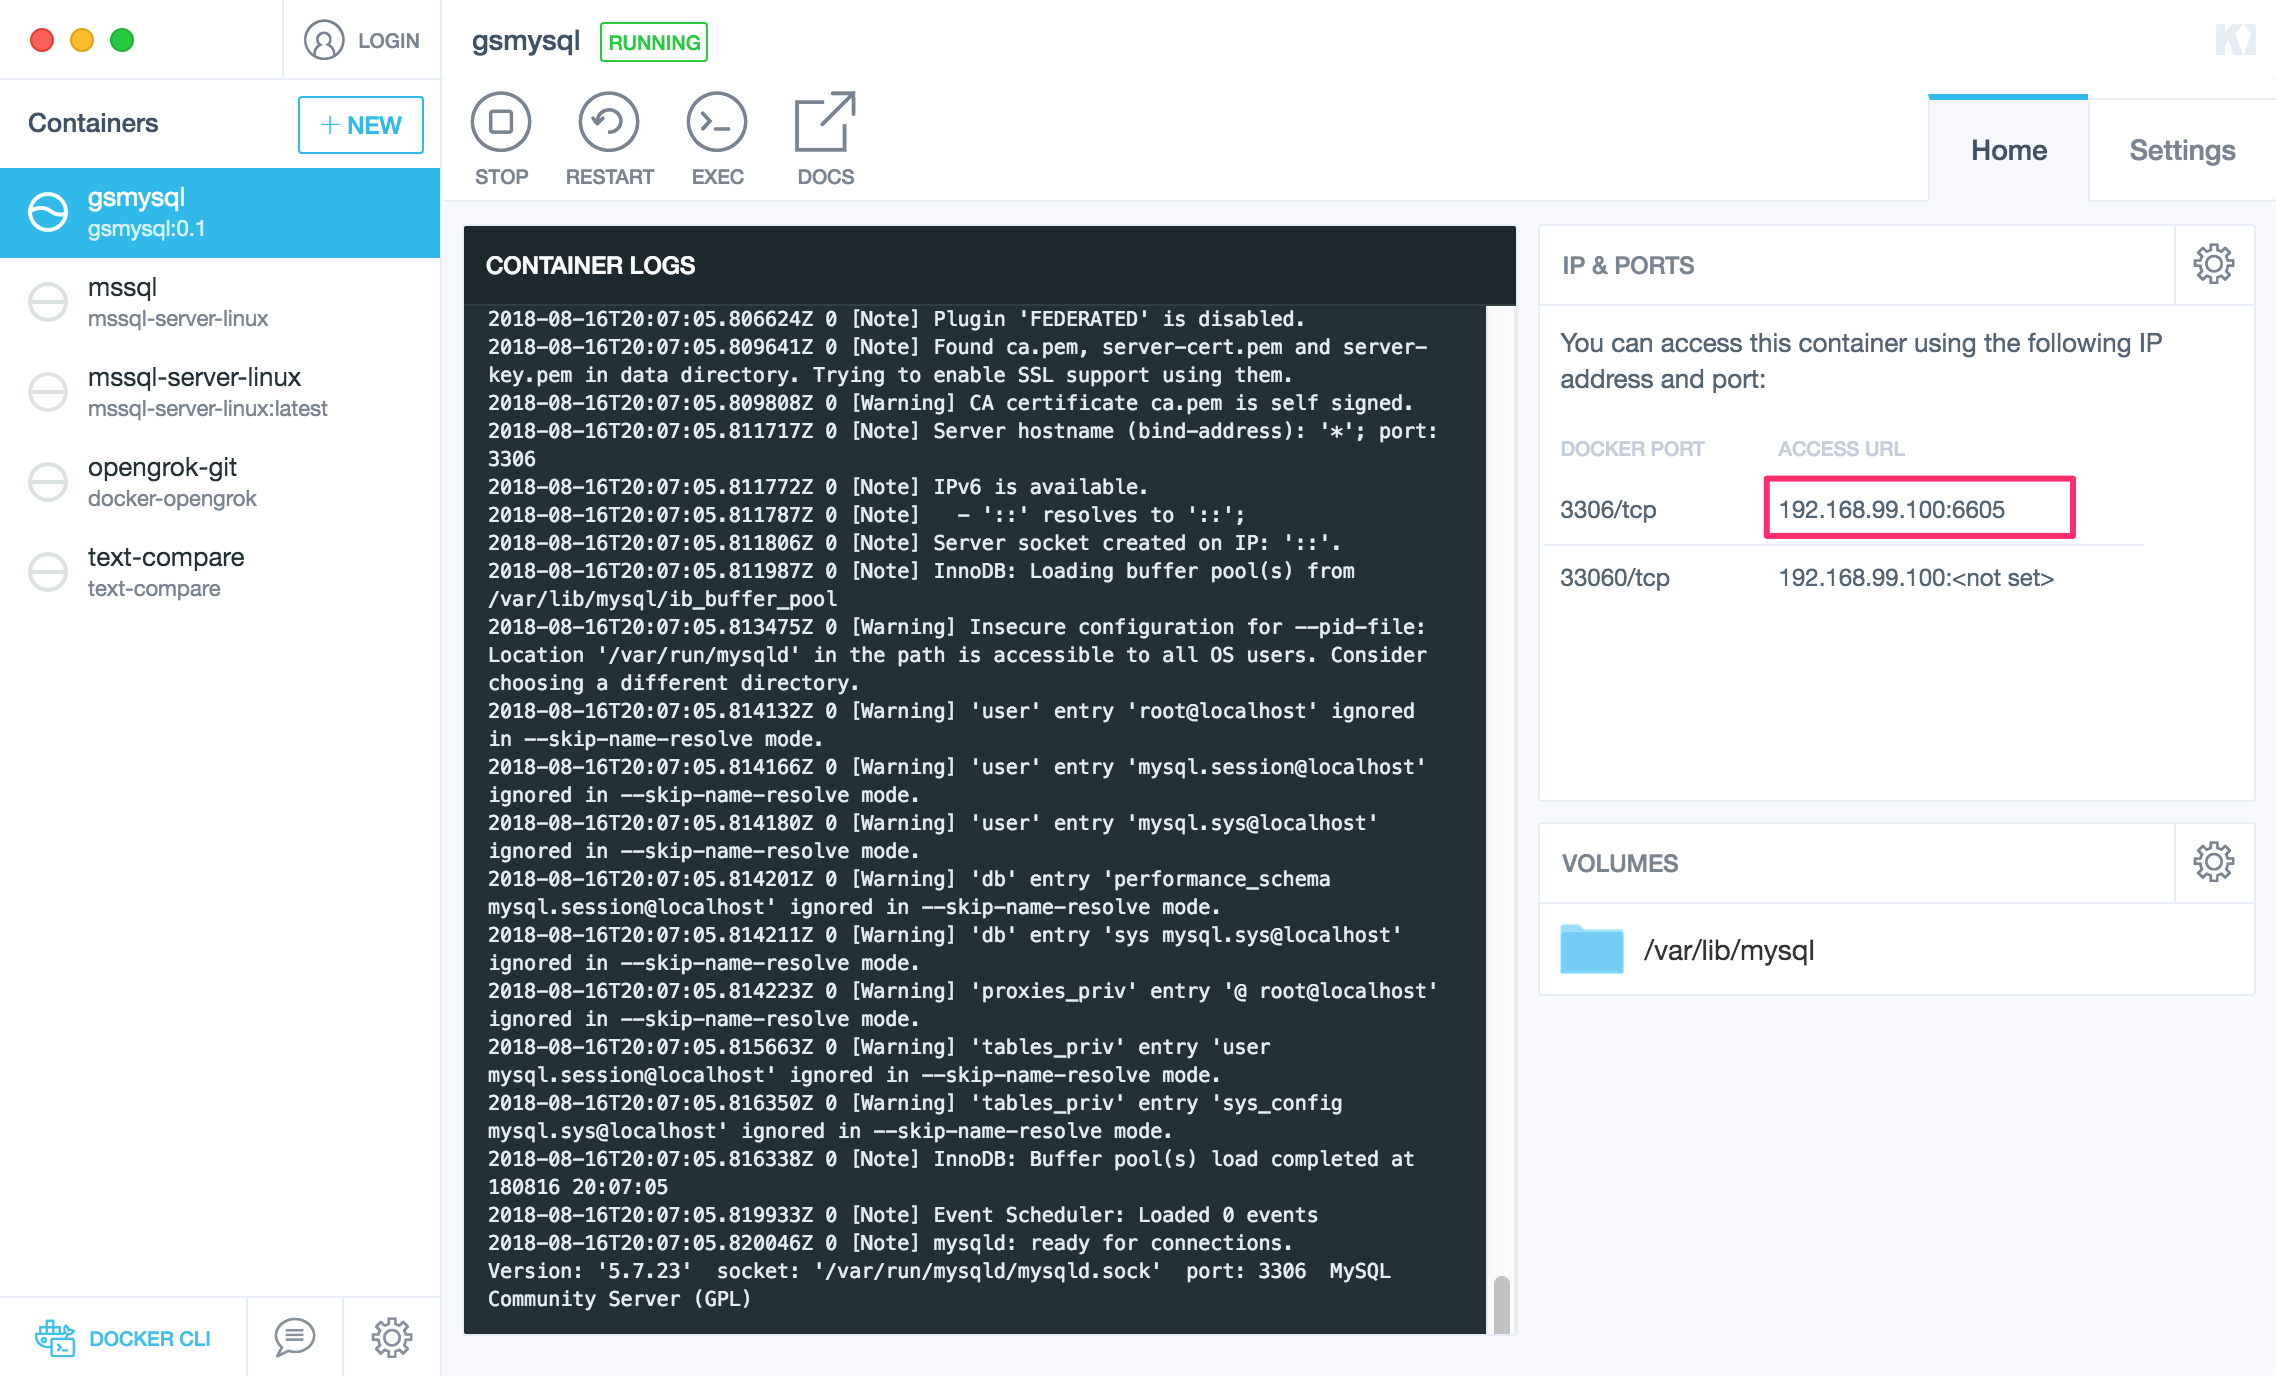
A MySQL container named gsmysql is running now. Notice in Kitematic, it’s source image is gsmysql:0.1. And environment variable MYSQL_ROOT_PASSWORD has been added to the container.
 Port 3306 is also exposed and mapped to 6605.
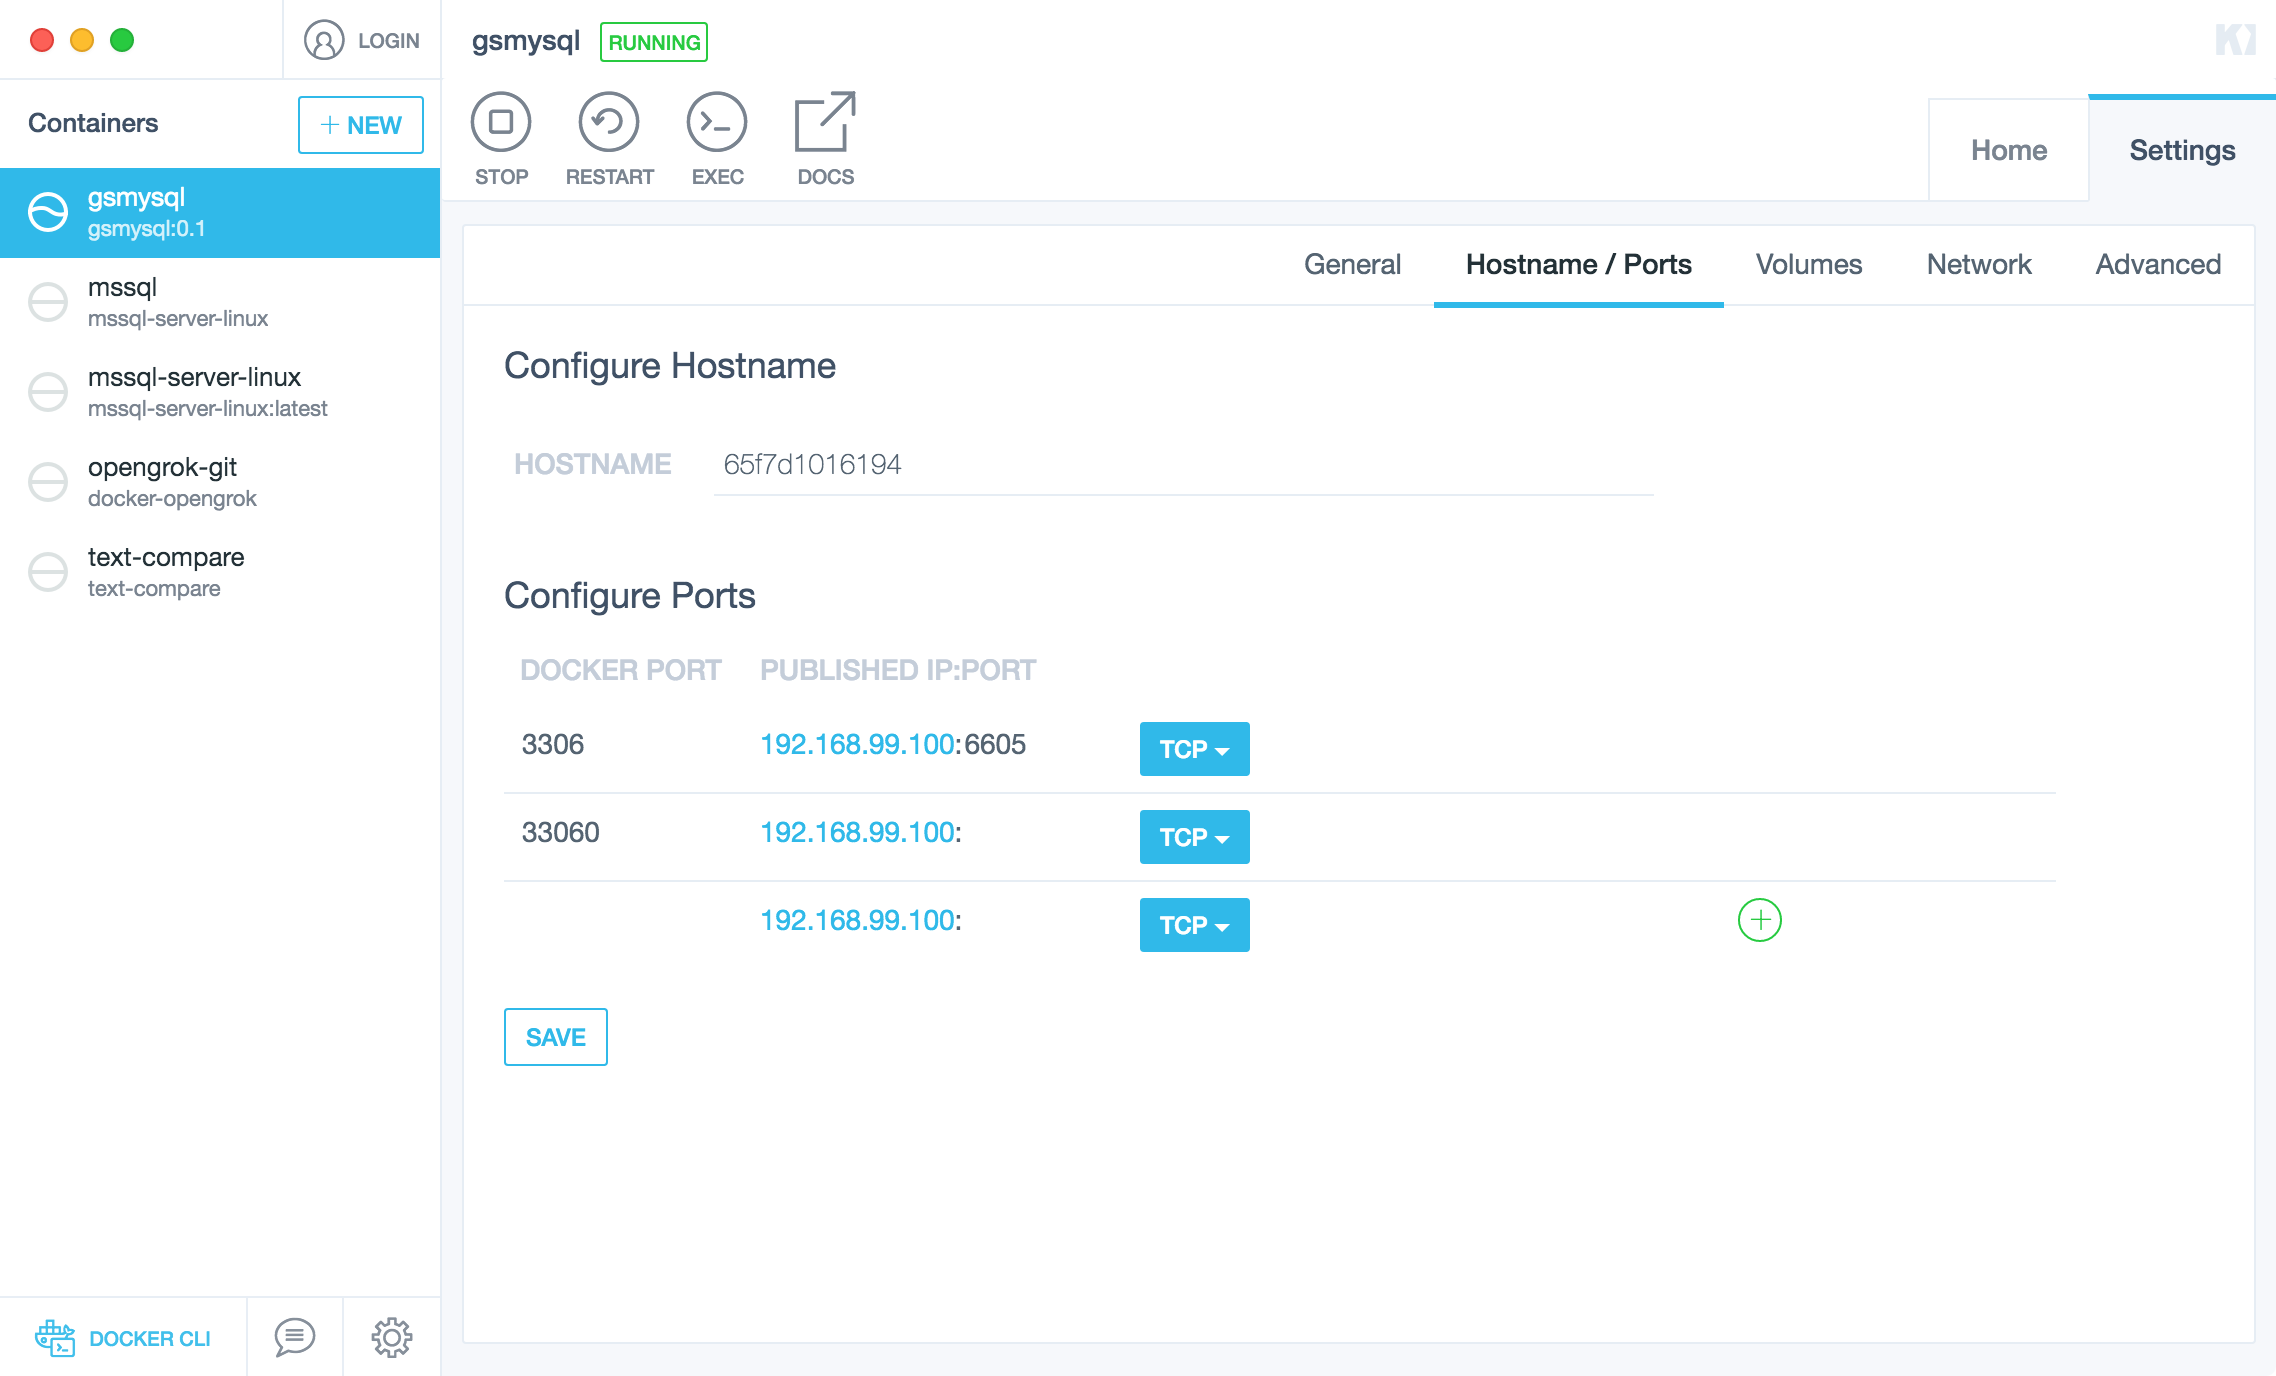
2.5 Connection URL
In Kitematic, select ‘gsmysql’ container, check the URL. It’s 192.168.99.100:6605.
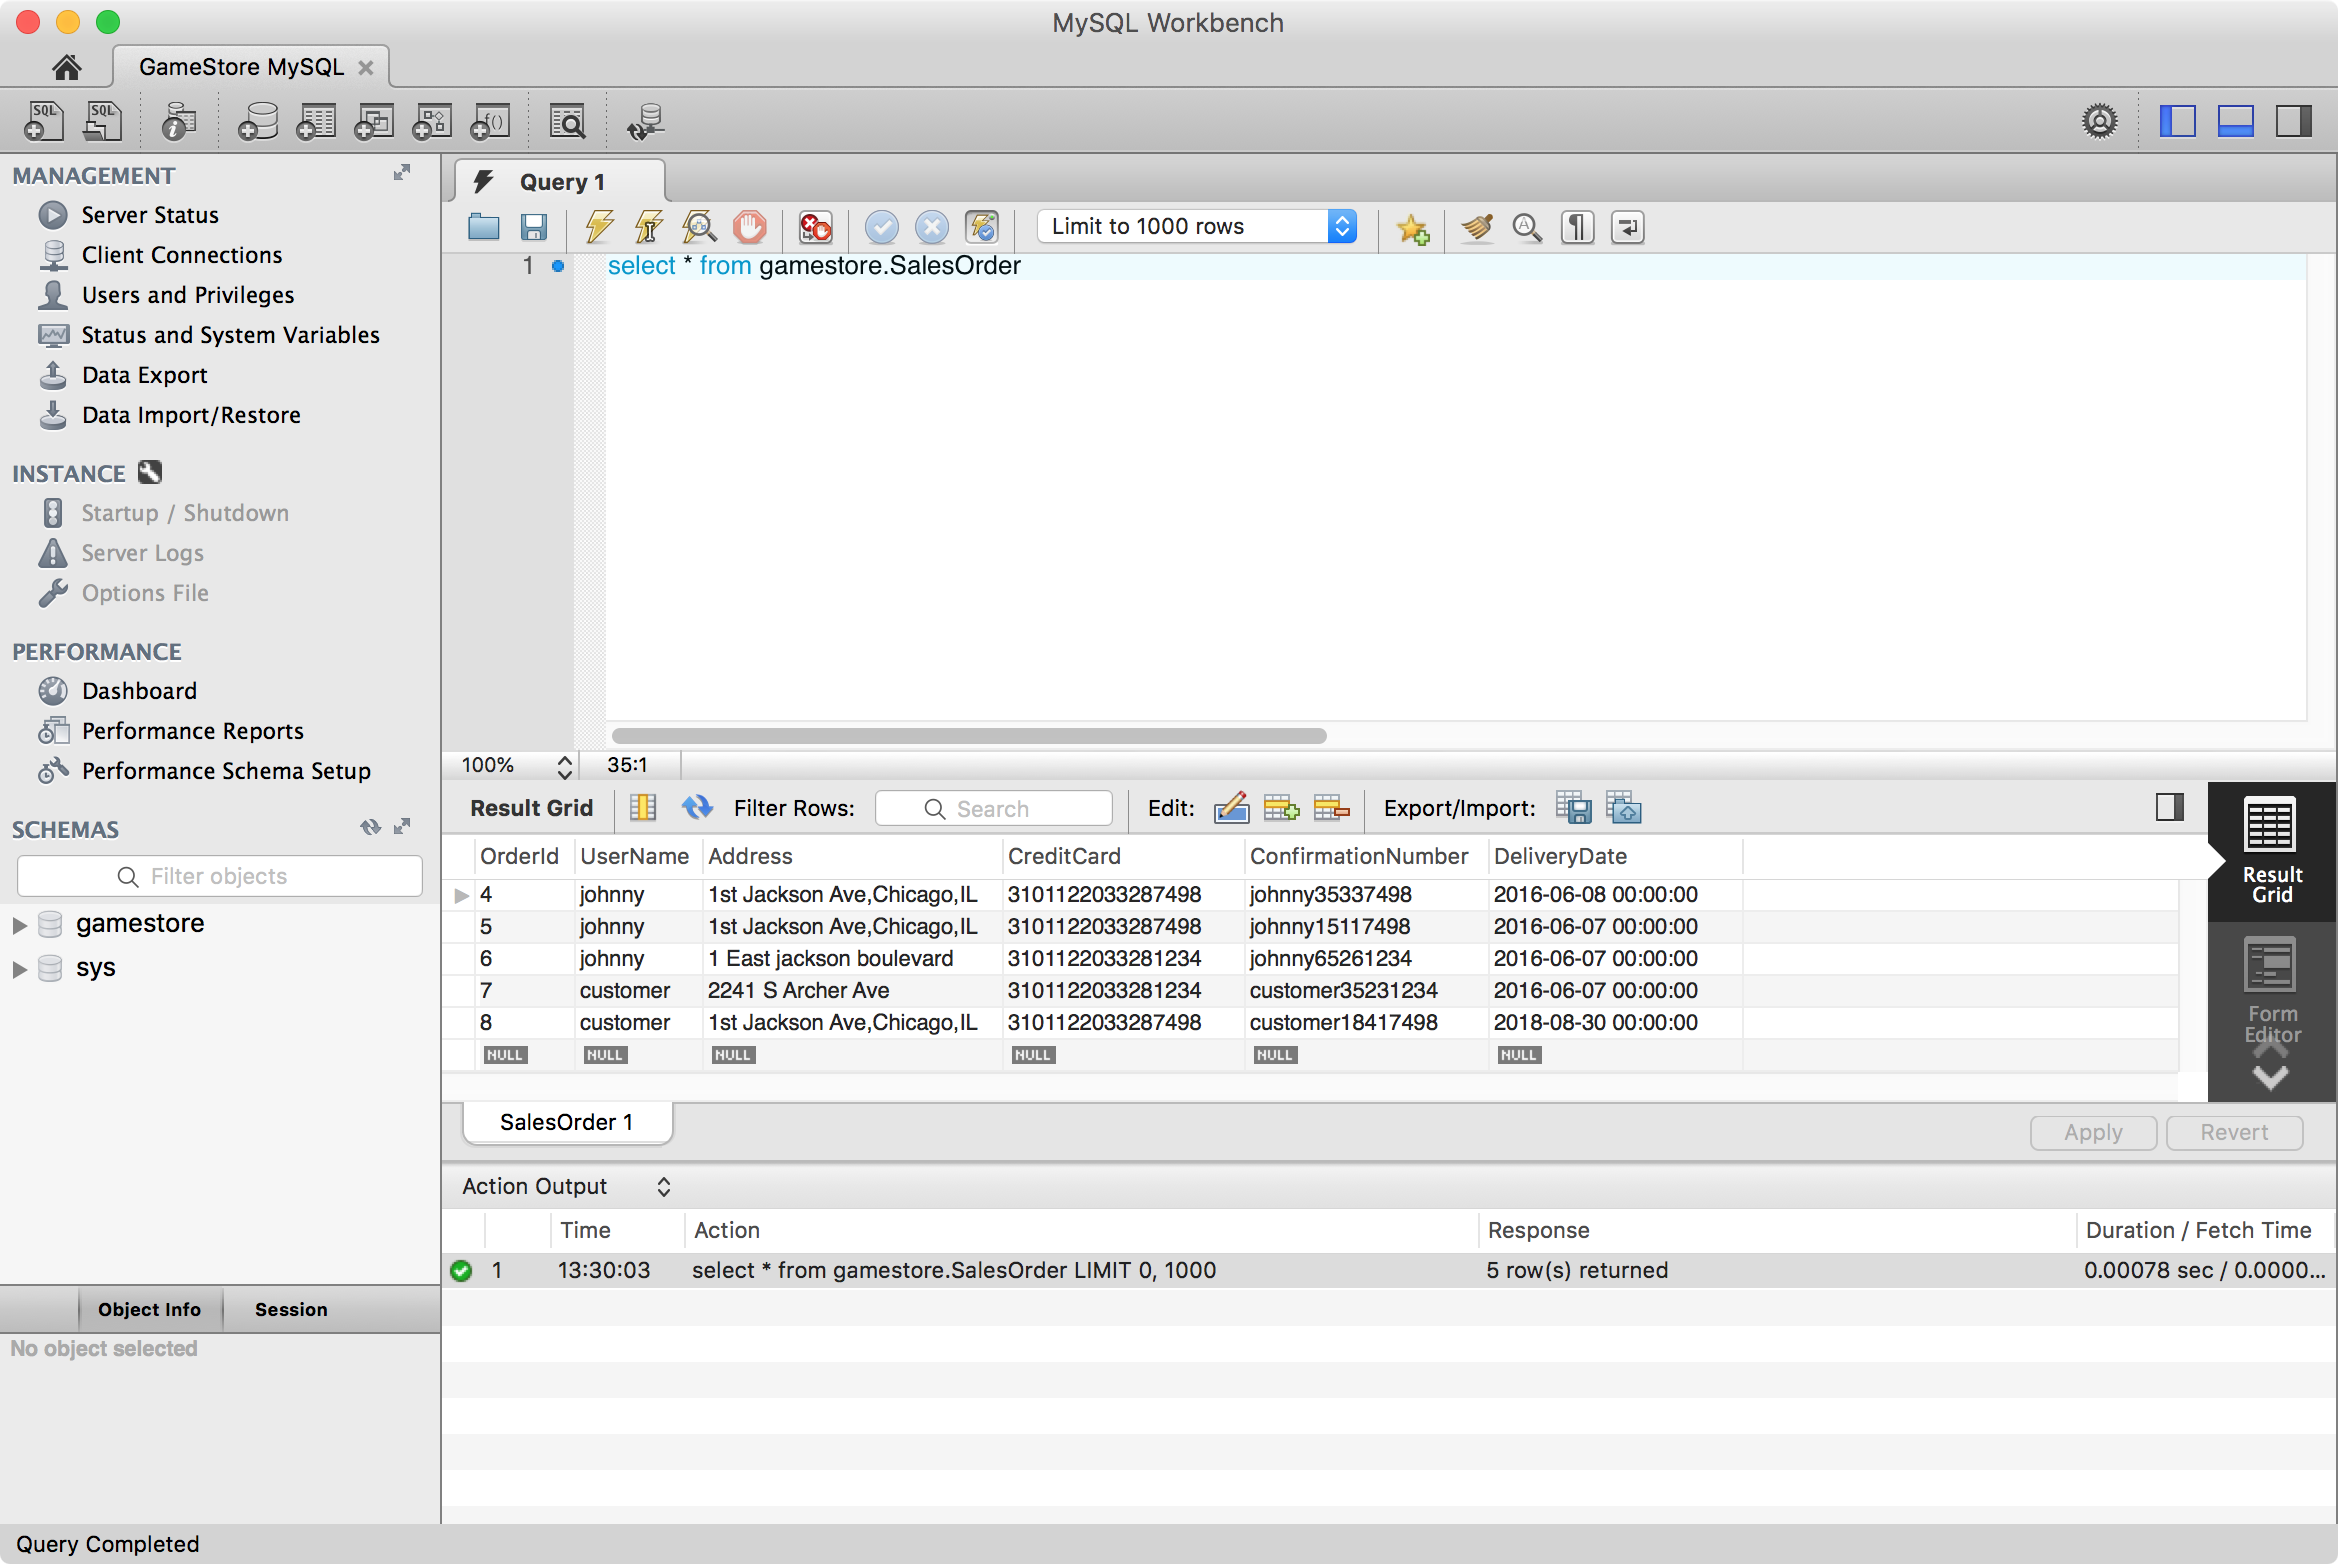
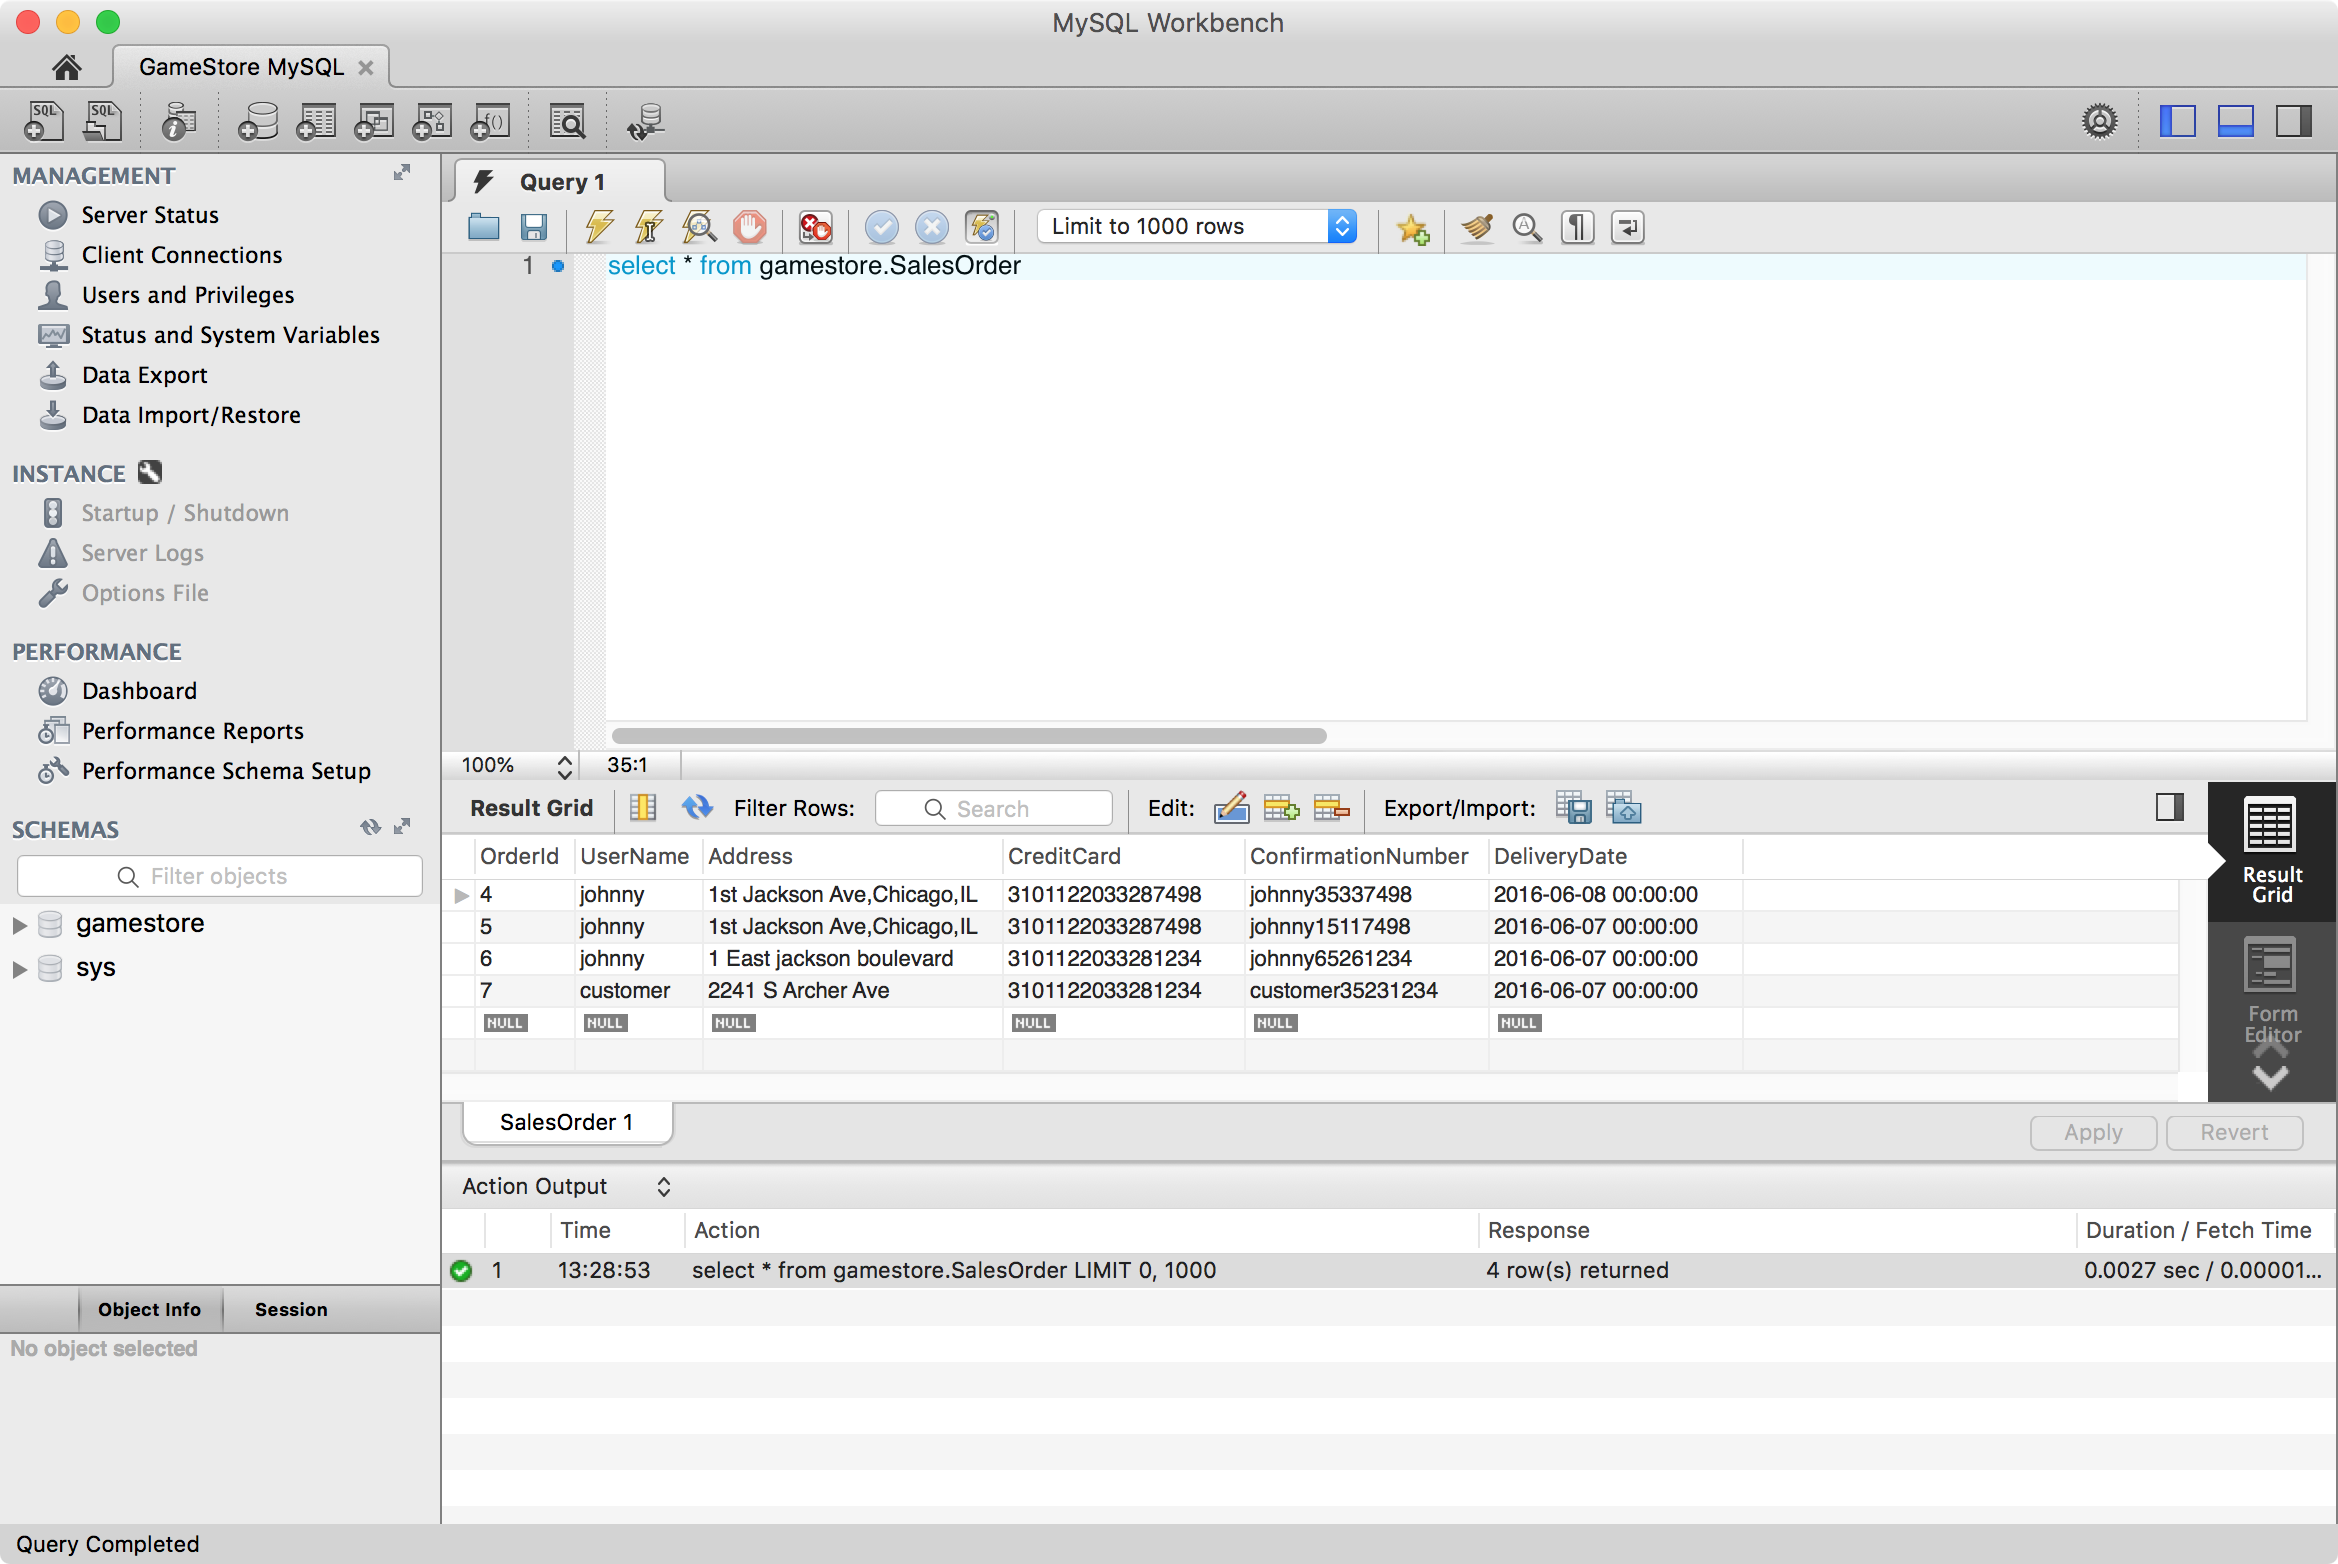
2.6 Viewing Data from MySQL Workbench
In MySQL workbench, create a connection to ‘192.168.99.100:6605’ with user root and password gspassword. You will see the database gamestore and the data in table SalesOrder.
3. Connecting JSP App to MySQL Container
3.1 Connection Configuration
Edit file ‘./WebContent/META-INF/context.xml’. Specify the username, password and URL(including IP address and port) to connect MySQL.
<Resource name="jdbc/murach" auth="Container"
        driverClassName="com.mysql.jdbc.Driver"
        url="jdbc:mysql://192.168.99.100:6605/gamestore"
        username="root" password="gspassword"
        maxActive="100" maxIdle="30" maxWait="10000"
        logAbandoned="true" removeAbandoned="true"
        removeAbandonedTimeout="60" type="javax.sql.DataSource" />
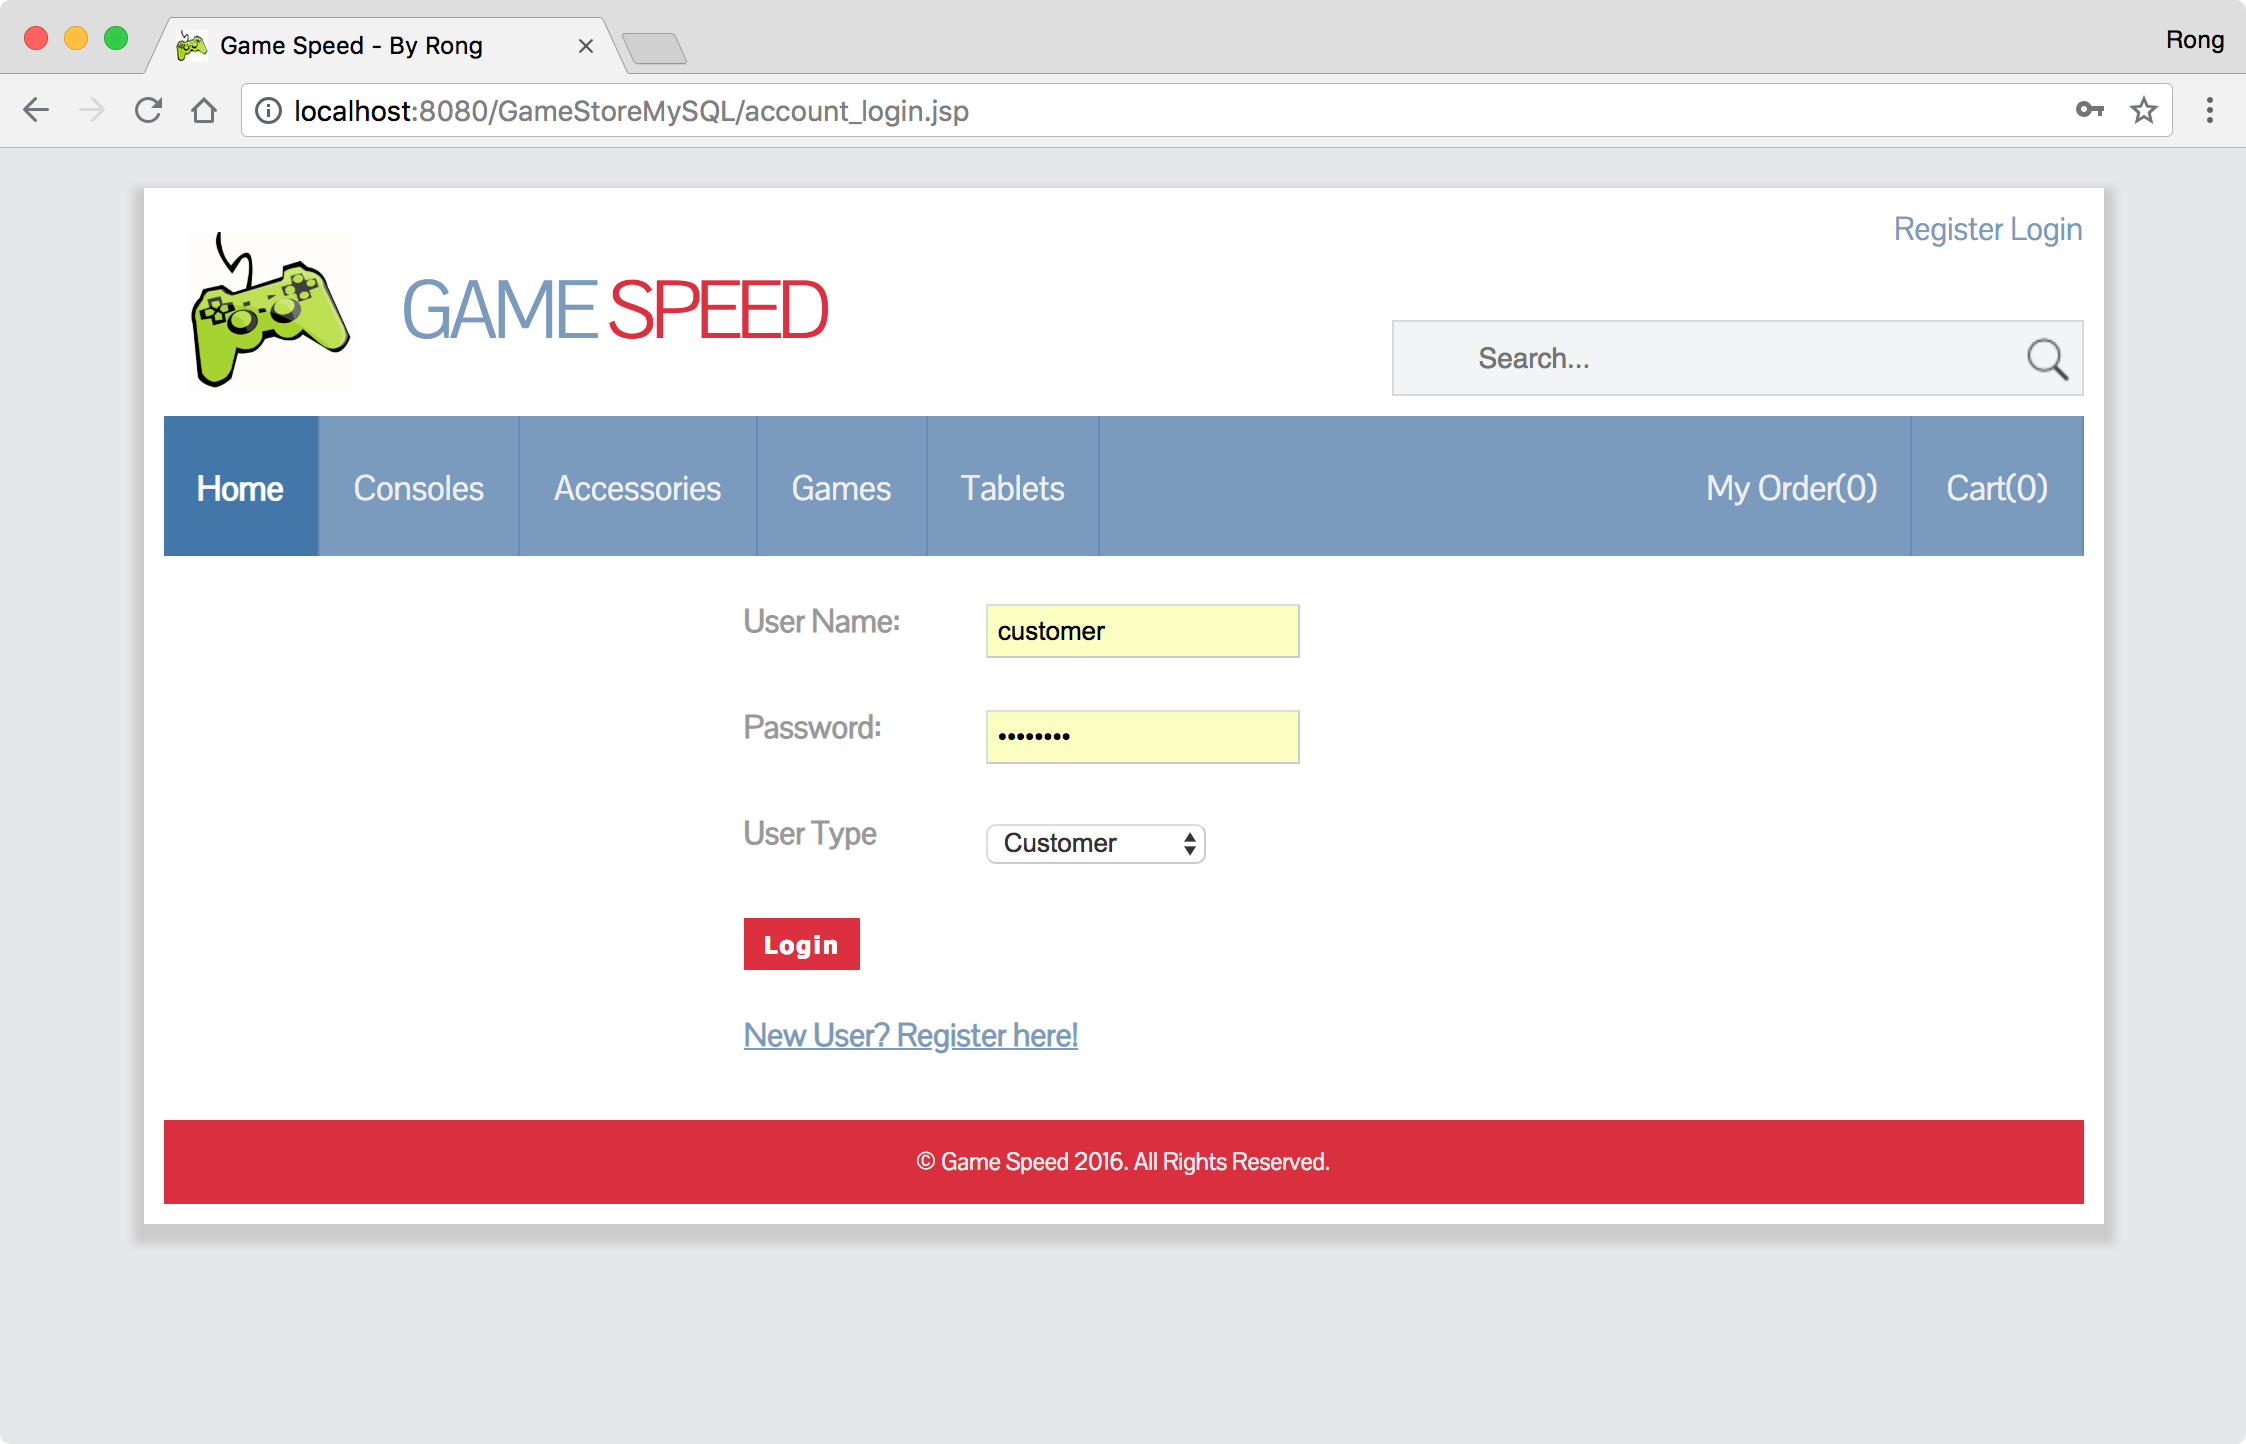
3.2 Restarting the JSP Application
Login as follows:
- User Name: customer
- Password: customer
- User Type: customer
 Add some items, eg. console, accessory or game to shopping cart, and place the order.
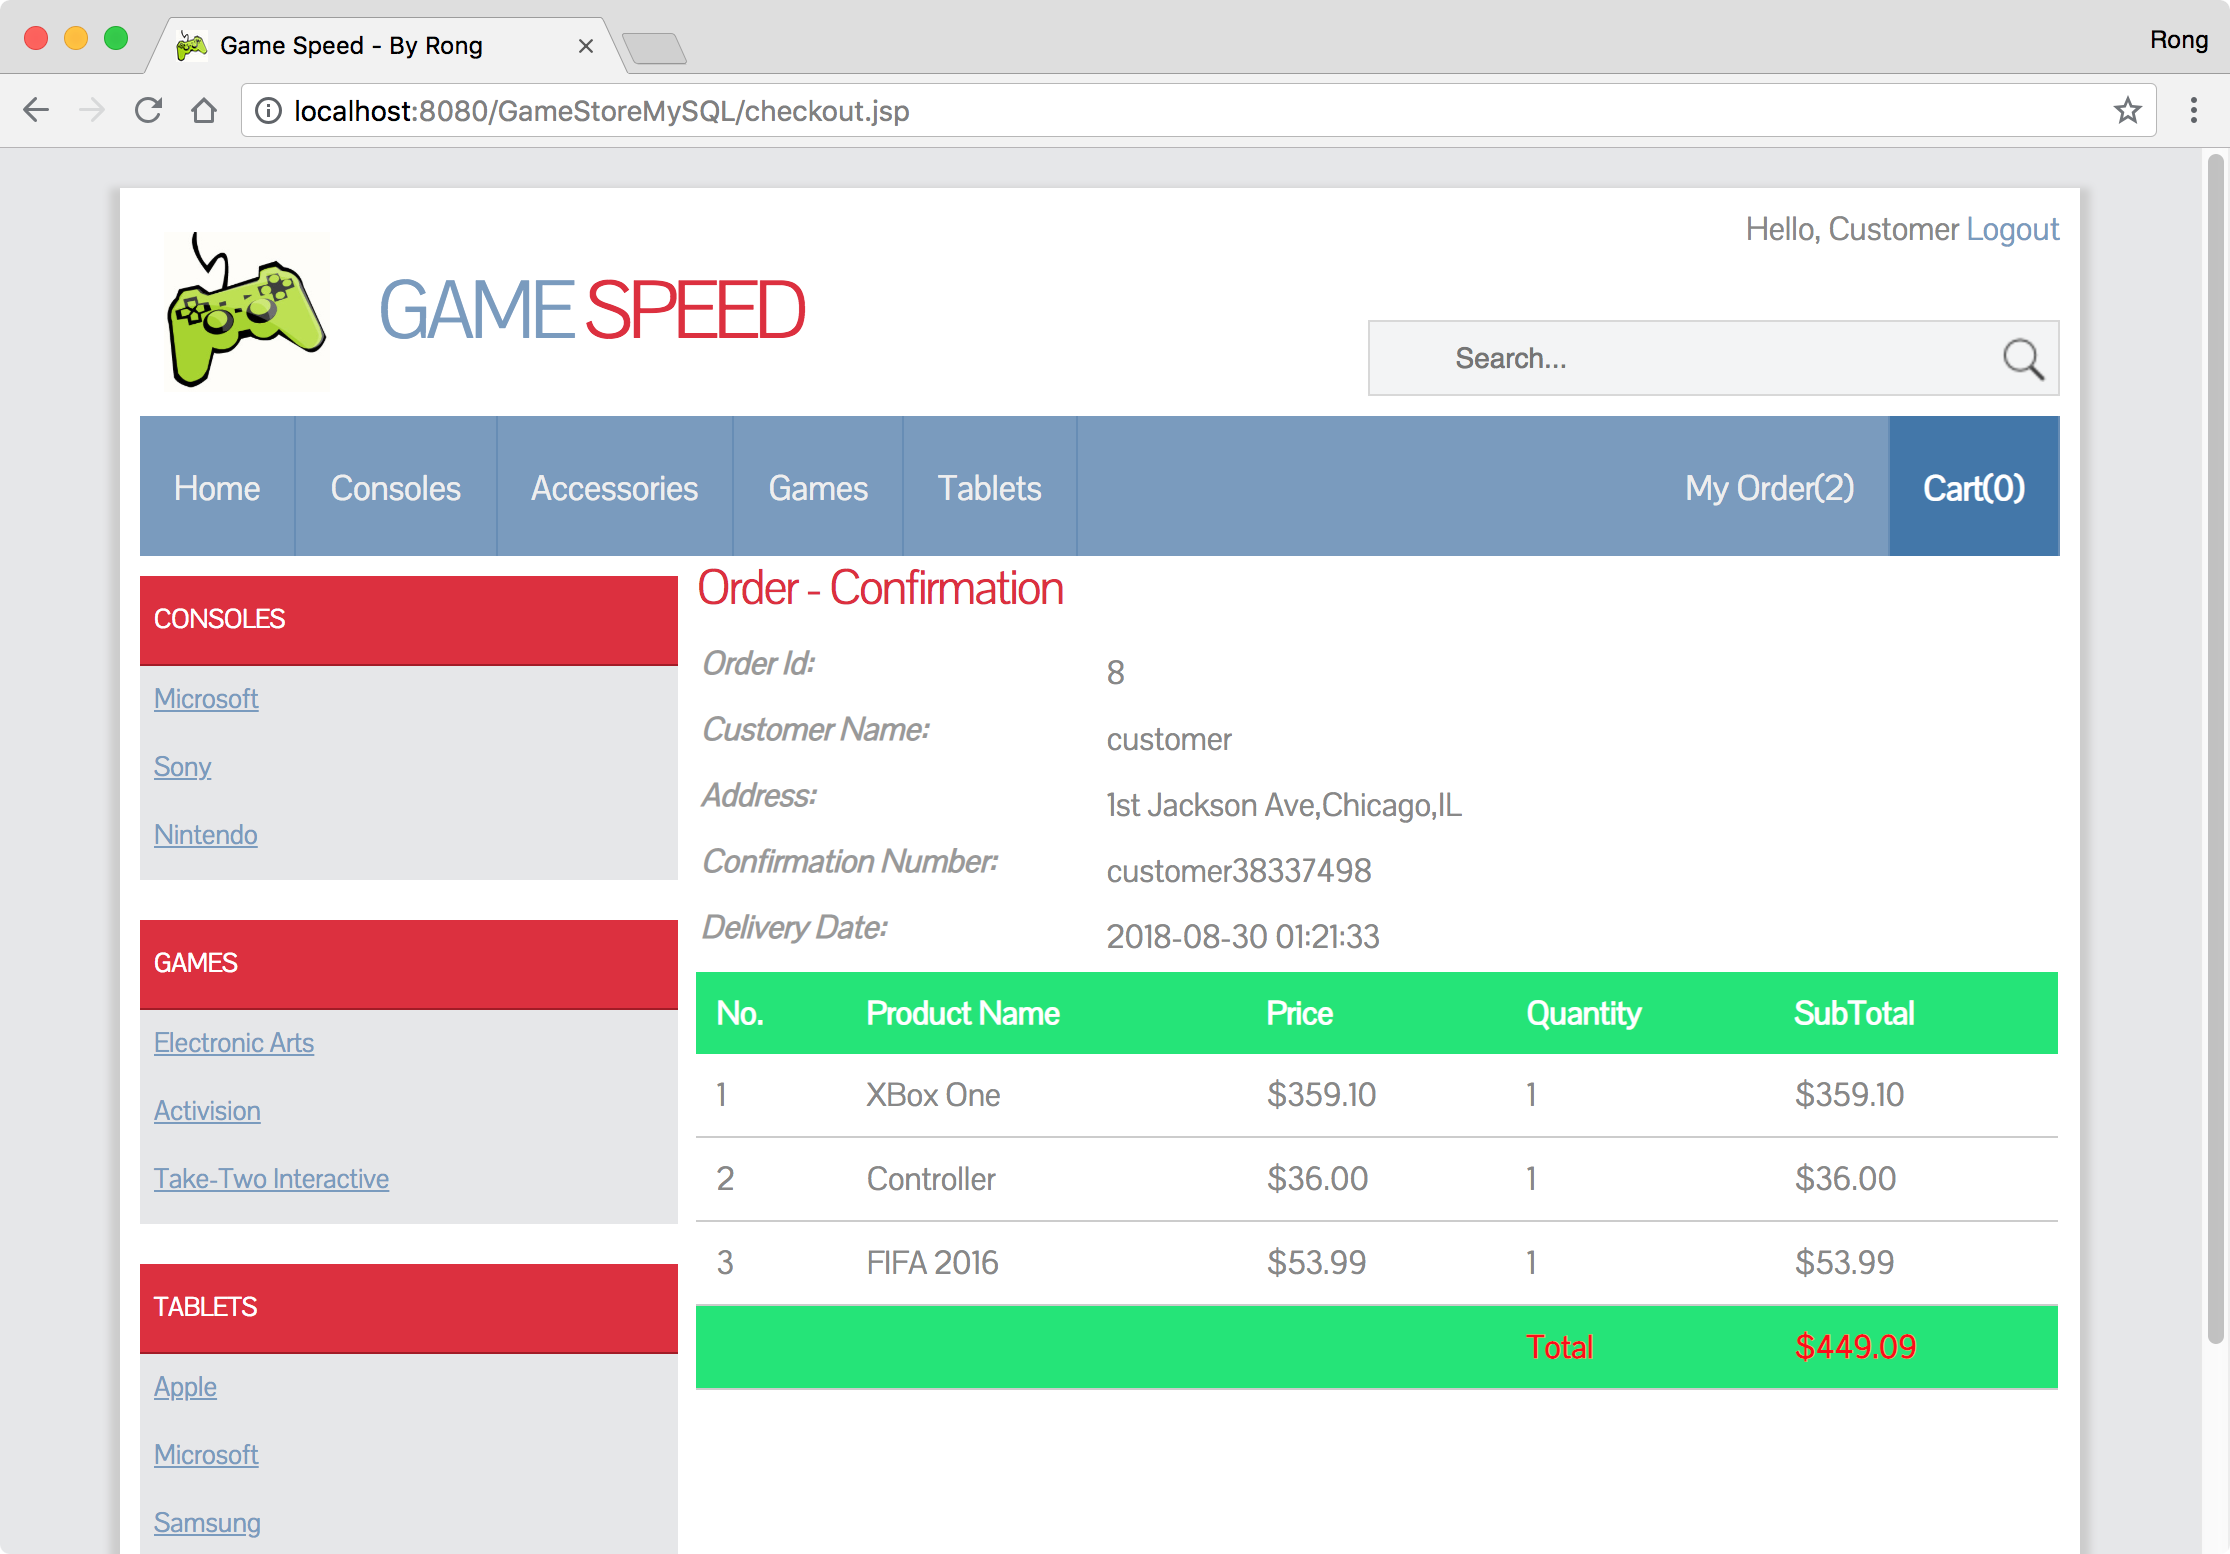
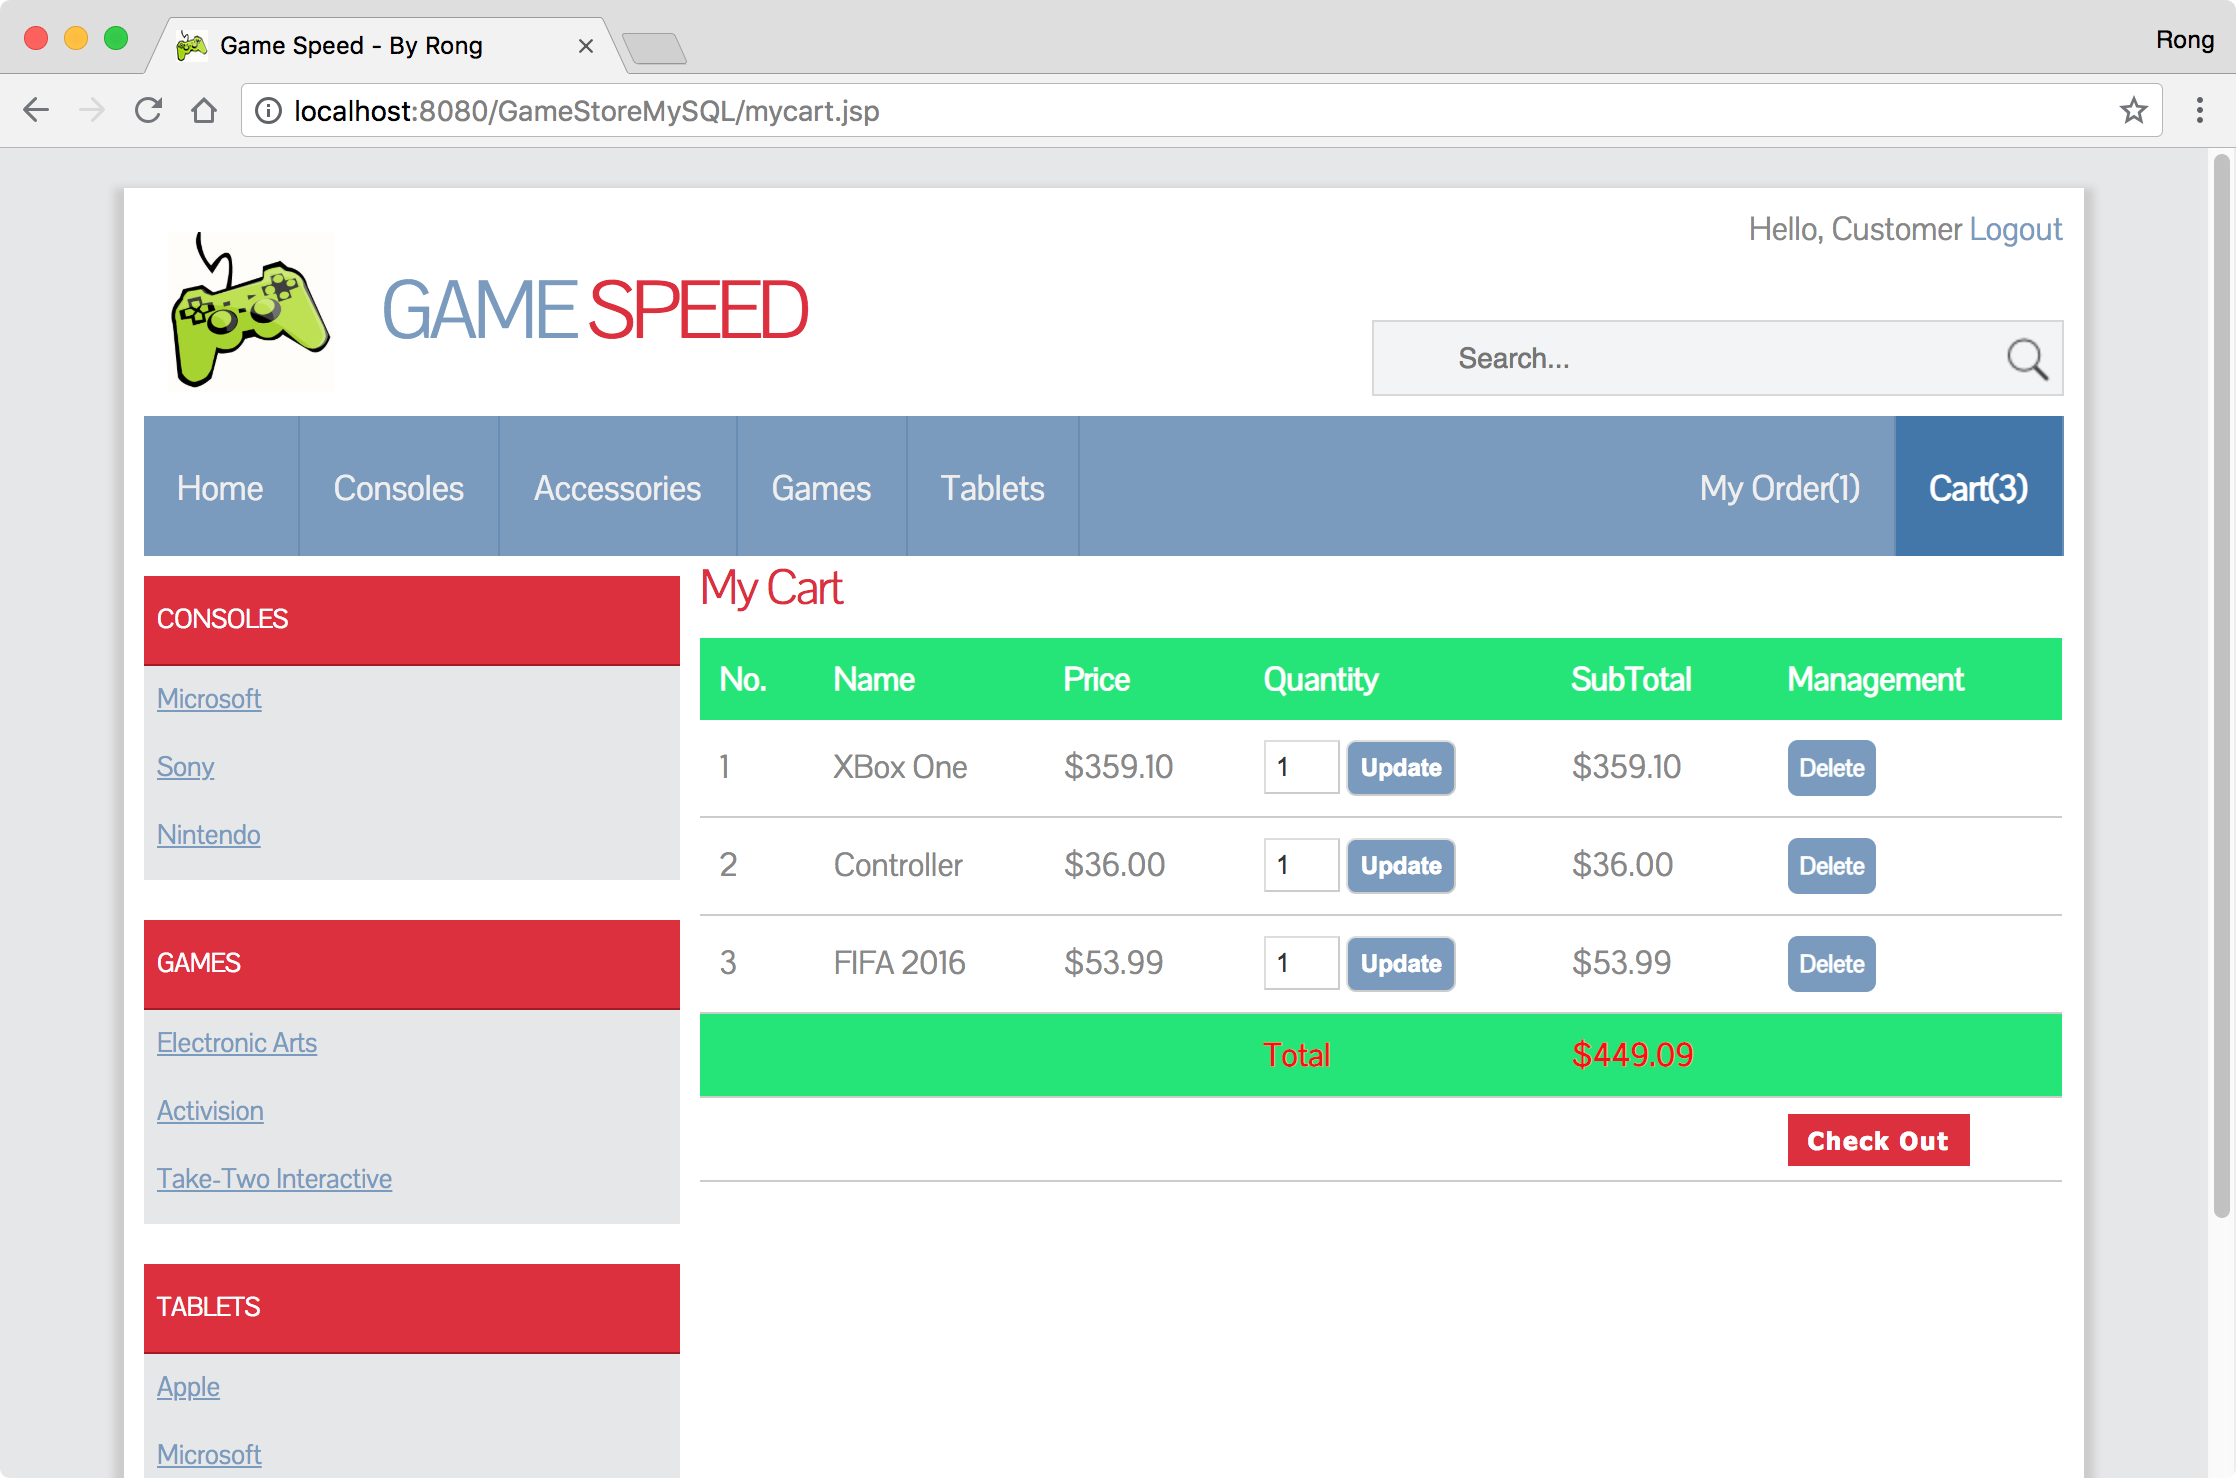 Order is created now.
 After the above operation, check the data in MySQL workbench. You see there is one new order entry in SalesOrder table.