2001. Getting Started with LinuxUnix, Linux, Shell, and Bash
This blog records some base knowledge of linux and tools.
1. Basic Bash Commands
1.1 Files and Directories
ls: Show directory contents, lists names of files.mkdir: Creates a directory of the specified name.cat: Display contents of a file.cd: Change directory. Change to certain directory name if provided.pwd: Displays the path of the current working directory.touch: Creates a blank file with a specified name.less: View contents of specified file, page by page.head/tail: Displays the first/last 10 lines of a file.rm: Removes a specified file. This action is permanent. There is no recycle bin.rmdir: Removes a directory.history: Display a listing of the last commands you’ve run.cp: Copy specified file to a new named file. Use -r flag to copy a directory.mv: Rename a specified file or directory.find: search files and directories. Can use with wildcards (* ? [ ]).quota: Print the amount of space available and used on all shares for the current user.scp: Secure/ SSH copy. Copies from either the local filesystem to a remote filesystem, or vice versa.
1.2 Compression
tar: Short for Tape Archiver is an analogue to zip under Linux.gzip/gunzip: Run gzip compression on a file.lzma/unlzma: Run LZMA compression on a file.
1.3 Others
date: Show current date and timecal: Show calendarclear: Clear content in the terminal promptexit: Quitnautilus: Open file manager(new folder window) via terminal, eg. ‘nautilus .’
2. Basic vi Commands
The vi editor (short for visual editor) is a screen editor which is available on almost all Unix systems. It is extremely powerful and efficient. There may be times when vi is the only text editor available, so it helps to at least know the basics.
2.1 Typical vi session
- Type “vi file.txt” at command prompt
- Move cursor to where new text will be added
- Type “i” to change to insert mode
- Type new text
- Type ESC to go back to command mode
- Type “:wq” and ENTER to write the file and quit
2.2 While in command mode (case sensitive)
- move the cursor with arrow keys; if there aren’t any arrow keys, use j,k,h,l
i- change to insert mode (before cursor)a- change to insert mode (after cursor)A- change to insert mode (at end of line)r- replace one characterR- overwrite textx- delete one characterdd- delete one lineyy- yank line (copy)p- paste deleted or yanked text after cursorP- paste deleted or yanked text before cursorG- go to end of the file1G- go to top of the fileJ- merge next line with this one/- search, follow / with text to find:wq- write file and quit:q!- quit without saving%s/old/new/g- substitute; replace “old” with “new” on all lines:g/pattern/d- delete all lines that match the pattern
2.3 While in insert mode
ESC- change to command mode- any text typed is entered at the cursor
3. Difference between .bash_profile and .bashrc
.bash_profile is executed for login shells, while .bashrc is executed for interactive non-login shells.
Most of the time you don’t want to maintain two separate config files for login and non-login shells — when you set a PATH, you want it to apply to both. You can fix this by sourcing .bashrc from your .bash_profile file, then putting PATH and common settings in .bashrc. To do this, add the following lines to .bash_profile:
if [ -f ~/.bashrc ]; then
   source ~/.bashrc
fi
Now when you login to your machine from a console .bashrc will be called.
4. useful commands
$ which -a ls  // list where the command locates, sample output: /bin/ls
$ su -a tony   // switch to another user named 'tony'
$ sudo chown -R $USER /opt/tomcat/  // grant current user with all access rights to folder /opt/tomcat/
$ ls | grep hosts // Find file with name=hosts
$ scp username@ip:~/work/AppInfo.xml ~ // copy file(AppInfo.xml) from remote server(ip) with user(username) to local directory(~/work/).
5. Turn Off Screen Saver on Redhat
Steps to disable the GNOME Lock Screen:
- Applications->System Tools->Settings->Privacy->Screen Lock, Set to Off.
Side effect: Black screen is issued when connected to a Linux physical desktop while the lock screen is active. Details at https://nomachine.com/TR10L04587.
6. Gnome is Not available on Red Hat
1) How to Open Terminal?
Right-click the Desktop, select ‘Open in Terminal’.
2) VirtualBox
Open VirtualBox GUI
$ virtualbox
Start virtual machine
$ VBoxManage startvm "Oracle 12c"
3) Start Chrome in Terminal
$ google-chrome
4) Restart Red Hat in Terminal
sudo reboot
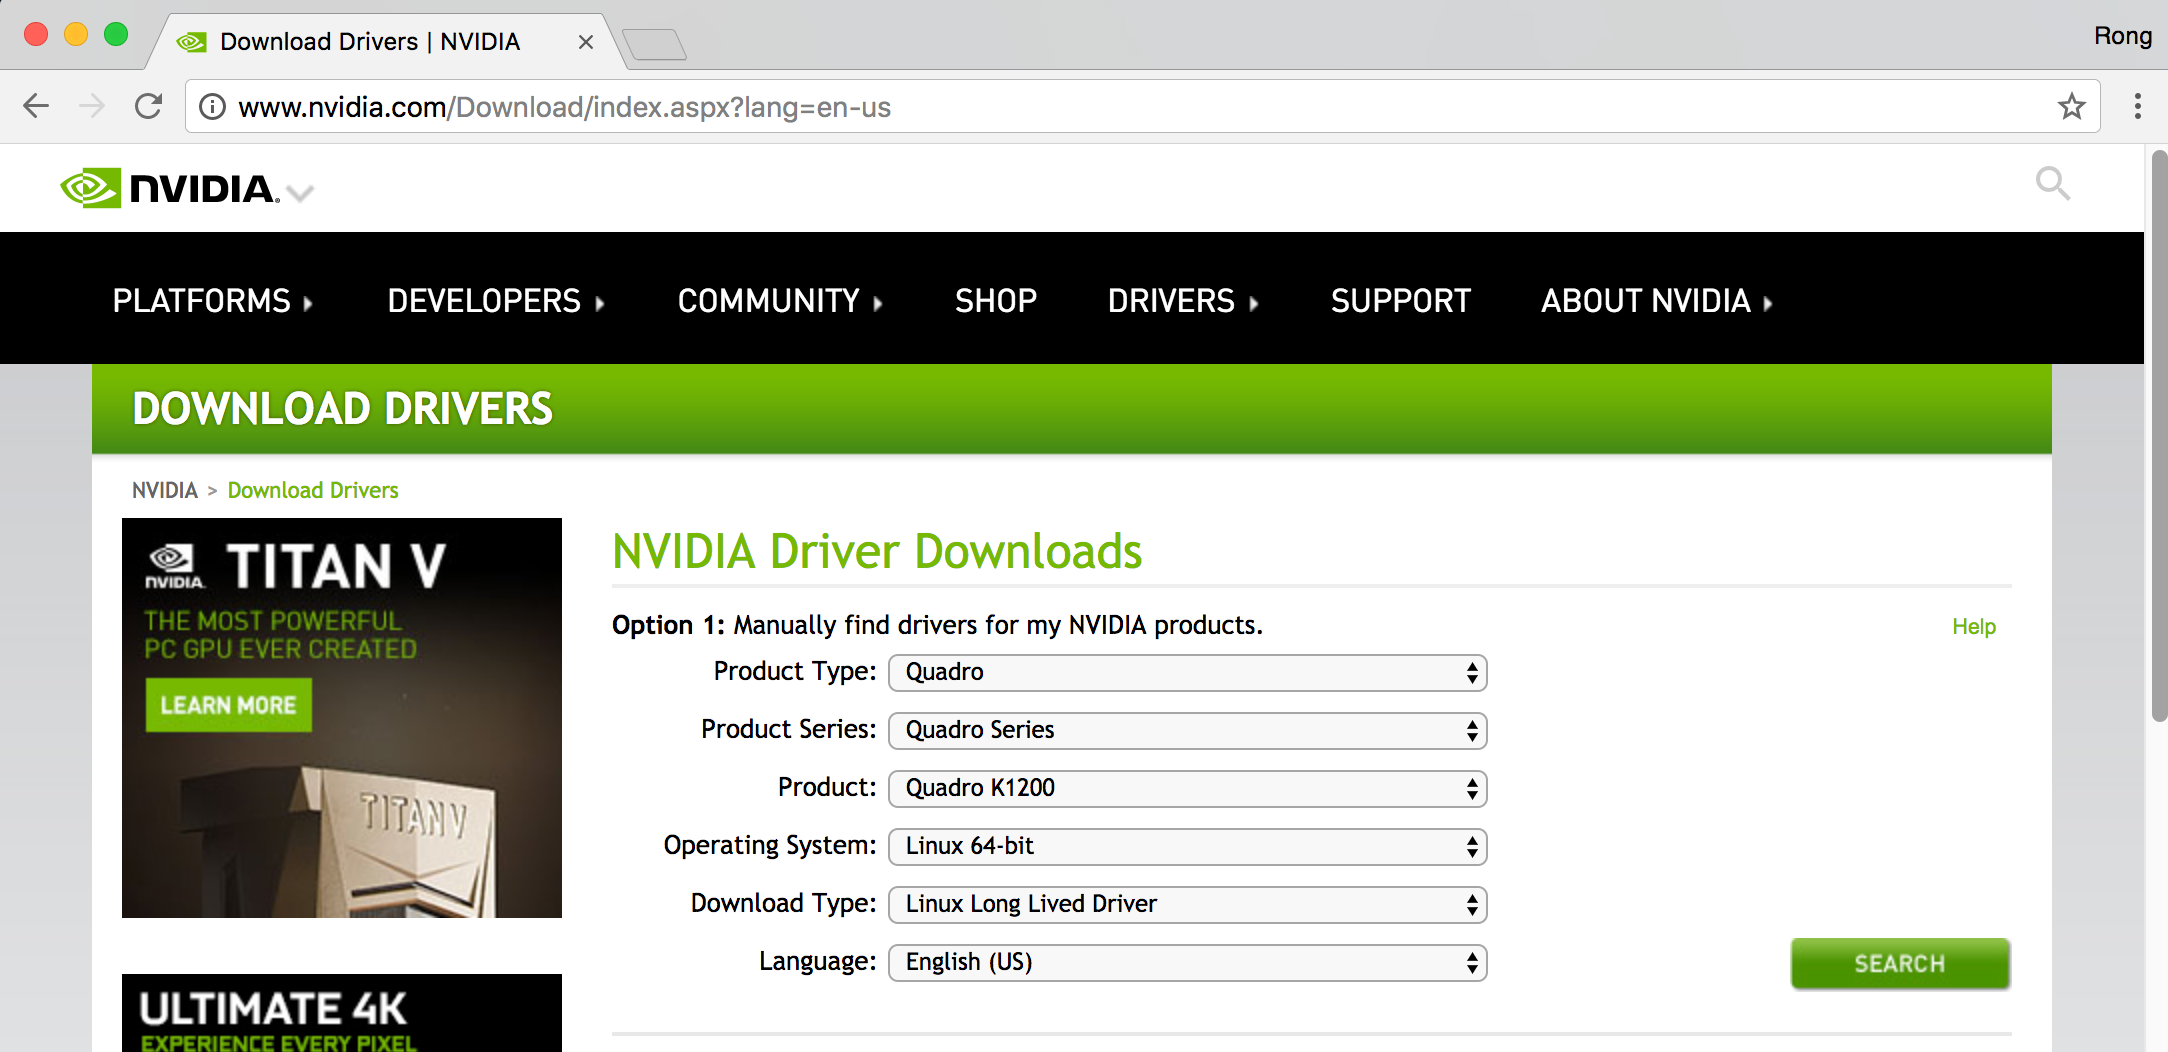
5) Which graphics card is installed?
$ lspci
Then, check the ‘VGA’ line.
01:00.0 VGA compatible controller: NVIDIA Corporation GM107GL [Quadro K1200] (rev a2)
 6) Switch Between console and GUI mode.
sudo init 3 //console
sudo init 5 //Gnome
7) Check how many kernels are Installed
rpm -q kernel
kernel-2.6.32-279.el6.x86_64
kernel-2.6.32-279.2.1.el6.x86_64
Remove kernal
yum remove kernel-2.6.32-279.el6.x86_64
8) To switch from GNOME Classic to GNOME from within the user session, run the following command:
$ gnome-shell --mode=user -r &
To switch back to GNOME Classic from within the same user session, run the following command:
$ gnome-shell --mode=classic -r &
7. Install and Upgrade RPM Package
1) Install VirtualBox 5.2.6
rpm -ivh VirtualBox-5.2-5.2.6_122088_el7-1.x86_64.rpm
2) Upgrade VirtualBox to 5.2.10
rpm -Uvh VirtualBox-5.2-5.2.10_122088_el7-1.x86_64.rpm