2031. Installing MySQL and Workbench on MacMySQL and MySQL Workbench
Install MySQL database and MySQL Workbench on Mac.
1. MySQL Database
MySQL is the most popular Open Source Relational SQL Database Management System. MySQL is one of the best RDBMS being used for developing various web-based software applications.
2. Installing MySQL
2.1 Downloading MySQL
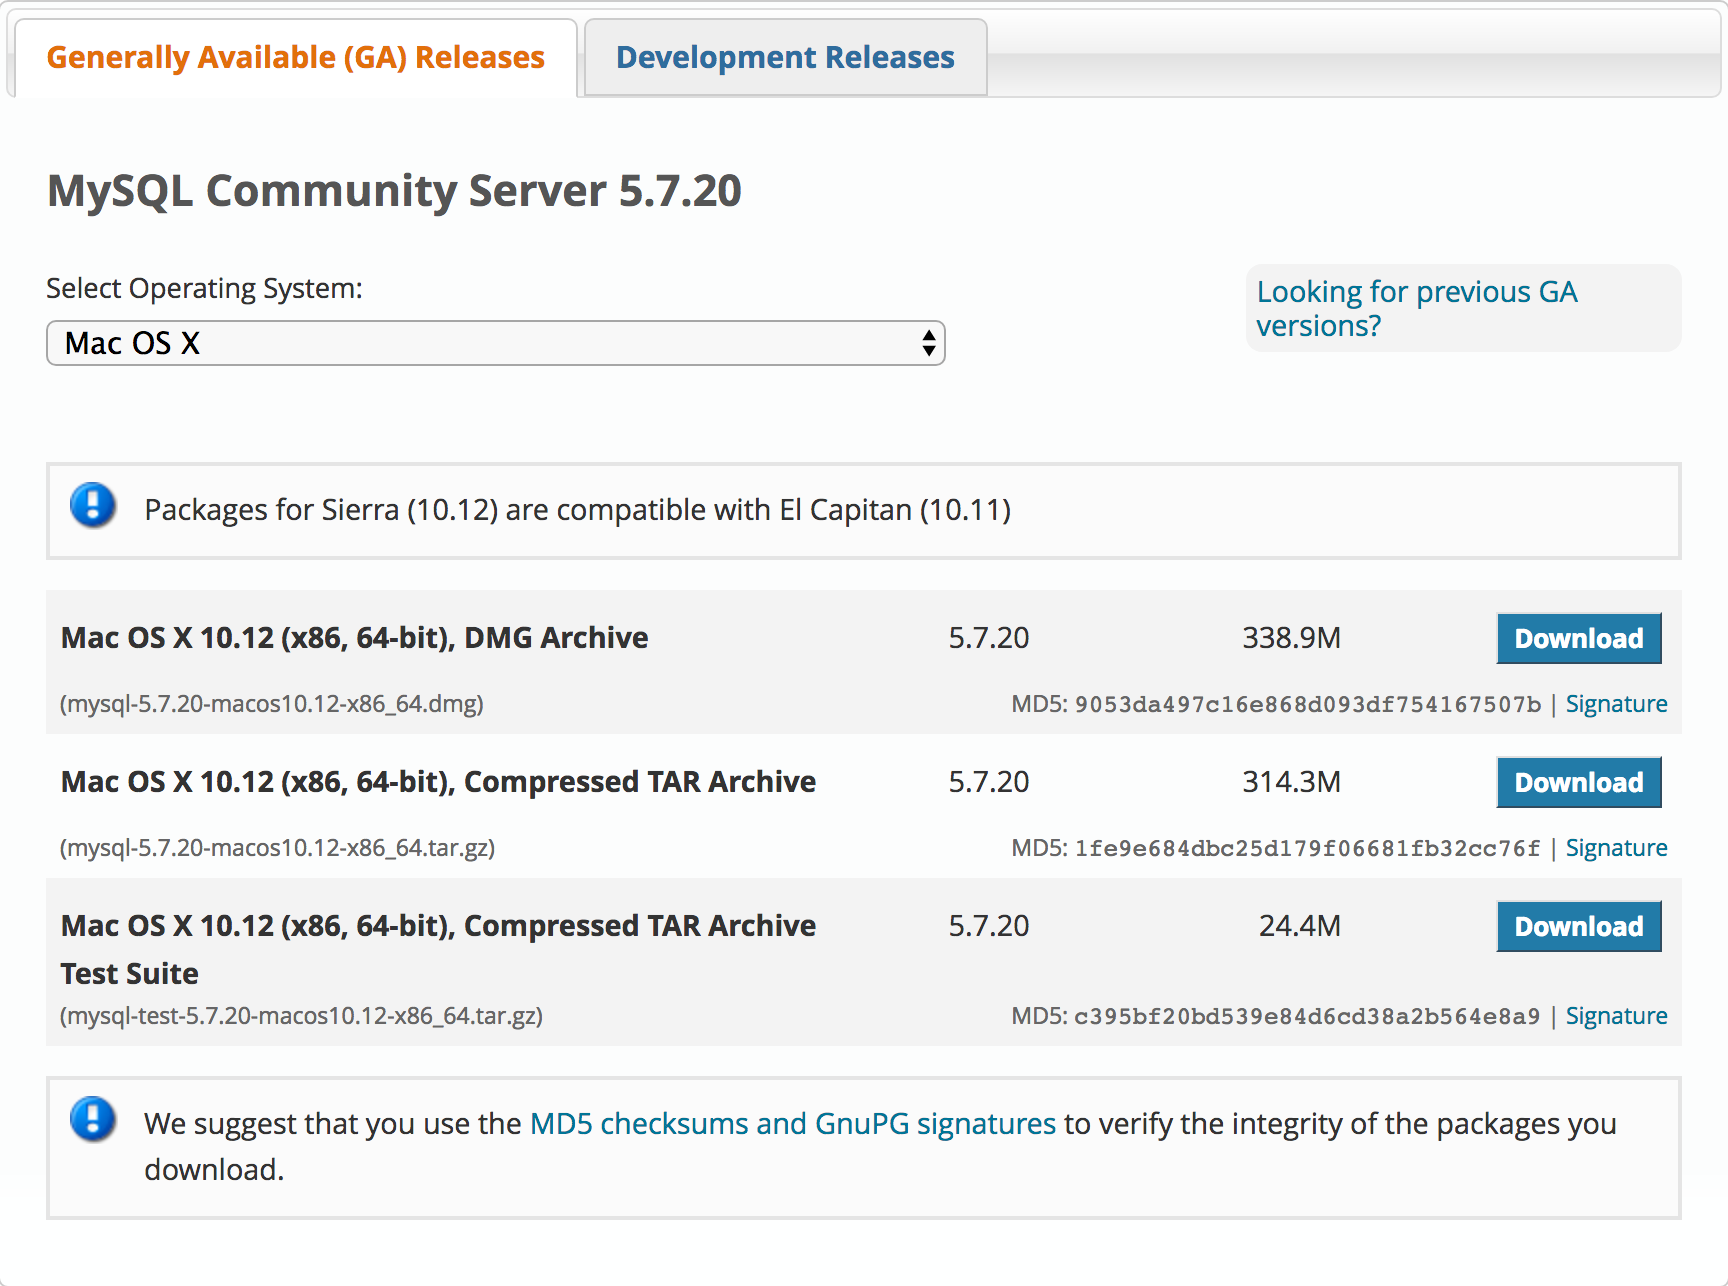
Go to https://dev.mysql.com/downloads/mysql/, choose free MySQL Community Server, select ‘Mac OS X’ and download the DMG Archive.
2.2 Installing MySQL
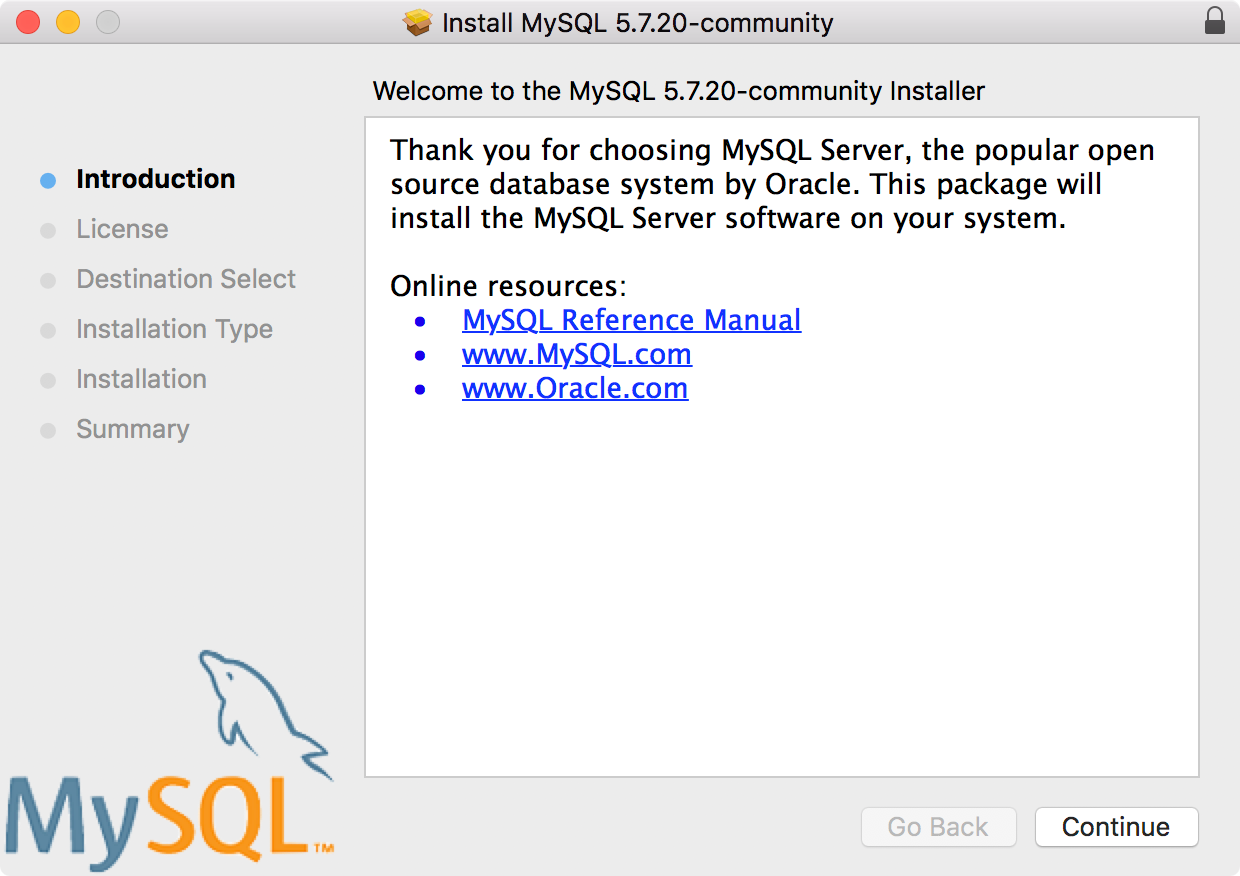
 Then, follow the wizard to install MySQL.
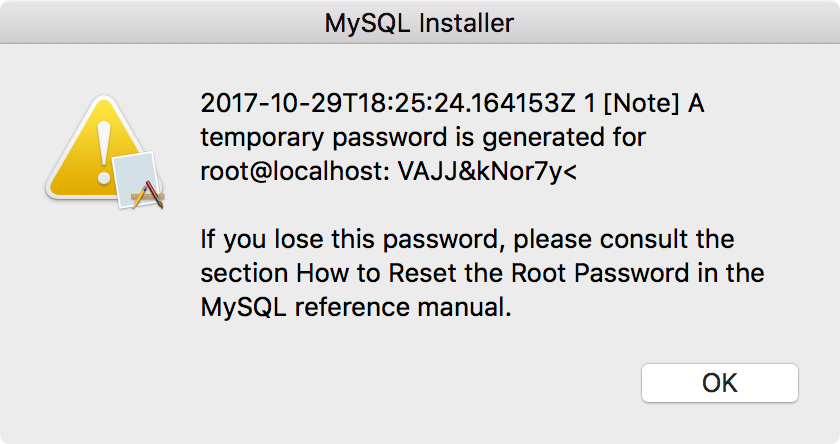
 At the end of the installation, there will be a popup dialog with showing the database connection information. Note down the password for root user,
 root@localhost: VAJJ&kNor7y<.
[Note] A temporary password is generated for root@localhost: VAJJ&kNor7y<

If you lose this password, please consult the section How to Reset the Root Password in the MySQL reference manual.
2.3 Starting MySQL Instance
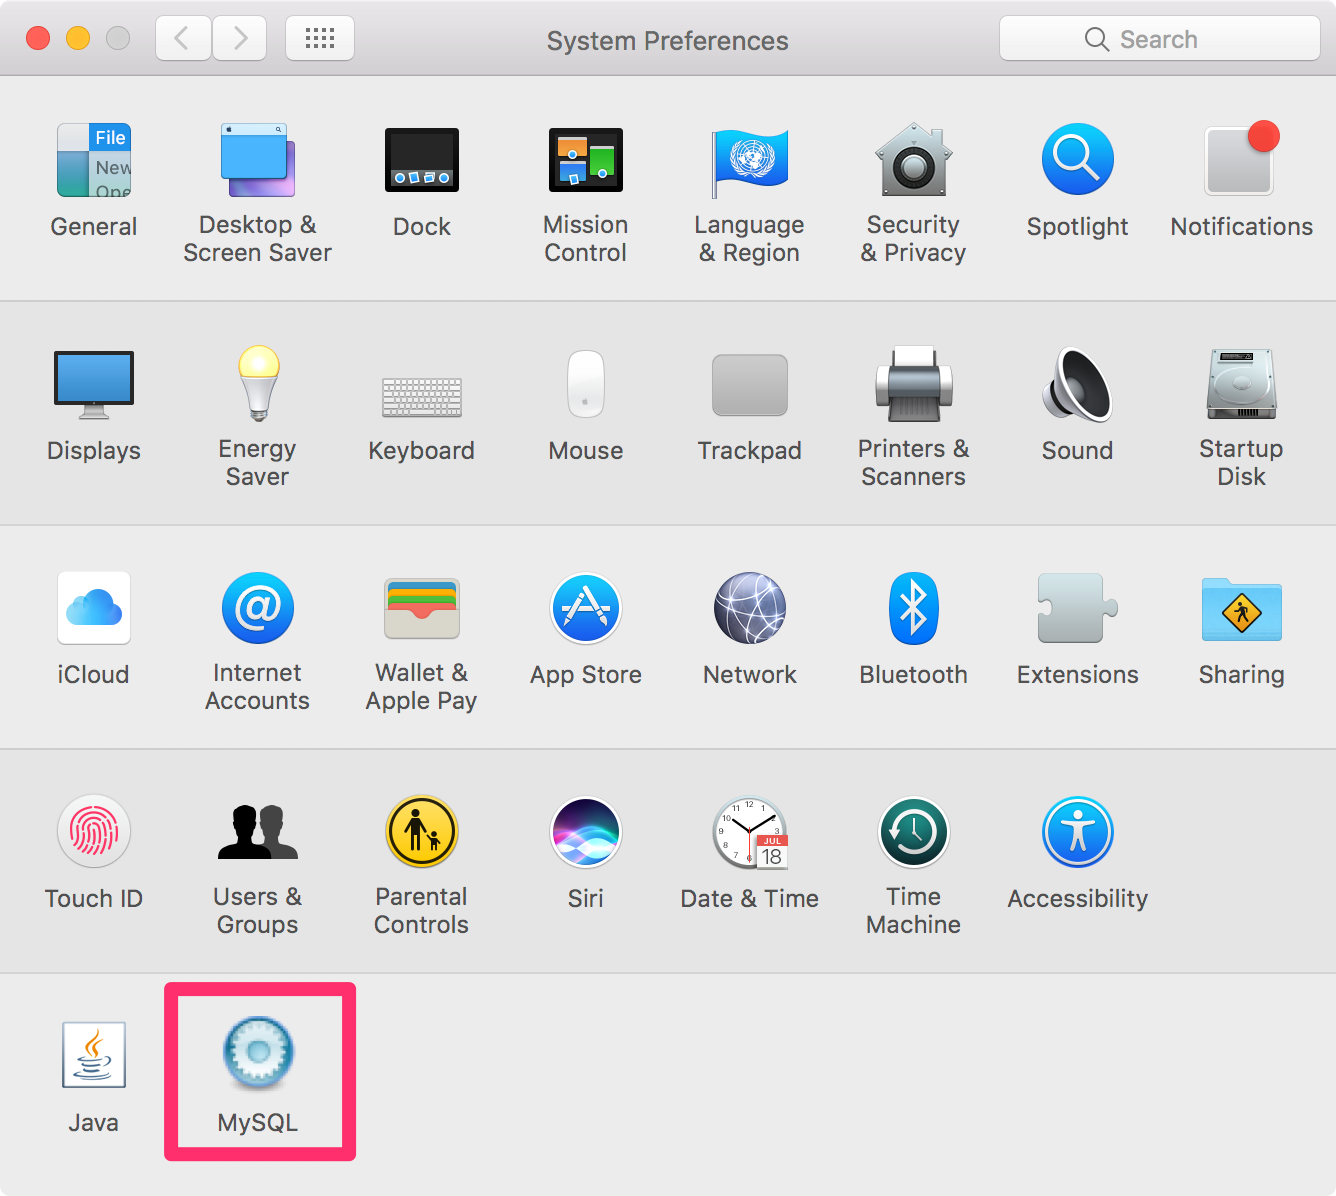
Go to System Preferences->MySQL.
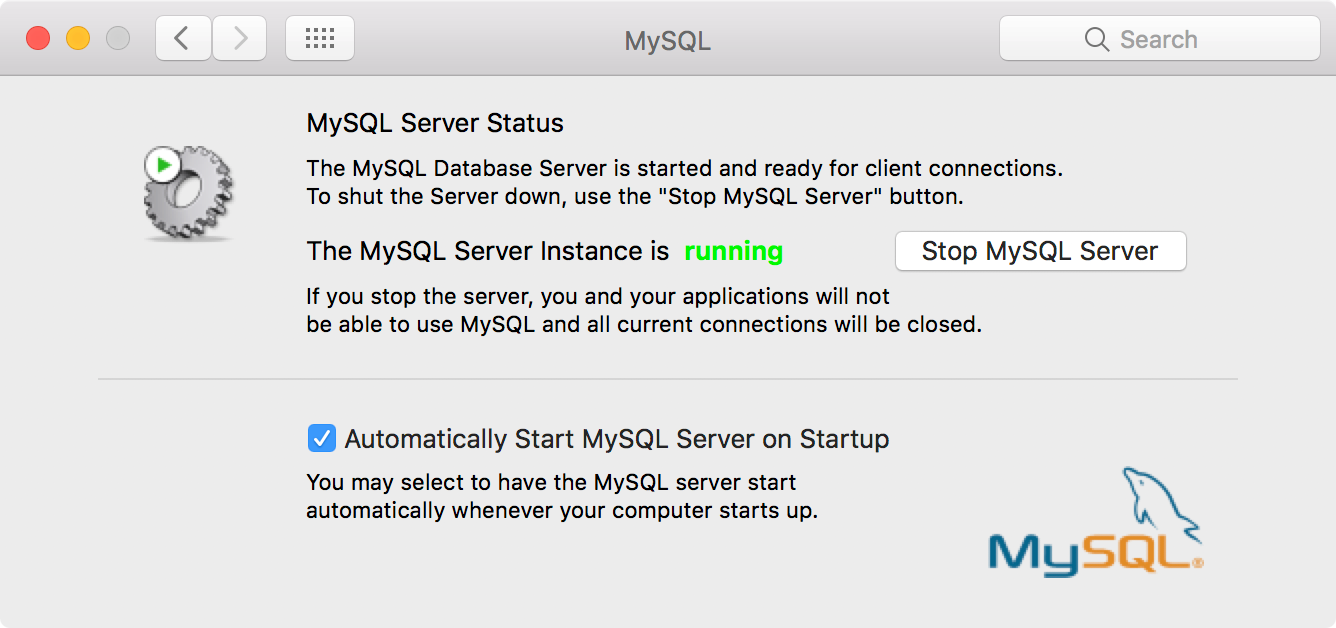
 Click the ‘Start MySQL Server’ button to launch MySQL database.
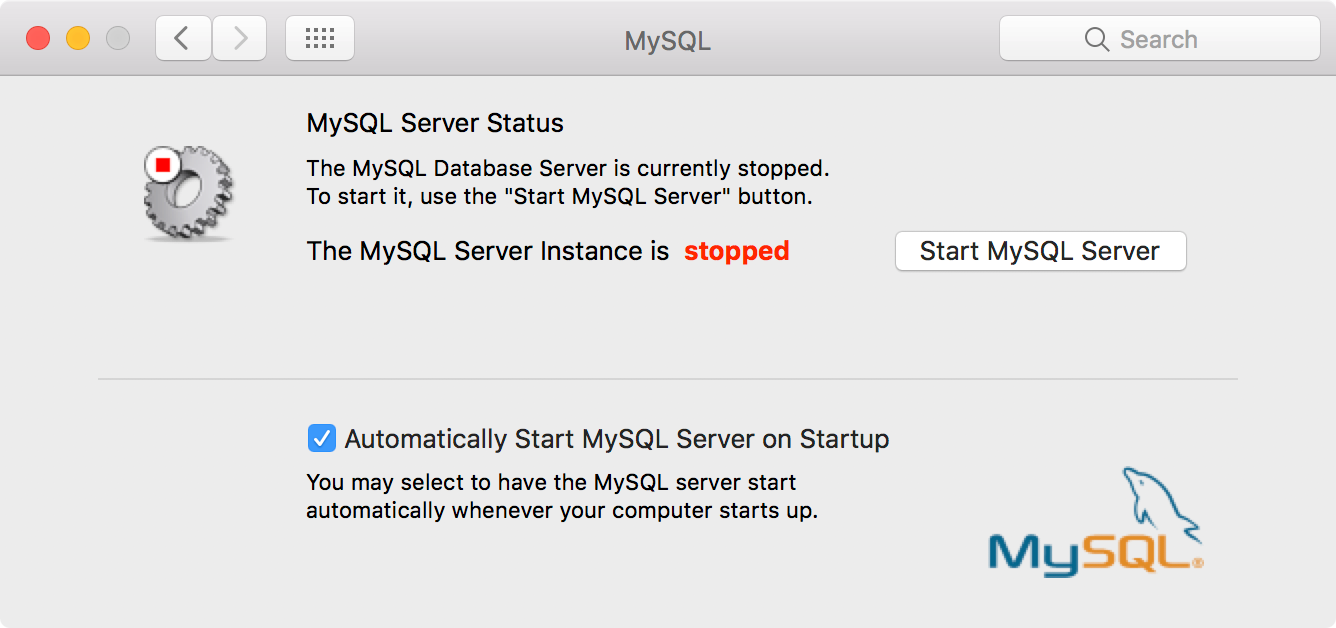 You should see the status of MySQL is ‘running’.
3. Installing MySQL Workbench
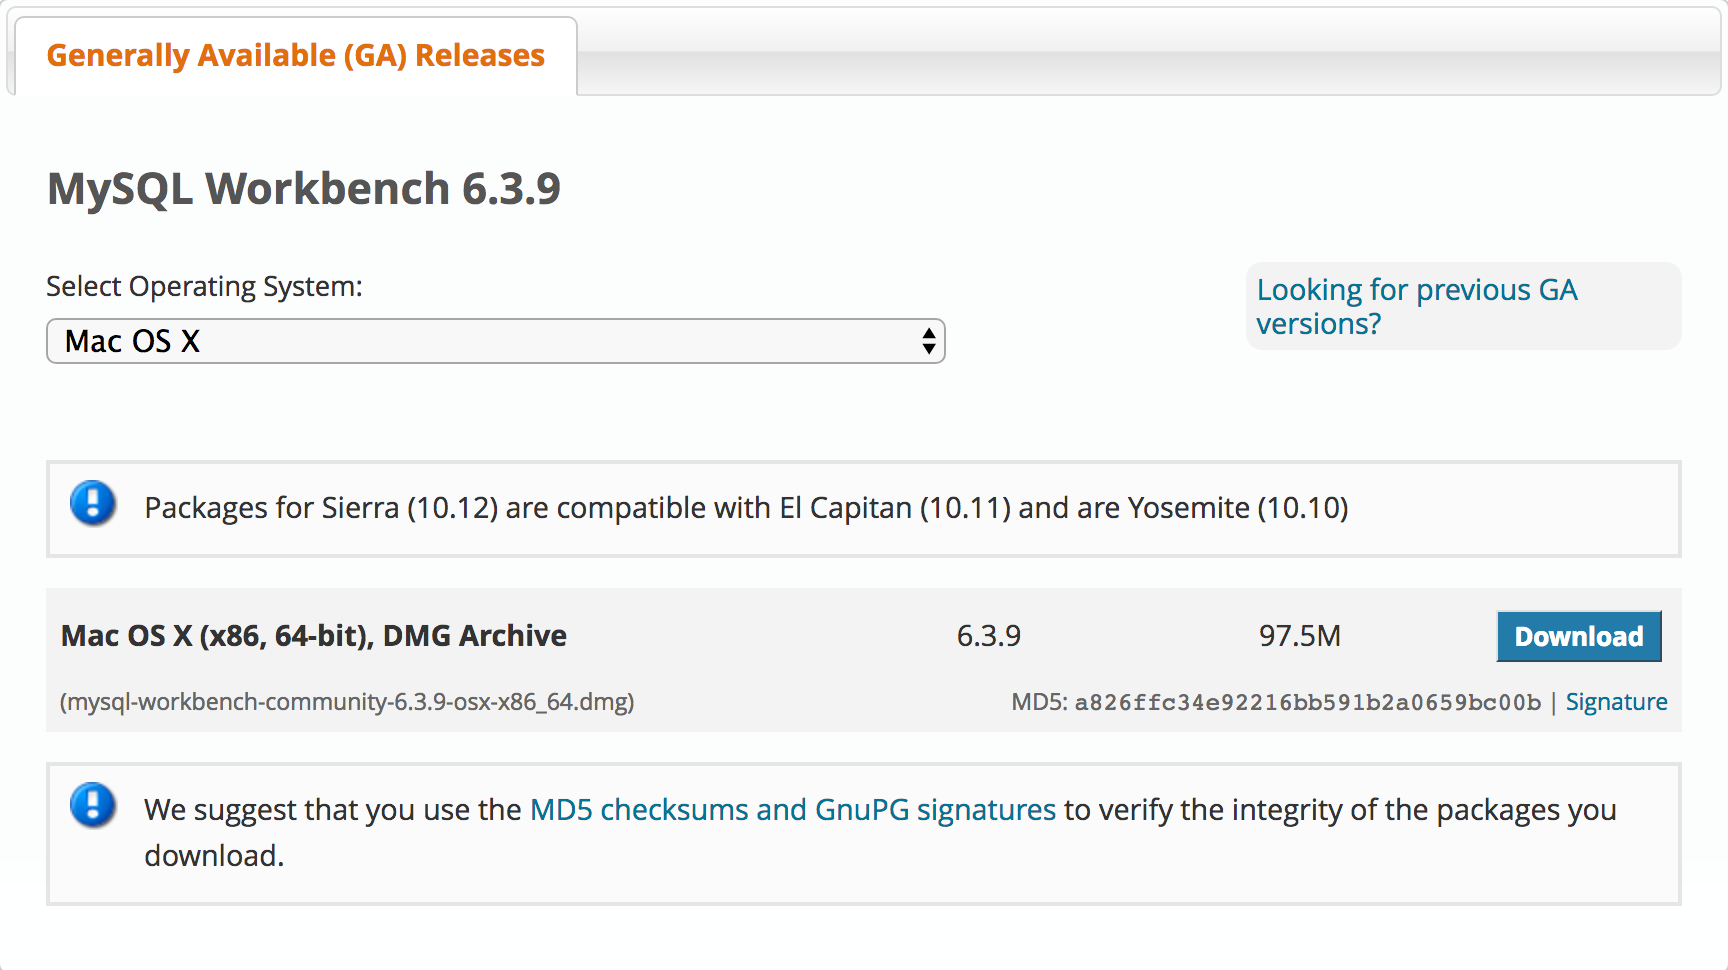
3.1 Downloading MySQL Workbench
MySQL Workbench is a client tool to manage MySQL database. Go to https://dev.mysql.com/downloads/workbench/, select ‘Mac OS X’ and download MySQL Workbench.
3.2 Installing MySQL Workbench
Then, follow the wizard to install MySQL Workbench.
3.3 Creating New Connection
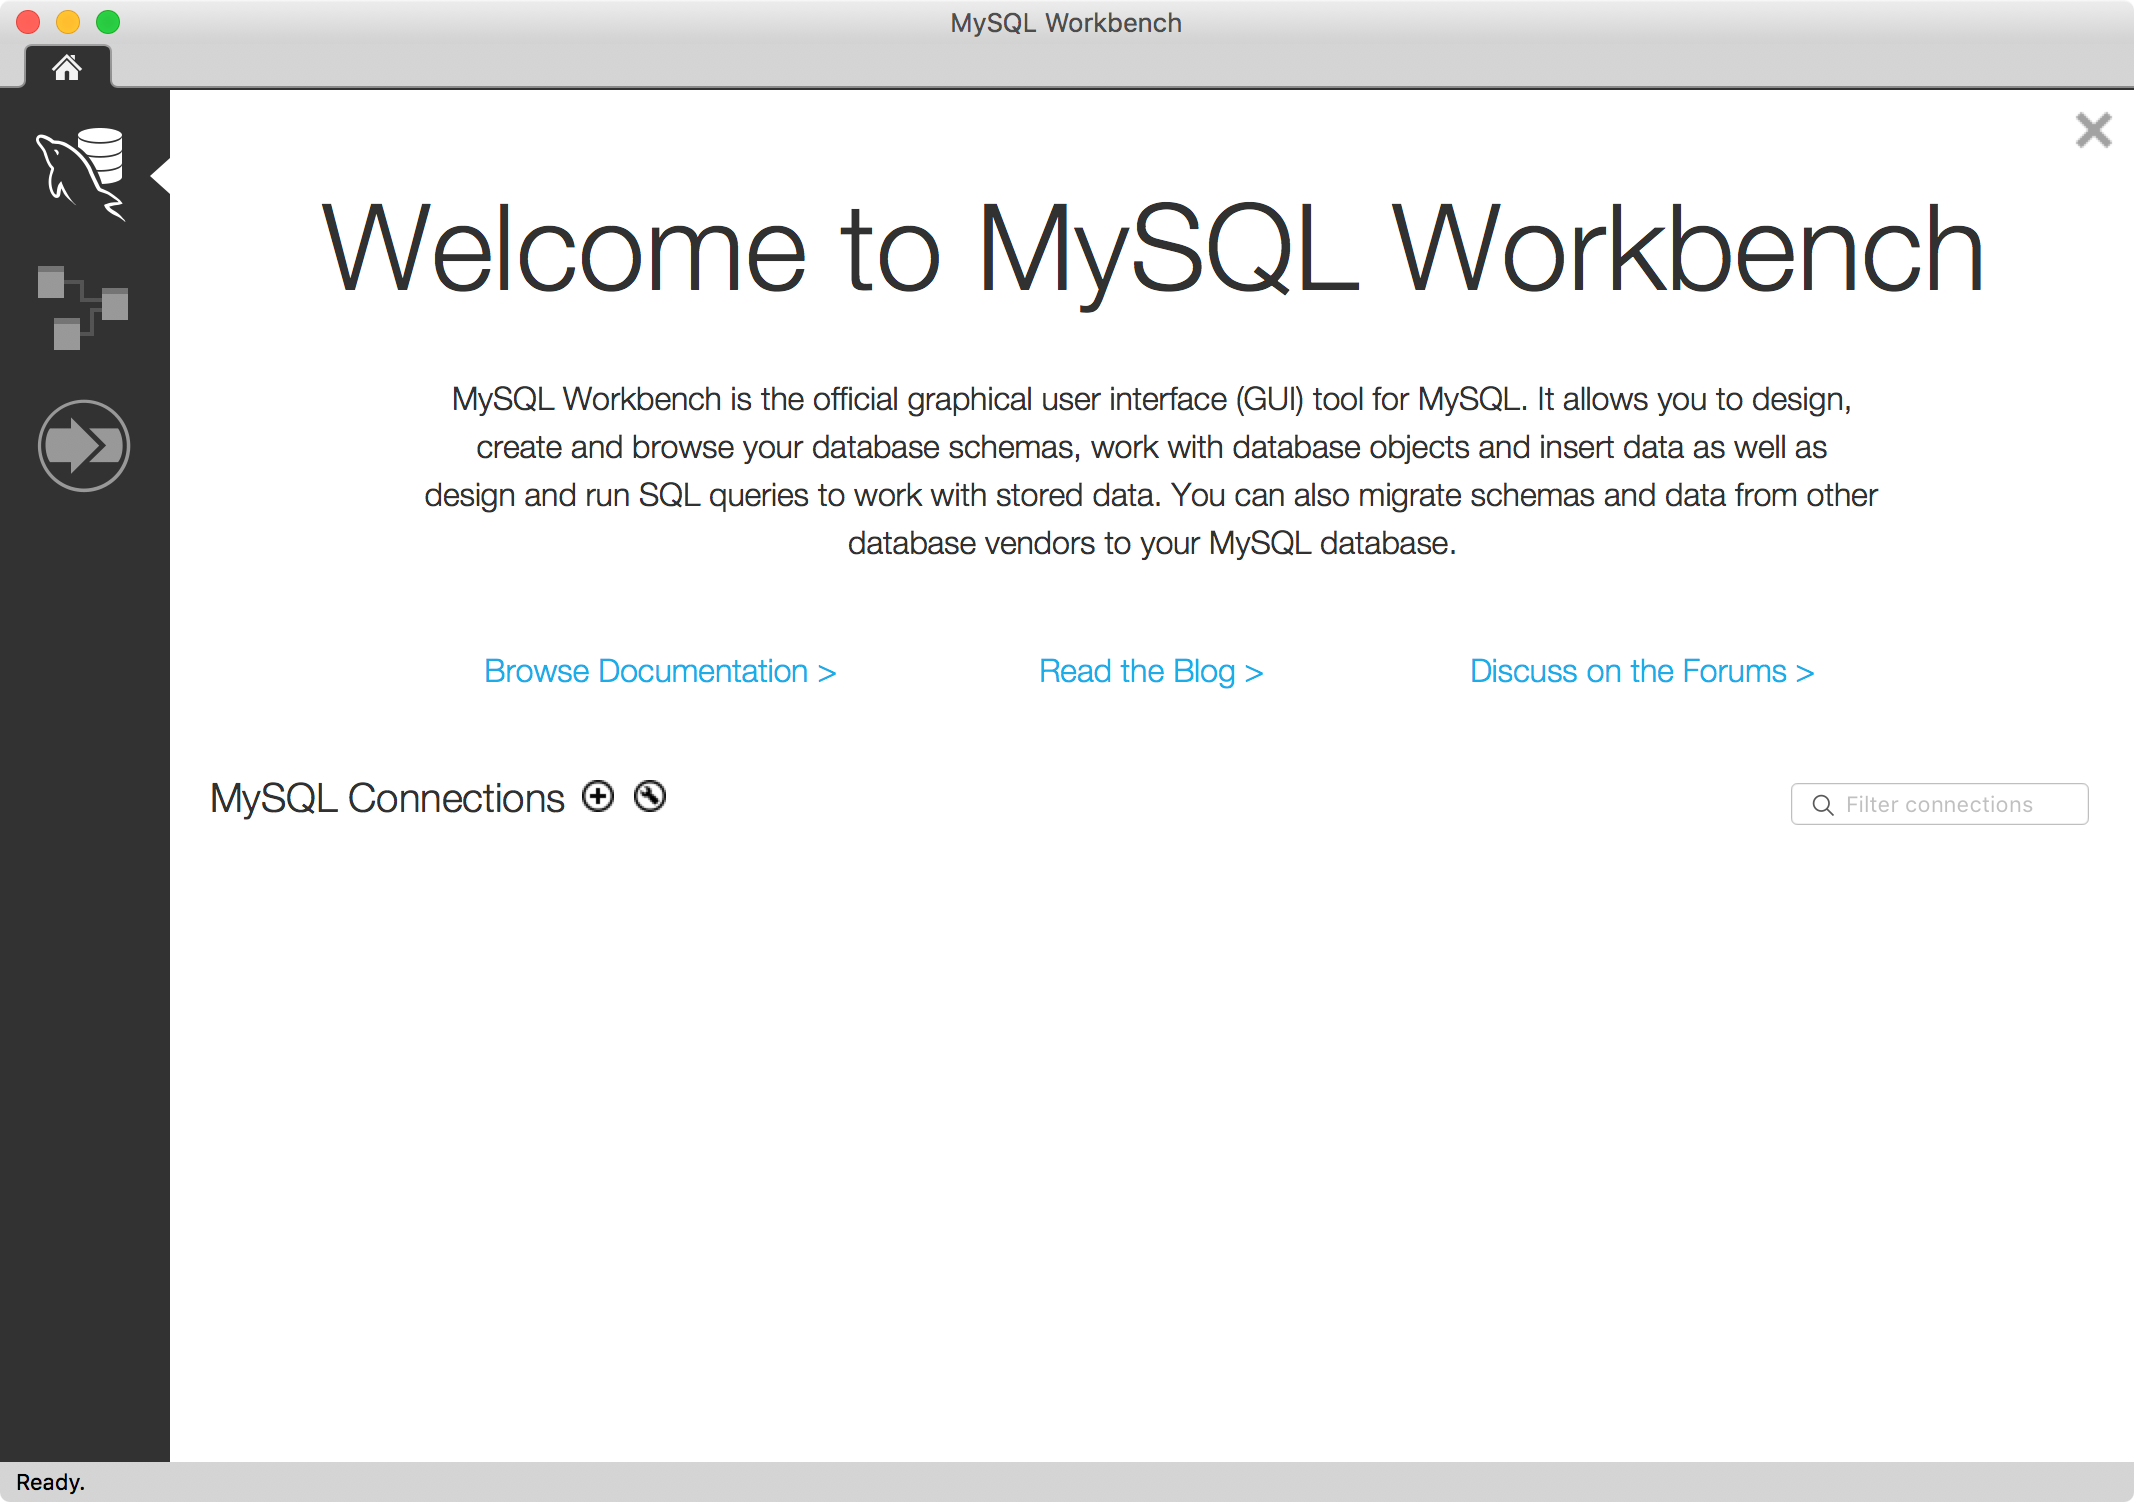
After installation, launch MySQL Workbench.
 Click the Plus button to add a new connection, specify the connection name.
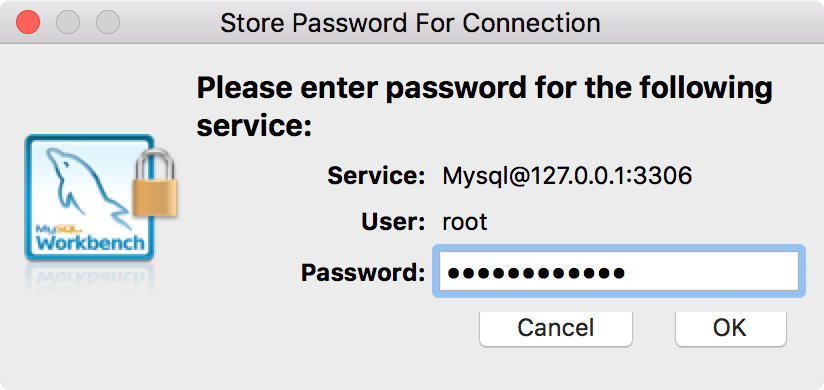
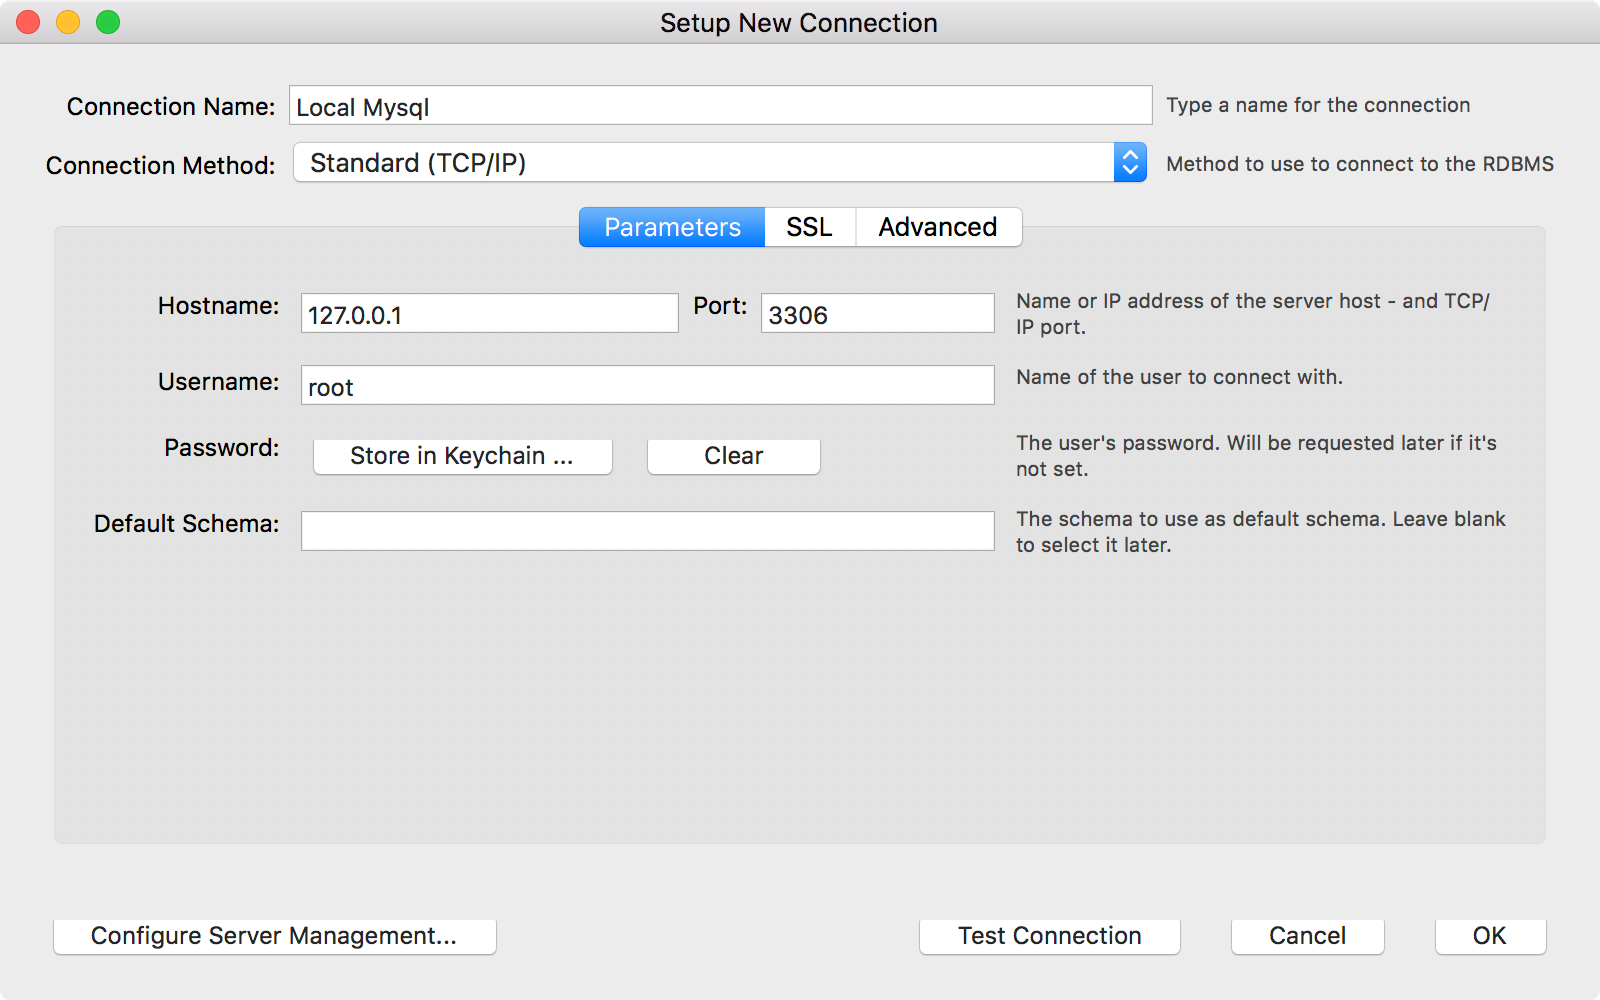 Set Username to ‘root’, click ‘Store in Keychain …’, provide the password which was noted down in Step 2.2.
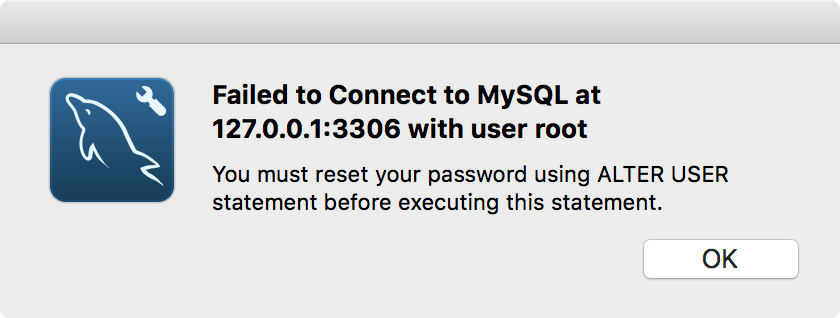
 Click the ‘Test Connection’ button. Unfortunately, fail to connect.
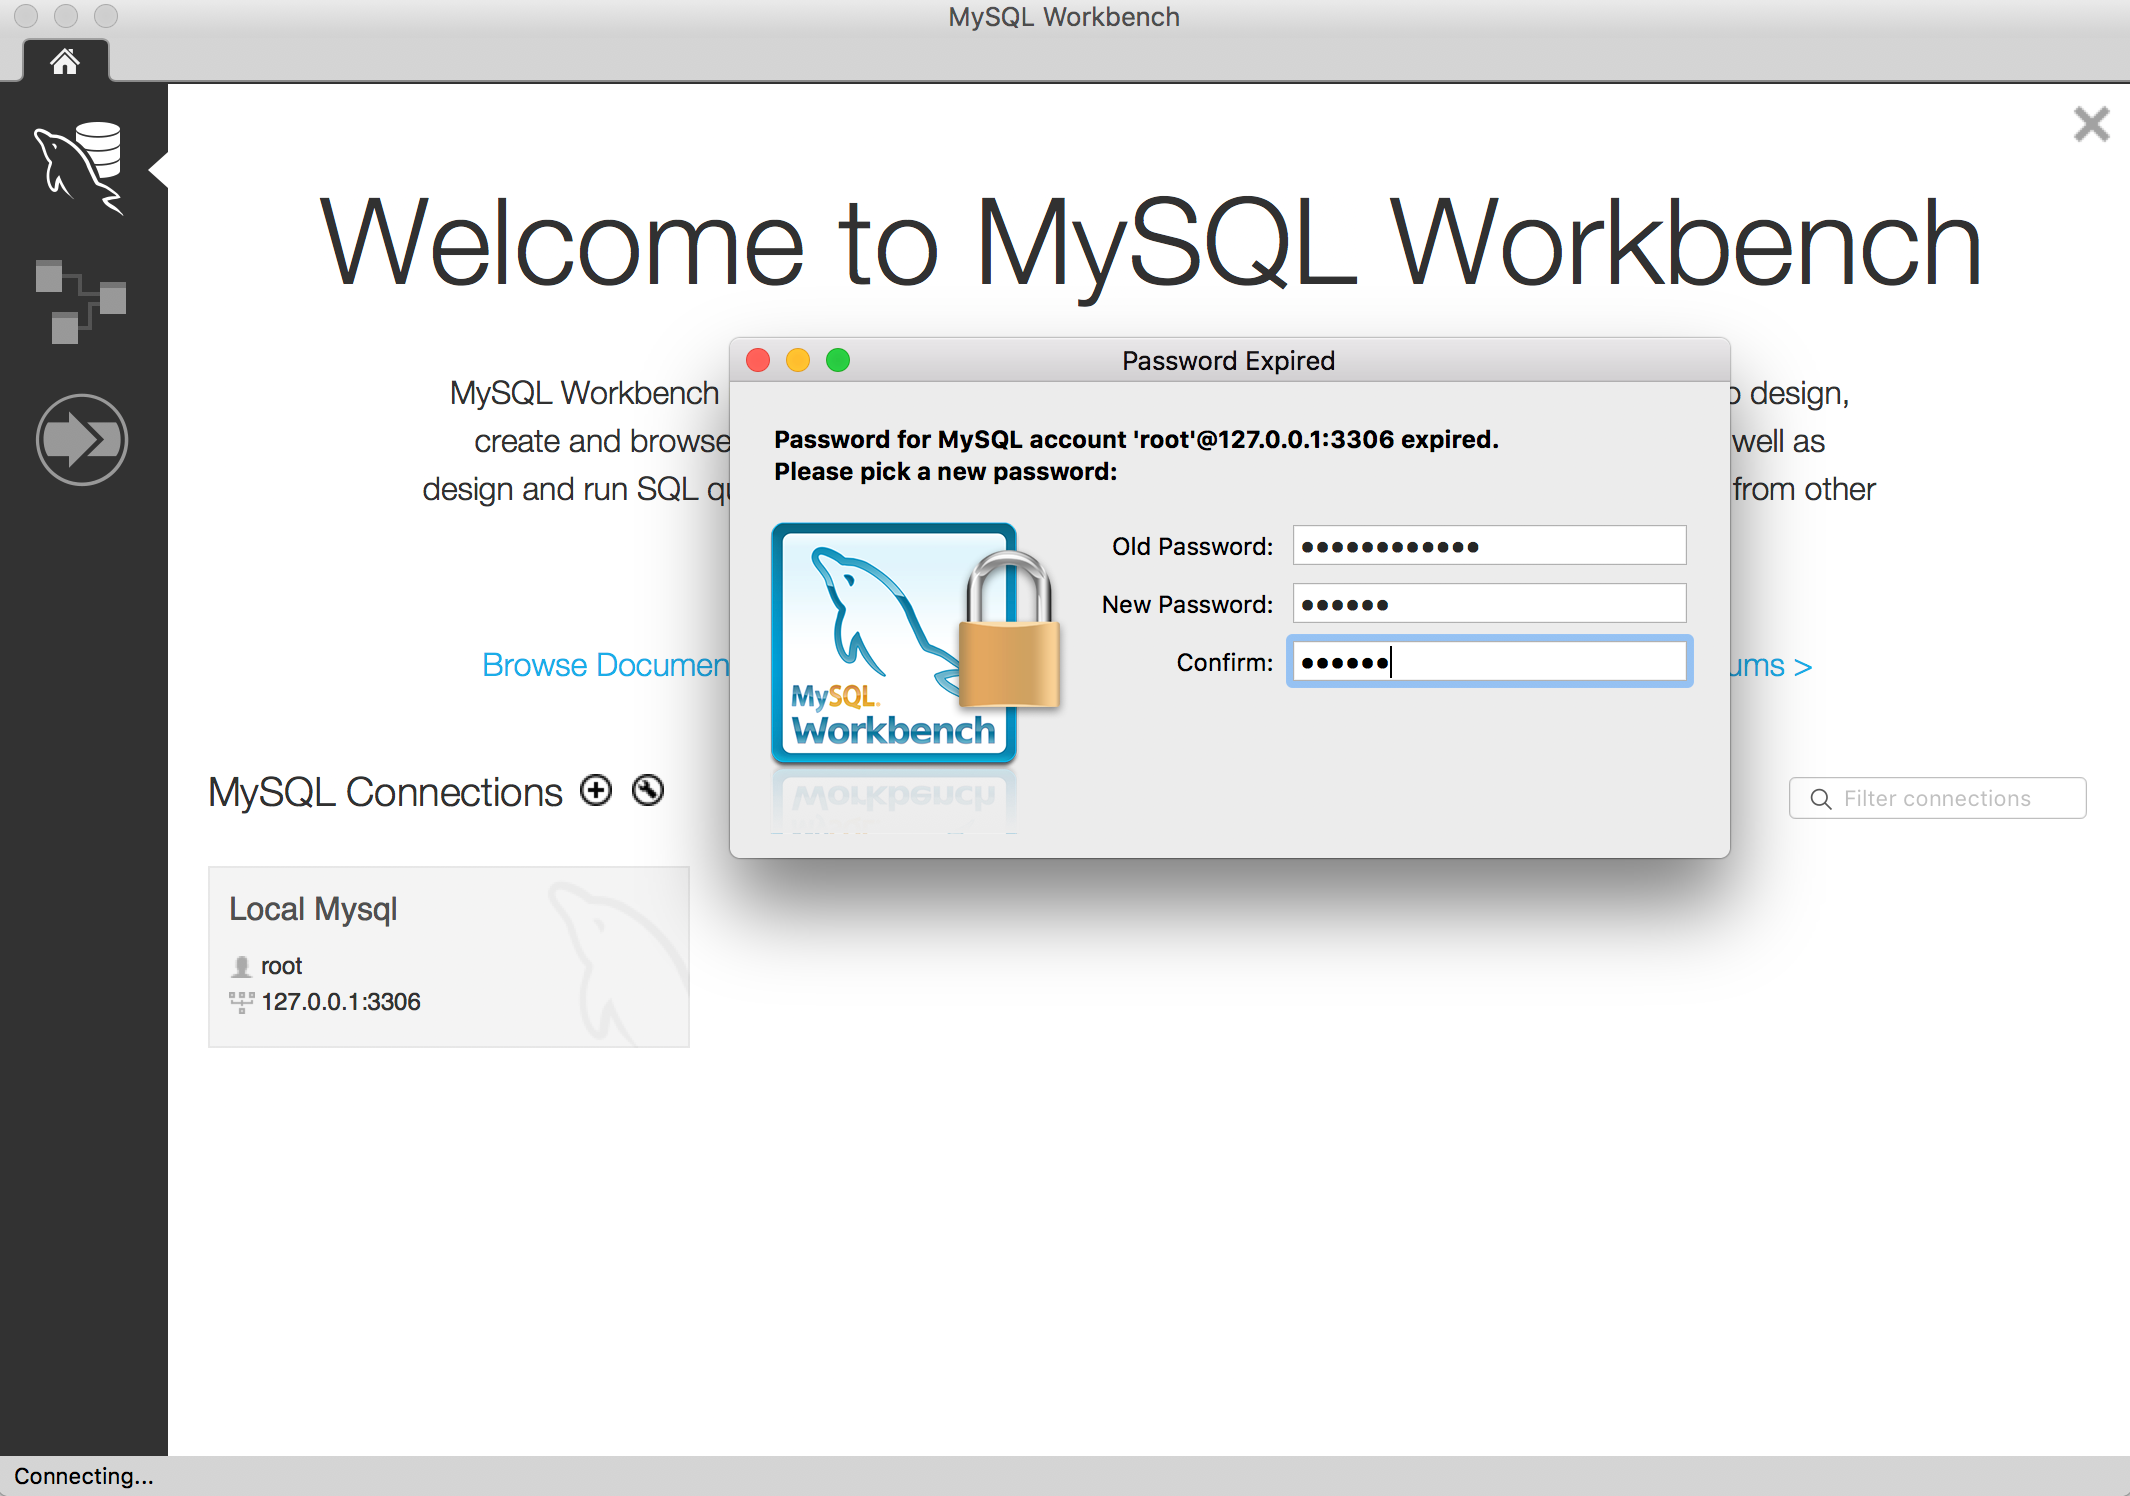
 Save the connection any way. Then, double click on this connection, in the ‘Password Expired’ popup dialog, provide the new password(eg.abc123), click Enter.
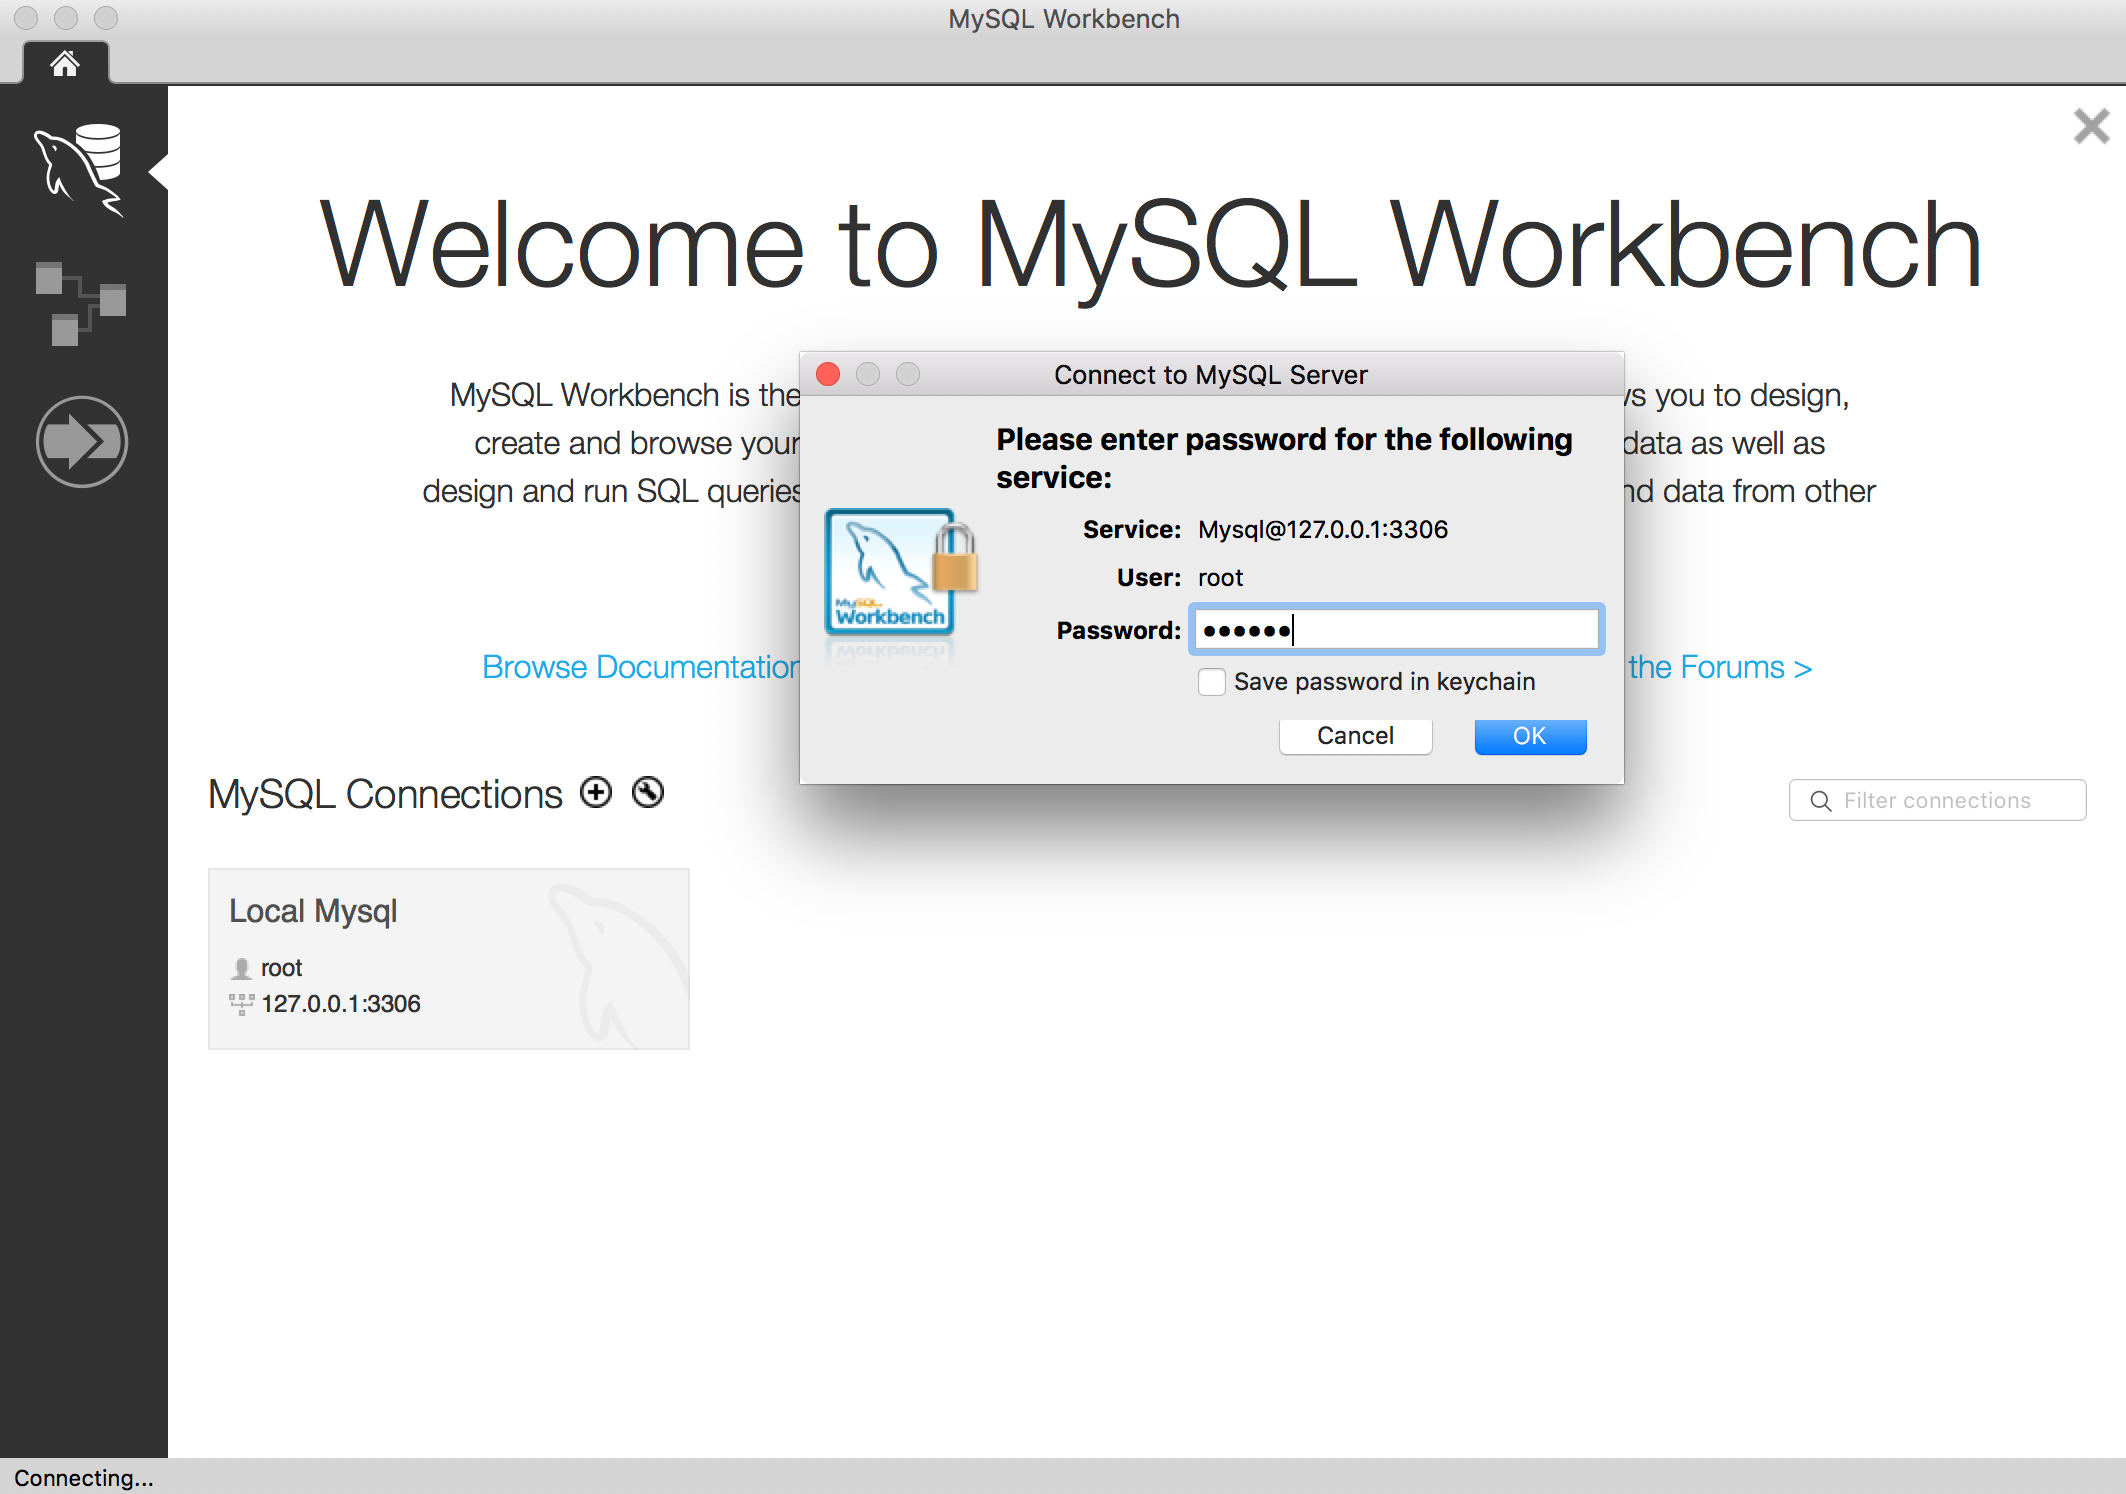
 Input the new password, and click OK.
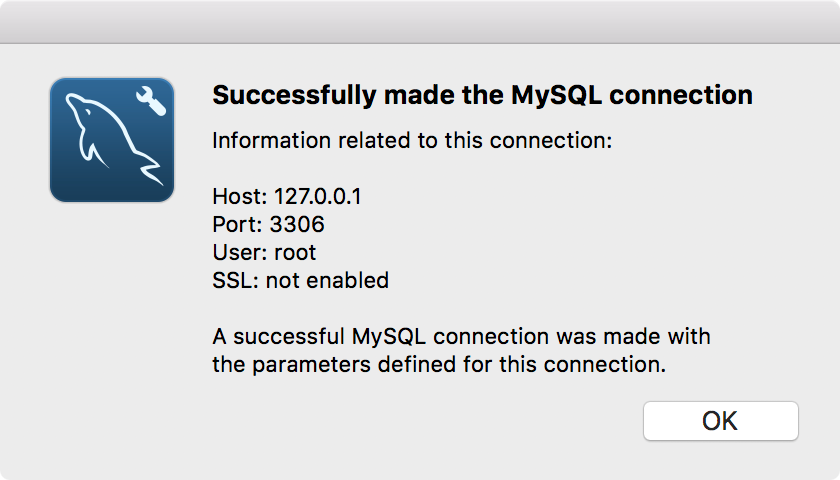
 If you test the connection again. You will see the connection between MySQL Workbench and MySQL database is created successfully.
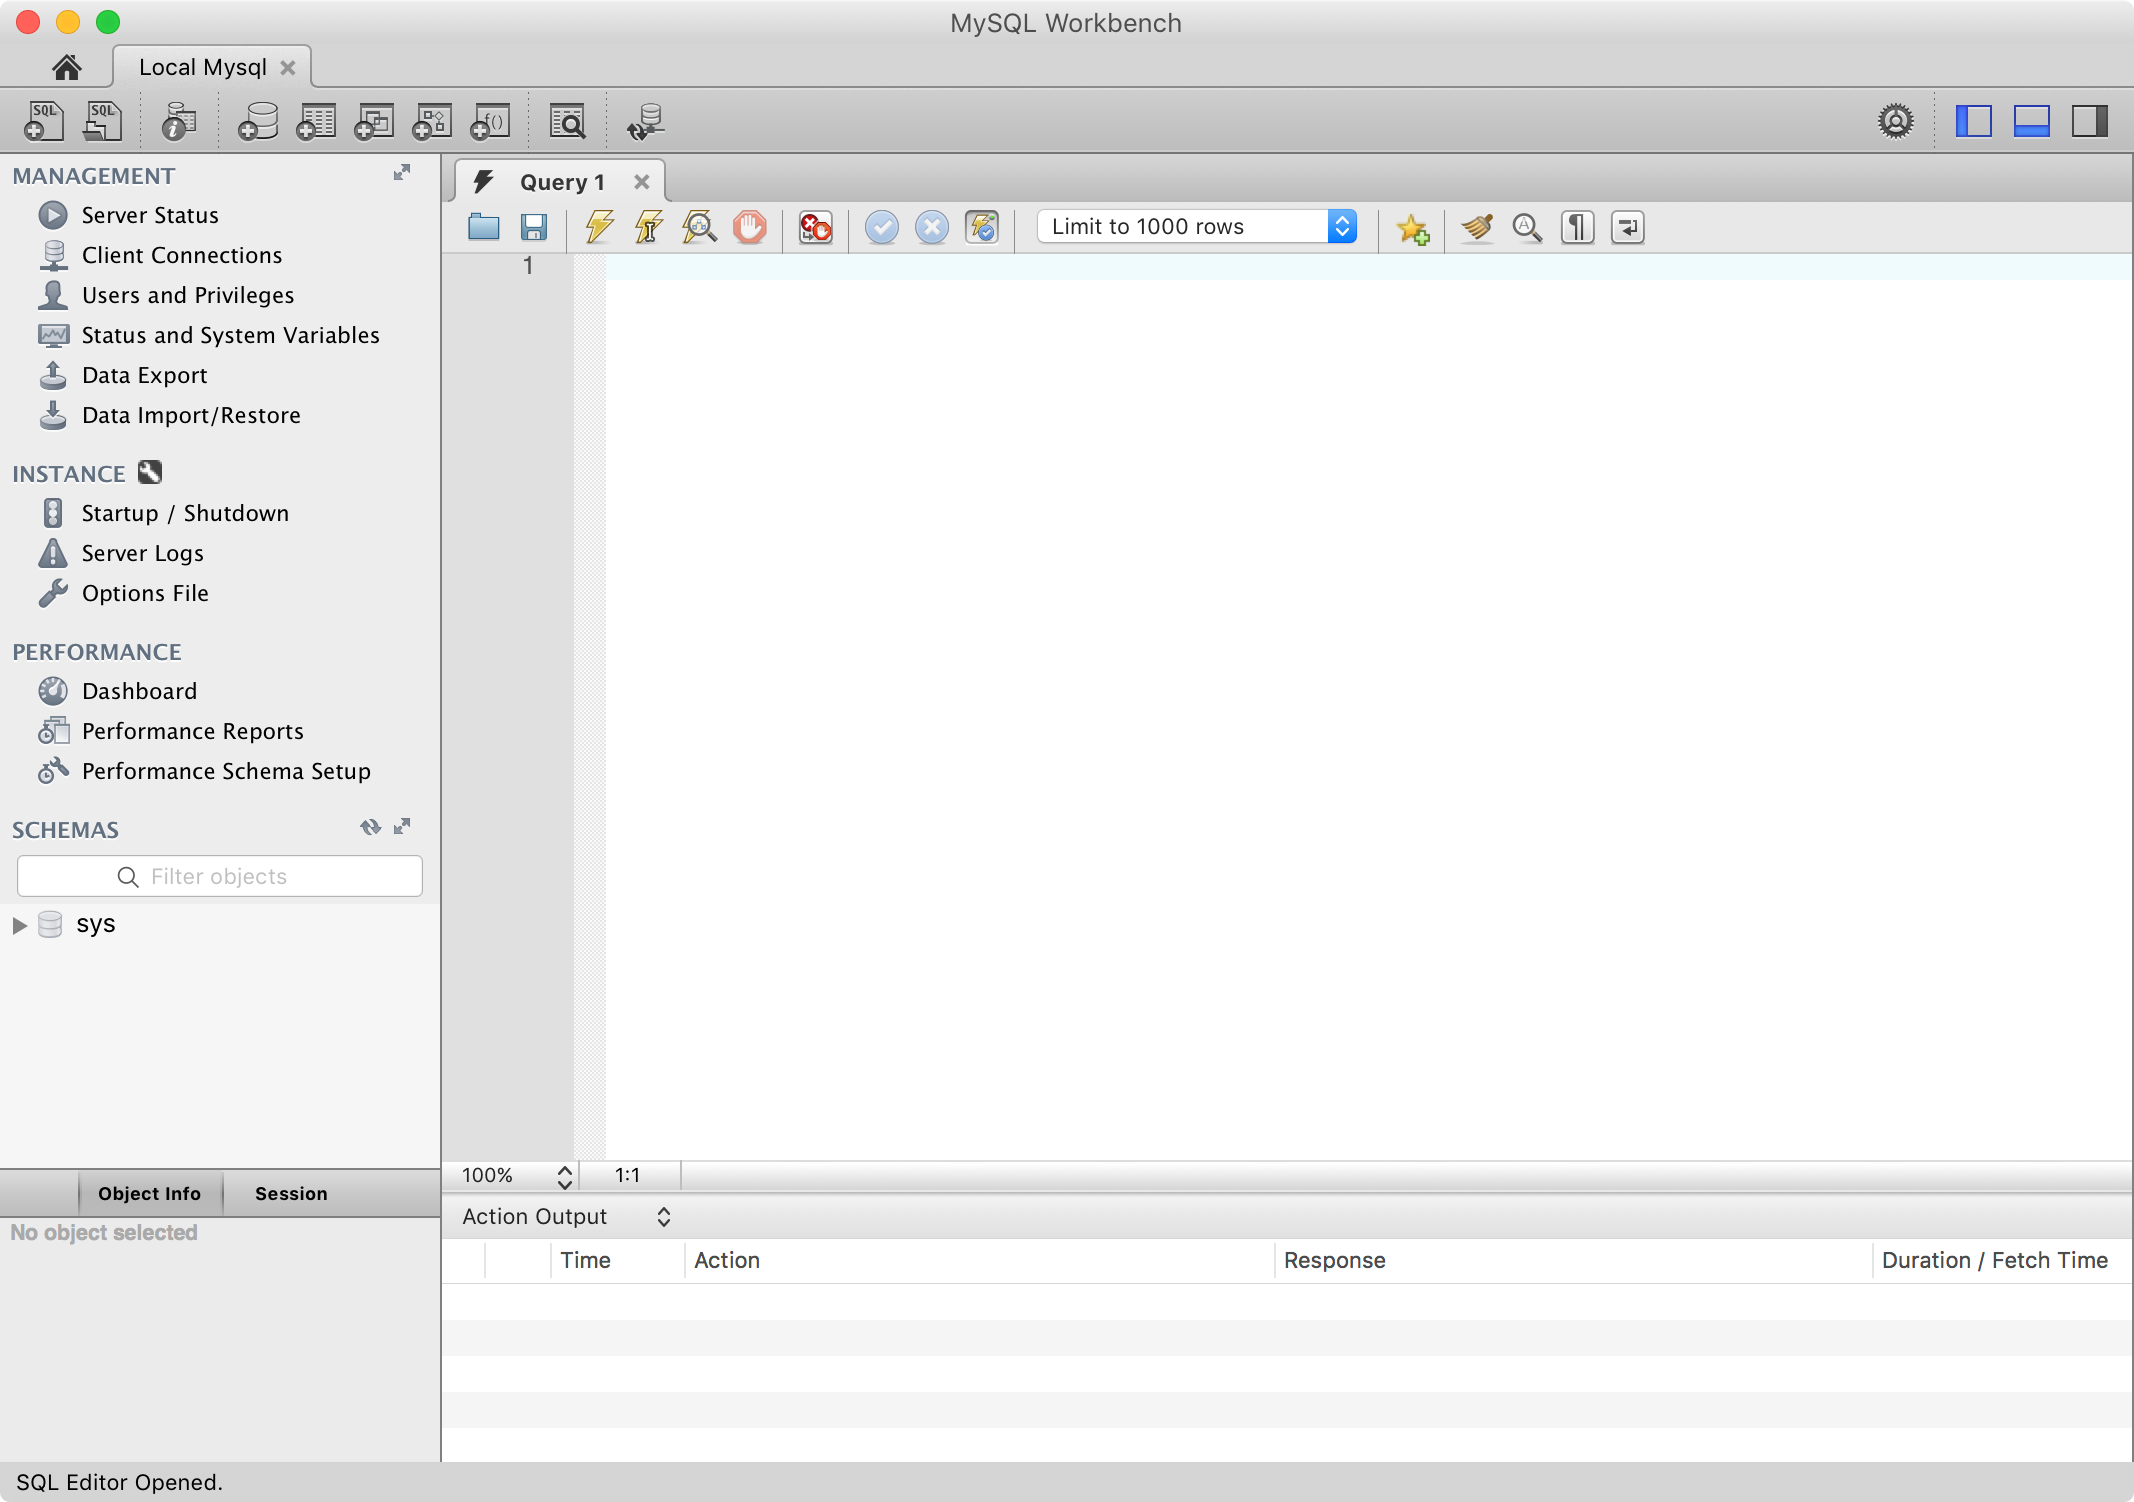
 Once the connection is successfully setup, double click on it or right-click on it -> Open connection. You will see a new window where you can manage your MySQL database.
4. Creating Database and Table
In MySQL Workbench, execute following sql script to create a new database named jsptutorial.
CREATE DATABASE IF NOT EXISTS `jsptutorial`
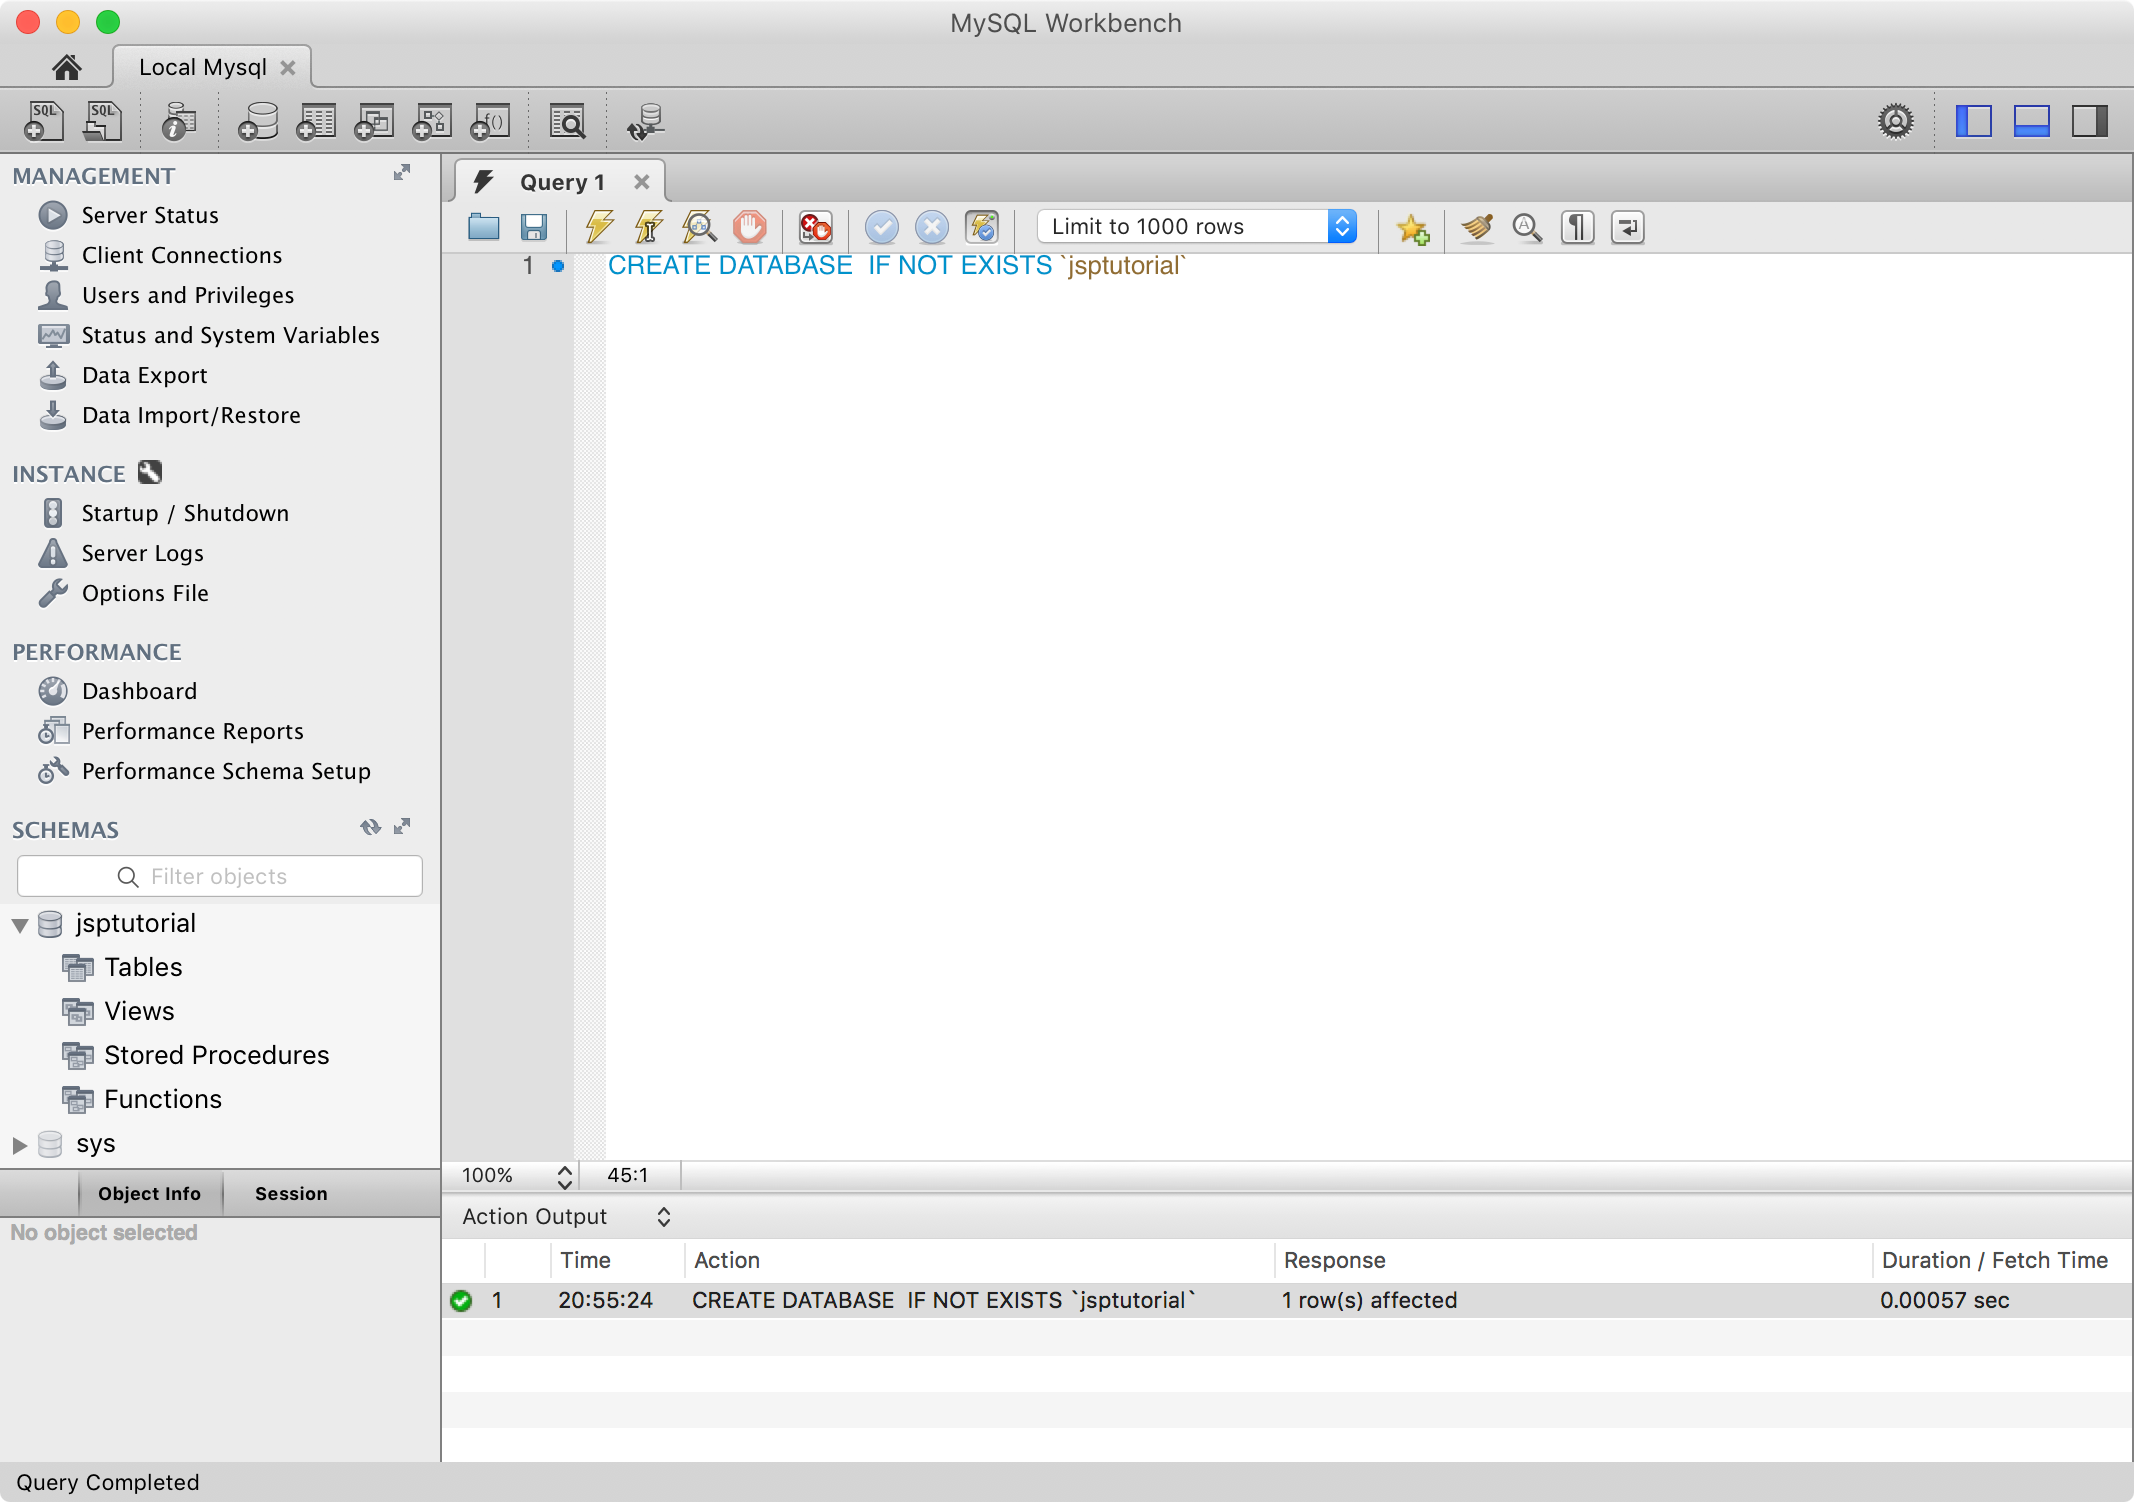
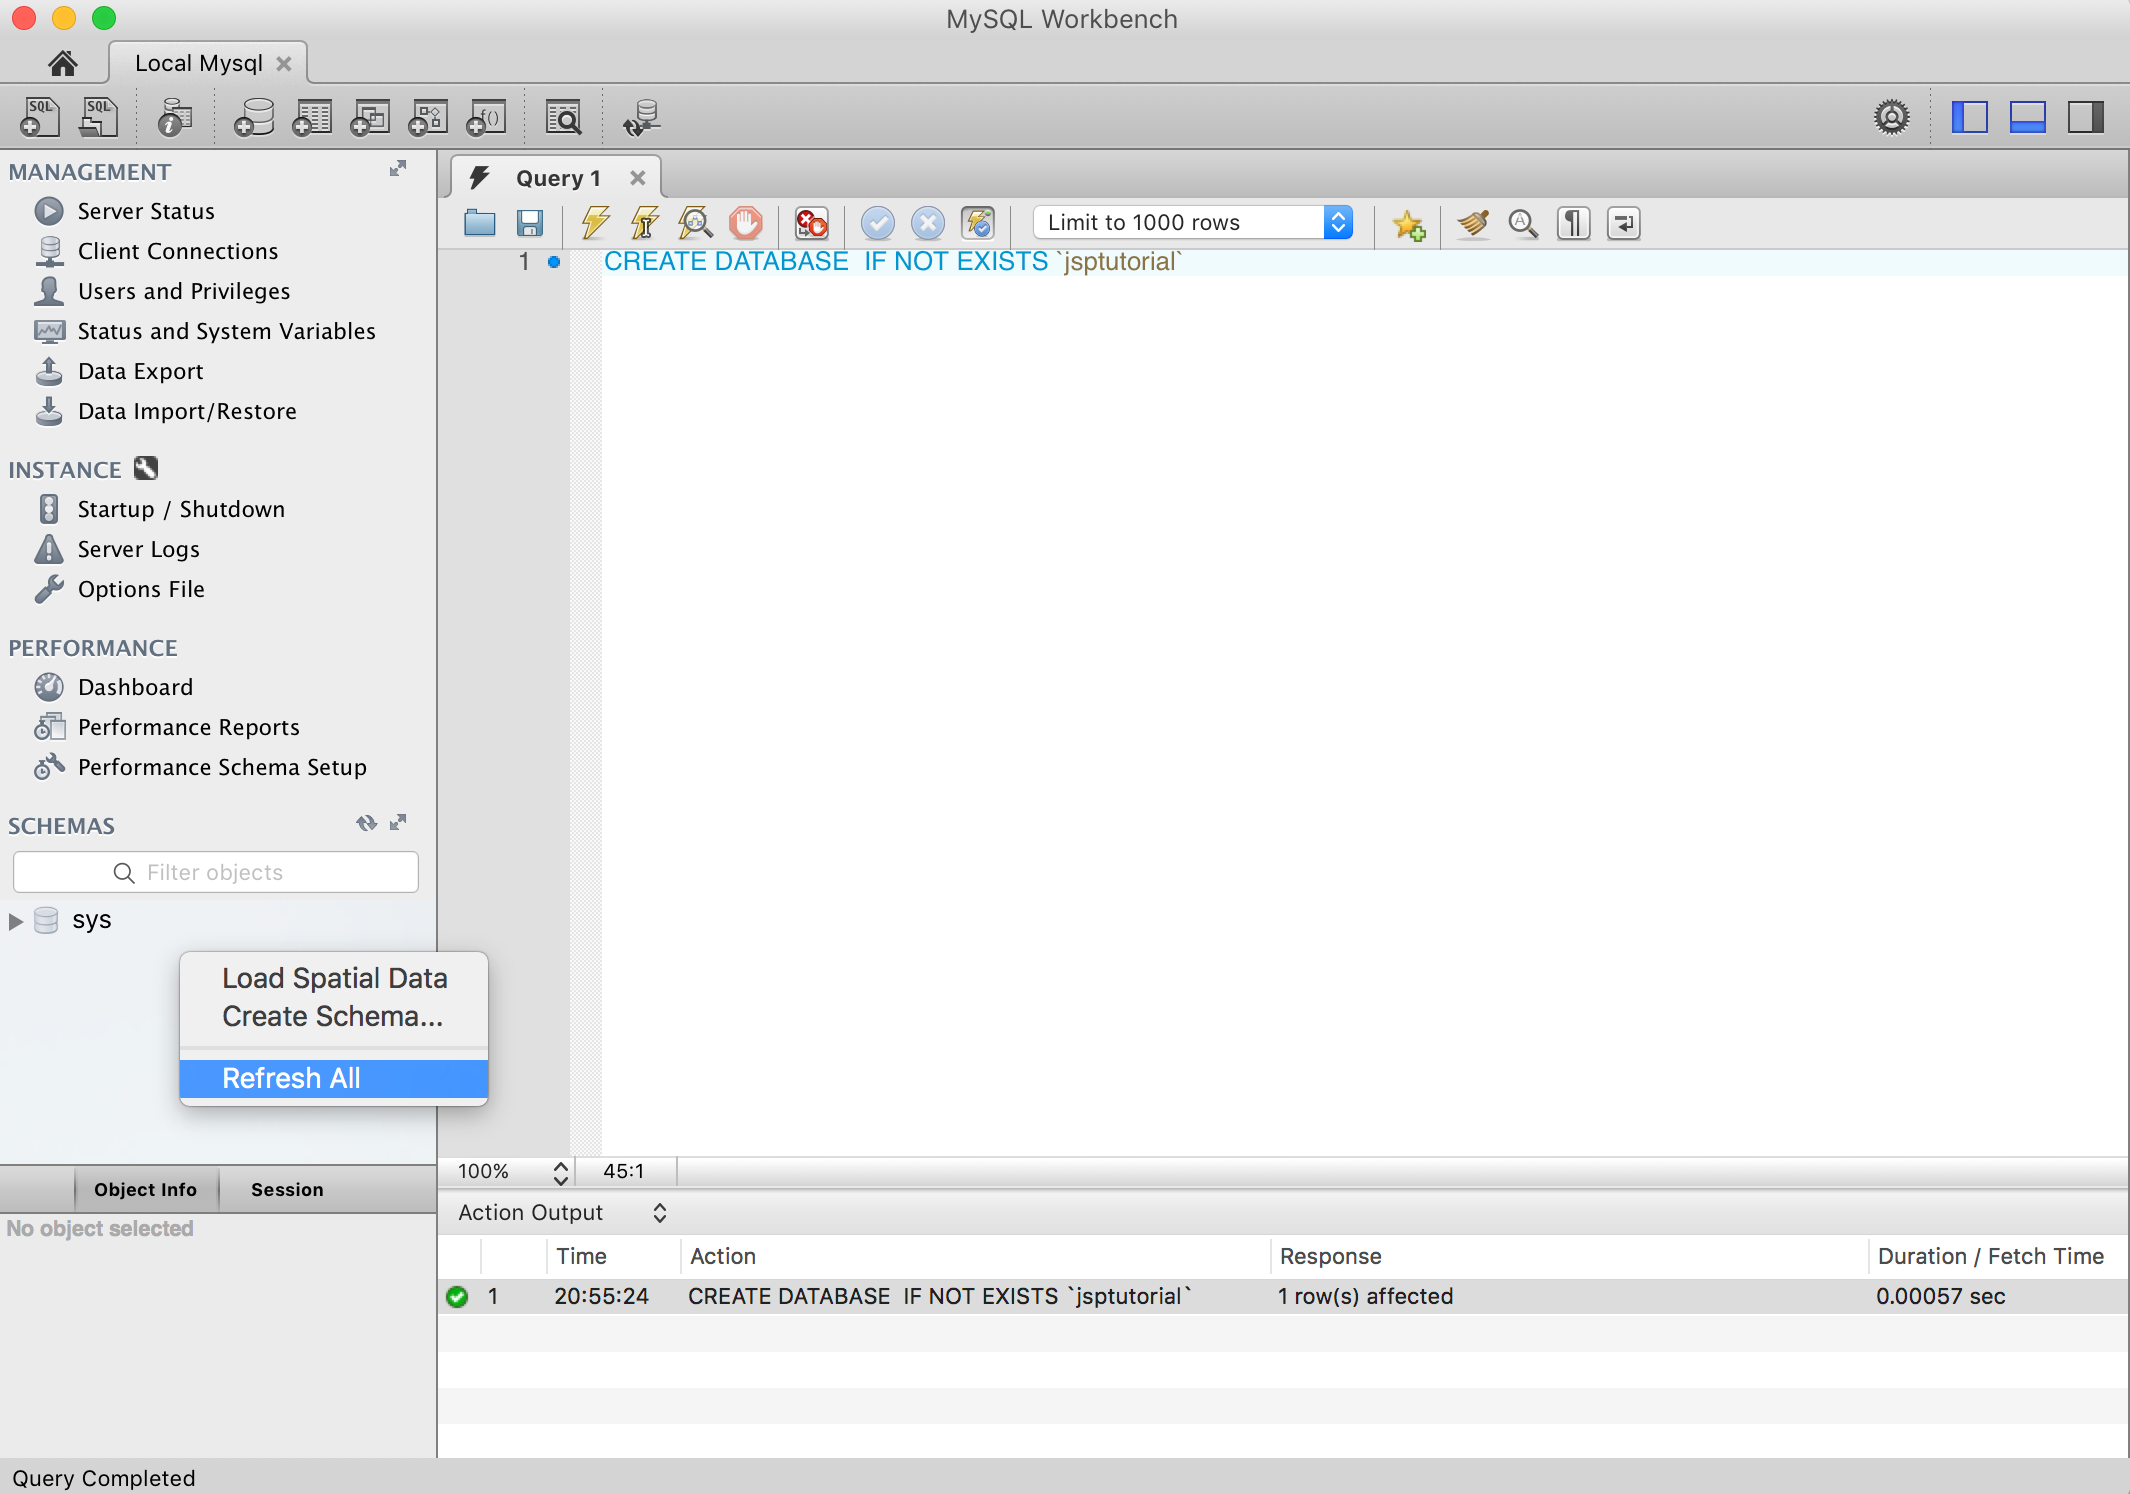 Then, right-click on SCHEMAS->Refresh All. The new database shows up.
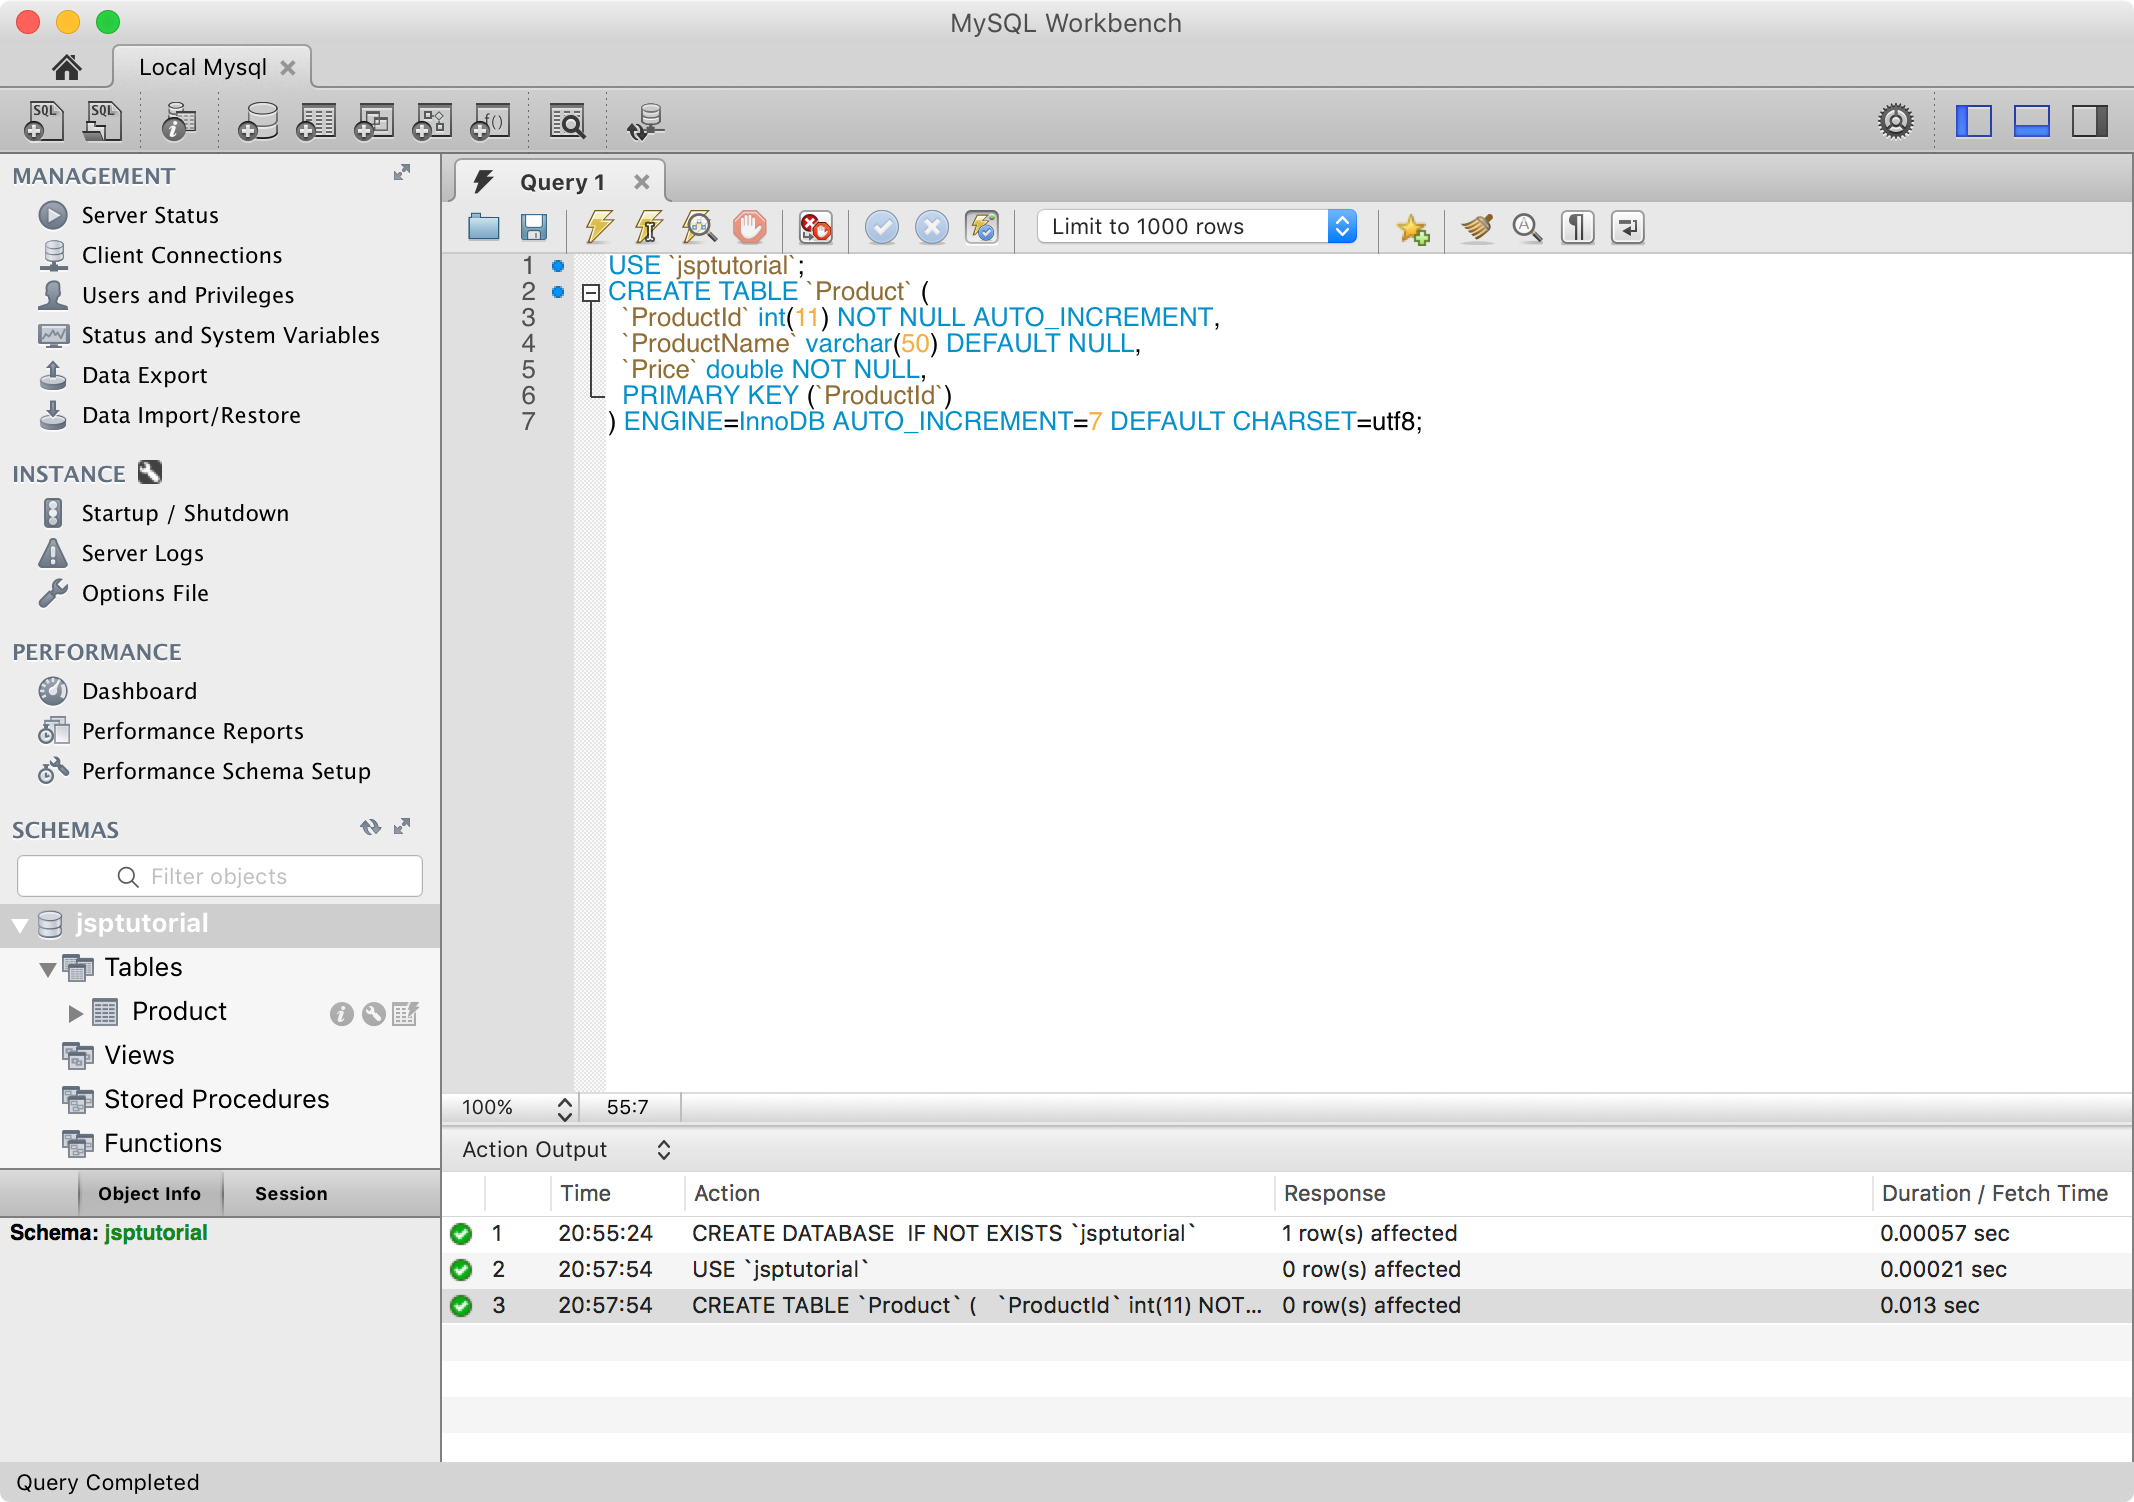
 Run the following script to create a table named
 Product, which contains three columns.
USE `jsptutorial`;
CREATE TABLE `Product` (
  `ProductId` int(11) NOT NULL AUTO_INCREMENT,
  `ProductName` varchar(50) DEFAULT NULL,
  `Price` double NOT NULL,
  PRIMARY KEY (`ProductId`)
) ENGINE=InnoDB AUTO_INCREMENT=7 DEFAULT CHARSET=utf8;
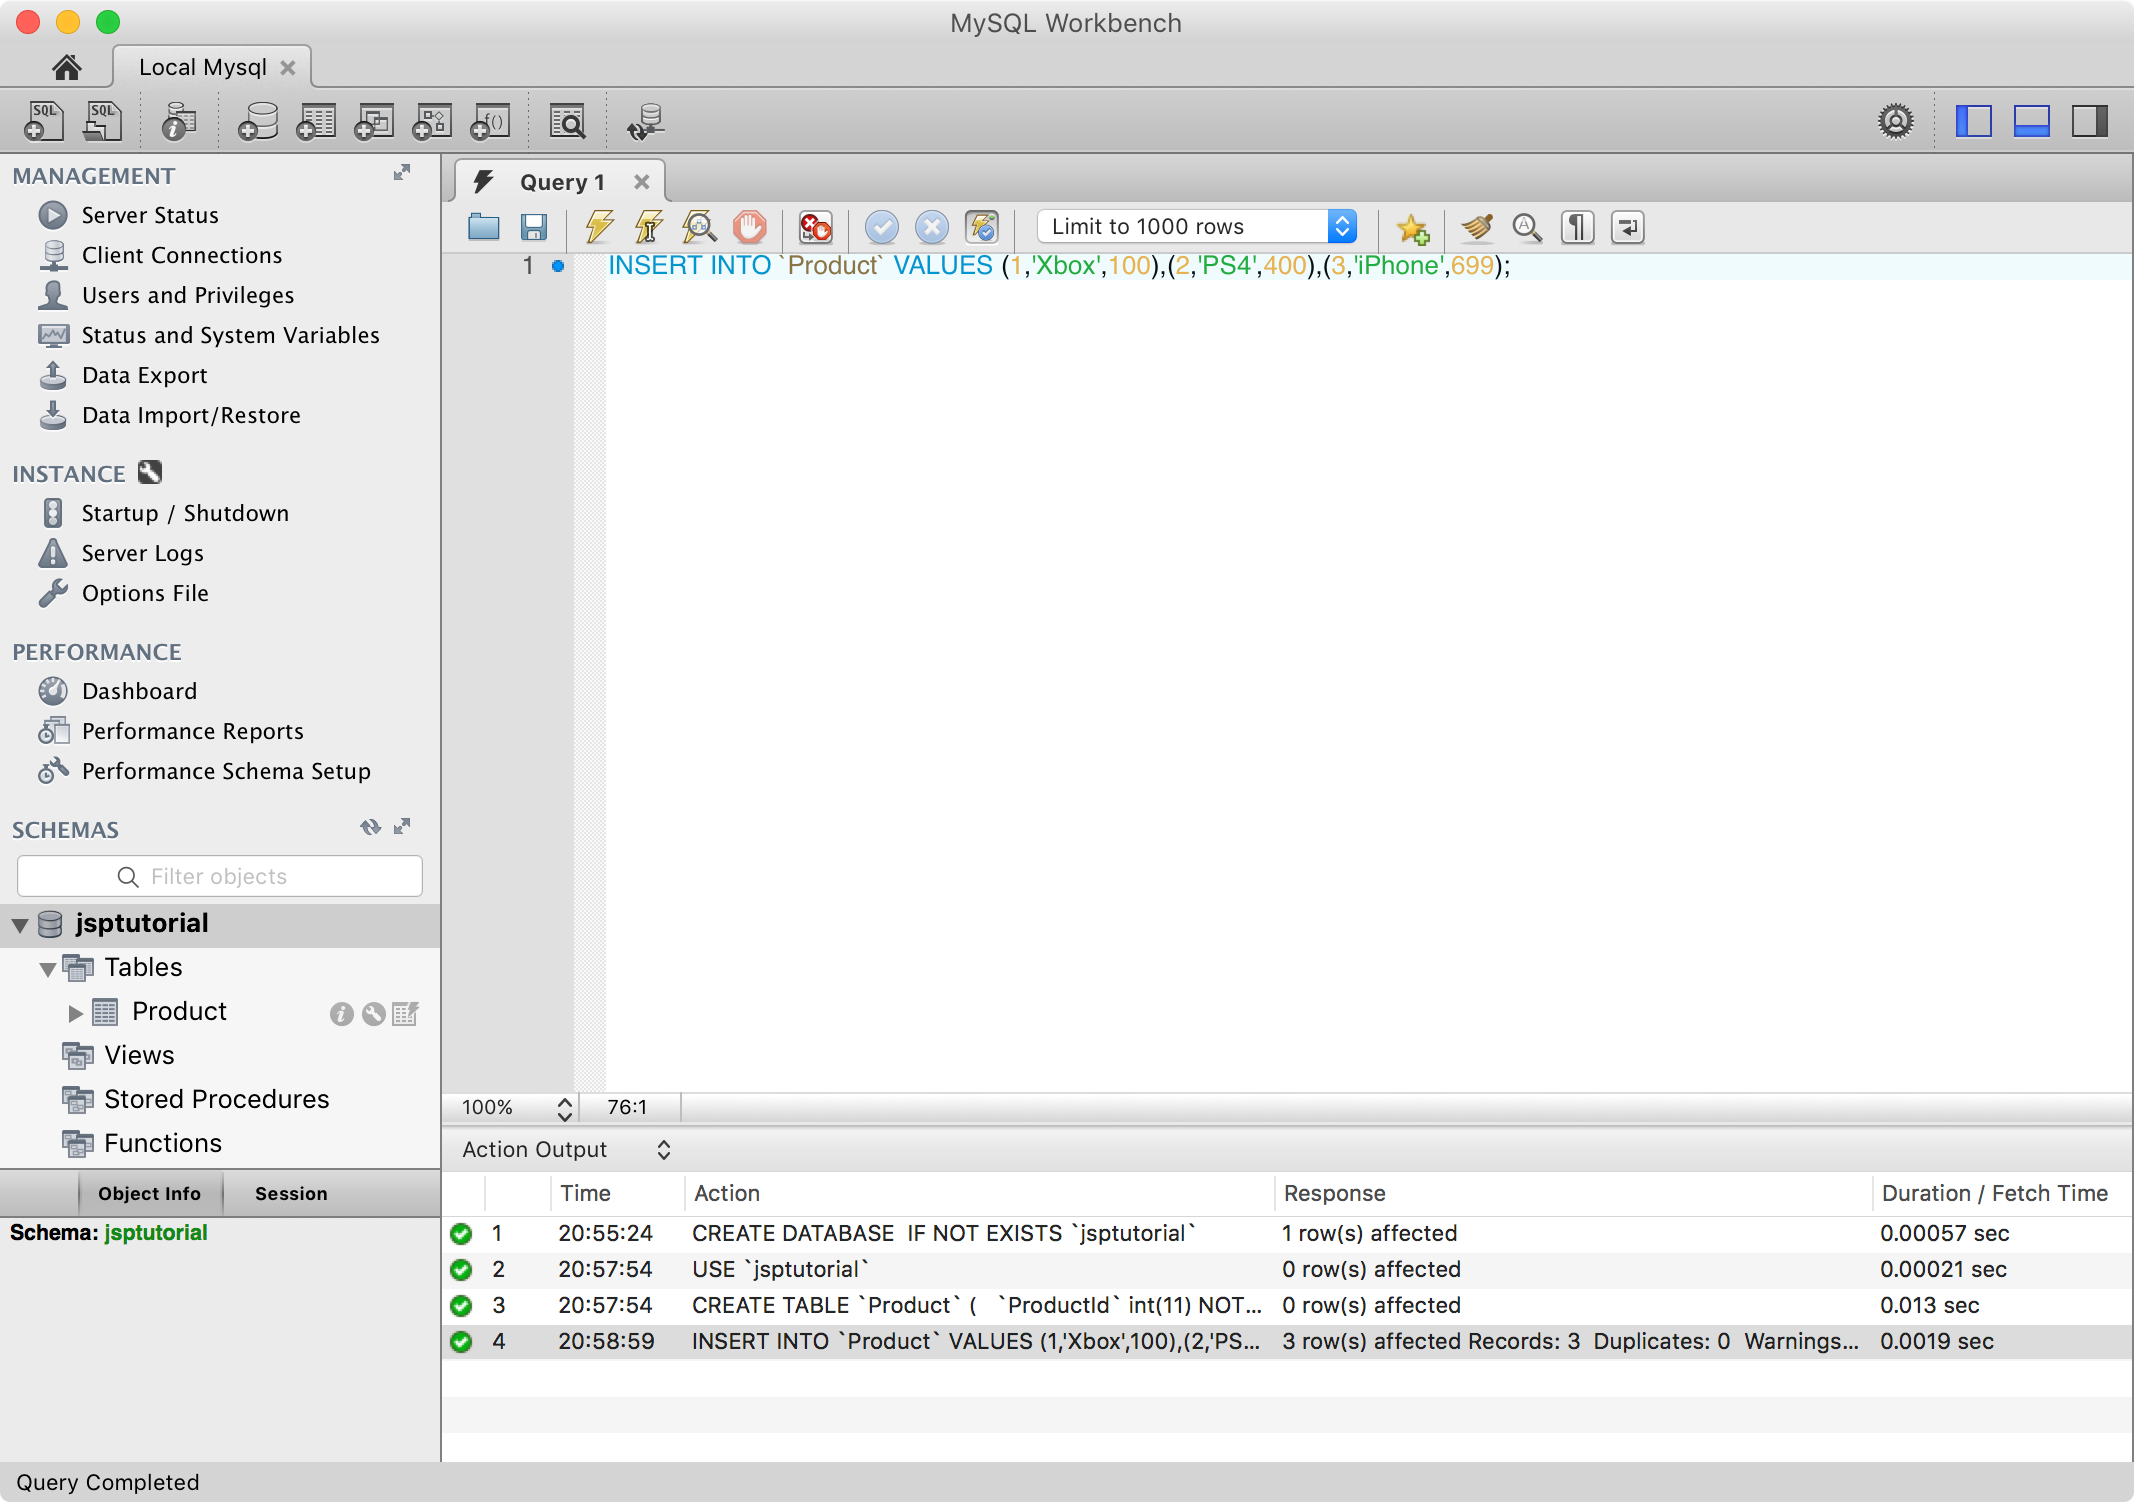
 Run the following sql script to create initial data.
INSERT INTO `Product` VALUES (1,'Xbox',100),(2,'PS4',400),(3,'iPhone',699);
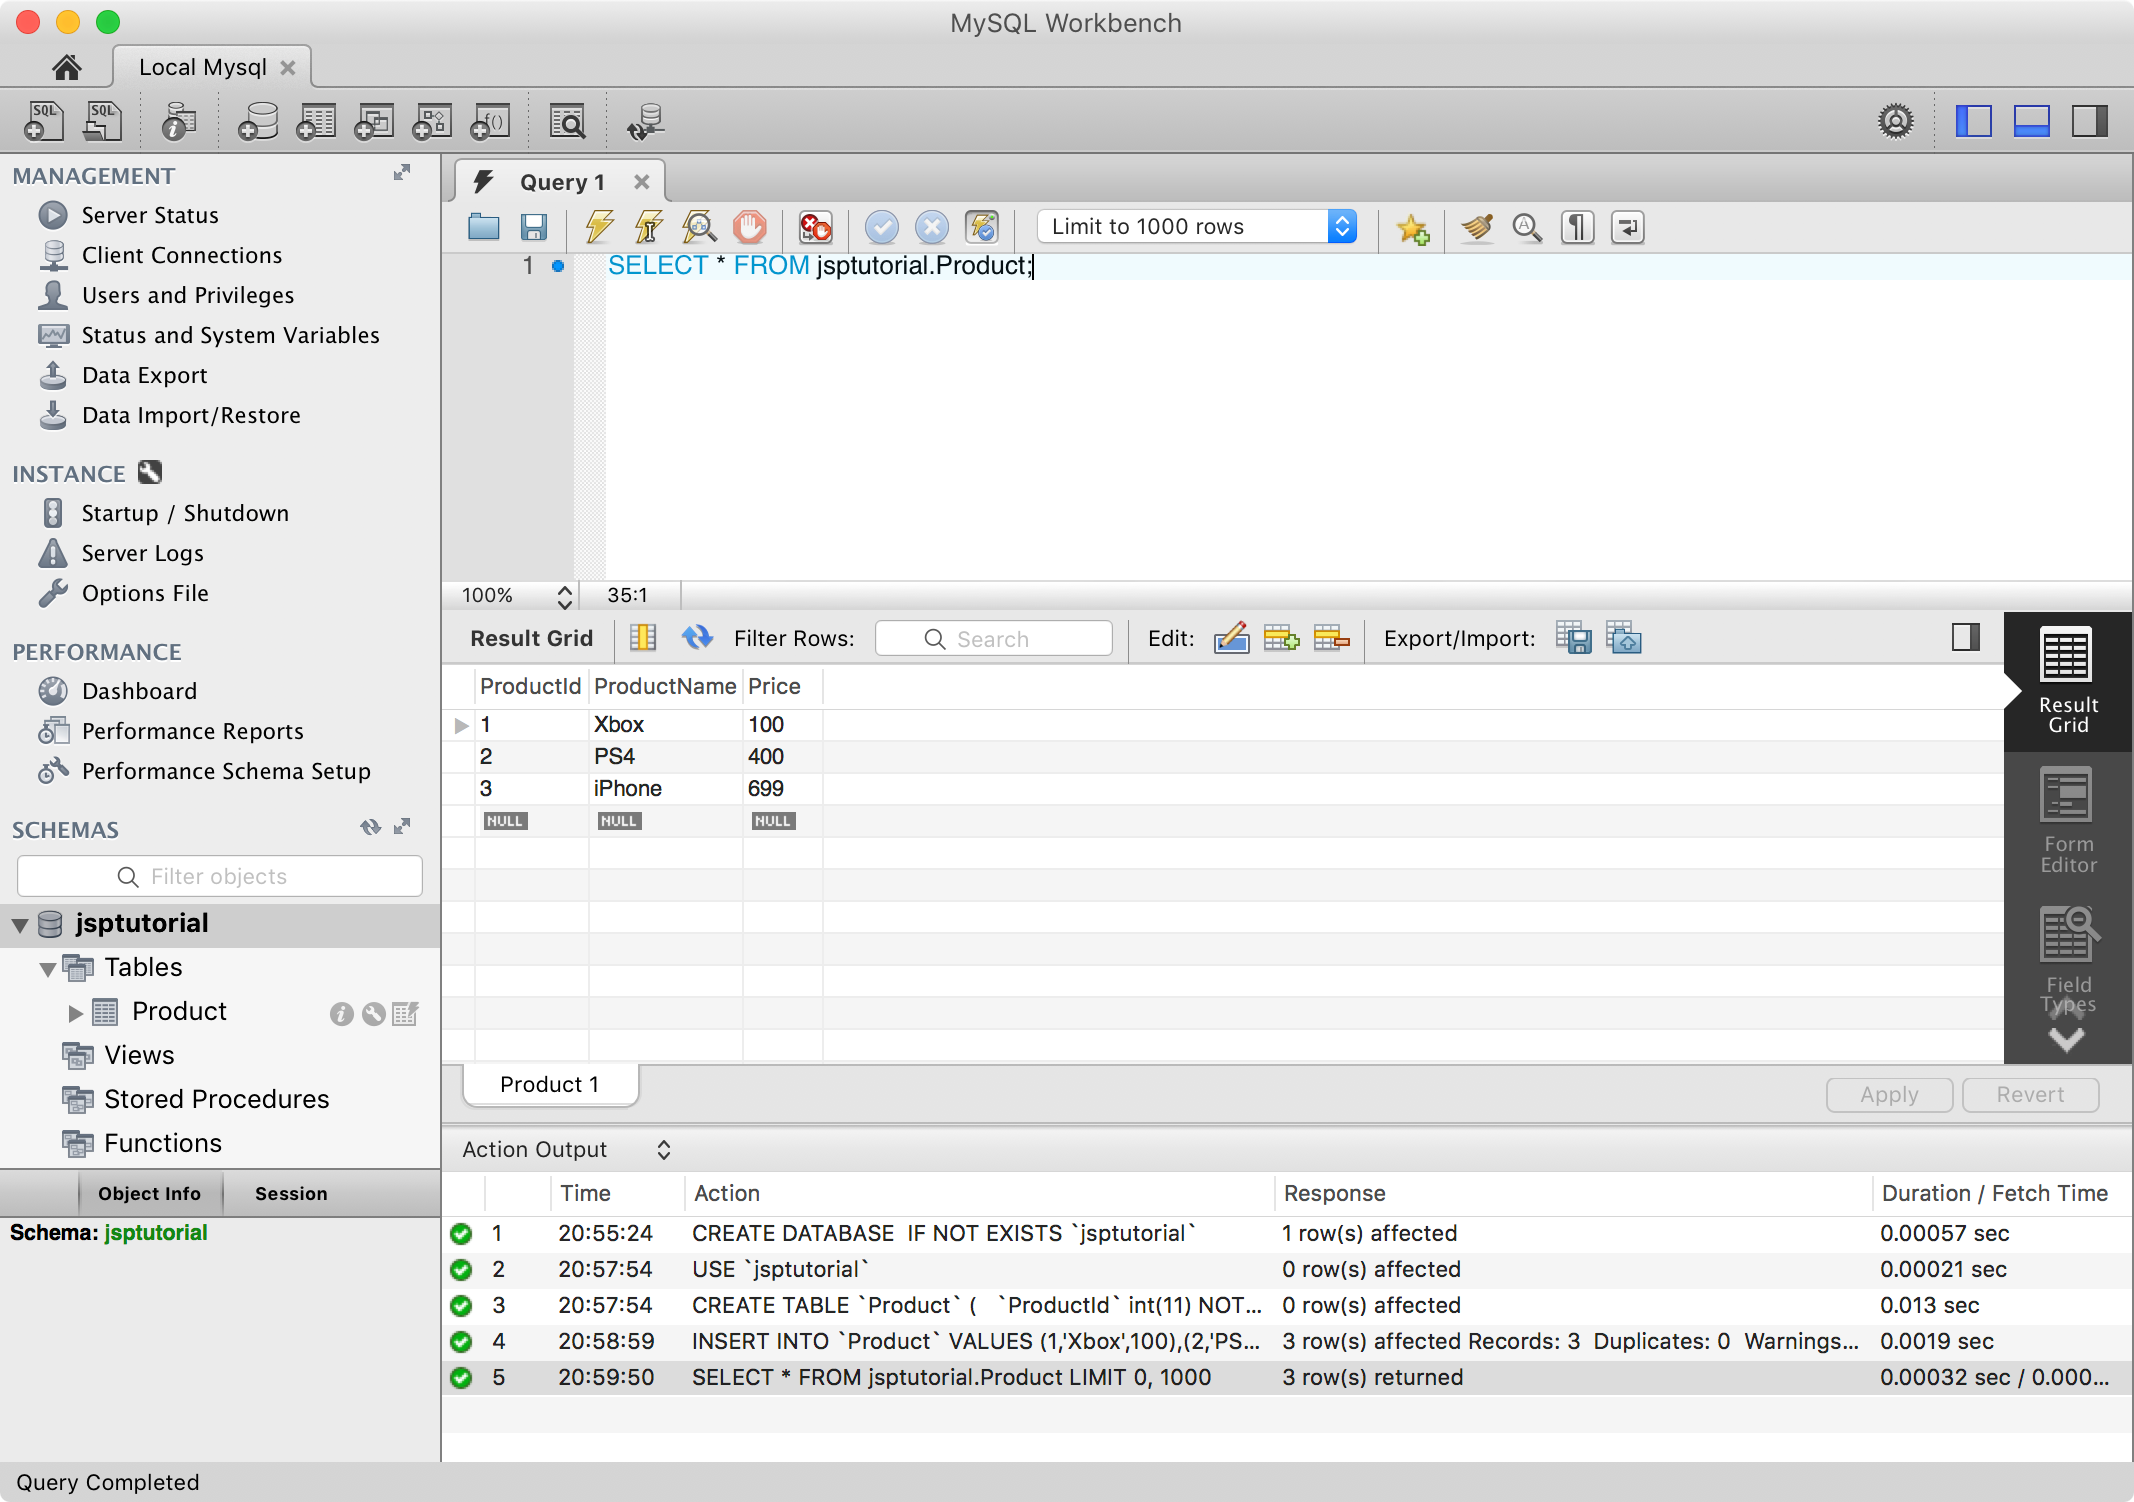
 Run the following script to show all data in table
 Product.
SELECT * FROM jsptutorial.Product;