2011. Installing VirtualBox and Creating Ubuntu VMVirtualBox and Ubuntu
Install VirtualBox and create Ubuntu virtual machine.
We will use the following free softwares/tools.
- VirtualBox - Oracle VirtualBox is a cross-platform virtualization application. We will use it to host our Ubuntu system.
- Ubuntu - Ubuntu is an open source operating system software for computers. It is one of the distribution systems of Linux, and is based on the Debian architecture. The rest of the softwares will be installed on it.
1. Installing VirtualBox on Mac or Windows
1.1 Downloading VirtualBox
Download the latest version of VirtualBox from https://www.virtualbox.org/wiki/Downloads.
1.2 Installing VirtualBox
Run the installer and follow the wizard to install it.
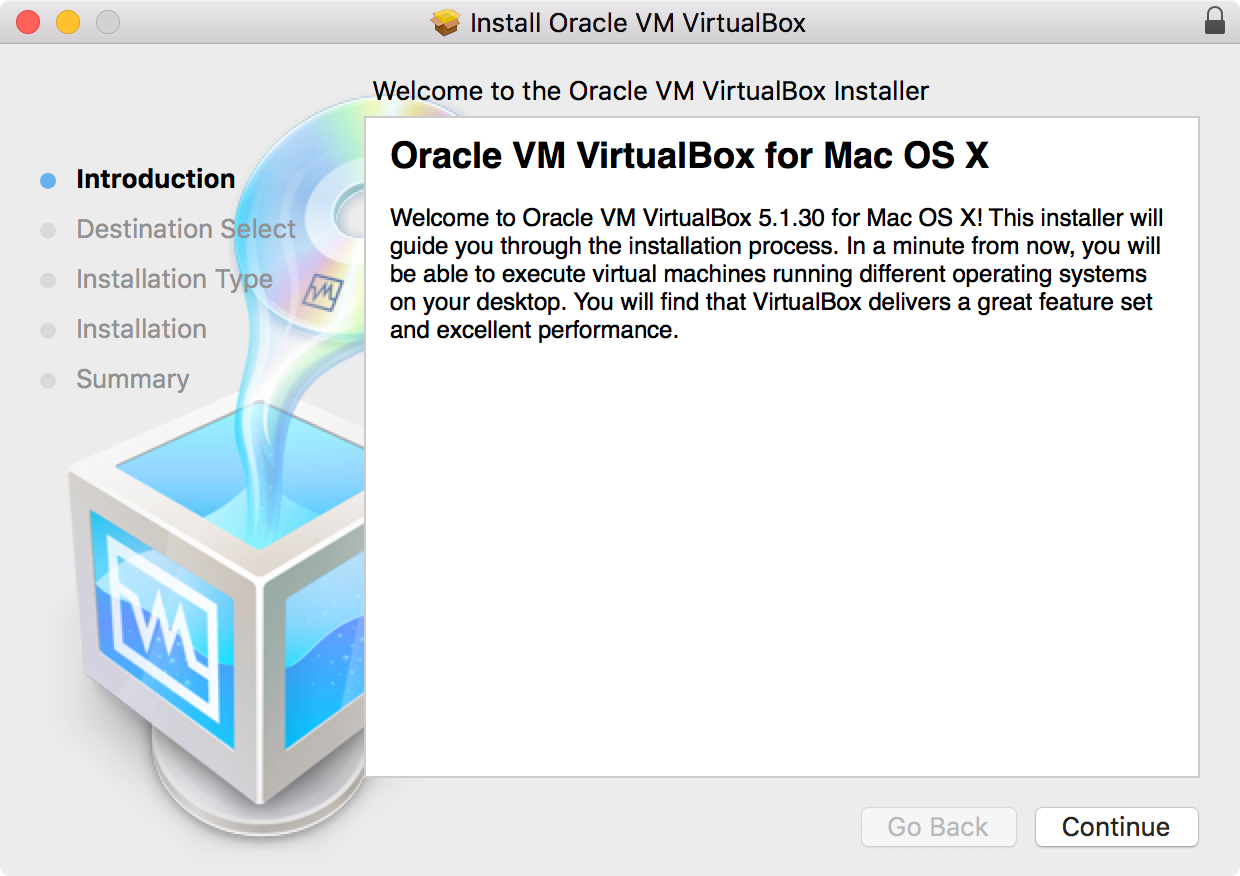
1.3 Launching VirtualBox
After the installation is finished, launch VirtualBox. There is no Virtual Machine installed yet.

2. Installing Ubuntu
2.1 Downloading Ubuntu Desktop
Download the latest version of Ubuntu from https://www.ubuntu.com/download/desktop. It should be an ISO file with about 1.5 GB in size.
2.2 Creating Virtual Machine in VirtualBox
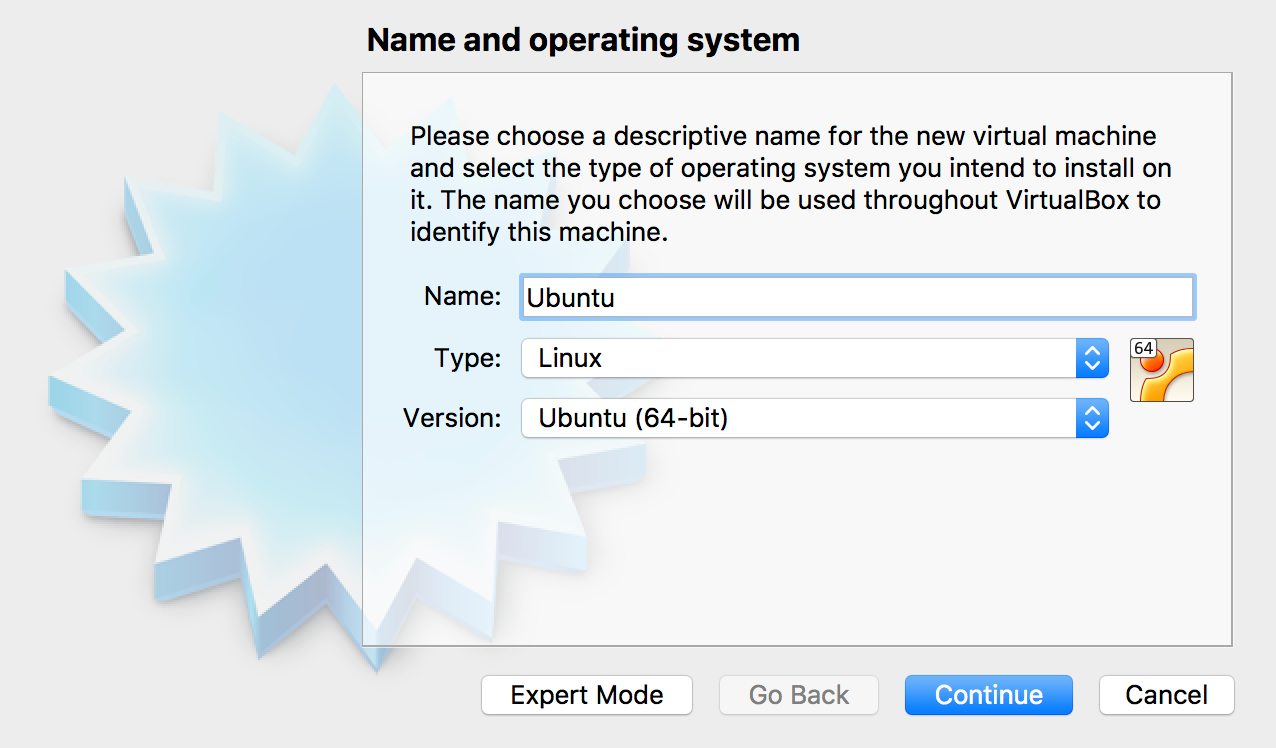
1) In VirtualBox, Machine -> New, provide name, for example, Ubuntu. The type would be set to Linux automatically, next.
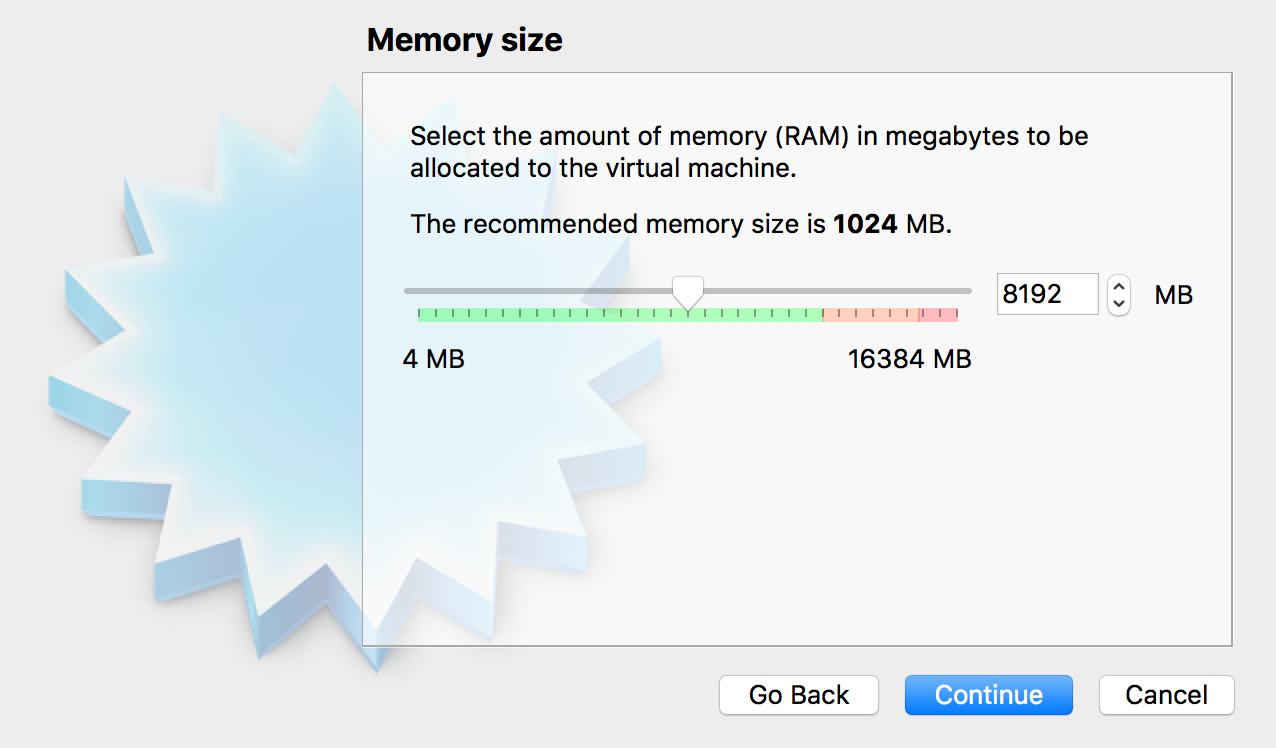
2) Set Memory Size = 8192 MB(8GB), next.
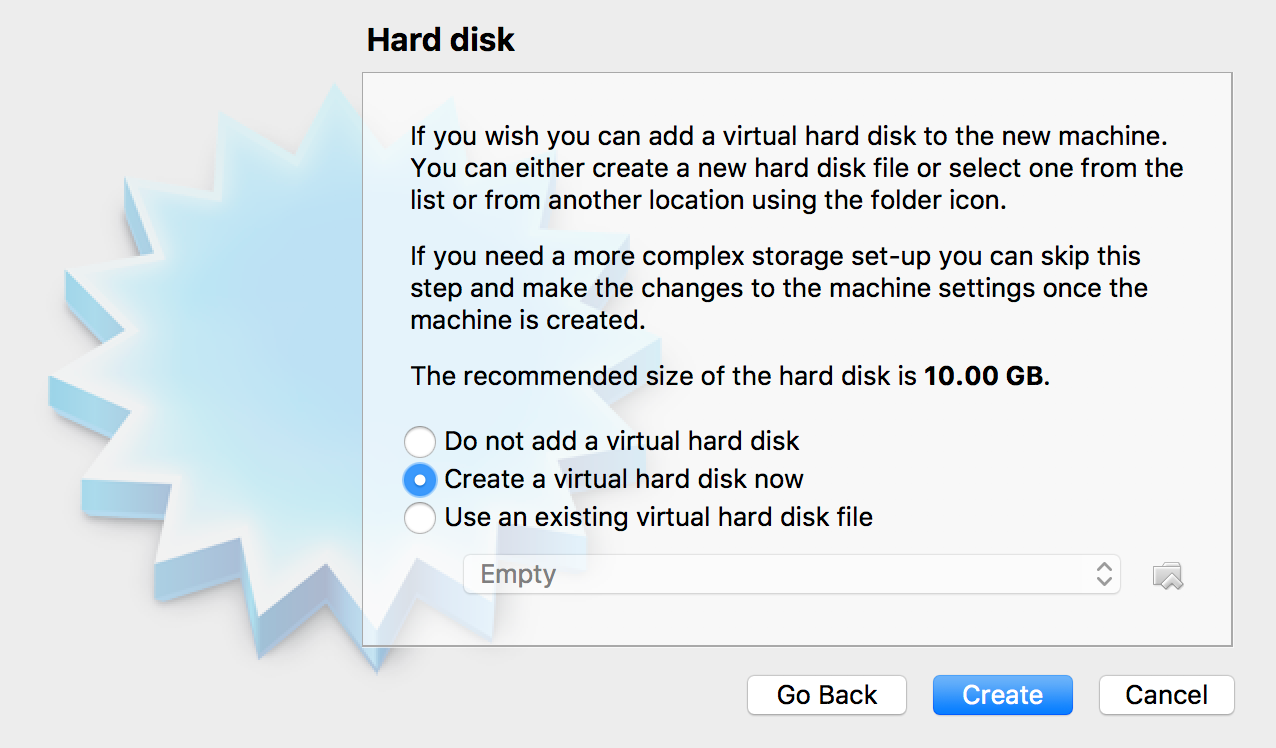
3) Select ‘Create a virtual hard disk now’, click Create button.
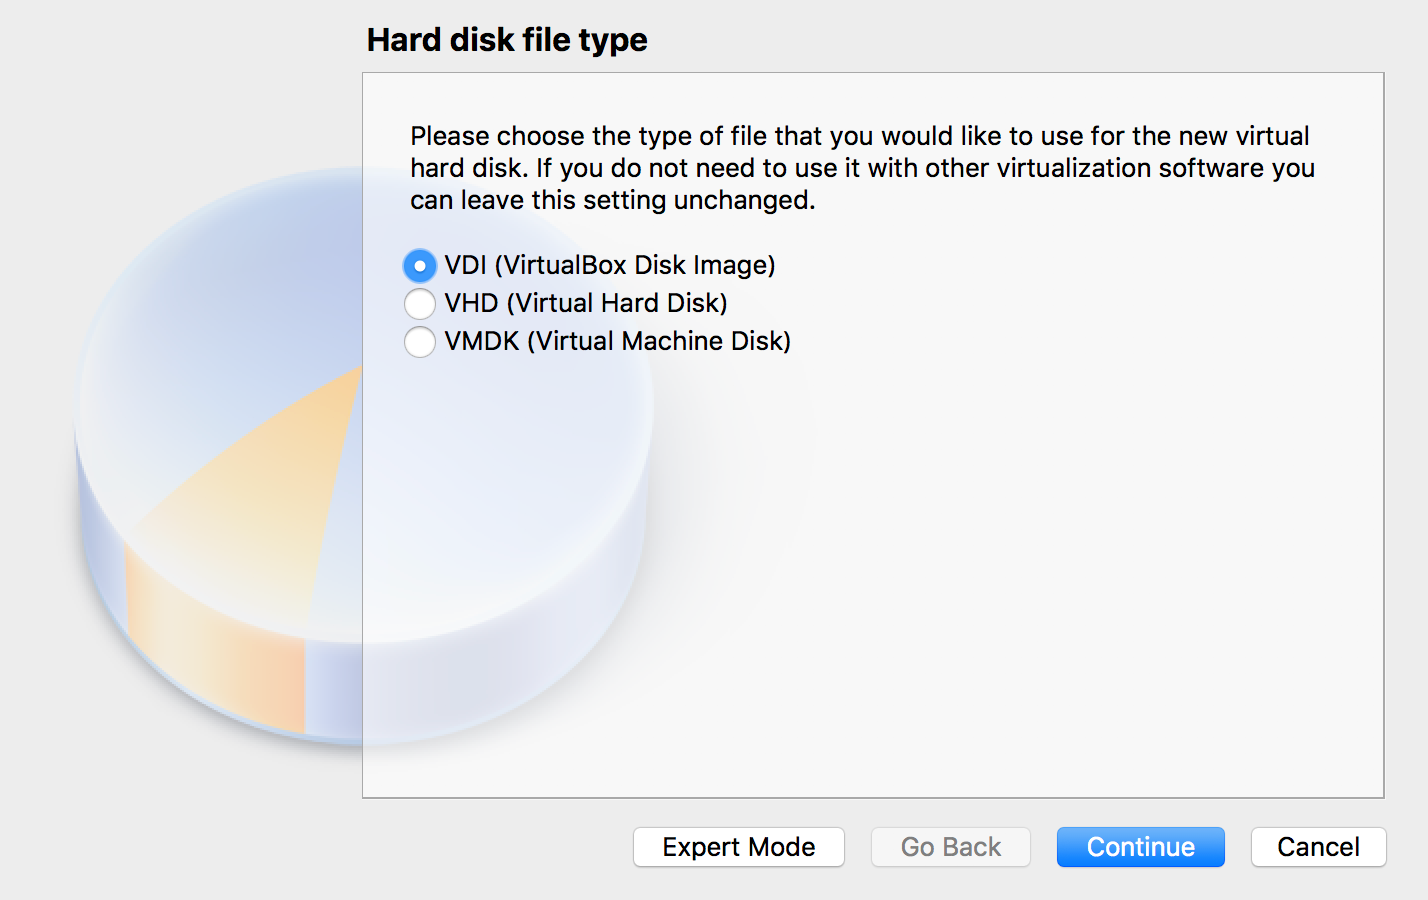
4) Set ‘Hard disk file type’: VDI, Continue.
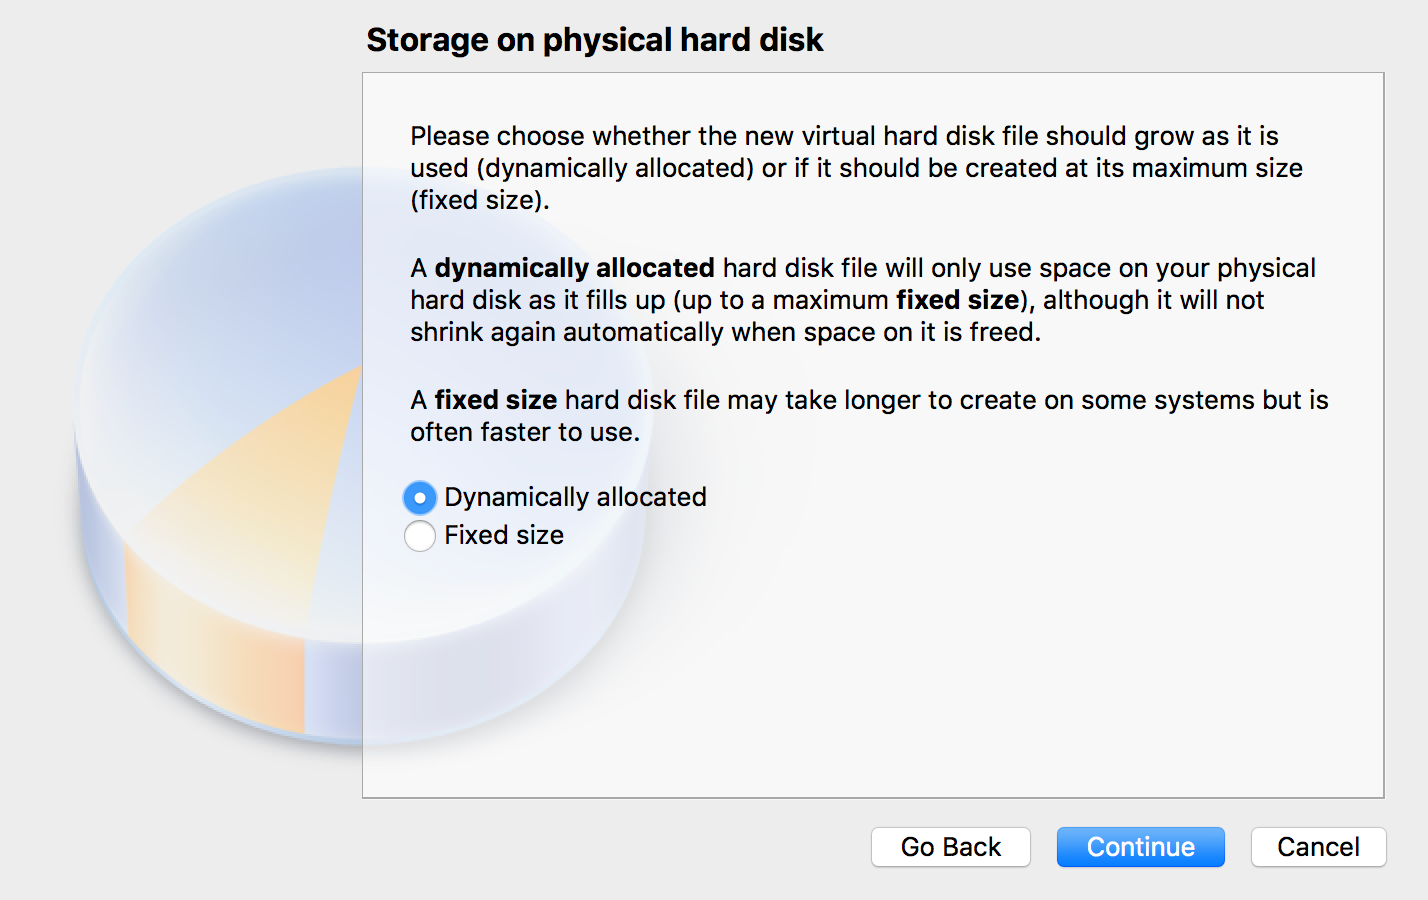
5) set ‘Storage on physical hard disk’: Dynamically allocated, Continue.
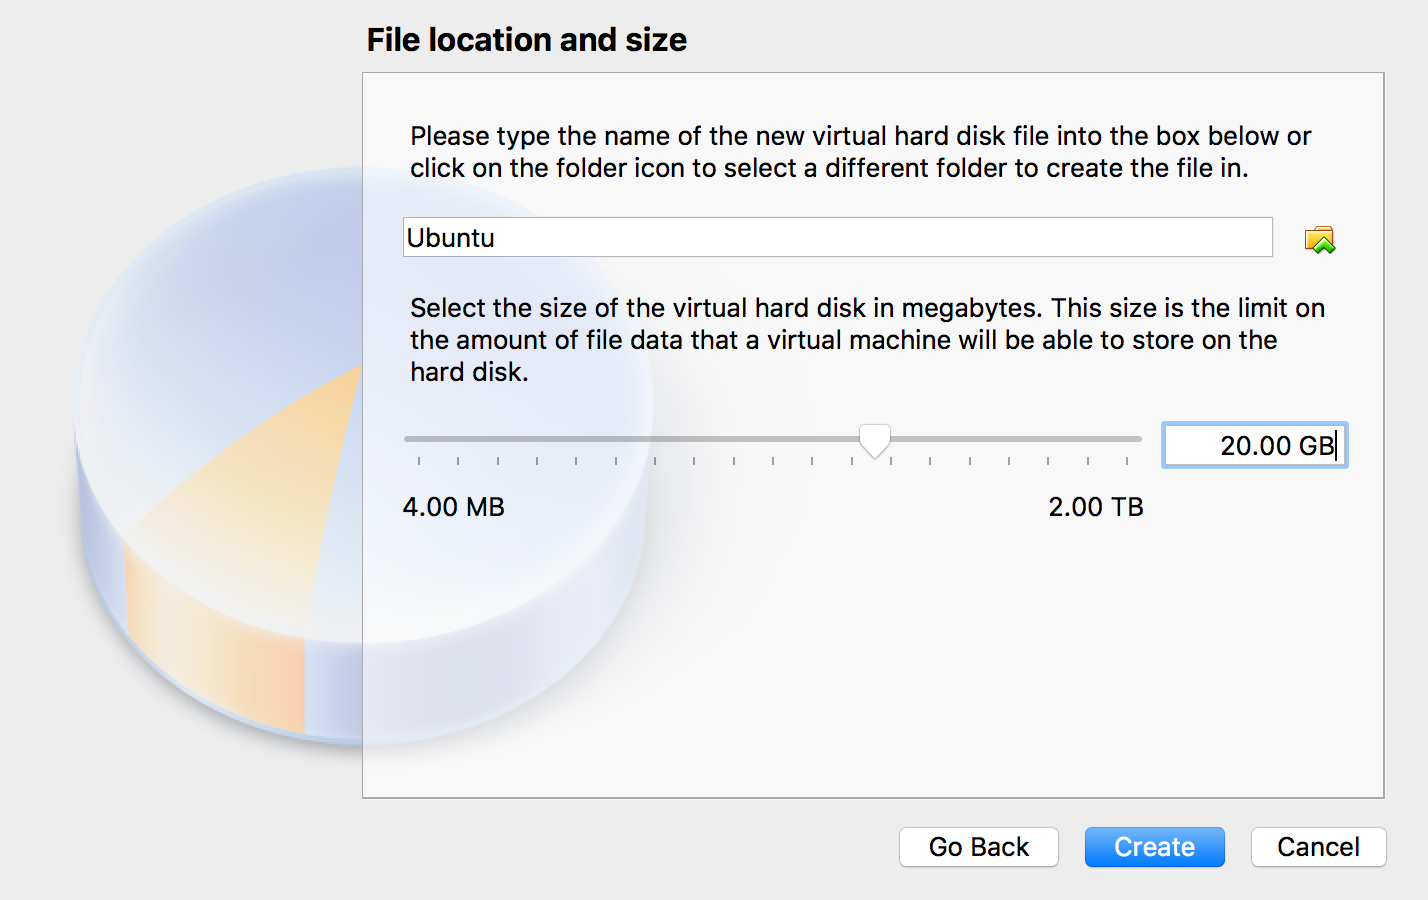
6) Set ‘File location and size’, change hard disk size to 20.00 GB. By default, it is 10 GB, which is properly not enough.
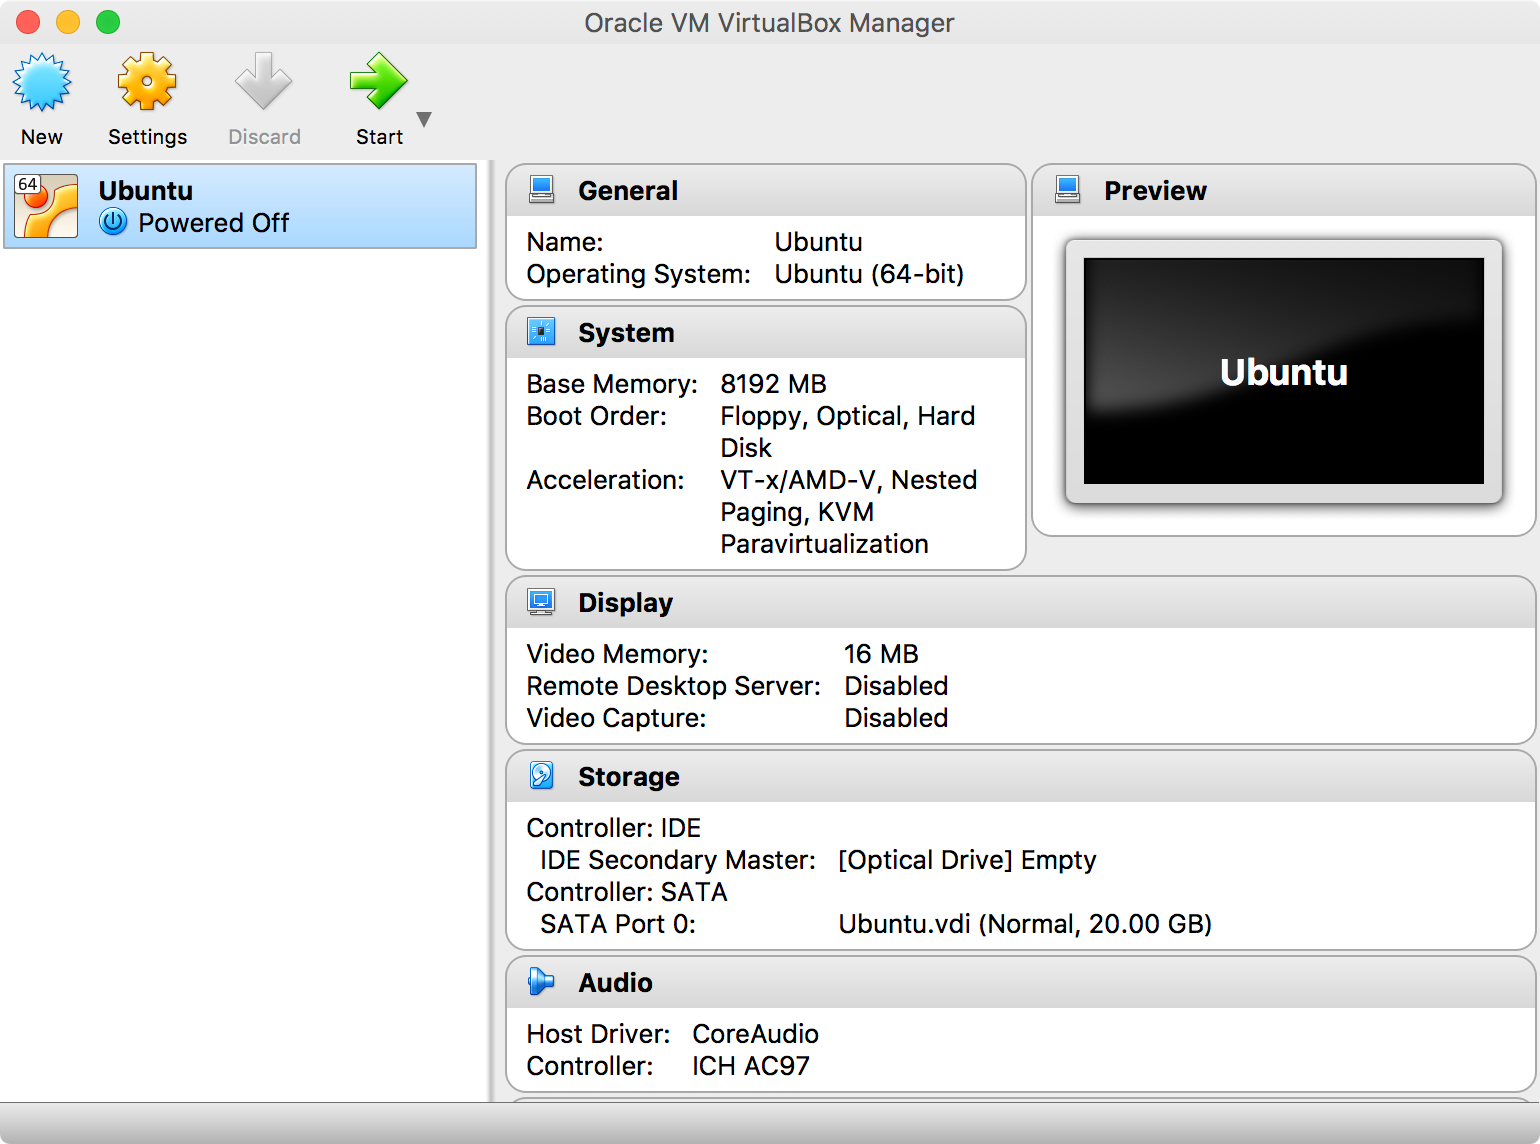
7) VM Created
2.3 Installing Ubuntu in VM
The new virtual machine is created, now start to install Ubuntu OS for it.
1) In VirtualBox, select the VM named Ubuntu we just created, click Start button.
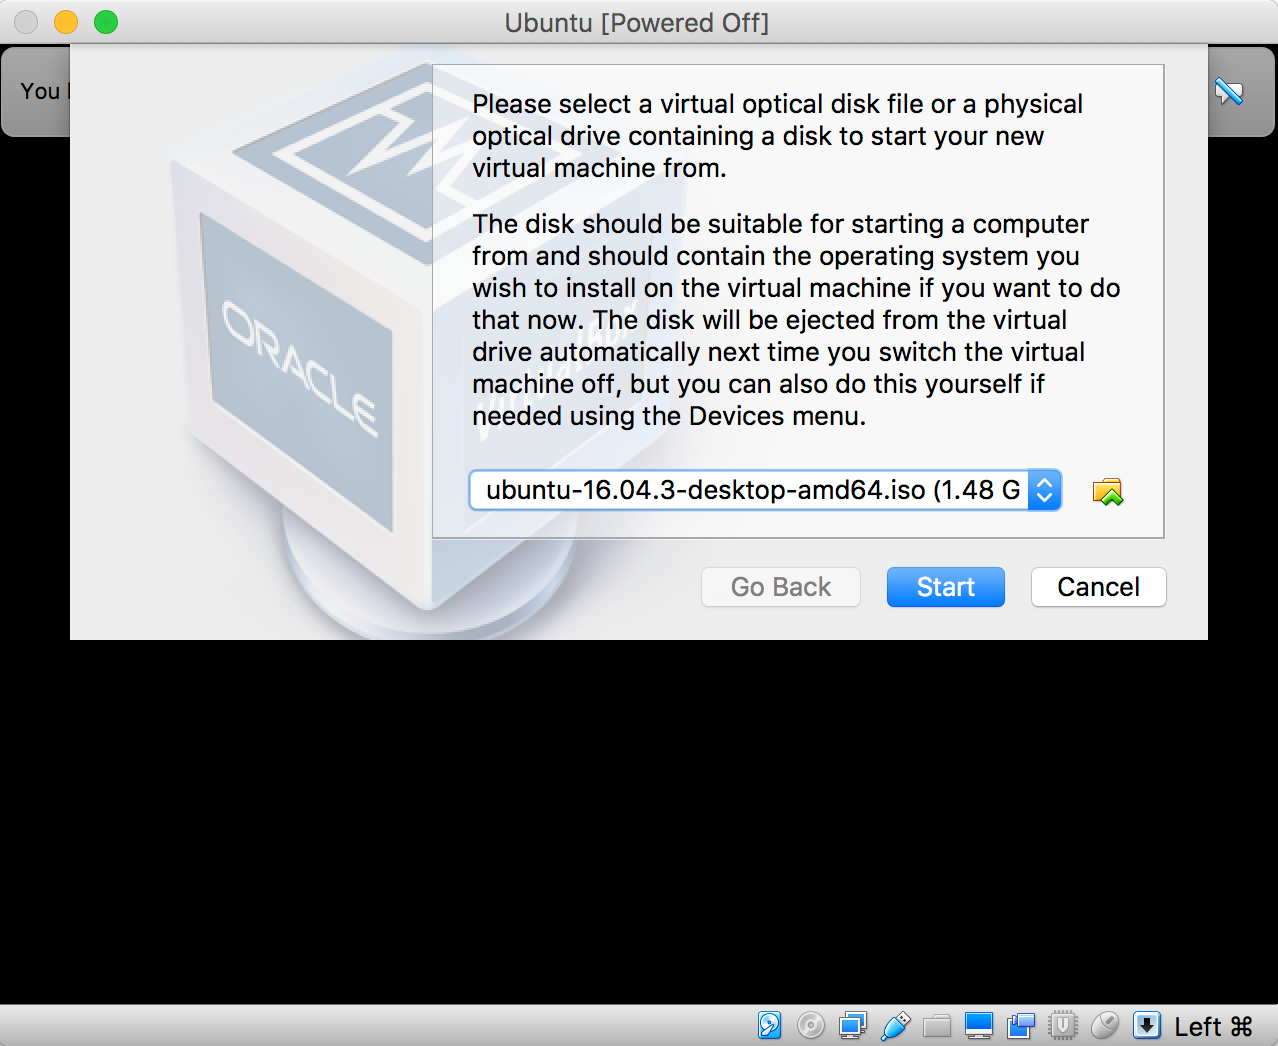
2) Specify the location of that Ubuntu ISO file we just downloaded, click Start button.
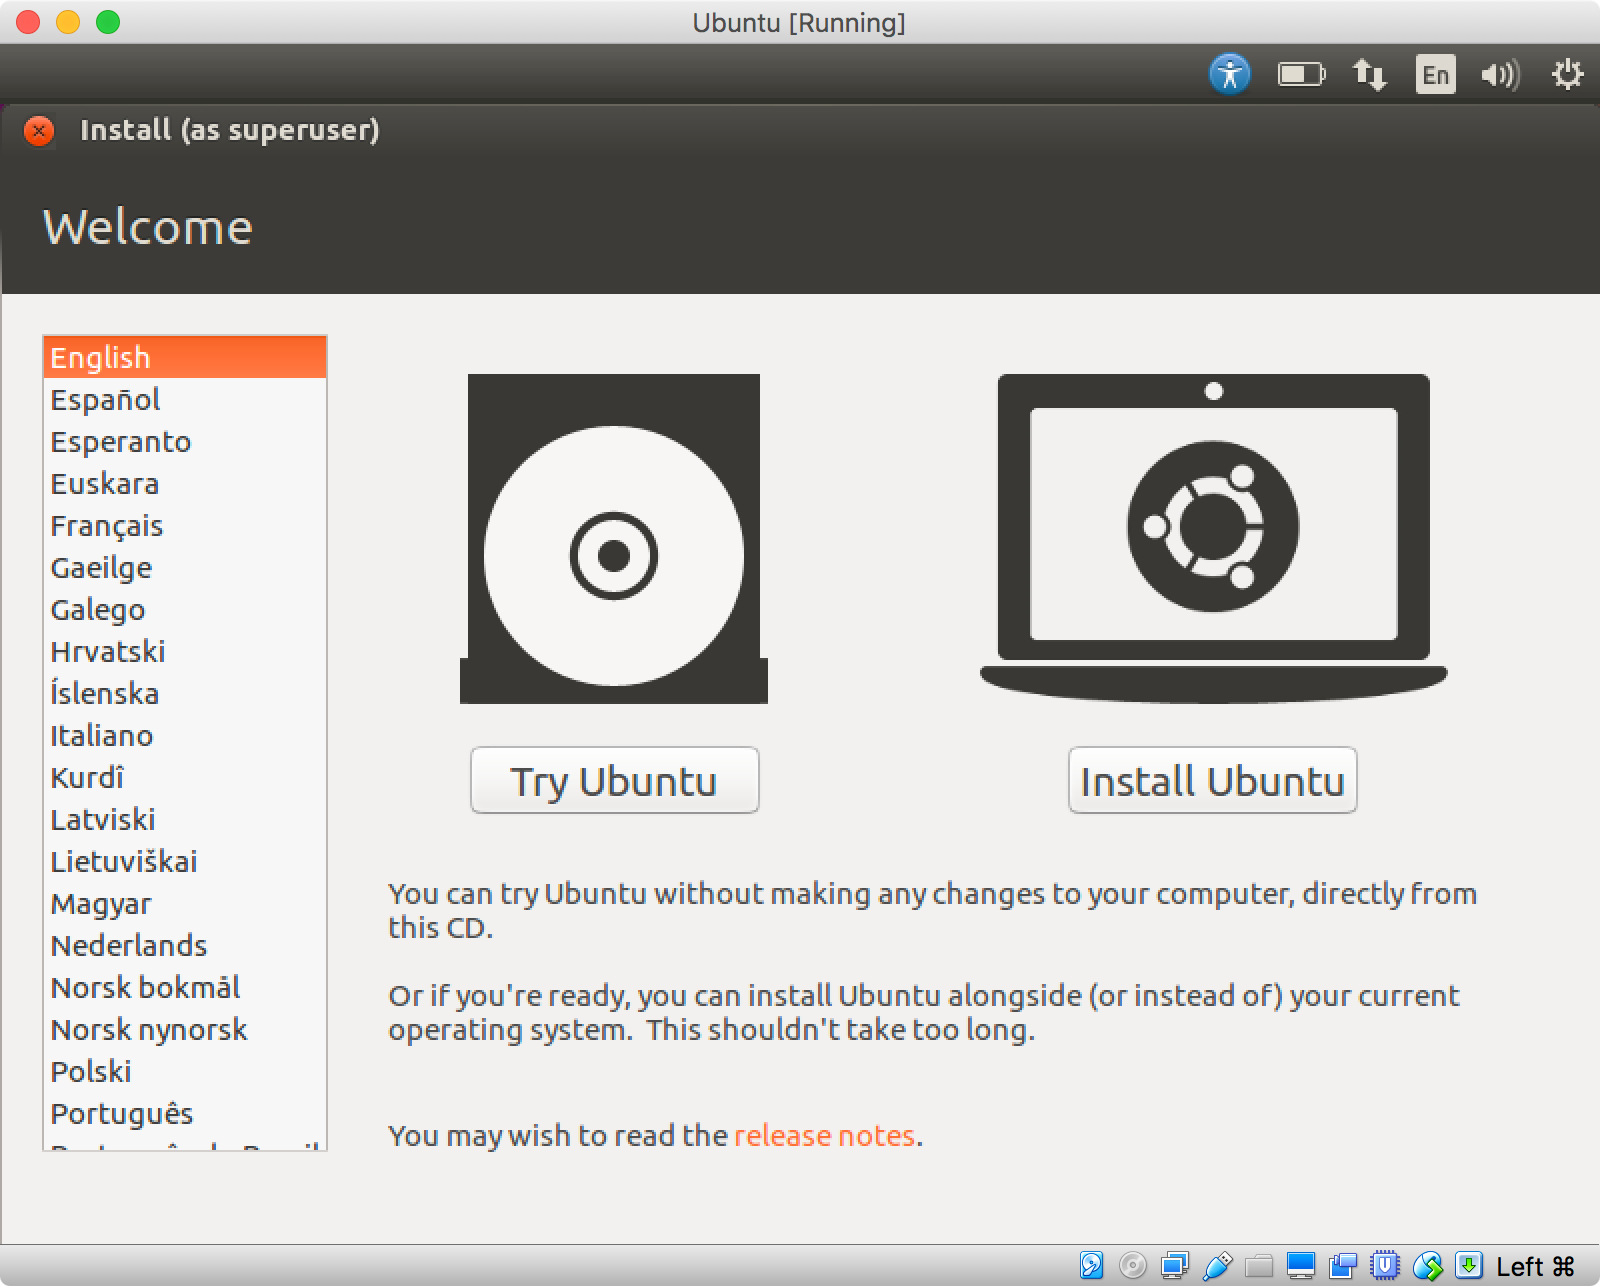
3) A new VM window is opened, choose English and click ‘Install Ubuntu’ button.
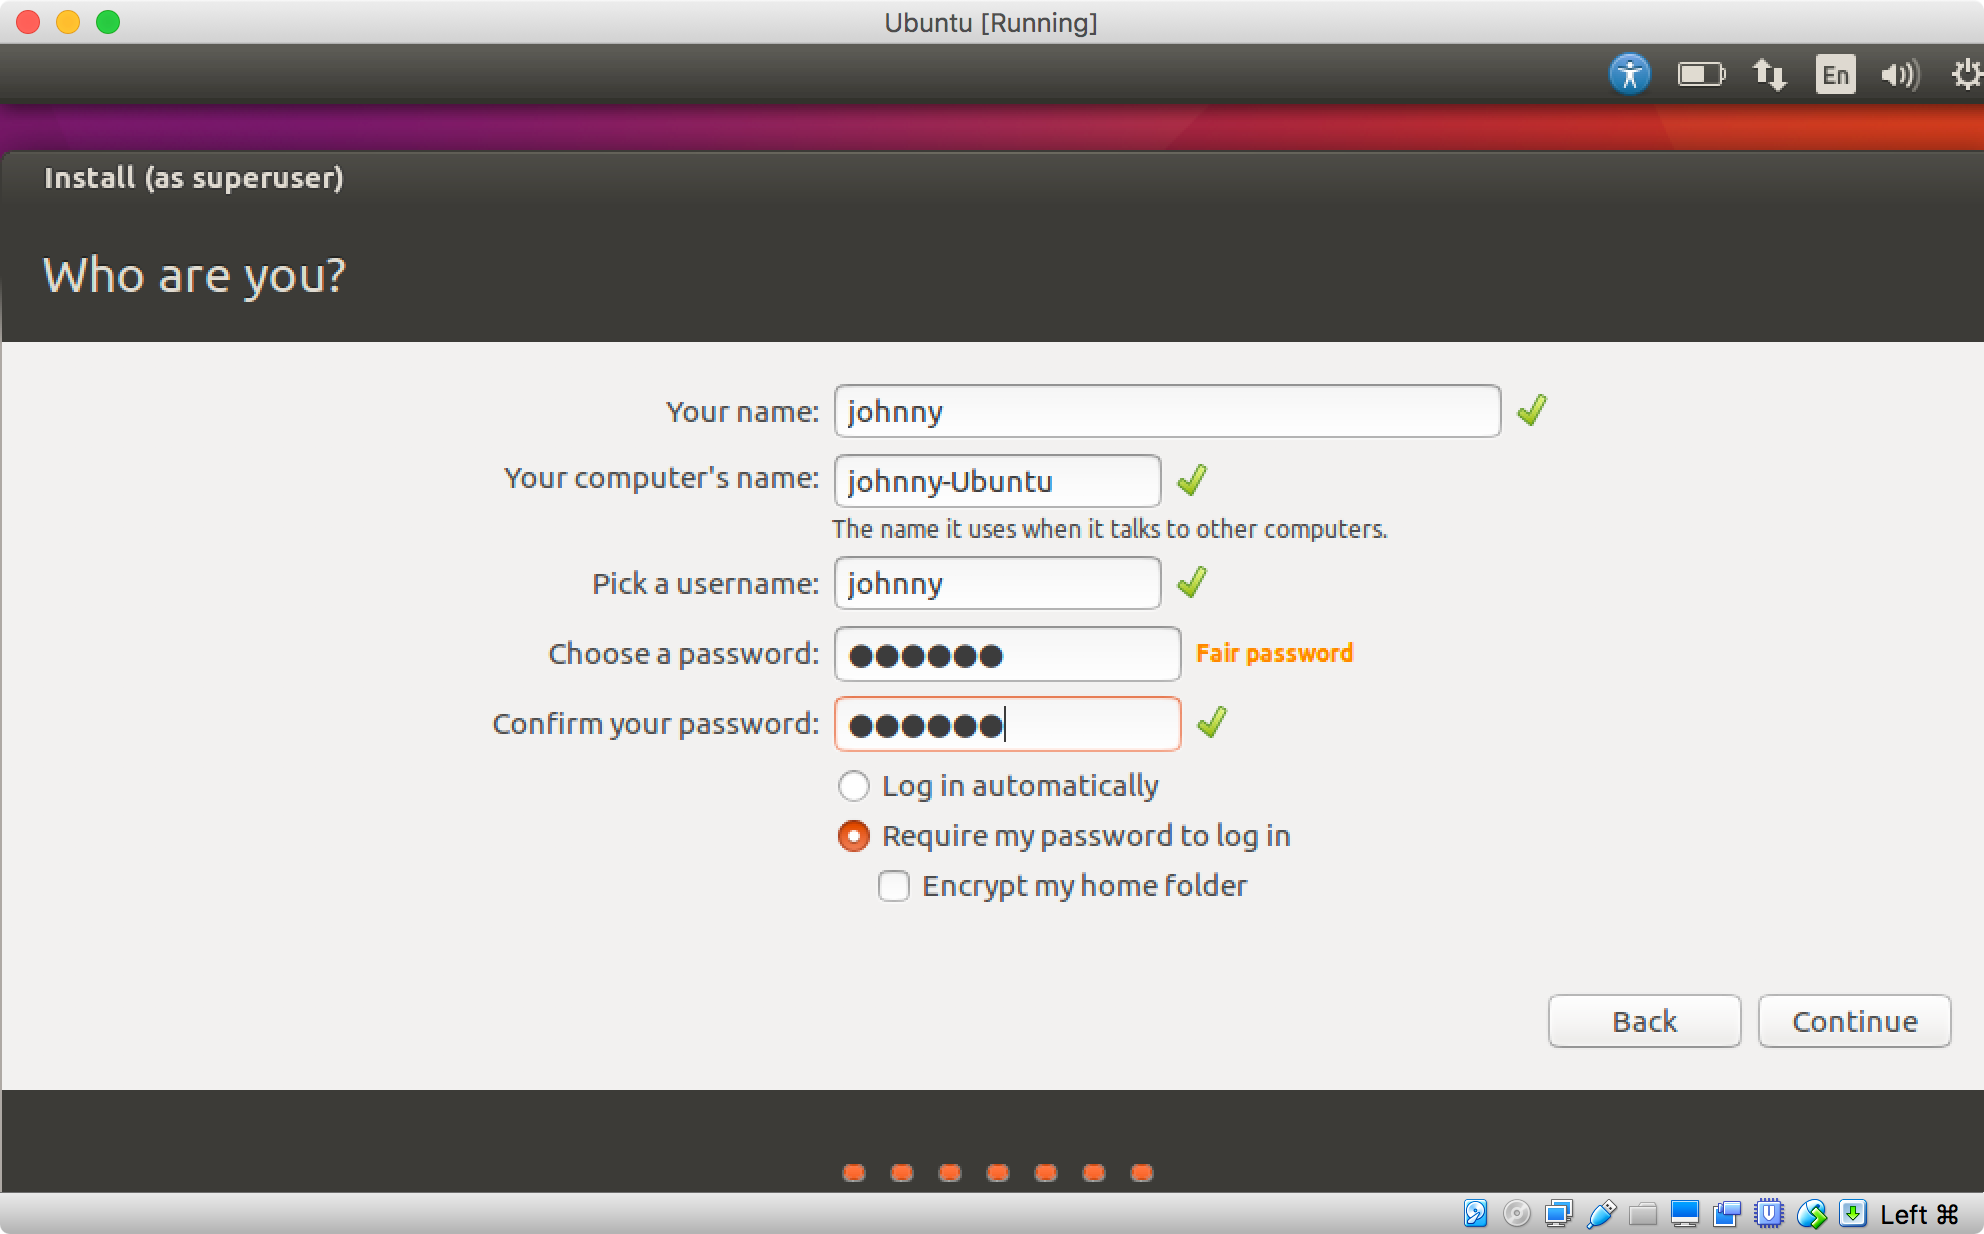
4) Follow the steps in the setup wizard. Change the default settings if necessary, and provide User Name and Password for logging into Ubuntu later.
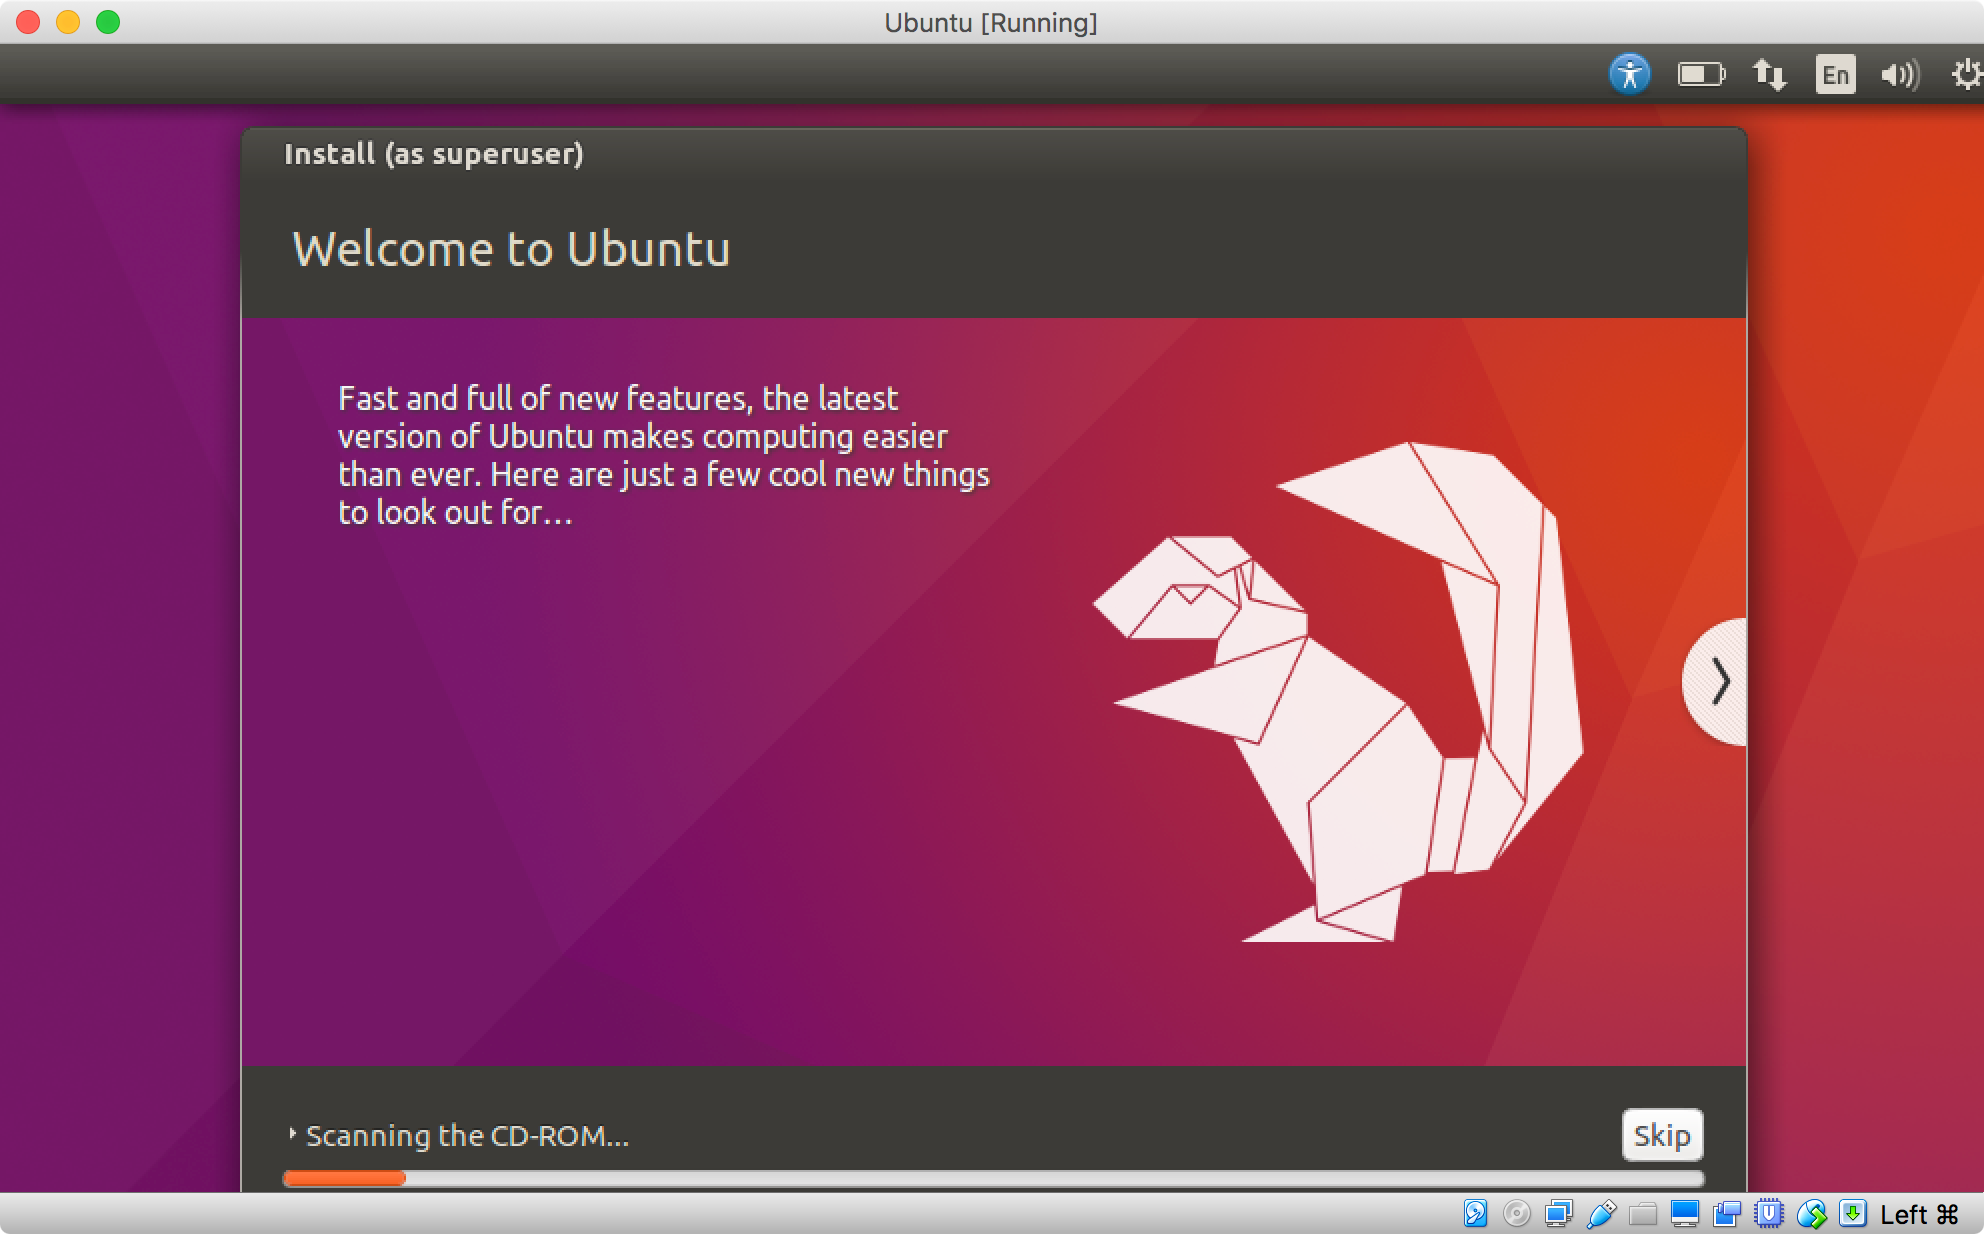
5) Click Continue button, the installation starts, and will take several minutes to complete.
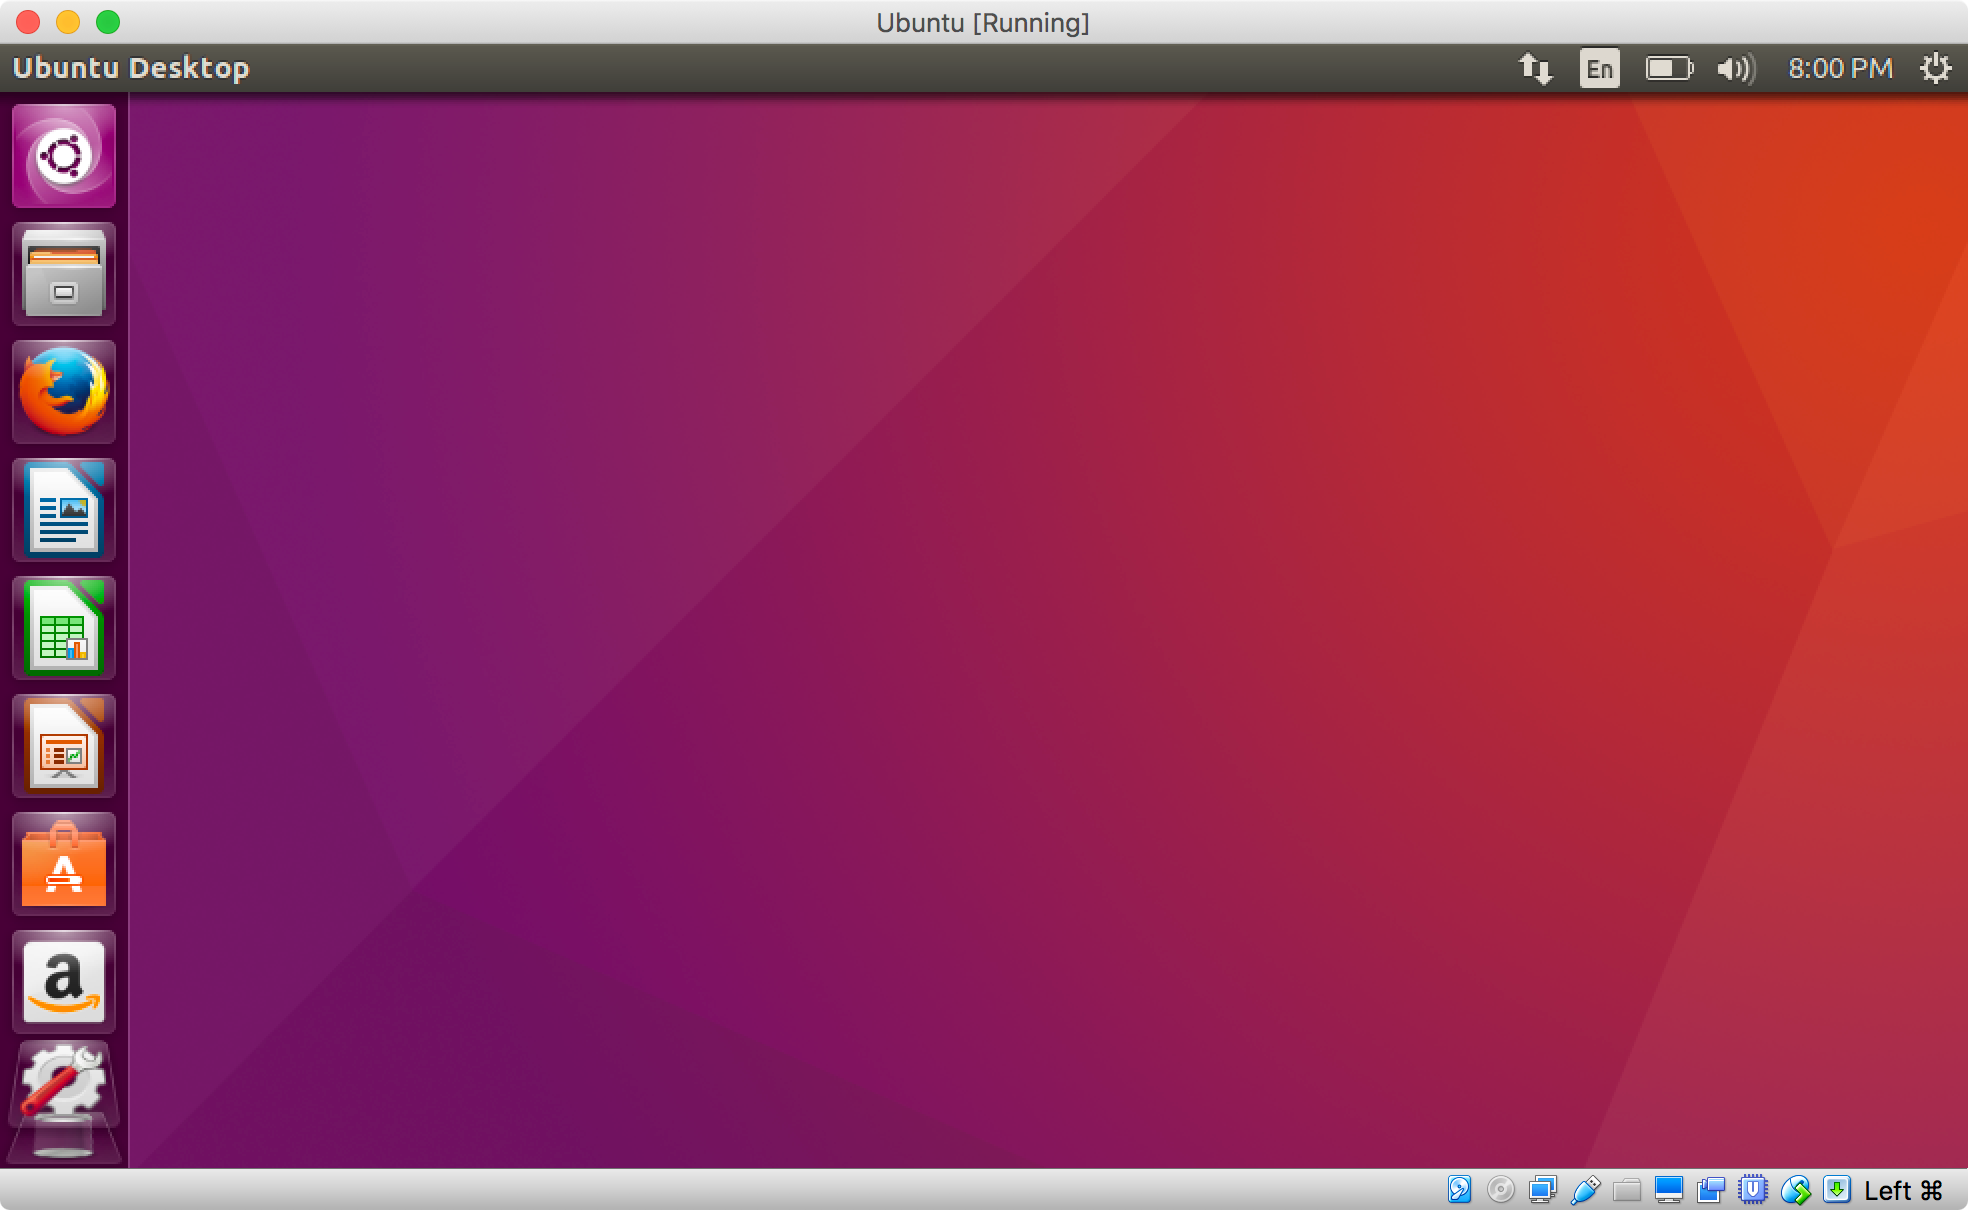
6) Reboot is required after installation is finished. You will see the Ubuntu Desktop after reboot.
2.4 Installing Tools in Ubuntu
To use ubuntu more efficiently, you need to install some highly recommended softwares/tools.
1) Install Google Chrome
By default, Ubuntu has Firefox installed as default web browser, but I prefer Chrome.
Go to Google’s website, search Chrome and download the installation file. It should have the extension .deb
$ sudo dpkg -i google-chrome-stable_current_amd64.deb
Note that all of the installation files for Ubuntu have the .deb extension. We always use dpkg to install them.
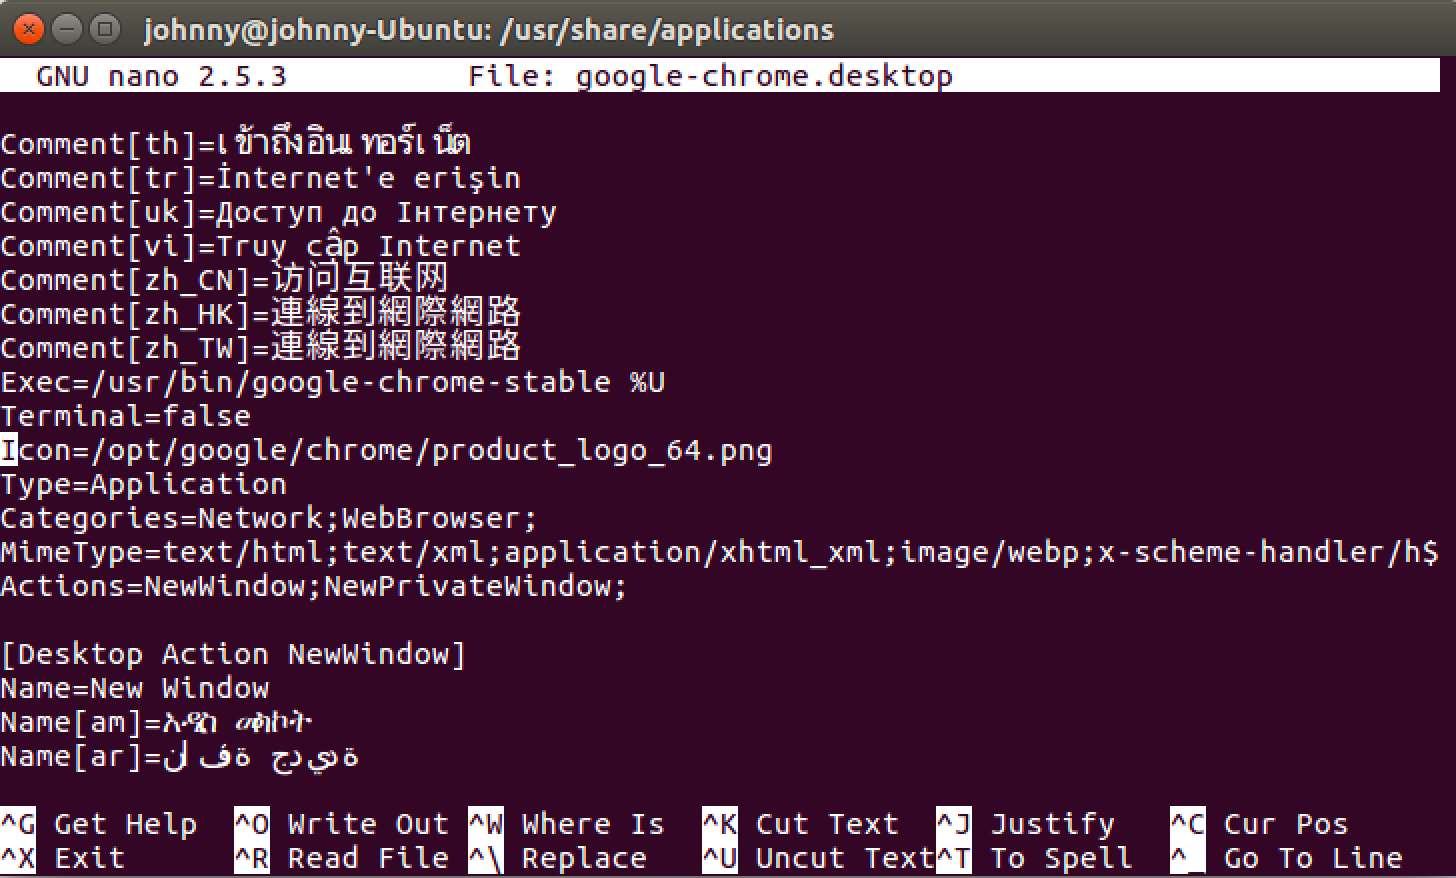
If the icon for Chrome is missing after launching. Try to edit file google-chrome.desktop.
$ nano /usr/share/applications/google-chrome.desktop
There is a line specifying the icon location. Change it according to location of google chrome icon (I have google-chrome installed in /opt):
$ Icon=/opt/google/chrome/product_logo_64.png
3. Commands for VirtualBox
3.1 List Existing Virtual Machines
$ VBoxManage list vms
3.2 Increasing Hard Disk Size of Virtual Machine
Sometimes, hard disk of your VM is out of storage. You need to manually increase the storage. Here is the syntax in VirtualBox.
VBoxManage modifyhd YOUR_HARD_DISK.vdi --resize SIZE_IN_MB
Issue the following command to increase the disk storage of VM Ubuntu to 20GB.
$ cd /home/johnny/VitualBox VMs/Ubuntu          // navigate to the location of VM
$ VBoxManage modifyhd Ubuntu.vdi --resize 20480 // resize the the storage of Ubuntu.vdi to 20GB.