2542. Running JavaScript at Server Side with RhinoRhino, Javascript, and Servlet
Use Rhino to run javascript at server side which is built with Java Servlet.
1. Prerequisite
In addition, if you haven’t downloaded and setup Rhino, please refer to my previous posting Scripting Java With Rhino to get Rhino installed on your local machine.
2. Creating Server
2.1 Creating Servlet Project
In Eclipse, File->New->Dynamic Web Project, specify project name as ‘RhinoWebsite’.
2.2 Creating index.html
In Project Explorer, right-click on RhinoWebsite->WebContent, New->HTML File. Specify file name index.html and add following content into it.
<!DOCTYPE html>
<html>
<head>
<meta http-equiv="content-type" content="text/html; charset=UTF-8">
<link rel="stylesheet" href="https://maxcdn.bootstrapcdn.com/bootstrap/3.3.7/css/bootstrap.min.css">
<script src="https://ajax.googleapis.com/ajax/libs/jquery/3.2.1/jquery.min.js"></script>
<script src="https://maxcdn.bootstrapcdn.com/bootstrap/3.3.7/js/bootstrap.min.js"></script>
<script type="text/javascript">
function sendCode() {
var code = $("#code").val();
$("#output").load("/RhinoWebsite/RhinoServlet", {"code": code});
}
</script>
<title>Server-side JavaScript demo</title>
</head>
<body>
<div class="container">
<h1>Server-side JavaScript demo</h1>
<form>
<div class="form-group">
<label for="email">Javascript:</label>
<textarea class="form-control" rows="5" id="code"></textarea>
</div>
<button type="button" class="btn btn-primary" onclick="sendCode();" >Submit</button>
<div class="form-group">
<label for="email">Output:</label>
<div class="well well-sm" id="output"> </div>
</div>
</form>
</div>
</body>
</html>
2.3 Adding Reference of Rhino
Go to https://developer.mozilla.org/en-US/docs/Mozilla/Projects/Rhino/Download_Rhino, select the latest version to download, for example, rhino1.7.7.2.zip. Extract the file rhino-1.7.7.2.jar from the downloaded zip, and copy it to the /WebContent/WEB-INF/lib subdirectory of ‘RhinoWebsite’ project.
2.4 Creating Servlet
Right-click on RhinoWebsite->Java Resources->src, create package named ‘Johnny.Tutorials’. Then, create java file named RhinoServlet.java. Modify the doPost method in RhinoServlet.java as follows:
/**
 * @see HttpServlet#doPost(HttpServletRequest request, HttpServletResponse response)
 */
protected void doPost(HttpServletRequest request, HttpServletResponse response) throws ServletException, IOException {
    response.setContentType("text/plain");
    String code = request.getParameter("code");
    Context ctx = Context.enter();
    try {
        Scriptable scope = ctx.initStandardObjects();
        Object result = ctx.evaluateString(scope, code, "<code>", 1, null);
        response.getWriter().print(Context.toString(result));
    } catch(RhinoException ex) {
        response.getWriter().println(ex.getMessage());
    } finally {
        Context.exit();
    }
}
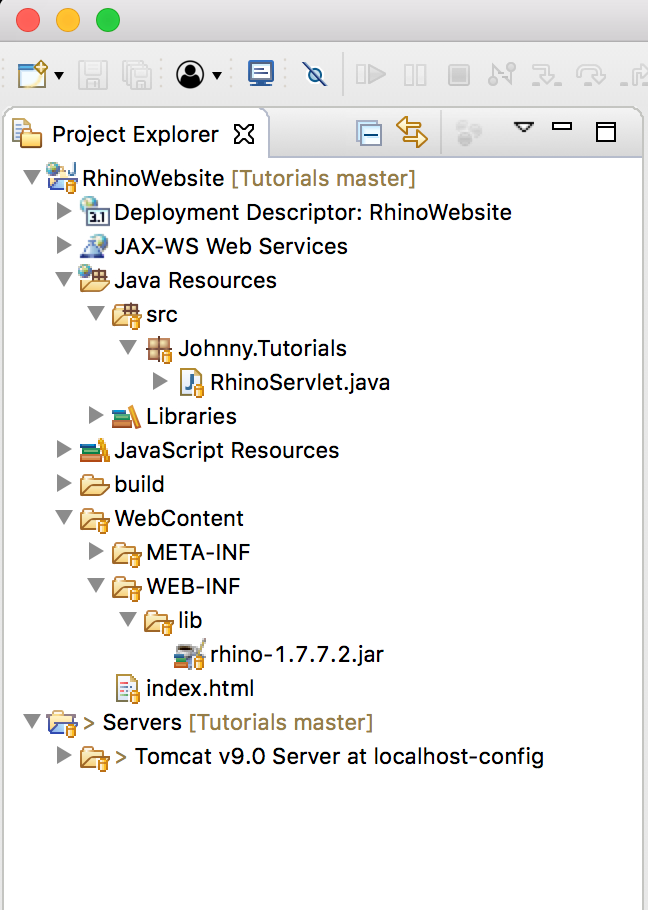
2.5 Project Structure
Finally, the project structure looks like this.
3. Testing
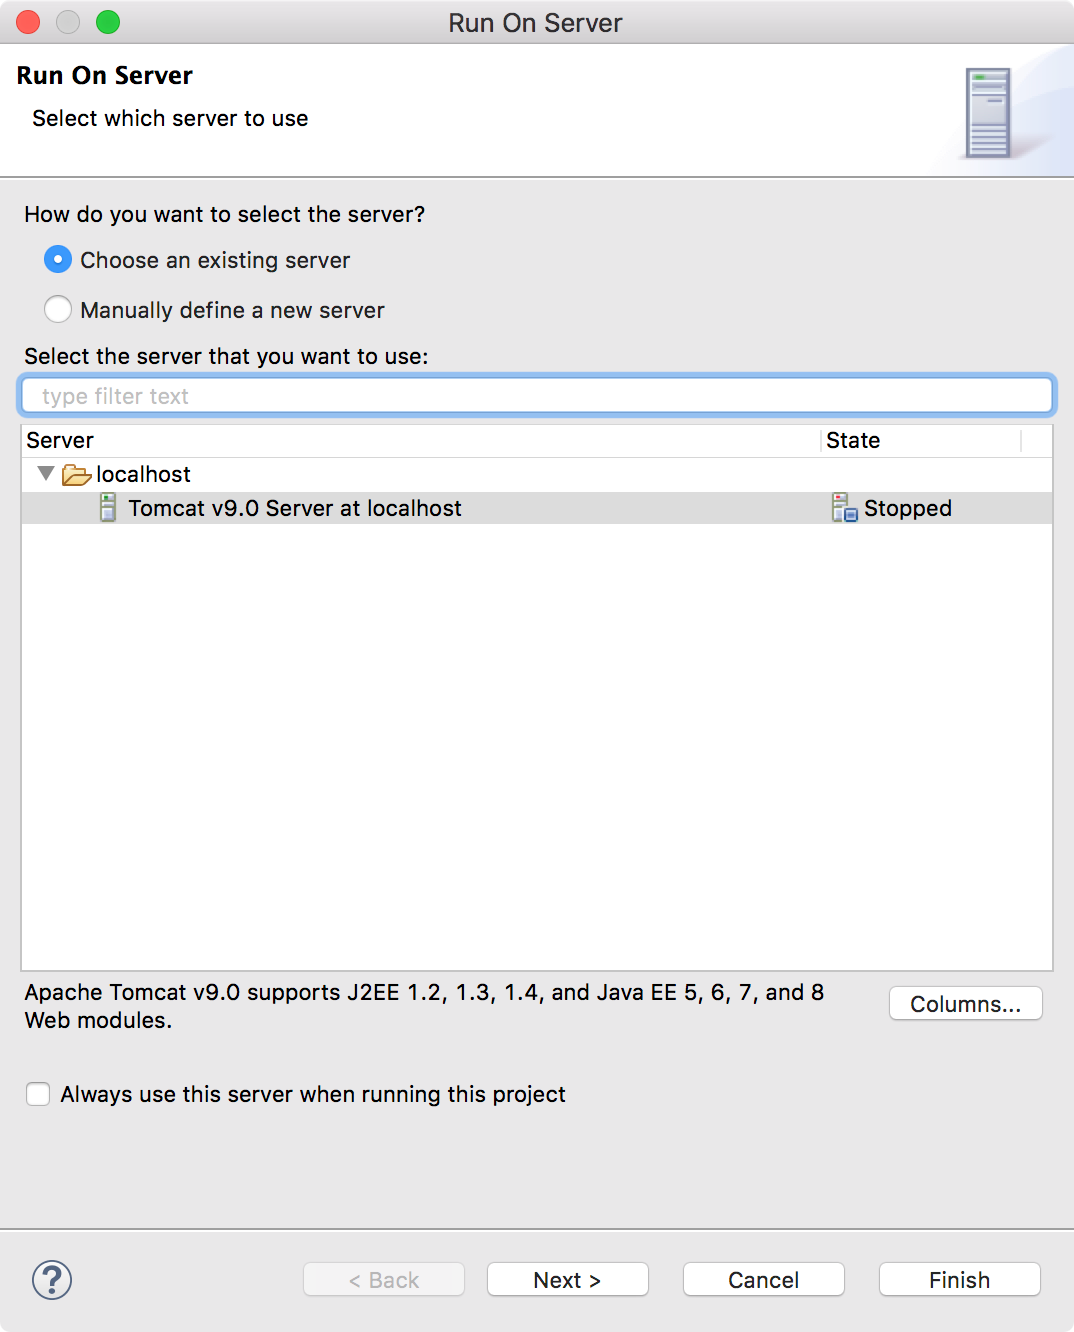
Right-click on RhinoWebsite->WebContent->index.html, Run As->Run On Server, specify Tomcat as web server and launch this servlet project with it.
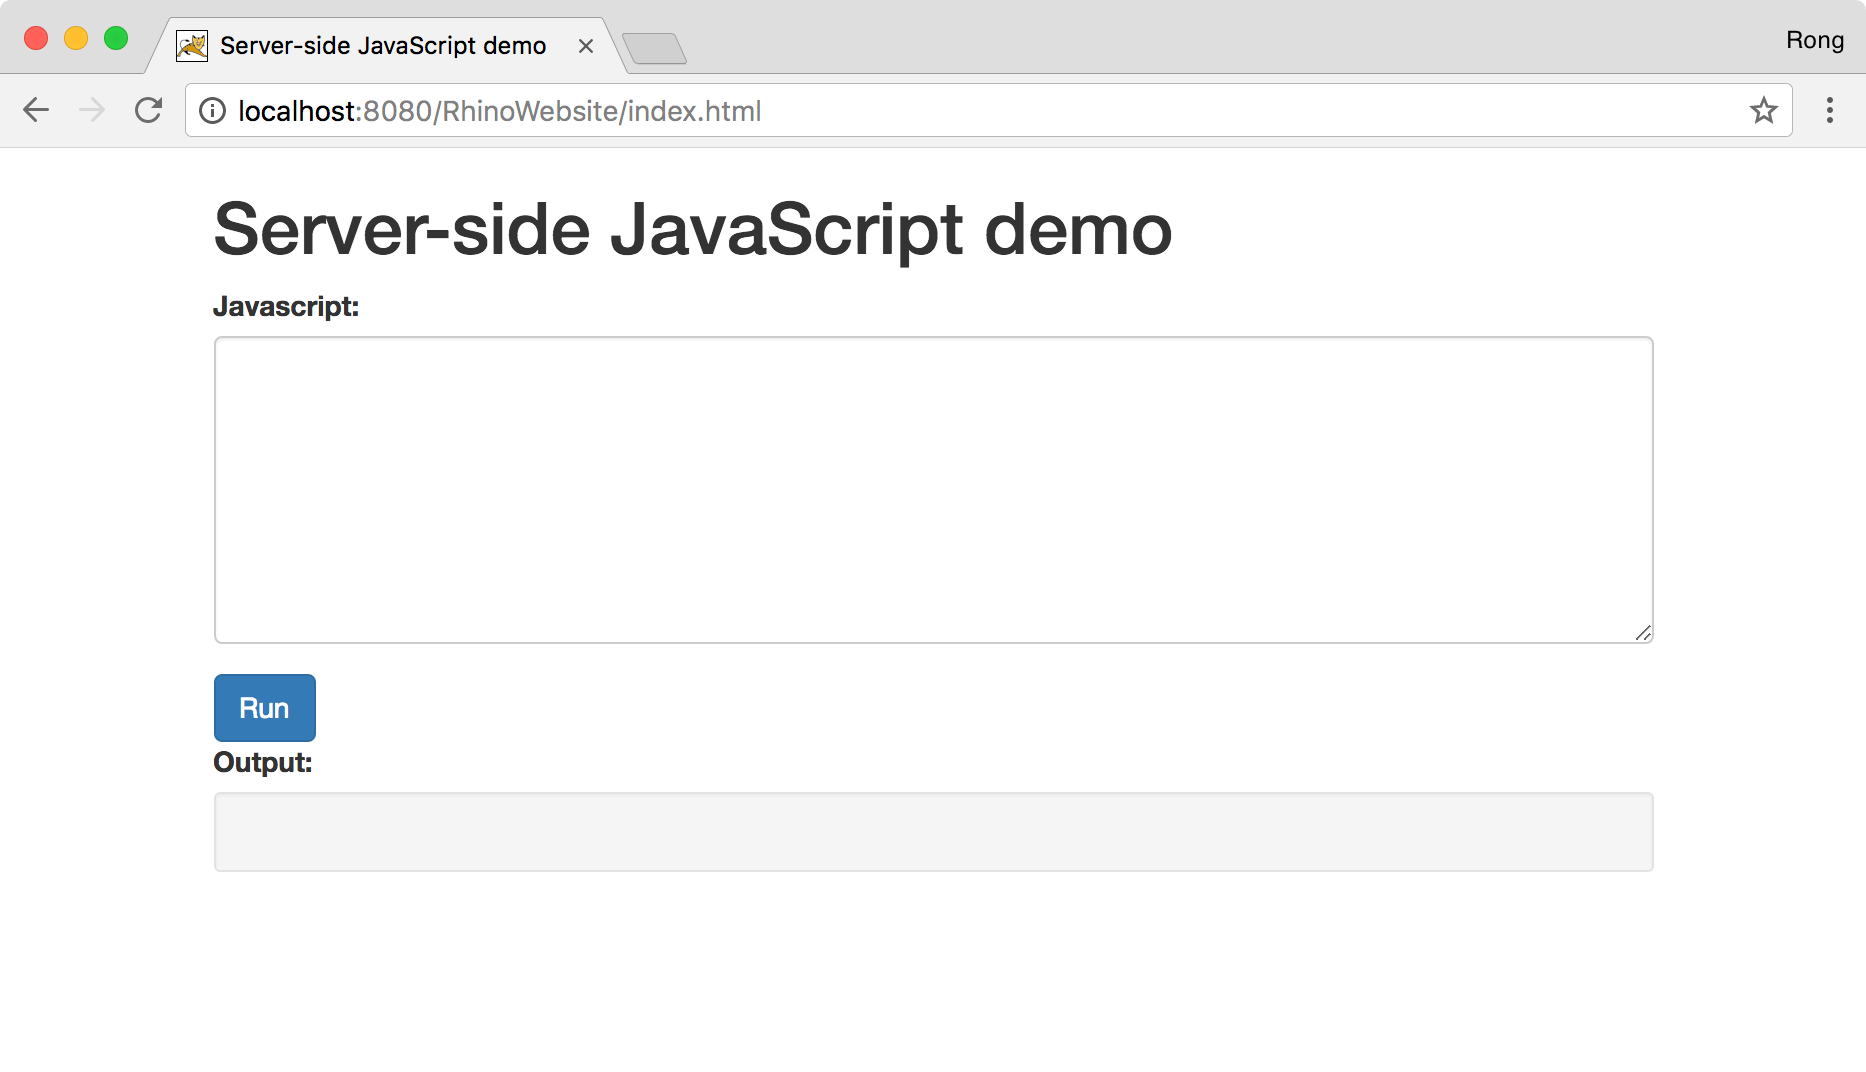
 Open web browser, access http://localhost:8080/RhinoWebsite/index.html
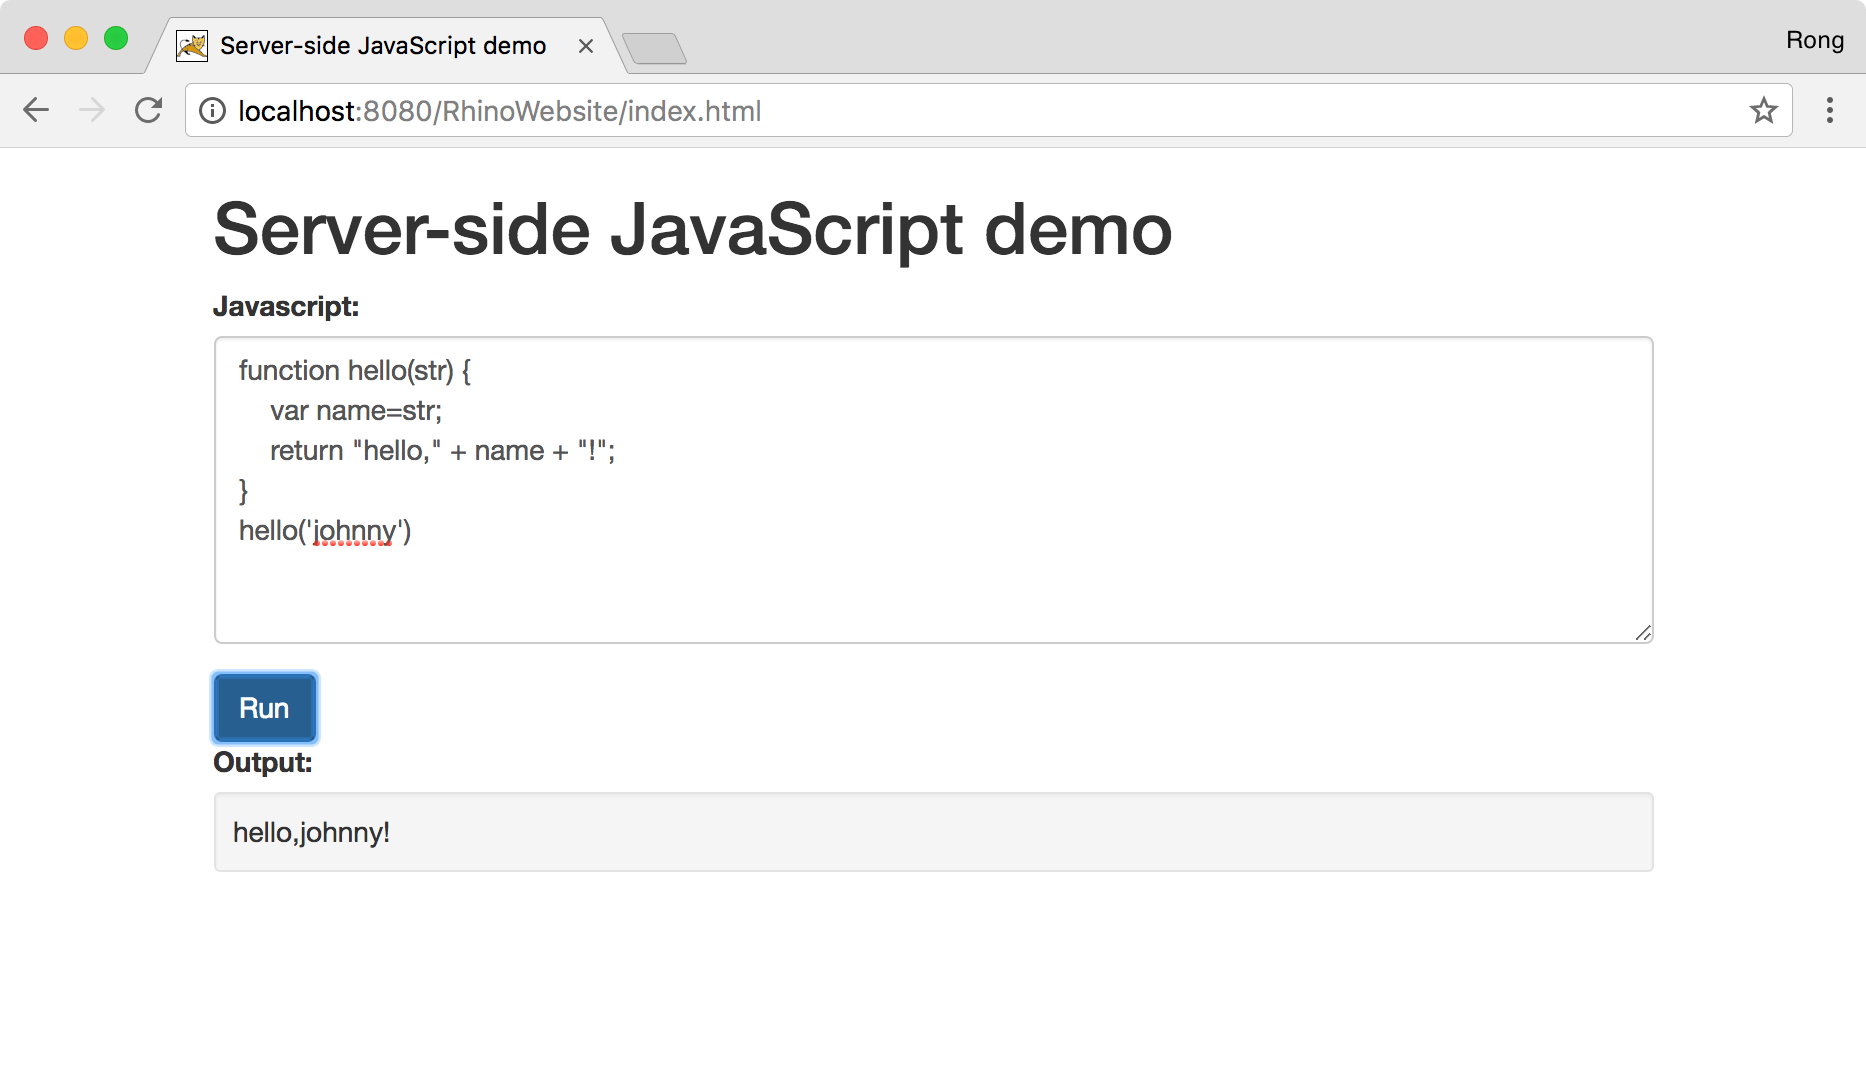
Input following content to the javascript textbox.
function hello(str) {
    var name=str;
    return "hello," + name + "!";
}
hello('johnny')
Click the ‘Run’ button, the string returned from javascript function will be displayed in the output box.