2021. Setting up Java Development Environment on UbuntuJDK, Tomcat, and Eclipse
Install JDK, Apache Tomcat and Eclipse on Ubuntu.
We will use the following free softwares/tools.
- JDK - Java SE Development Kit, a free integrated development kit used to build, test, and deploy Java applications.
- Apache Tomcat - An open source web server.
- Eclipse - One of the most widely used Java IDEs.
1. Installing JDK in Ubuntu
1.1 Downloading Oracle JDK
In Ubuntu VM, download the latest version of JDK from http://www.oracle.com/technetwork/java/javase/downloads/index.html. Select JDK, in the next page, accept the license and choose ‘jdk-8u144-linux-x64.tar.gz’ to download.
1.2 Installing JDK
There is no installer, have to configure JKD manually. Unzip the package and move JDK files to /usr/local/java/
$ sudo cp -r jdk-8u144-linux-x64.tar.gz /usr/local/java/
$ cd /usr/local/java
$ tar xvzf jdk-8u144-linux-x64.tar.gz
Finally, JDK is installed to /usr/local/java/jdk1.8.0_144/.
1.3 Setting up Environment Variables for Java
Create new environment variable of JAVA_HOME and add it to PATH.
$ sudo nano /etc/profile
Add the following contents to the end.
JAVA_HOME=/usr/local/java/jdk1.8.0_144
PATH=$PATH:$JAVA_HOME/bin
export JAVA_HOME
export PATH
1.4 Informing Ubuntu where Java JDK is located.
$ sudo update-alternatives --install "/usr/bin/java" "java" "/usr/local/java/jdk1.8.0_144/bin/java" 1
$ sudo update-alternatives --install "/usr/bin/javac" "javac" "/usr/local/java/jdk1.8.0_144/bin/javac" 1
$ sudo update-alternatives --install "/usr/bin/javaws" "javaws" "/usr/local/java/jdk1.8.0_144/bin/javaws" 1
1.5 Checking Java Version
$ java -version
You should be able to see the java information like below.
java version "1.8.0_144"
Java(TM) SE Runtime Environment (build 1.8.0_144-b01)
Java HotSpot(TM) 64-Bit Server VM (build 25.144-b01, mixed mode)
2. Setting up Apache Tomcat
2.1 Downloading Tomcat
In Ubuntu VM, download the latest version of Tomcat from https://tomcat.apache.org/.
2.2 Installing Tomcat
There is no installer, have to configure Tomcat manually. Unzip the tar file, copy to /opt/tomcat.
$ tar xvzf apache-tomcat-8.5.23.tar.gz
$ sudo mv apache-tomcat-8.5.23 /opt/tomcat
2.3 Setting up Environment Variables for Tomcat
1) Open .bashrc for editing
$ nano ~/.bashrc
2) Set CATALINA_HOME environment variable pointing to the installation locations. Add this information to the end of the file:
$ export CATALINA_HOME=/opt/tomcat
3) Simply save and exit .bashrc, then make the changes effective by running the following command:
$ . ~/.bashrc
2.4 Adding User for Tomcat
$ nano $CATALINA_HOME/conf/tomcat-users.xml
Add role and admin user to this file.
<tomcat-users>
<!--
  <role rolename="tomcat"/>
  <role rolename="role1"/>
  <user username="tomcat" password="tomcat" roles="tomcat"/>
  <user username="both" password="tomcat" roles="tomcat,role1"/>
  <user username="role1" password="tomcat" roles="role1"/>
-->

    <role rolename="manager-gui"/>
    <user username="admin" password="admin" roles="manager-gui"/>

</tomcat-users>
2.5 Starting Tomcat
$ $CATALINA_HOME/bin/startup.sh
Verify that Tomcat is working by visiting http://localhost:8080.

Tomcat can be stopped by executing the following command:
$ $CATALINA_HOME/bin/shutdown.sh
3. Installing Eclipse
3.1 Downloading Eclipse
Download the latest version of Eclipse from https://www.eclipse.org/downloads/. After downloading is finished, unzip the tar file.
$ tar xvzf eclipse-inst-linux64.tar.gz
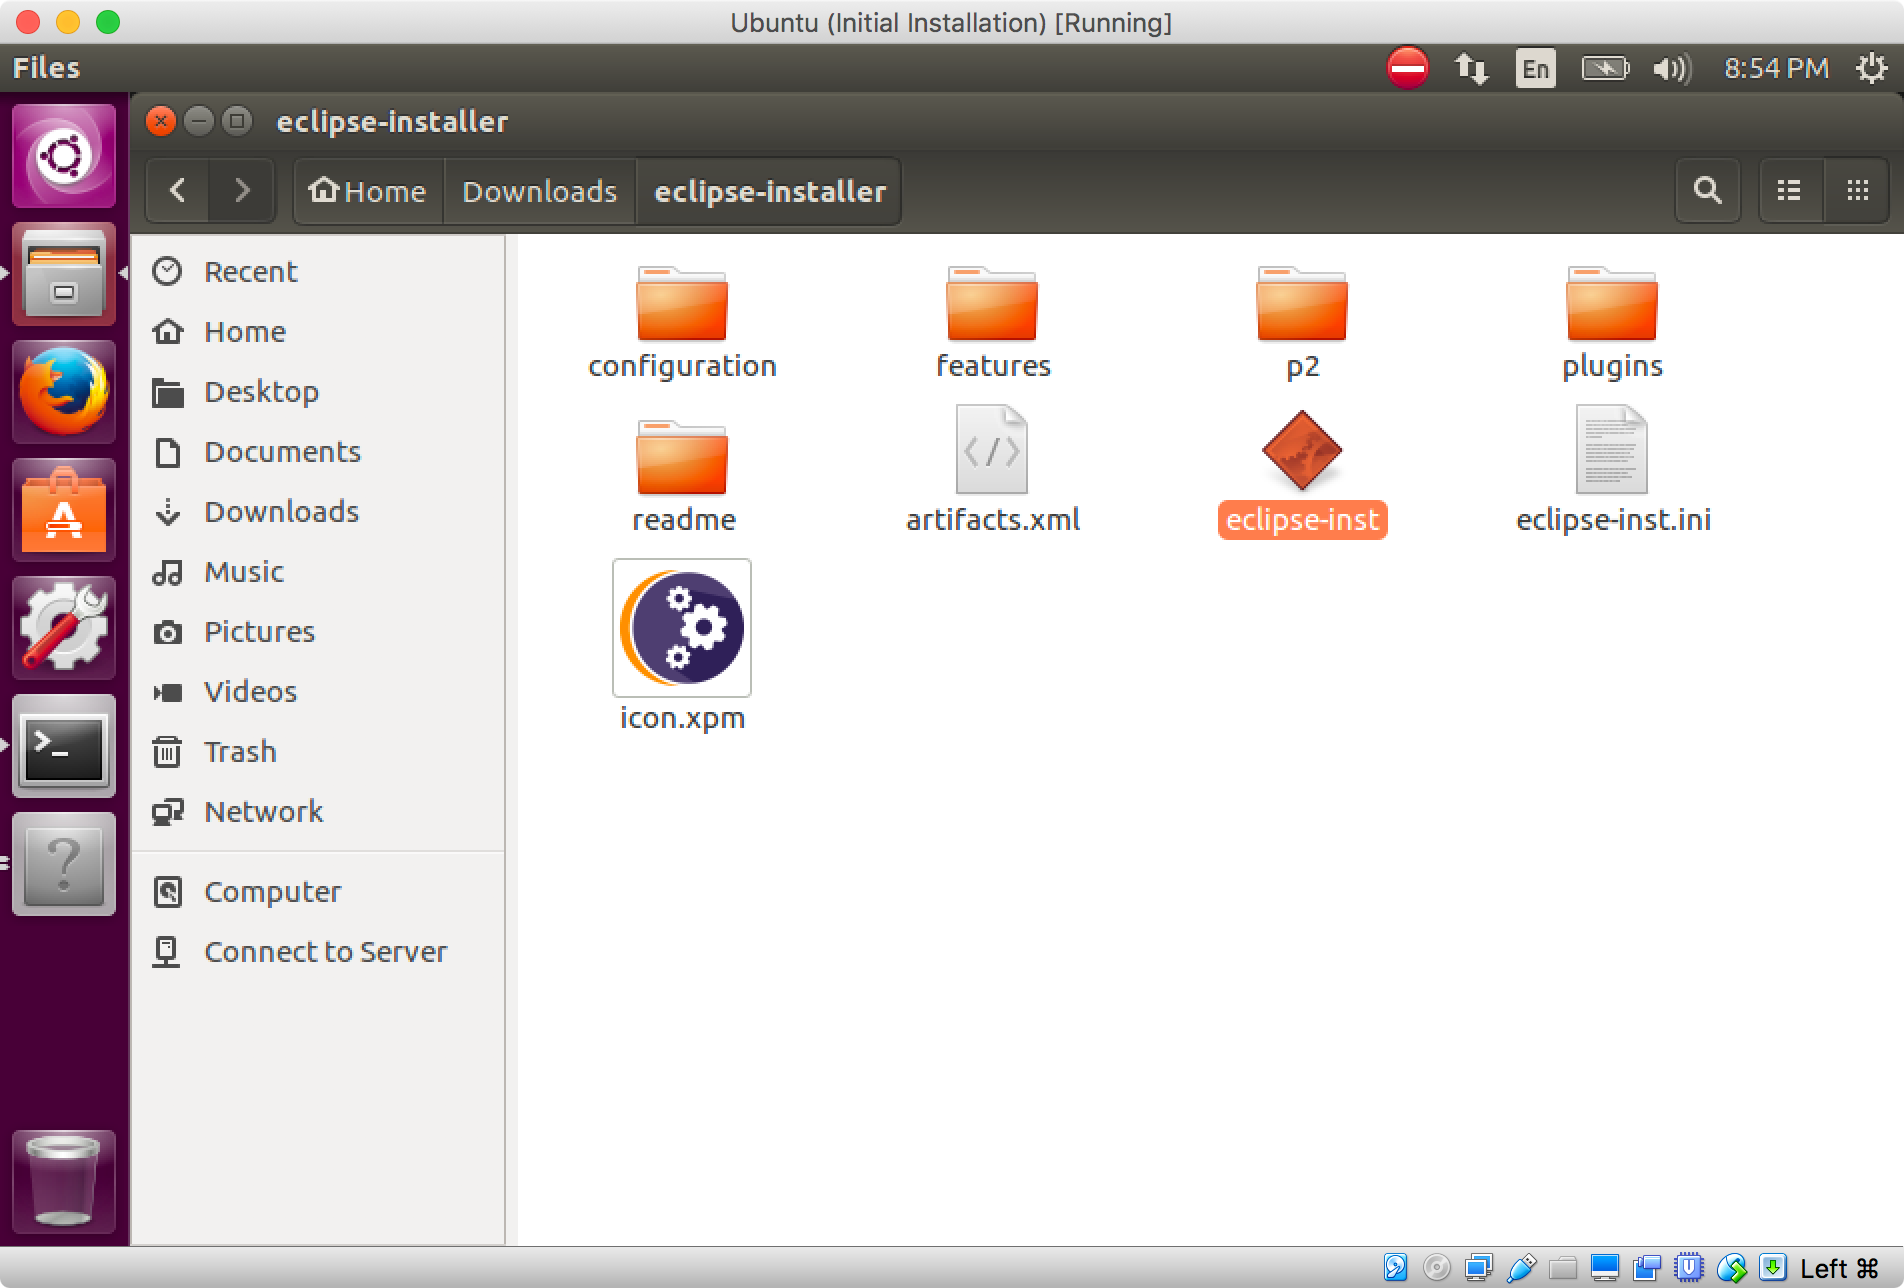
3.2 Installing Eclipse
Go to the uncompressed folder ‘eclipse-installer’, double click the installation file ‘eclipse-inst’.
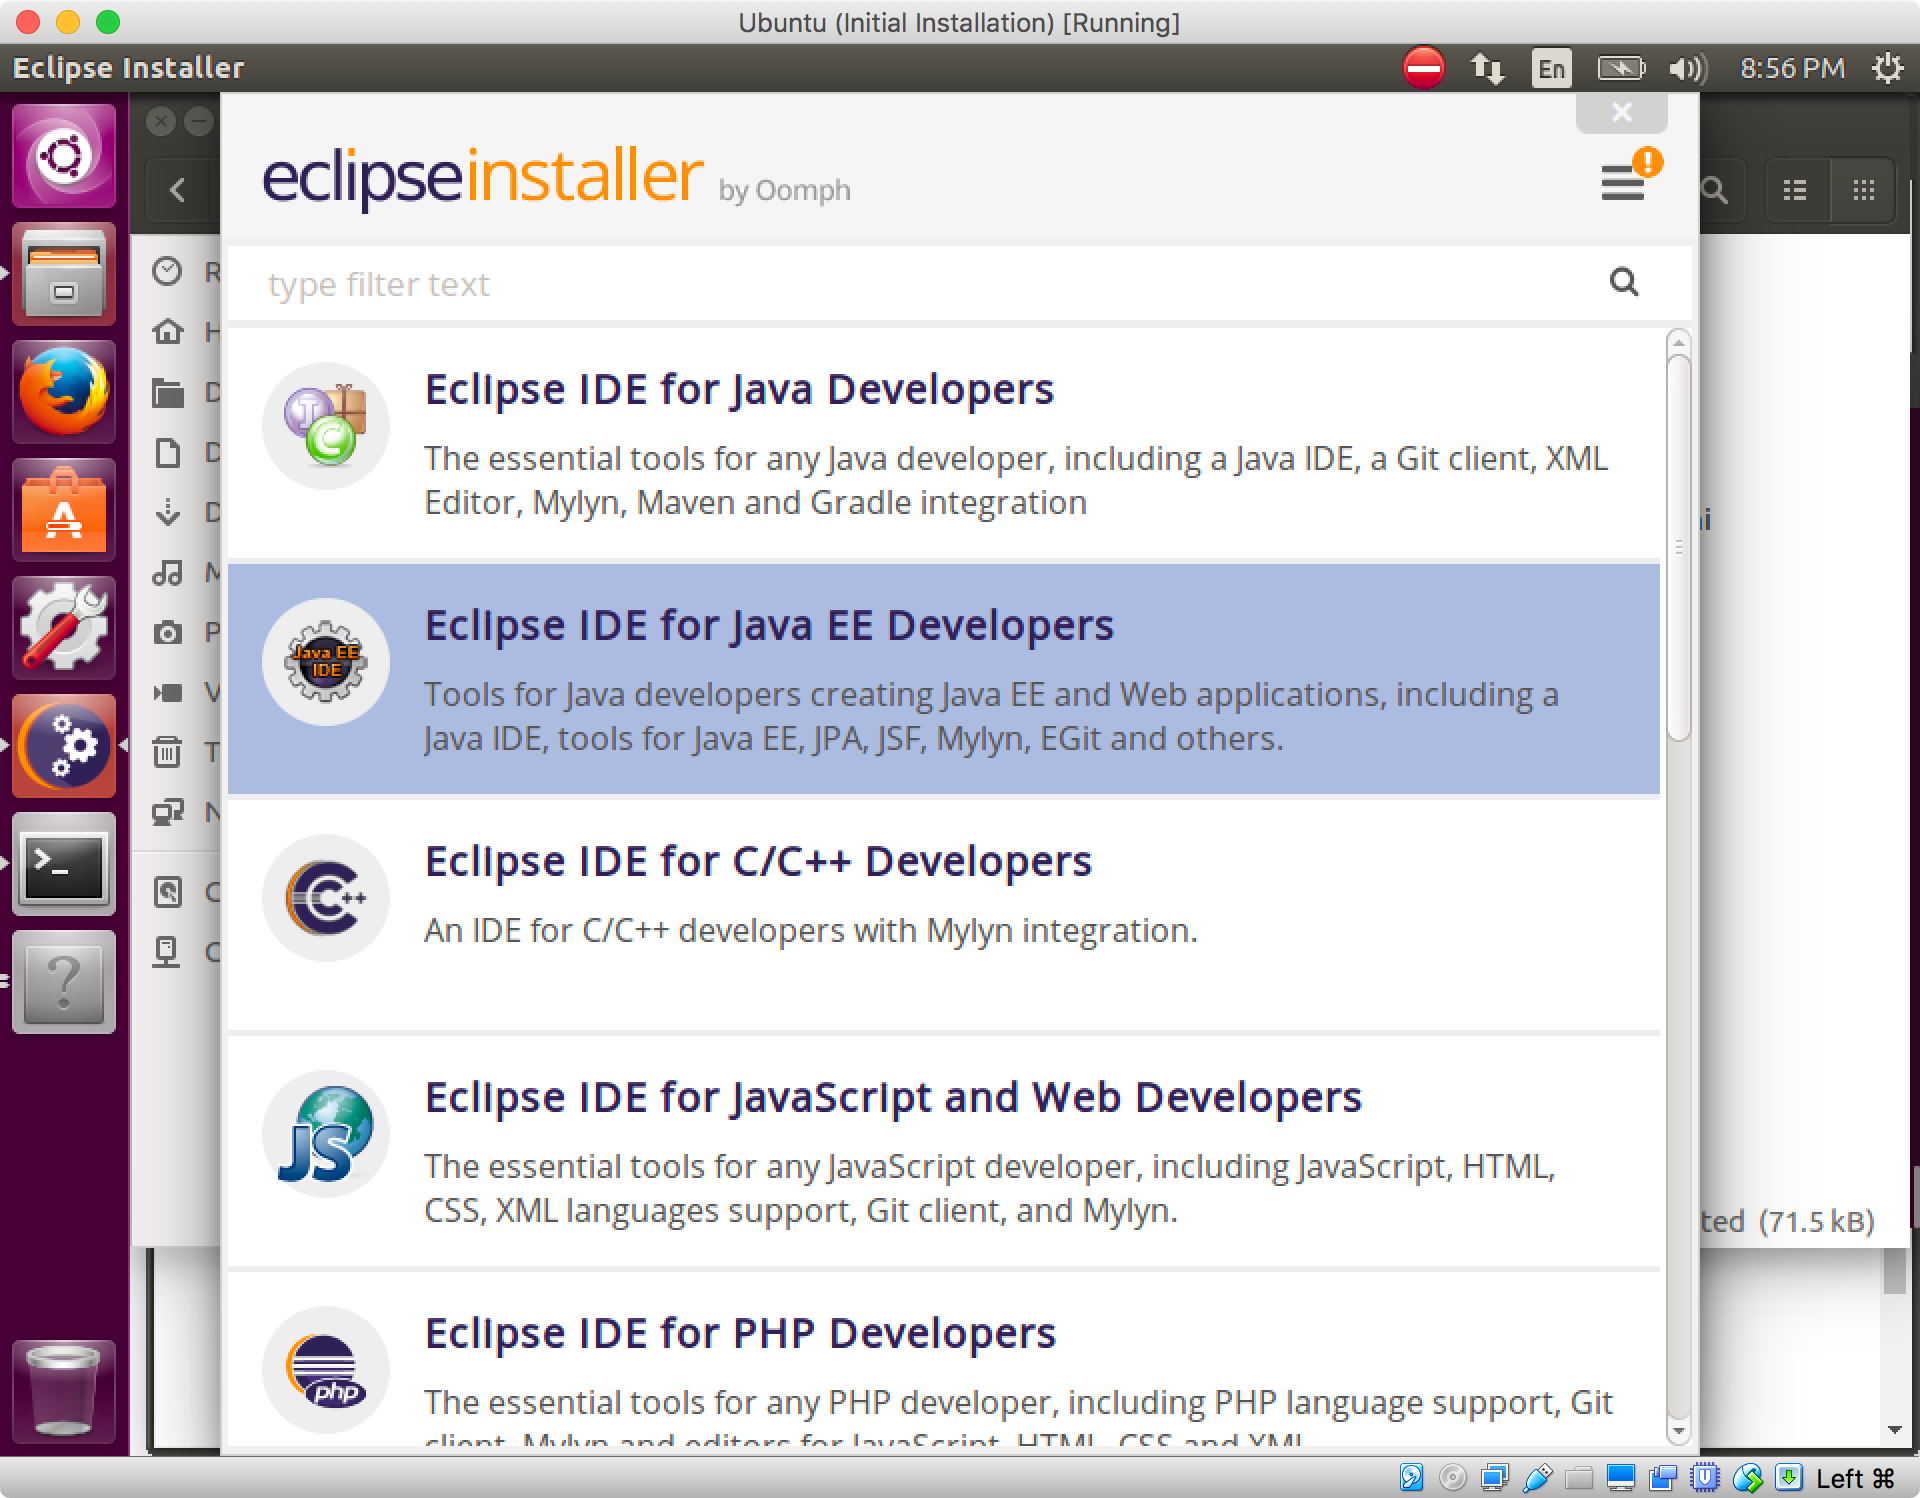
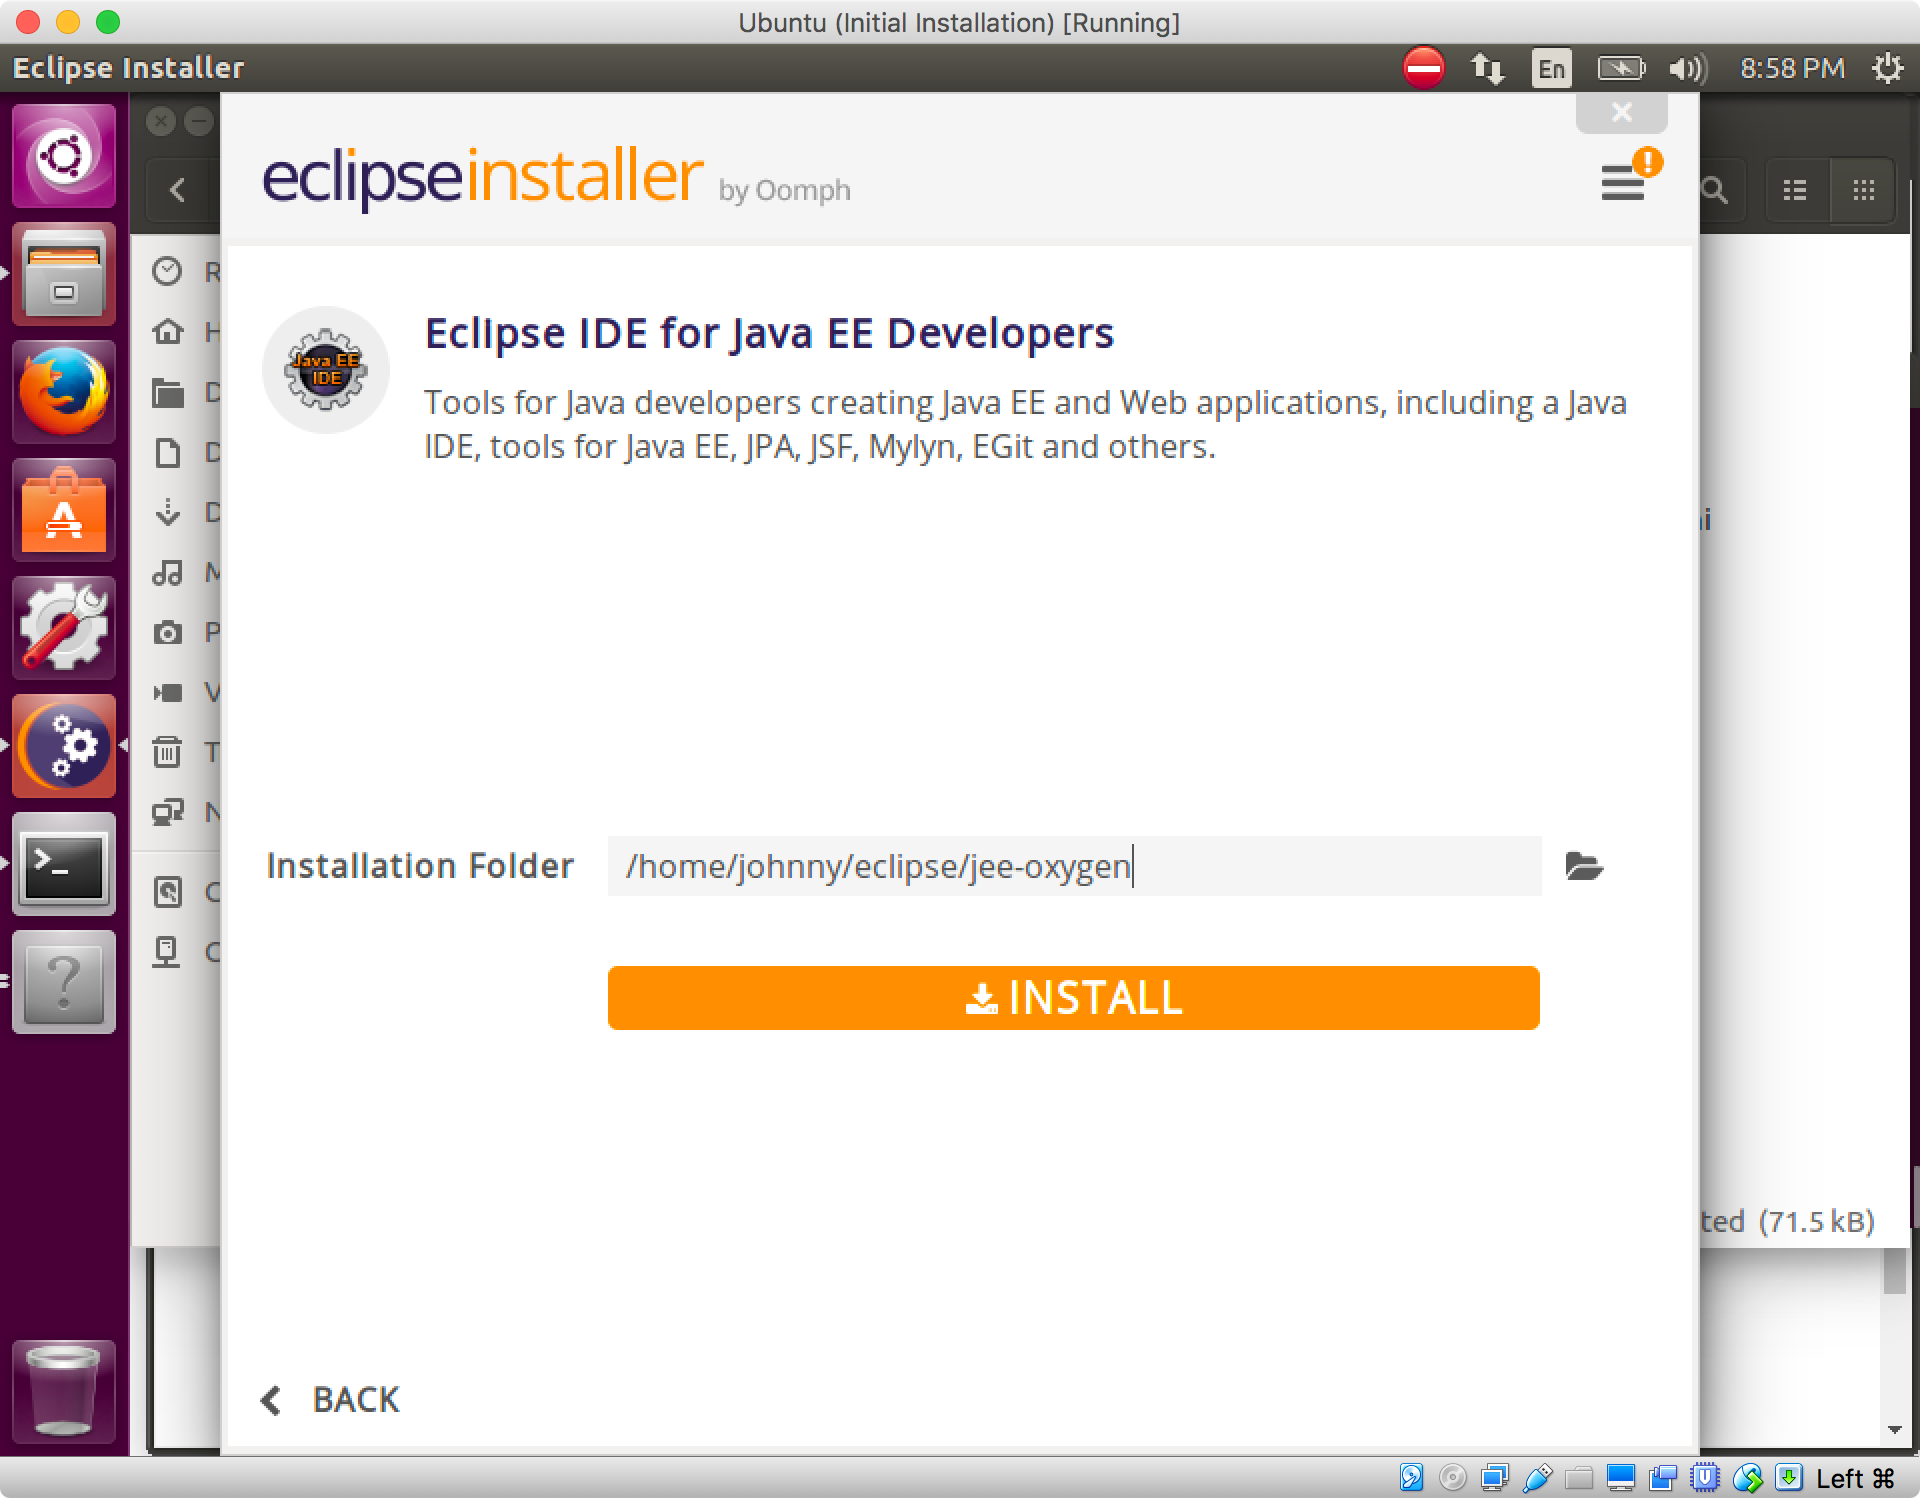
In the wizard, select ‘Eclipse IDE for Java EE Developers’.
Leave the installation folder unchanged, click ‘INSTALL’ button.
Installation should start and wait until it is finished. If you see ‘read-only’ error, run the following command, and try to install again.
$ sudo chown -R $USER /opt/ // grant all access of rights for folder /opt/ to current user.
3.3 Starting Eclipse
Launch Eclipse through UI or run command as follows.
$ cd /home/johnny/eclipse/jee-oxygen/eclipse/
$ ./eclipse
Set workspace.
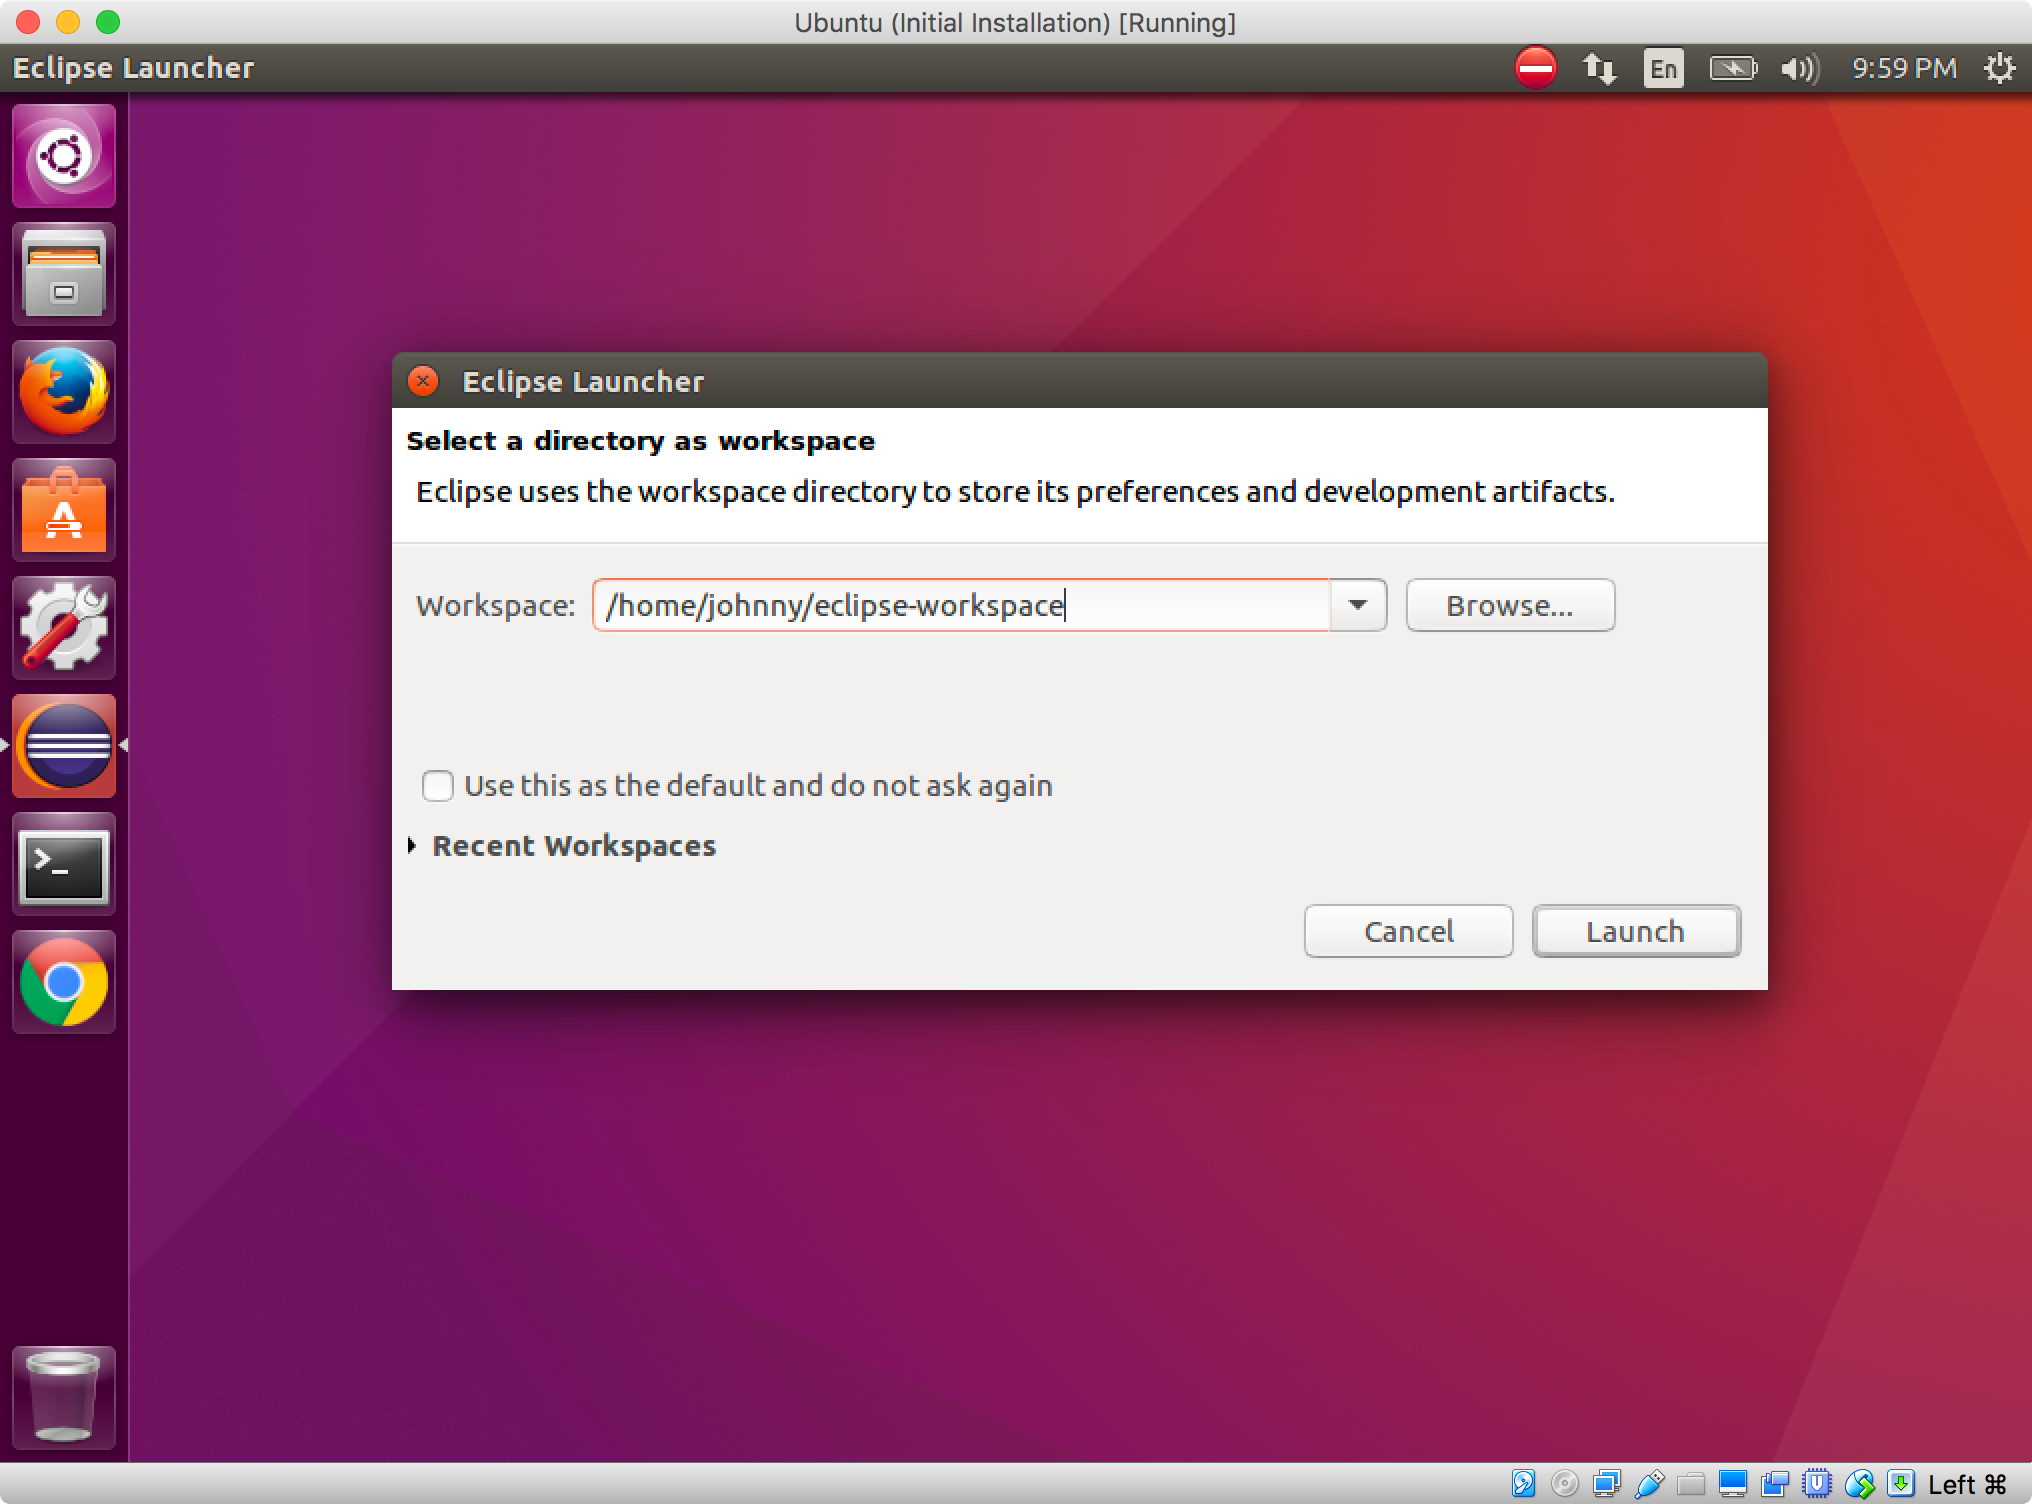
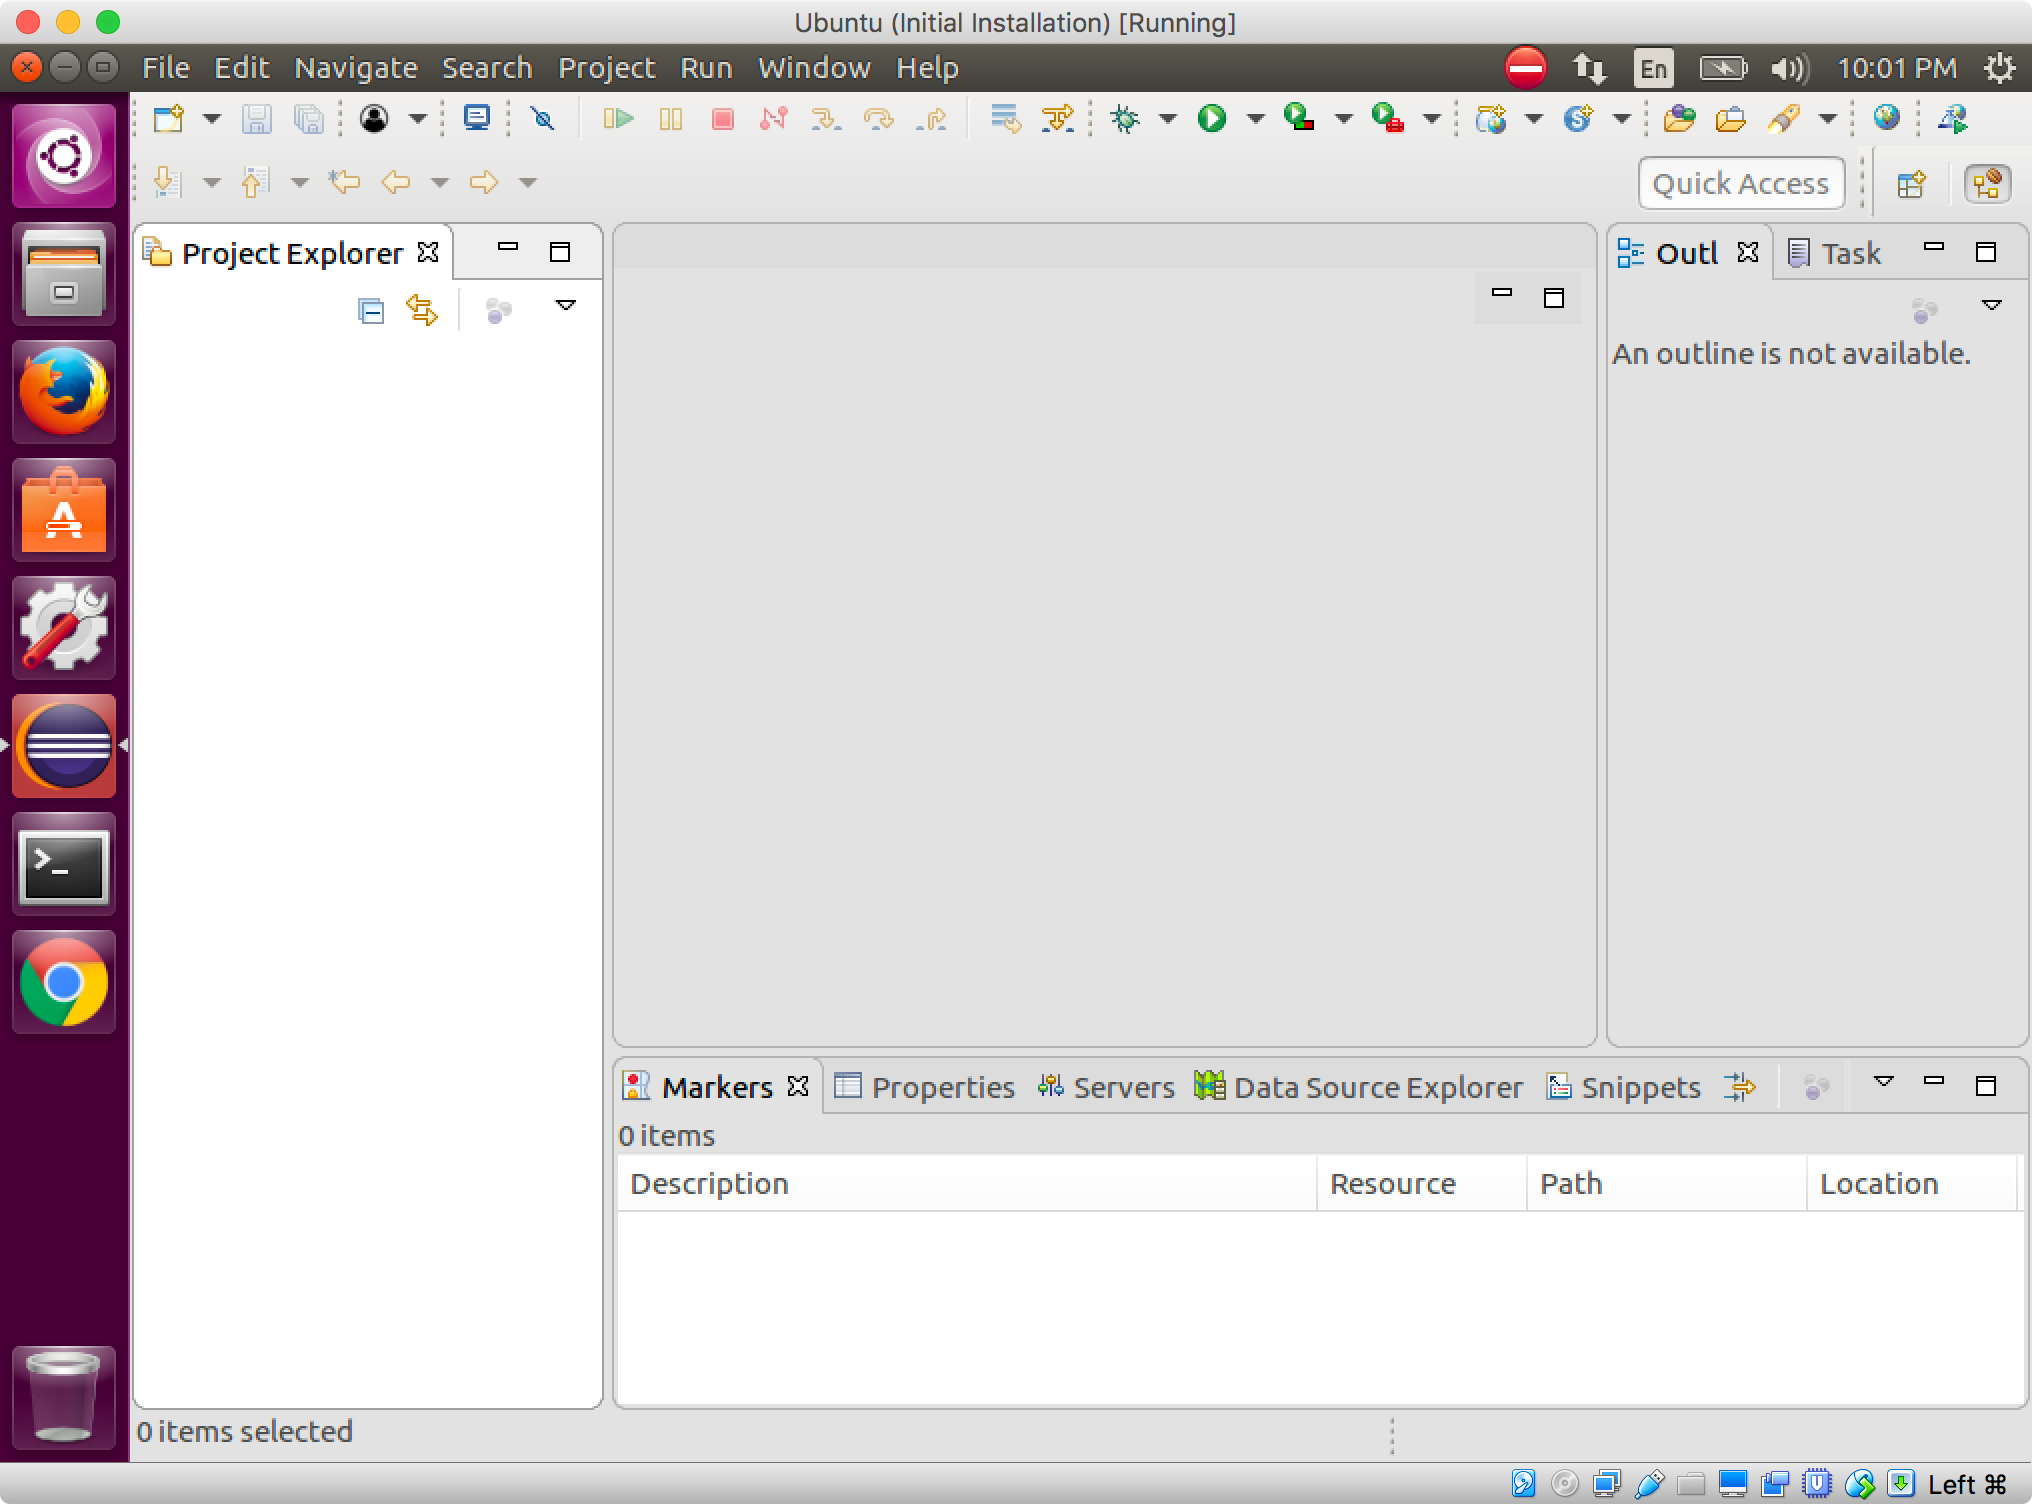
Close the welcome page, you will get Eclipse ready for use.
In addition, if your eclipse icon is missing after you launch it, copy icon.xpm to /usr/share/pixmaps/, and rename it to eclipse.xpm.
$ cp /home/johnny/eclipse/jee-oxygen/eclipse/icon.xpm /usr/share/pixmaps/eclipse.xpm