8731. Building Cross-platform Desktop Apps with ElectronElectron, Node.js, and Visual Studio Code
Tutorial for how to build cross-platform desktop apps with Electron and Node.js.
1. What is Electron?
Electron is an open source library developed by GitHub for building cross-platform desktop applications with HTML, CSS, and JavaScript. Electron accomplishes this by combining Chromium and Node.js into a single runtime and apps can be packaged for Mac, Windows, and Linux.
2. Setting up Development Environment
2.1 Installing Homebrew on Mac
Homebrew is package manager for Macs which makes installing lots of different software like Git, Ruby, and Node simpler. Homebrew lets you avoid possible security problems associated with using the sudo command to install software like Node.
$ ruby -e "$(curl -fsSL https://raw.githubusercontent.com/Homebrew/install/master/install)"
$ brew update // Update Homebrew
2.2 Installing Node.js and NPM
$ brew install node
npm will be installed along with nodejs.
Run following commands in terminal to check versions, to make sure node and npm are installed properly.
$ node -v   //mac
$ nodejs -v //linux
$ npm -v
Update node and npm
$ brew upgrade node
2.3 Installing Electron
Install Electron globally.
$ npm install -g electron
If you get permission denied error, run the following command instead.
$ sudo npm install -g electron --unsafe-perm=true --allow-root
Check version
$ electron --version
v1.7.9
You can also install Electron at package level.
$ npm install electron --save-dev
2.4 Installing Visual Studio Code
We can use any text editor to develop Electron apps. I choose Visual Studio Code, because it supports debugging. VSCode is a free and open source IDE released by Microsoft.
Go to https://code.visualstudio.com/, download the installer and follow the wizard to install it.
3. Building Sample Project for Electron Tutorial
Generally, an Electron app is structured like this:
your-app/
├── package.json
├── main.js
└── index.html
3.1 Creating Project Folder and package.json
$ cd ~
$ mkdir ElectronTutorial
$ cd ElectronTutorial
$ npm init
input the following information
{
  "name": "electron-tutorial",
  "version": "1.0.0",
  "description": "Develop cross-platform application with Electron",
  "main": "index.js",
  "scripts": {
    "test": "echo \"Error: no test specified\" && exit 1"
  },
  "author": "Johnny",
  "license": "GPL-3.0"
}
Then, a configuration file named ‘package.json’ will be created with the above content.
3.2 Creating main.js
const {app, BrowserWindow} = require('electron')
const url = require('url')
const path = require('path')

let win

function createWindow() {
   win = new BrowserWindow({width: 800, height: 600})
   win.loadURL(url.format ({
      pathname: path.join(__dirname, 'index.html'),
      protocol: 'file:',
      slashes: true
   }))
}

app.on('ready', createWindow)
3.3 Creating index.html
<!DOCTYPE html>
<html>
<head>
<meta charset = "UTF-8">
<title>Hello World!</title>
</head>
<body>
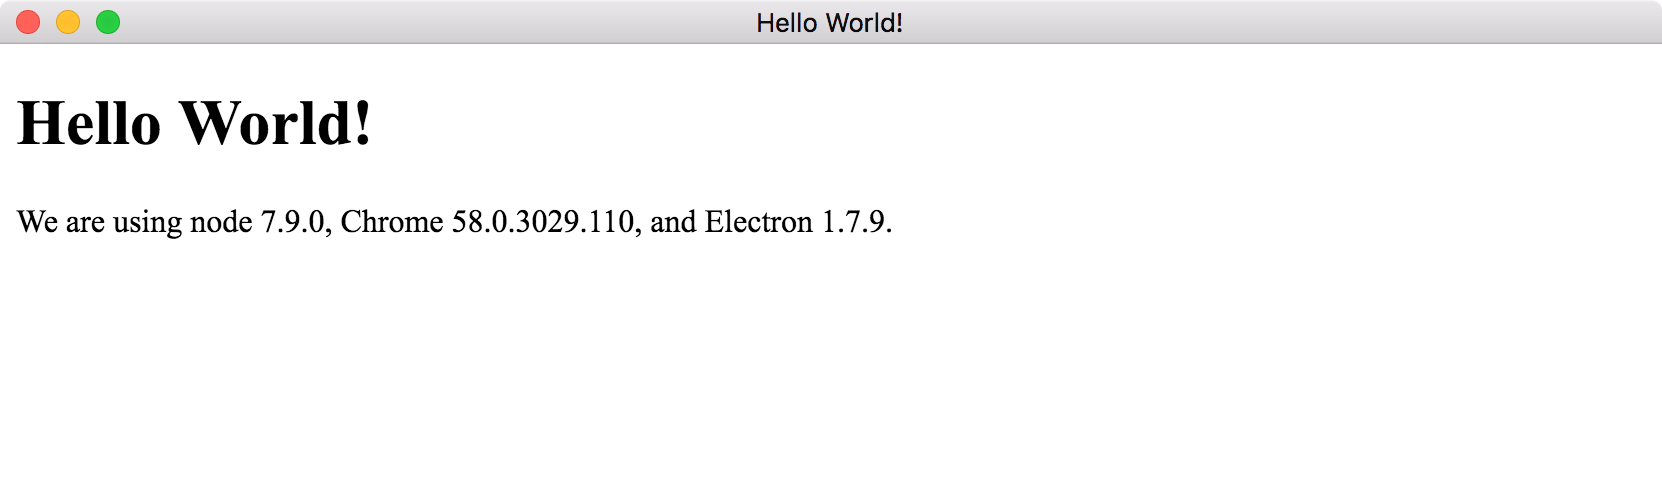
<h1>Hello World!</h1>
We are using node <script>document.write(process.versions.node)</script>,
Chrome <script>document.write(process.versions.chrome)</script>,
and Electron <script>document.write(process.versions.electron)</script>.
</body>
</html>
3.4 Launching Electron App
Run this app using the following command:
$ electron ./main.js
A new window will open up, showing ‘Hello World’.
4. Using Popular Libraries
We can leverage all the available tools for front-end web development in Electron. For example, you can use bootstrap, jQuery, AngularJs or ReactJs to build Electron apps.
4.1 Installing Packages
$ npm install -g bower       //Install Bower
$ bower install bootstrap    //Install bootstrap
$ npm install --save jquery  //Install jQuery
4.2 Building UI
1) Update index.html with the following content.
<!DOCTYPE html>
<html>
<head>
<meta charset = "UTF-8">
<title>Hello World!</title>
<link rel = "stylesheet"
href = "./bower_components/bootstrap/dist/css/bootstrap.min.css" />
</head>
<body>
<div class = "container">
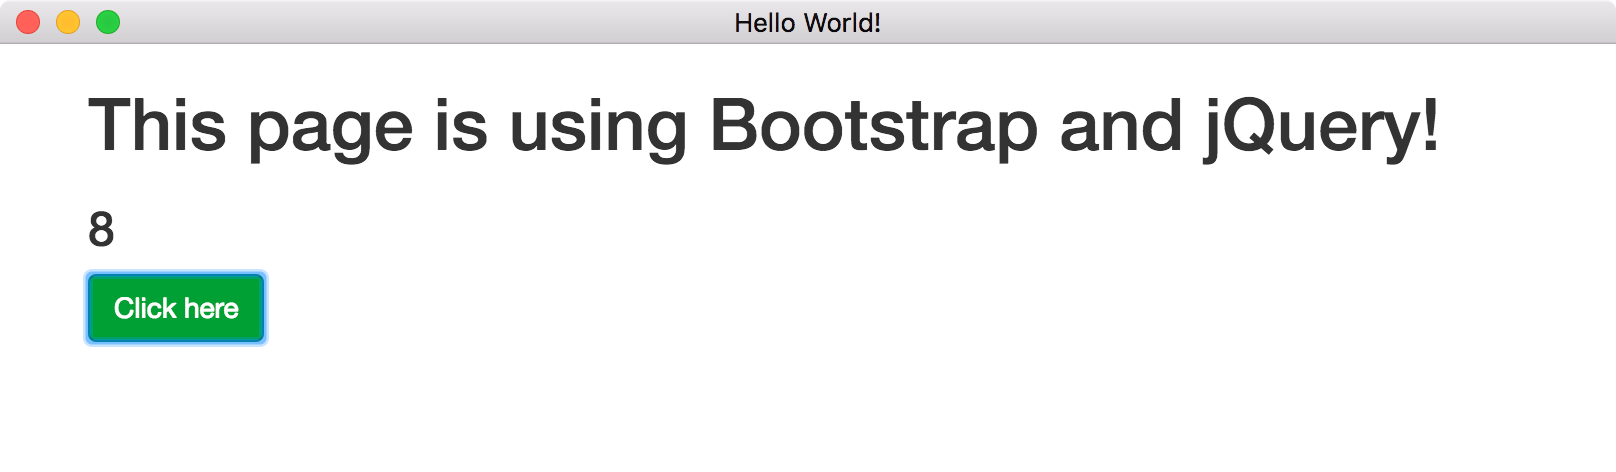
<h1>This page is using Bootstrap and jQuery!</h1>
<h3 id = "click-counter"></h3>
<button class = "btn btn-success" id = "countbtn">Click here</button>
<script src = "./view.js" ></script>
</div>
</body>
</html>
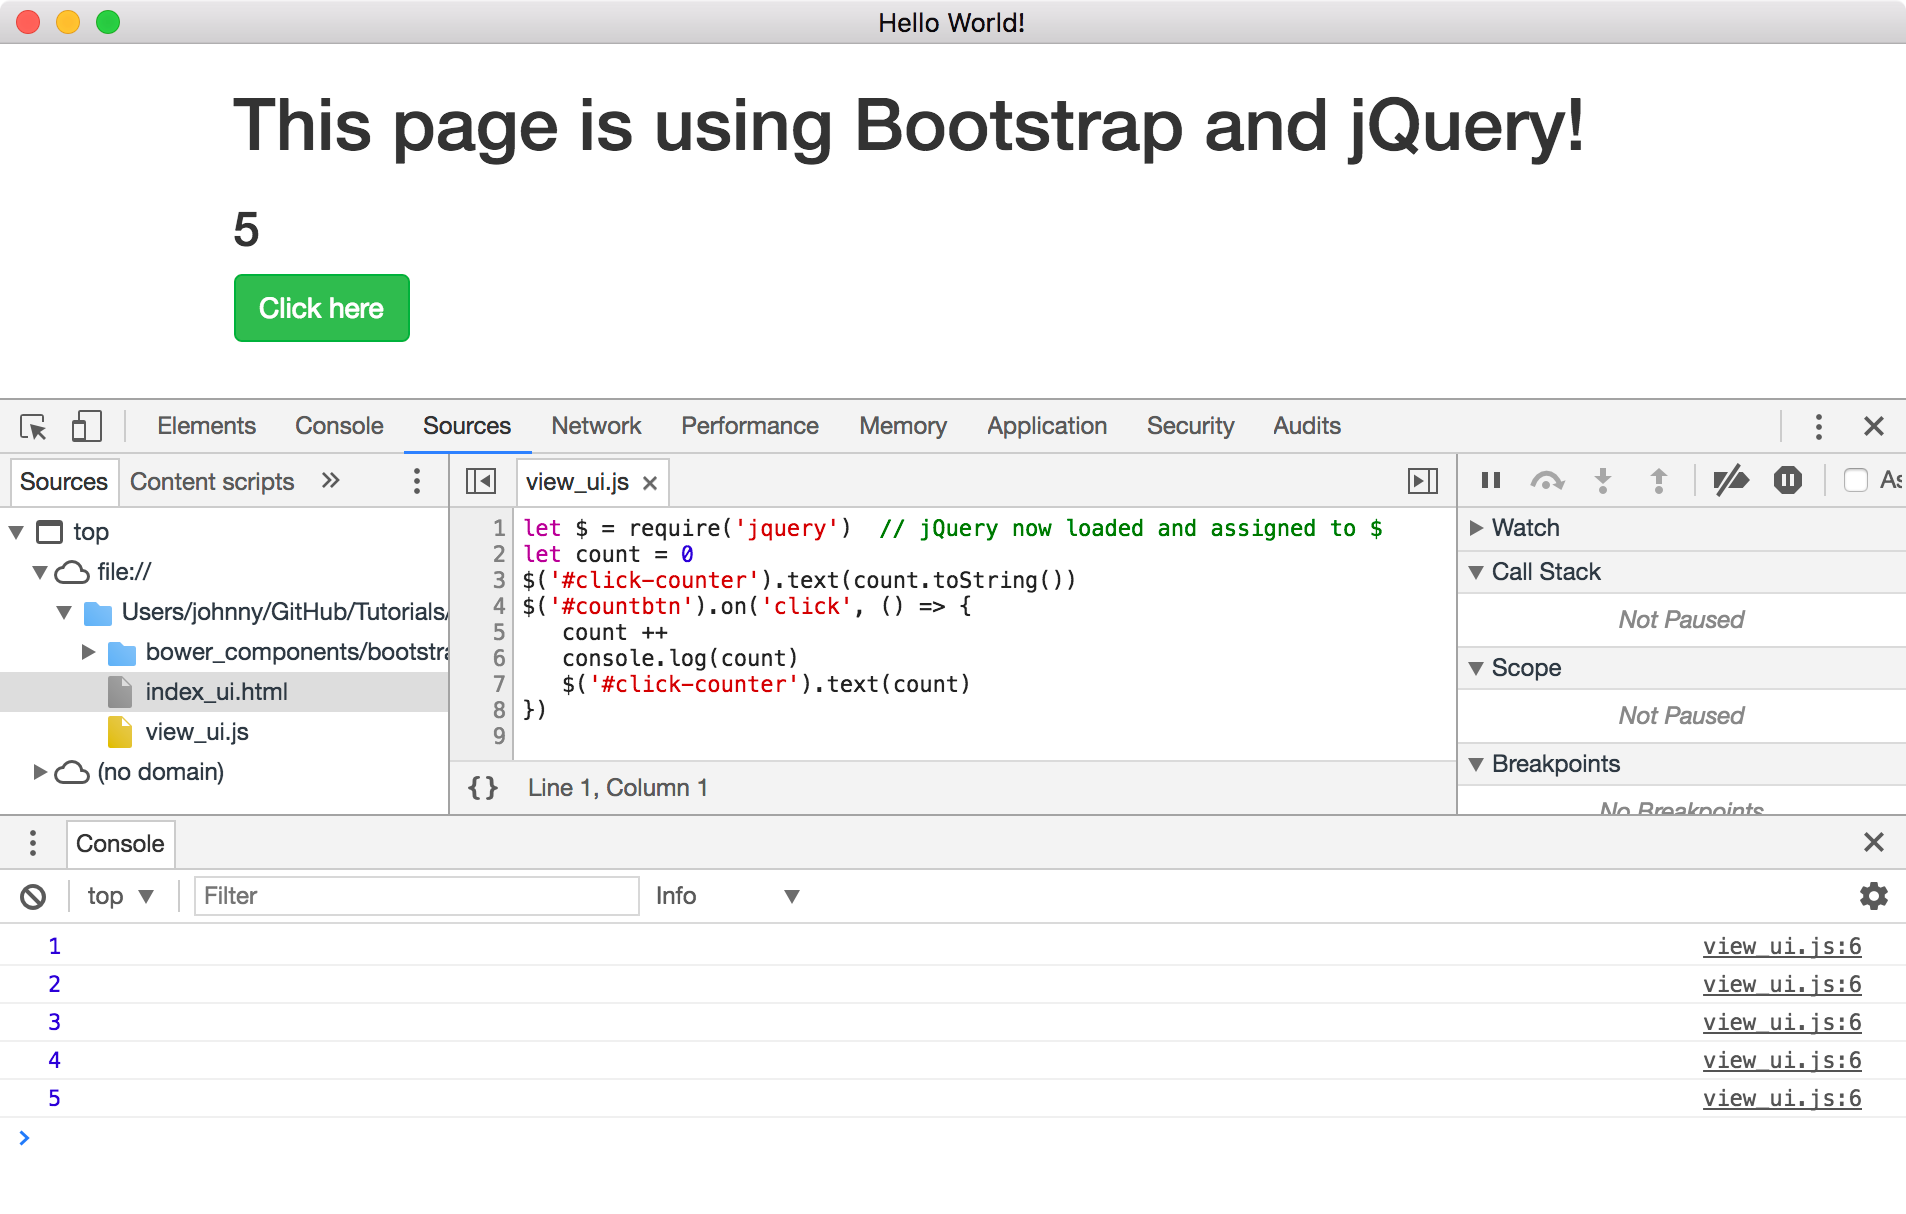
2) Create view.js and enter the click counter logic in it.
let $ = require('jquery')  // jQuery now loaded and assigned to $
let count = 0
$('#click-counter').text(count.toString())
$('#countbtn').on('click', () => {
   count ++
   console.log(count)
   $('#click-counter').text(count)
})
3) Run this app using the following command:
$ electron ./main.js
A new window will open up, showing bootstrap UI.
5. Inter Process Communication
Electron provides us with 2 IPC (Inter Process Communication) modules called ipcMain and ipcRenderer.
- The ipcMain module is used to communicate asynchronously from the main process to renderer processes.
- The ipcRenderer module is used to communicate asynchronously from a renderer process to the main process.
5.1 Creating index.html
<!DOCTYPE html>
<html>
<head>
<meta charset="UTF-8">
<title>File read using system dialogs</title>
<link rel = "stylesheet"
href = "./bower_components/bootstrap/dist/css/bootstrap.min.css" />
</head>
<body>
<div class = "container">
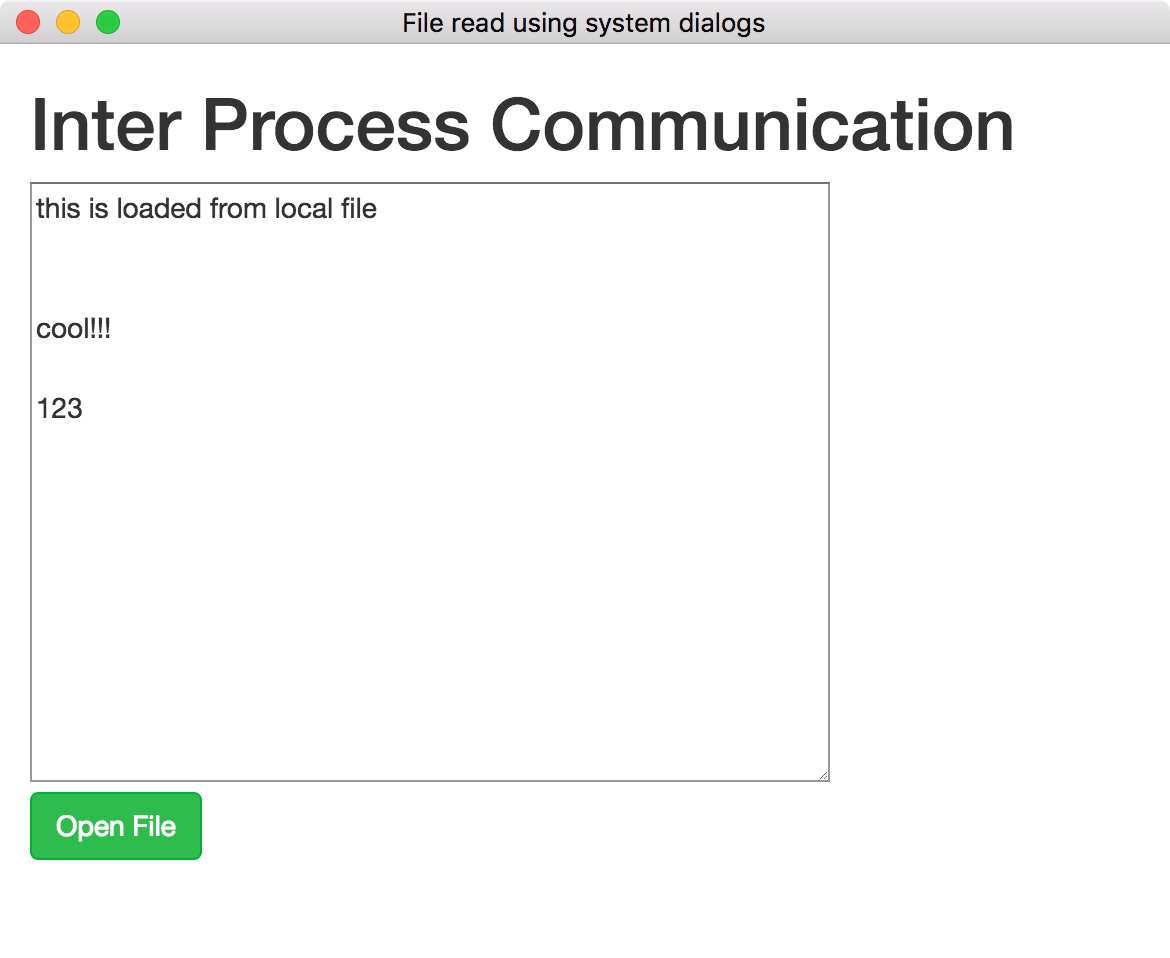
<h1>Inter Process Communication</h1>
<textarea id="editor" style="width: 400px; height: 300px;"></textarea>
<div>
<button class = "btn btn-success" id = "open">Open File</button>
</div>
<script src = "./view_dialog.js" ></script>
</div>
</body>
</html>
5.2 Creating main.js
In this example, ipcMain receives ‘openFile’ request from ipcRenderer, and open a dialog to read content from file. Then, notify ipcRenderer and send data to it.
const {app, BrowserWindow} = require('electron')
const url = require('url')
const path = require('path')
const {ipcMain} = require('electron')

let win

function createWindow() {
   win = new BrowserWindow({width: 800, height: 600})
   win.loadURL(url.format({
      pathname: path.join(__dirname, 'index_dialog.html'),
      protocol: 'file:',
      slashes: true
   }))
}

ipcMain.on('openFile', (event, path) => {
      const {dialog} = require('electron')
      const fs = require('fs')
      dialog.showOpenDialog({ filters: [{ name: 'text', extensions: ['txt']}]}, function (fileNames) {
            // fileNames is an array that contains all the selected
            if(fileNames === undefined){
                  console.log("No file selected");
            }else{
                  readFile(fileNames[0]);
            }
      });

      function readFile(filepath){
            fileName = filepath
            fs.readFile(filepath, 'utf-8', (err, data) => {
            if(err){
                  alert("An error ocurred reading the file :" + err.message)
                  return
            }
            // handle the file content
            event.sender.send('fileData', data)
            })
      }
})
app.on('ready', createWindow)
5.3 Creating view_dialog.js
When open button is click, ipcRenderer send a ‘openFile’ request to ipcMain. Later, it receives the data from ipcMain and show it in the textbox.
let $ = require('jquery')
const {ipcRenderer} = require('electron')

$('#open').on('click', () => {
    ipcRenderer.send('openFile', () => {
        console.log("Event sent.");
    })

    ipcRenderer.on('fileData', (event, data) => {
        $("#editor").val(data);
    })
})
5.4 Running
Run this app using the following command:
$ electron ./main.js
A new window will open up, showing a textbox and a button. Click on that button, select a txt file, then its content would be shown in the textbox.
6. Debugging
6.1 Developer Tools in Chrome
You can use the chrome’s developer tools for Electron apps. Shortcut: Command + Option + I.
6.2 Debugging with VSCode
You can also use VSCode for debugging main process.
1) Create ‘.vscode’ folder in the root of project. Then, create launch.json file inside it.
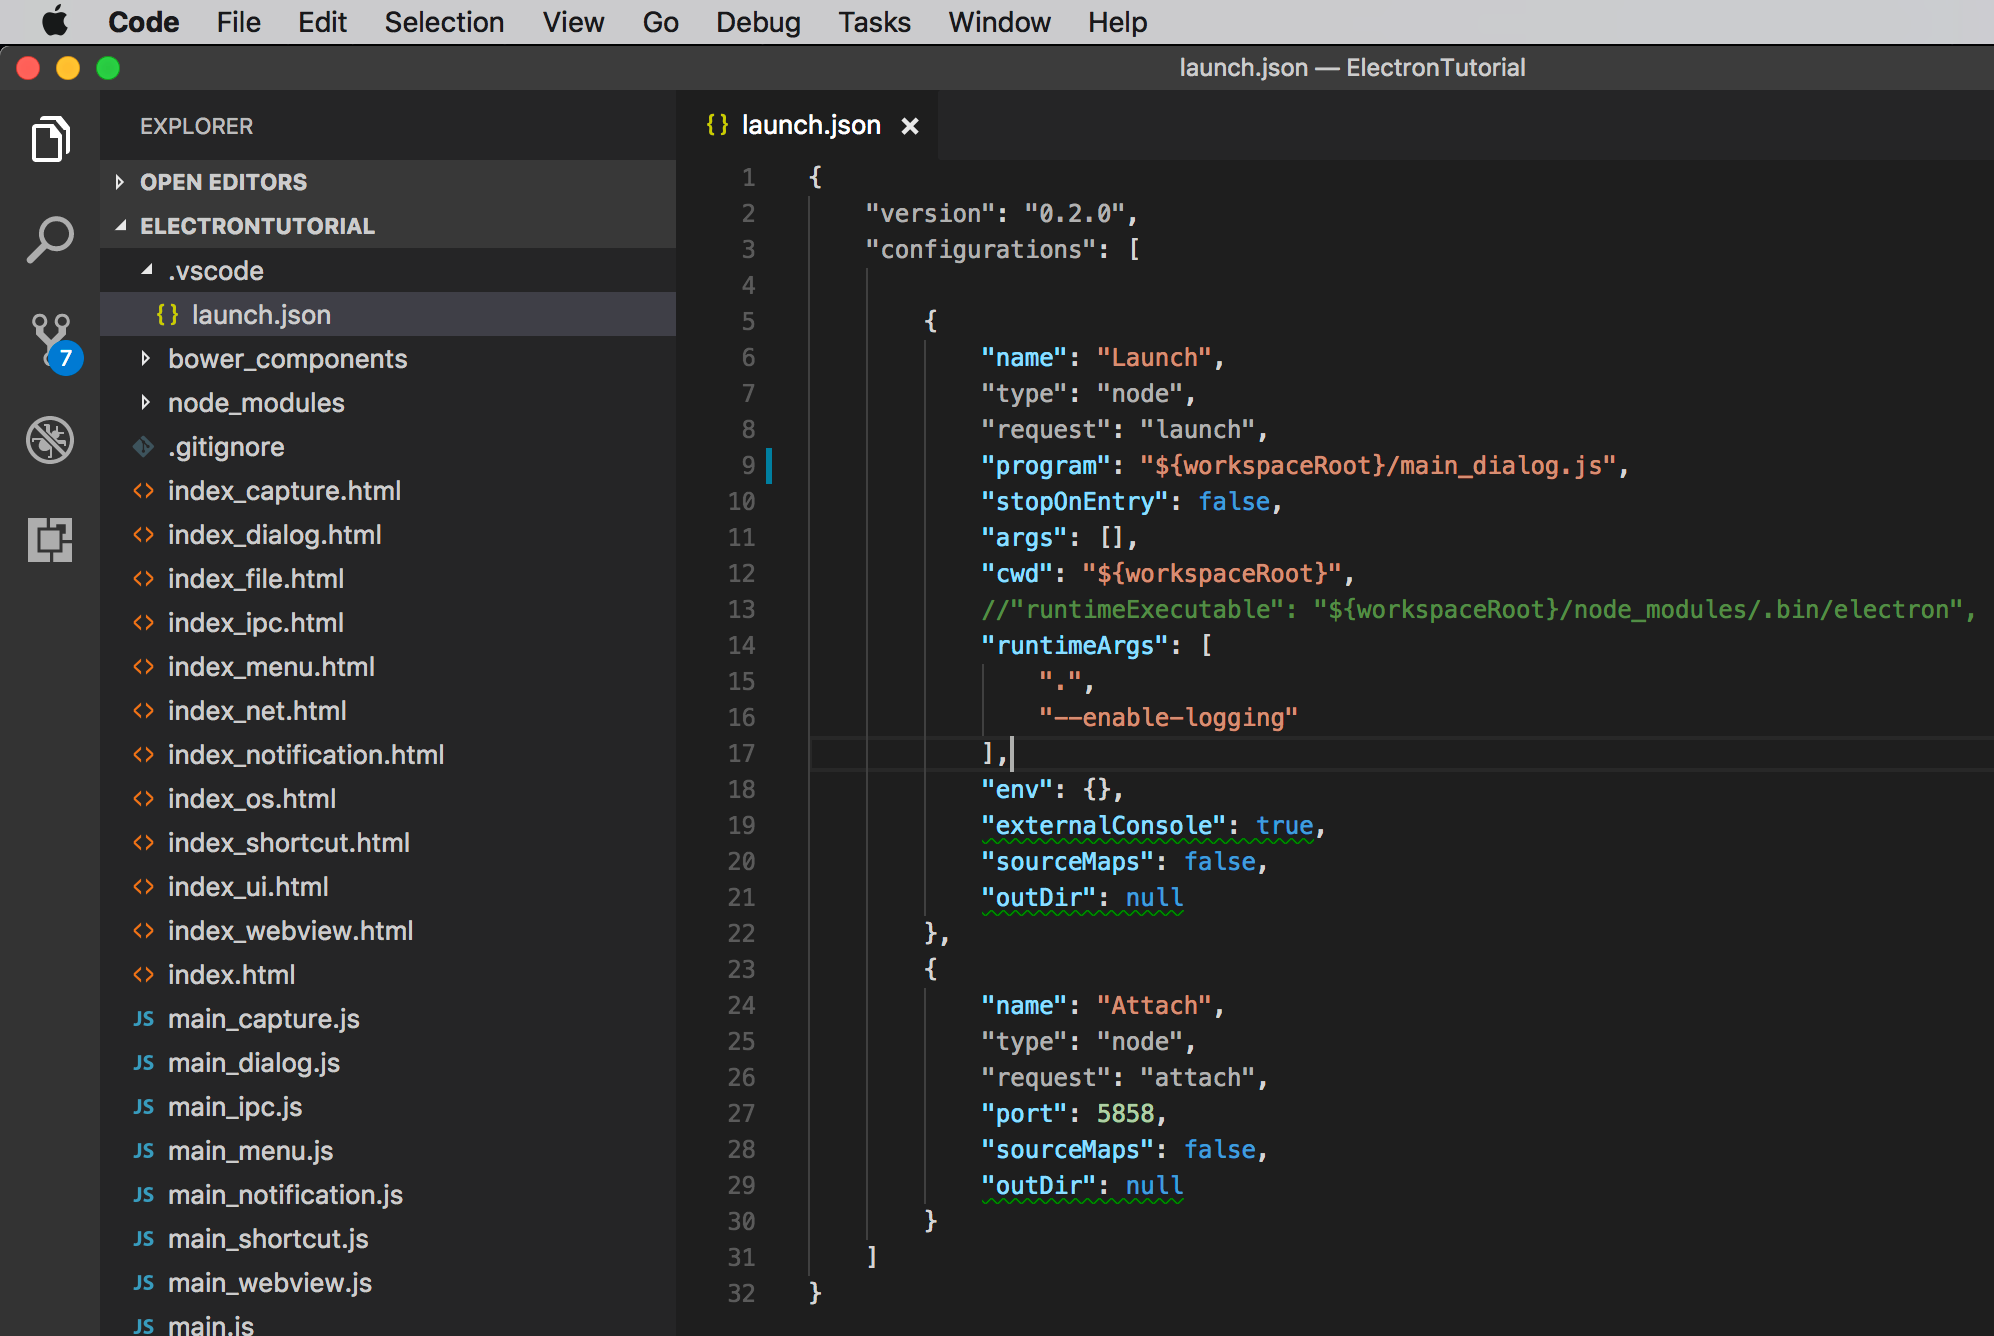
Paste the following content to launch.json.
{
    "version": "0.2.0",
    "configurations": [

        {
            "name": "Launch",
            "type": "node",
            "request": "launch",
            "program": "${workspaceRoot}/main_dialog.js",
            "stopOnEntry": false,
            "args": [],
            "cwd": "${workspaceRoot}",
            "runtimeArgs": [
                ".",
                "--enable-logging"
            ],
            "env": {},
            "externalConsole": true,
            "sourceMaps": false,
            "outDir": null
        },
        {
            "name": "Attach",
            "type": "node",
            "request": "attach",
            "port": 5858,
            "sourceMaps": false,
            "outDir": null
        }
    ]
}
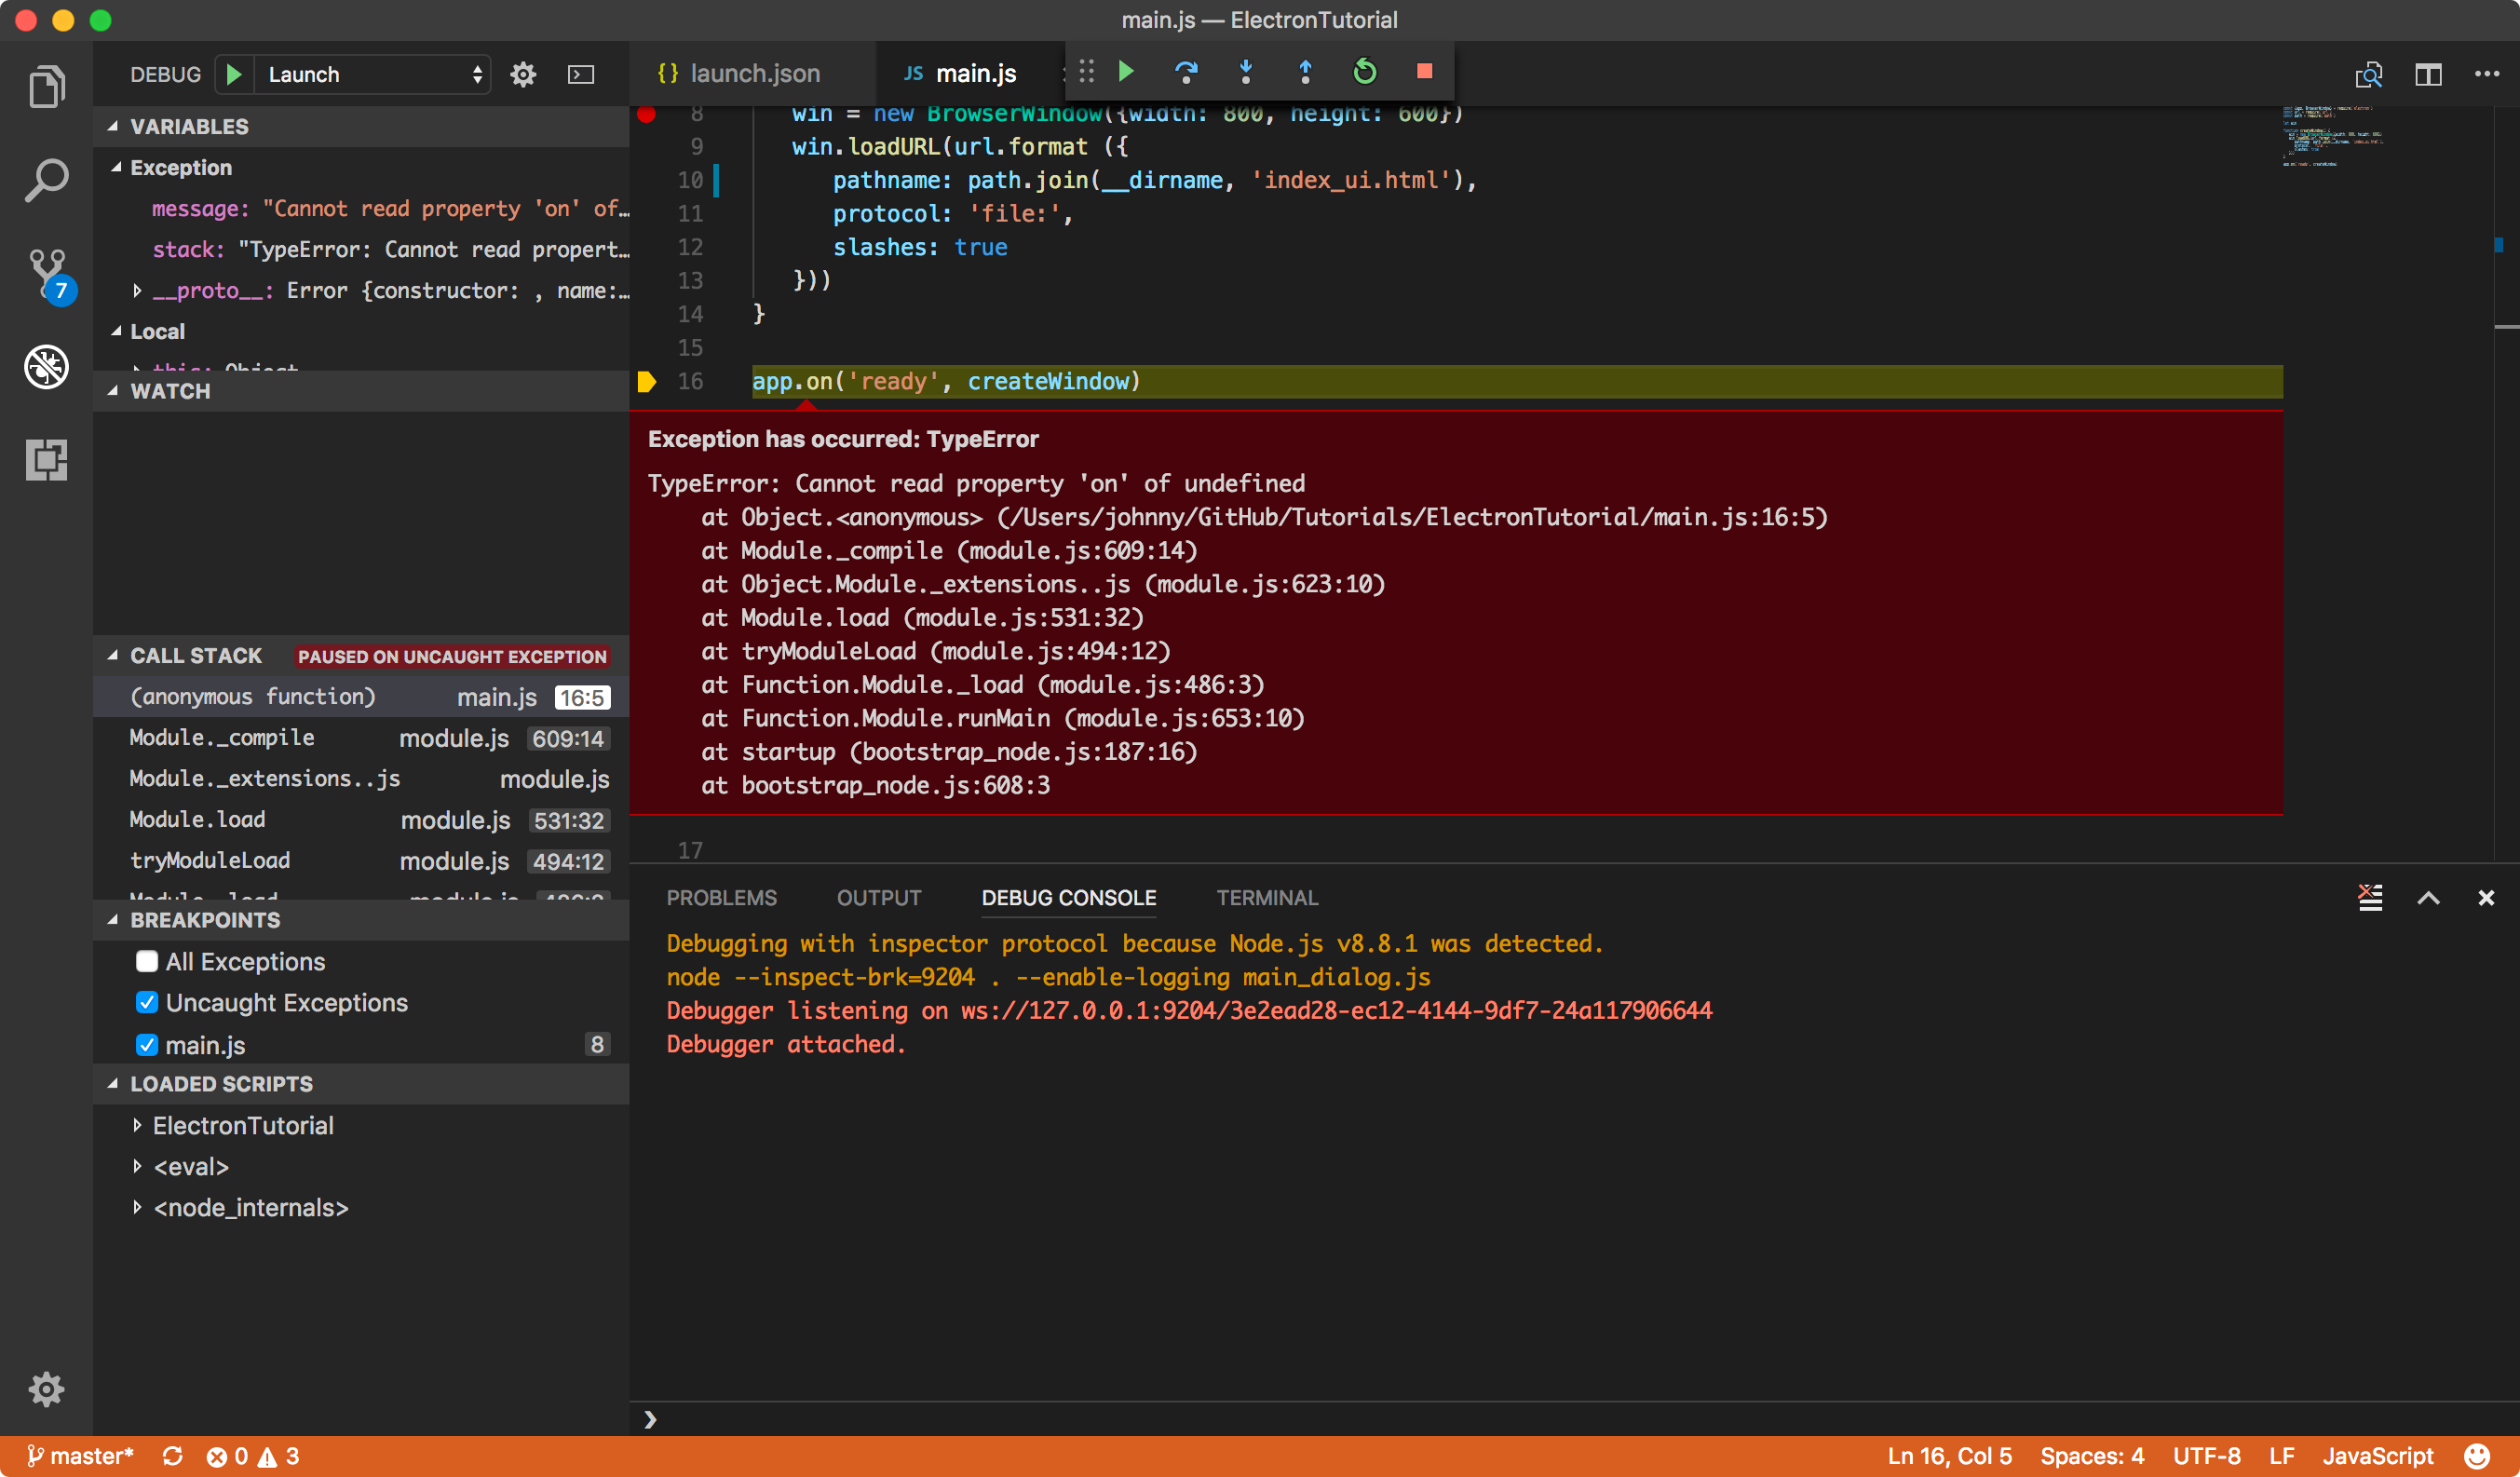
2) In VSCopde, Debug->Start Debugging.
7. Packaging
There are two modules support you to package your Electron apps.
- electron-builder
- electron-packager
I will use the electron-builder for packaging.
Install electron-builder
$ npm install electron-builder --save-dev
Add the following content to package.json.
{
  "scripts": {
    "postinstall": "install-app-deps",
    "start": "npm install && electron ./app",
    "pack": "build --dir",
    "dist": "build"
  },
  "build": {
    "appId": "yourappid",
    "dmg": {
      "contents": [
        {
          "x": 110,
          "y": 150
        },
        {
          "x": 240,
          "y": 150,
          "type": "link",
          "path": "/Applications"
        }
      ]
    },
    "linux": {
      "target": [
        "AppImage",
        "deb"
      ]
    },
    "win": {
      "target": "squirrel",
      "icon": "build/icon.ico"
    }
  }
}
Use the following command to package your app into an installer:
$ npm run dist
You will get the update from builder.
$ npm run dist
> electron-tutorial@1.0.0 dist /Tutorials/ElectronTutorial
> build
electron-builder 19.26.3
No native production dependencies
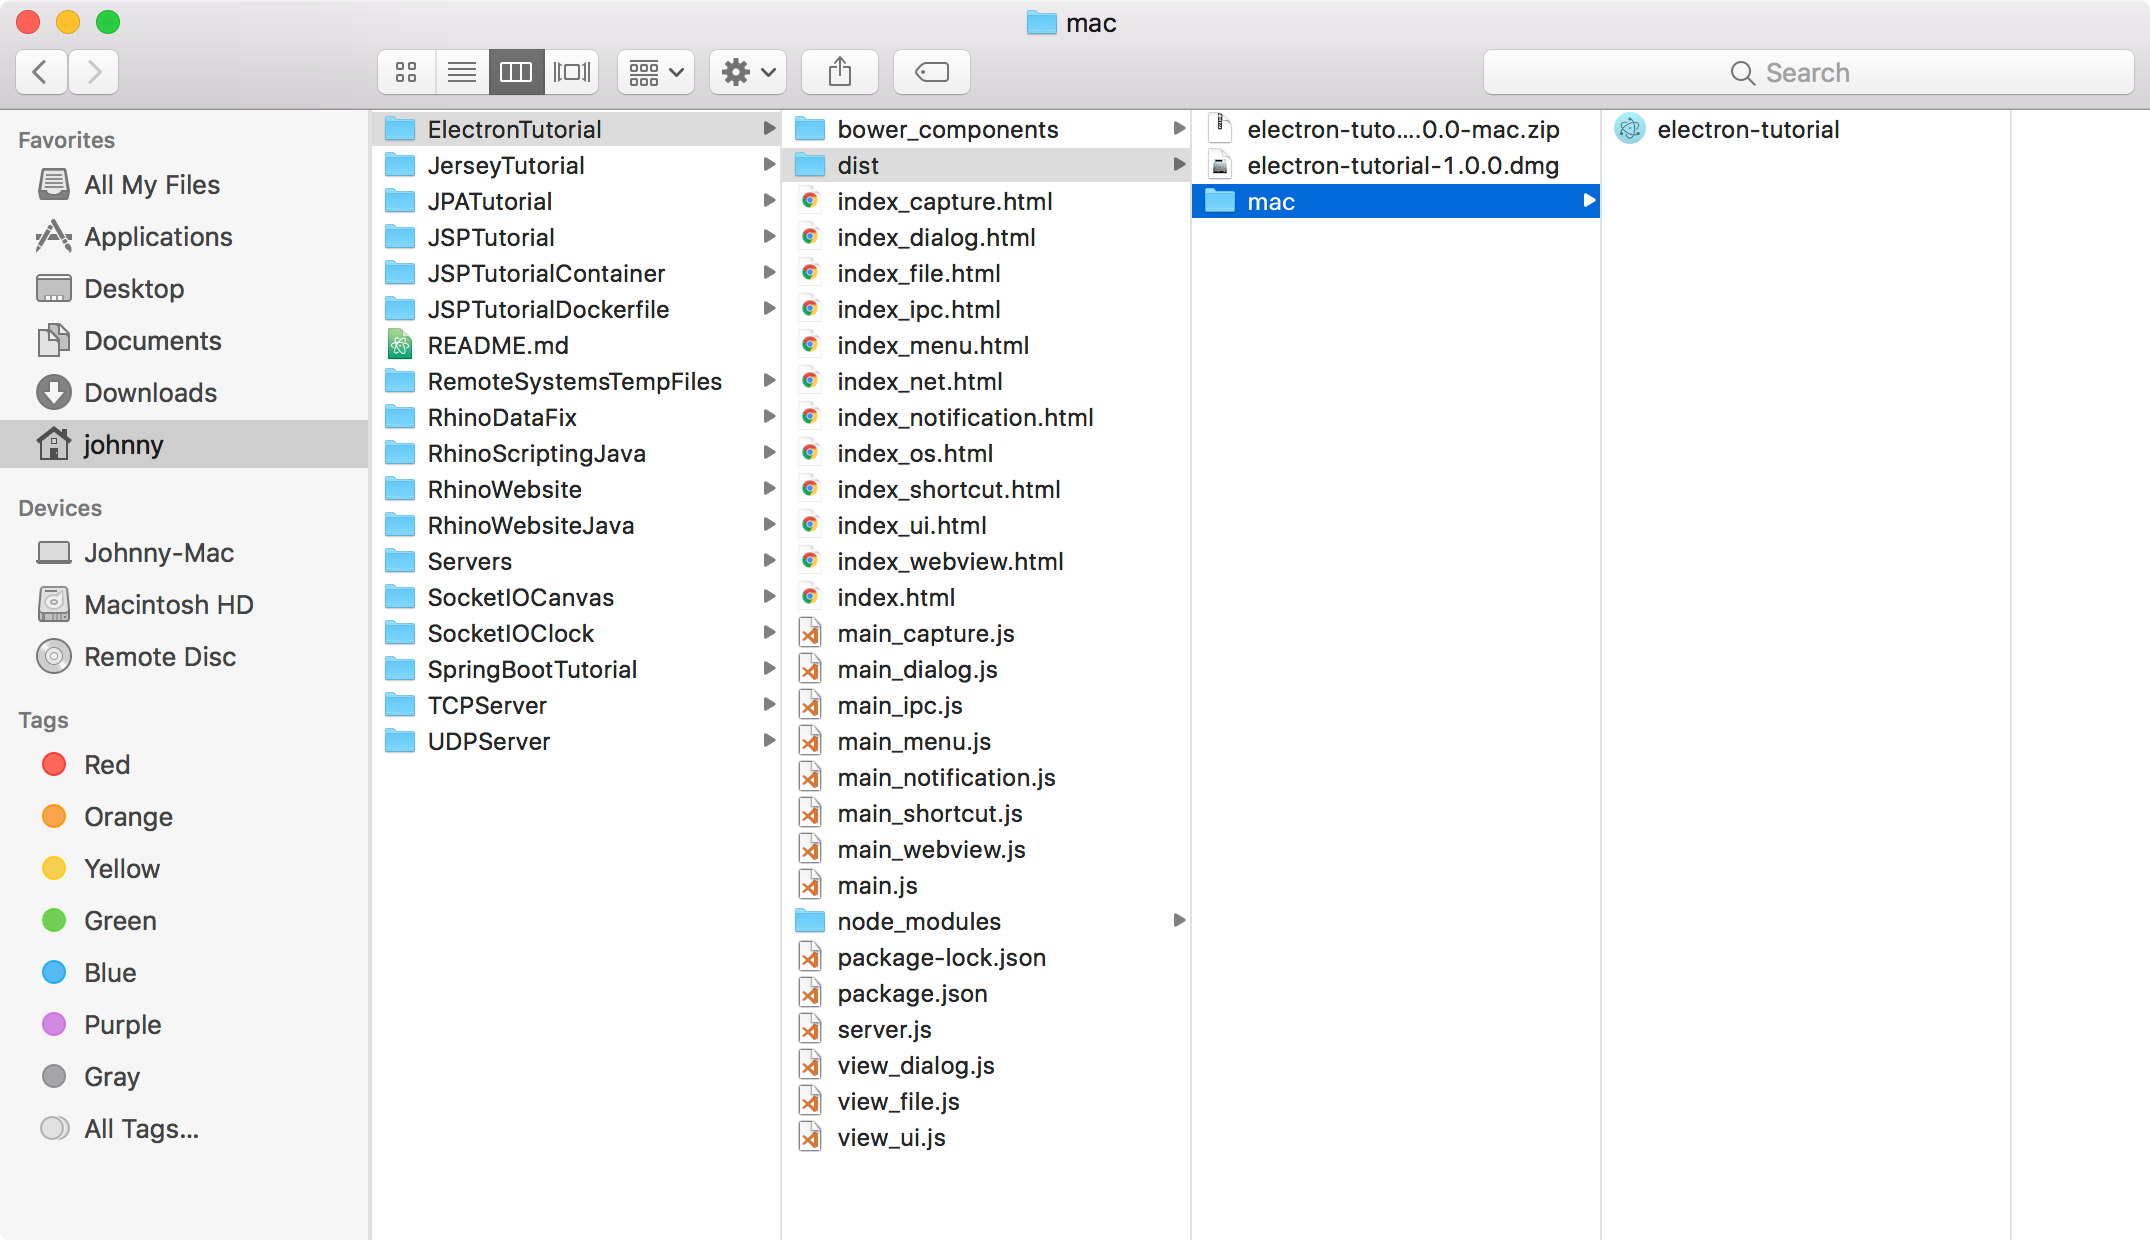
Packaging for darwin x64 using electron 1.4.13 to dist/mac
Building macOS zip
Building DMG
Finally, you will get the executable file electron-tutorial and installer in dist folder.