8614. Deploying ASP.NET RESTful API to AzureAzure
Deploy the RESTful API built with ASP.NET Core to Azure.
1. ASP.NET Core Project
Download the project from Github.
git clone https://github.com/jojozhuang/restful-api-aspnet.git
2. Publish
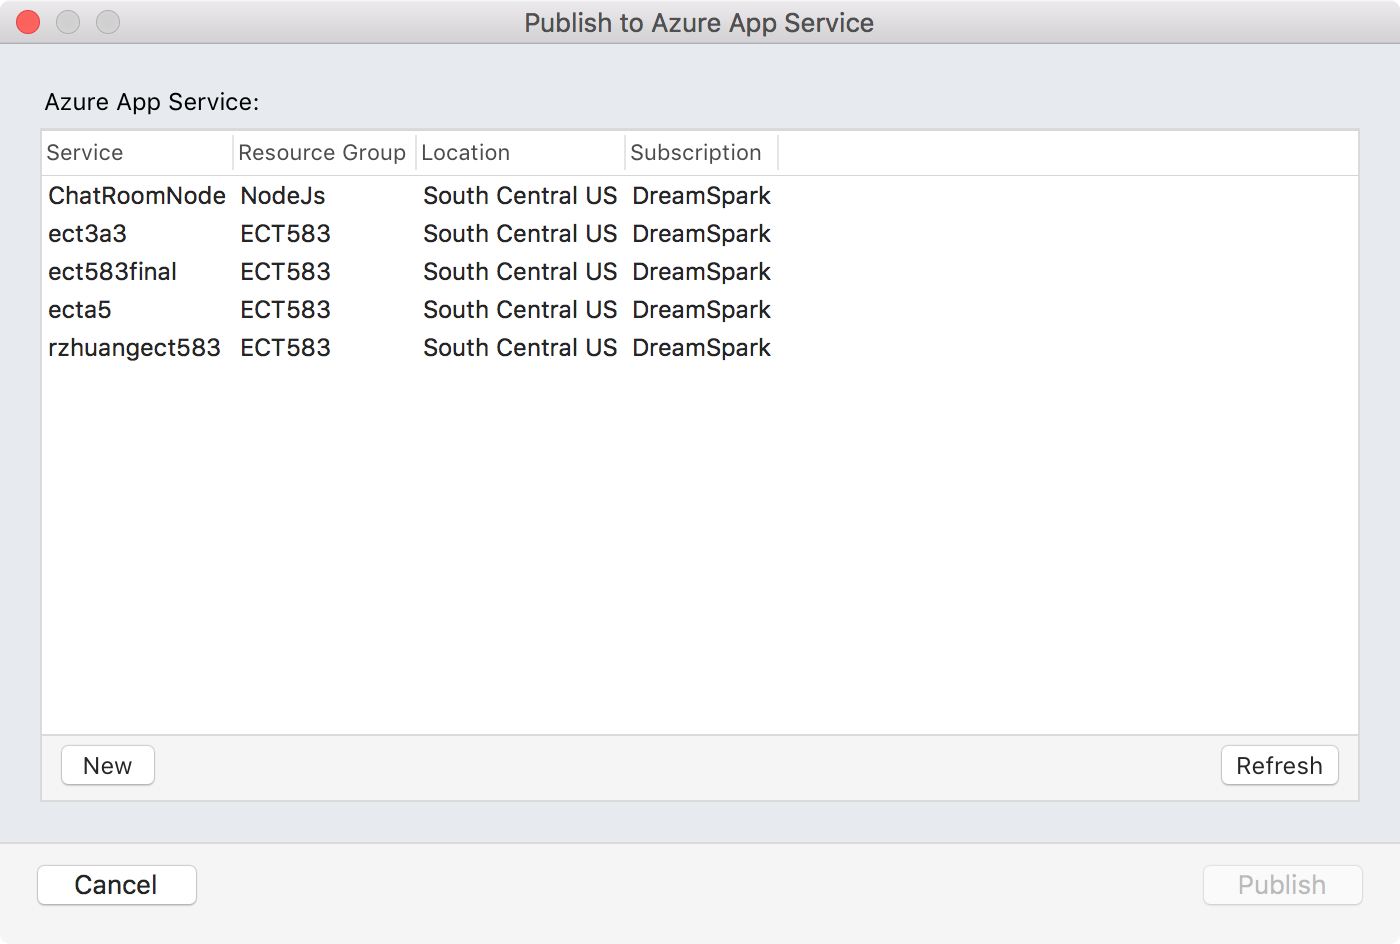
Open this ASP.NET project in Microsoft Visual Studio, compile it. Then, right click on the project and choose ‘Publish’ -> ‘Publish to Azure’.
After login with your Azure account, you should see the existing app services on Azure. Click the ‘New’ button.
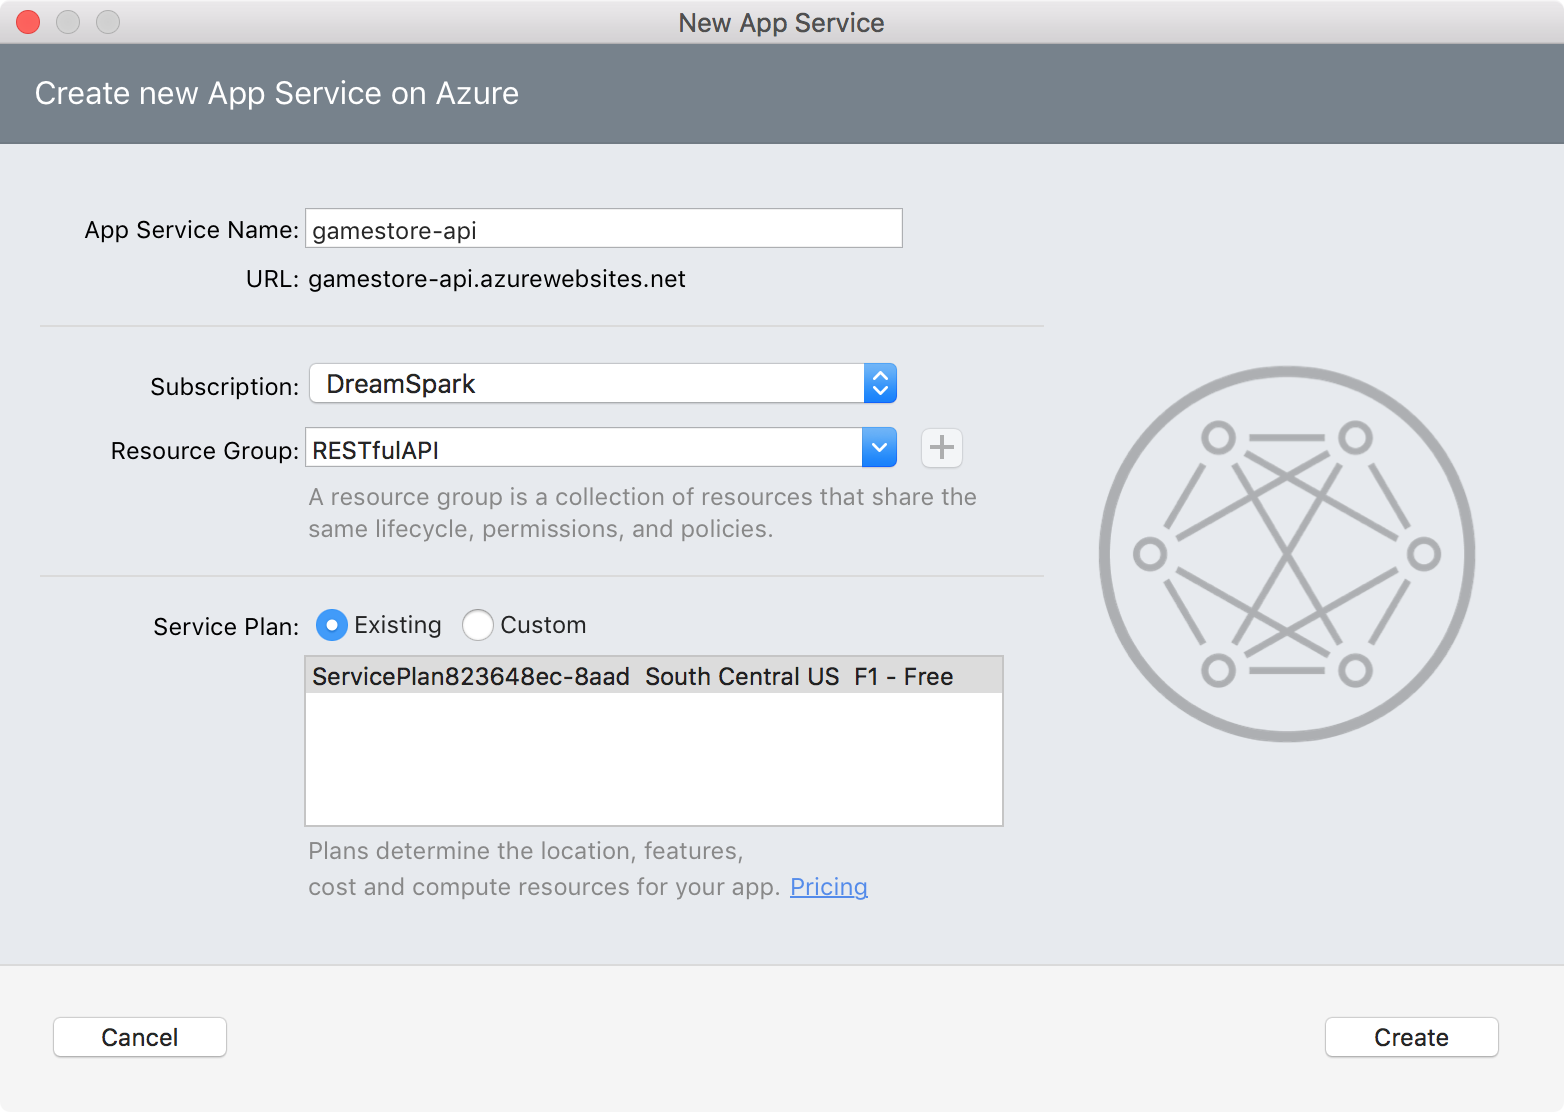
Set the App Name, Subscription and Resource Group, click ‘Create’ button.
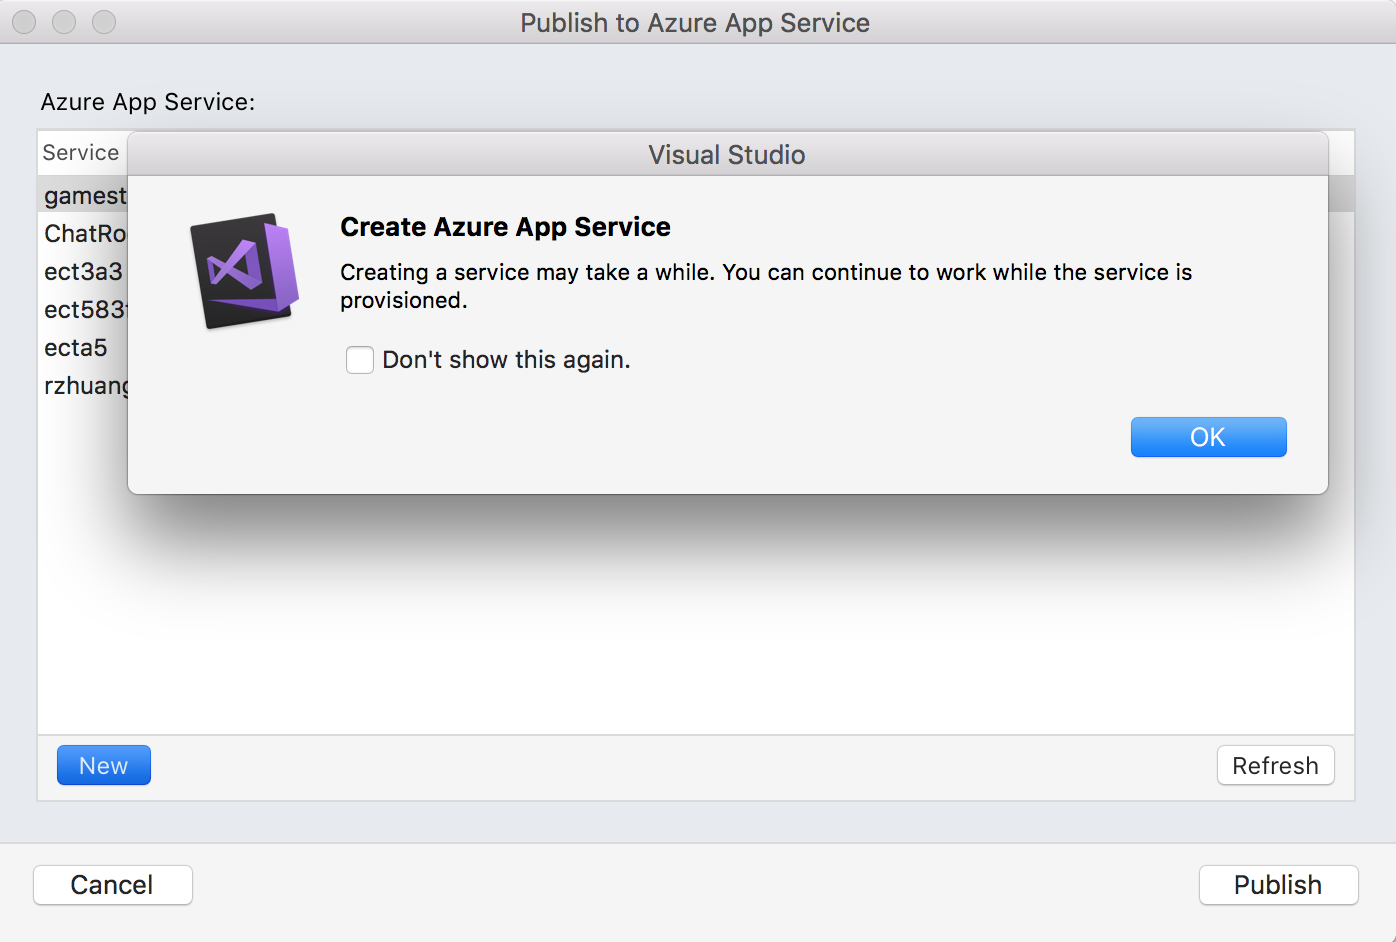
Visual Studio will start deploying the RESTful Api to Azure.
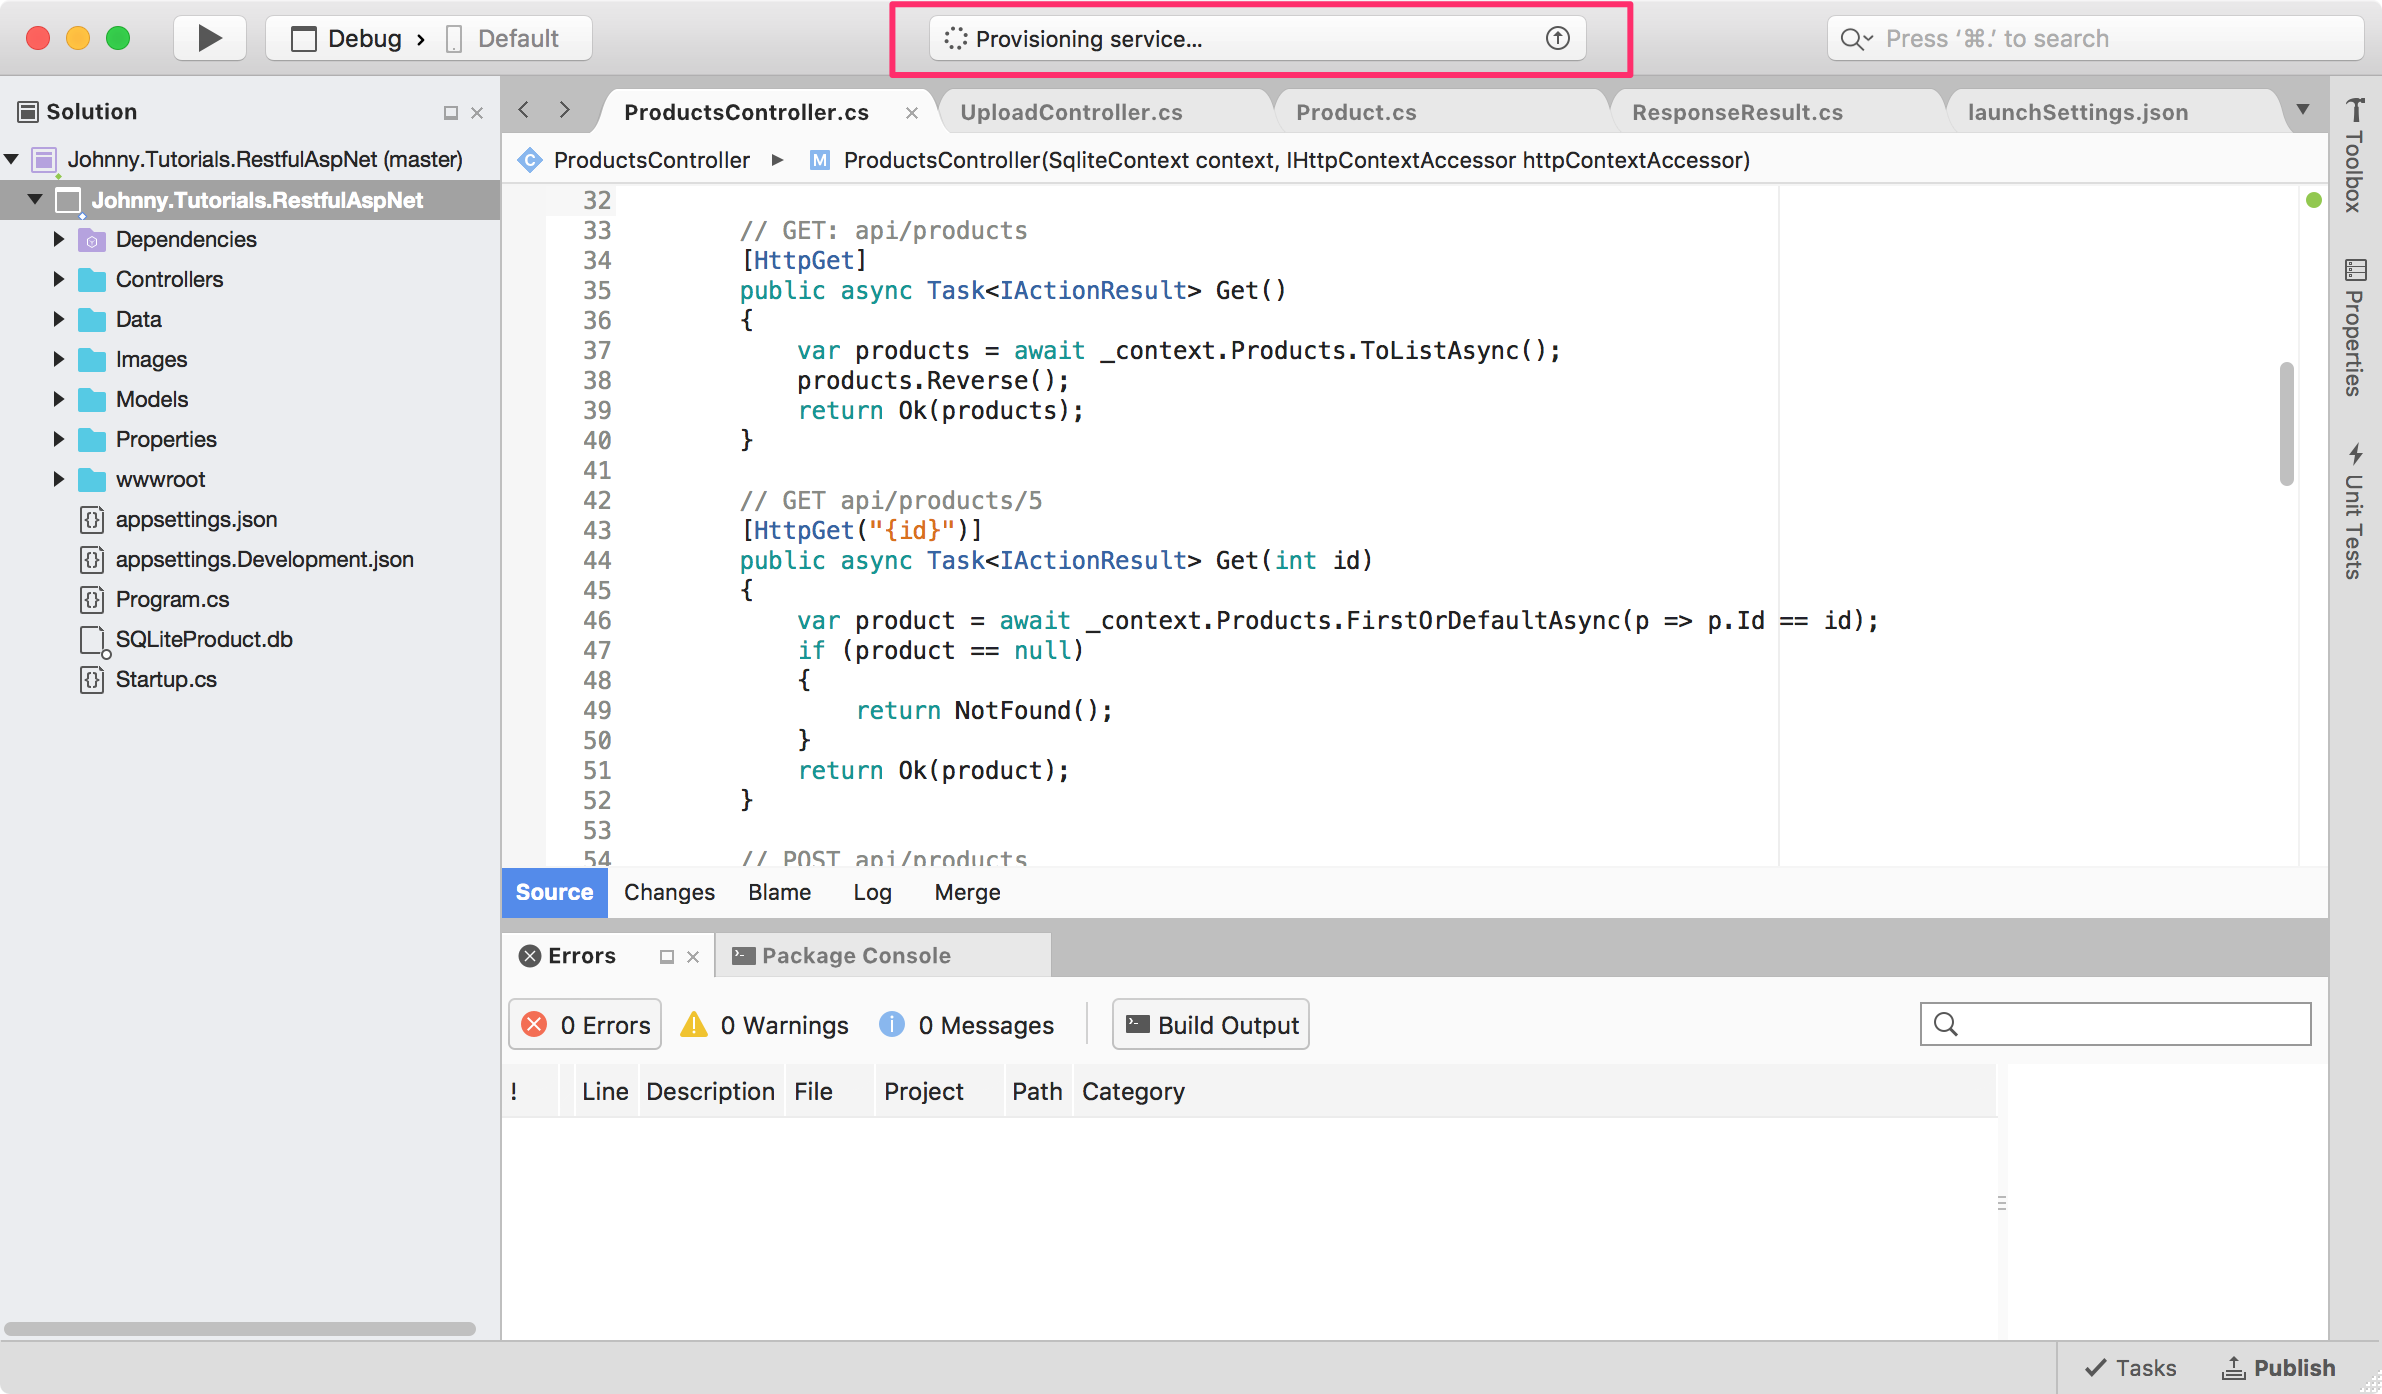
On the top of Visual Studio, you should see the deployment status.
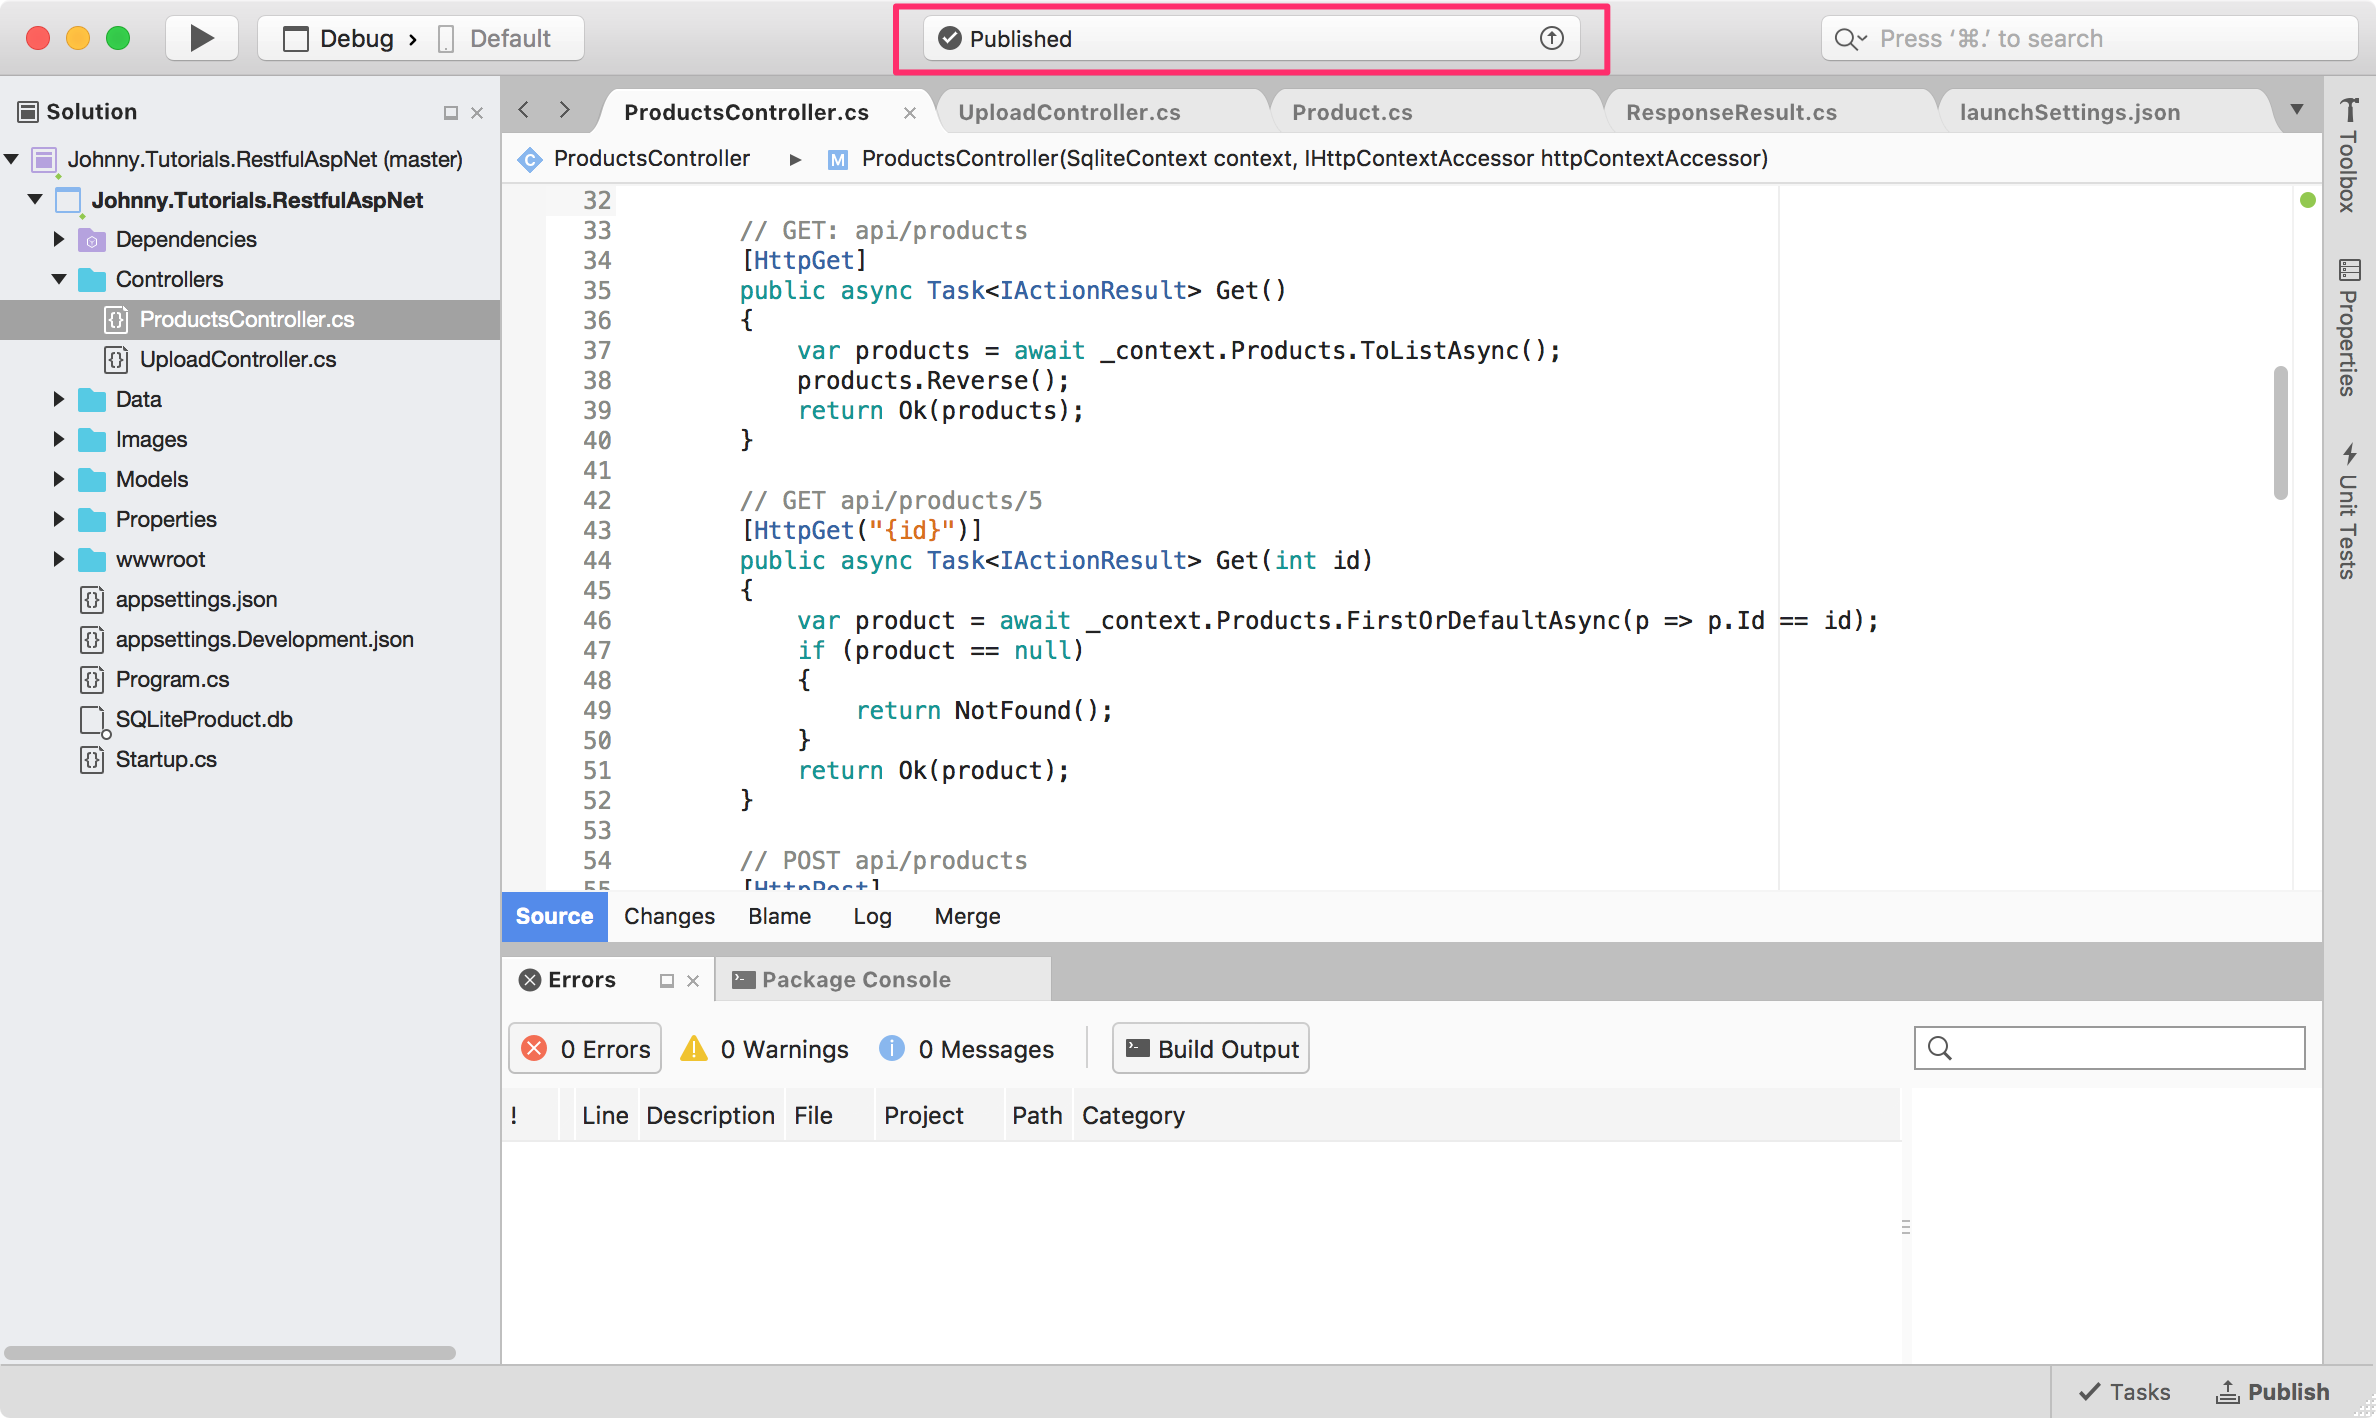
And it shows ‘Published’ when it’s done.
3. Azure Portal
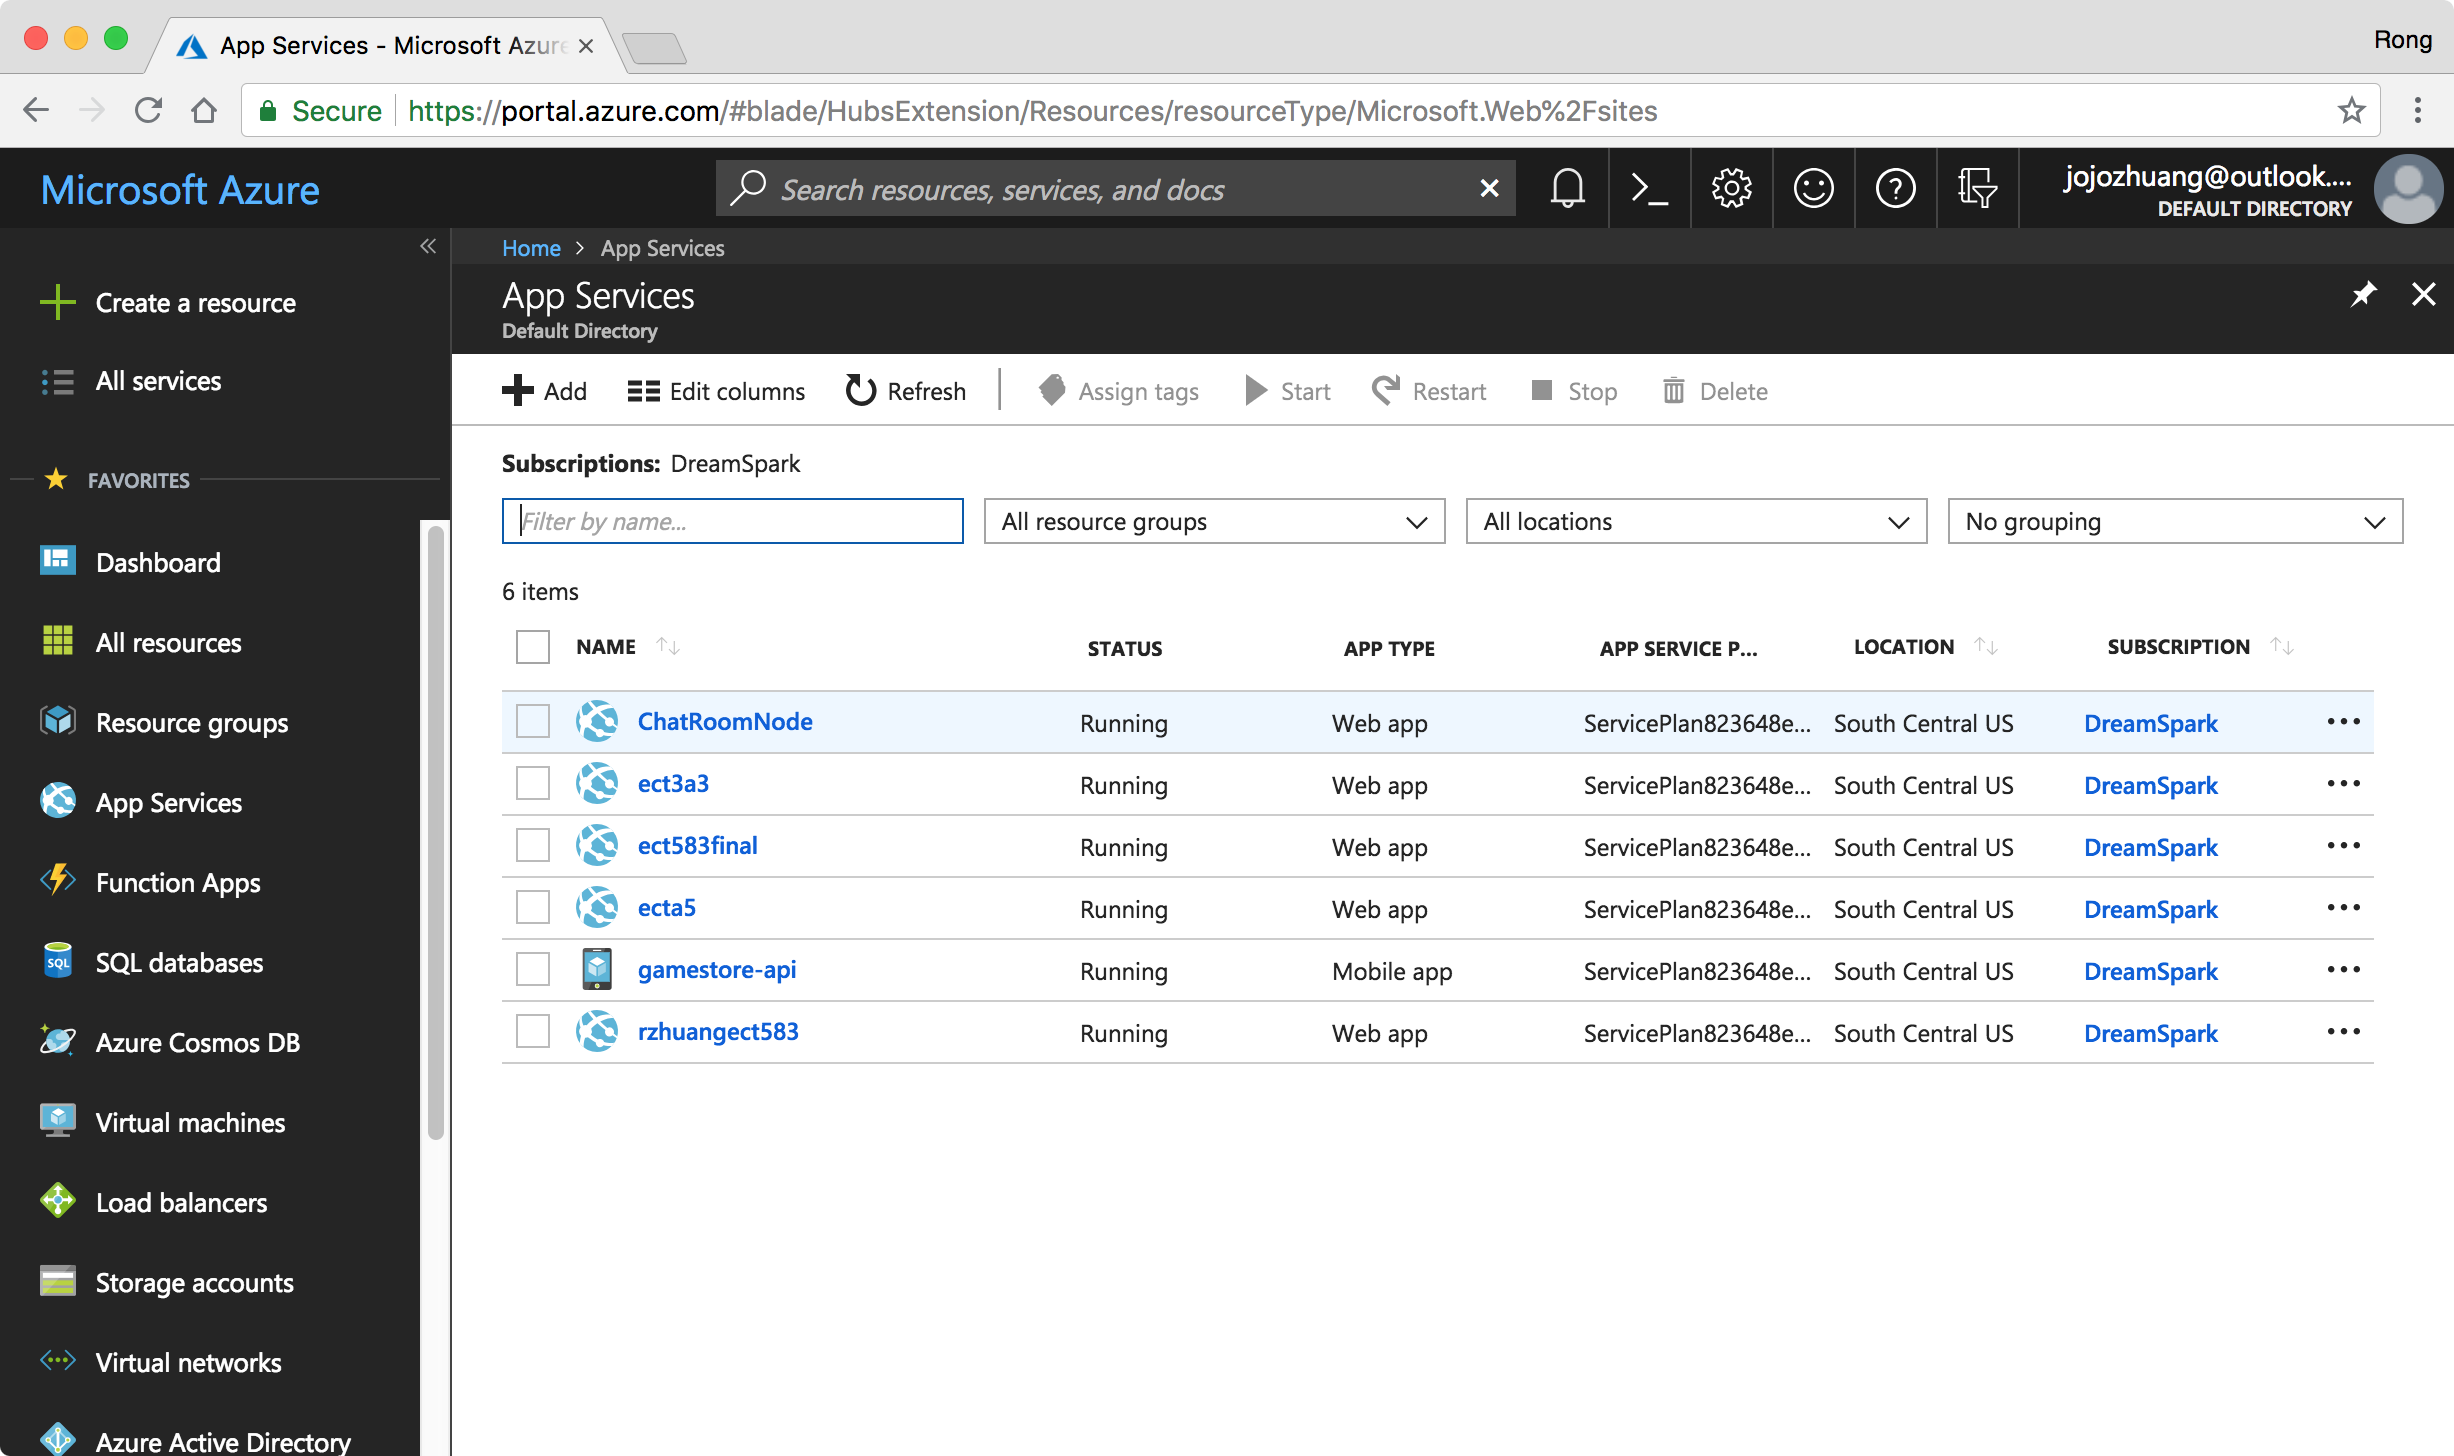
Log onto Azure Portal: https://portal.azure.com/. Go to App Services, we see the ‘gamestore-api’ service.
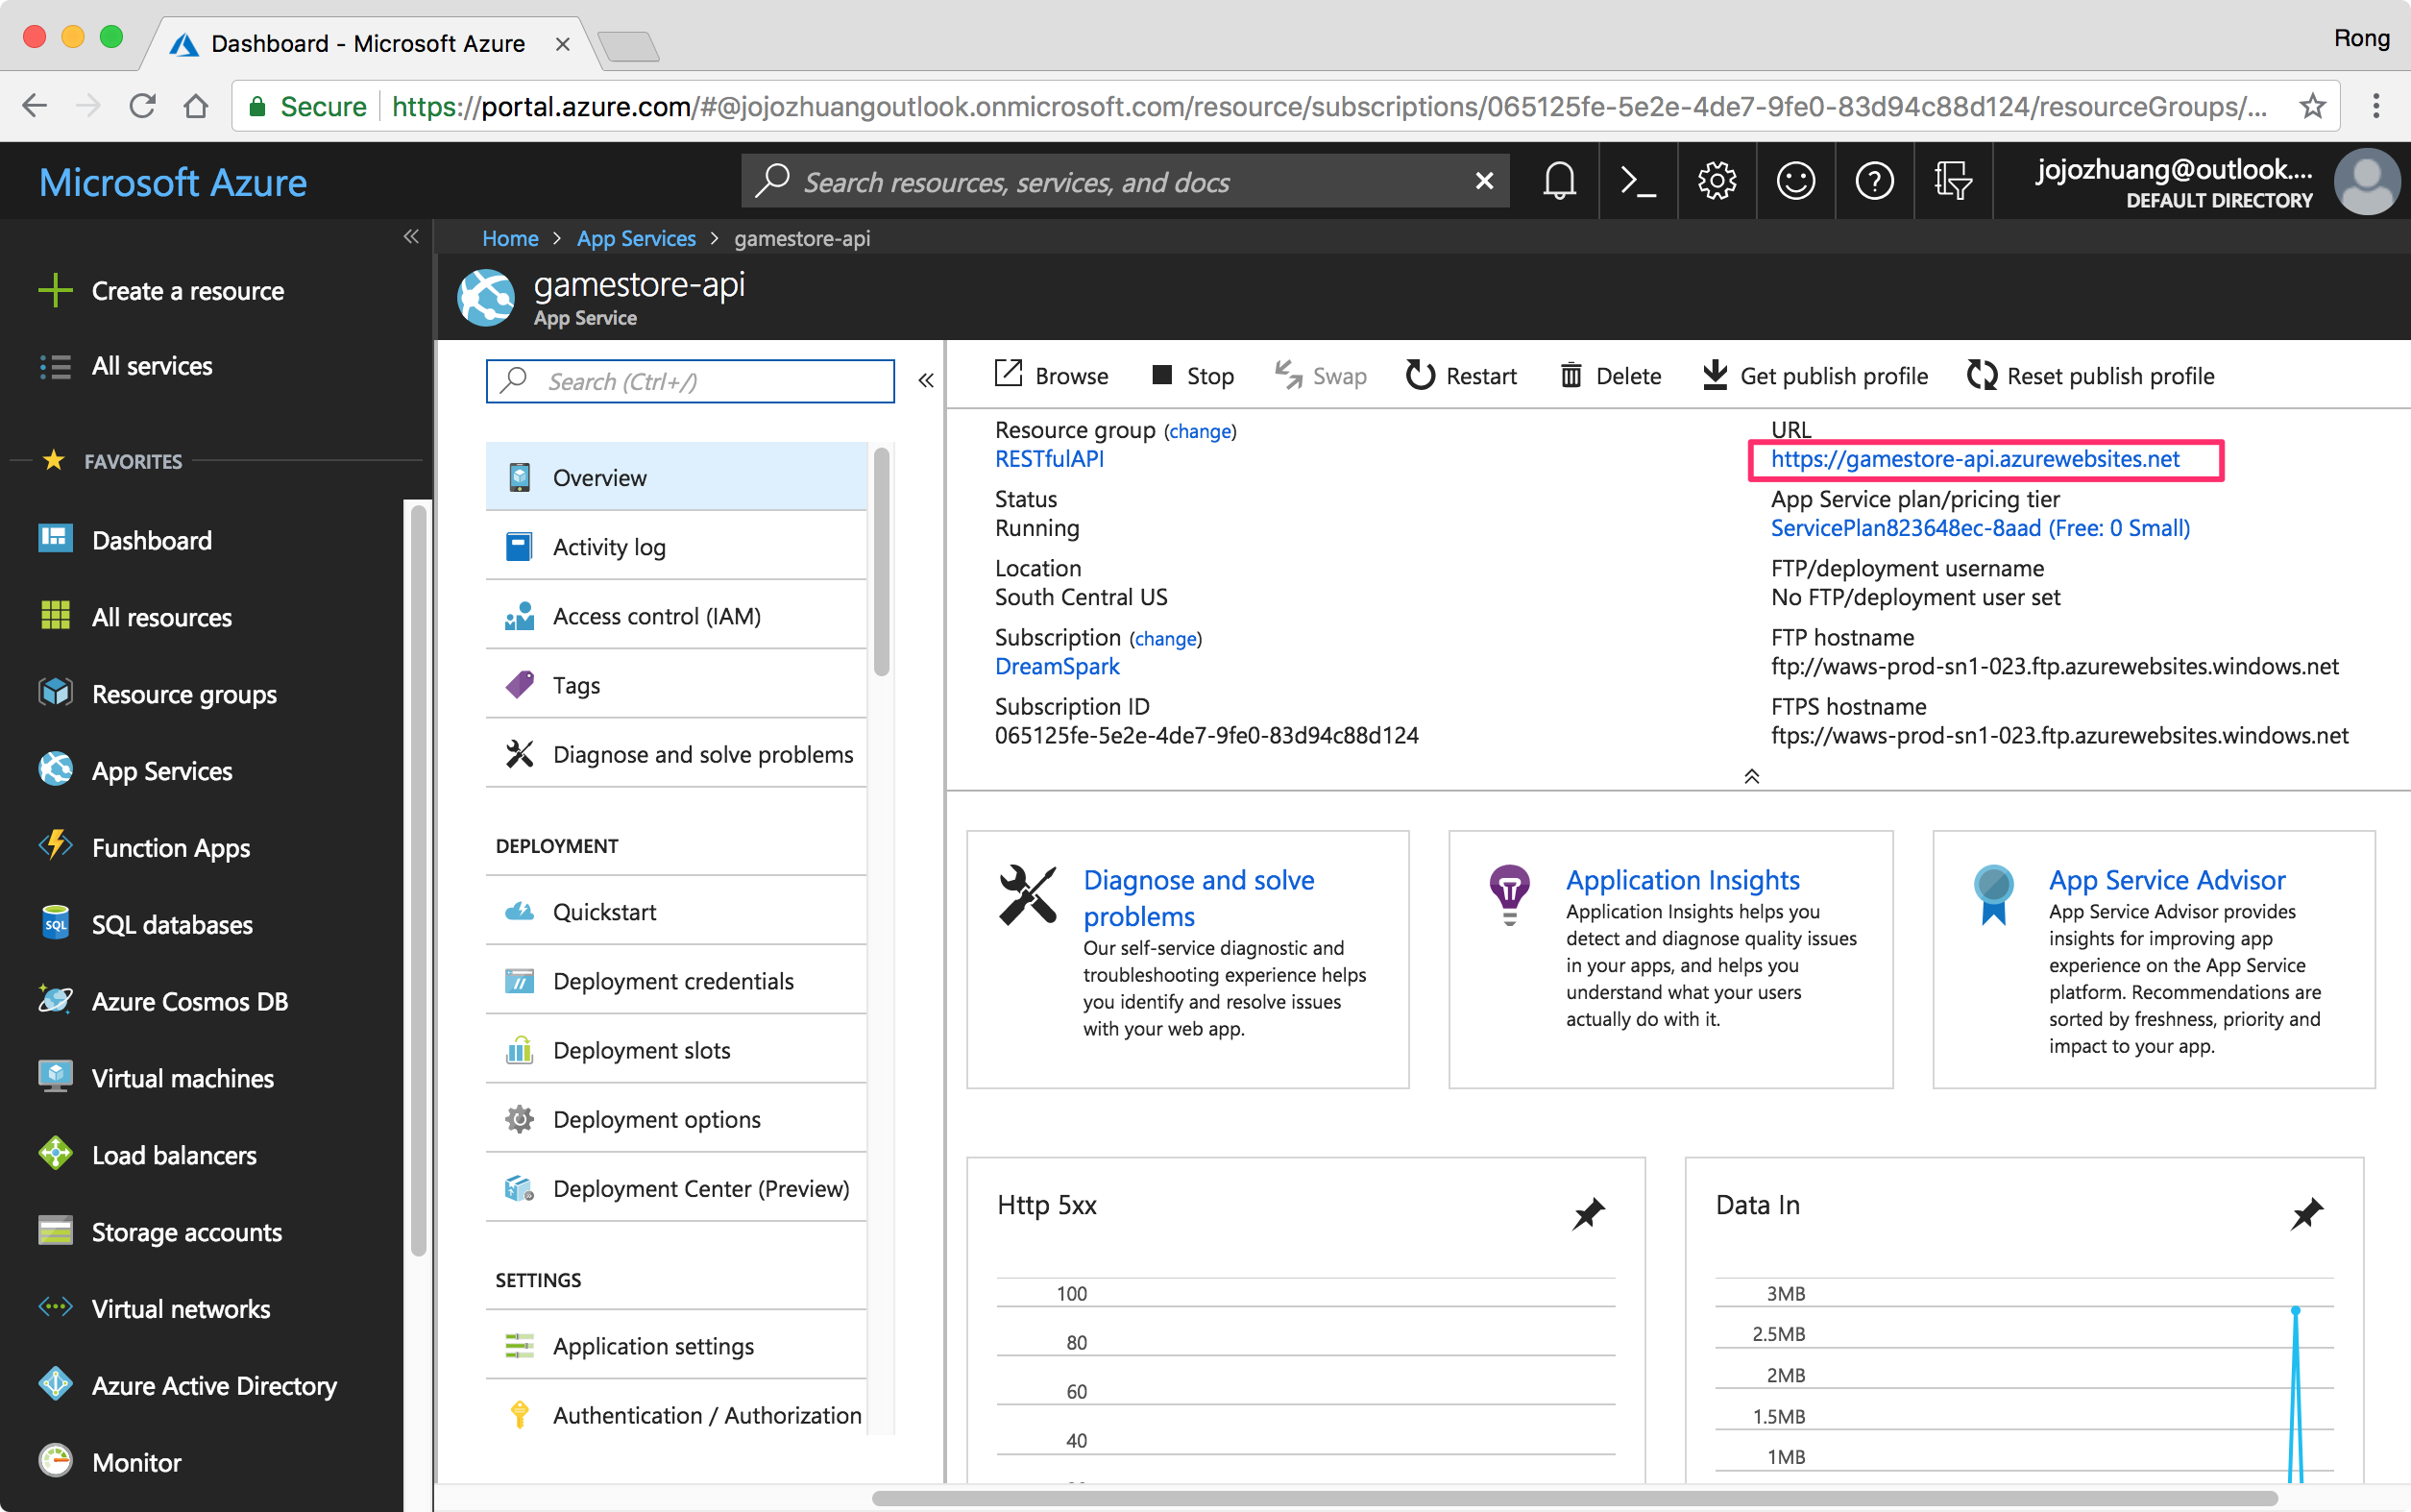
 Click on it, then we see the URL for our api, https://gamestore-api.azurewebsites.net.
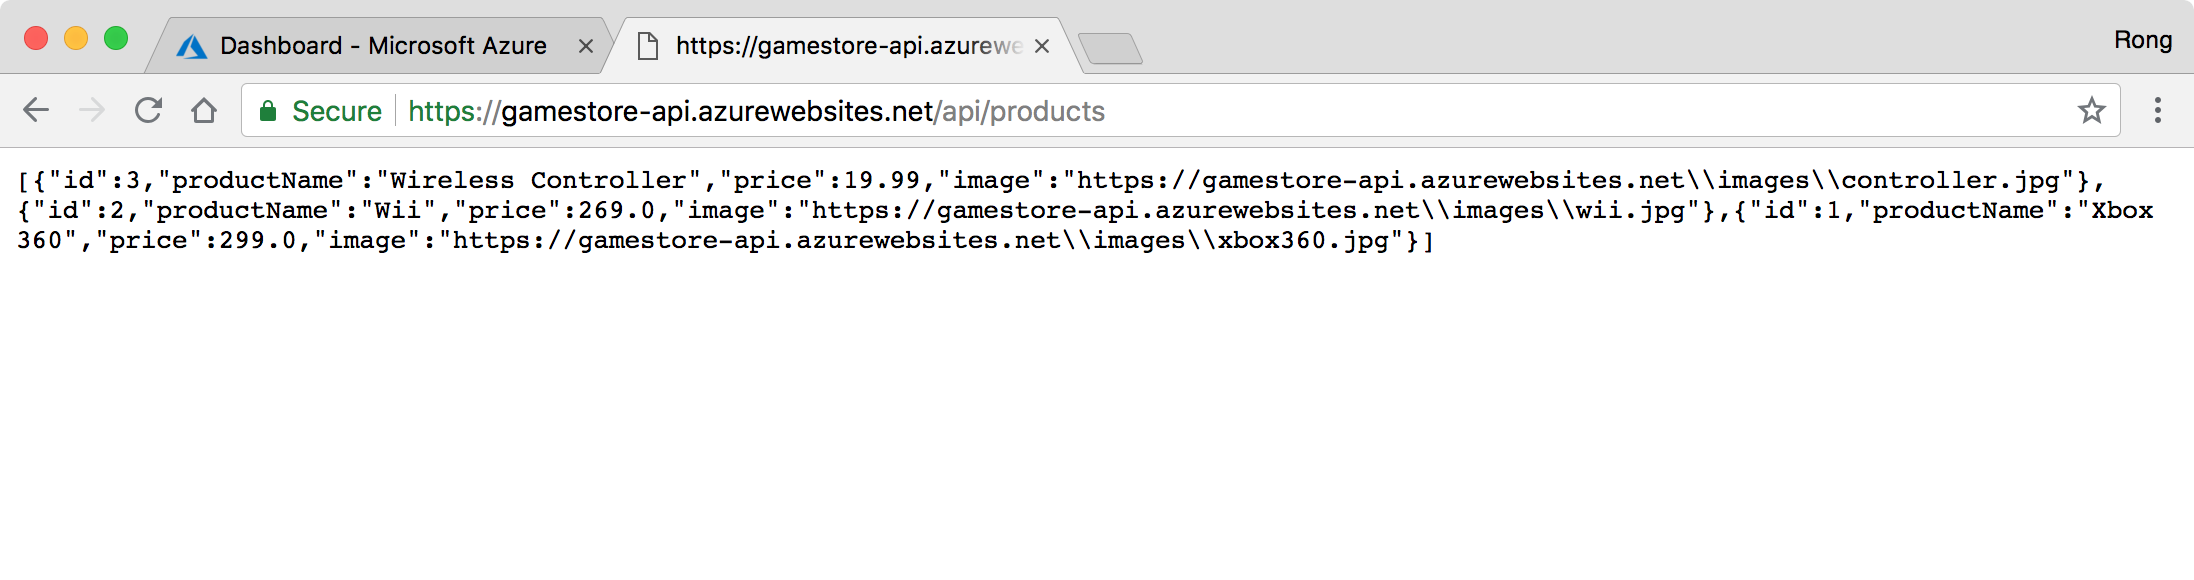
 Append ‘api/products’ to the URL(e.g. https://gamestore-api.azurewebsites.net/api/products), put it into web browser’s address bar. The api works and returns correct products list.