8143. Deploying Jekyll Website to NetlifyJekyll and Netlify
Deploy static website built with Jekyll to Netlify.
1. Jekyll & GitHub Pages & Netlify
I’m using Jekyll to build my personal website jojozhuang.github.io. All its content are static, which are built by Jekyll. Currently, it is hosted on GitHub Pages. It works fine, however, there are some limitations with GitHub Pages. For example, it is not possible to specify Http Header for caching.
On the other hand, Netlify supports more features than GitHub Pages and it is also free. Netlify is an online service which builds, deploys, and manages modern web projects. Netlify basically initiates its own kind of repository that pushes both to a Github repository and its own services. It offers hosting for front-end projects with many options.
2. Deploying Application From Github Repository
2.1 Preparation
Since I’m deploying a Jekyll website, run the following commands in local repository to update Gemfile.lock. Netlify will use this file for the deployment.
bundle install
bundle update
2.2 New Netlify Account
If you don’t have netlify account yet, go to https://app.netlify.com/signup to create a Netlify account with your GitHub account. Once you have the account, follow the steps below to deploy static website to Netlify.
2.3 New Site from GitHub
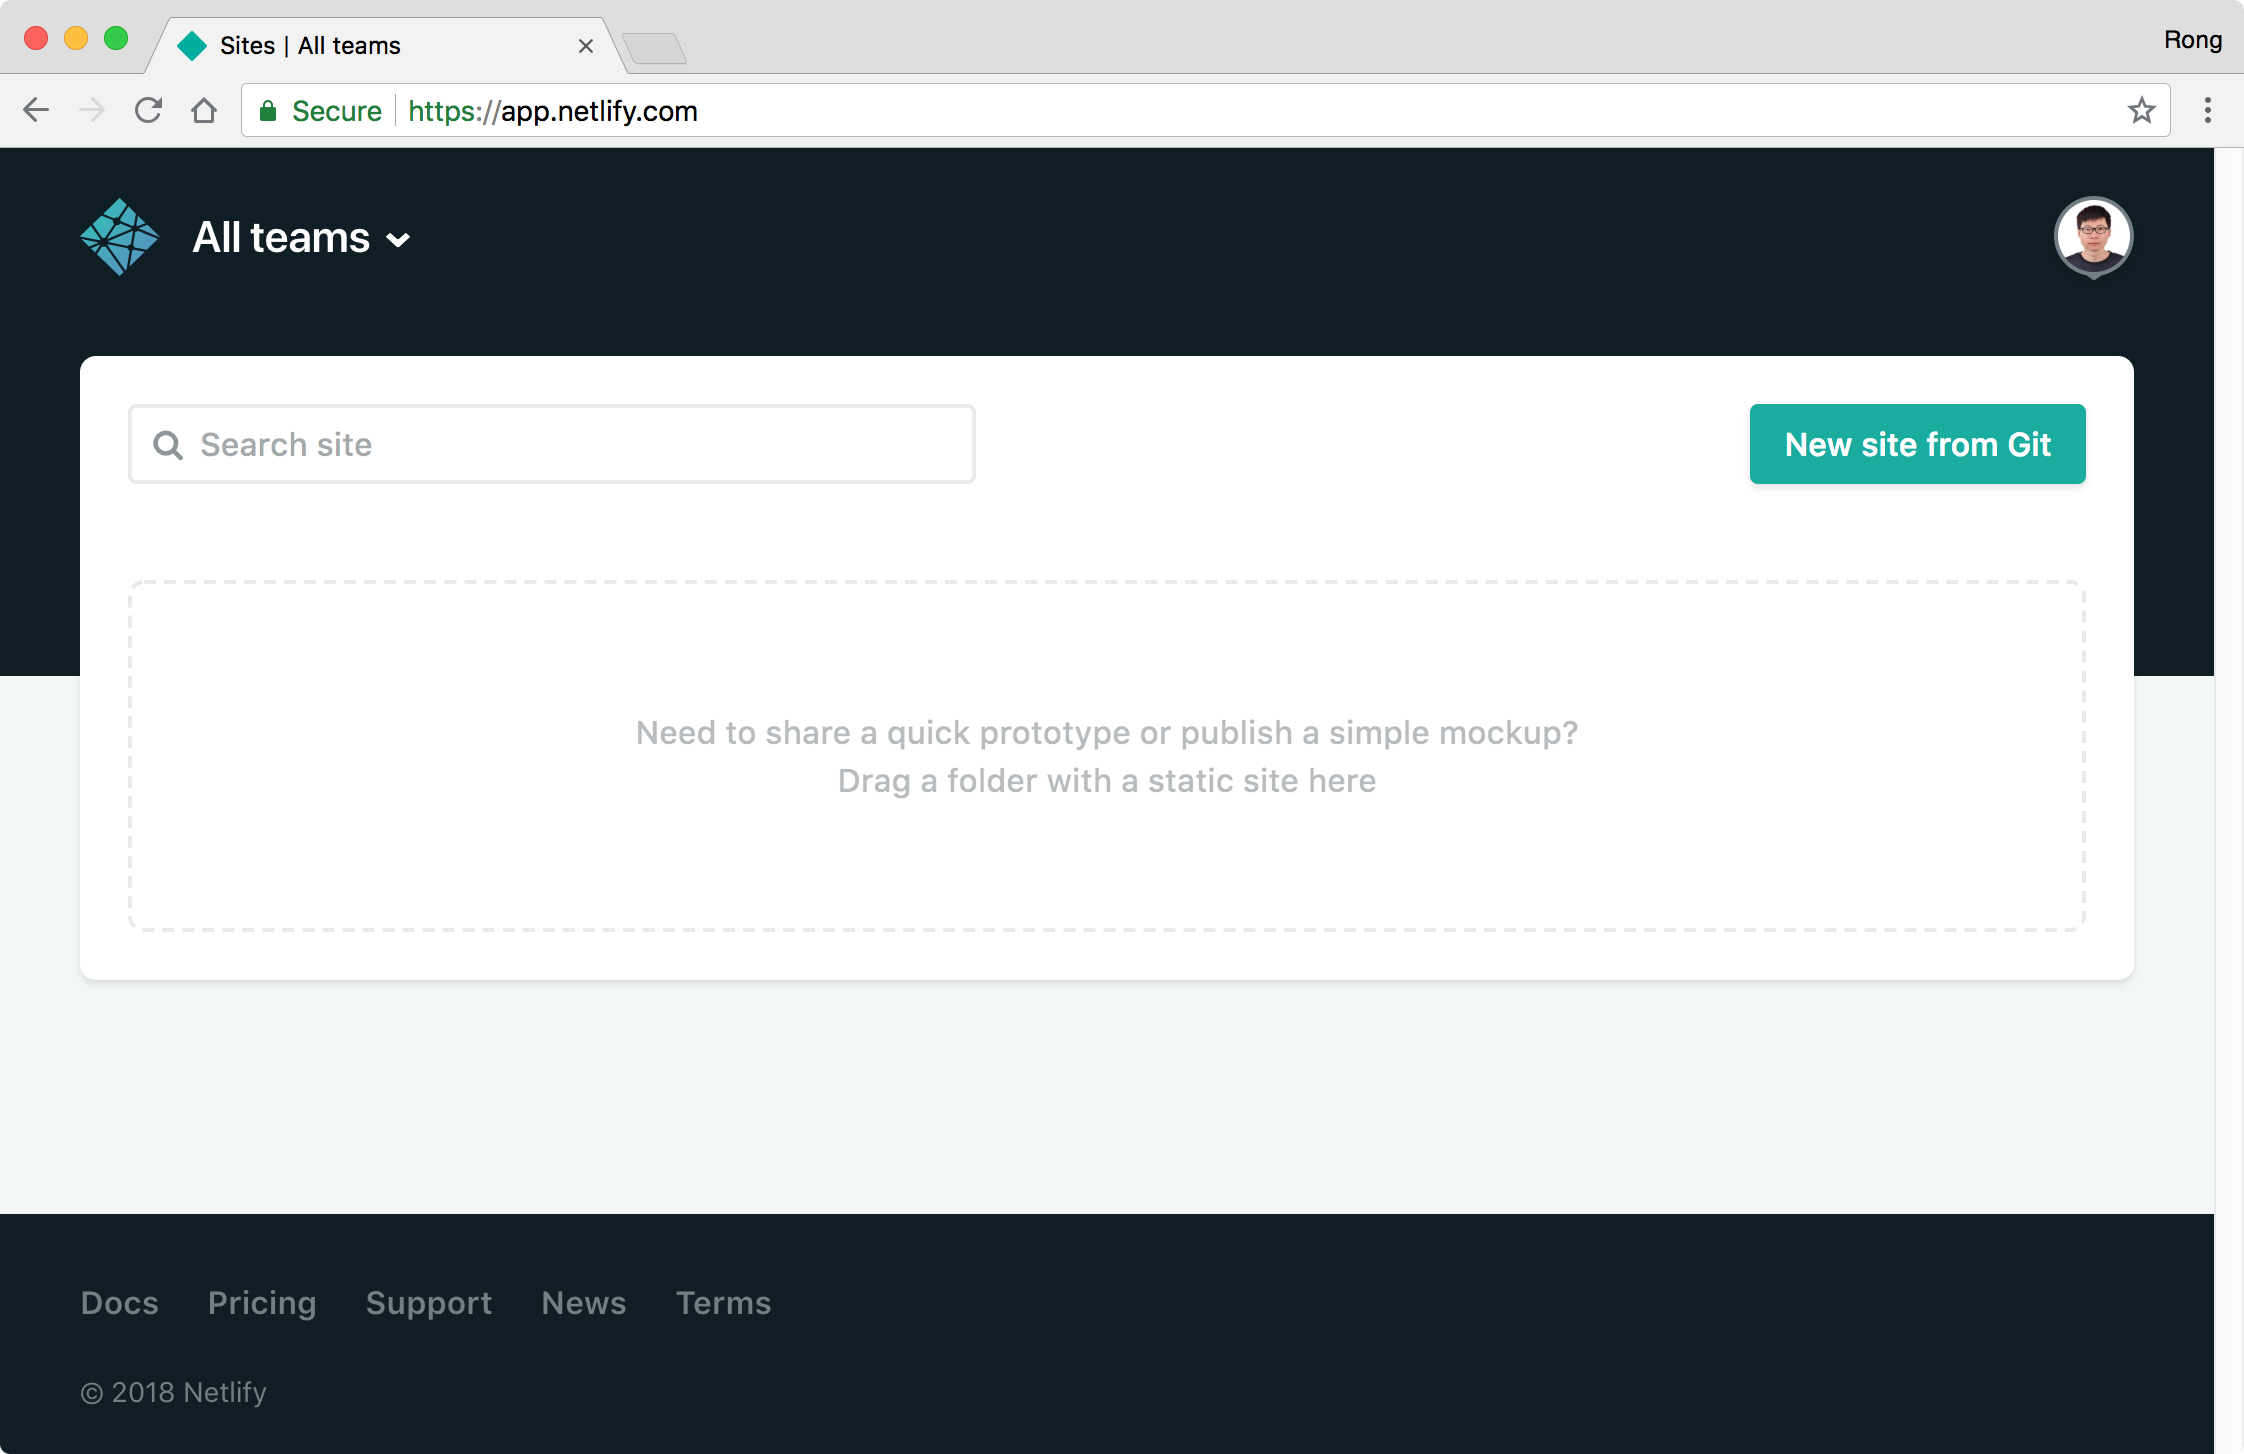
After login, you are in the app home page, click ‘New site from Git’.
 Choose ‘Github’, next.
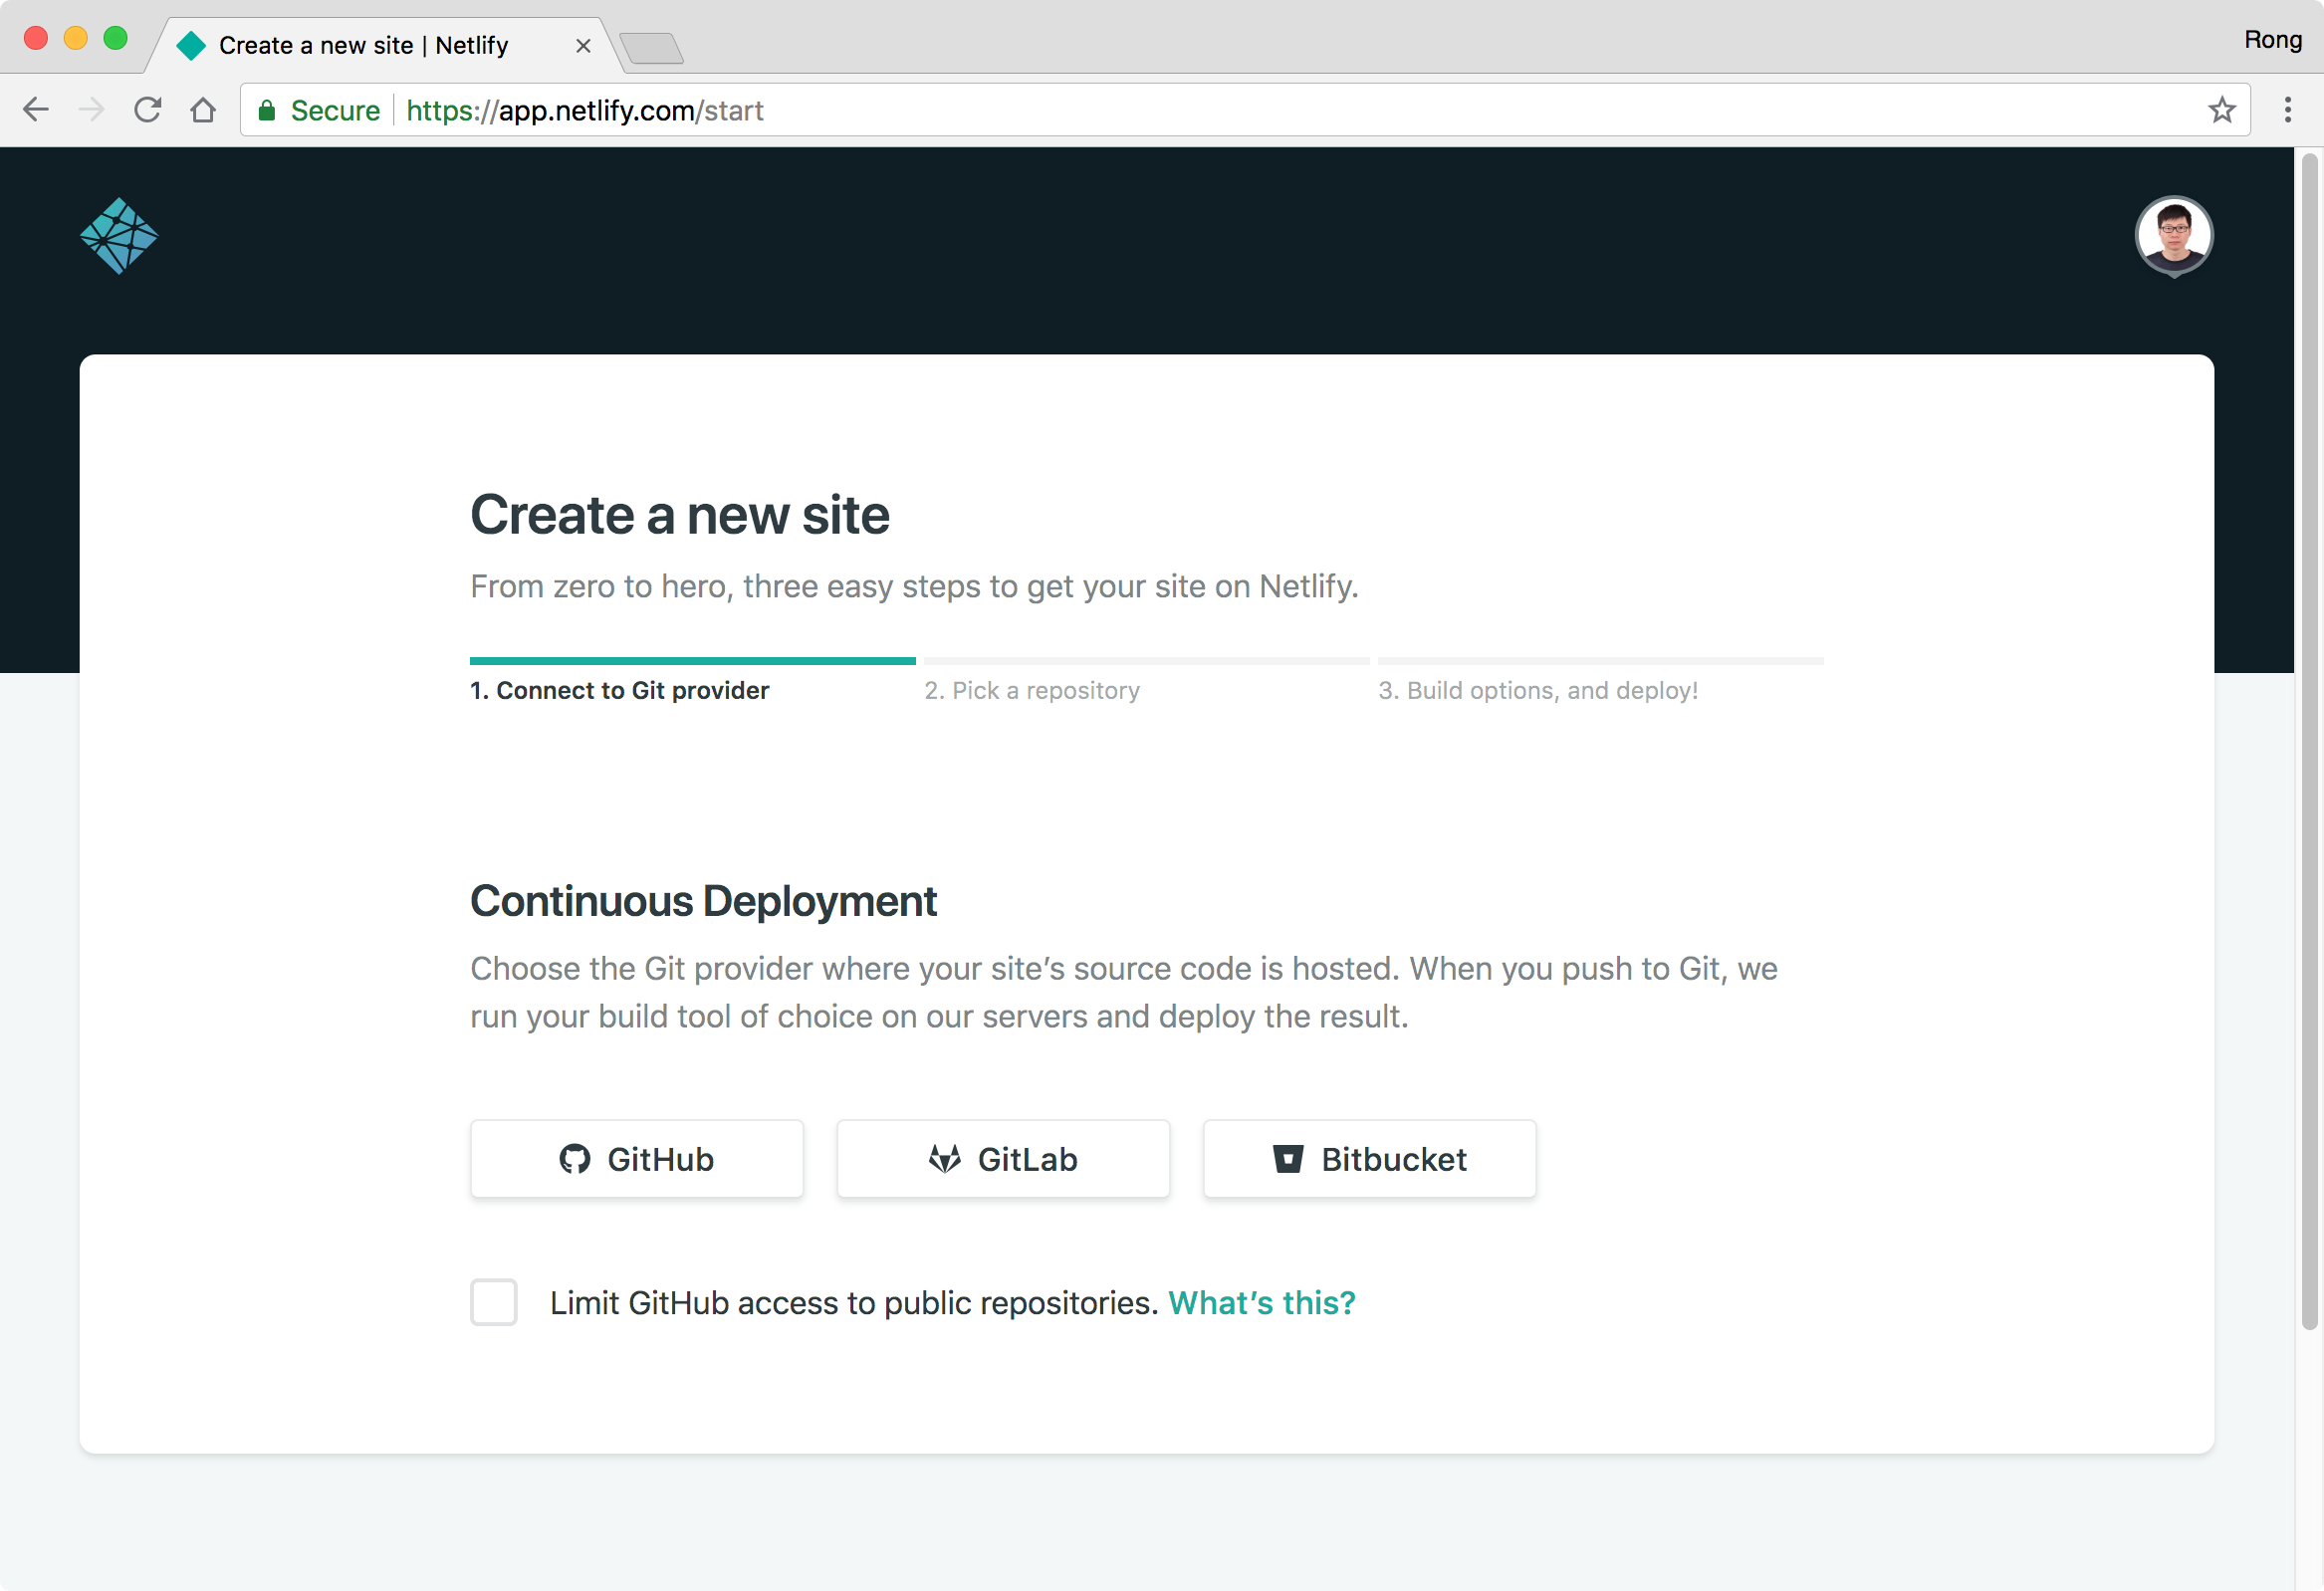 Authorize Netlify to access your GitHub account, next.
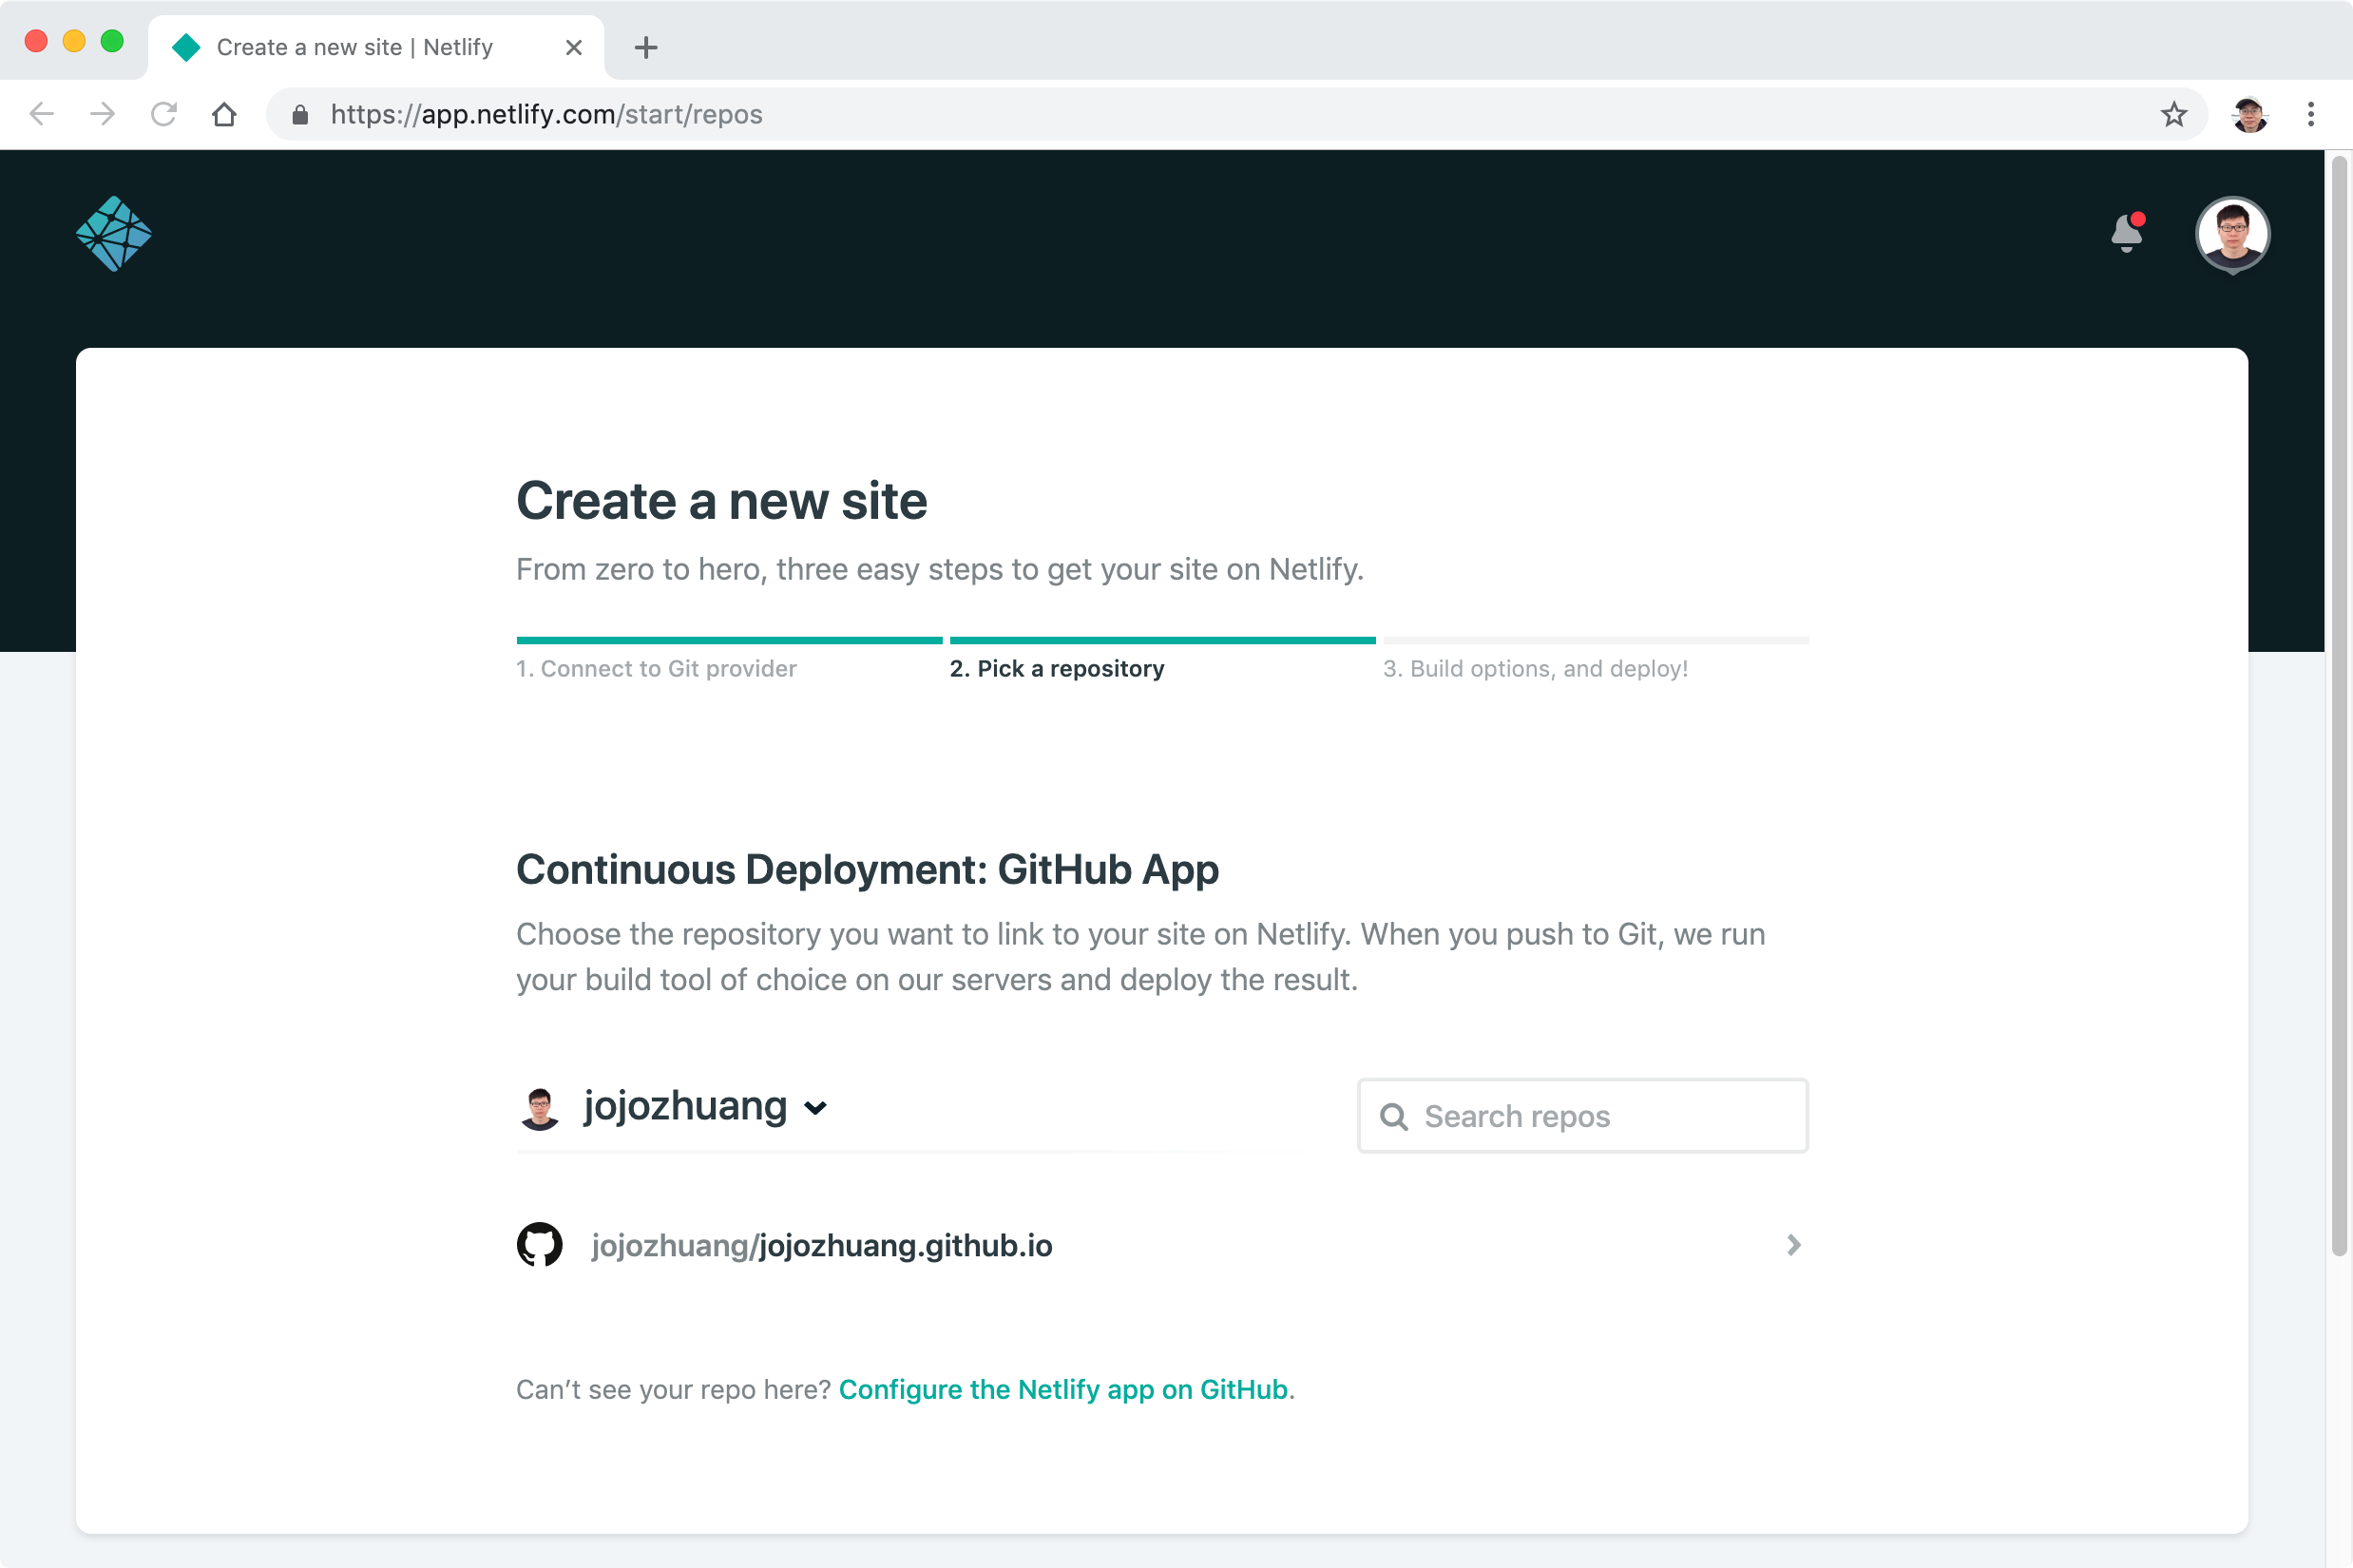
 Choose the repository ‘jojozhuang.github.io’, next.
 Choose
 master for the Branch to deploy, set jekyll build to the Build command, and set _site/ to the Publish directory, click the ‘Deploy site’ button.
 Netlify will start to deploy your site.
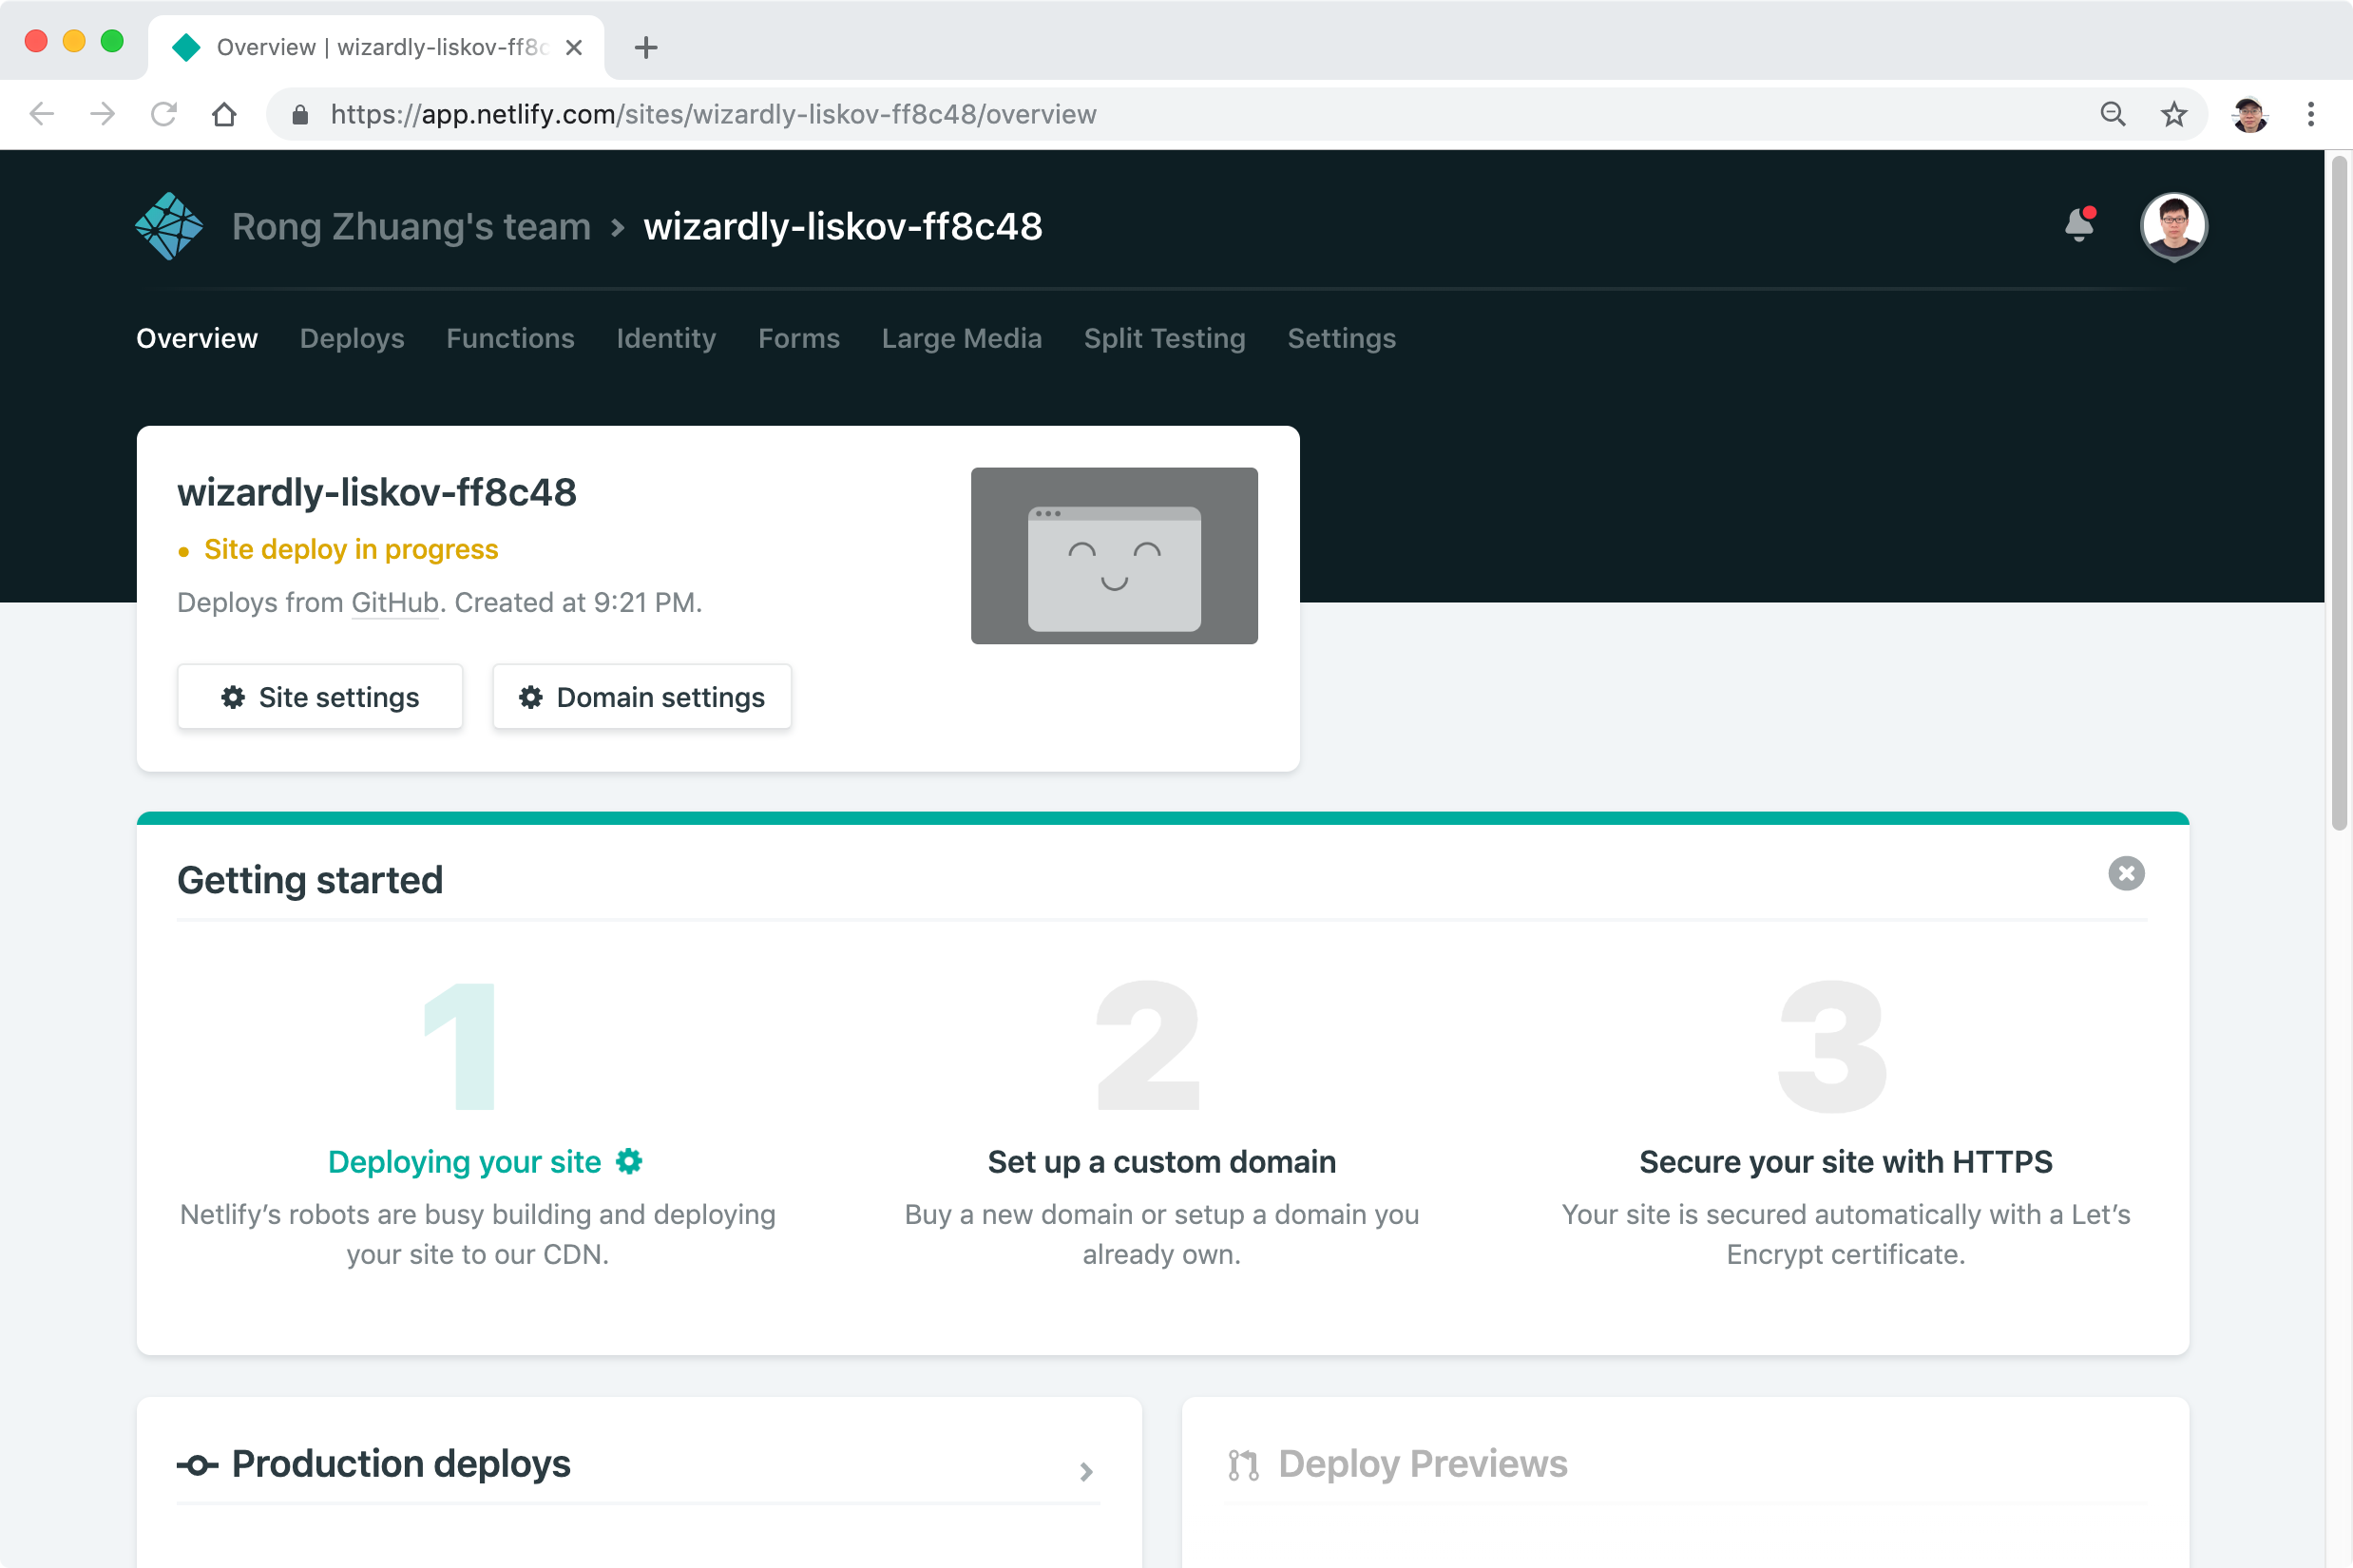 Switch to ‘Deploy’ tab to monitor the status and check the logs.
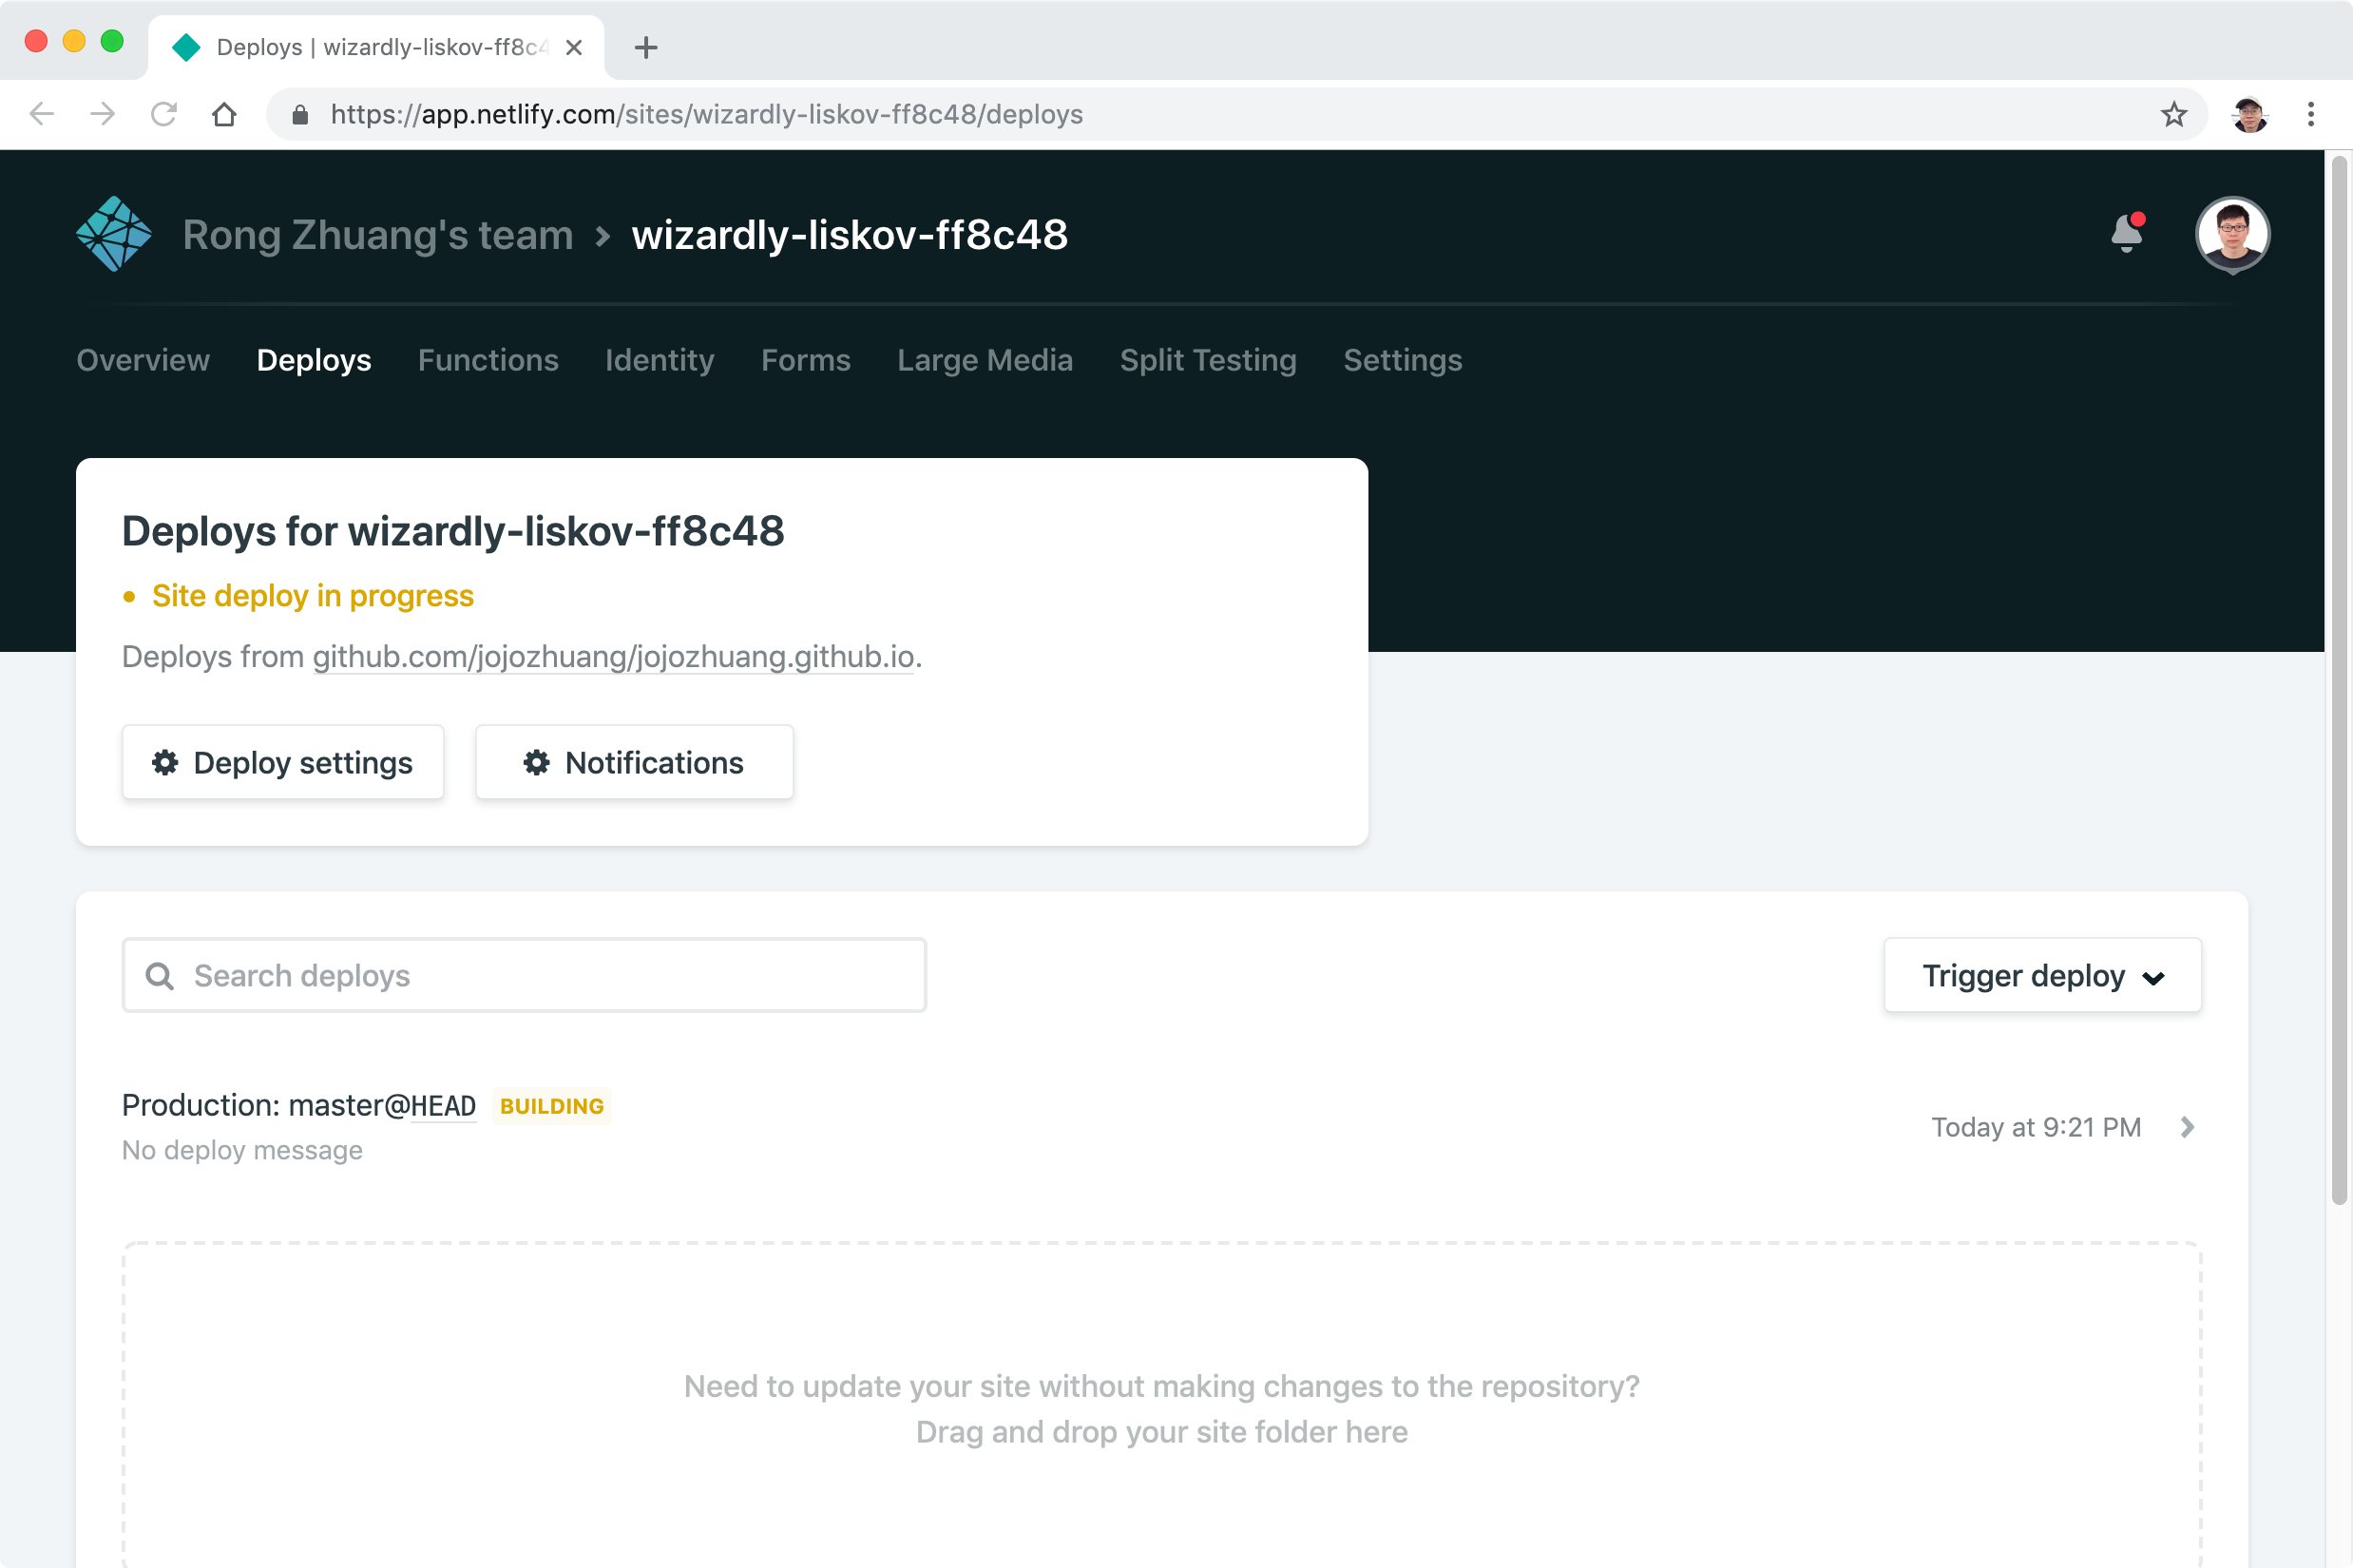 If no issue occurs, the publish will be done after few seconds(or minutes).

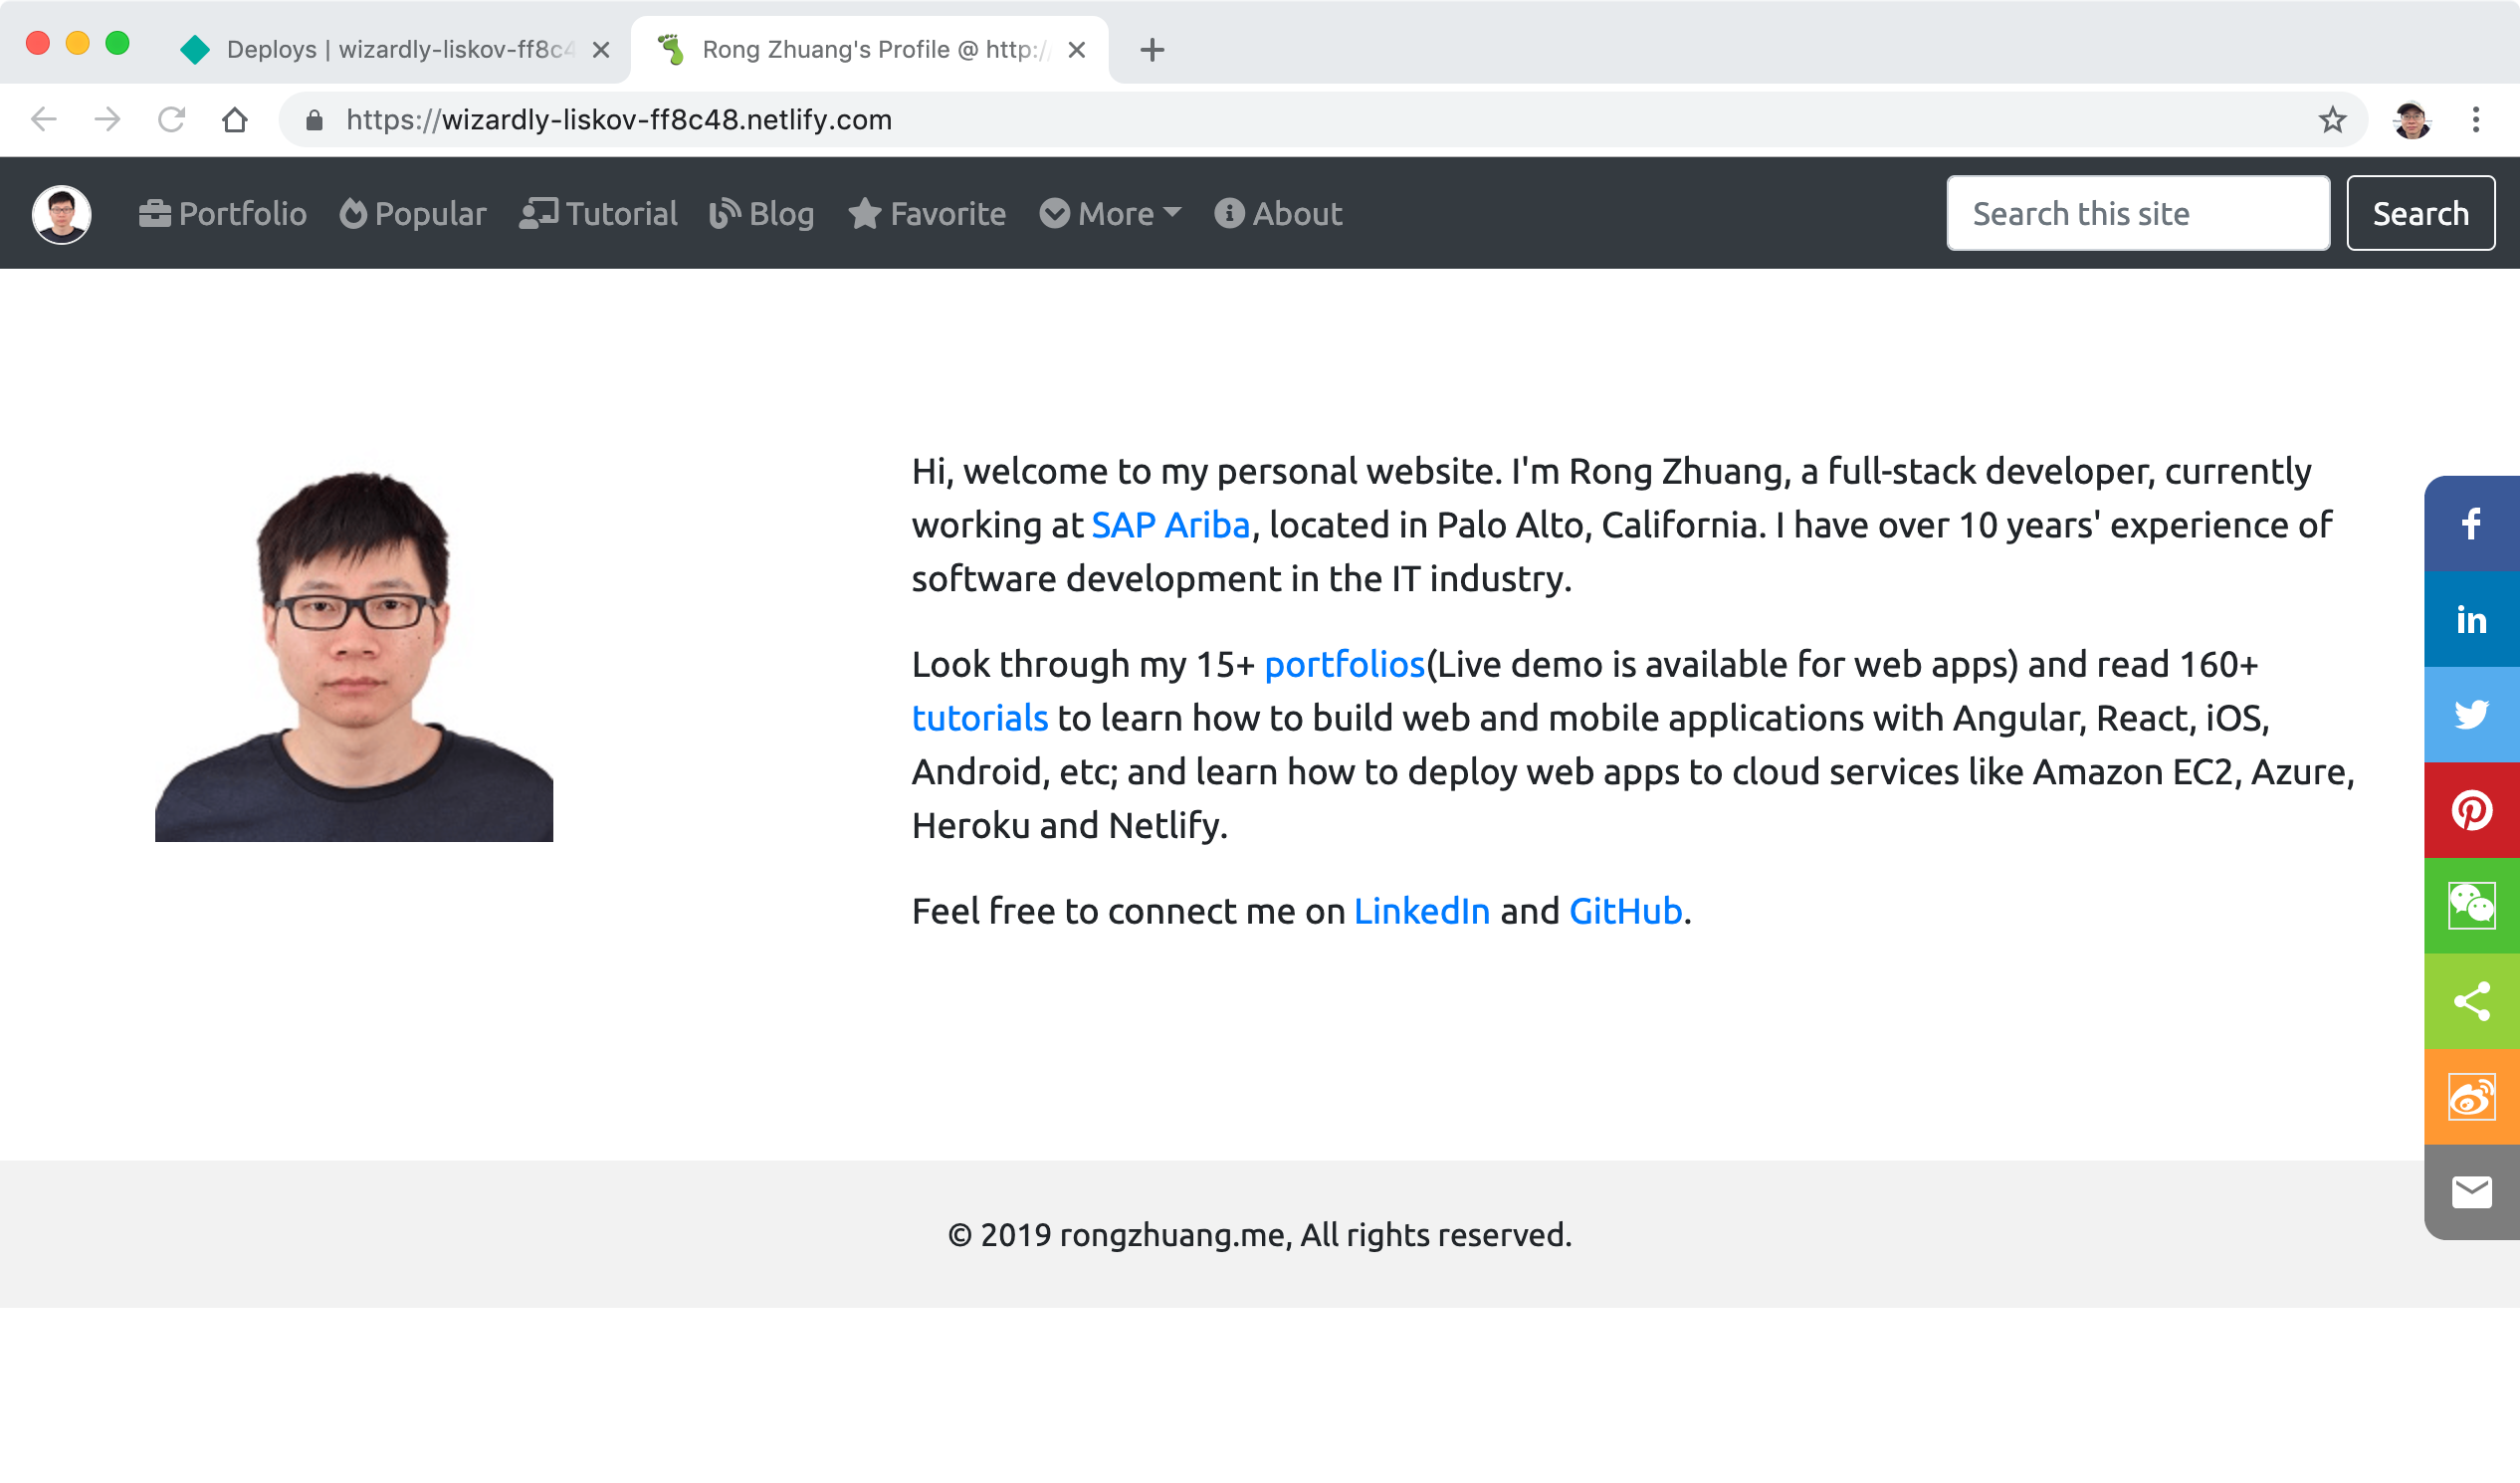
2.4 Testing
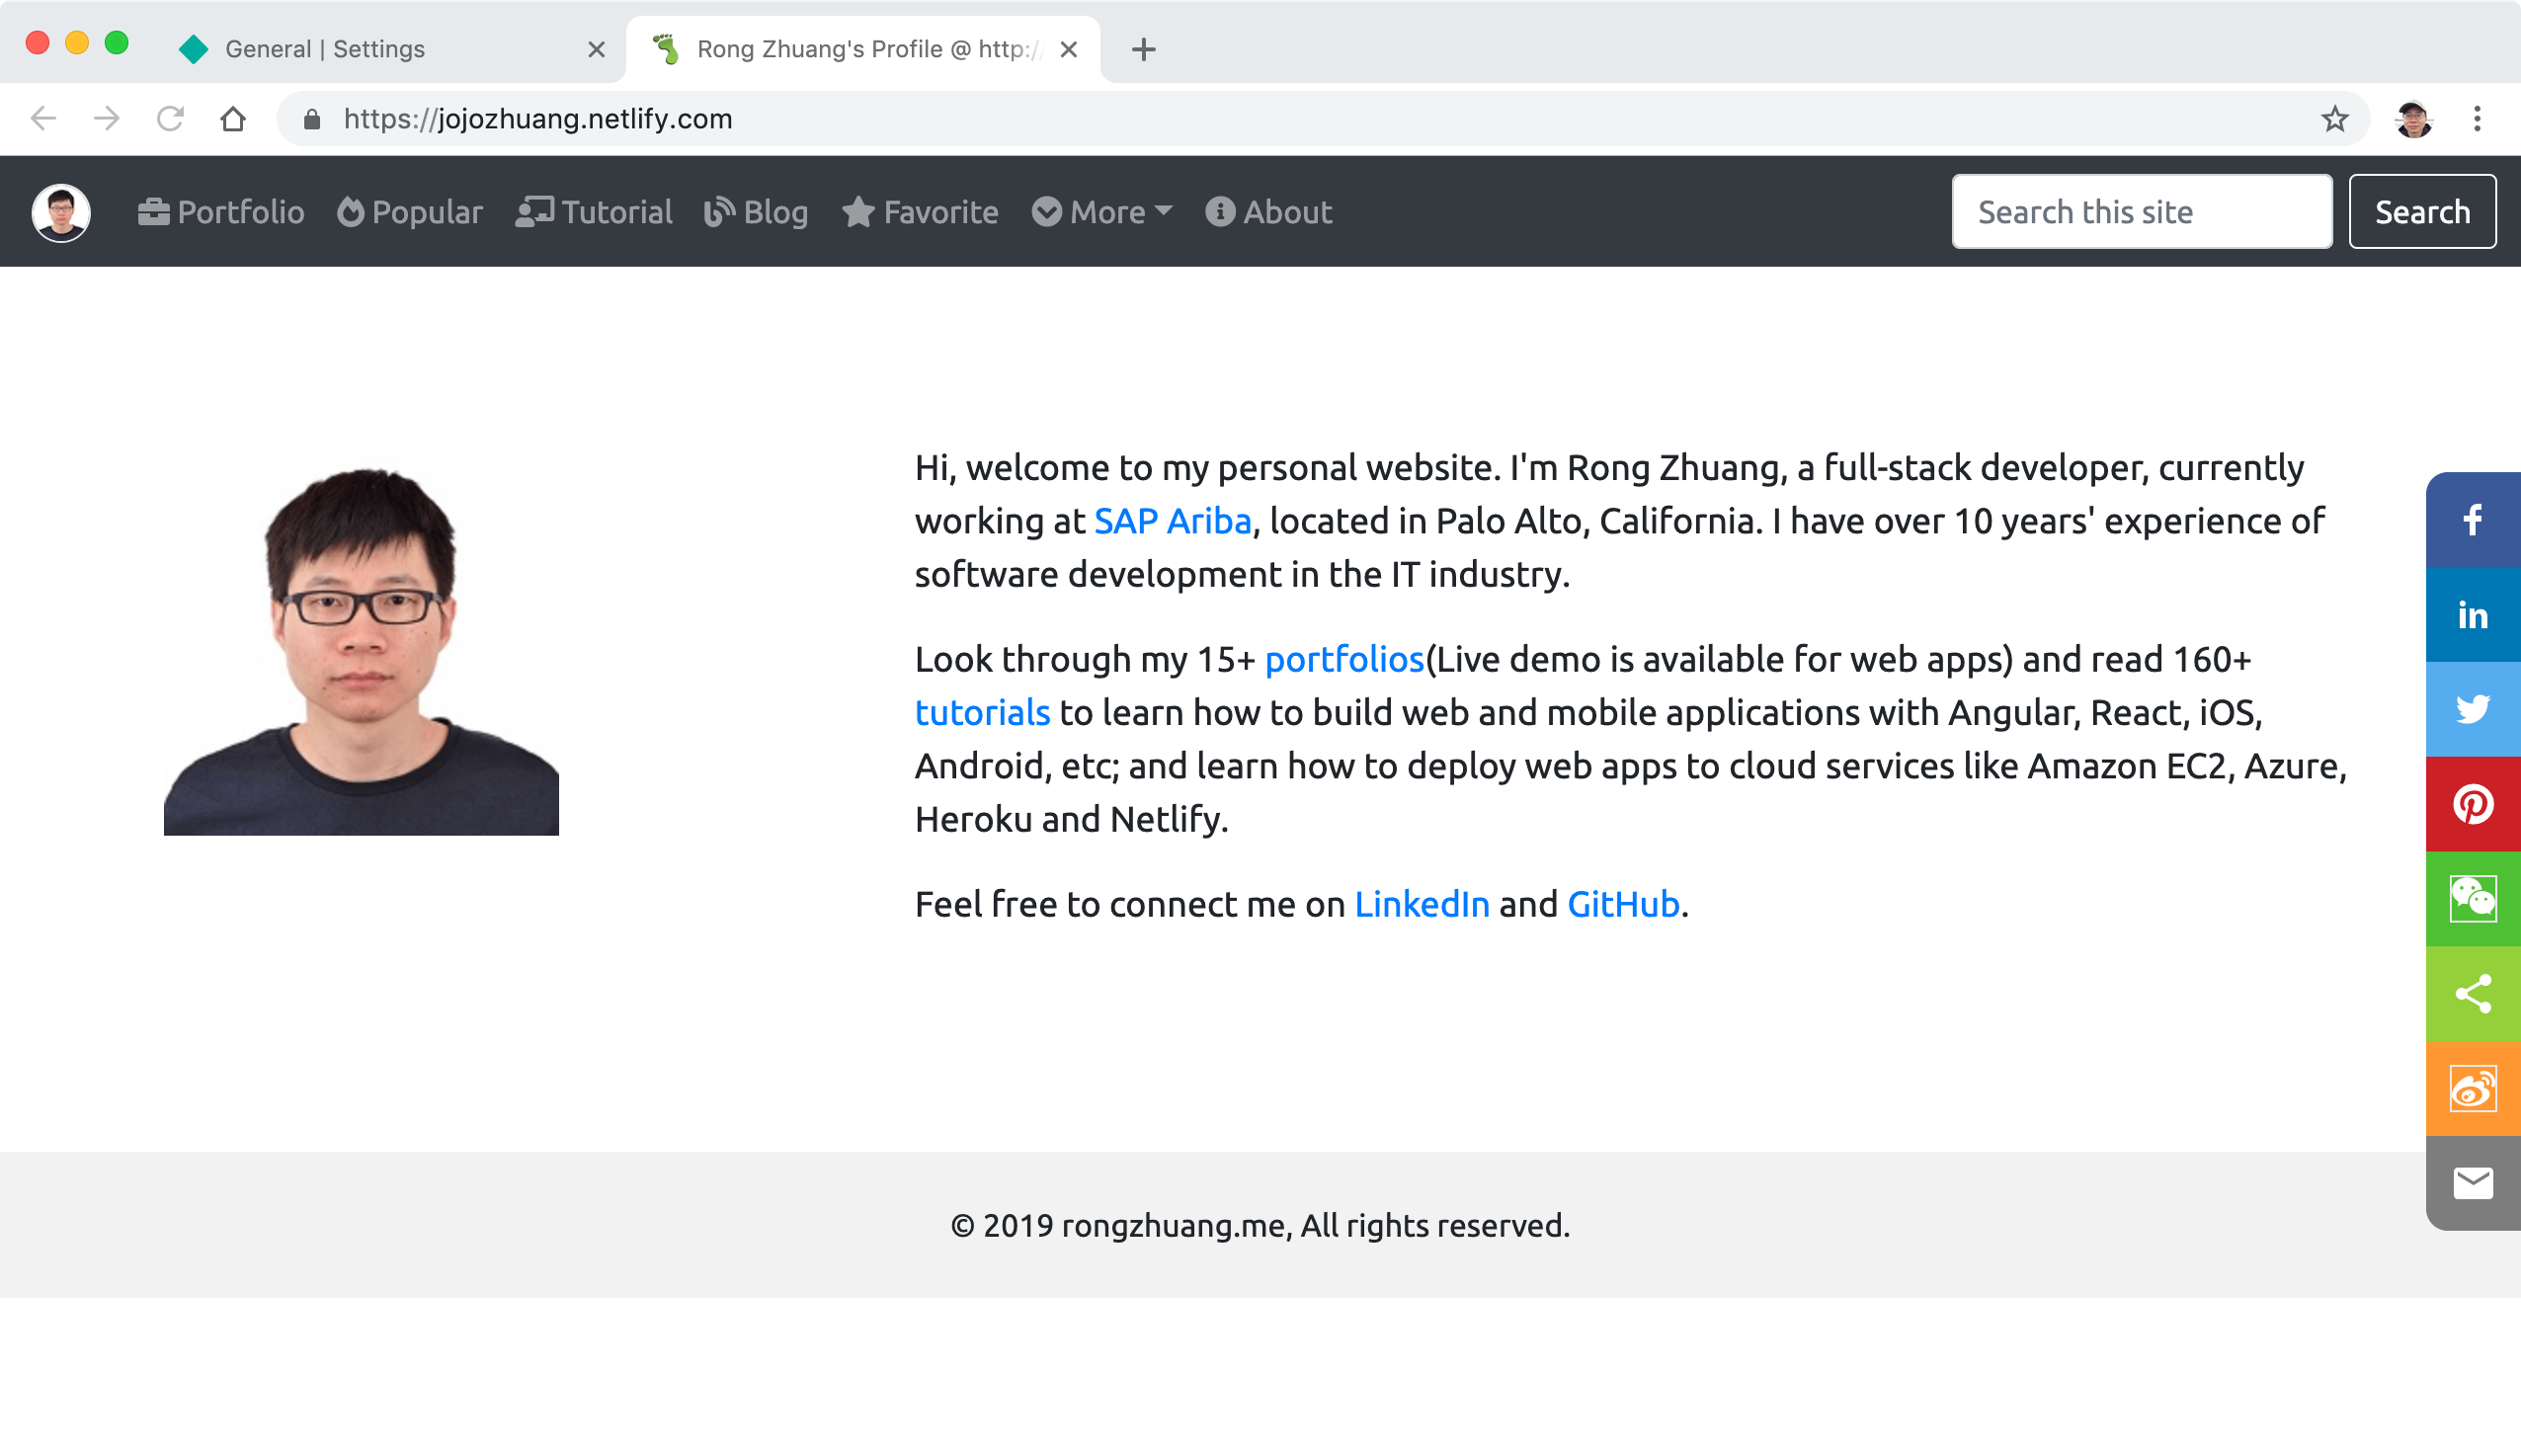
Click on the green link. Our app is now running in the domain of Netlify.
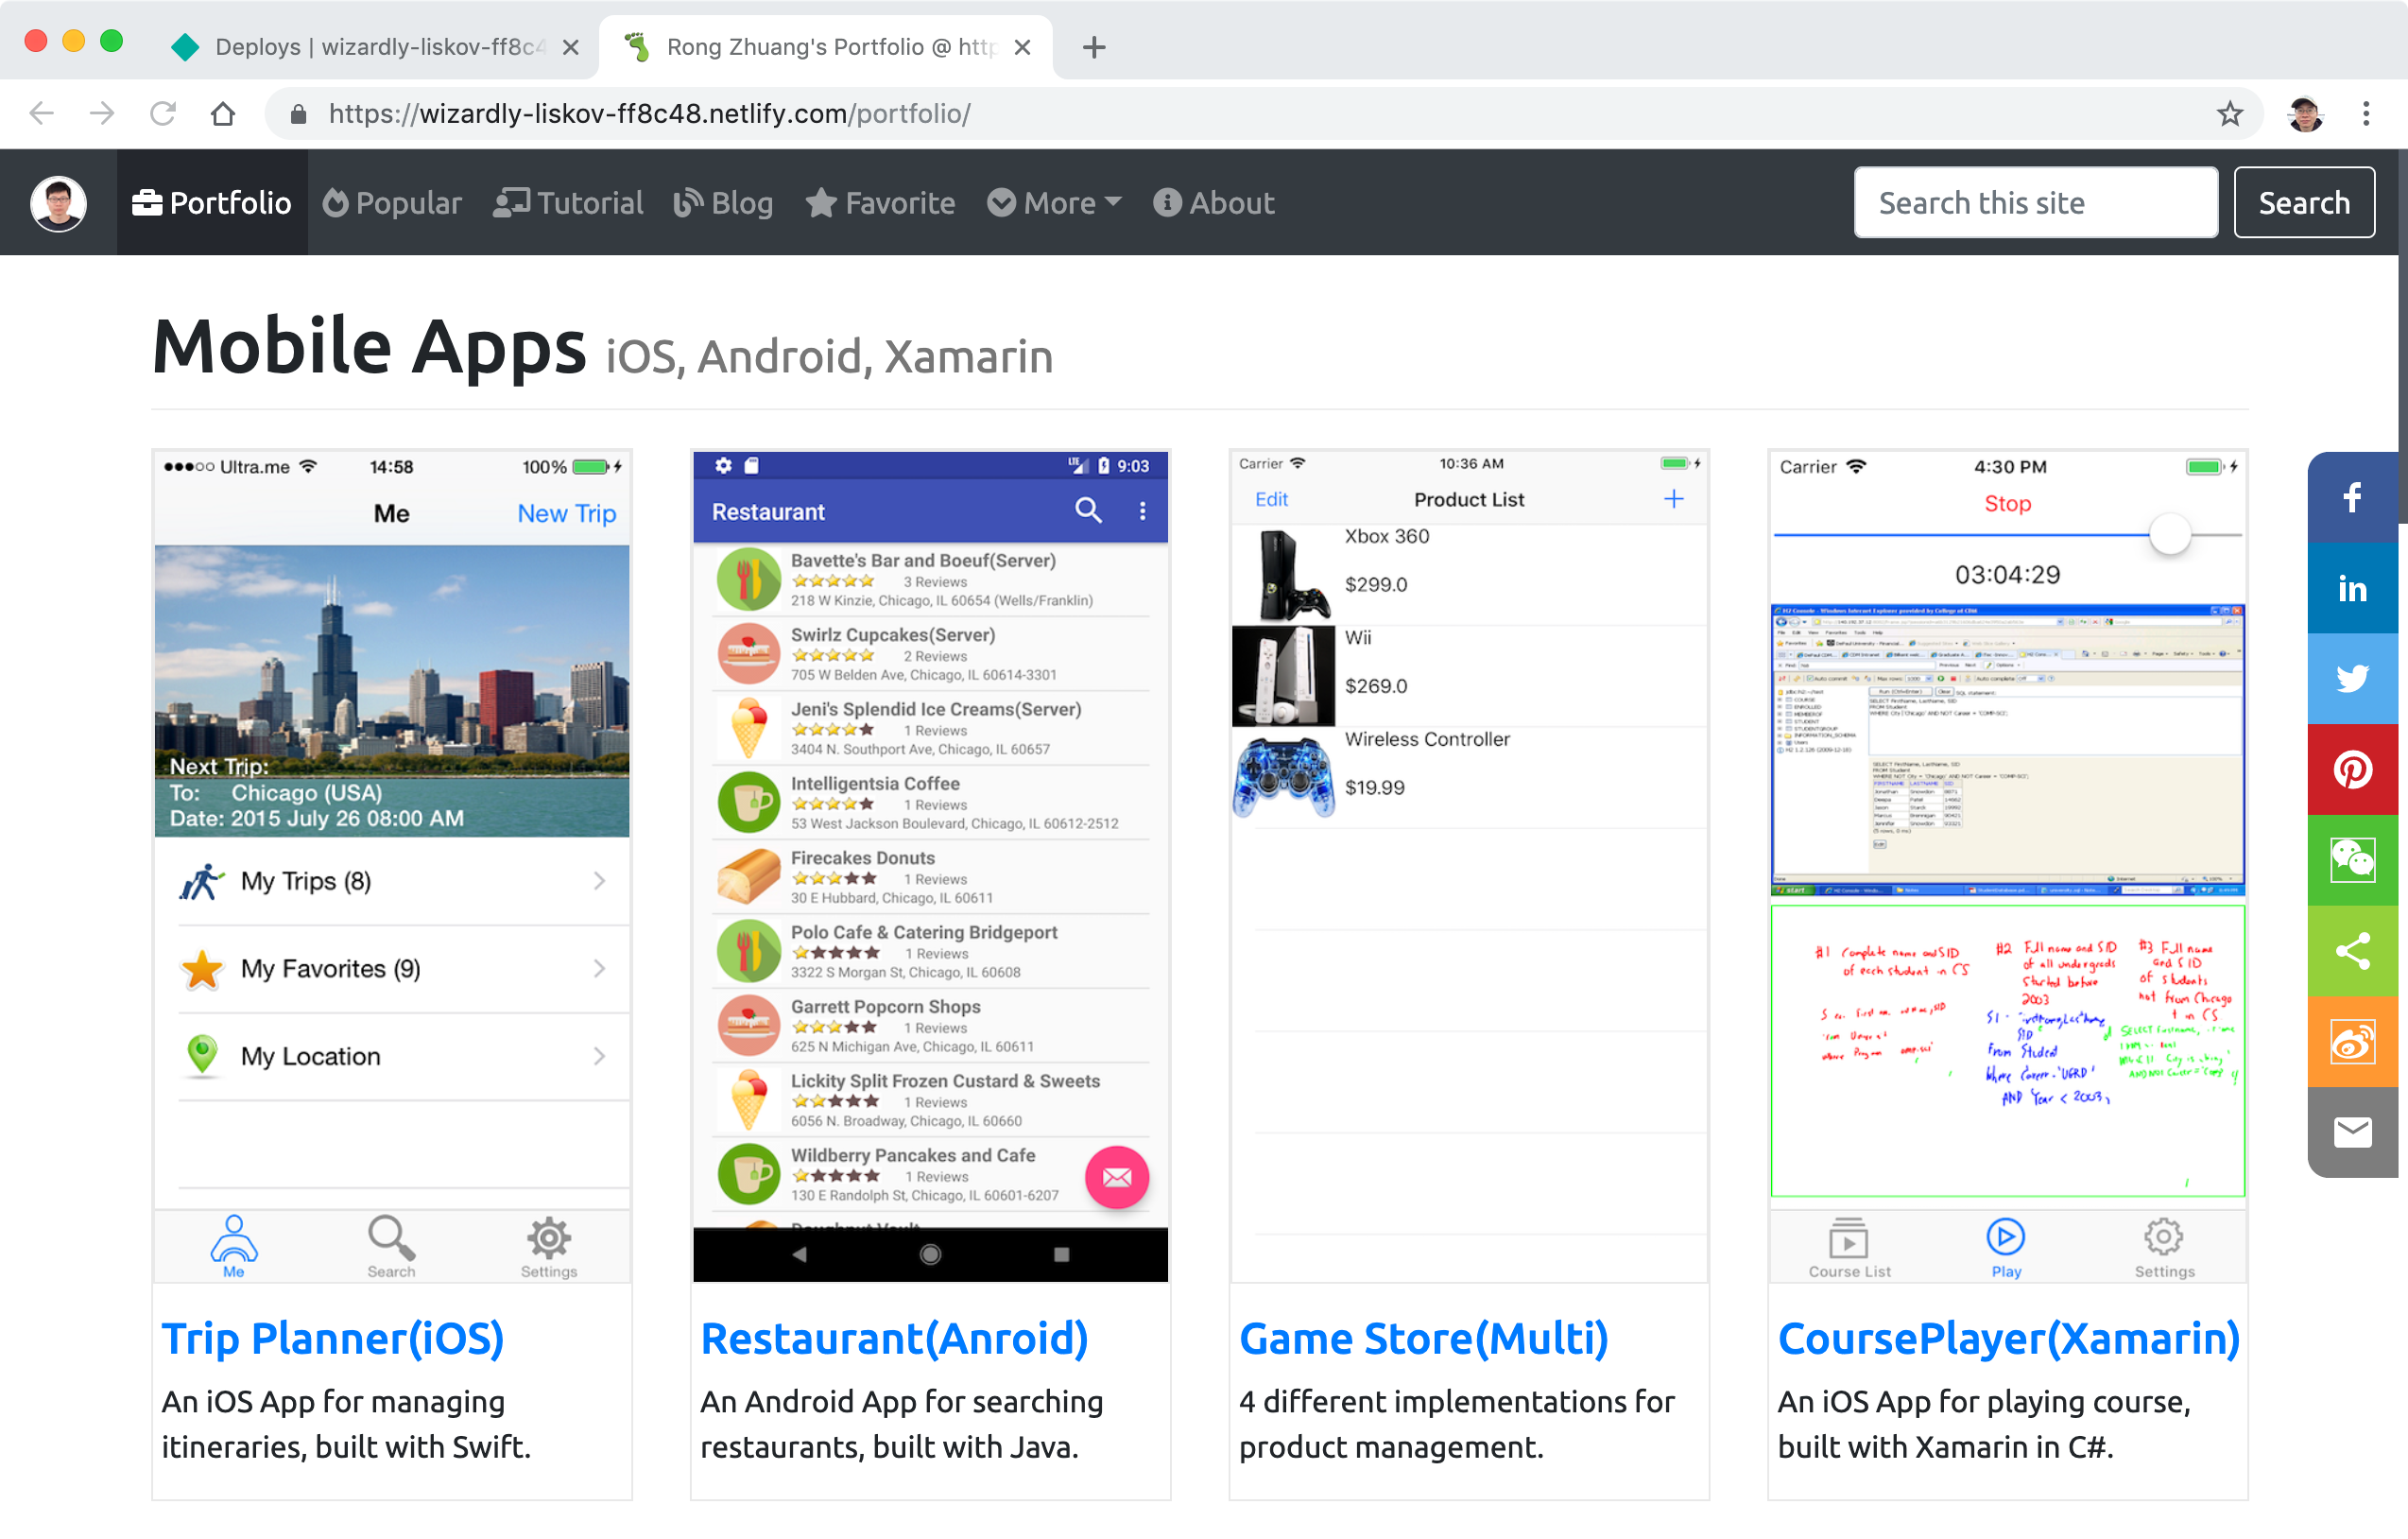
 Try to switch other pages, all work fine.
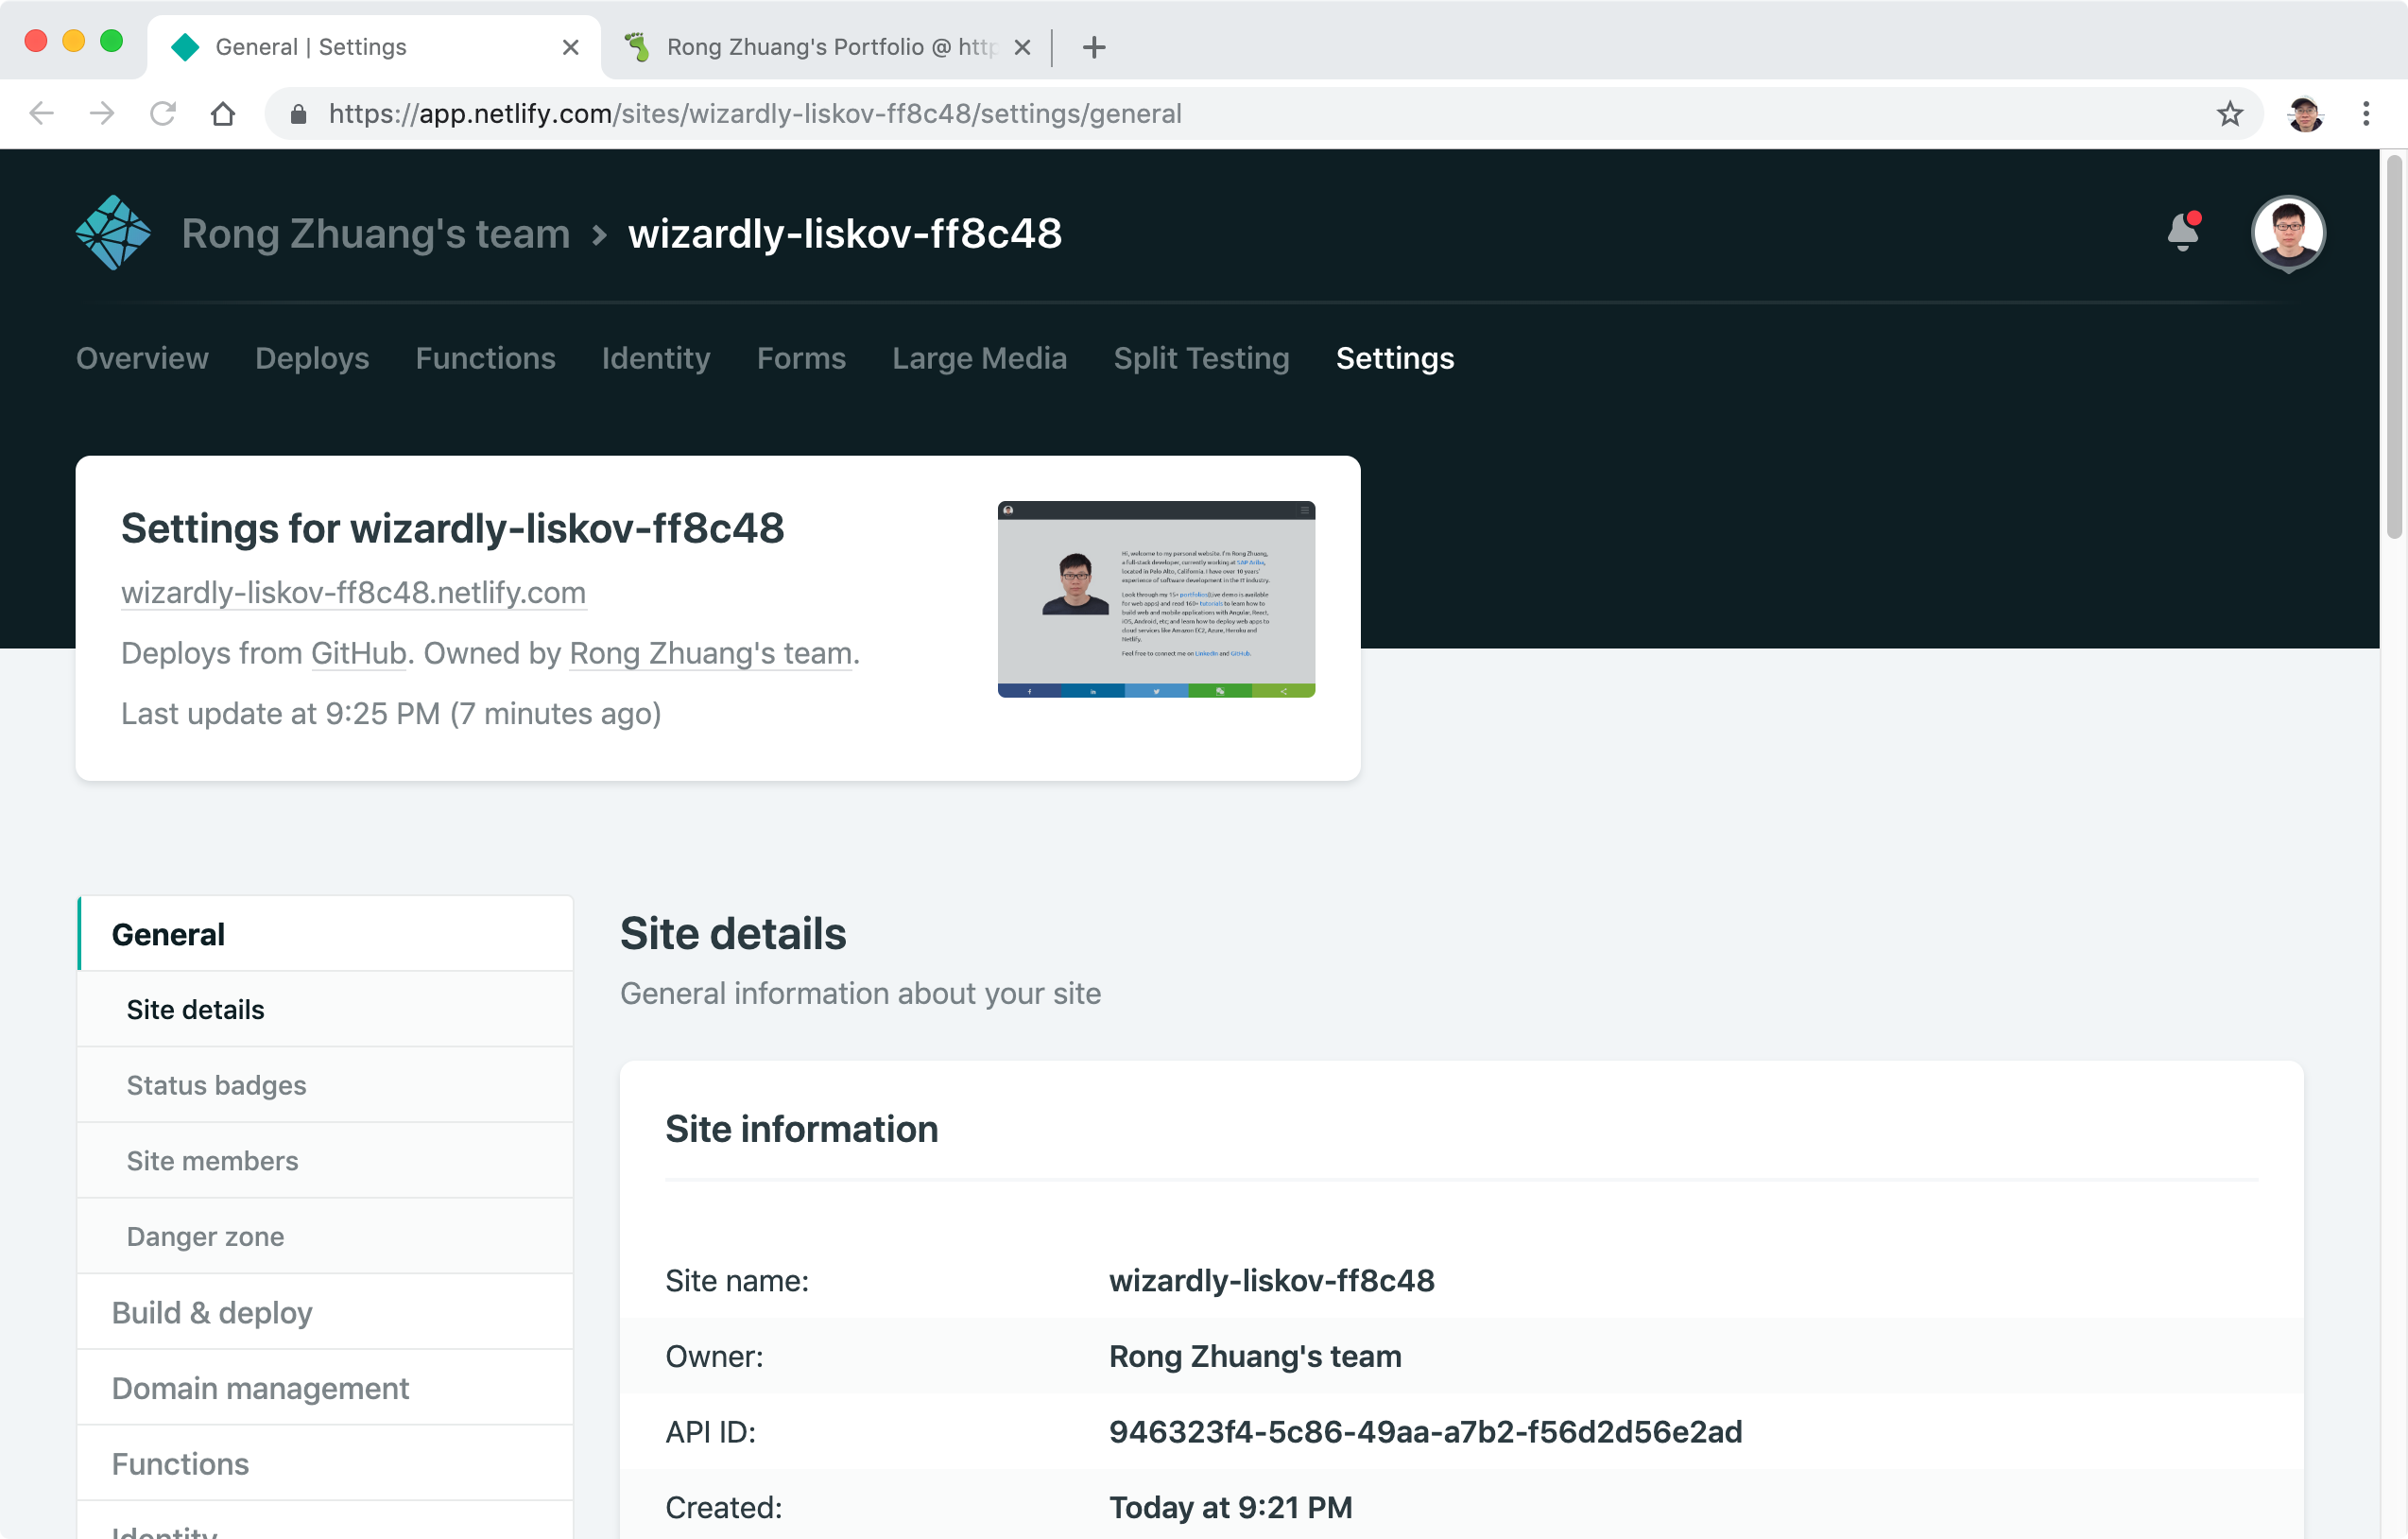
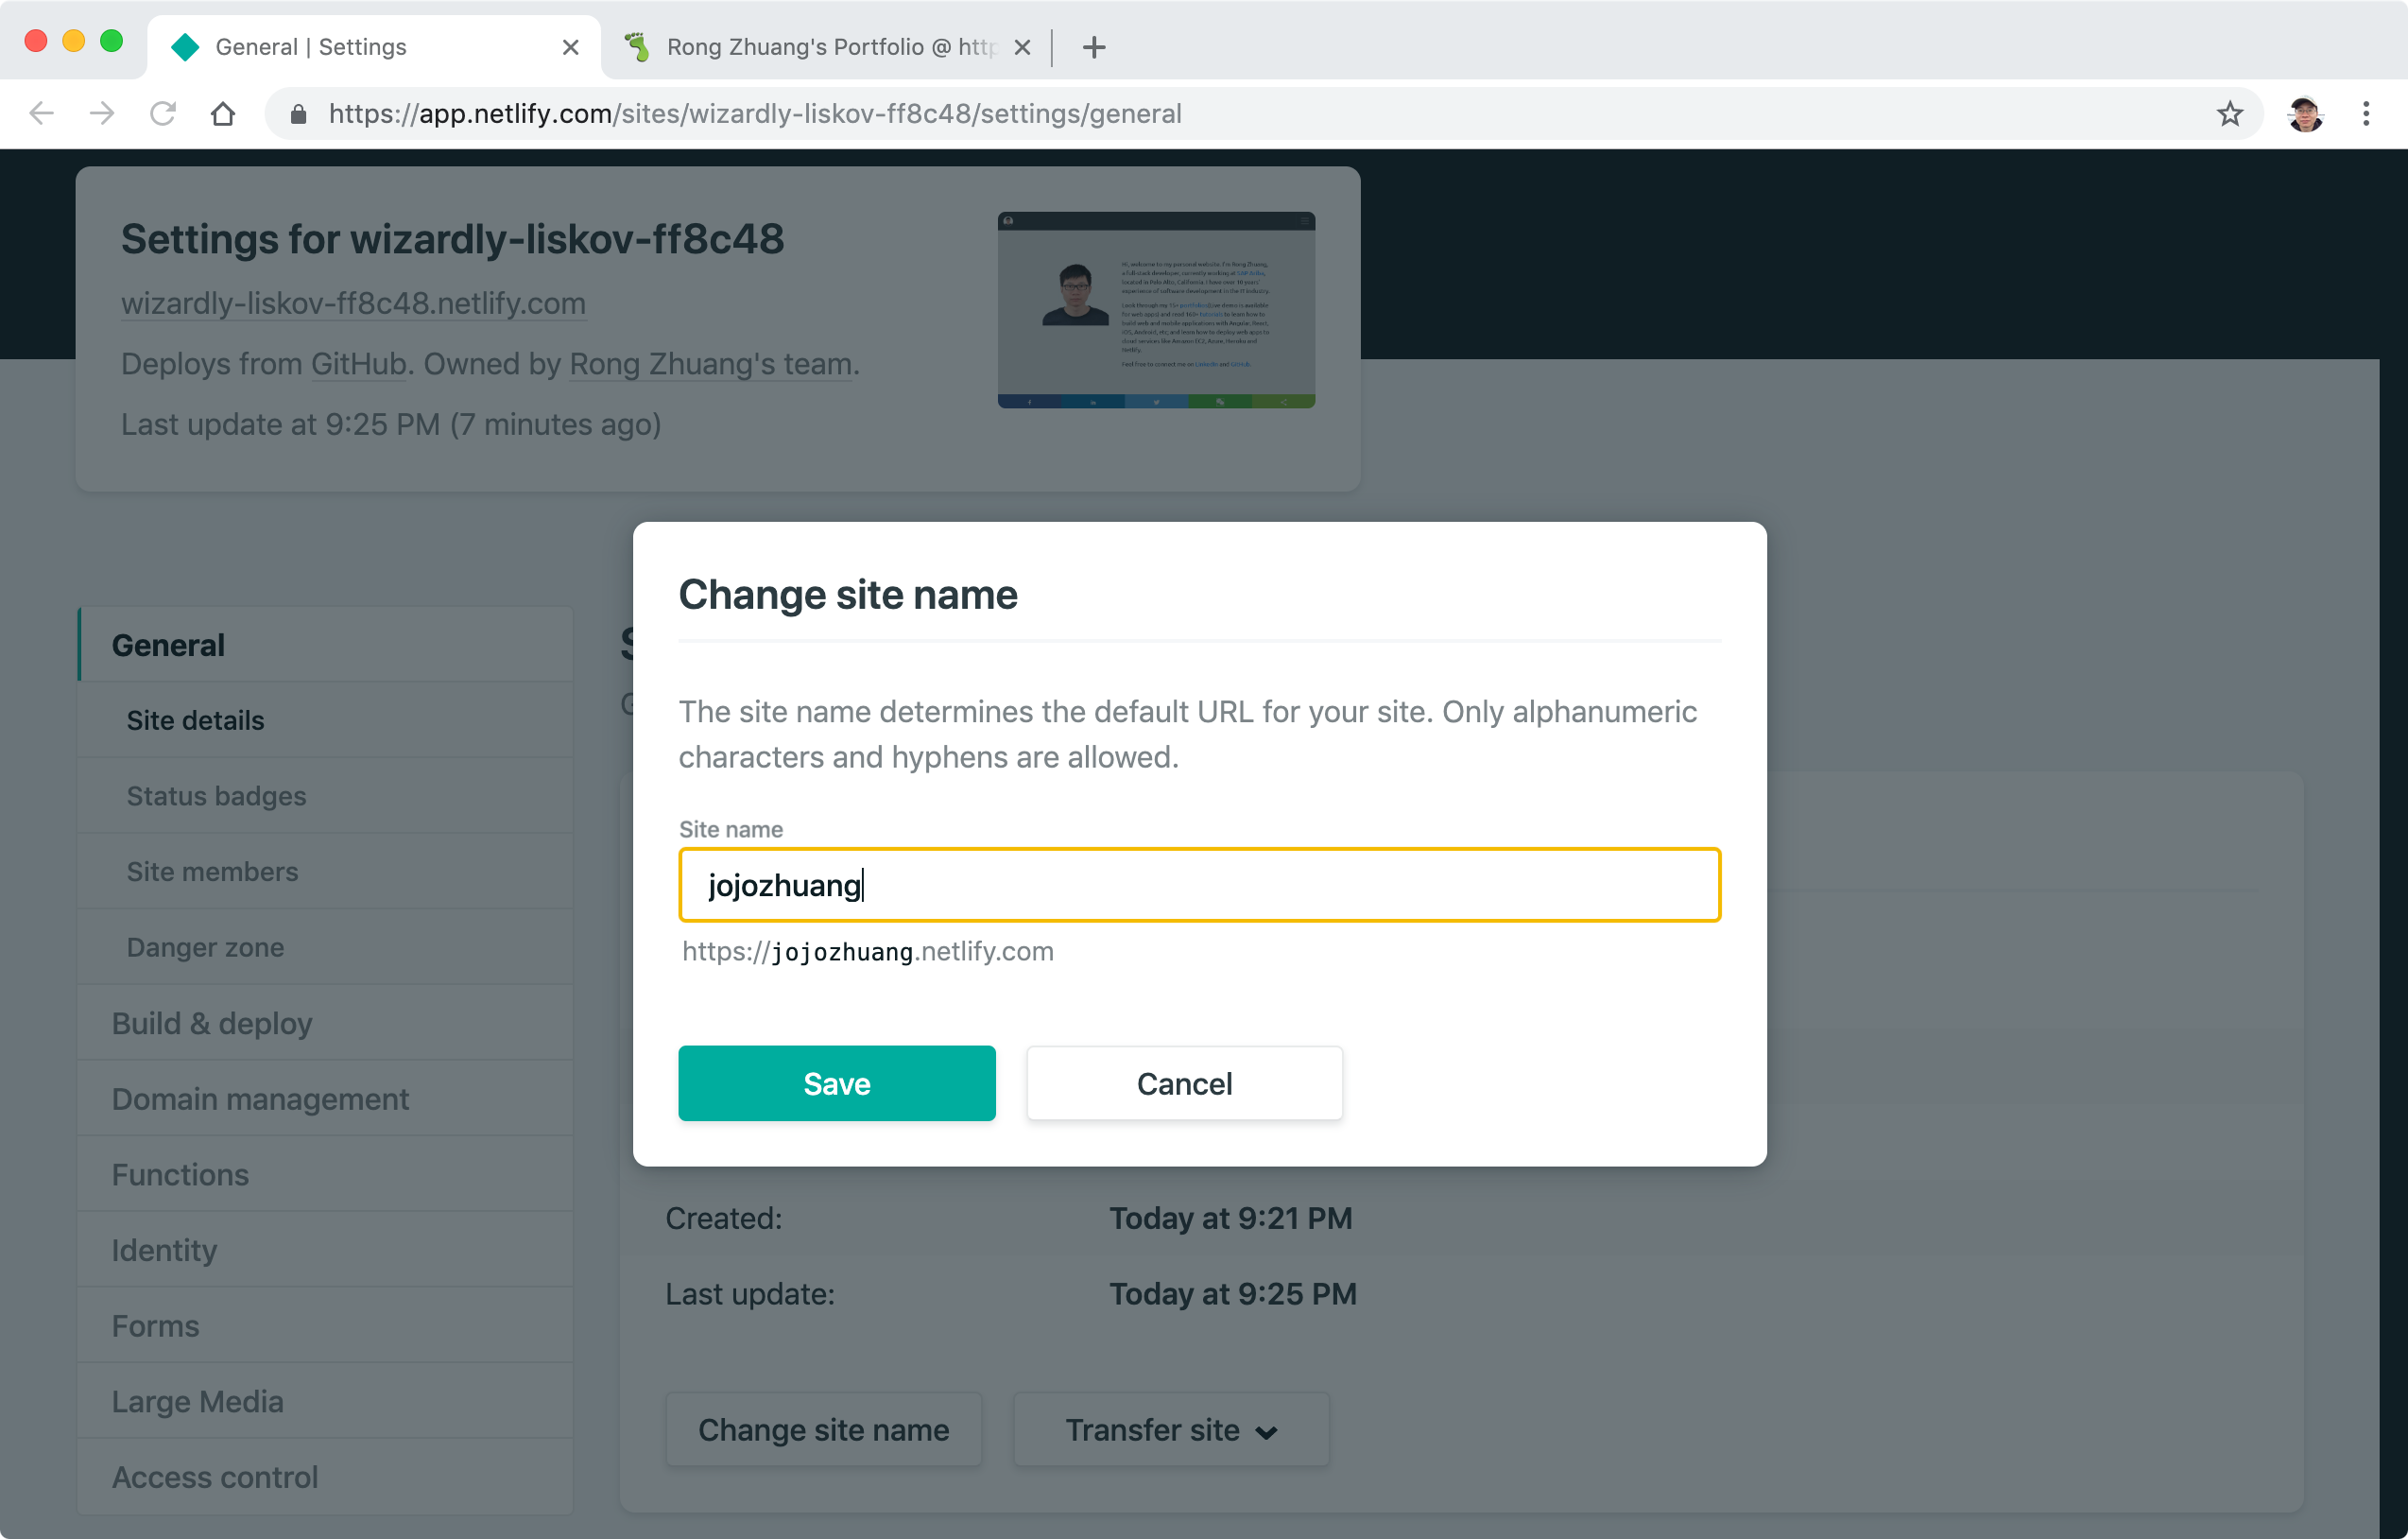
2.5 Changing Site Name
Switch to Settings tab, scroll down and click the ‘Change site name’ button.
 Change the name to ‘jojozhuang’ and save.
 Access your site with the new URL, it should work.