8117. Jekyll - Social Share ButtonsSocial Share
Create share buttons for the most popular social medias.
1. Share Bar Widget
Create a new HTML file inside the _includes folder and call it sharebar.html. Then place the following code to this file:
<div id="share-bar">
<span class="title">Share this to: </span>
<span class="share-buttons">
<a href="https://www.facebook.com/sharer.php?t=Jekyll - Social Share Buttons&u=https://jojozhuang.github.io/tutorial/jekyll-social-share-buttons/" onclick="window.open(this.href, 'pop-up', 'left=20,top=20,width=500,height=500,toolbar=1,resizable=0'); return false;"
title="Share on Facebook">
<i class="fa fa-facebook share-button"> Facebook</i>
</a>
<a href="https://twitter.com/intent/tweet?text=Jekyll - Social Share Buttons&url=https://jojozhuang.github.io/tutorial/jekyll-social-share-buttons/" onclick="window.open(this.href, 'pop-up', 'left=20,top=20,width=500,height=500,toolbar=1,resizable=0'); return false;"
title="Share on Twitter">
<i class="fa fa-twitter share-button"> Twitter</i>
</a>
<a href="https://plus.google.com/share?url=https://jojozhuang.github.io/tutorial/jekyll-social-share-buttons/" onclick="window.open(this.href, 'pop-up', 'left=20,top=20,width=500,height=500,toolbar=1,resizable=0'); return false;"
title="Share on Google+">
<i class="fa fa-google-plus share-button"> Google</i>
</a>
<a href="https://www.linkedin.com/shareArticle?mini=true&url=https://jojozhuang.github.io/tutorial/jekyll-social-share-buttons/&title=Jekyll - Social Share Buttons&summary=&source=jojozhuang.github.io"
onclick="window.open(this.href, 'pop-up', 'left=20,top=20,width=500,height=500,toolbar=1,resizable=0'); return false;"
title="Share on LinkedIn">
<i class="fa fa-linkedin share-button"> LinkedIn</i>
</a>
<a href="http://pinterest.com/pin/create/button/?url=https://jojozhuang.github.io/tutorial/jekyll-social-share-buttons/" onclick="window.open(this.href, 'pop-up', 'left=20,top=20,width=900,height=500,toolbar=1,resizable=0'); return false;"
title="Share on Pinterest">
<i class="fa fa-pinterest share-button"> Pinterest</i>
</a>
<a href="http://www.tumblr.com/share/link?url=https://jojozhuang.github.io/tutorial/jekyll-social-share-buttons/" onclick="window.open(this.href, 'pop-up', 'left=20,top=20,width=900,height=500,toolbar=1,resizable=0'); return false;"
title="Share on Tumblr">
<i class="fa fa-tumblr share-button"> Tumblr</i>
</a>
<a href="http://www.reddit.com/submit?url=https://jojozhuang.github.io/tutorial/jekyll-social-share-buttons/" onclick="window.open(this.href, 'pop-up', 'left=20,top=20,width=900,height=500,toolbar=1,resizable=0'); return false;"
title="Share on Reddit">
<i class="fa fa-reddit share-button"> Reddit</i>
</a>
<a href="mailto:?subject=Jekyll - Social Share Buttons&body=Check out this site https://jojozhuang.github.io/tutorial/jekyll-social-share-buttons/" title="Share via Email">
<i class="fa fa-envelope share-button"> Email</i>
</a>
</span>
</div>
2. Styling the Widget
Create a new css file inside the assets/css folder and call it sharebar.css. Then place the following code to this file:
/* Share Bar */
#share-bar {
    font-size: 16px;
	margin: 10px 0px;
}

/* Title */
.title {
	font-size: 18px;
    font-weight: 500;
}

/* All buttons */
.share-buttons {
}

/* Each button */
.share-button {
    margin: 0px;
    margin-bottom: 10px;
    margin-right: 3px;
    border: 1px solid #D3D6D2;
    padding: 5px 10px 5px 10px;
}
.share-button:hover {
    opacity: 1;
    color: #ffffff;
}

/* Facebook button */
.fa-facebook {
    color: #3b5998;
}
.fa-facebook:hover {
    background-color: #3b5998;
}

/* Twitter button */
.fa-twitter {
    color: #55acee;
}
.fa-twitter:hover {
    background-color: #55acee;
}

/* Google-PLus button */
.fa-google-plus {
    color: #dd4b39;
}
.fa-google-plus:hover {
    background-color: #dd4b39;
}

/* Pinterest button */
.fa-pinterest {
    color: #cb2027;
}
.fa-pinterest:hover {
    background-color: #cb2027;
}

/* Tumblr button */
.fa-tumblr {
    color: #32506d;
}
.fa-tumblr:hover {
    background-color: #32506d;
}

/* Reddit button */
.fa-reddit {
    color: #ff4500;
}
.fa-reddit:hover {
    background-color: #ff4500;
}

/* LinkedIn button */
.fa-linkedin {
    color: #007bb5;
}
.fa-linkedin:hover {
    background-color: #007bb5;
}

/* Email button */
.fa-envelope {
    color: #444444;
}
.fa-envelope:hover {
    background-color: #444444;
}
3. Including the Share Bar
Include the share bar html file in the _layouts/tutorial.html template.
{% include sharebar.html %}
4. Wrapping Up
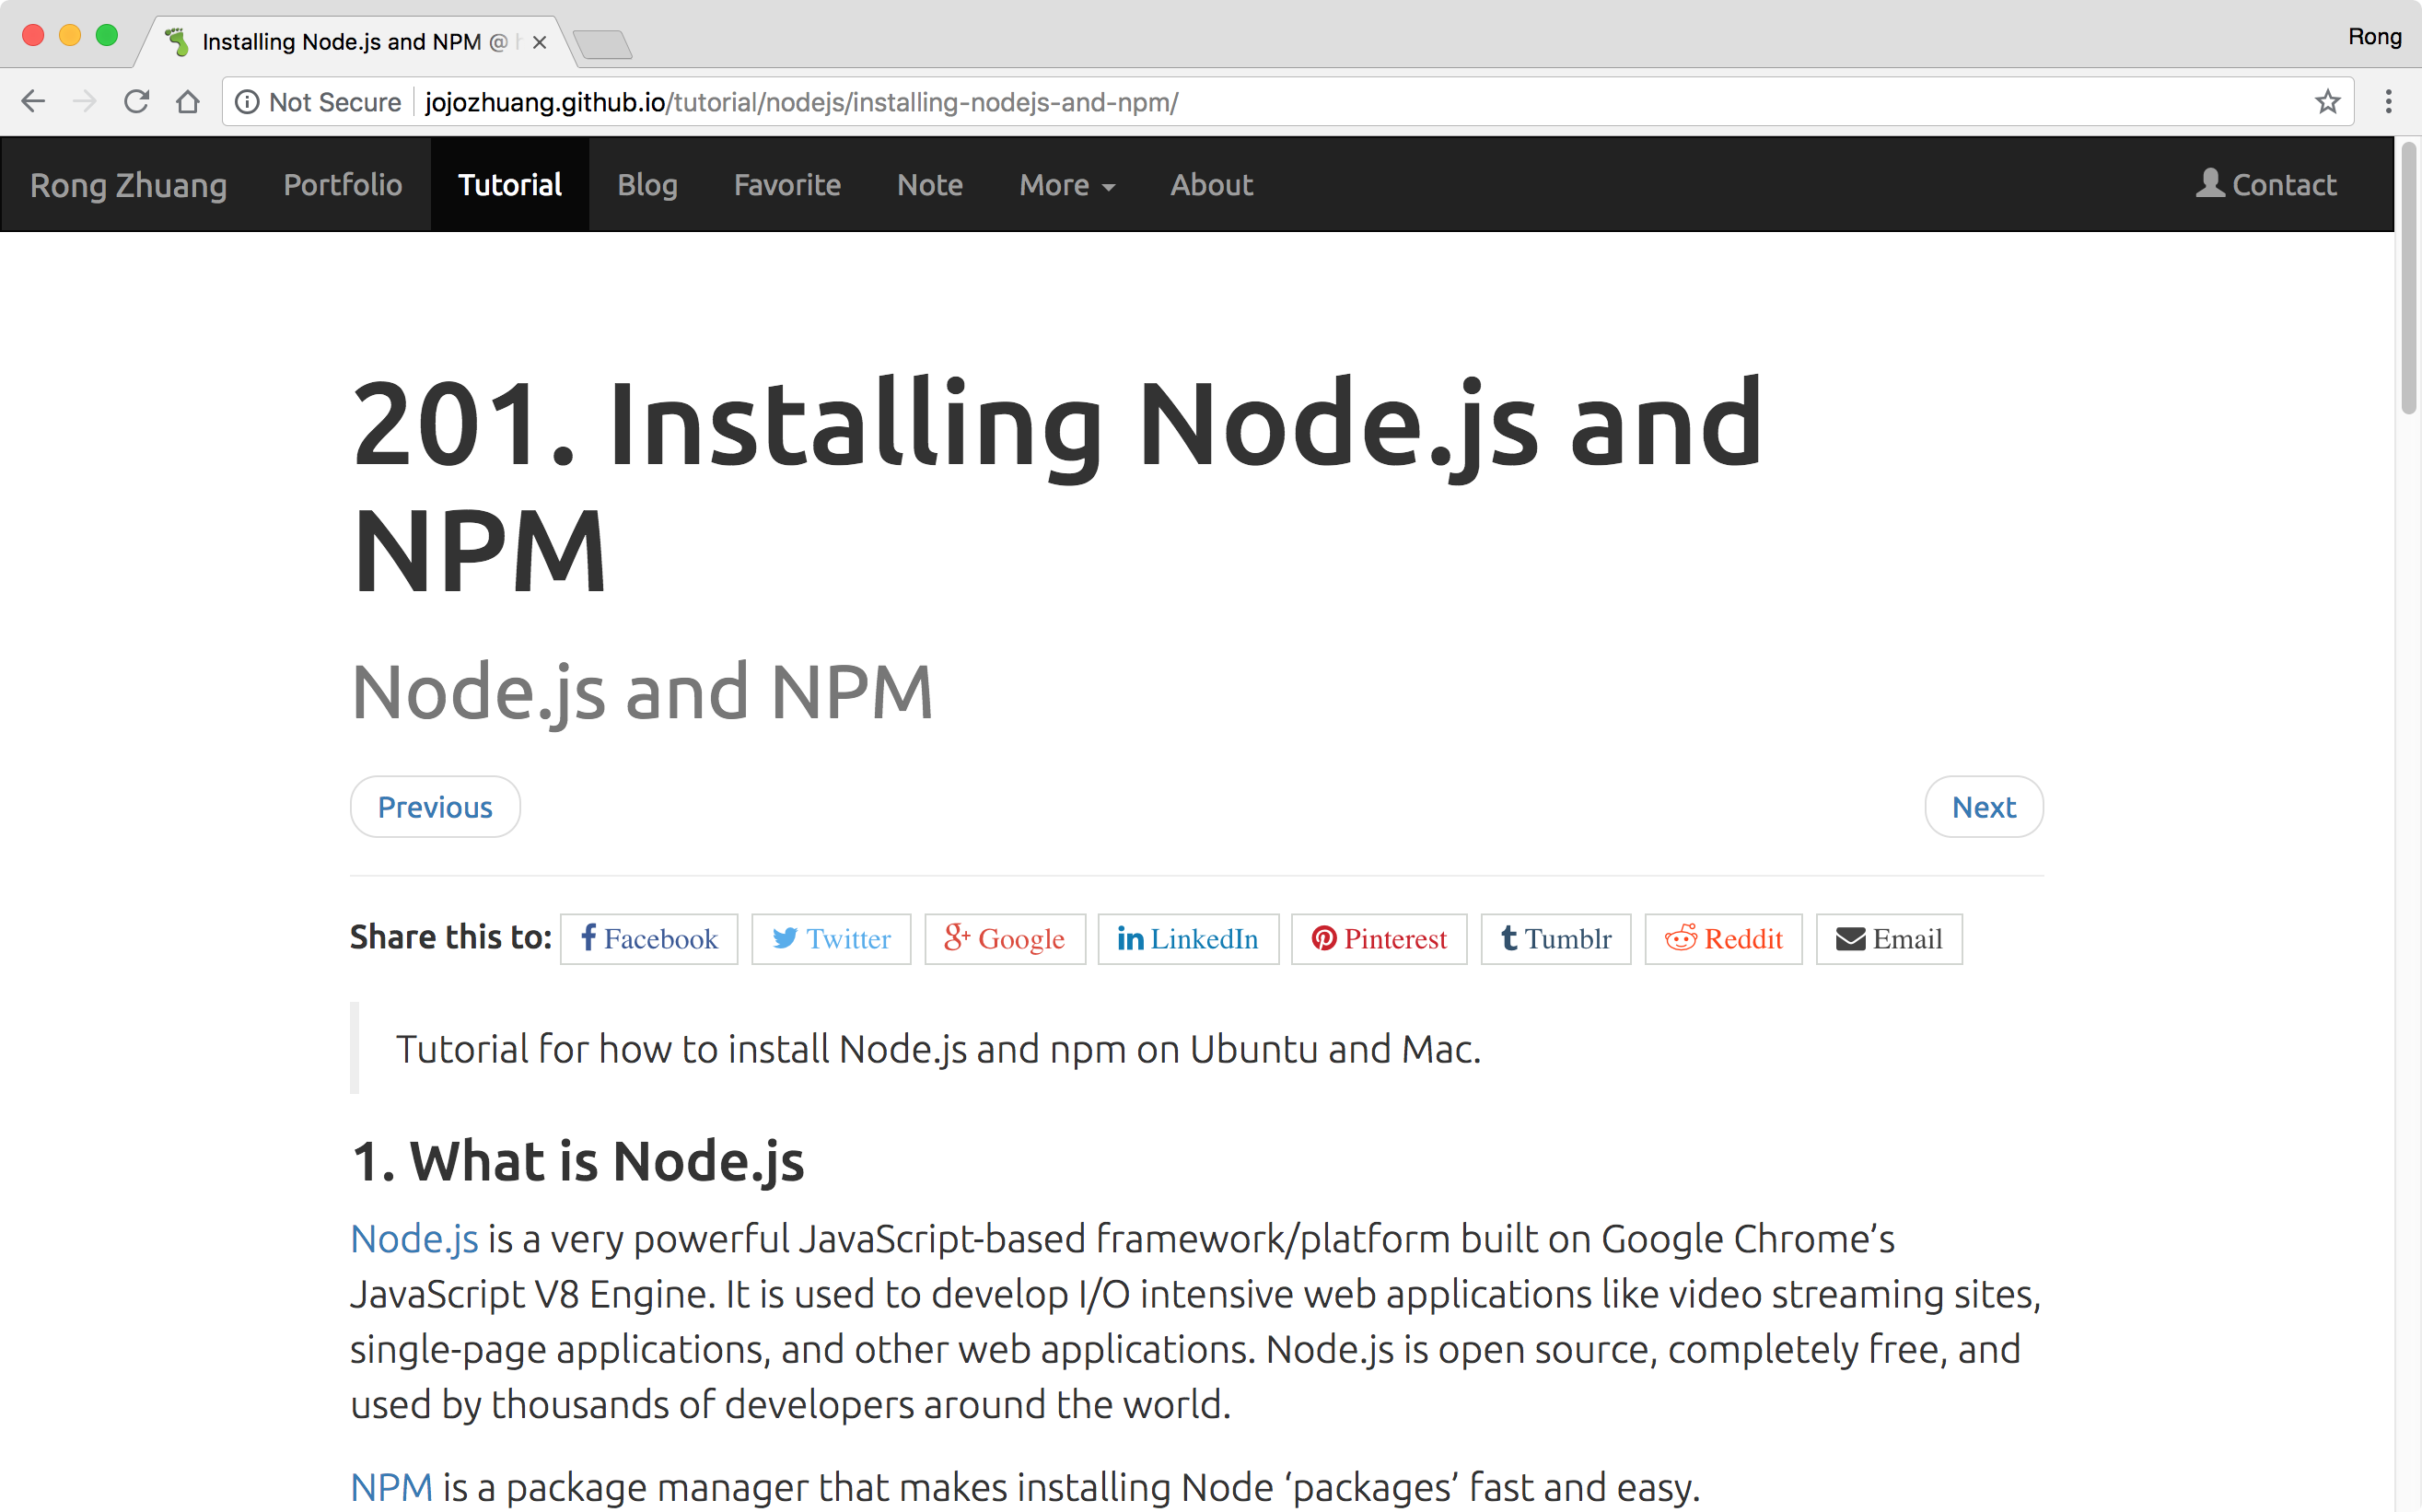
We see the share buttons below the pagination bar.
