8112. Jekyll - Usage and CustomizationJekyll and Excerpt
Customize Jekyll website.
1. Getting Entries from List
Suppose site.portfolio is the list of all portfolios, use the following pipes to get desired entries from this list.
- filtering: add where condition with column name and value
- order: add sort with column name
- ascending/descending: add reverse for descending order.
Usage sample as follows:
{% assign list = (site.portfolio | where: "category", {{category.type}}) | sort: 'index') | reverse %}
<ul>
{% for portfl in list %}
  <li>{{portfl.name}}</li>
{% endfor %}
</ul>
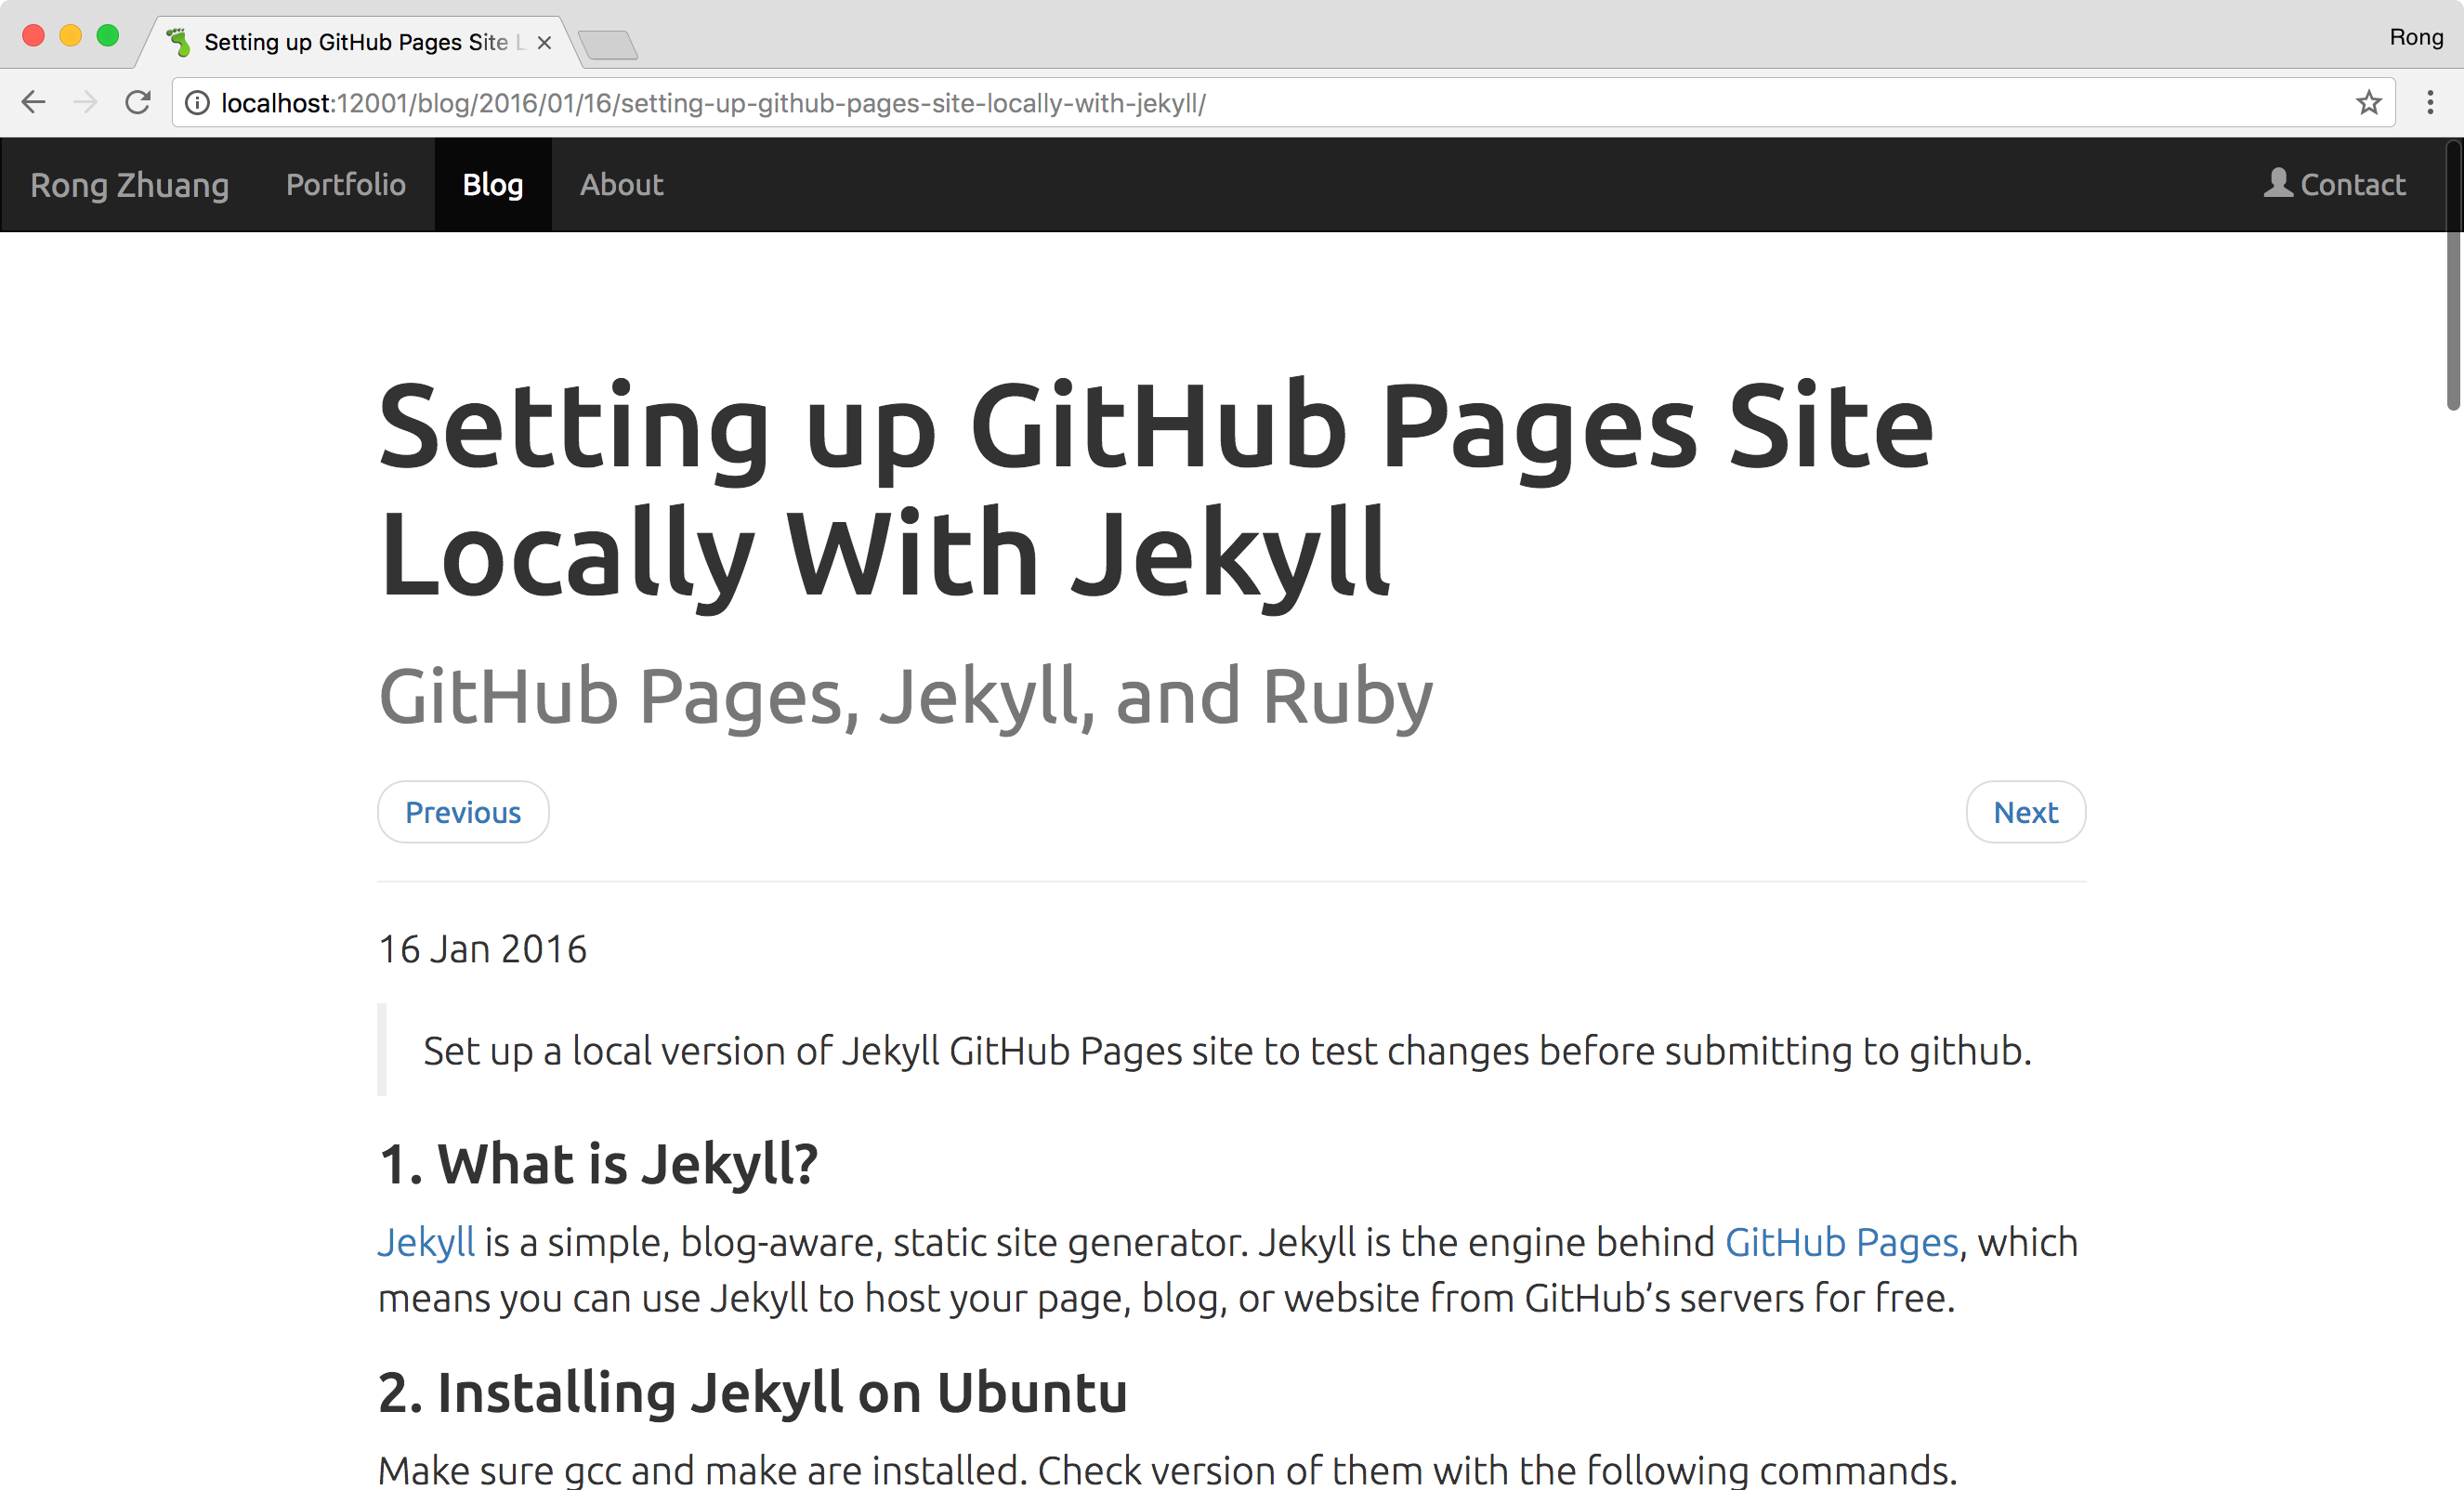
2. Pagination
Add the following codes to post.html, which is the template of posting.
<ul class="pager">
  {% if page.previous.url %}
      <li class="previous"><a href="{{page.previous.url}}">Previous</a></li>
  {% else %}
      <li class="previous disabled"><a href="#">Previous</a></li>
  {% endif %}
  {% if page.next.url %}
      <li class="next"><a href="{{page.next.url}}">Next</a></li>
  {% else %}
      <li class="next disabled"><a href="#">Next</a></li>
  {% endif %}
</ul>
Previous and Next buttons are added to the posting. Now, you can click on either of them to navigate to another posting.
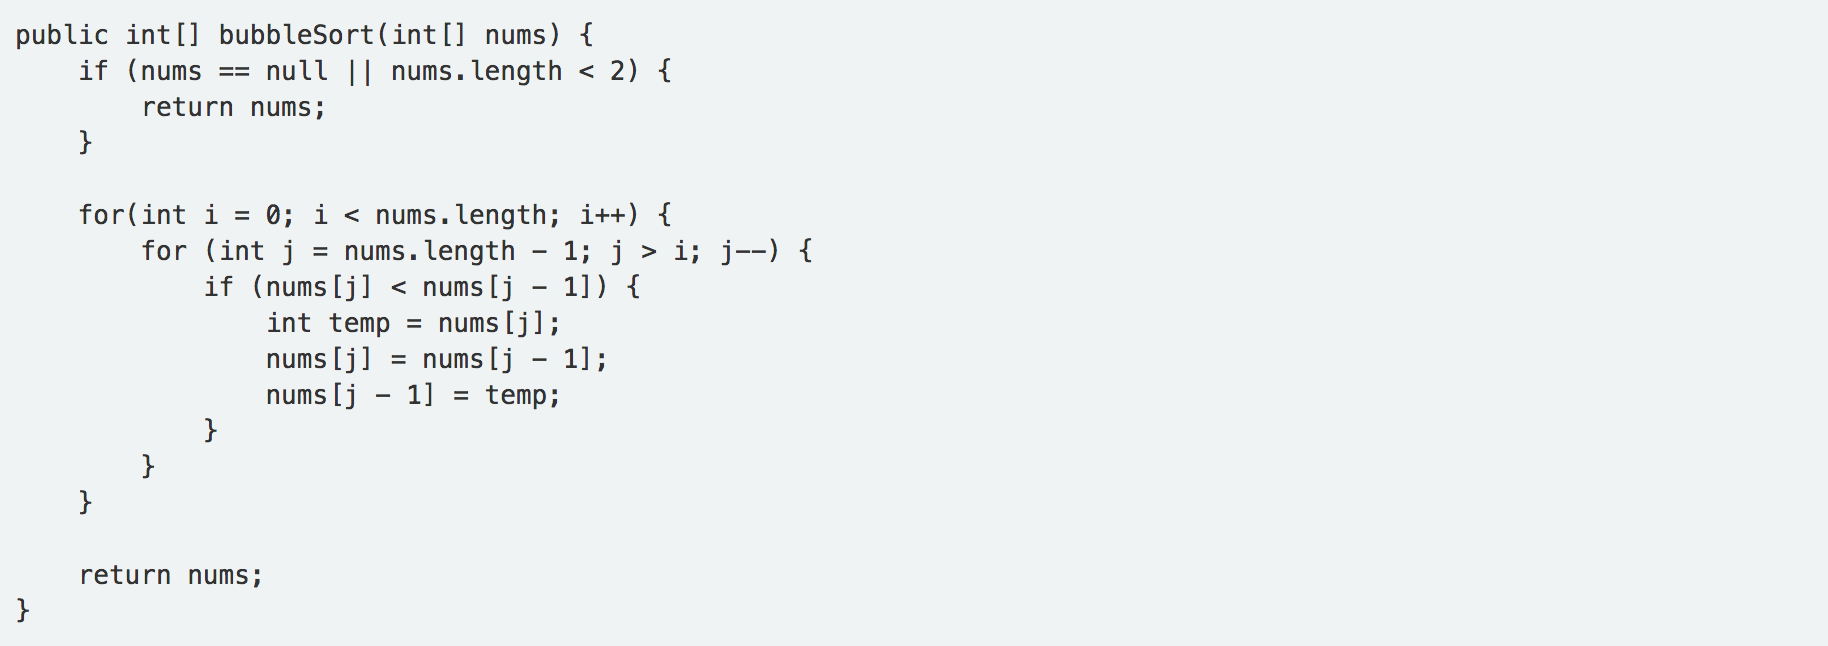
3. Code Snippet Highlighting
When insert codes to markdown, you can specify the programming language of the code. For example:
```java
java code
```
Be default, there is only a grey rectangle as background, no highlighting on the codes. See the below screenshot.
To enable the highlighting, you need to edit _config.yml file which is located in the root directory of the website, add following lines.
markdown: kramdown
highlighter: rouge
Then, create css file, for example, highlight.scss. And include this css file to the page.
<link href="/assets/css/highlight.css" rel="stylesheet" />
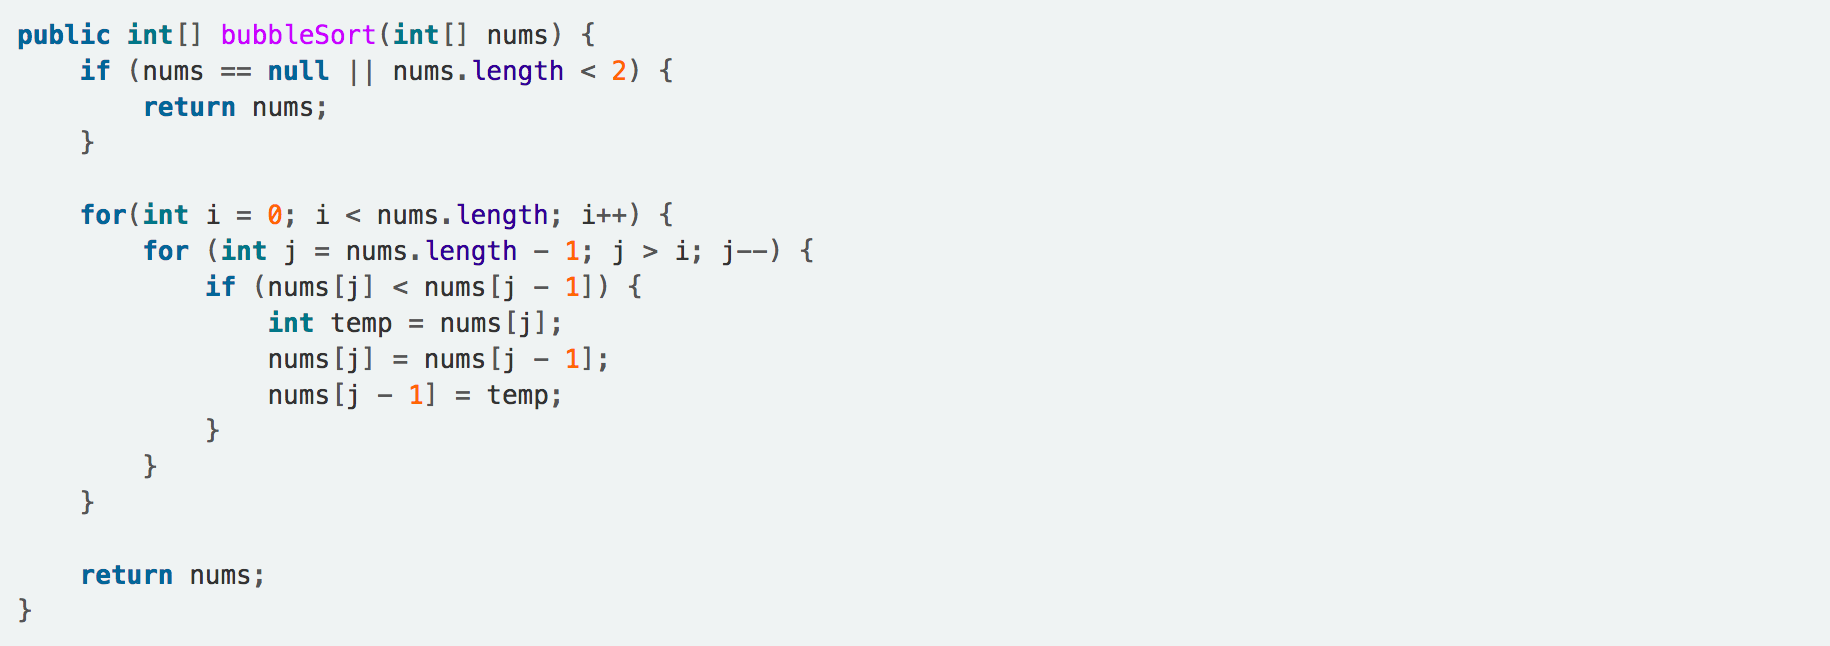
Refresh the page. The highlighting is working now.
4. Links
In Markdown, we can create hyperlinks to the pages of our own website or external website with the following codes:
```
[My Website](http://jojozhuang.github.io/)
```
Here is the result after Markdown file is converted to web page: My Website.
We can also add {:target="_blank"} at end, which makes the browser open a new tab when the link is clicked.
```
[My Website](http://jojozhuang.github.io/){:target="_blank"}
```
Here is the result after Markdown file is converted to web page: My Website.
The problem of above approach is the url is hard-coded. Suppose we rename our internal page or the external URL is obsolete, then this link would be unreachable, which means it becomes ‘dead’. It is impossible for you to know if all your hyperlinks are alive.
The good news is, in Jekyll, you can use link tag to create hyperlink for a post, a page, collection item, or file.
[Link to a document]({{ site.baseurl }}{% link _collection/name-of-document.md %})
[Link to a post]({{ site.baseurl }}{% link _posts/2016-07-26-name-of-post.md %})
[Link to a page]({{ site.baseurl }}{% link news/index.html %})
[Link to a file]({{ site.baseurl }}{% link /assets/files/doc.pdf %})
Notice, {{ site.baseurl }} is optional. It depends on whether you want to preface the page URL with the baseurl value. The benefits of using link is that build will fail if the link is not available any more.
5. Post Excerpt
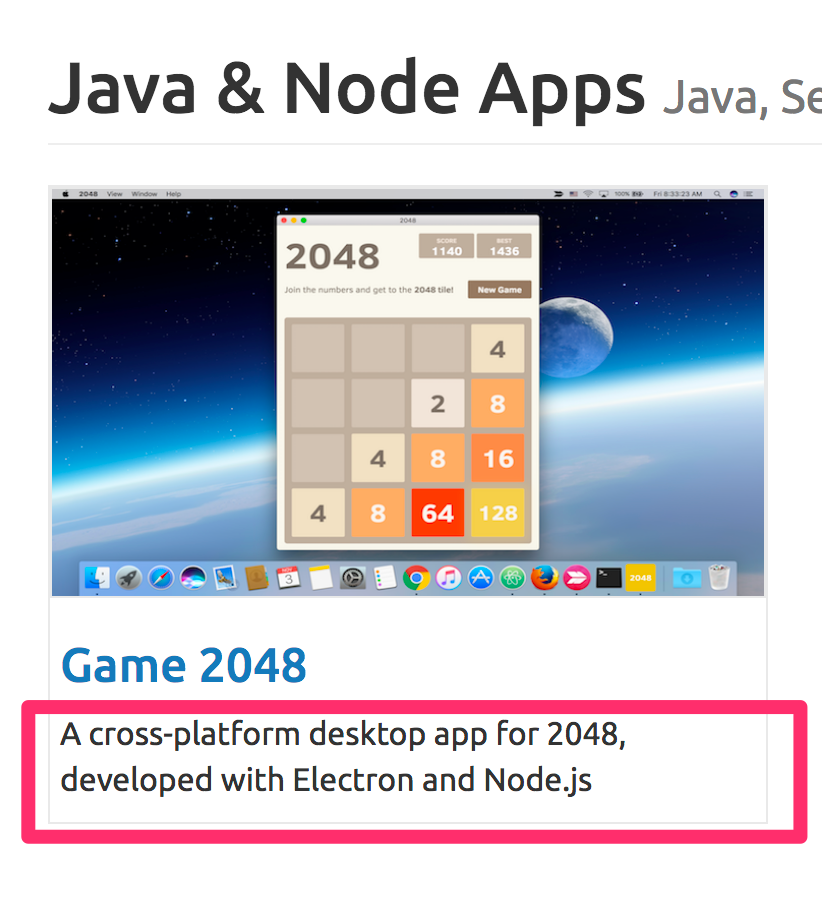
Each post automatically takes the first block of text, from the beginning of the content to the first occurrence of excerpt_separator, and sets it as the post.excerpt. To include a little hint about the post’s content, you can add the first paragraph of each of your posts.
<ul>
  {% for post in site.posts %}
    <li>
      <a href="{{ post.url }}">{{ post.title }}</a>
      {{ post.excerpt }}
    </li>
  {% endfor %}
</ul>
If you don’t like the automatically-generated post excerpt, it can be explicitly overridden by adding an excerpt value to your post’s YAML Front Matter.
---
layout: portfolio
key: portfolio
title: "2048"
index: 65
tags: Electron, Node.js, Cross-platform
image: /assets/2048/thumbnail.png
excerpt: A cross-platform desktop app for 2048, developed with Electron and Node.js
category: java
---
Again, use post.excerpt to get customized excerpt and display it on page.
6. Data File
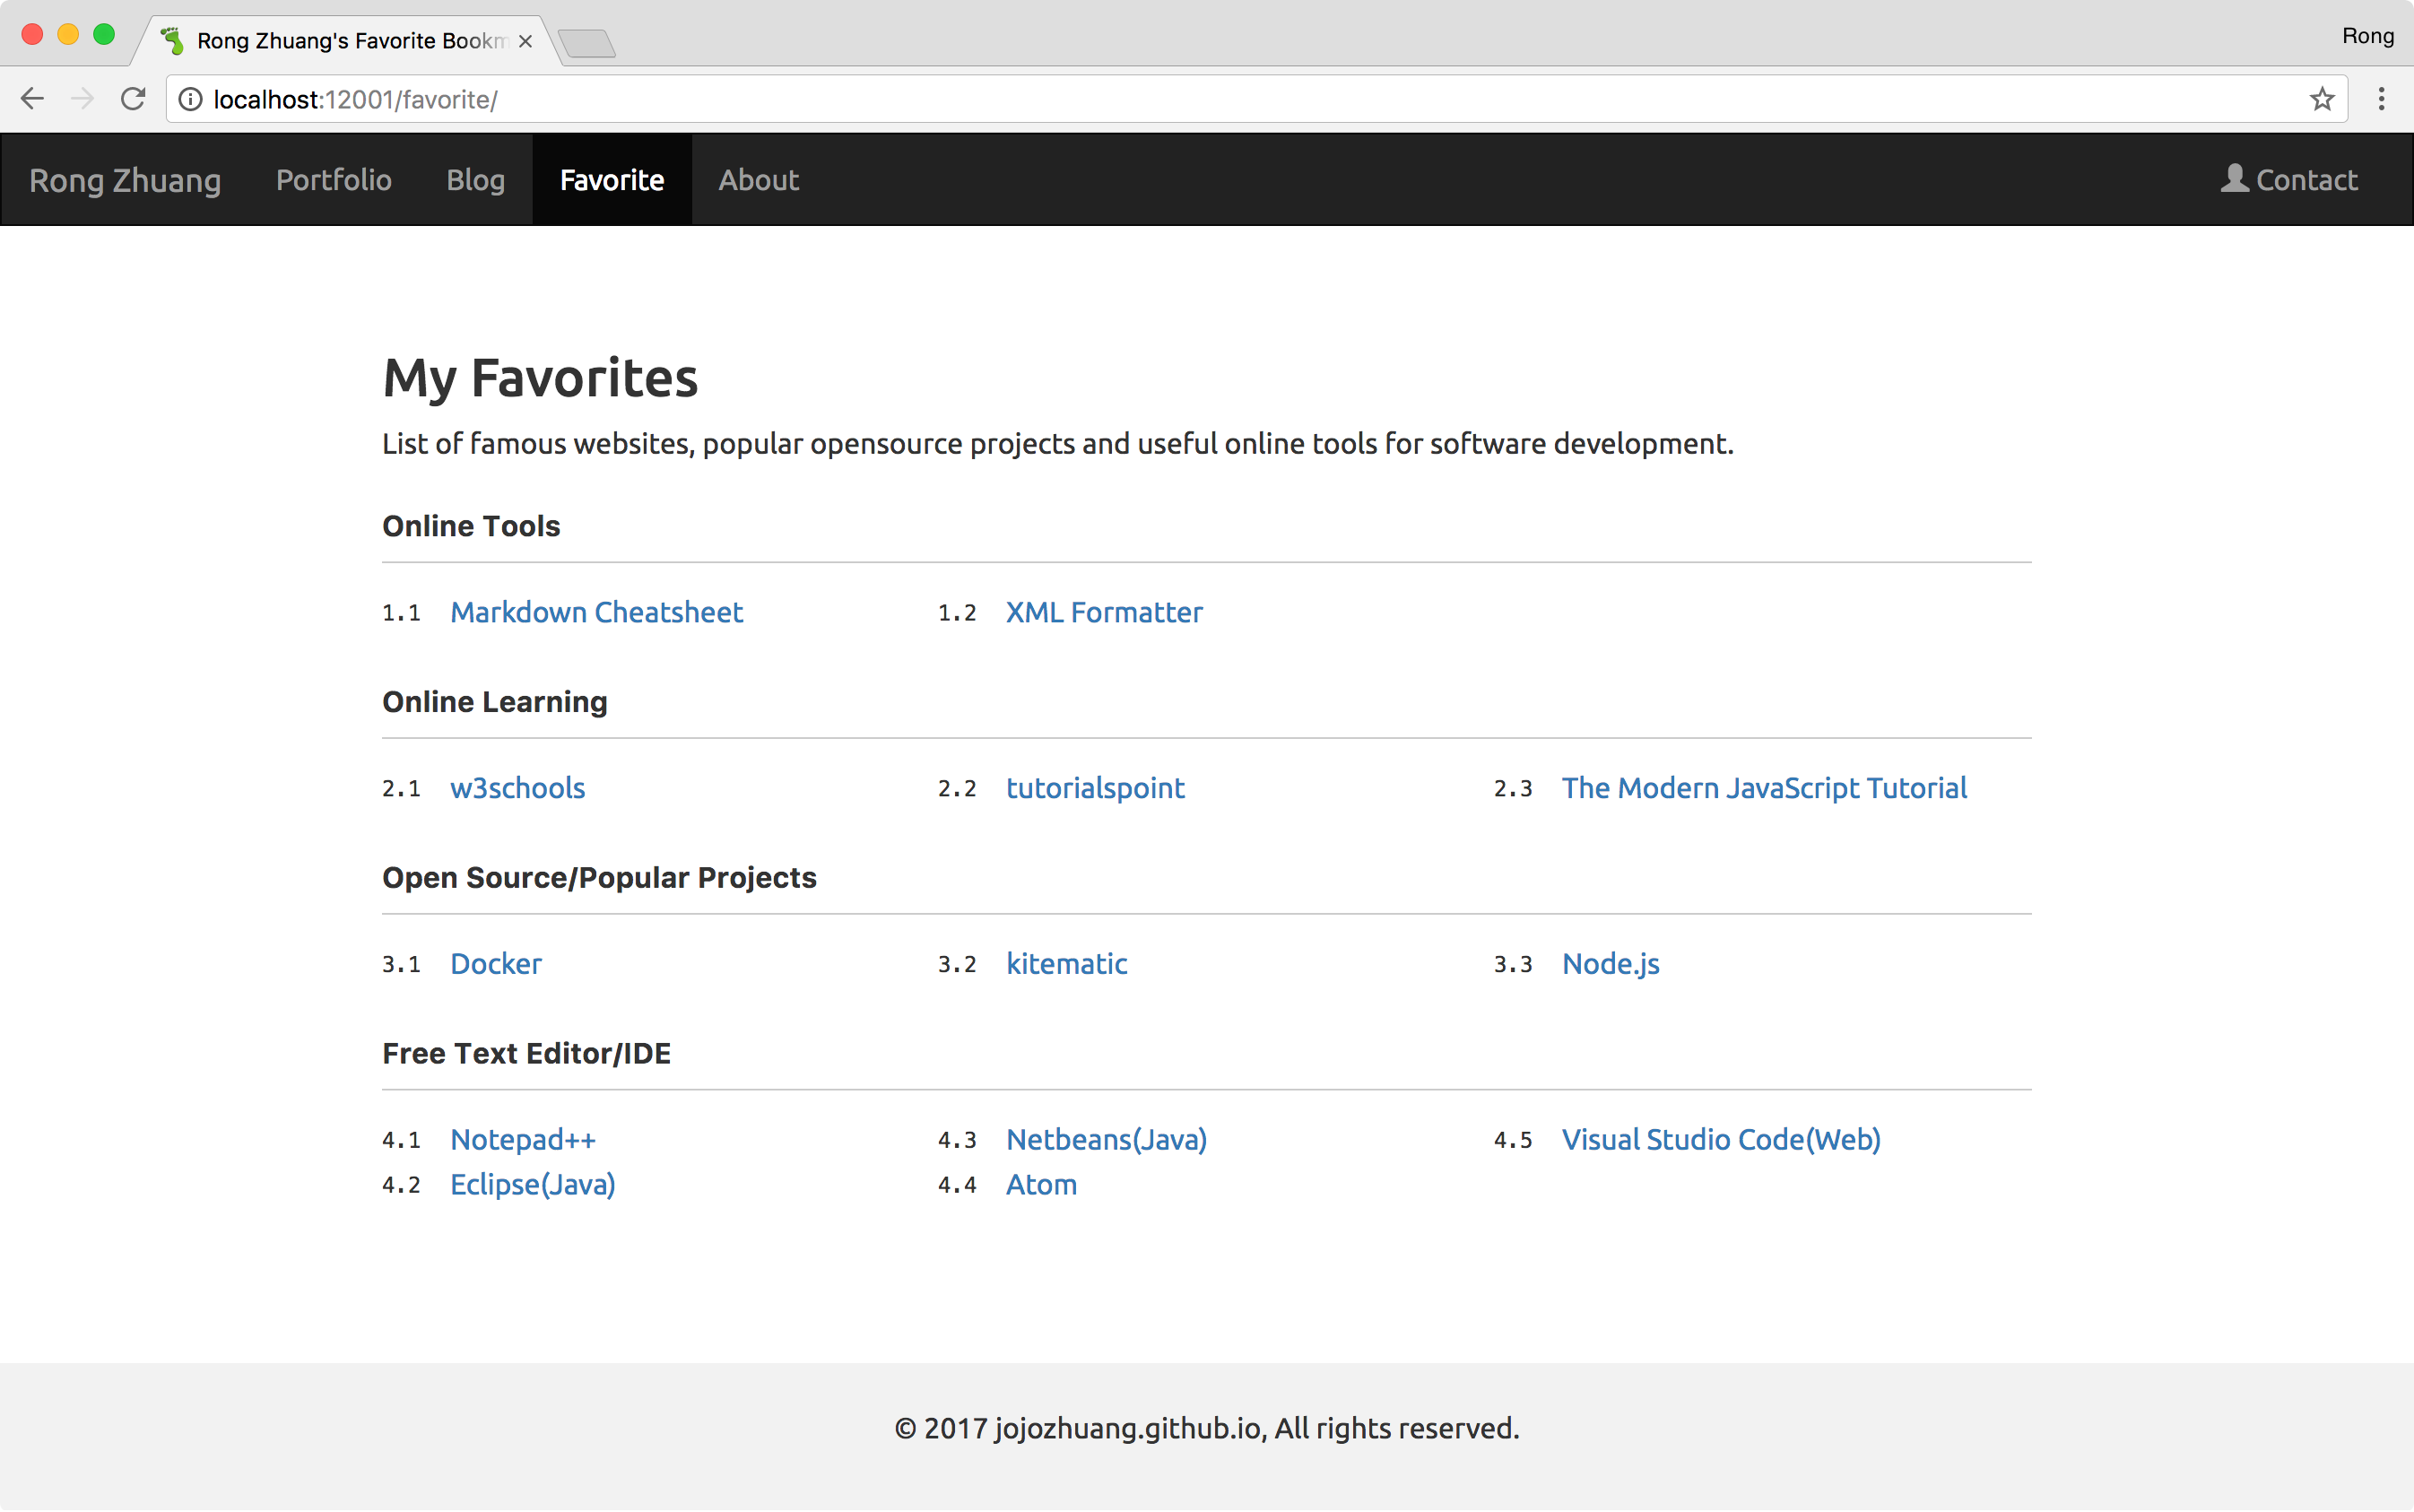
All the links in favorite page are from Data File.
Create _data folder in the root directory, add create a data file named favorite.yml.
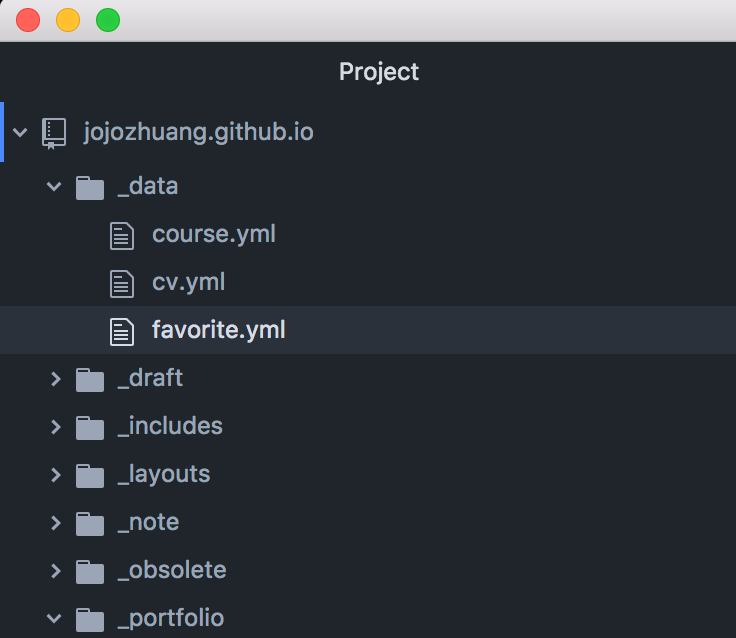
Add following content to favorite.yml.
title: My Favorites
description: List of famous websites, popular opensource projects and useful online tools for software development.
bookmarks:
  - category: Online Tools
    links:
      - name: Markdown Cheatsheet
        url: https://github.com/adam-p/markdown-here/wiki/Markdown-Cheatsheet
      - name: XML Formatter
        url: https://www.freeformatter.com/xml-formatter.html
  - category: Online Learning
    links:
      - name: w3schools
        url: https://www.w3schools.com/
      - name: tutorialspoint
        url: https://www.tutorialspoint.com/
      - name: The Modern JavaScript Tutorial
        url: https://javascript.info/
  - category: Open Source/Popular Projects
    links:
      - name: Docker
        url: https://www.docker.com/
      - name: kitematic
        url: https://kitematic.com/
      - name: Node.js
        url: https://nodejs.org/
  - category: Free Text Editor/IDE
    links:
      - name: Notepad++
        url: https://notepad-plus-plus.org/
      - name: Eclipse(Java)
        url: https://eclipse.org
      - name: Netbeans(Java)
        url: https://netbeans.org/
      - name: Atom
        url: https://atom.io/
      - name: Visual Studio Code(Web)
        url: https://code.visualstudio.com/
Finally, create favorite.html in the root directory, add codes to read data from favorite.yml data file.
---
layout: default
key: favorite
title: My Favorite Bookmarks
---
<div class="main-contents">
    <div class="main-contents-inner">
        {%- assign favorite = site.data.favorite -%}
        <div class="main-contents-title"><h2>{{favorite.title}}</h2></div>
        <div class="main-contents-description">{{favorite.description}}</div>
        <div class="list">
            {%- for bookmark in favorite.bookmarks -%}
                <div class="list-item">
                    <div class="list-title">{{ bookmark.category }}</div>
                    <ul class="list-sub">
                        {%- for link in bookmark.links -%}
                            <li class="list-sub-item">
                               <div class="list-sub-title"><a href="{{ link.url }}" class="list-sub-link">{{ link.name }}</a></div>
                            </li>
                        {%- endfor -%}
                    </ul>
                </div>
            {%- endfor -%}
        </div>
    </div>
</div>
Open browser, access the favorite page.
7. Collection
Use Collection to create similar pages. The portfolio index page is created by collection.
Edit _config.yml, add following lines.
collections:
  portfolio:
    output: true
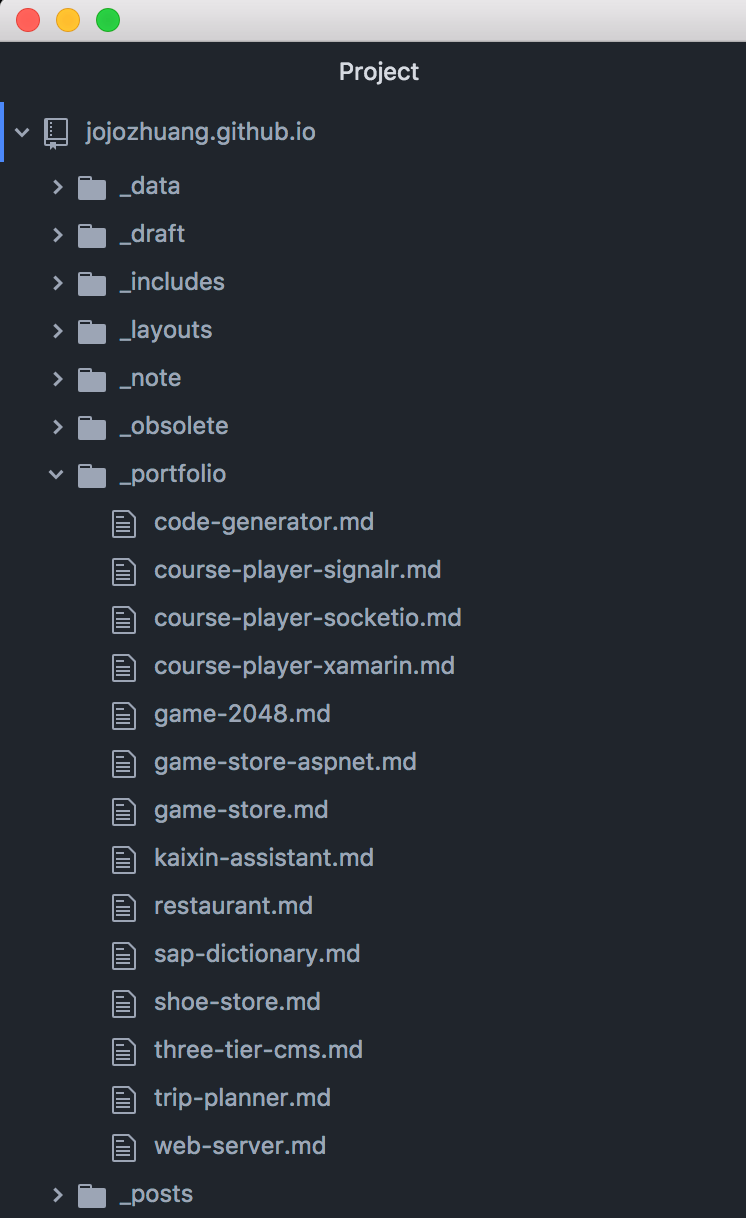
Create new folder named _project in root directory, and put all portfolio postings into it.
Each posting Markdown file contains following attributes.
---
layout: portfolio
key: portfolio
title: "Trip Planner"
index: 40
tags: iOS, Swift, XCode
image: /assets/travelnote/thumbnail.png
excerpt: An iOS App for managing itineraries, built with Swift.
category: mobile
---
At last, create portfolio.html in the root directory, add codes to read data from portfolio collection(Markdown Files).
<div class="row">
  {% assign sorted = (site.portfolio | sort: 'index') | reverse %}
  {% for post in sorted %}
    {% if post.category == "mobile" %}
      <div class="col-md-3 portfolio-item">
        <div class="item-border">
          <a href="{{ post.url }}">
            <img class="img-responsive" src="{{ post.image }}" alt="image">
          </a>
          <div class="item-detail">
            <h3><a href="{{ post.url }}">{{ post.title }}</a></h3>
            <p>{{ post.excerpt }}</p>
          </div>
        </div>
      </div>
    {% endif %}
  {% endfor %}
</div>
Open browser, access the collection page.
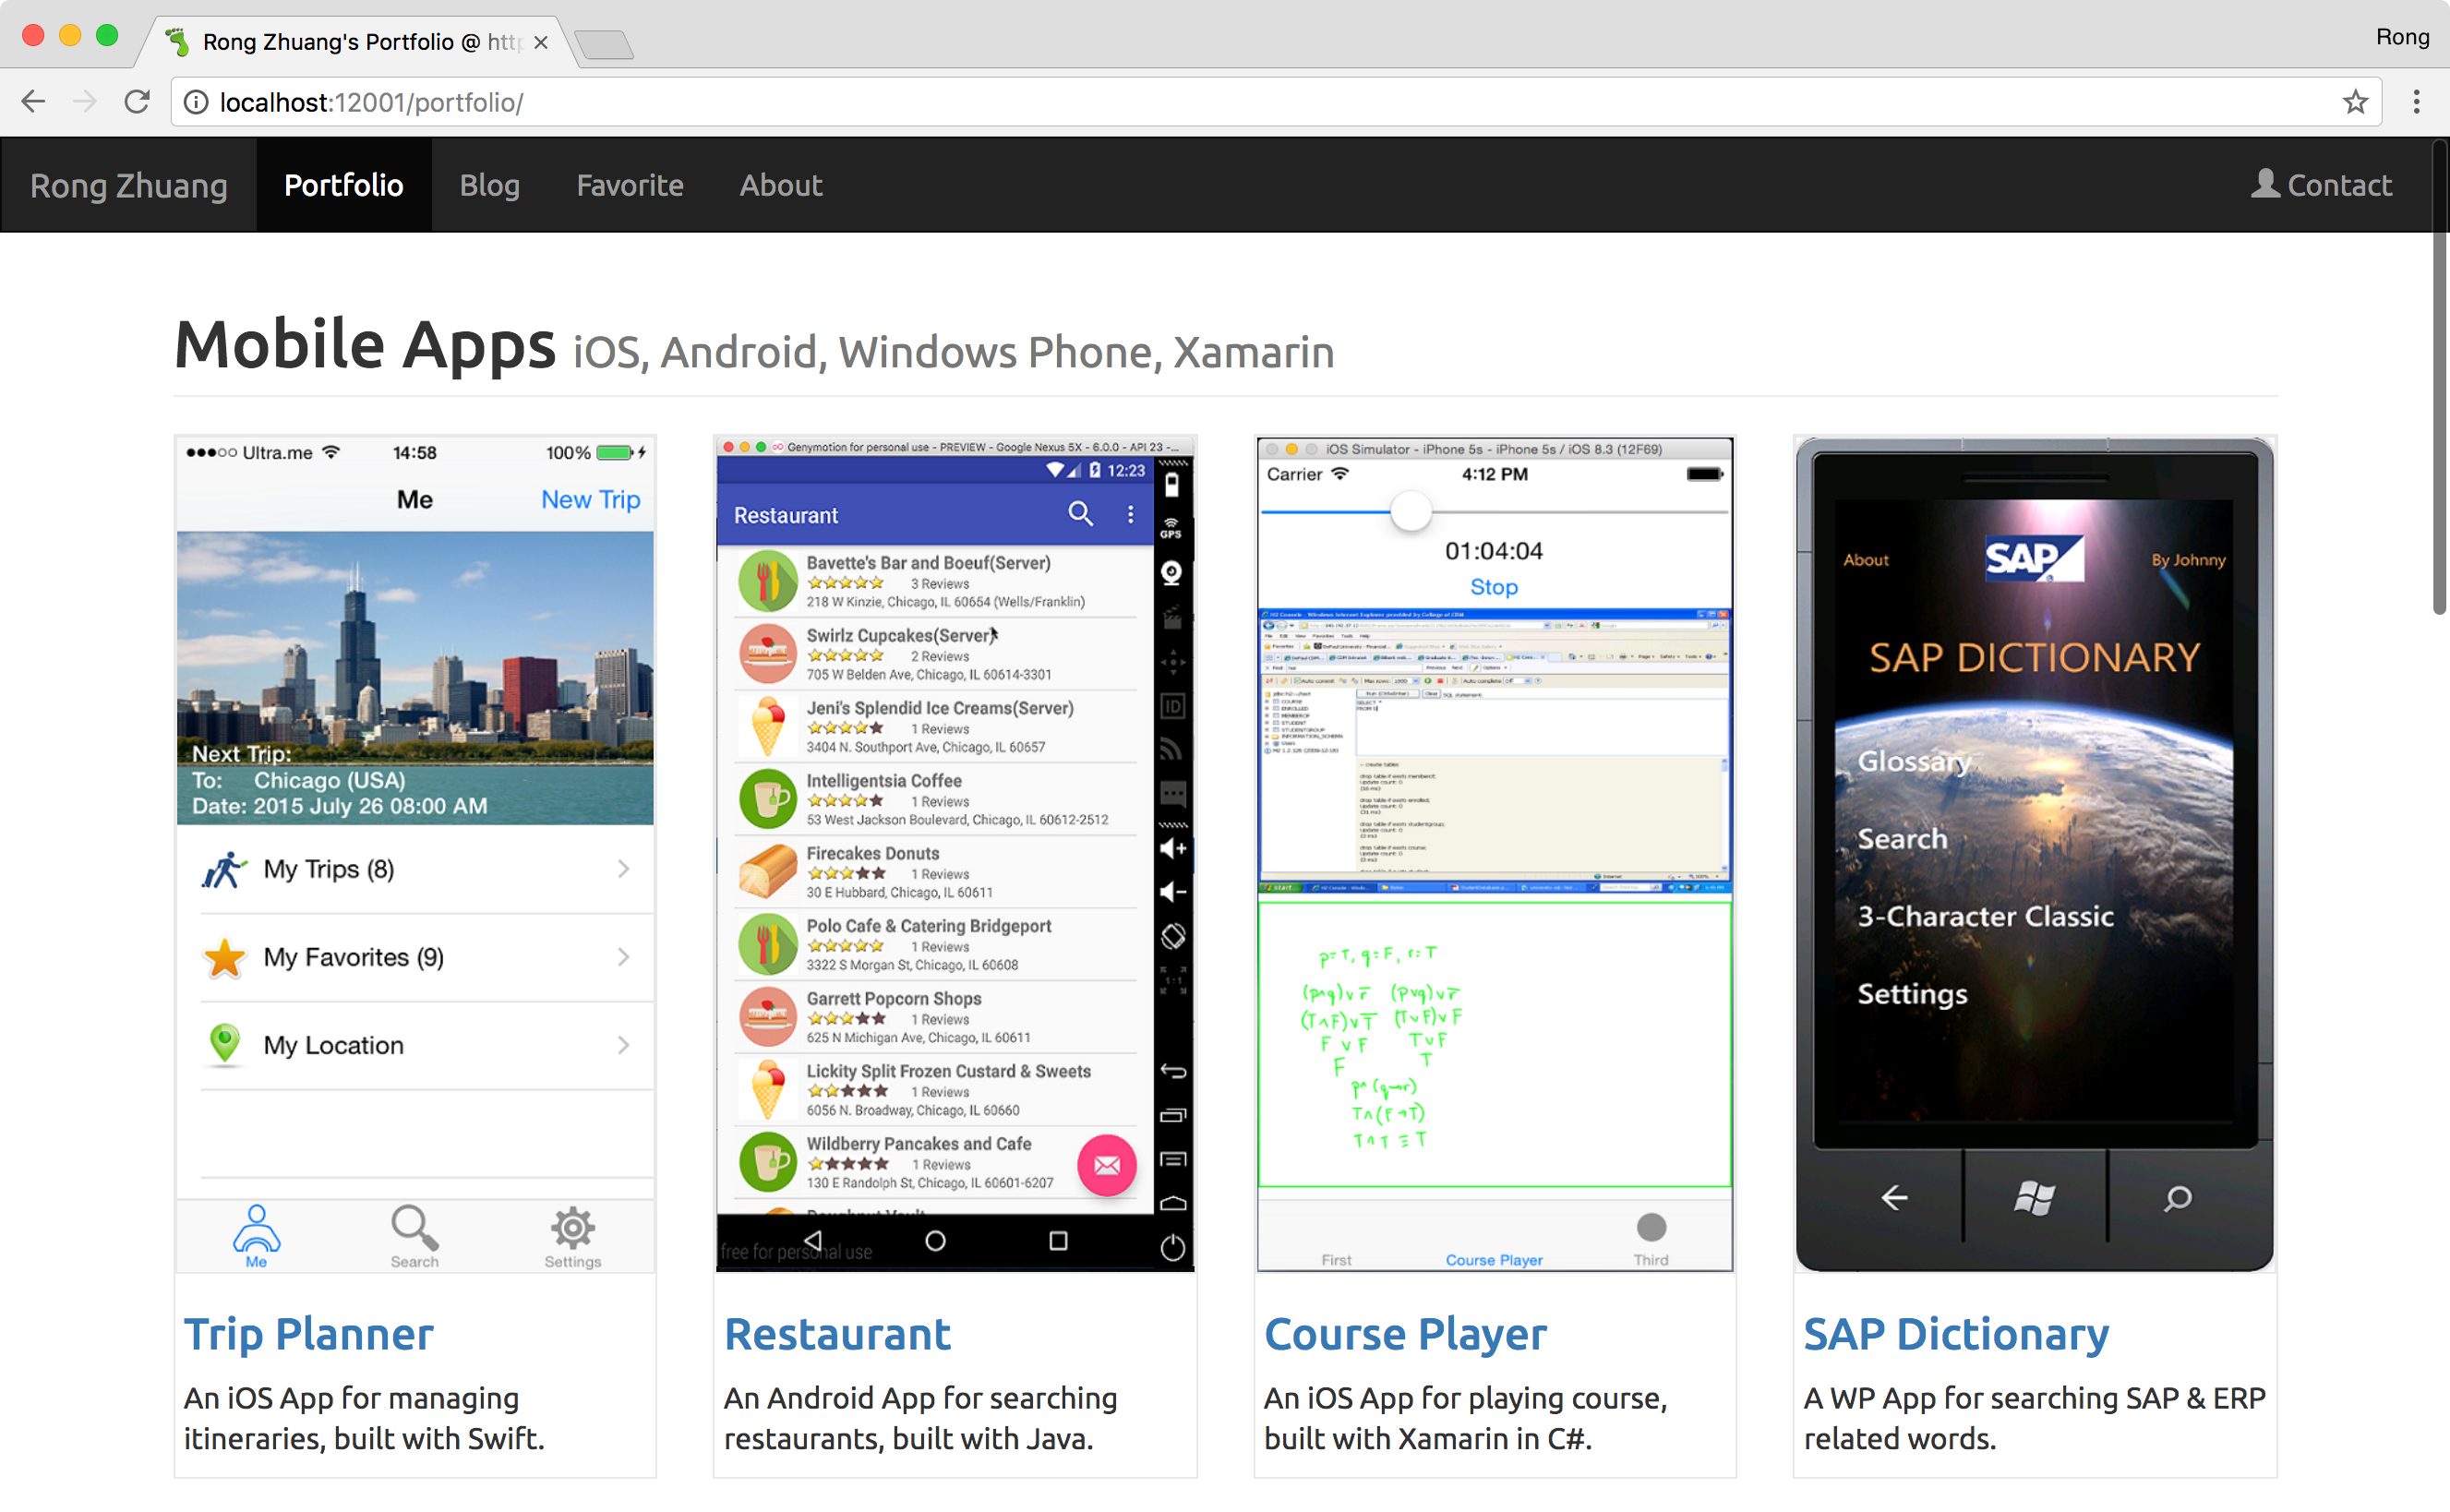
8. Striped Rows in Table
Define a table in markdown as follows.
Access Modifiers        | private | default | protected | public
------------------------|---------|---------|-----------|--------
Inside Class            | Y       | Y       | Y         | Y
Same Package Class      | N       | Y       | Y         | Y
Same Package Sub-Class  | N       | Y       | Y         | Y
Other Package Class     | N       | N       | N         | Y
Other Package Sub-Class | N       | N       | Y         | Y
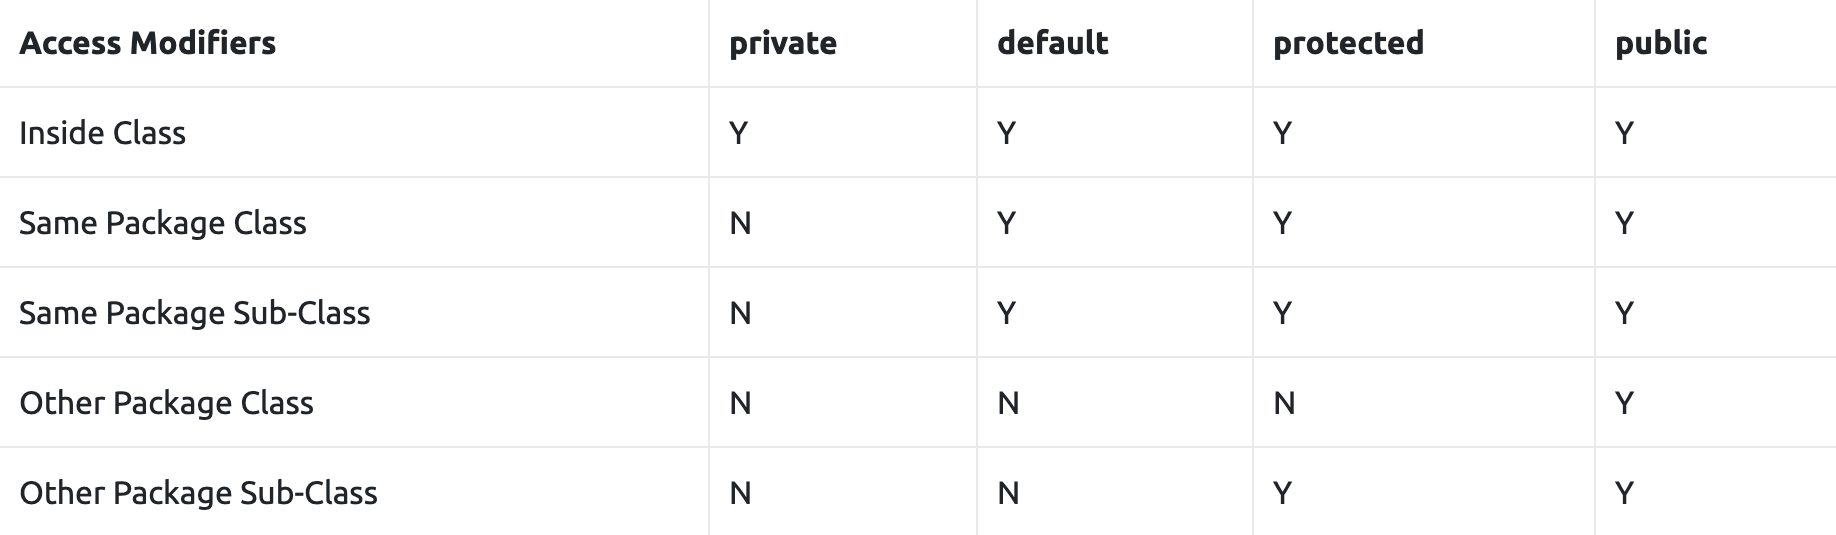
The table in html looks like this.
If we want to add class to html table, we can append class to the table in markdown, see sample below. Class table-striped is defined in Bootstrap 4, which is used to add zebra-stripes to a table.
Access Modifiers        | private | default | protected | public
------------------------|---------|---------|-----------|--------
Inside Class            | Y       | Y       | Y         | Y
Same Package Class      | N       | Y       | Y         | Y
Same Package Sub-Class  | N       | Y       | Y         | Y
Other Package Class     | N       | N       | N         | Y
Other Package Sub-Class | N       | N       | Y         | Y
{: .table-striped }
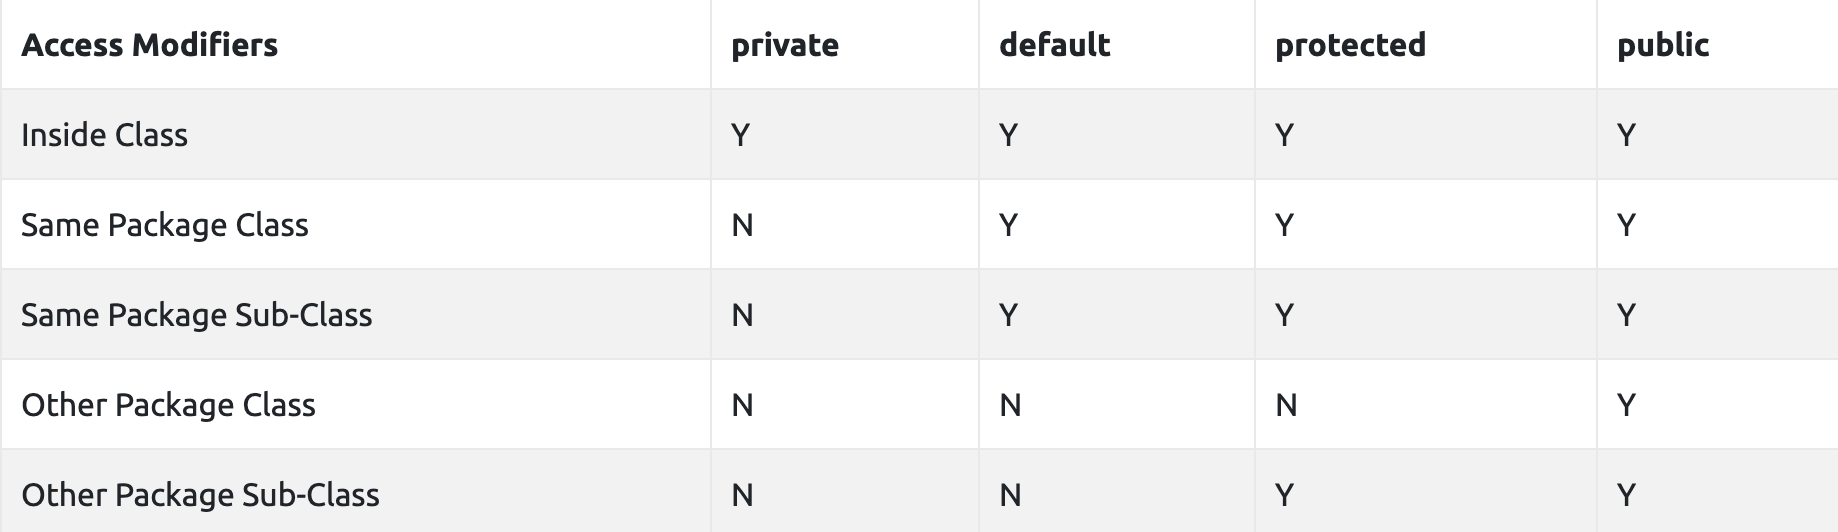
Once the table is generated in html, it looks like this.
<table class="table-striped">
  <thead>
    <tr>
      <th>Access Modifiers</th>
      <th>private</th>
      <th>default</th>
      <th>protected</th>
      <th>public</th>
    </tr>
  </thead>
  <tbody>
    <tr>
      <td>Inside Class</td>
      <td>Y</td>
      <td>Y</td>
      <td>Y</td>
      <td>Y</td>
    </tr>
    <tr>
      <td>Same Package Class</td>
      <td>N</td>
      <td>Y</td>
      <td>Y</td>
      <td>Y</td>
    </tr>
    <tr>
      <td>Same Package Sub-Class</td>
      <td>N</td>
      <td>Y</td>
      <td>Y</td>
      <td>Y</td>
    </tr>
    <tr>
      <td>Other Package Class</td>
      <td>N</td>
      <td>N</td>
      <td>N</td>
      <td>Y</td>
    </tr>
    <tr>
      <td>Other Package Sub-Class</td>
      <td>N</td>
      <td>N</td>
      <td>Y</td>
      <td>Y</td>
    </tr>
  </tbody>
</table>
Now, the table has striped rows.
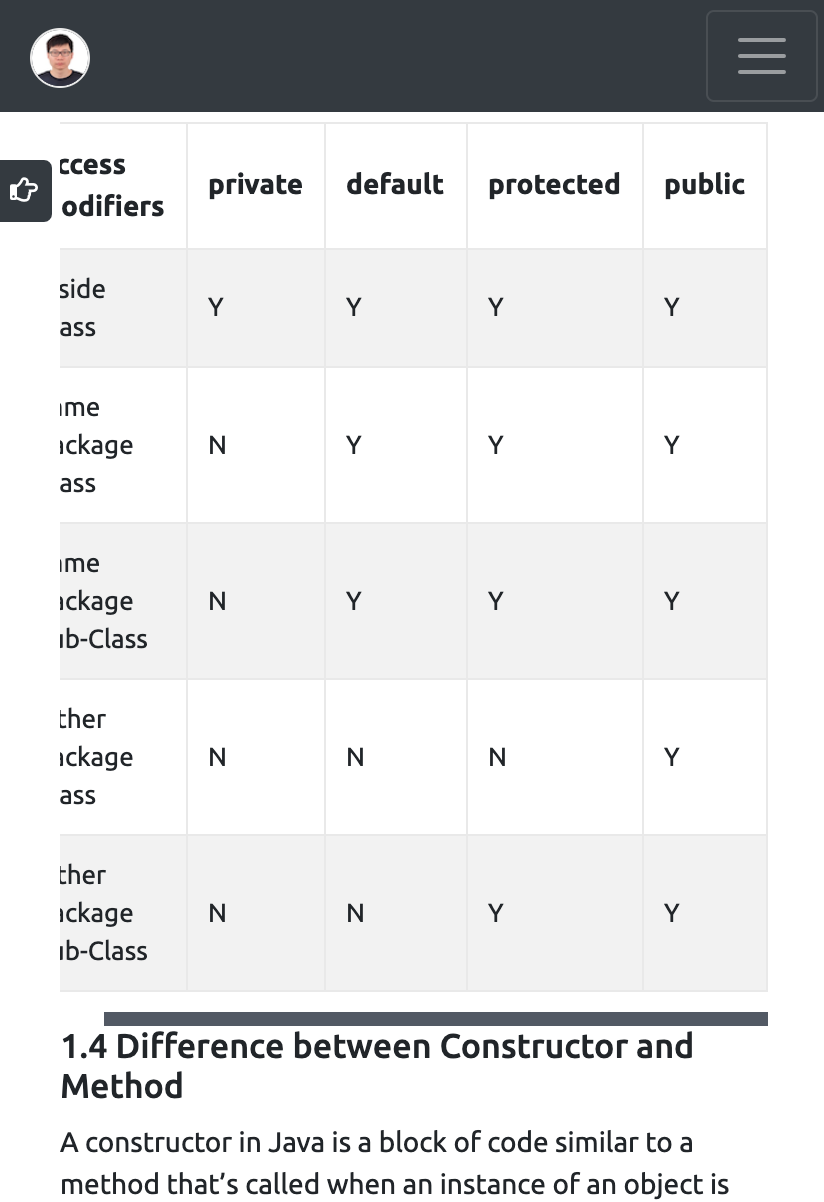
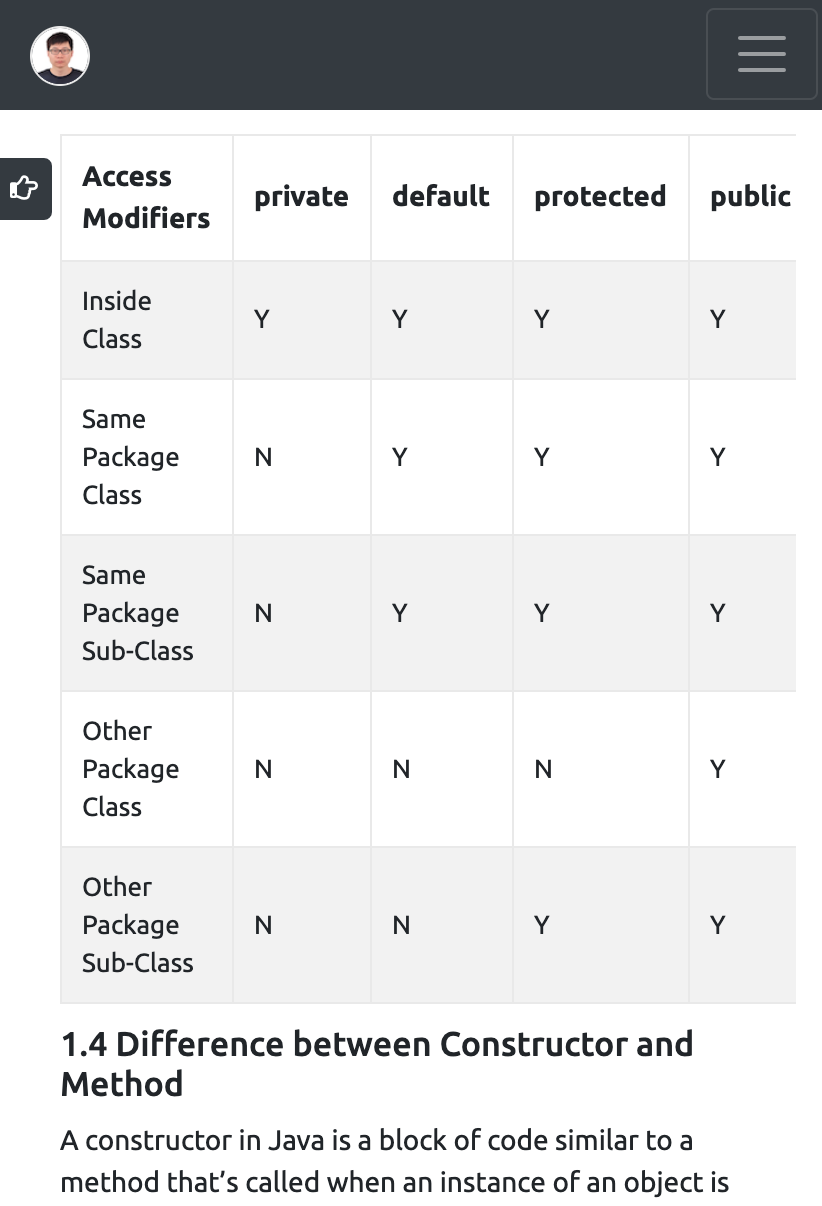
9. Responsive Tables
If table has many columns, some of them may be cut off in small screen.
 One solution is to create a responsive table. We can embed the table into a div, which has the class
 table-responsive-sm. Class table-responsive-sm is defined in Bootstrap 4 for creating responsive tables.
<div class="table-responsive-sm" markdown="block">

Access Modifiers        | private | default | protected | public
------------------------|---------|---------|-----------|--------
Inside Class            | Y       | Y       | Y         | Y
Same Package Class      | N       | Y       | Y         | Y
Same Package Sub-Class  | N       | Y       | Y         | Y
Other Package Class     | N       | N       | N         | Y
Other Package Sub-Class | N       | N       | Y         | Y
{: .table-striped }

</div>
Once the table is generated in html, it looks like this.
<div class="table-responsive-sm">

  <table class="table-striped">
    <thead>
      <tr>
        <th>Access Modifiers</th>
        <th>private</th>
        <th>default</th>
        <th>protected</th>
        <th>public</th>
      </tr>
    </thead>
    <tbody>
      <tr>
        <td>Inside Class</td>
        <td>Y</td>
        <td>Y</td>
        <td>Y</td>
        <td>Y</td>
      </tr>
      <tr>
        <td>Same Package Class</td>
        <td>N</td>
        <td>Y</td>
        <td>Y</td>
        <td>Y</td>
      </tr>
      <tr>
        <td>Same Package Sub-Class</td>
        <td>N</td>
        <td>Y</td>
        <td>Y</td>
        <td>Y</td>
      </tr>
      <tr>
        <td>Other Package Class</td>
        <td>N</td>
        <td>N</td>
        <td>N</td>
        <td>Y</td>
      </tr>
      <tr>
        <td>Other Package Sub-Class</td>
        <td>N</td>
        <td>N</td>
        <td>Y</td>
        <td>Y</td>
      </tr>
    </tbody>
  </table>

</div>
One horizontal scrollbar is added to the table on screen.