9023. Online Judge - Progress Barngx-progressbar
Add progress bar for each http request call in Angular application.
1. Usage
When Angular calls RESTful API to fetch data, it may take some time(few seconds generally). User is not able to get the result immediately. In this case, it is better to show the status to user with a progress bar. So user will know something is happening.
2. Progress Bar
For the online judge app, I use ‘ngx-progressbar’, which is a progress bar widget specifically for Angular. There are two ways to use it. You can use it in each component separately, or use it as automagic loading bar, meaning the progress will start and complete automatically with your HTTP requests. The following steps are for the second approach.
2.1 Installation
Install package ‘ngx-progressbar’.
npm install ngx-progressbar --save
Import the NgProgressModule to module.
import { HttpClientModule, HTTP_INTERCEPTORS } from '@angular/common/http';
import { NgProgressModule, NgProgressInterceptor } from 'ngx-progressbar';

@NgModule({
 providers: [
   // ...
   { provide: HTTP_INTERCEPTORS, useClass: NgProgressInterceptor, multi: true }
 ],
 imports: [
   // ...
   HttpClientModule,
   NgProgressModule
 ]
})
2.2 Progress Bar Widget
Create file named ‘progress-bar.component.html’ in ‘./src/app/components/widgets/progress-bar’ directory.
<ng-progress [positionUsing]="'marginLeft'" [direction]="'leftToRightIncreased'" [color]="'#05af40'" [trickleSpeed]="500"
  [thick]="true" [ease]="'easeInSine'"></ng-progress>
Create file named ‘progress-bar.component.ts’ in the same directory.
import { Component, OnInit } from "@angular/core";

@Component({
  selector: "app-widget-progress-bar",
  templateUrl: "./progress-bar.component.html"
})
export class ProgressBarComponent implements OnInit {
  constructor() {}

  ngOnInit() {}
}
2.3 Adding Progress Bar to App
Add the progress bar widget to the top of app page in file ‘./src/app/commponents/pages/app.commponent.html’.
<div class="mainpage">
  <app-widget-progress-bar></app-widget-progress-bar>
  <app-header></app-header>
  <app-alert></app-alert>
  <router-outlet></router-outlet>
  <app-footer></app-footer>
</div>
3. Testing
3.1 Delay
To view the progress bar more explicitly, we need to make our RESTful service response ‘slowly’. Edit file ‘./server/config/server-config.js’, change the value of ‘request_delay’ to 5. For each http request, server will sleep for five seconds before sending back response to client.
const app = {
  secret: "jwt-secret-key-johnny-abc123",
  port: parseInt(process.env.PORT) || 5000,
  request_delay: 5, // unit: seconds, 0: no delay
  temp_directory: "compiler/temp/uploads",
  cors_client_url: "http://localhost:12080"
};
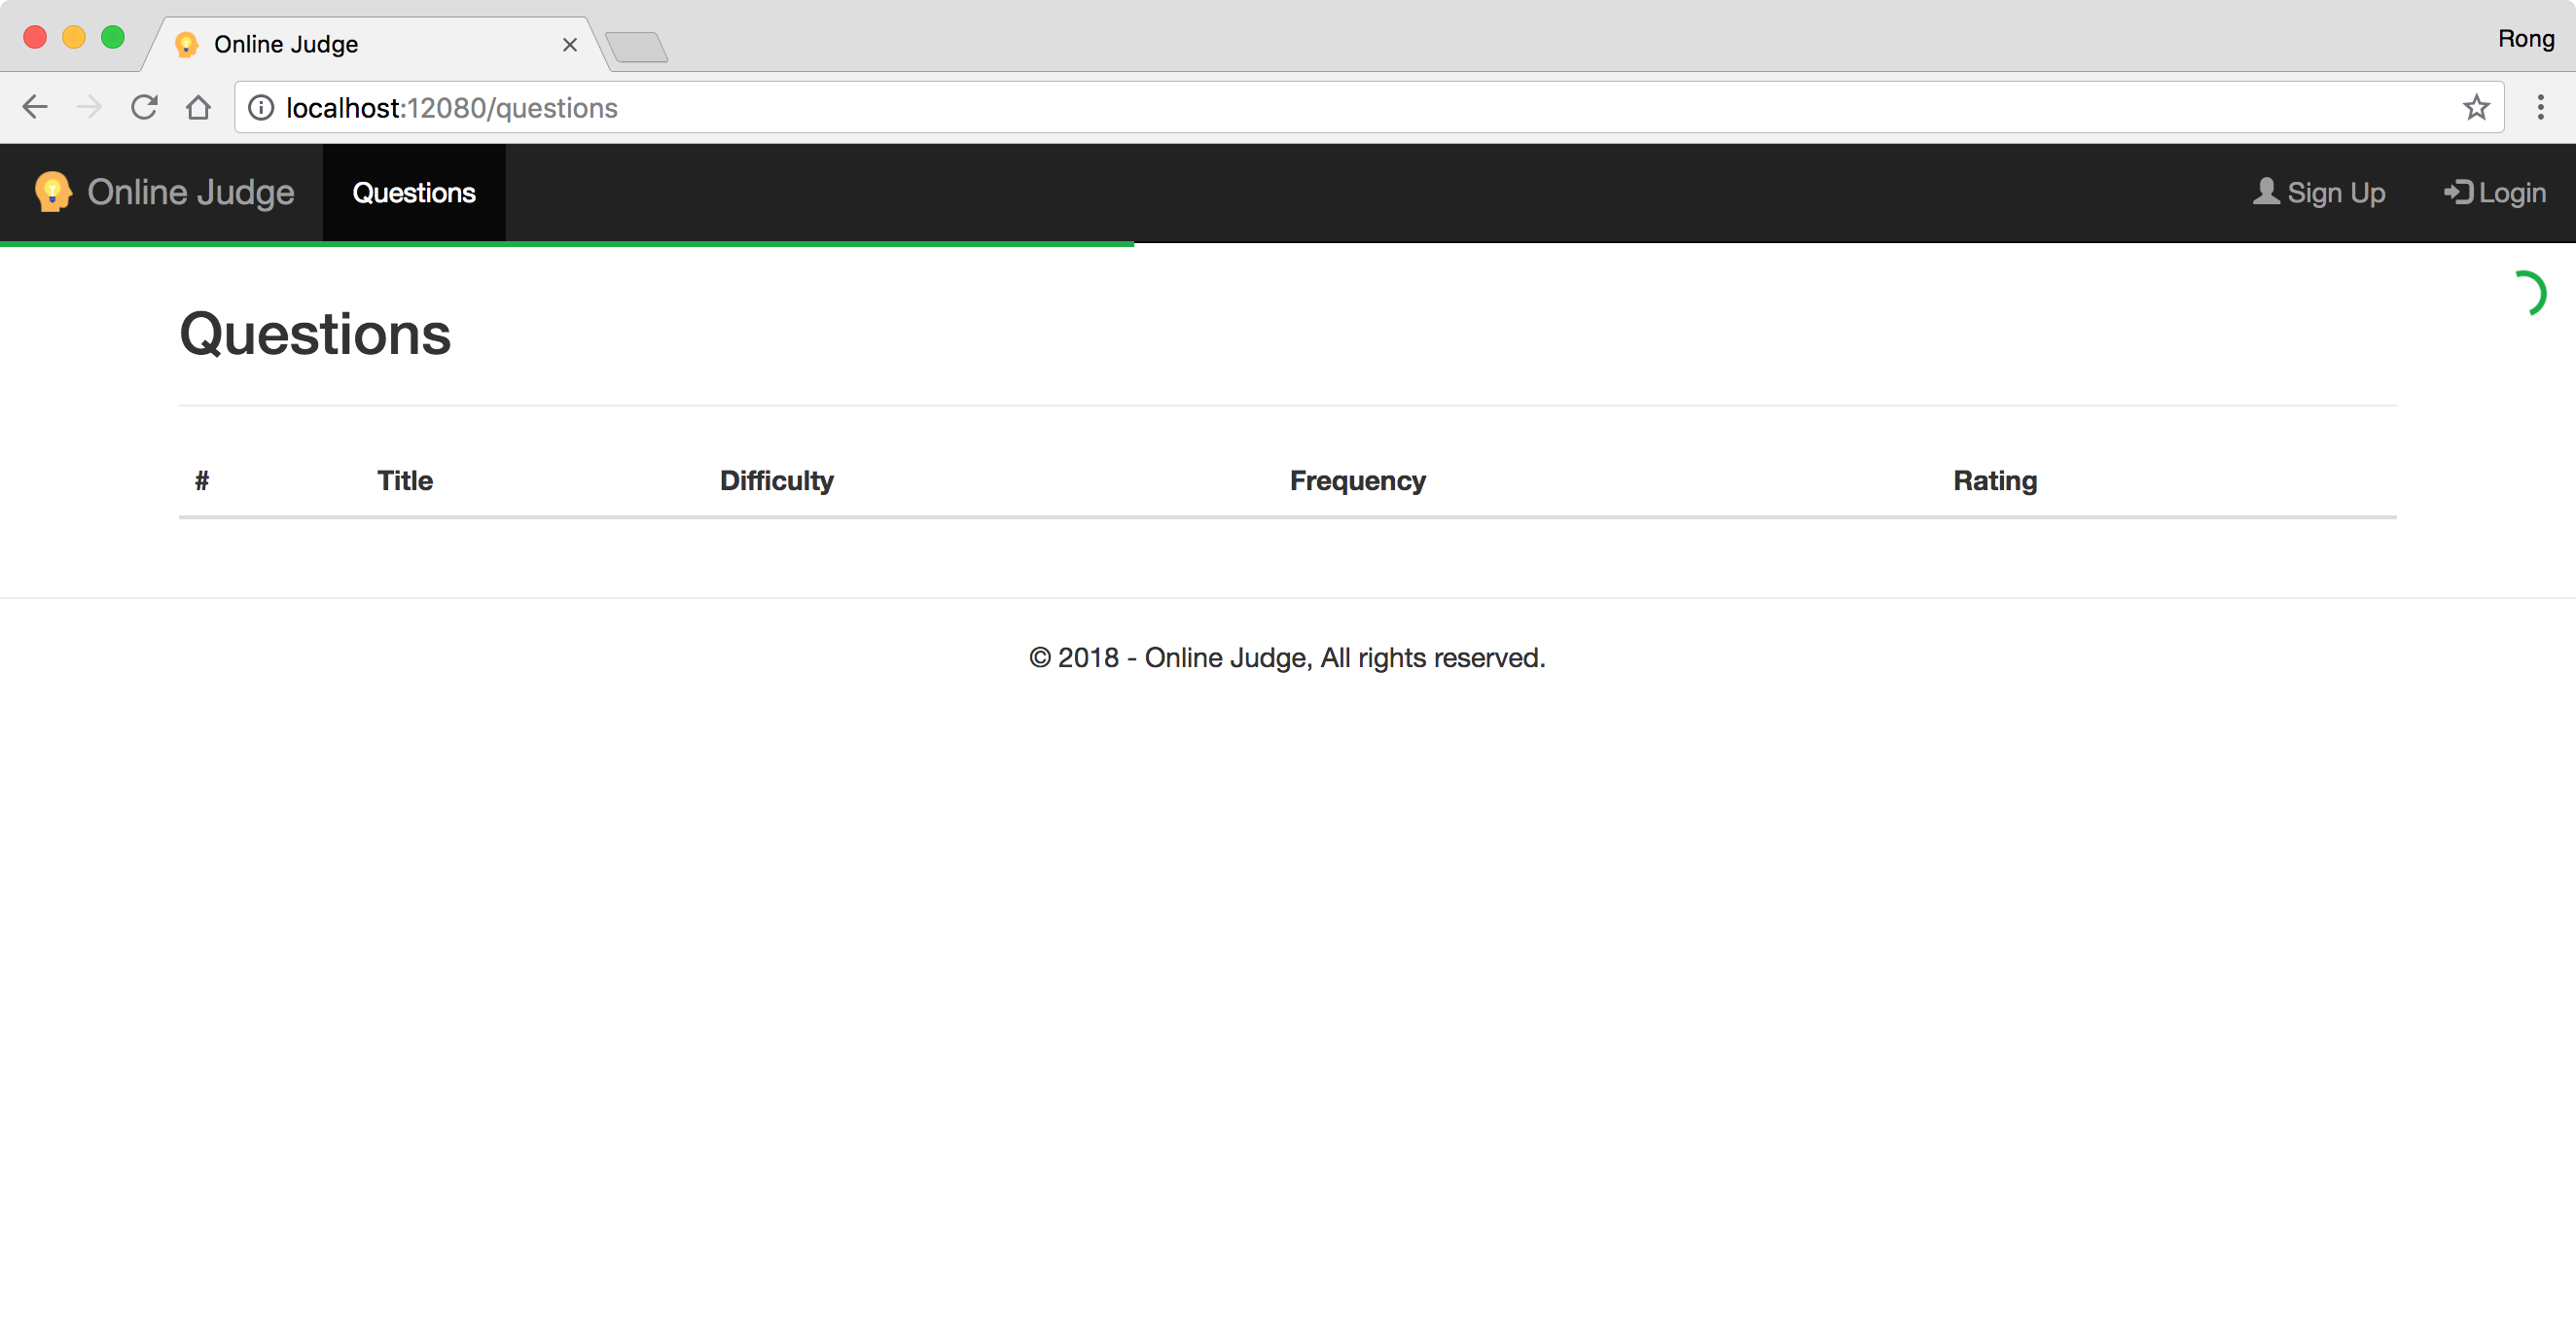
Start the app, eg. ‘npm run local’. Click on the top ‘Questions’ menu, a http request is sent to server. Now we see the progress bar is moving, meanwhile there is a spin at the top of the right side.
3.2 Changing Style
One problem is the spin covers the ‘Login’ menu button. It’s better to move the progress bar and the spin below the black menu bar.
Add following codes to ‘./src/styles.css’ to override the original progress bar styling.
.bar {
  margin-top: 50px;
}
.spinner {
  margin-top: 50px;
}

div .bar-shadow[_ngcontent-c1] {
  all: initial;
}
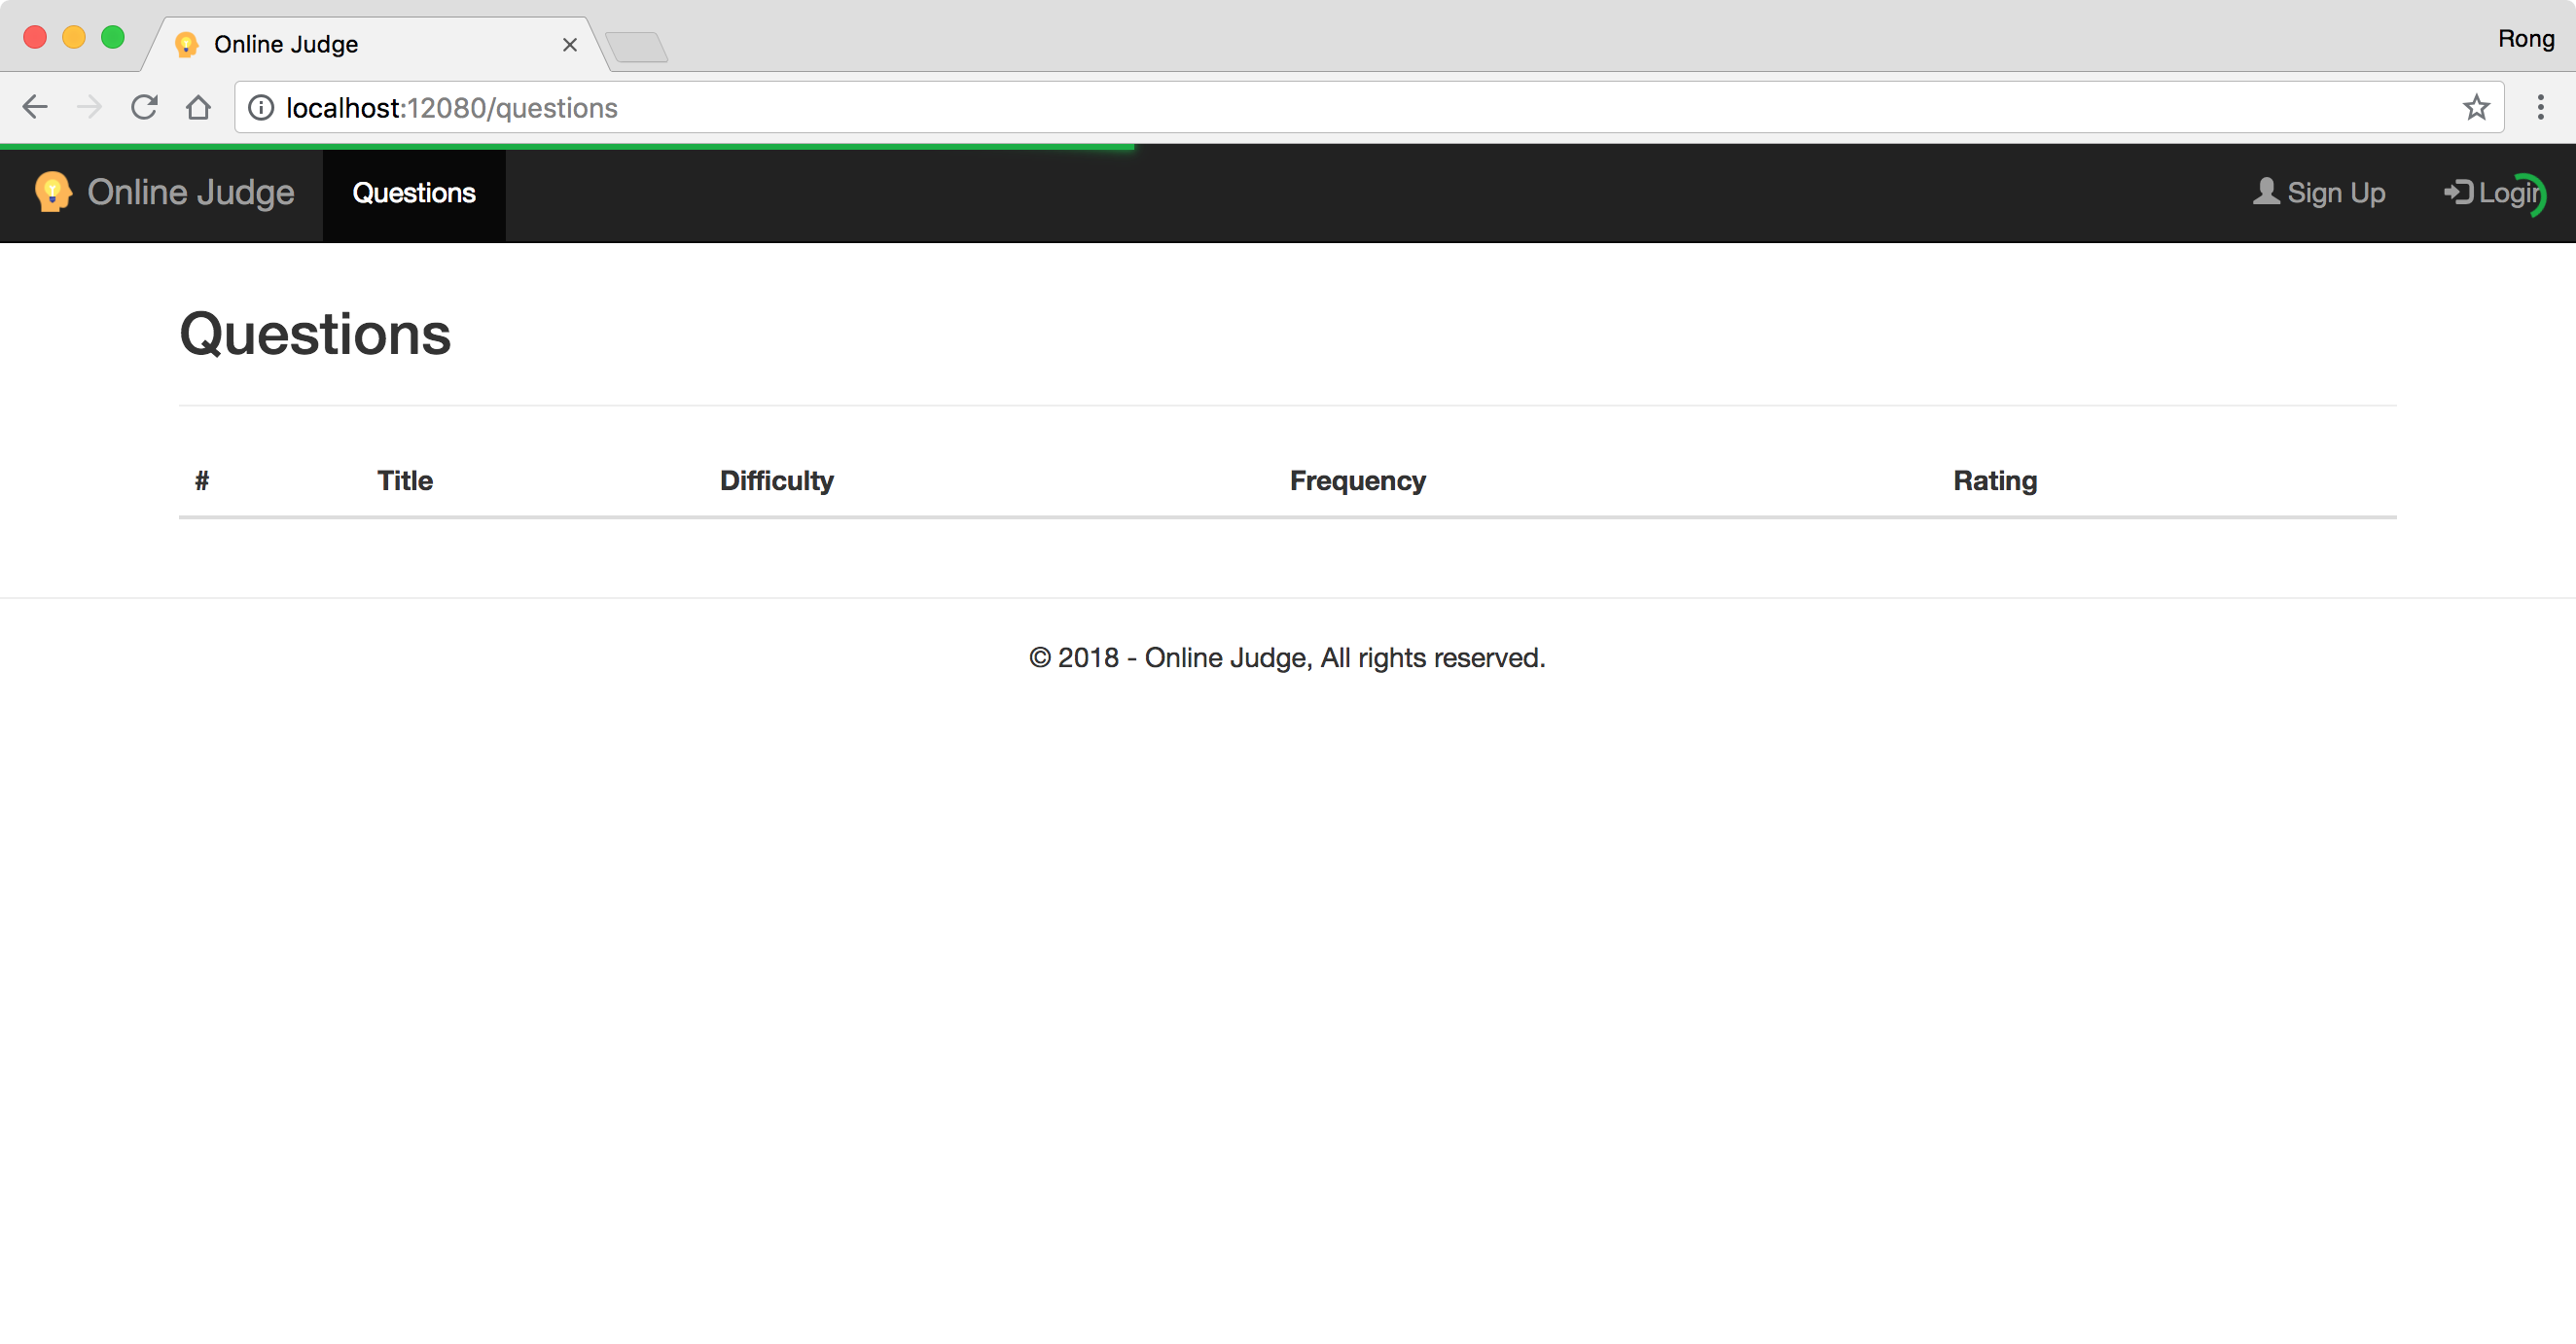
Start the app and click ‘Questions’ menu again. This time, both the progress bar and the spin are under the menu bar.